In typical FromSoftware fashion, Elden Ring contains some extremely difficult bosses that will challenge and frustrate you. There are more than one hundred bosses in Elden Ring, and these 15 are the hardest of the bunch.
Commander Niall
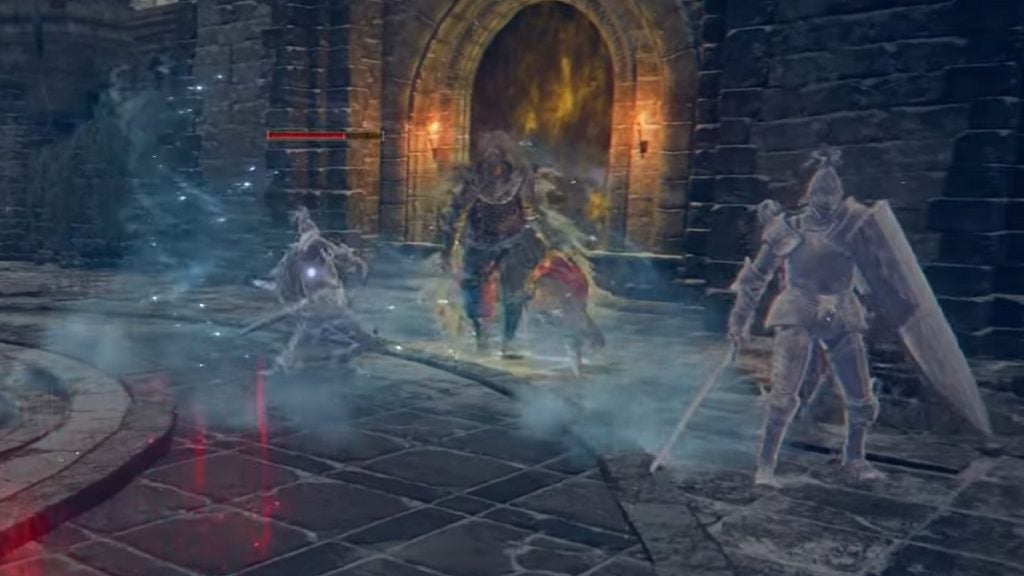
On his own, Commander Niall is challenging but bearable. The factor that makes this boss fight intense is the fact that he summons two knights to fight alongside him.
One of them equips dual greatswords, and the other wields a sword and a shield. Having to deal with these three strong enemies at once is punishing and frustrating. Once you do manage to defeat Niall’s summoned knights, the boss fight becomes much more tolerable.
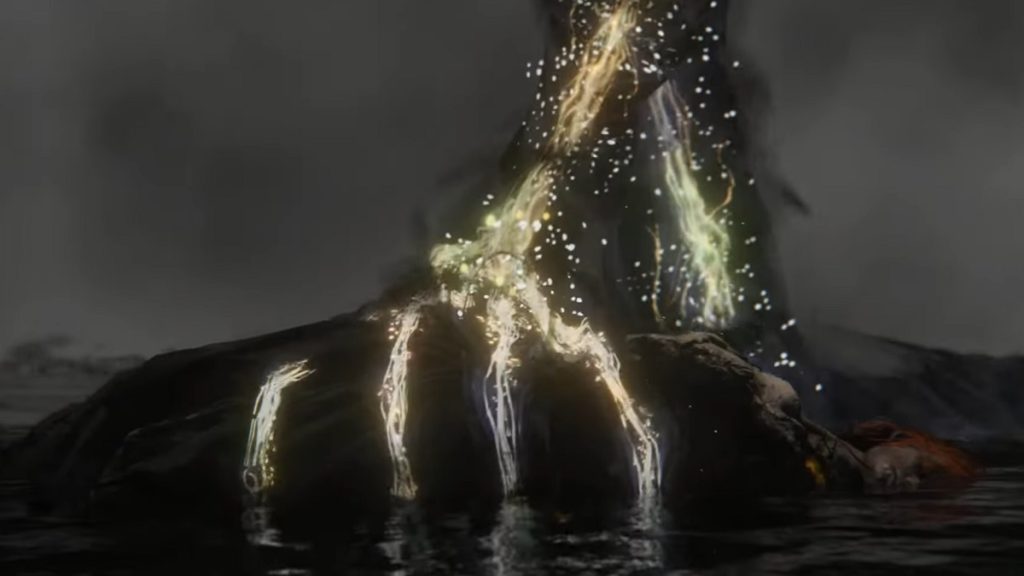
Astel, Naturalborn of the Void

Astel, Naturalborn of the Void is a horrifying boss fight, especially for melee builds. This towering creature can damage you from afar, can close in distances at a fast pace, and can teleport away.
The way to deal maximum damage to this boss is by hitting its head. As a melee build, this is a challenge of its own. If you’re playing as a mage, however, this endeavor becomes simpler.
That said, just because you’re a mage build, that doesn’t mean it’s smooth sailing from there. You’ll still need to worry about the boss’ high damage output and erratic movements.
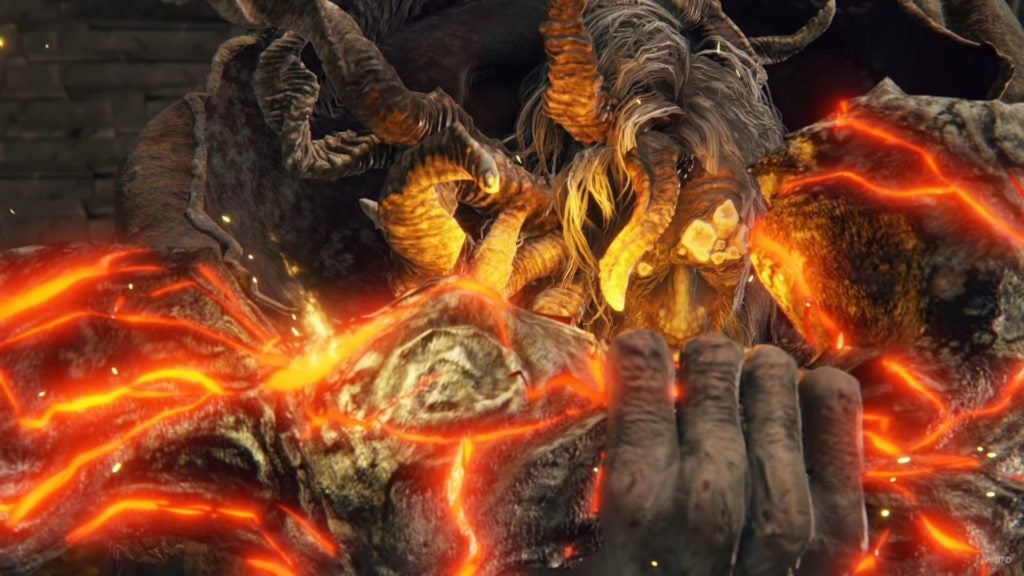
God-Devouring Serpent / Rykard, Lord of Blasphemy
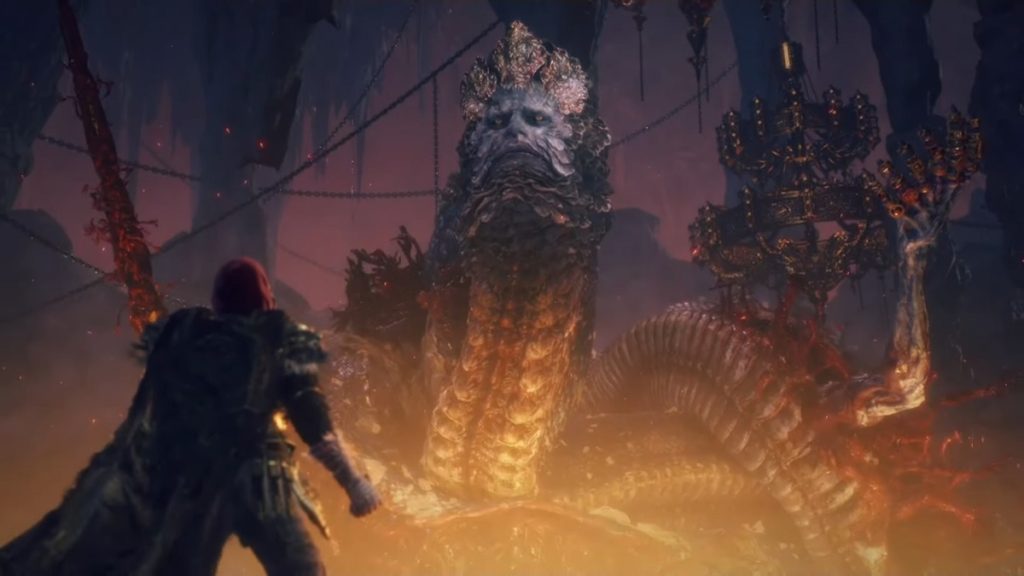
FromSoftware loves their gimmick bosses. Most of them are misses, but there are also noteworthy ones that remain enjoyable and challenging despite being gimmicky. It can be argued that this boss encounter is one FromSoftware’s more enjoyable gimmick fights.
The only weapon in the game you should use when fighting God-Devouring Serpent / Rykard, Lord of Blasphemy is the Serpent-Hunter great spear. You can pick this weapon up in the same arena you fight him.
This spear extends its reach when you’re fighting Rykard, allowing you to reach and damage him. Its weapon skill is also capable of staggering the giant boss.
For this boss fight, you’ll need to deplete his health bar twice, one for each of his variations. The first variation of the boss is straightforward and somewhat easier. The second phase, however, is where things start to get more heated.
In addition to his moves during the first phase, Rykard will incorporate new moves into his arsenal, including one where he’ll summon a bunch of flaming skulls that will chase you and explode when close enough.
Although using the Serpent-Hunter spear makes the fight easier, it’s far from a cakewalk of a boss fight. You’ll still need to treat this fight as you would any other. The only difference now is that you’ll need to use this one specific weapon to bring him down.
Valiant Gargoyle & Valiant Gargoyle (Twinblade)
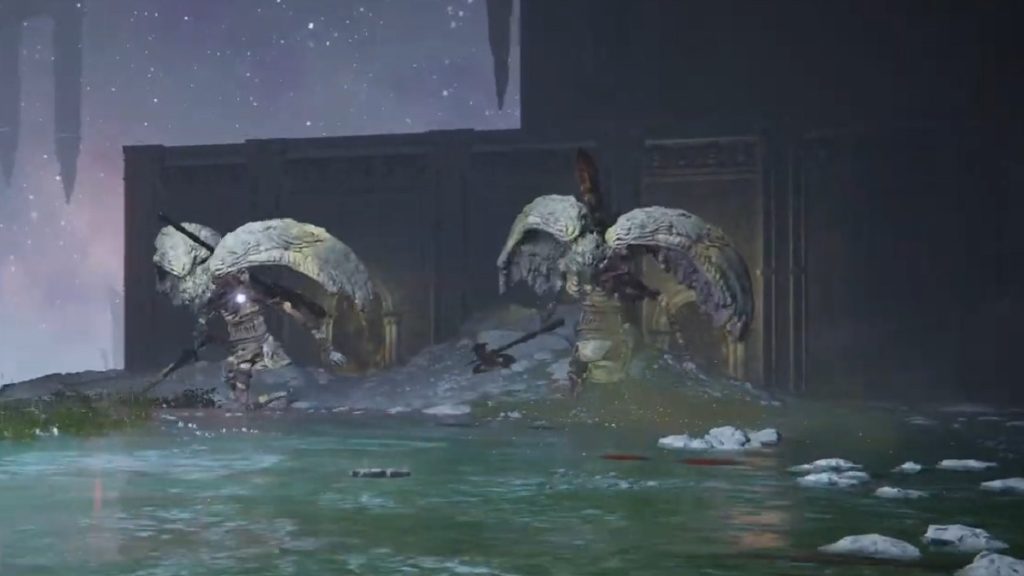
One Valiant Gargoyle is nerve-wracking enough. Fighting two of them is just outright terrible. These massive statues, which are too fast for their size, are relentless and can hit like a truck. The only saving grace here is that you don’t start the boss fight fighting two of them.
When you enter the arena, you’ll first fight one Valiant Gargoyle. This enemy swaps wielding a sword and a halberd. Once you deplete half of its health, the second Valiant Gargoyle will join the fight. This one wields a twinblade and an axe.
These bosses having two weapons which they swap around on command makes the fight both exciting and difficult. You’ll always need to be on your toes so you can reacclimate and adjust depending on which weapon a Gargoyle is wielding.
The battle becomes even more tedious if you can’t put down one of them fast enough. As long as these two remain standing in the arena, the fight also remains at its peak difficulty.
Morgott, the Omen King
Morgott, the Omen King, is the main form of Margit, the Fell Omen. If you found the Margit boss fight difficult, Morgott is even stronger, more agile, and uses new attacks and abilities, on top of some that he already used as Margit.
You pretty much know what to expect from this boss fight if you’ve mastered the Margit encounter. However, you shouldn’t let your guard down. As mentioned, he employs new attacks and has new abilities, and these new additions are deadlier than his old ones.
Death Rite Bird
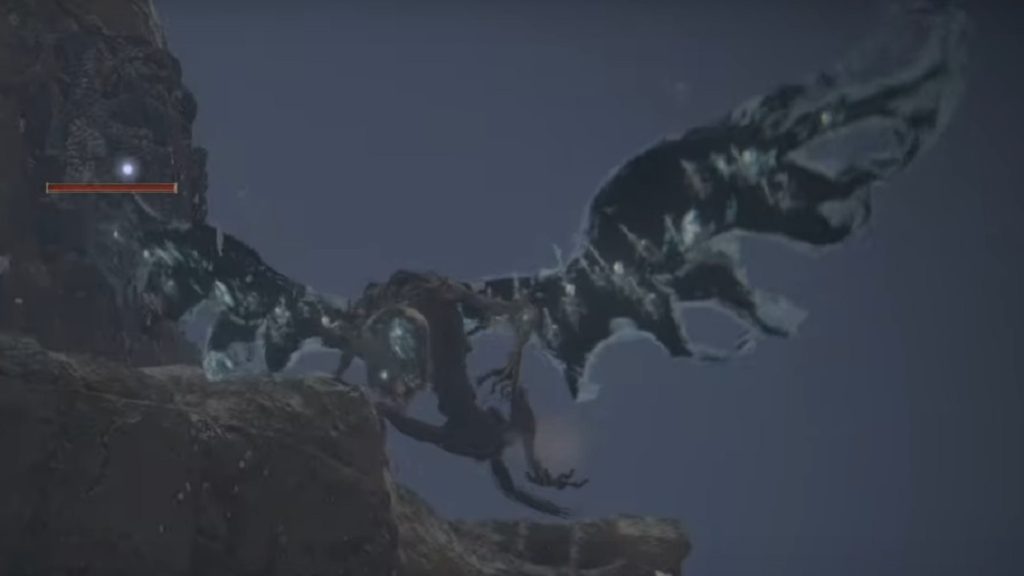
There are three places in the game where you can fight a Death Rite Bird. In Caelid, in the Mountaintops of the Giants, and in the Consecrated Snowfields. The one in the last region, though, is the strongest and sturdiest of the bunch.
The Death Rite Bird is an enormously challenging boss. It can be unpredictable at times dealing with its swift attacks. Couple this with the fact that a lot of them can one-hit you and you have an encounter that’s too much to handle on your hands.
Faith builds will find this encounter easier since the Death Rite Bird is weak to holy damage. Else, players can just use Holy Pots. Regardless, a swift attack or two and the Death Rite Bird in the Consecrated Snowfields can put you down before you can even land a hit on it.
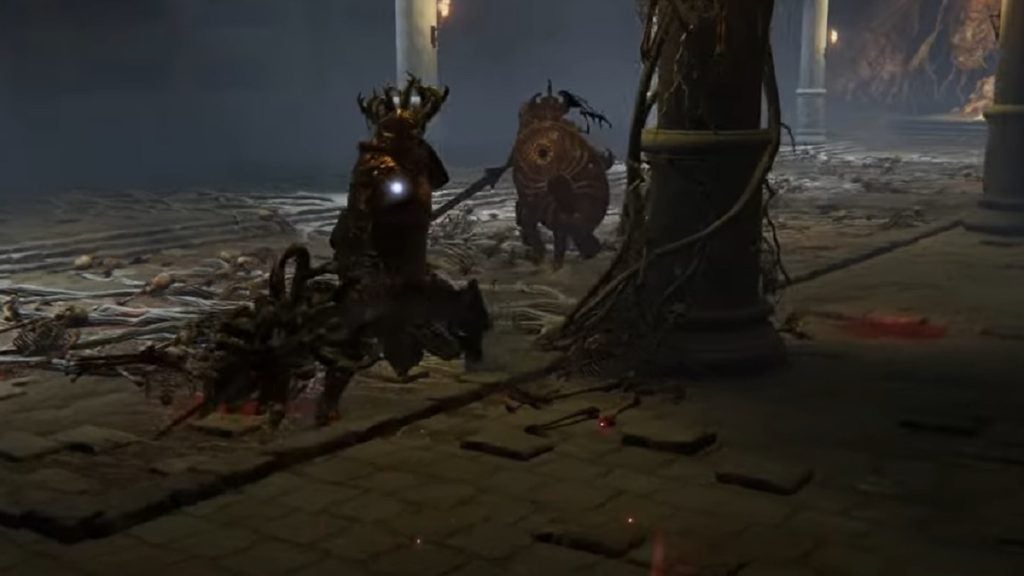
Godskin Duo
The Godskin Duo has you fight Godskin Noble and Godskin Apostle at the same time. They both have individual health pools, but there’s also a shared health bar for the duo. This is the bar you’ll need to deplete to finish the encounter.
When one of them reaches zero health, they’ll simply get spawned back to the arena after a few seconds. This will continue to happen until their collective health bar drops to zero.
Now, consider all of that, then consider the fact that both of these enemies are already difficult on their own. Imagine having to fight them at the same time, potentially fighting one of them twice consecutively in one boss encounter. That’s what you’ll need to deal with for the Godskin Duo boss fight.
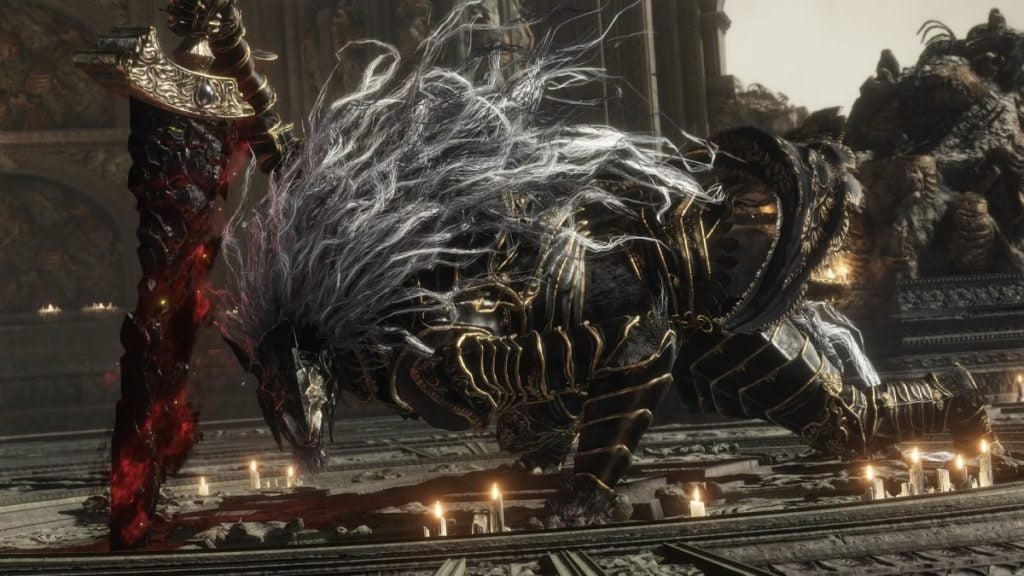
Mohg, Lord of Blood
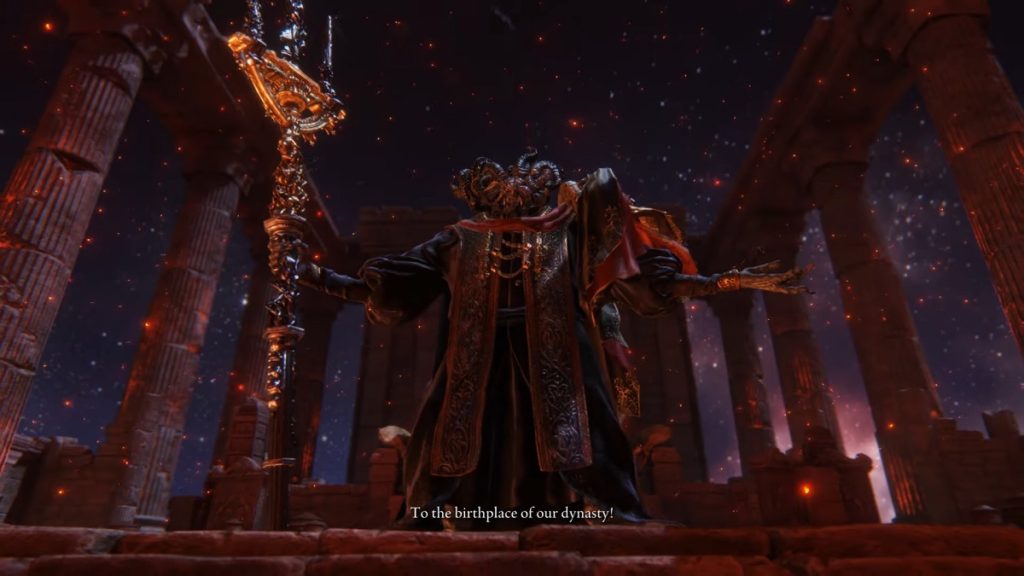
Mohg, Lord of Blood can either be very frustrating or very simple. For one thing, this boss’s attacks can fill the arena with fire that builds up bleed. Almost all of his attacks also inflict this status effect. This means Mohg is capable of draining your health as fast as possible.
Mohg also has attacks that quickly drain your health while filling up his. However, you can easily mitigate this with one Crystal Tear.
Despite you using the one item that can counter one of his most powerful attacks, the boss still remains formidable and unpredictable enough to be one of the hardest bosses in Elden Ring. He’s huge but he’s fast. His abundant use of his bleed and fire attacks make him highly deadly. It also makes moving around the arena a challenge in its own right.
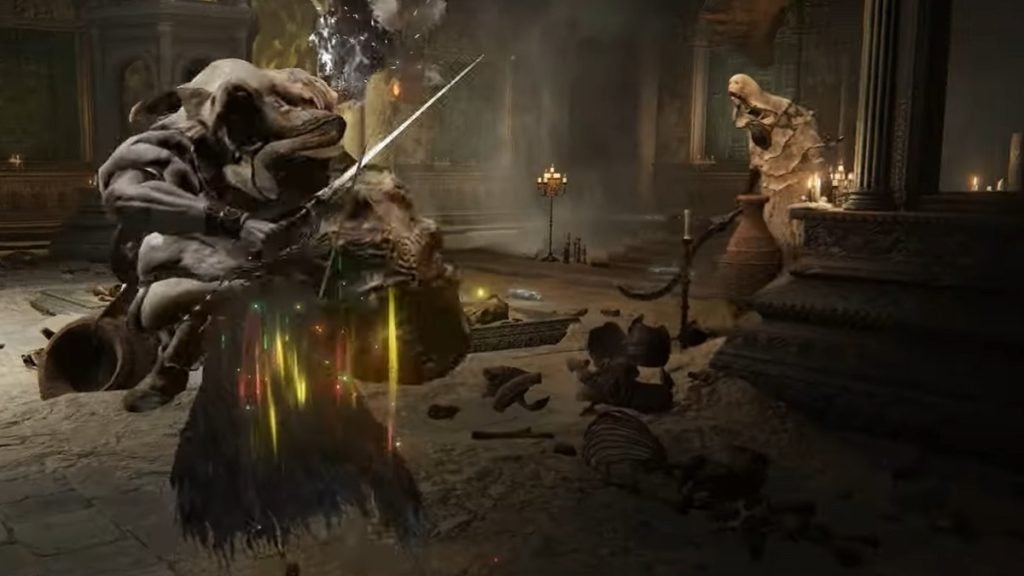
Beast Clergyman / Maliketh, the Black Blade
You first fight the Beast Clergyman when you enter the boss room. This boss has attacks that can be hard to read because some of them are too fast, and some of them have delayed animations.
This boss fight is already a challenge that will keep your eyes glued to the screen. Once his HP drops to about 50%, however, his real form will emerge and the challenge that’s to come becomes even more daunting.
Maliketh, the Black Blade is one of the game’s fastest bosses. This is a mind-boggling fact considering his massive stature. He’ll swipe, slice, and dice at you with his massive sword at a fast rate.
What’s even worse is that Maliketh’s weapon has an effect that will temporarily reduce your HP if you get hit. They also have a black flame effect that continuously eats at your health for a short period of time.
Crucible Knight & Crucible Knight Ordovis
Duo bosses are a recurring thing in Elden Ring. Why deal with one tough enemy when you can get killed much faster by two of them?
Crucible Knights are some of the hardest minor bosses in Elden Ring. Defeating one of them is like dealing with a major boss. In Auriza Hero’s Grave in Leyndell, you’ll have the opportunity (or the misfortune) of fighting two Crucible Knights at once.
The good thing about this fight is that you can lure one of them and the other will take his time to get to you. However, if you’re ever caught in a situation where both of them are lashing out at you at the same time, you’re in for an almost guaranteed trouble.
Dragonlord Placidusax
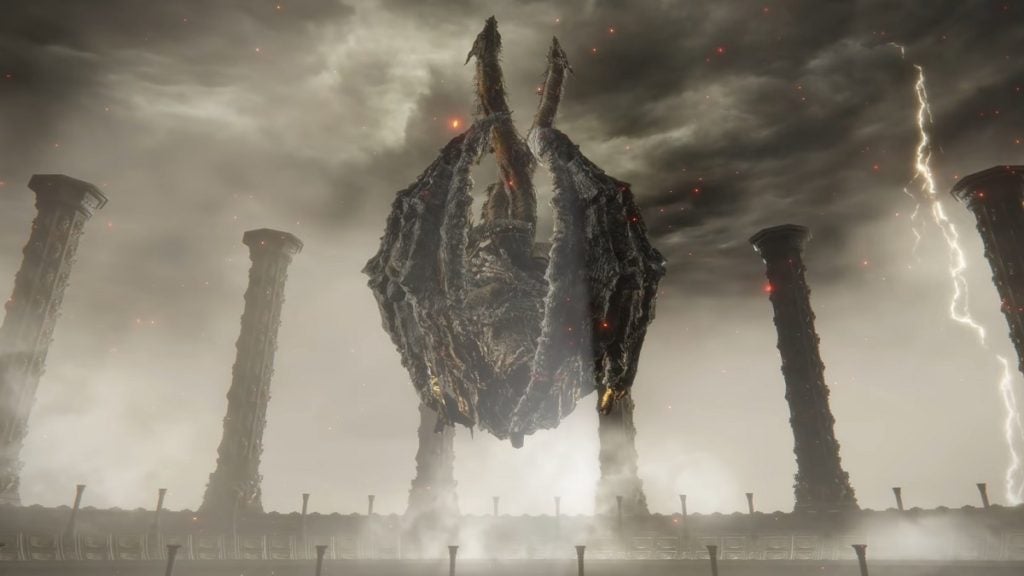
Dragonlord Placidusax is a legendary great dragon. This majestic creature’s attacks are both fast and powerful. He has a handful of attacks in his arsenal that cover so much ground and range.
Placidusax will also teleport from time to time, which he’ll then follow up with a powerful swipe. If your vigor isn’t high enough, these attacks are guaranteed to obliterate your HP with just one hit.
If you want to overcome this challenge, the most important trait to have is patience. This isn’t only because you should learn how to avoid all of his attacks, but also because Placidusax’s health is enormous.
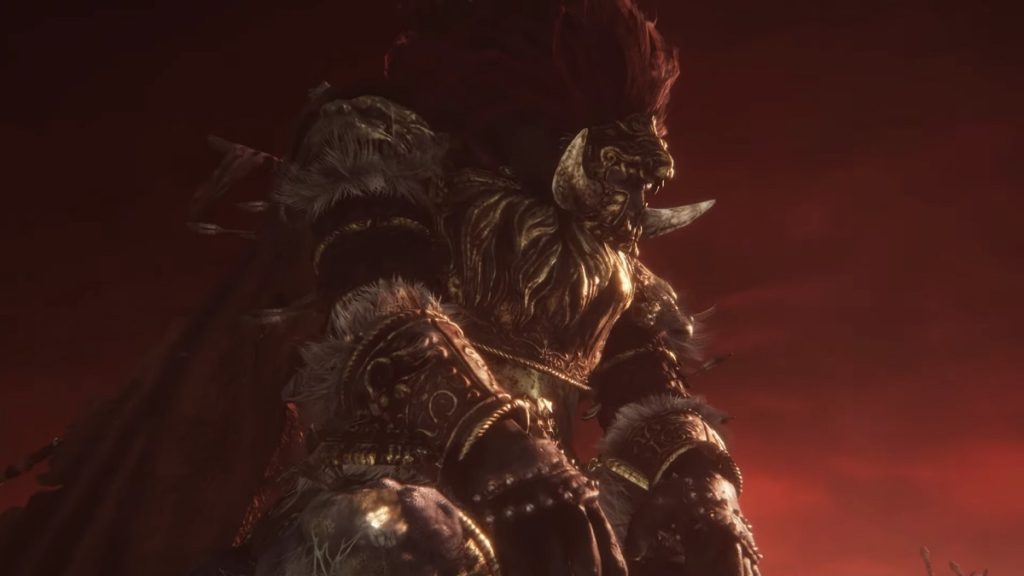
Godfrey, First Elden Lord / Hoarah Loux
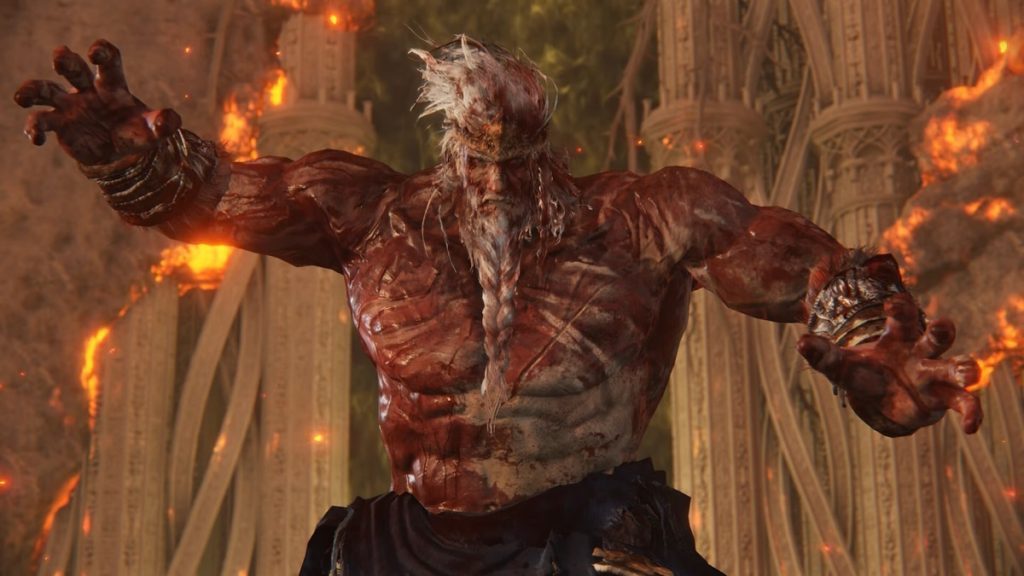
You first fight Godfrey in his spirit form in Leyndell when you first arrive here. However, you also fight Godfrey in the flesh during the last stages of the game.
Godfrey, First Elden Lord is the final obstacle you’ll need to get through before you can get inside the Erdtree. Compared to his spirit variation, this Godfrey is faster and more powerful. The real challenge comes when you reach his second phase.
After dropping Godfrey’s health to 50%, he’ll rid himself of his weapon and armor and fight you as Hoarah Loux. Although he fights you unarmed, he’s much more terrifying this time around. His slams are more powerful and cover more ground. He has a multitude of grab attacks that can easily kill you immediately. These moves can be very unpredictable due to his unorthodox movements and patterns.
Starscourge Radahn
Starscourge Radahn is perhaps one of the most unique boss fights in Elden Ring. You can either fight him on your own, or you can summon a handful of other participants to make the fight seem like an actual festival. Either way, you’re in for a fun and challenging encounter.
Radahn is highly manic, fast, and powerful. Aside from his melee attacks, he can also use gravitational magic to draw you in and damage you.
Once you manage to drop his health to about 50%, Radahan will enter the second phase of his fight in a powerful and memorable manner. It is then where he’ll really utilize his gravitational magic prowess.
A lot of Radahn’s attacks can easily kill you in one to two hits, especially if you come here early in the game, which you definitely can. However, Radahn is still pretty much a formidable foe even if you’ve leveled up. His speed, power, and balance of spells and melee attack usage make him one of the hardest bosses you’ll ever fight in Elden Ring.
Radagon of the Golden Order / Elden Beast
The final boss fight in Elden Ring comes in two. You’ll first need to defeat the famed Radagon of the Golden Order, then you’ll need to deal with the Elden Beast. Die during the second boss and you’ll need to defeat the first one again on the next encounter.
Radagon comes first. As the first one you encounter, you’d want him to at least be forgiving and the fight to be simple. That’s not the case at all. Radagon is unflinching with his hammer. He also has a wide range of AOE attacks that deal enormous damage.
He looks calm and slow as he paces around during the fight, but he’s actually capable of closing in on you at great speeds. This makes this encounter unpredictable and surprising. He also has a grab attack that can completely drain your HP.
Once you finally defeat Radagon of the Golden Order, you’ll then need to defeat a powerful cosmic entity.
The Elden Beast fights you using melee attacks and faith spells. It projects most of its attacks well, but get caught in one or two of them and you’ll be sent back to the Site of Grace in a flash.
The Elden Beast is also very mobile. It can move from one section of the arena to the end of the opposite section in just a few seconds. You’ll need to run around quickly to get to it or at least become familiar with its patterns to know exactly where it will stand next. All the while, the Elden Beast will fire a barrage of spells at you as you attempt to get close to it.
As long as you can stay close to the beast constantly, you can overcome this fight and complete the game. But that matter is easier said than done.
Malenia, Blade of Miquella
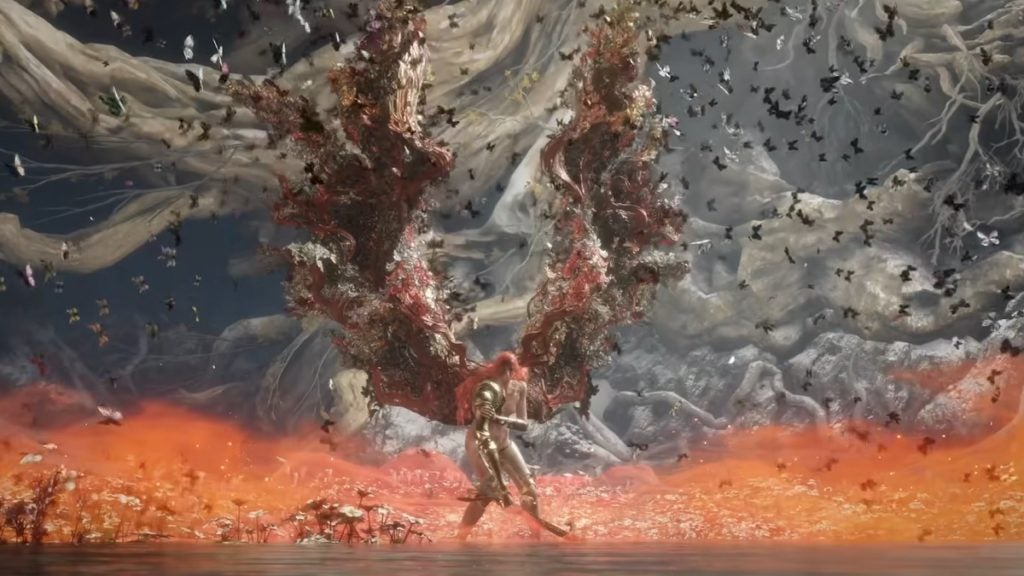
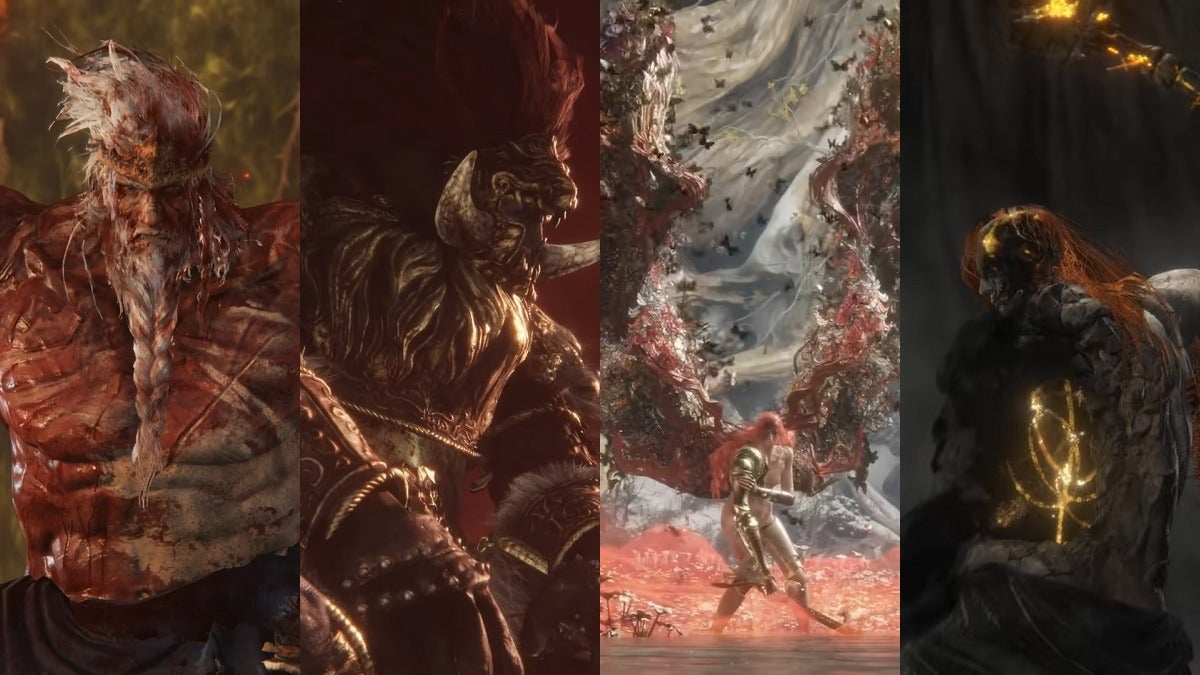
Malenia, Blade of Miquella. That’s something you’ll hear a lot when you fight this boss. Malenia is undoubtedly the hardest boss in Elden Ring. Those who have fought her already knew Malenia was going to be at the top spot on this list as soon as they read the title.
It can even be argued that Malenia is the toughest boss in any FromSoftware Souls game, but that’s beside the point. But the fact that this is a consideration within the community proves just how difficult this boss is.
Malenia is very fast and powerful. Her combos and attacks come at such a speed that you’ll need to memorize her patterns in order for you to completely avoid them. She’ll also terrorize you with the Waterfowl Dance weapon skill, her most infamous move. This attack is capable of killing you immediately, despite having a Vigor rating as high as 60.
If you can manage to deplete Malenia’s health bar once, you’ll still need to brace yourself for the second phase. During this phase, Malenia will fully embrace her Scarlet Rot. Her attacks are then infused with this effect. She’ll also have a lot of new attacks associated with Scarlet Rot.
While she was incredibly fast during the first phase of the fight, there are instances where Malenia will just pace around and wait for you to attack. This is significantly reduced during the second phase. She’ll spend most of the phase chasing and attacking you.
Oh, and one last thing, Malenia gains about 300 to 400 health each time she lands an attack on you. Consider that. Malenia’s attacks are very fast. She has a skill that lands more than 10 hits in just a few seconds. With all that considered, know that she gains health as she damages you.
Good luck fighting this boss. You’ll need it.