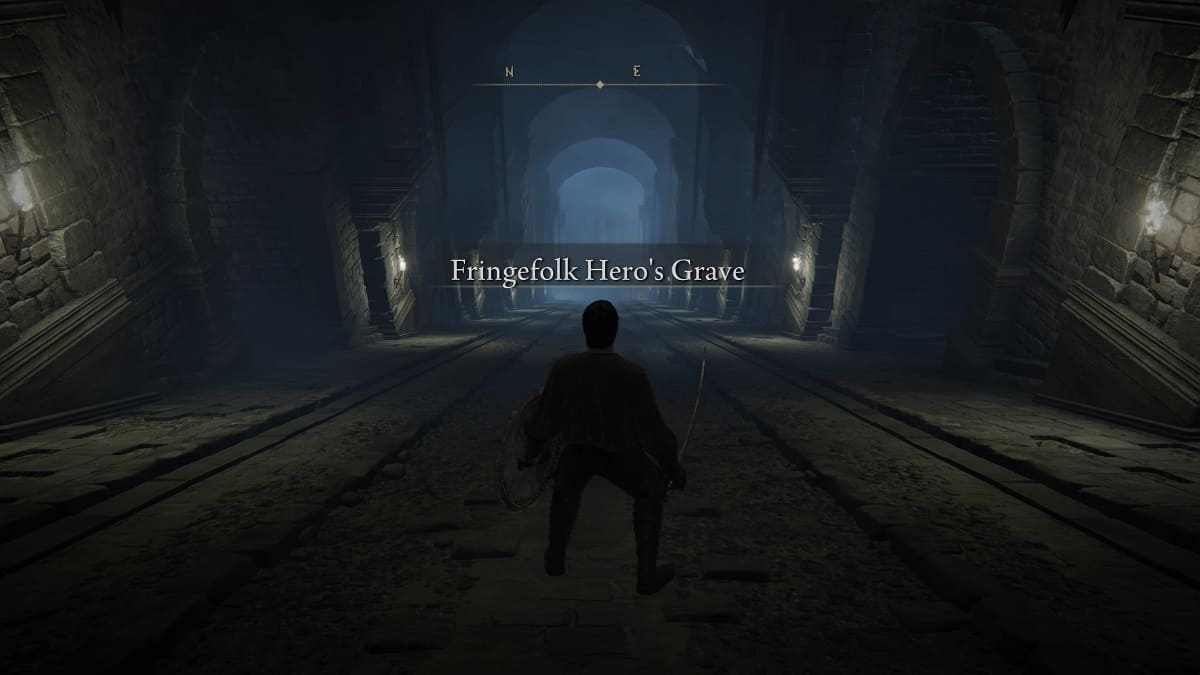
The Fringefolk Hero’s Grave is a notoriously challenging area to go through in Elden Ring. It can easily take any player by surprise. There’s one specific secret about this place, though, that makes navigating it a whole lot easier.
Table Of Contents
How to Access Fringefolk Hero’s Grave
You can already access the Fringefolk Hero’s Grave right from the very beginning of the game, as long as you have 2 Stonesword Keys with you.
Travel to the Stranded Graveyard Site of Grace in Limgrave. Look over to the right and you’ll see a fog wall.
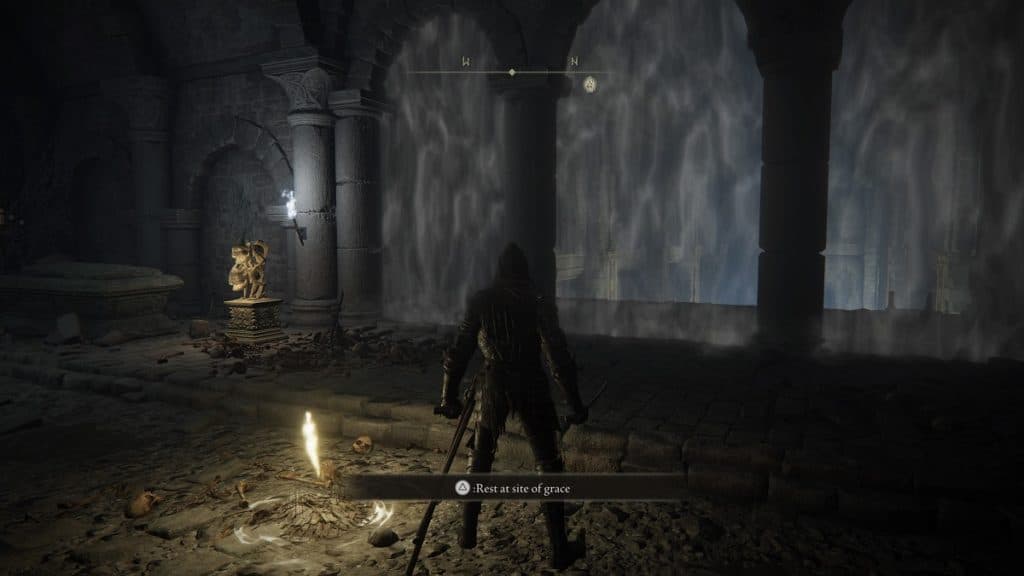
Use the 2 Stonesword Keys you have on the Imp Statues to clear the way. With the fog door cleared, you’ve opened the path to the Fringefolk Hero’s Grave.
Before you move on, make sure you’re carrying a bow and a couple of arrows as well. They will be very useful later on.
Going Further Down
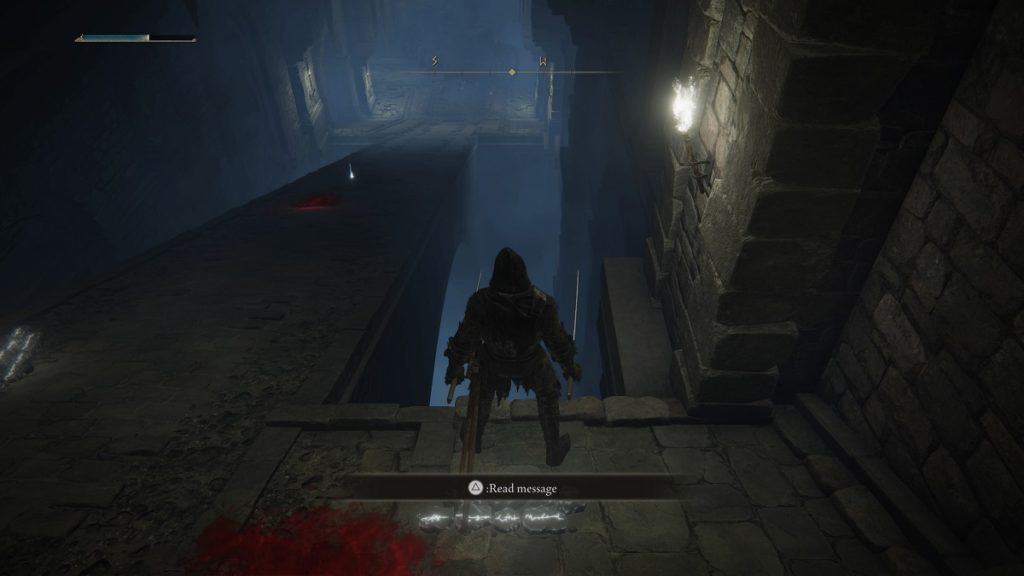
From where the fog wall used to be, proceed onwards by jumping forward. You’ll land on a pool of poison, so run as quickly as you can to the safe ground further away.
Take note: avoid rolling while you’re in the pool of poison. You’ll only coat your armor with more poison, which will cause the poison build-up to continue rising even after you step out of the pool.
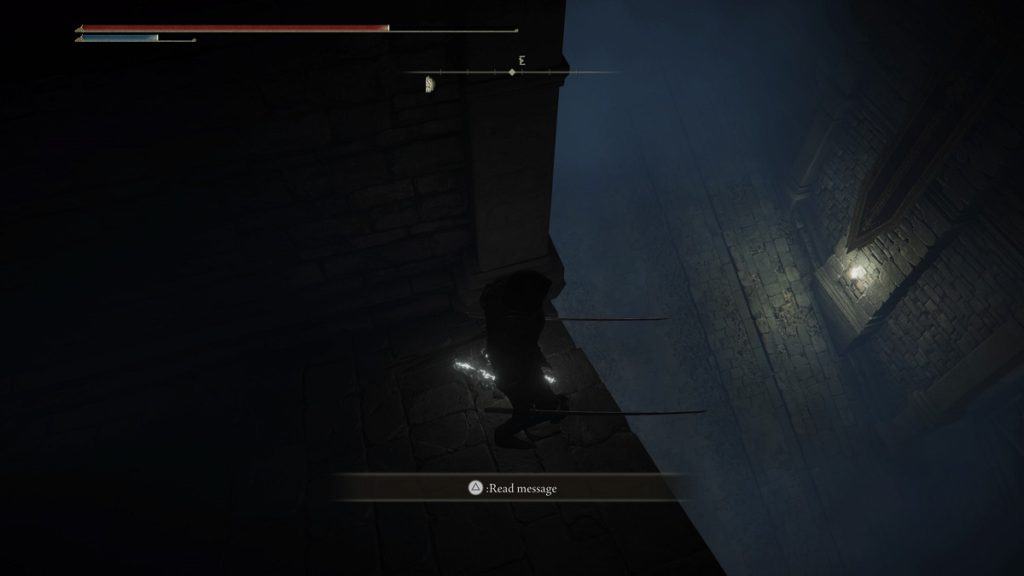
Once you’re out of the poison pool and onto safe ground, you’ll immediately notice the chariot that’s dashing back and forth across you. This is the thing you’ll need to avoid as you continue to make your way through this level.
As soon as the chariot makes its stop, start running behind it.
On either side of the path, you’ll find gaps you can stand on as safe spaces from the speeding chariot. As soon as you notice the chariot stopping at the bottom of the path, get to the safe gap that’s closest to you. Wait for the chariot to run past you before continuing.
From here on, use these gaps as stops in between runs. Be sure to only run when the chariot is far away from your position.
Guard phantoms will also spawn in certain gaps. Be sure to remain mindful of them as you continue to make your way down.
As you’re nearing the bottom of the path, get to the safe spot on your right. Wait for the chariot to dash upwards. Once it runs past you, jump off the edge. The drop shouldn’t damage you from here.
Keep heading down until the path narrows. Instead of taking the path from here, stand on the ledge to the right before the narrow path. Then, slowly move forward to drop down. Be sure to stick to the ledge as close as you can to land safely.
Dealing With the Chariot
As soon as you land, don’t let your guard down as there’s an Imp here waiting for you. Once you’ve dealt with this enemy, proceed onwards where another Imp will be waiting for you. Defeat this enemy before continuing to head down the stairs.
When you reach the bottom, look across and you’ll notice a pillar ahead. This pillar will shoot a stream of fire that will cover the entire hallway right up to the bottom of the stairs.
Stay on higher ground when it shoots fire in your direction. Have your bow and arrows ready. Once the fire stops, head down and shoot a bow at it. It will then retract to the ground, stopping the stream of fire to shoot further.
From the pillar, the are two hallways that you can take. To the left is a corpse that contains a Lightning Grease. Be careful, though. There are two Imps here. One is waiting at the end of the room, and one will drop down from the ceiling once you get close enough.
Go back to where the pillar is and take the path behind it. This path will open up into a wide and tall chamber, with a narrow walkway that leads to an altar. There’s a talisman that you can pick up on the ground before the altar. This is the Erdtree’s Favor, a talisman that will increase your HP, stamina, and equip load.
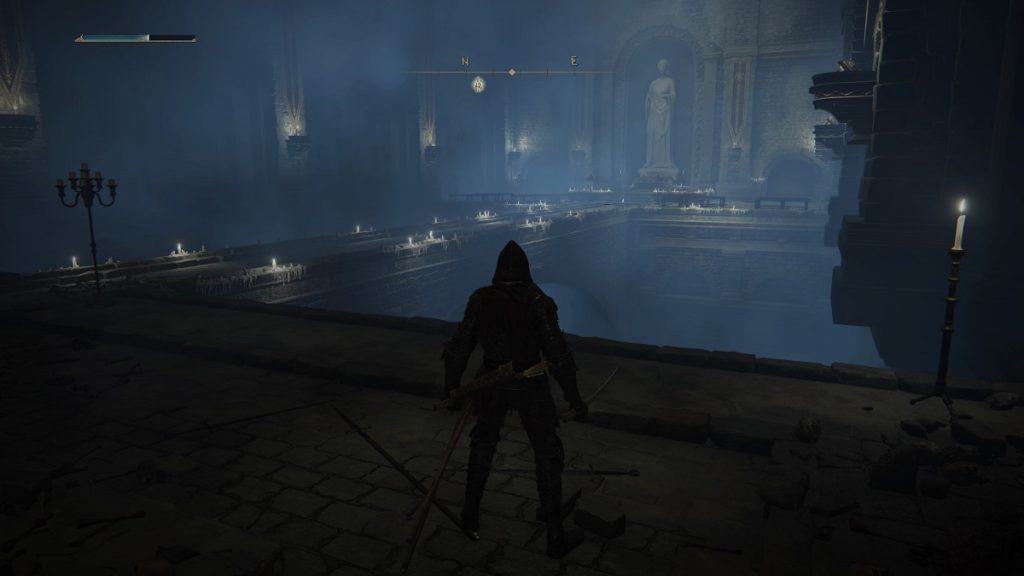
Do be careful while you’re here. There are two Grafted Scions in this area clinging to the ceiling, waiting to ambush you. The first one is somewhere above you, while the second one is above the altar.
You can face the ceiling towards the altar and press the lock-on button to know where the scion is. If you wish to get the talisman, the scion will drop when you get close enough to its position. You can deal with it or you can run to the talisman, loot it quickly, and run back to the opposite section of the chamber.
You’ll then find the other scion waiting here for you. Once again, either deal with it or avoid it. From the side of the chamber close to the entrance, look over the ledge and you’ll find a ground to land on at the bottom.
Head down, walk forward, and head down once more. Head to the left and you’ll find another pathway that leads to an elevator. Take the elevator and proceed forward.
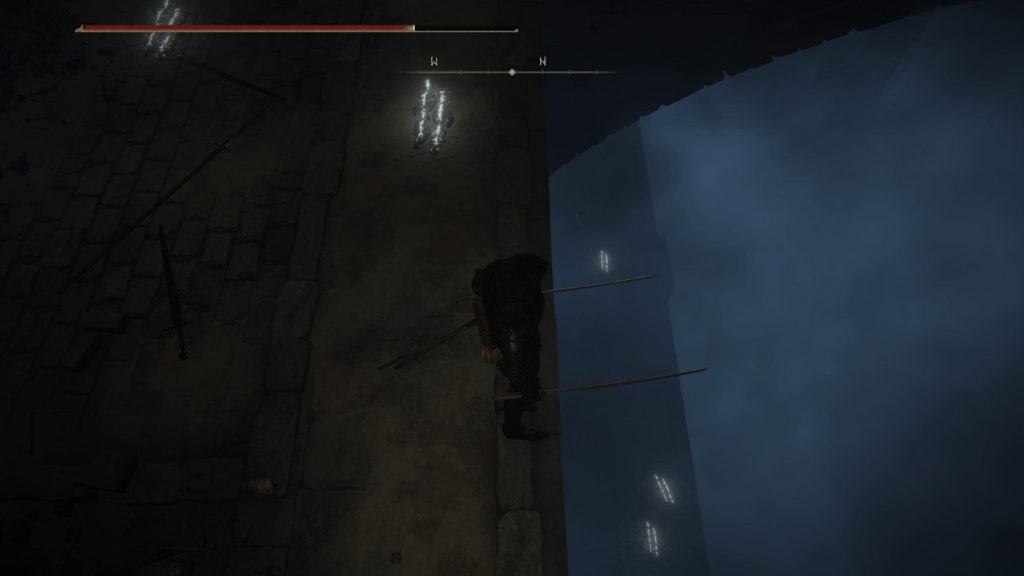
You’ll eventually arrive at a ledge positioned over the pathway where the chariot is dashing around. The body that’s slumped over the ledge carries a Stonesword Key. There’s also a guard phantom to the left. Be sure to deal with this enemy first.
Walk to the left section of this ledge and face the pathway. Look up and you’ll see three pots that are held up by ropes.
You’ll notice that the chariot is now running back and forth on the pathway that’s directly below where the pots are. Bring up your bow and aim for a rope that’s holding up a pot. You won’t be able to see the chariot while you’re aiming for the rope, but you will be able to hear it.
You’ll want to fire an arrow when the chariot stops before the wall beneath you. You’ll hear when the chariot hits the wall and the screen will also shake at the same time. Once you know the chariot is in position, fire your shot.
Around this time, the chariot will start turning around before it dashes down. The pot will drop just as the chariot makes its way down, completely destroying it.
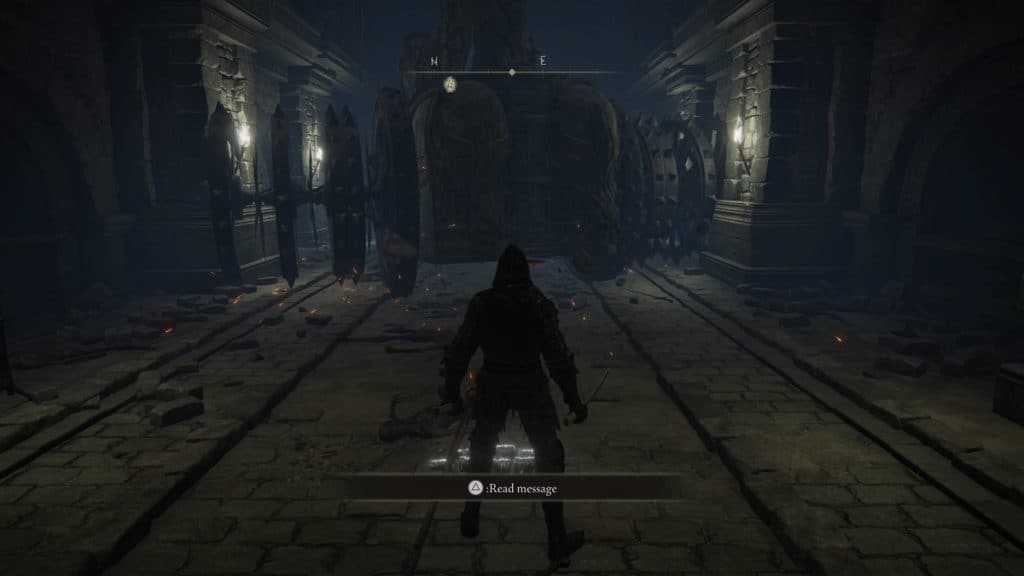
You have three tries at this. Once you’ve dropped all three pots without destroying the chariot, you’ll need to rest at the Site of Grace to respawn them.
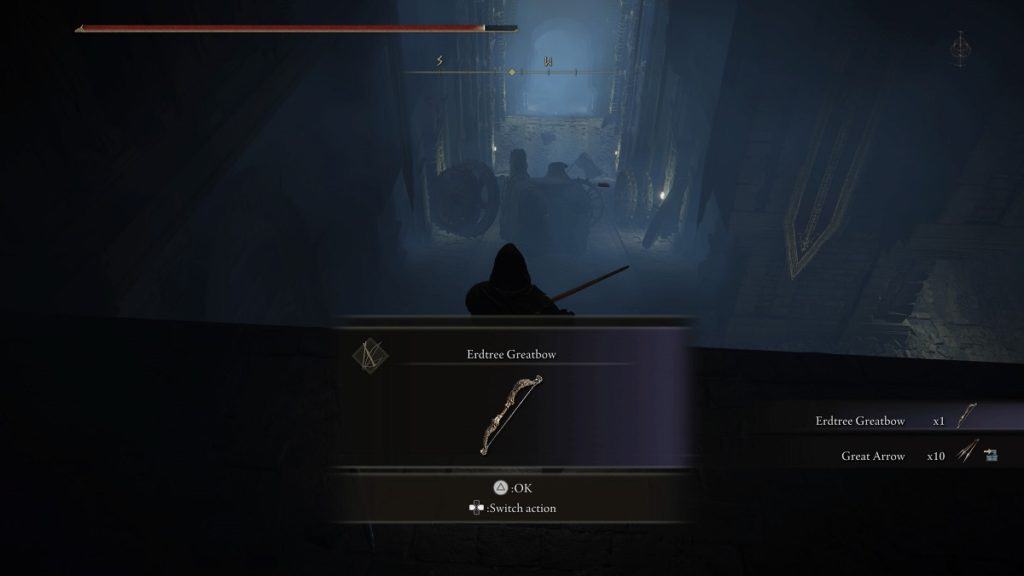
Once destroyed, you’ll receive the Erdtree Greatbow along with a couple of Great Arrows. You’ll also now be able to continue onward without having to worry about the chariot. What’s greater is that this chariot is now permanently gone. It won’t respawn anymore even after you rest at a Site of Grace.
Finishing Up
With the chariot destroyed, you can now drop down and continue down the slope safely. Not completely safe, though, since phantom guards will still spawn later on.
Once you reach the bottom of this slope, you’ll find two pathways leading in opposite directions. If you go to the path on the right, you’ll face a couple of phantom guards and you’ll eventually arrive at a room in the end where a strong phantom guard will be waiting for you. Defeat him and you’ll receive the Dragon Communion Seal.
Once you’ve acquired the Sacred Seal, make your way down and proceed to the very bottom of the level. Keep your guard up as phantom guards will spawn as you make your way down.
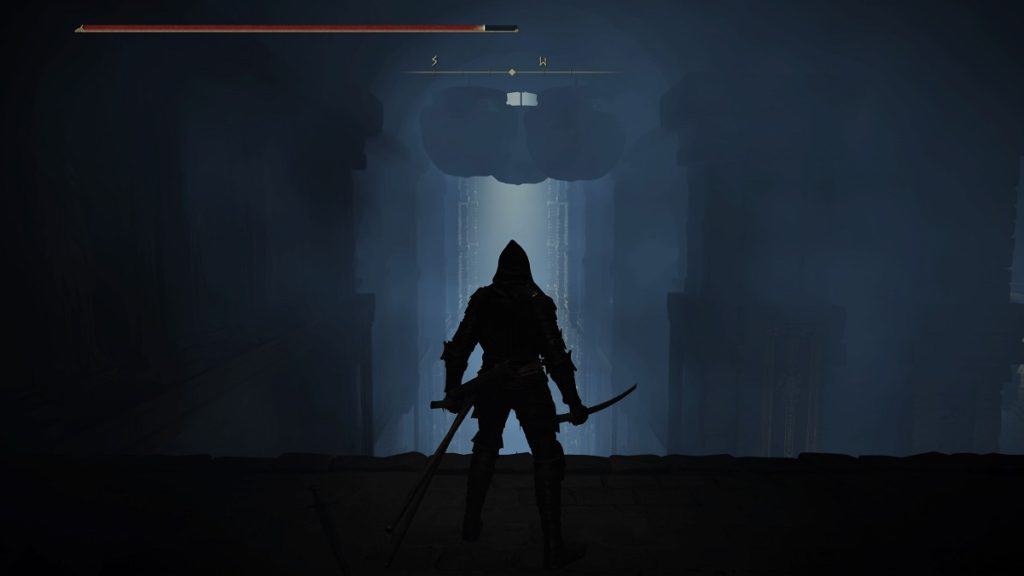
When you finally reach the bottom, you’ll see a path to the right that leads to a fog door. Enter it and you’ll face an Ulcerated Tree Spirit, this area’s final boss.
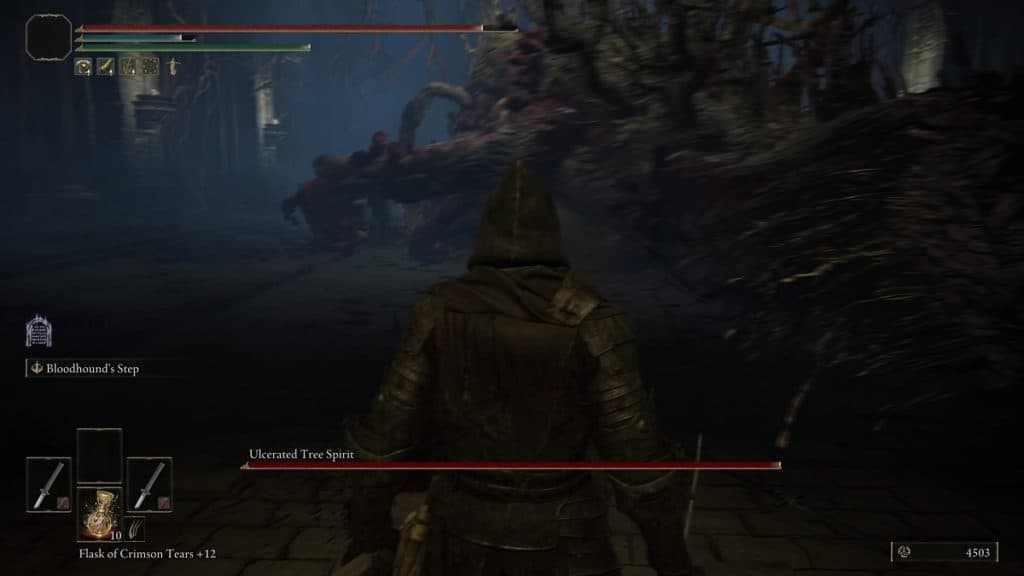
The boss is very tough and aggressive. When fighting it, do your best to stick to its side as that’s where you’ll be safest. When it starts to glow, be prepared to dodge as soon as it explodes or just run away from it as far as you can. It will also dash around the boss room, but it will always telegraph this movement by flailing its head upwards.
Defeat this boss and you’ll receive a Golden Seed and the Banished Knight Oleg Spirit Ashes.