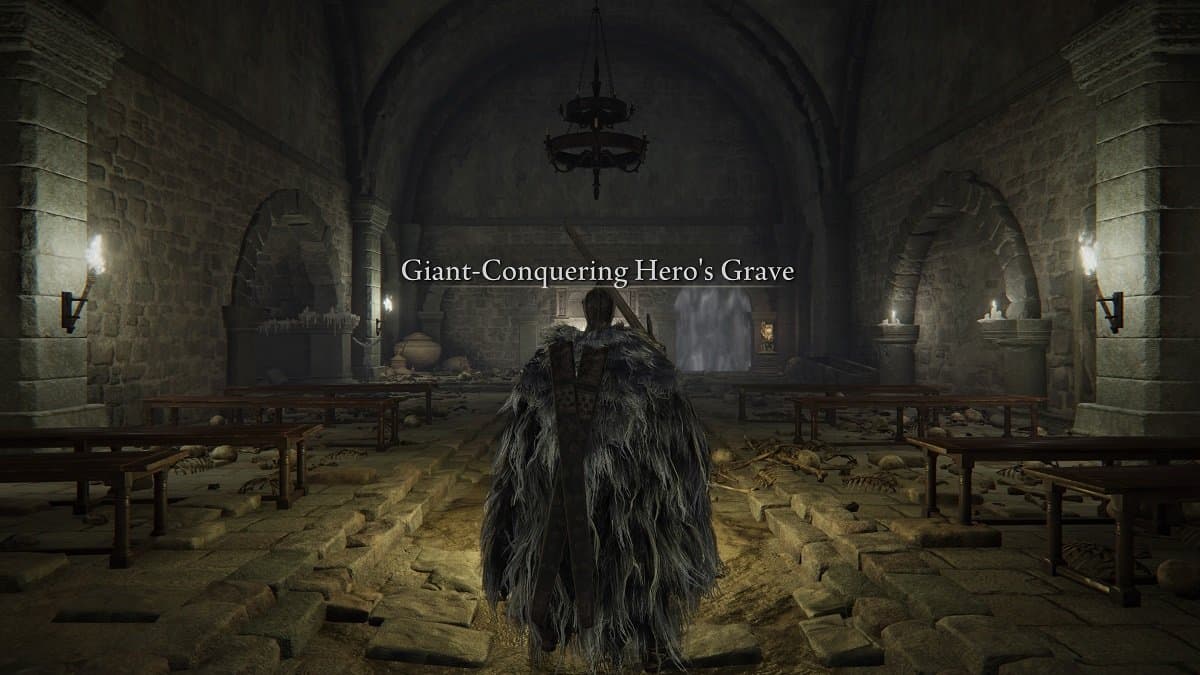
The Giant Conquering Hero’s Grave in Elden Ring is a dungeon you can explore at the Mountaintop of the Giants. This sublevel is filled with multiple puzzles and mysteries for you to unlock and challenges to overcome.
Table Of Contents
Finding the Giant Conquering Hero’s Grave
To get to the Giant Conquering Hero’s Grave, start from the Giants’ Gravepost Site of Grace. From here, head towards the west. Stick close to the edge of the cliff until you get to the marked location that’s shown on the map below.
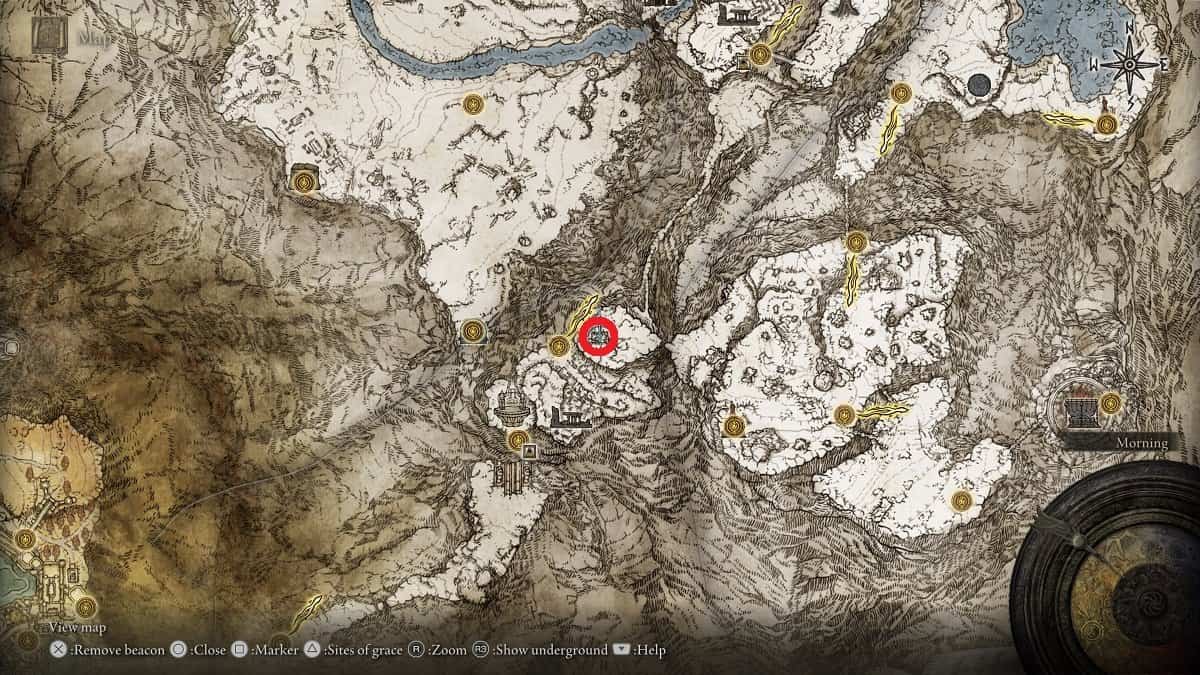
Once you get here, open the gate and ride the elevator down. Rest at the Site of Grace and prepare for the challenges ahead.
Exploring the Giant Conquering Hero’s Grave
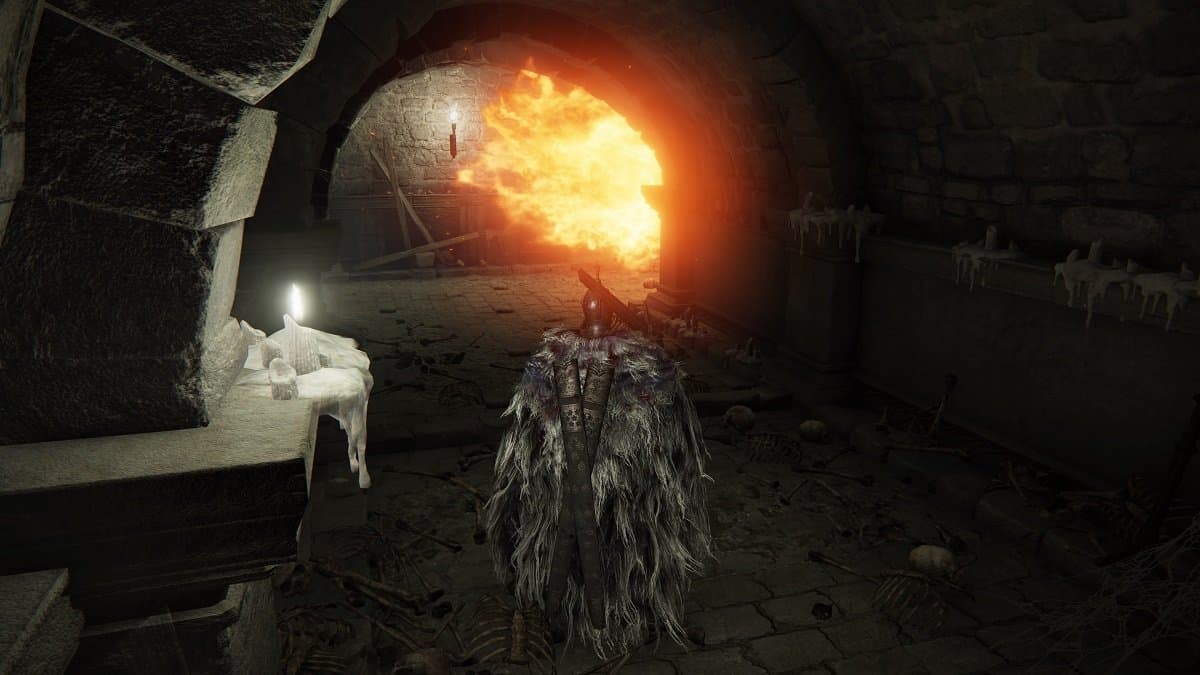
First things first, if you have a Stonesword Key, use one to unlock the fog door that’s just ahead of the Site of Grace. You’ll find the Flame, Protect Me Incantation inside this room.
Once you’ve picked this up, head back outside and enter the pathway to the right. Keep going and you’ll come across one Fire Monk. Deal with the enemy and turn to the right.
The wall to the left that’s closest to the window is an illusory wall. Hit it to reveal the hidden path.
Proceed onwards and you’ll eventually find an item on a window. Loot it to receive a Golden Rune [11].
Jump out of the window and onto the area below. Don’t worry. This height won’t damage you.
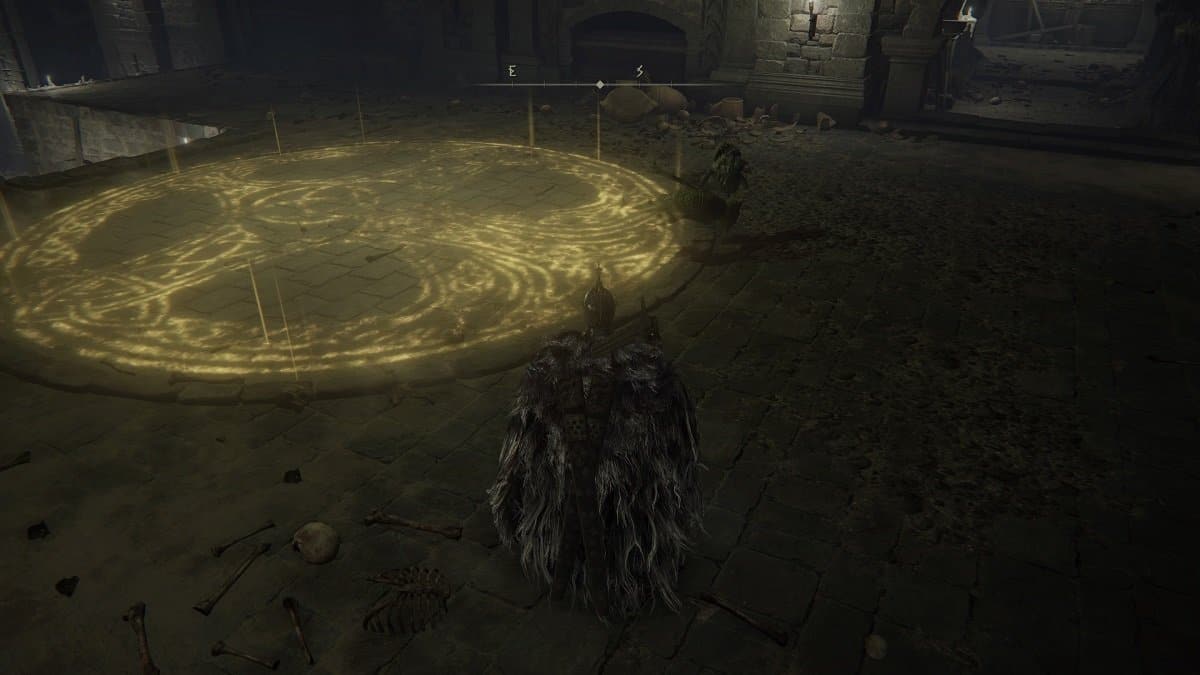
Dealing With the Shadow Enemies
You’ll find a light of the Golden Seal projected on the ground to your left and a couple of shadowed enemies. You can’t damage them while in this state. To make them vulnerable again, lure them to the golden light.
Moving Forward
You can deal with the enemies here or you can dash straight through to the hallway that’s right across you. You can also head down the flight of stairs, where the shadowed Burial Watchdog is, to find a Grave Gloveworth (7) and a (9).
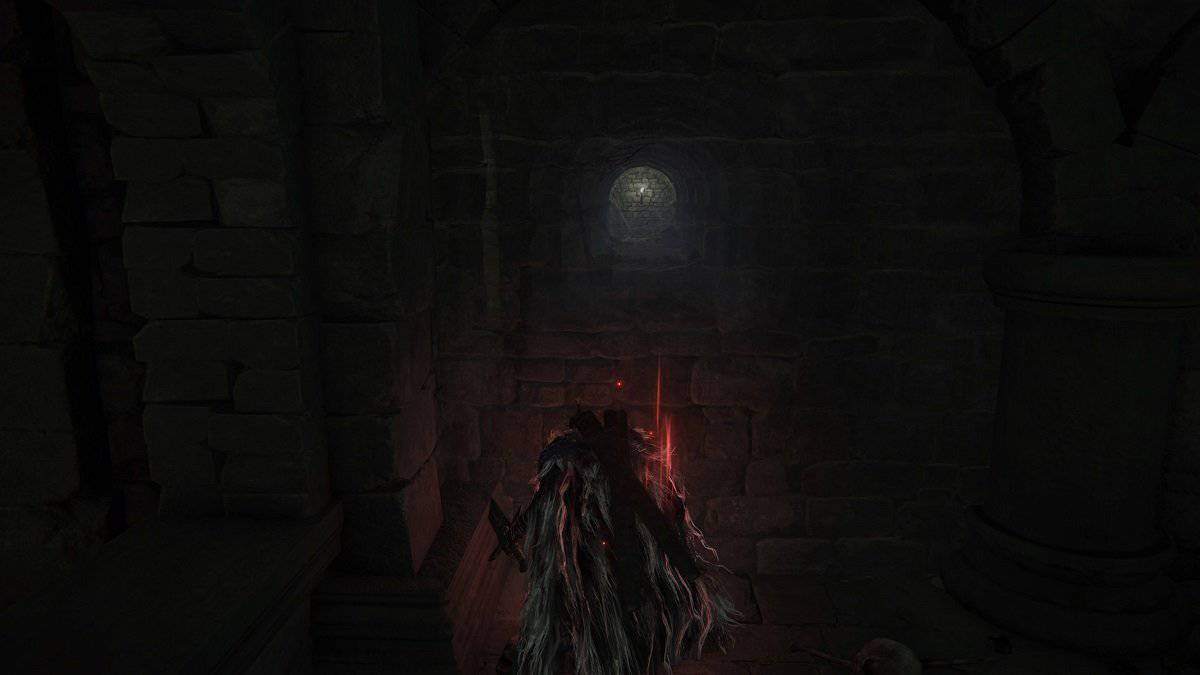
Enter the hallway that’s right across from where you landed. Be mindful here, though. The pillar at the end of the hallway to the right constantly shoots a stream of fire towards this hallway.
You can retract the pillar by shooting at it with an arrow, or you can dash forward while it stops spewing fire. There’s a space to the right that you can stand on to avoid the fire. Be careful, though. There’s one Fire Monk lingering here.
Get to the room where the pillar is and proceed to the hallway to the left. You’ll find a Fire Monk at the end of the hallway. Deal with it as you please.
From here, you can enter the room above by using a Stonesword Key to clear out the fog gate. You’ll find a Cranial Vessel Candlestand, a Great Hammer armament, here that’s being guarded by a couple of shadowed Imps. You can light up the ground by dropping onto the hole below, sending the pillar up, and formulating the Golden Seal light.
Opening the Boss Door
You can now then head back out and onto the next room to find an elevator. Ride it to proceed to the area below. As soon as you reach the bottom, send the elevator back up by stepping on the platform at its center. Be sure to jump back out before it ascends.
Once it reaches the top, a statue will surface which will illuminate the circular area in the middle of the room. Now that the Golden Seal light is in place, open the gate to the east and you’ll immediately spot a shadowed troll. Lure it to the light to make it vulnerable.
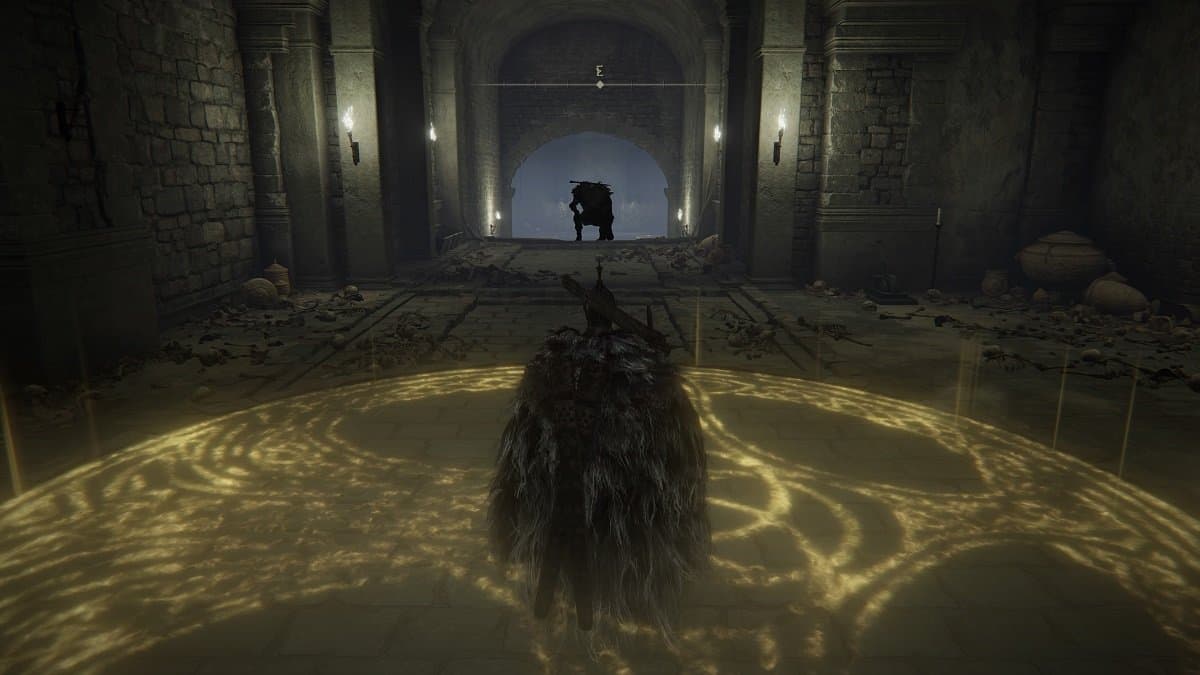
Defeat the troll then and you’ll receive a message saying that a heavy door somewhere has opened.
Picking up a Few More Items
The door is located at the end of the room where the troll used to be. Before you get there, though, you may want to explore the area below where you currently are to pick up a few more items.
Now that the troll has been dealt with, you can send the elevator back down by using the lever beside it. Before it descends, stand on the small space under the statue to go down with it.
Once you’re at the bottom, the shadowed Burial Watchdog will immediately be alerted to your presence. Don’t worry, though. The statue above you will light the floor across, giving you the chance to make the enemy vulnerable.
Whether you want to deal with the Watchdog or simply run past it is up to you. Continue onward and head to the right where you’ll find another shadowed Watchdog. Behind it is a Grave Gloveworth [8].
Run to the opposite side of this area and you’ll find a ladder. Use it to climb up. Continue onward and you’ll come across a room with a Prelate enemy.
To its right is the Giant’s Seal Sacred Seal and behind it is a Great Grave Gloveworth.
Once the items have been collected, return to the elevator and make your way down. Go to Burial Watchdog’s location on the other side of this room and you’ll find a ladder on the right.
Once you make it to the top, you’ll find a Grave Gloveworth [8] and a [7]. Turn to the right and proceed. From here, simply continue forward and you’ll find yourself in the boss room.
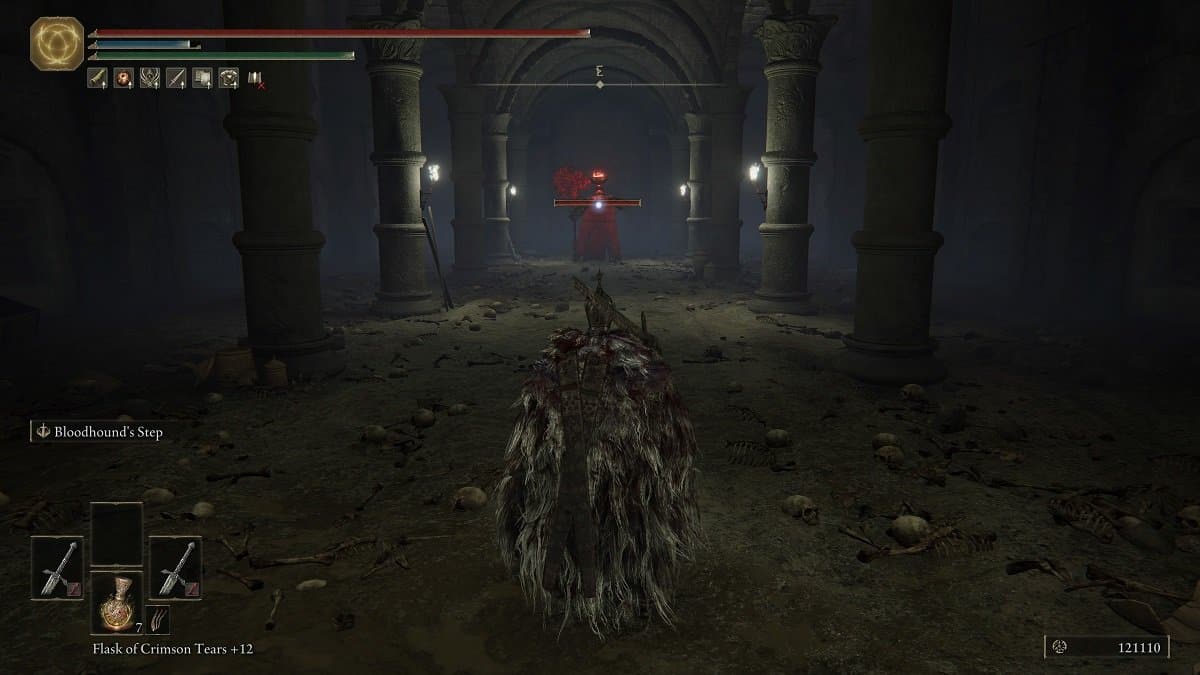
Defeating Ancient Hero of Zamor
The Ancient Hero of Zamor is a very bearable boss. At this point in the game, he’s neither too tough nor too easy. His most dangerous attacks are the ones that inflict Frostbite. Those are the ones you really want to avoid.
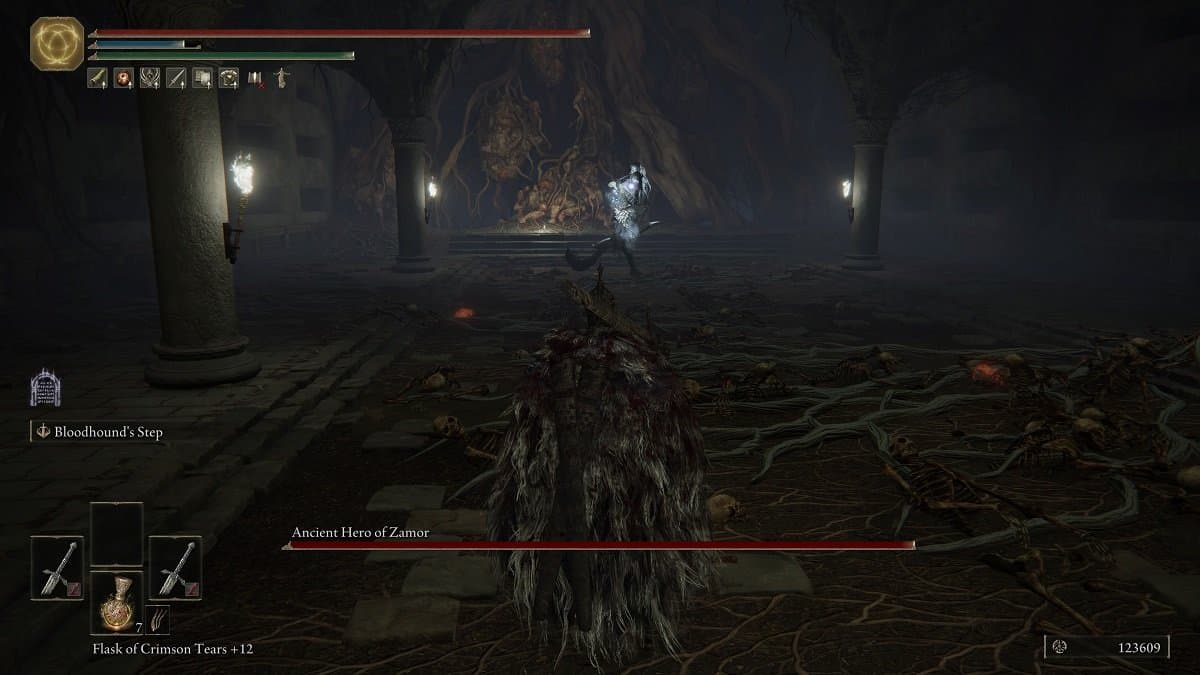
He’ll often freeze the ground across him, which deals damage to you and builds up frostbite the longer you stand on the ice. He’ll signal this attack by kneeling and bringing a hand on his face. When he does this, start dodging to either side.
He also utilizes his Curved Sword to swing melee attacks at you. He’ll also occasionally attack by spinning, swinging his sword twice. Be sure to dodge to his left to avoid getting hit.
Once you drop his health to 50%, he’ll enchant his sword with Frostbite, giving his melee attacks frost damage.
His most dangerous attack is the Zamor Ice Storm. When he’s about to do this attack, he’ll stand still and brings his left hand up. In a few seconds, he slams this hand to the ground, causing an ice storm around him. You’ll want to run far from him to avoid this attack.
Once defeated, the Ancient Hero of Zamor will drop his armor set and the Zamor Curved Sword.