The Lord of Frenzied Flame ending in Elden Ring is dark, ominous, and endlessly mysterious. Naturally, it’s one you’ll want to see for yourself. It’s also tied to an achievement, so completionists will want to see this ending too.
To get the Lord of Frenzied Flame ending in Elden Ring, you’ll need to seek out the Three Fingers. You can find the Three Fingers beyond the Subterranean Shunning-Grounds way below Leyndell. That means you’ll need to start in Leyndell, Royal Capital and make your way underground from there.
Table Of Contents
The Subterranean Shunning-Grounds
You’ll want to start in the Avenue Balcony Site of Grace. From here, take the stairs down and beyond the open door. Once you walk through the door, take a left and stick close to the edge of the balcony. You will eventually spot a well on the ground below. Jump down and enter the well to get to the Subterranean Shunning-Grounds.
Keep going forward and you will eventually find yourself in a corridor with Ogre enemies around. The Underground Roadside Site of Grace is in a small room here. Rest up before continuing.
Opening Shortcuts
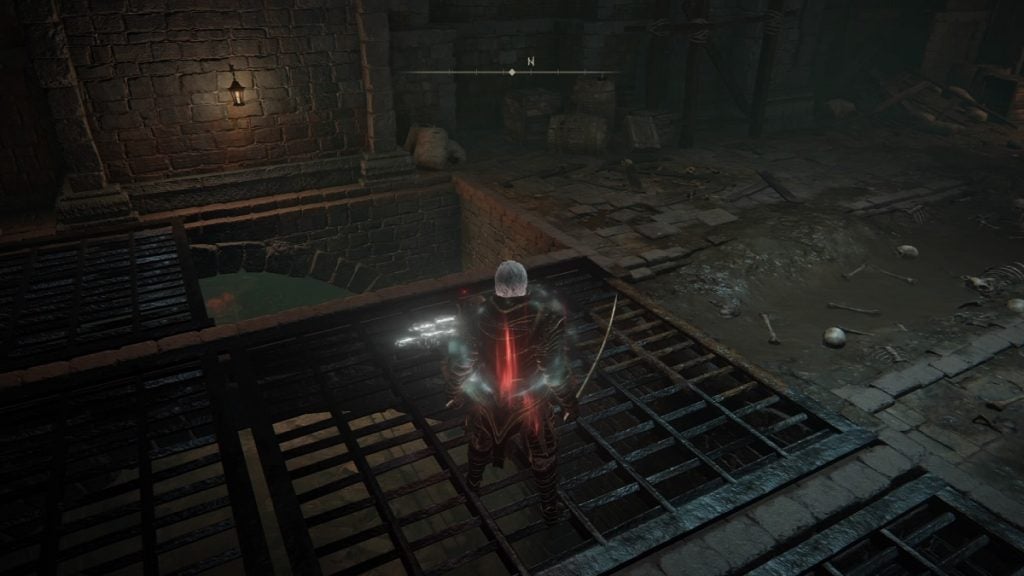
Exit the room where the Site of Grace is and proceed to the left. There’s a missing grate in the ground here that leads to the sewers below. Drop down and continue to the left. Continue forward until you see a path to your right.
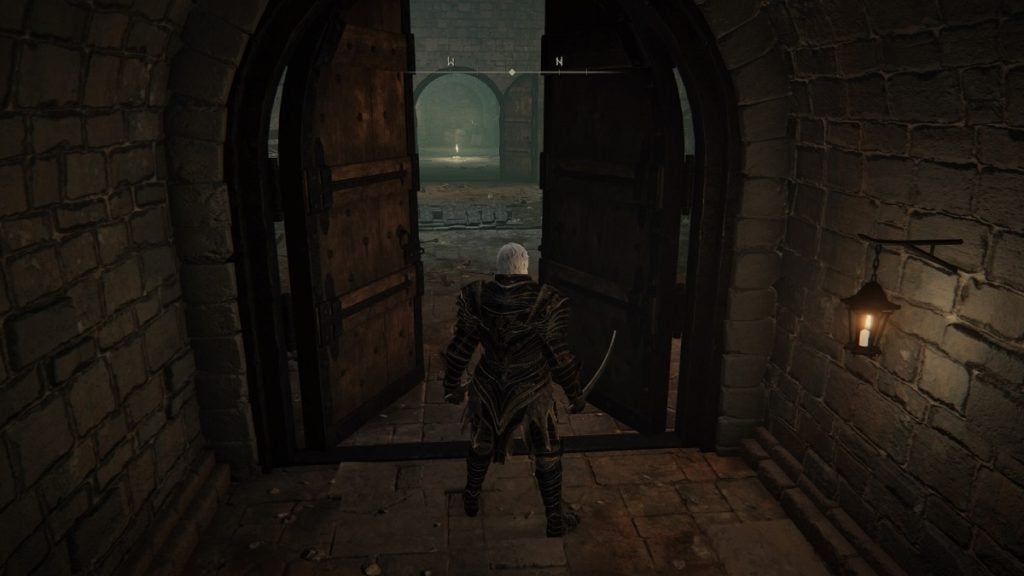
Take this path and proceed. Be mindful of the holes in the ground while you’re on this path. Continue along until you reach an intersection with an open door to your right. Proceed through this door.
At the end of this path, you’ll find a ladder with an ogre at the top. This enemy will immediately jump down at the sight of you. Either defeat this enemy or climb the ladder ignoring it. To the right, there’s a lever you can flip which will open the gate beside it. This unlocks a shortcut between where you are now and the Underground Roadside Site of Grace.
Turn around and take the door to the right. This will lead you to the top of a spiral staircase. Instead of taking the stairs on your right, walk to your left and carefully drop down onto the staircase below. Start descending from here.
Keep going until you spot an opening to the right. Proceed onwards from here. When you come across a staircase that leads down, take it and make a hard right at the bottom to find an open doorway that leads to a sewer pipe.
Continue along this path and you’ll find a couple of basilisks lurking about. Be careful of these enemies as they inflict Death Blight, which kills you immediately once the Death Blight bar fills up.
Keep going forward until you’re out of the sewers where you’ll be greeted by an ogre yet again. Take the ladder to the right of the ogre to proceed. Once at the top, continue forward and open the gate ahead of you.
This opens up directly across the Underground Roadside Site of Grace. This makes your trip even shorter in case you get killed between here and the next Site of Grace.
Going Deeper
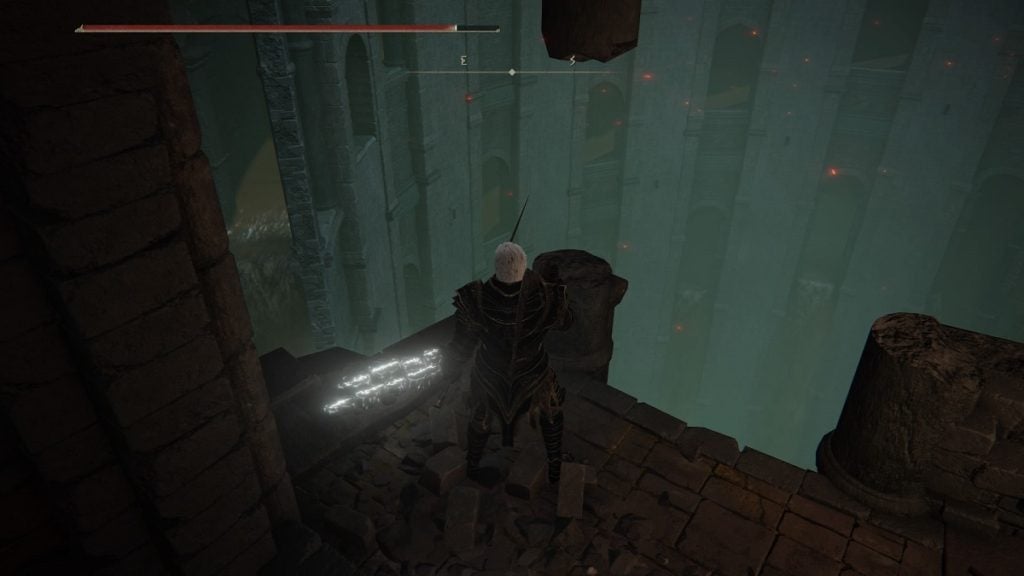
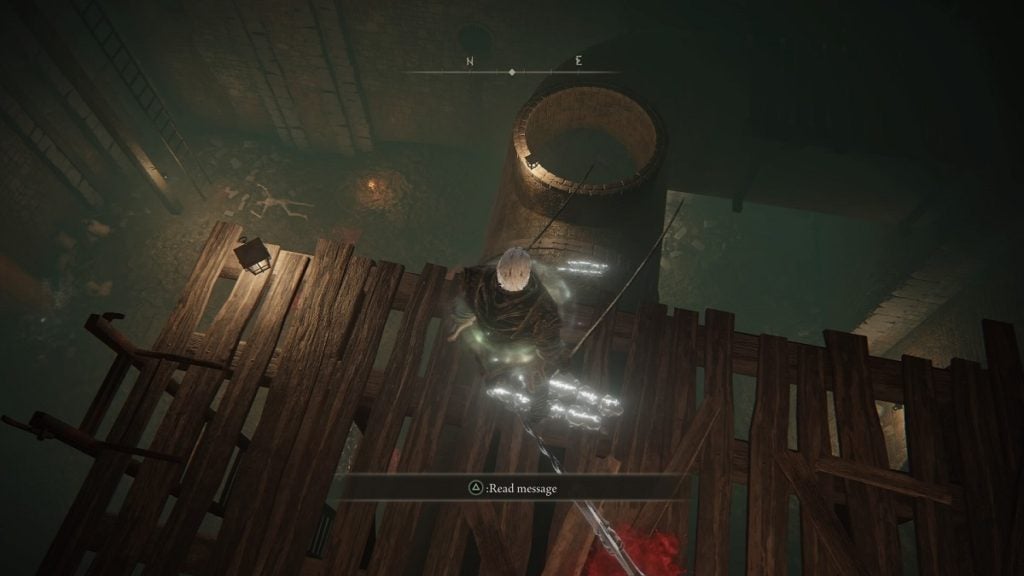
To the west of the bridge is a sewer pipe you can walk on. Take this path and continue until you reach the end. Be wary of the imps here. Once you hit a wall, walk to your left and drop to the ledge below. Continue and jump onto the wooden platform to the left.
There’s an opening to the right you can enter. At the end of this opening is an imp waiting for you. There’s a pipe with a hole above it below this area. Jump onto the pipe and enter the hole. Proceed onwards from here.
Keep going through the sewers. Be careful still of the hole in the ground. Follow along the main sewer pipeline until you come across a giant rat. Beyond this enemy, you’ll come across one more hole in the ground. Enter the hole and proceed once more. You will eventually arrive at a chamber housing a big warrior jar and a few small ones. To the right is an elevator you can ride down. Take it and you’ll find the Forsaken Depths Site of Grace at the bottom.
Mohg, the Omen
After resting at the Site of Grace, proceed onwards and you’ll come across a chapel. Enter it and you’ll face Mohg, the Omen.
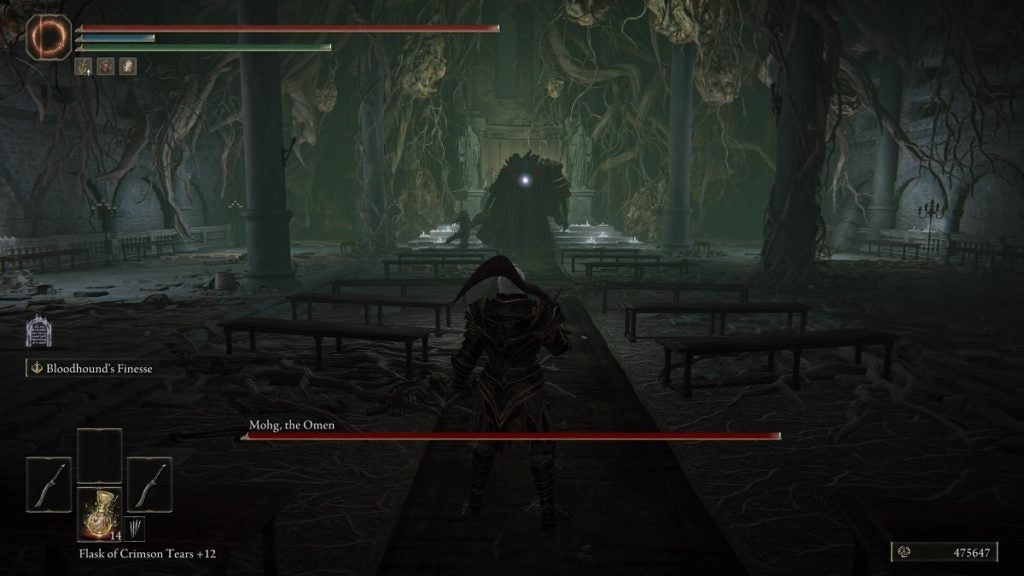
Mohg, the Omen isn’t a very difficult boss. In fact, this boss fight is an easier variation of the same boss that can be found in Moghwyn Palace. It can even be argued that the path leading to Mogh is a tougher challenge than the boss fight itself. That said, it is still a massive mistake to drop your guard down during this boss fight.
Mohg has two attack variations he’ll repeatedly use throughout the duration of this fight. He’ll use his trident and he’ll use bleed spells.
He’ll attack you with his trident in multiple ways. He occasionally performs a forward thrust attack with it. You can easily dodge forward to avoid this attack and close in on him. He also slams his trident on the ground, which you can avoid by dodging to the right or to the left.
He also often strings swings together, so be mindful of that.
Mohg’s bleed attacks are his deadlier ones. He’ll throw bleed fire at you directly, in a wide arc, or have it rain down on you. These are always marked when he raises his arm above his head and a red magic disc appears.
He’ll also swipe at you with a bleed claw spell, which ends with an explosion. This attack is swifter and more difficult to read, thus more difficult to avoid.
You’ll have multiple opportunities to hurt Mohg in between his attacks. Remain aggressive and you’ll put him down in no time.
Descending to the Frenzied Flame Proscription
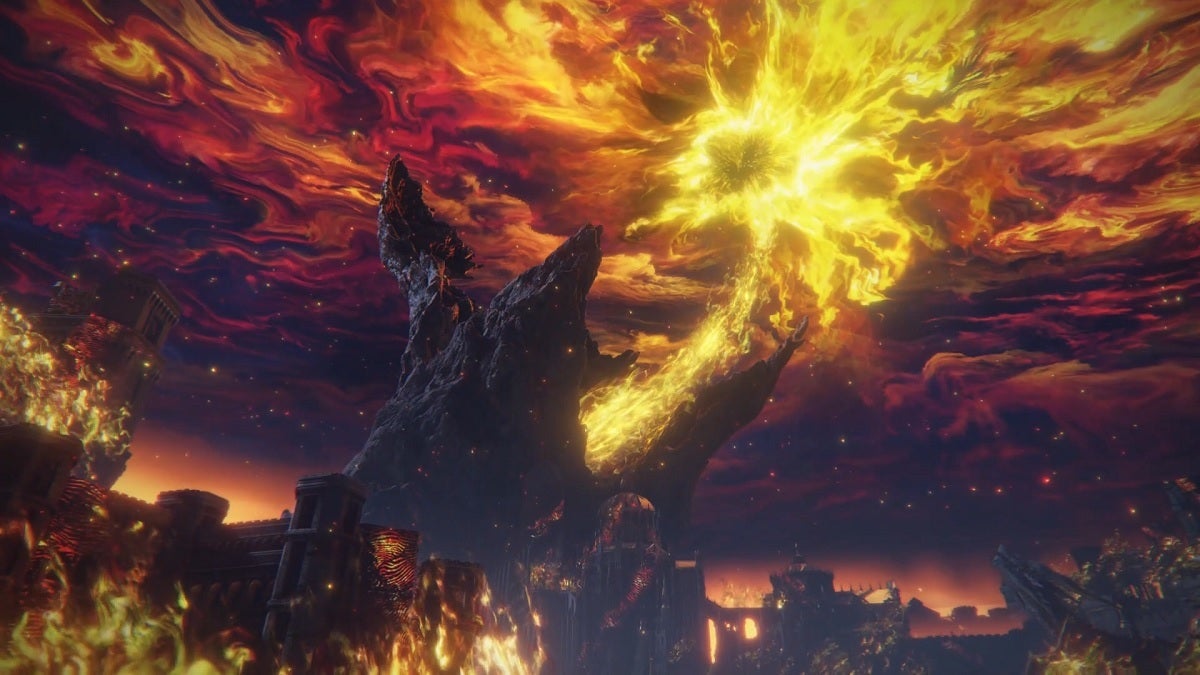
At the end of Mohg’s boss room is an altar. If you hit this altar, it will descend into the ground, revealing a hidden path. Proceed onwards to be greeted by an incredible, unsightly scene.
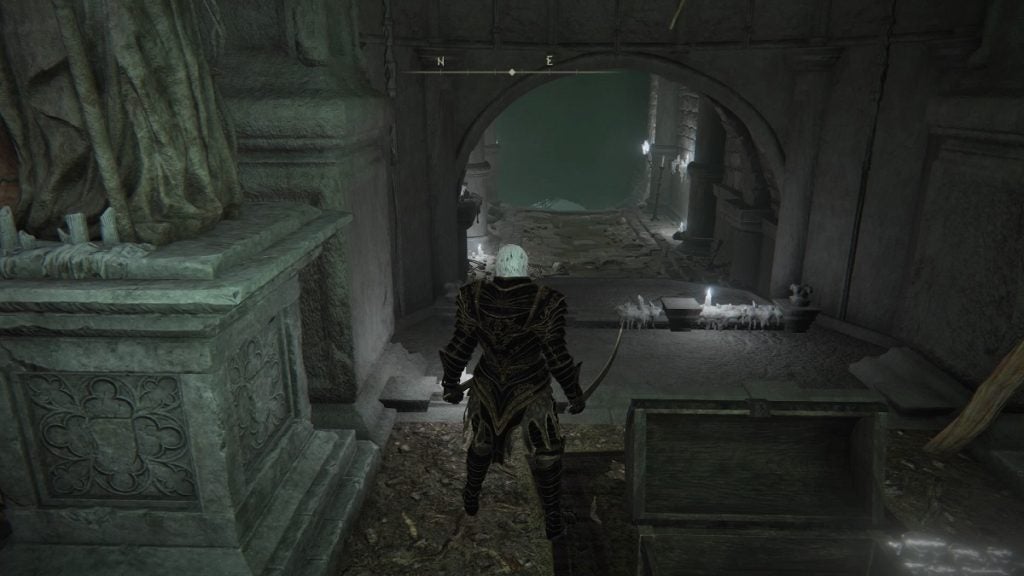
What you’ll need to do from here is to slowly and carefully descend through the chasm by using the wooden beams and the pieces of concretes that are sticking out from the walls around you. It is very easy to fall through here, so be as careful as you can as you descend further.
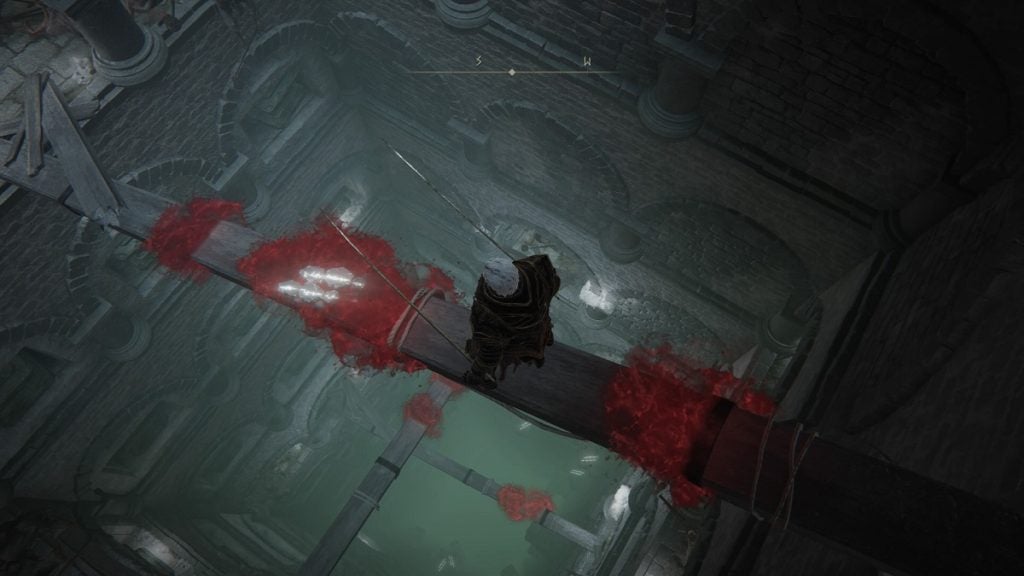
You’ll eventually land on a piece of ground that leads to an inner pathway. Take the staircase to go lower. At the bottom of the staircase, turn to the left and drop onto the area below. The ground beneath you will collapse as soon as you land on it. Don’t worry, though. You won’t receive any damage for this.
Meeting the Three Fingers
Once the dust settles, you’ll see the Frenzied Flame Proscription to your left. Rest up if you wish.
The gate at the end of this area will only open up to you if you remove all of your armor pieces and weapons. Be a “Wretched” character, if you will. Do so and approach the gate. Behind it, you’ll meet the Three Fingers.
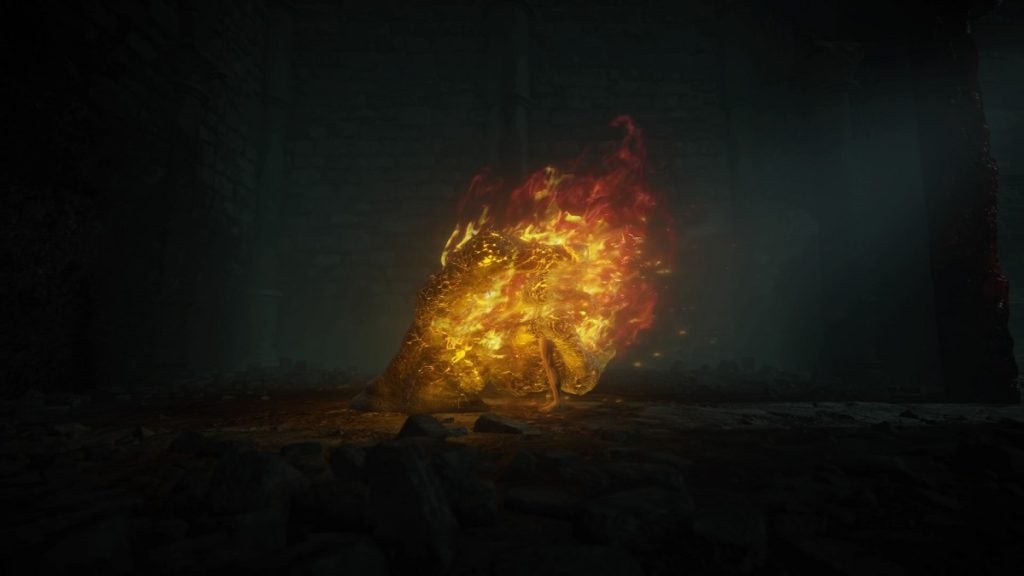
After this interaction, you’ll be branded with the Flame of Frenzy. Your body will now have burnt scars and your eyes will glow a burning yellow.
The Lord of Frenzied Flame Ending
Now that you’ve inherited the Flame of Frenzy, simply play through the rest of the game and reach the ending. After the battle with the Elden Beast and interacting with the Fractured Marika, you’ll see the option to “Become the Lord of Frenzied Flame.”
Consequences of Being the Lord of Frenzied Flame
Take note that once you’ve met the requirement for this ending, you’ll be locked out of all the other endings. It will also cause Melina to leave you, deeming you unfit of being an Elden Lord.
The only way to gain access to the other endings again is to seek out Miquella’s Needle.
You can get this item by completing Millicent’s questline and obtaining the Unalloyed Gold Needle from her. You must then use it on the Scarlet Aeonia in Malenia’s boss room after you defeat her. After doing so, you’ll be granted Miquella’s Needle.
You must then take this needle to the Dragonlord Placidusax’s arena. This is the only place where you can use Miquella’s Needle to remove the brand of the Flame of Frenzy.