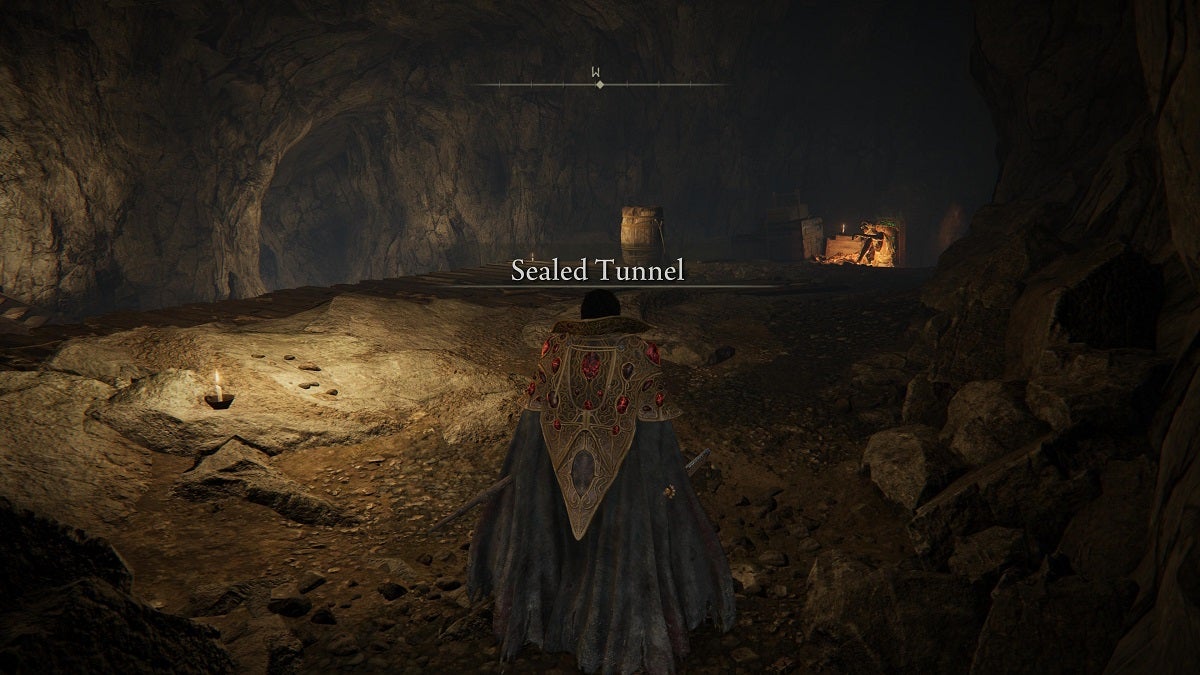
The Sealed Tunnel is a sub-area in Elden Ring located in Leyndell. This tunnel is a must-visit not only for the loot you can gather here but also because of what awaits on the other side.
Table Of Contents
How to Get to the Sealed Tunnel
The entrance to the Sealed Tunnel is located in the moat west of Leyndell.
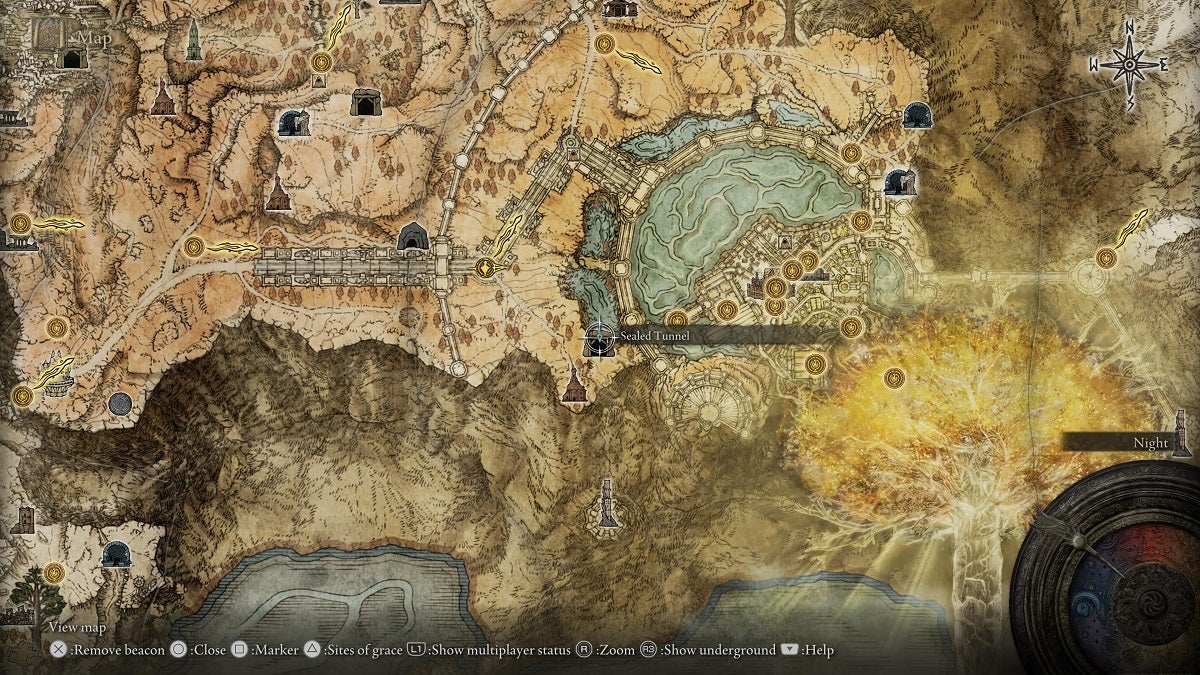
To get here, start from the Outer Wall Phantom Tree Site of Grace and make your way east. There’s a path here where the cliff descends to the moat below. Take this path and from here, follow the location of the Sealed Tunnel entrance. There’s no enemy too challenging here that will bar your path.
Complete Sealed Tunnel Walkthrough
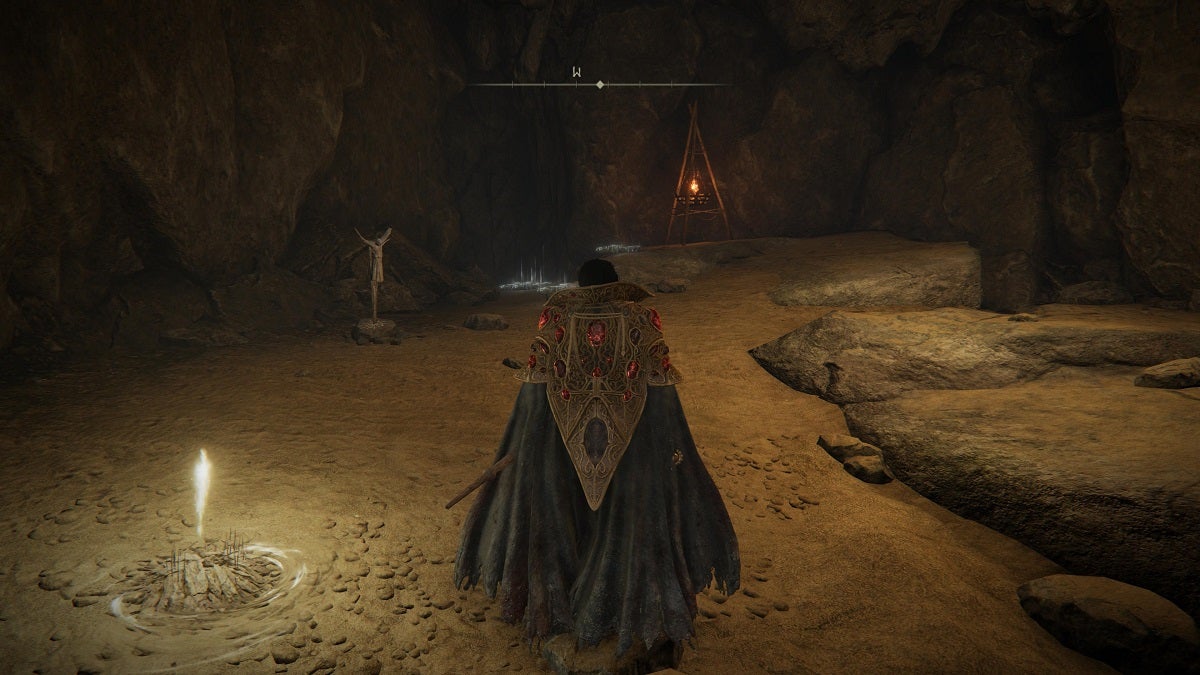
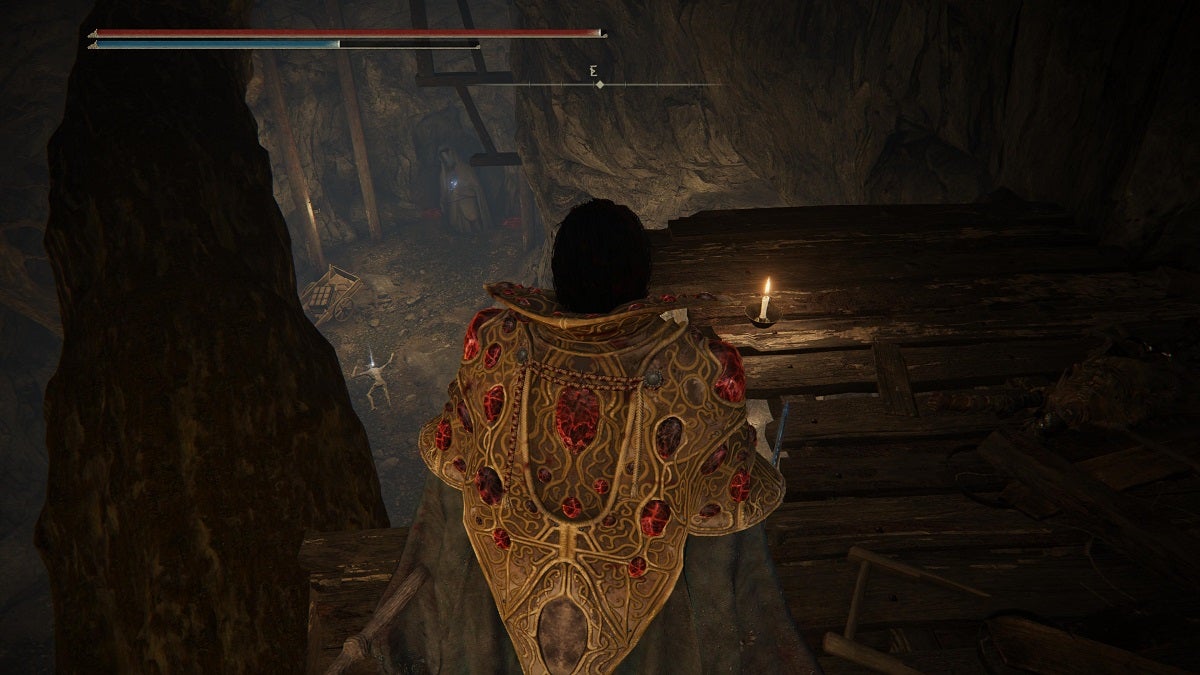
From the Sealed Tunnel Site of Grace, look over to the west and you’ll see the wall left of the fire pit tripod burrowed deeper than the rest. This wall is an illusory wall. Strike it to dispel the illusion and reveal the path ahead.
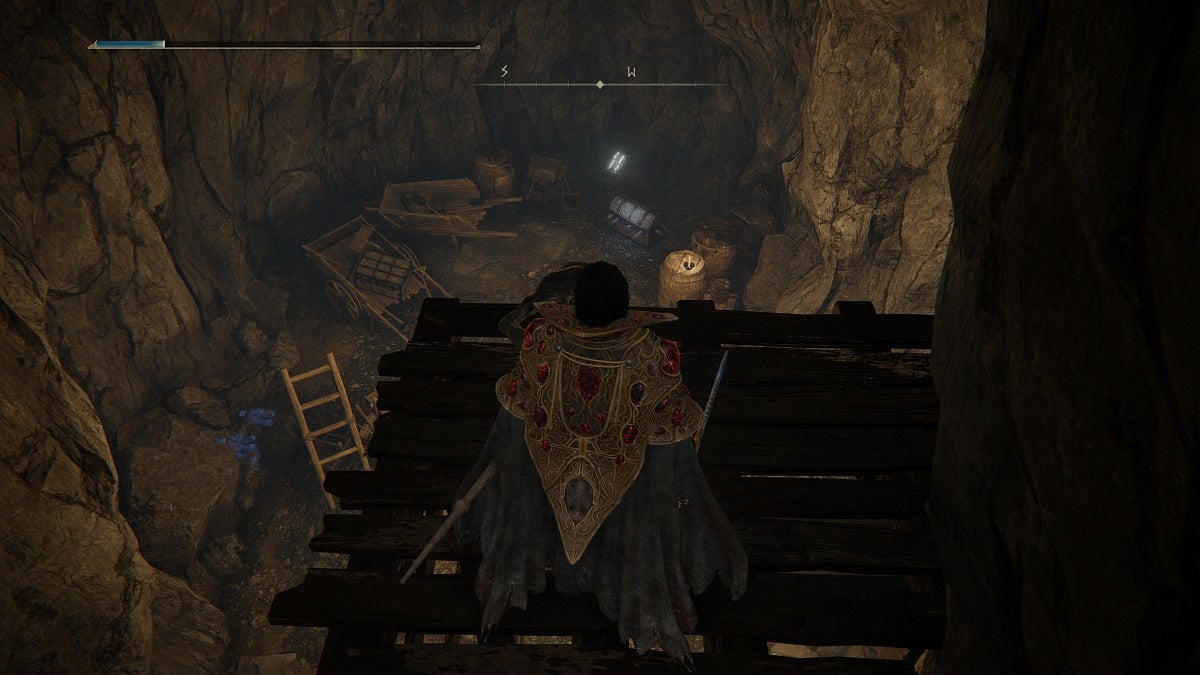
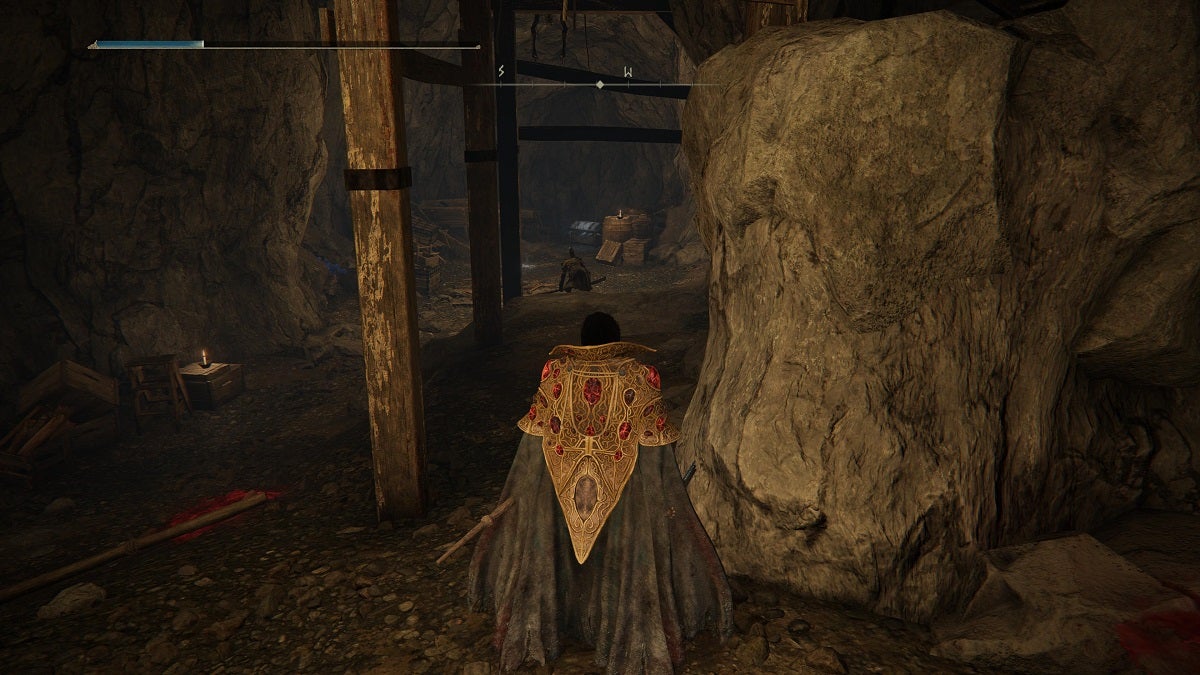
Proceed onwards and deal with the miner ahead. Go around and take the stairs to the upper wooden platform where you’ll find a body slumped over the platform. Loot the body to get a Golden Rune [5].
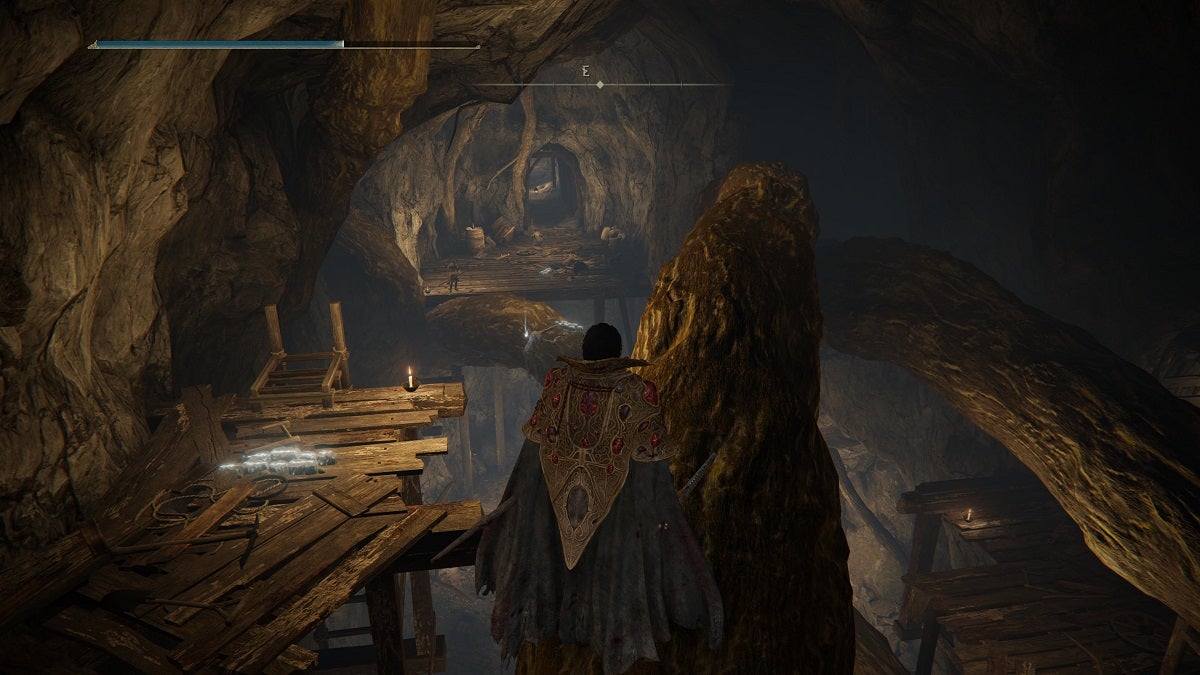
On the floor below, you’ll spot a chest at the end of the cavern. Take note of this chest, but don’t drop down here yet.
Go around for now and back down the stairs, then drop to the lower floor to your right. There’s a Smithing Stone in the dark corner to the north behind a resting miner. Defeat the miner and collect your Smithing Stone [5].
Turn around, move forward, and you’ll find three miners working. You can deal with these miners and loot the Cracked Crystals here, or you can head to the chest you spotted previously.
At the bottom of the wooden platform you were on earlier, there’s a Vulgar Militia facing the chest. This enemy would have ambushed you if you dropped down from the platform earlier or taken the path to the right to get to the chest. Deal with the Vulgar Militia before proceeding.
Open the chest to obtain the Smithing-Stone Miner’s Bell Bearing [2]. Giving this to the Twin Maiden Husks at the Roundtable Hold will allow you to buy Smithing Stones 3 and 4, and Exploding Stones from her.
Going Deeper
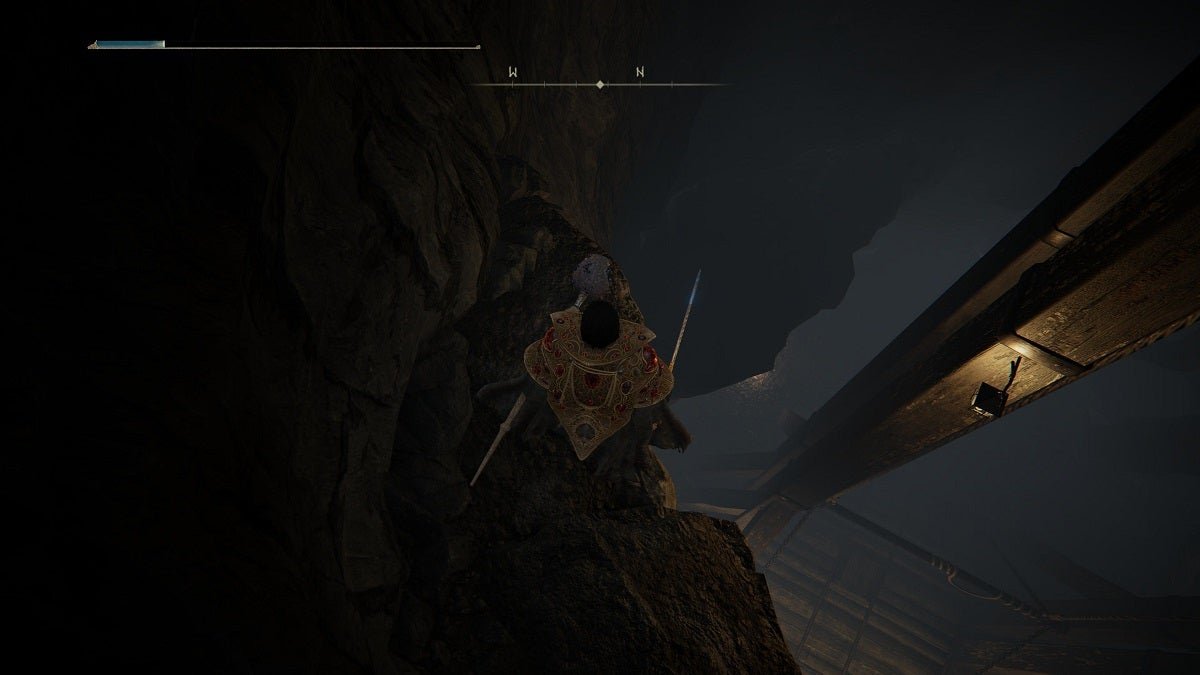
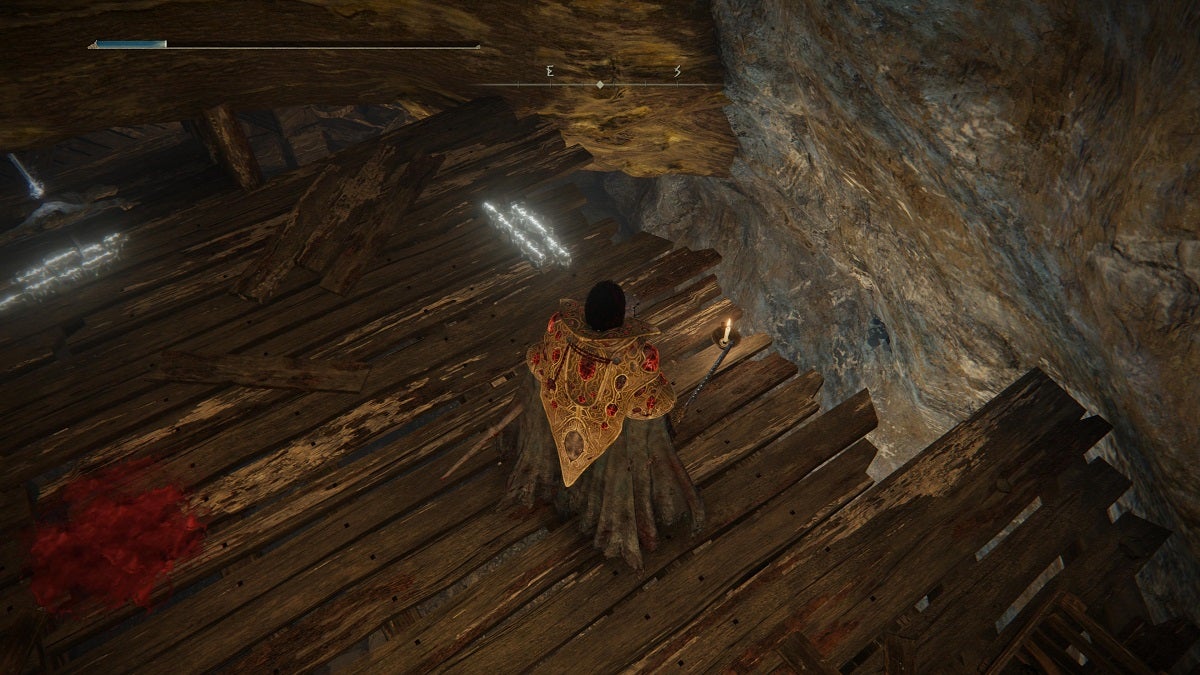
The wall behind the chest is another illusory wall. Strike it to proceed forward. At the end of this narrow path is an elevator. Step on the platform in the middle to make it go down, but stick to the upper left corner of the platform. Look down and you’ll notice a large branch sticking between the cave walls below. Jump to the branch and drop down to the platform below to find a Smithing Stone [5].
Turn around and head left while sticking close to the wall. Look down and you’ll find more sets of platforms to land on. Make your way to the bottom by using these platforms carefully.
Once at the bottom, face south and you’ll see a wall behind a couple of branches. This too is an illusory wall. You know what to do to move forward from here.
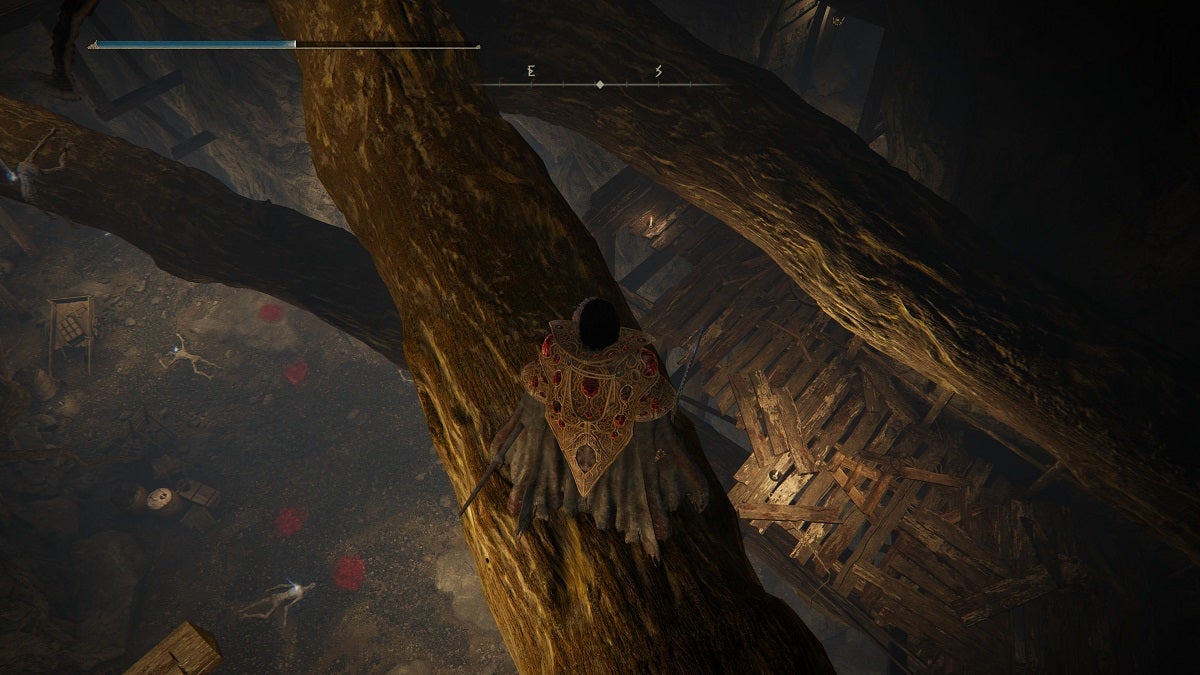
Continue onward and you’ll find a body that contains a Golden Rune [5]. Behind this body is another illusory wall. Continue onward and you’ll find long and narrow branches to walk on.
Walk on the branch in front of the platform you’re on now and look down to the right to see another wooden platform to land on. Make your way here and be careful of the Vulgar Militias that will make their move on you as soon as you land. Deal with them as you see fit.
Enter the only door on this platform and you’ll find another Vulgar Militia at the end of the path. Once dealt with, you’ll find a body on the ground that has loot on it. Grab it to obtain a Stonesword Key.
The Abductor Virgin and the Statue
Go back to the previous platform and look down to the floor below where you’ll find an Abductor Virgin on the northwestern corner of the pit.
You’ll want to use this Abductor Virgin to destroy the statue that’s on the eastern corner of this pit.
With that in mind, drop down and lure the Abductor Virgin to the statue. Once the statue is broken, deal with the Abductor Virgin to make looting the items on this ground easier. Otherwise, you can simply run around this floor getting the items here while avoiding the Abductor Virgin at the same time.
The statue holds three Smithing Stones [6]. There are three bodies on the ground that hold three Furlcalling Finger Remedies, a Golden Rune [1], and a Rune Arc. Go to the northwestern corner of this floor, where the Abductor Virgin originally was standing, to find and loot a Somber Smithing Stone [5].
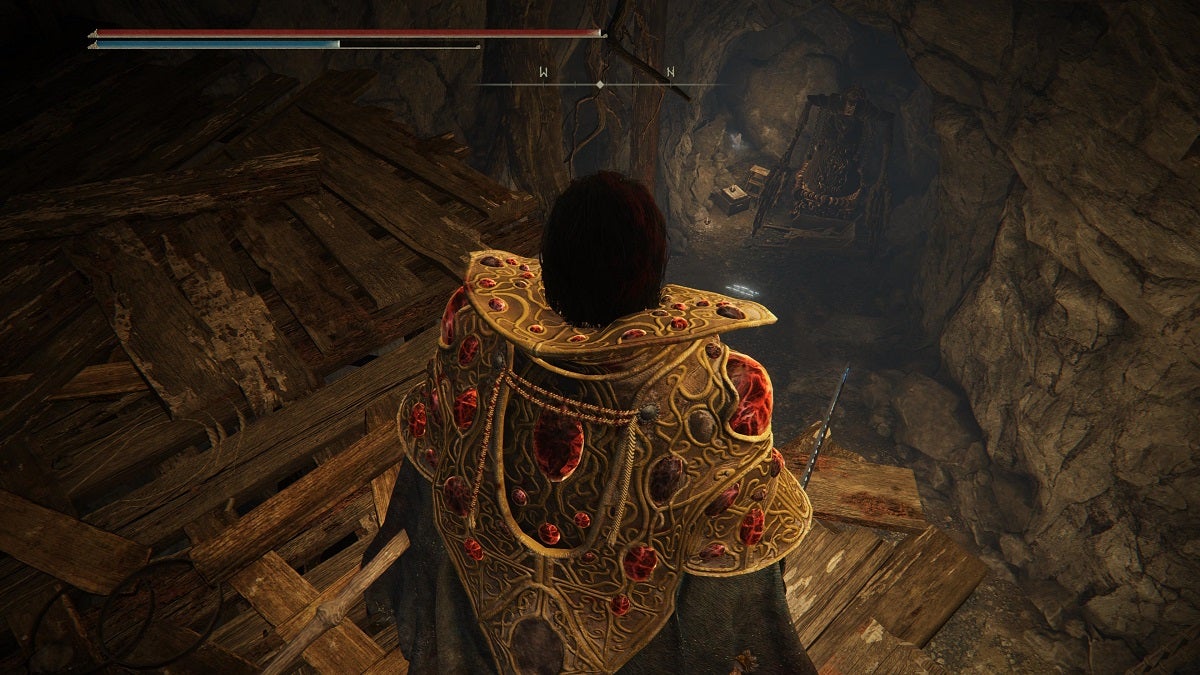
With that, head to the ladder in the middle of the pit to return to the platform above. Use the branches here to make your way over to the door at the end of the platform to the east.
The body slumped over the branch is holding a Gold-Pickled Fowl Foot. Be sure to pick this up too.
After crossing the door, you’ll be on a wooden platform and the path ahead is blocked by two branches. However, there’s a small gap on the ground to the right that will allow you to drop down and proceed onwards.
As soon as you drop, be prepared to move away immediately as there are Abnormal Stone Clusters here that will explode after a few seconds of you being near them. There’s another Smithing Stone [5] on the western corner of this floor, behind a branch. Get this before moving on.
On the ground below a flight of stairs, there’s a body that contains a Grace Mimic. Walk left from here and let the Abnormal Stone Cluster at the top of this slope explode before you get the Large Glintstone Scrap behind it.
Turn around and you’ll see the other side of the wooden platform that’s separated by the tree branches. There are a couple of Abnormal Stone Clusters here too. Let them explode first. Once done, head to the stairs and obtain two Old Fangs from the body below the tree branches.
Descend the flight of stars and head to the southeastern corner of this cavern. Behind a pile of barrels and boxes are another Abnormal Stone Cluster and an illusory wall. Let the stone explode and dispel the illusory wall to continue.
In this next area, you’ll find a deep pit, branches protruding to the middle, and platforms on the side to land on. Use these to safely make your way to the bottom. Grab every item you can from the platforms on the side of the wall as you make your way down. Once you’re at the bottom, look over to the south to find a door. This leads to this sub-area’s boss room.
Sealed Tunnel Boss
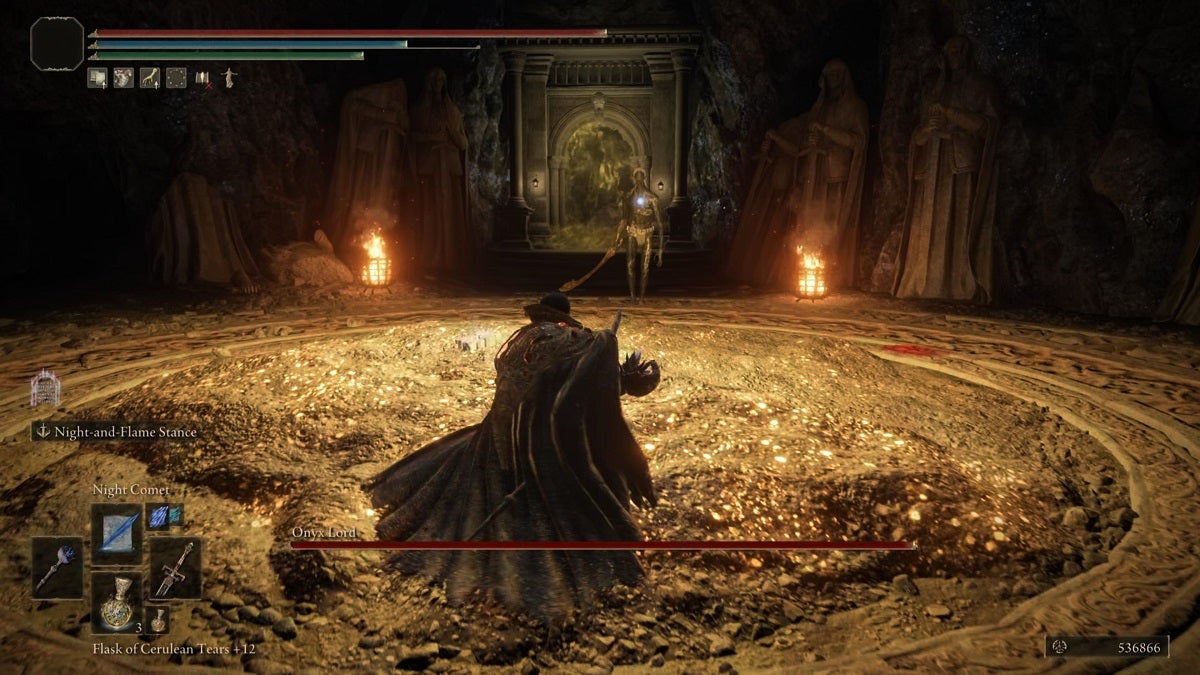
The boss at the end of the Sealed Tunnel is an Onyx Lord. This enemy uses two Gravity Sorceries: Gravity Well and Meteorite.
If you get hit by the Gravity Well, you’ll be staggered for a few seconds while being pulled towards the Onyx Lord. He’ll immediately follow by moving towards you for an attack. However, you can still dodge the attack if you keep pressing the dodge button if ever you get hit by the Gravity Well. The Gravity Well attack itself can be dodged to the side fairly simply.
His Meteorite attack is his most deadly. He’ll begin this attack by plunging his sword to the ground, creating a small shockwave around him. A black hole will then appear above him. Several meteorites will fly out of this black hole towards you. These meteorites move at a steady pace, allowing you enough time to assess when to dodge away from them.
Finally, the Onyx Lord will often just attack you with his sword. These two are telegraphed quite well so you can dodge them easily.
This boss fight isn’t too tough but you should still remain careful throughout the fight. Once defeated, the Onyx Lord will drop the Onyx Lord’s Greatsword.

What’s on the Other Side of the Sealed Tunnel
Once the Onyx Lord is defeated, the seal on the door ahead will disappear. This path leads to the Divine Tower of West Altus. You can go to the top of this Divine Tower to activate the power of Rykard’s Great Rune.