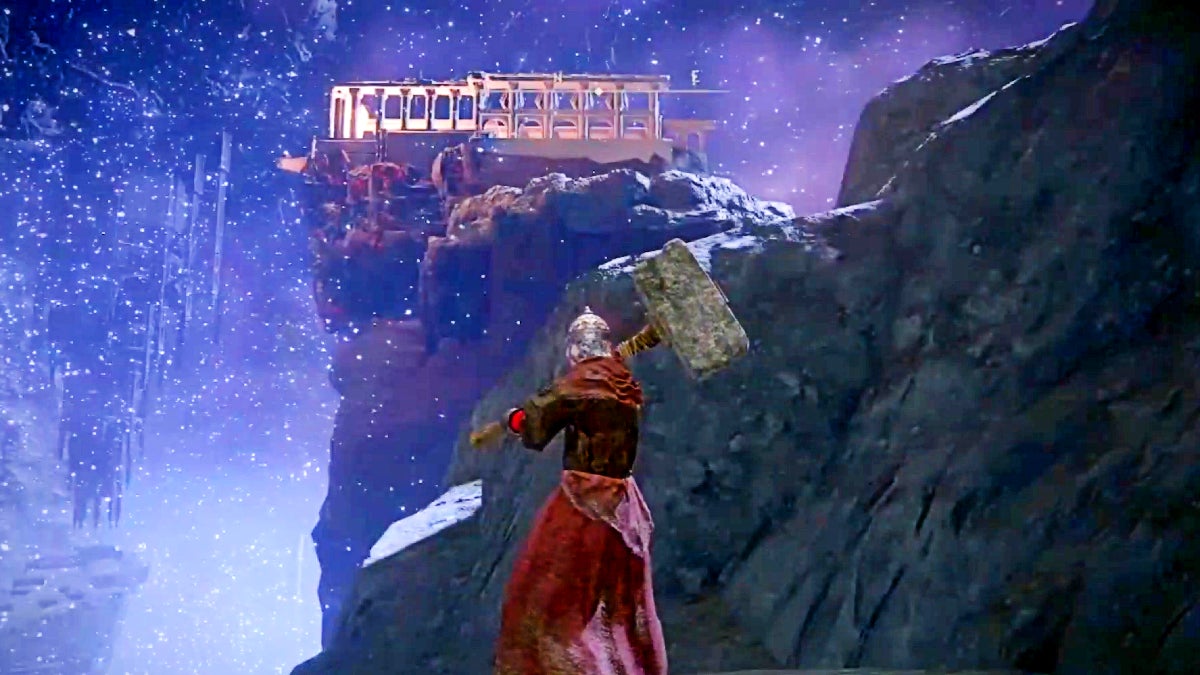
The second teleporter at the Four Belfries will take you to a realm of eternal night. Here, you’ll be on the outskirts of Nokron, Eternal City. You can find a talisman here as well as a mighty foe.
Table Of Contents
If you need more visual references for topics mentioned in this article, check out the video below:
Which is the Second Teleporter?
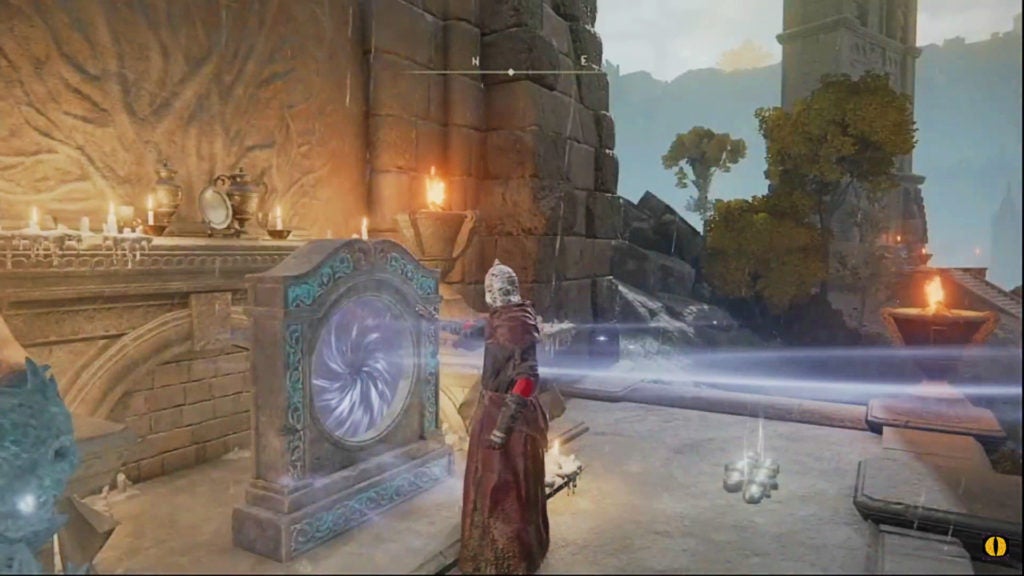
If you’re wondering which is the second teleporter, it’s the one next to the message on the ground that reads “Night Sky Unceasing”. This teleporter—and its belfry—are the ones closest to the first teleporter and belfry.
Furthermore, the third teleporter and belfry, lead to a named location instead of part of an existing area in another part of the world. As such, the third is the most substantial and can most appropriately be designated as the last of the teleporters one should explore at the Four Belfries.
Like with all the teleporters at the Four Belfries, you’ll need an Imbued Sword Key to activate the second teleporter. You can find one such item in the chest at the foot of the fourth belfry. For the other two Imbued Sword Keys, you’ll have to explore the Academy of Raya Lucaria and Sellia, Town of Sorcery, respectively.
The Drop Down Path Beyond the Teleporter (01:05 in the Video)
After you cross into the outskirts of Nokron, Eternal City, you’ll notice that you’re on a cliff overlooking some ruins. To reach the ruins, you’ll have to carefully make your way down the sloping cliffs while traveling northeast.
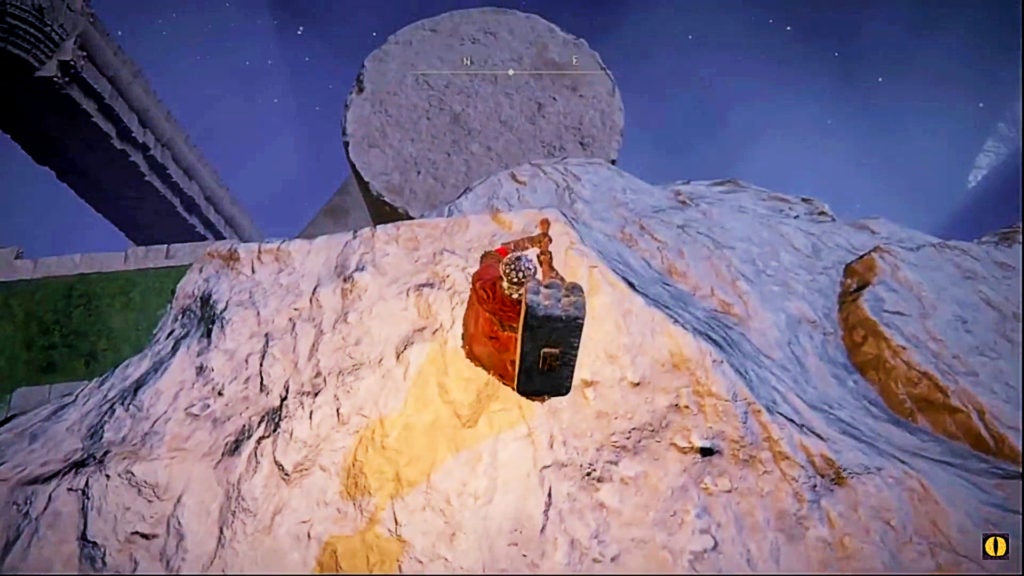
Soon, you’ll reach a broken column that you will need to drop down and land on. From there, drop down the north side of the broken column to land on some of its other remains below. At this point, you’ll be able to walk down the rubble like a ramp.
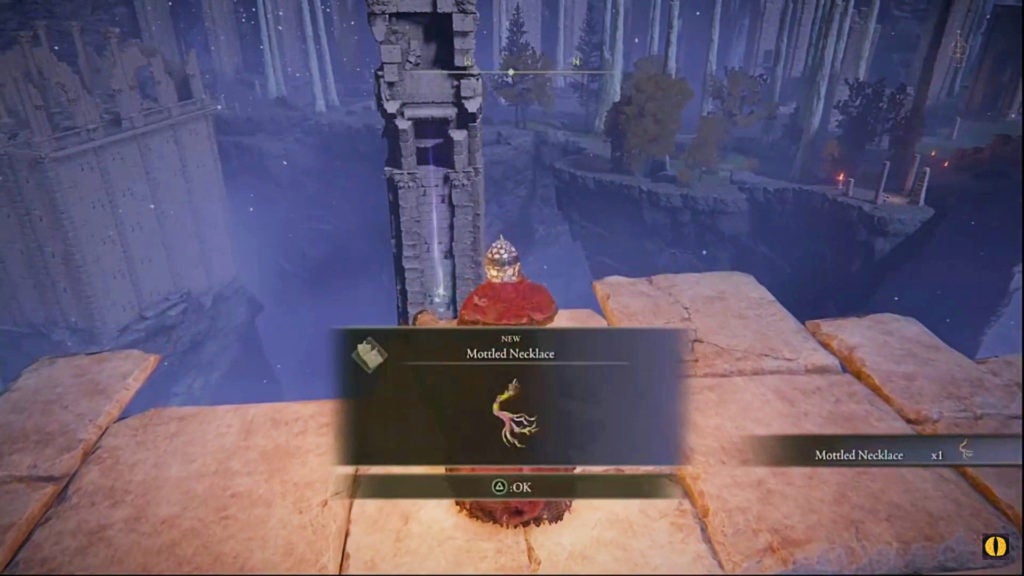
Where to Find the Mottled Necklace Talisman (03:45 in the Video)
When you drop down from the last bit of rubble, you’ll be in the L-shaped formation of ruins you saw from above. In the distance to the northeast, you can probably see a shadowy figure. Don’t worry about them for now.
At this point, you’ll want to go northwest. Under the archway, you can find a Ghost Glovewort [2]. Upon the broken northwest lip of the ruins, you’ll find a corpse. Loot the remains and you’ll get the Mottled Necklace talisman.
What the Mottled Necklace Does
The Mottled Necklace, when equipped, will increase your immunity, robustness, and focus resistances by 40 points each.
While this is not the most useful of buffs, since none of the stat increases are very significant, it can come in handy if you don’t have another talisman that can increase the affected resistances. With that said, there are much better resistance talismans out there, so the Mottled Necklace will get outclassed in terms of performance relatively soon in your playthrough (if it isn’t already).
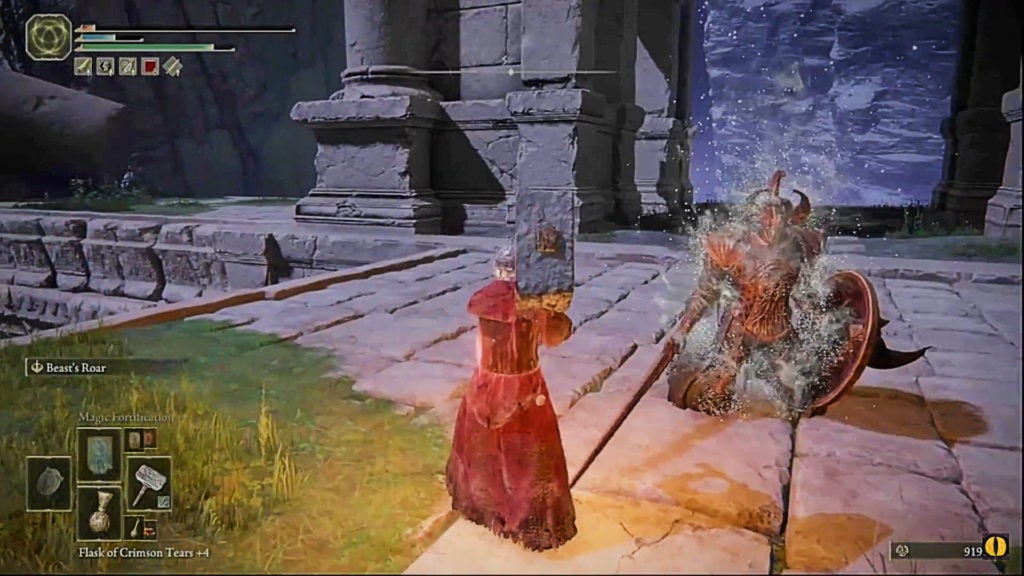
How to Beat the Crucible Knight (05:25 in the Video)

This crucible knight has a very similar moveset to the boss version of this foe found in the Stormhill Evergaol. The only difference is that when at nearly half HP, they will use firebreathing attacks instead of summoning a long tail.
Furthermore, both crucible knights have a similar HP stat. With that said, the non-boss version you’ll find beyond the second belfry’s teleporter has a bit more. The boss version in the evergaol has about 2,750 HP while this non-boss version has around 3,000 HP.
Since crucible knights have overall fairly high damage negation and resistance stats, you’ll need to simply out-fight them. There are very few elemental or status buffs that will help much here for your offense.
Use the Terrain to Your Advantage
When you get the crucible knight below 60% HP, they will begin to use a flying attack once in a while. This will cause them to sprout temporary wings and soar at you directly for a sword-first divebomb. This attack happens the most often when you’re out of charging range, as the knight will use their flying powers to close the distance to you while attacking.
With some clever positioning, you may be able to get the knight to fly off the area to their doom. However, the crucible knight seems to be able to summon some sort of invisible wall that can sometimes prevent them from soaring off of the ruins (06:50 in the video).
Use Ranged Attacks and Stay Back
If you’re a ranged weapon build or a spellcaster, you should be able to handle the crucible knight easier than most melee builds. The crucible knight does not have many long-range attacks, so you can effectively out-space them with the right ammo or spells.
The only move that you’ll need to really worry about is the knight’s divebomb attack, as it has quite a bit of reach. Thankfully, you can dodge it with a single well-timed roll.
Sword Attacks and Combo
The most common kind of attack the knight will use are greatsword slashes and combos. Most of these you can parry or dodge—depending on your preferences. Many players opt to use the parry method as the crucible knight telegraphs their attacks fairly obviously.
Ground Stomp (05:39 in the Video)
On occasion, if you are slightly out of melee range, the knight will stomp on the ground in front of them to cause a localized earthquake. This attack’s hitbox is shaped in a cone originating from its user. You can see a ground stomp coming when the crucible knight raises one of their legs.
The easiest way to avoid this attack is to jump just as the knight is bringing their foot down. If you are close enough, you can use this opportunity to land a jumping attack for some almost free damage.
Upward Shield Bash (05:50 in the Video)
Most often, when you attack while the knight has their greatshield raised, they will counterattack with a ferocious shield bash that will launch you upwards if it connects. The knight can, on occasion, use this move even when you don’t attack them while they are guarding. However, the latter type of usage is fairly rare.
You’ll mostly need to rely on invulnerability frames to avoid this attack. Just as the knight is beginning to swing their horned shield, dodge roll towards them and you should be able to completely avoid this attack (06:20 in the video). Although your player model will literally clip through the horn of the shield, you’ll evade the damage. As you’re coming out of your roll, use a normal attack to perform a rolling attack for an easy hit.
Charging Attacks (05:57 in the Video)
If you are out of melee range, the crucible knight will try to rush you with a short running charge that ends in either a thrust or a slash. This move has an annoying long reach and can hit you even when you think you’re just out of range. This can make healing with a crimson flask difficult to time properly.
These moves can thankfully be parried. And, since they are easy to trigger, you can use them as parry bait if you get the timing right.
Phase Change (06:25 in the Video)
When the crucible knight drops down to 60% HP, they will stomp on the ground to create a brief golden circle around themselves that will do a bit of damage. However, following this, they will always use a flying divebomb attack. You can thankfully avoid the initial magic stomp easily by rolling away.
However, the divebomb is a bit trickier to evade. The knight will hover in the air for a split second and will track you very accurately during this short duration. As such, dodging at this point will allow the enemy to roll catch you. Instead, you need to wait until the knight has begun their dive before you dodge roll.
Walking Flame Breath (06:30 in the Video)
With very little start-up delay, the knight can summon a throat pouch. They will then spit out flames for a few seconds. During this period, the knight can also walk a few steps and turn around. As such, you won’t be safe by simply rolling behind them.
To avoid this bath of fire, you’ll need to roll twice away from the knight and stay away until they stop belching flames. Thankfully, the enemy cannot move very far or fast during this attack. Since this is the case, you can heal safely during this attack if you are out of range.
Leaping Flame Breath (07:25 in the Video)
As a variation to their walking flame breath, the crucible knight can also leap back and into the air before shooting flames at you. In this maneuver, they can dodge your attack while also dousing you in fire.
This attack has an annoyingly large area of effect that makes it hard to dodge. The fireball projectile can hit you in the air, so, even if you jump to avoid the flames on the ground, you can still take some damage. Blocking with a shield can be the best option to negate the incoming damage of this attack. As such, if you use a shield, be sure to equip one with high fire damage negation.
The Rewards for Beating This Crucible Knight
When you beat this crucible knight, you will get 3,080 Runes…and nothing else. Due to the strength of this foe and the interesting area, you’d figure this adversary would drop something good. However, that’s not the case—and even the amount of Runes dropped seems rather low as well.
Many players consider the second teleporter at the Four Belfries to be the least worth entering. The talisman you get here is mediocre and the only enemy you find—while fun to duel—doesn’t give you a fitting reward. For these reasons, this area should only be explored by completionists…and people who need another Ghost Glovewort [2].