![]() Key Takeaway
Key Takeaway
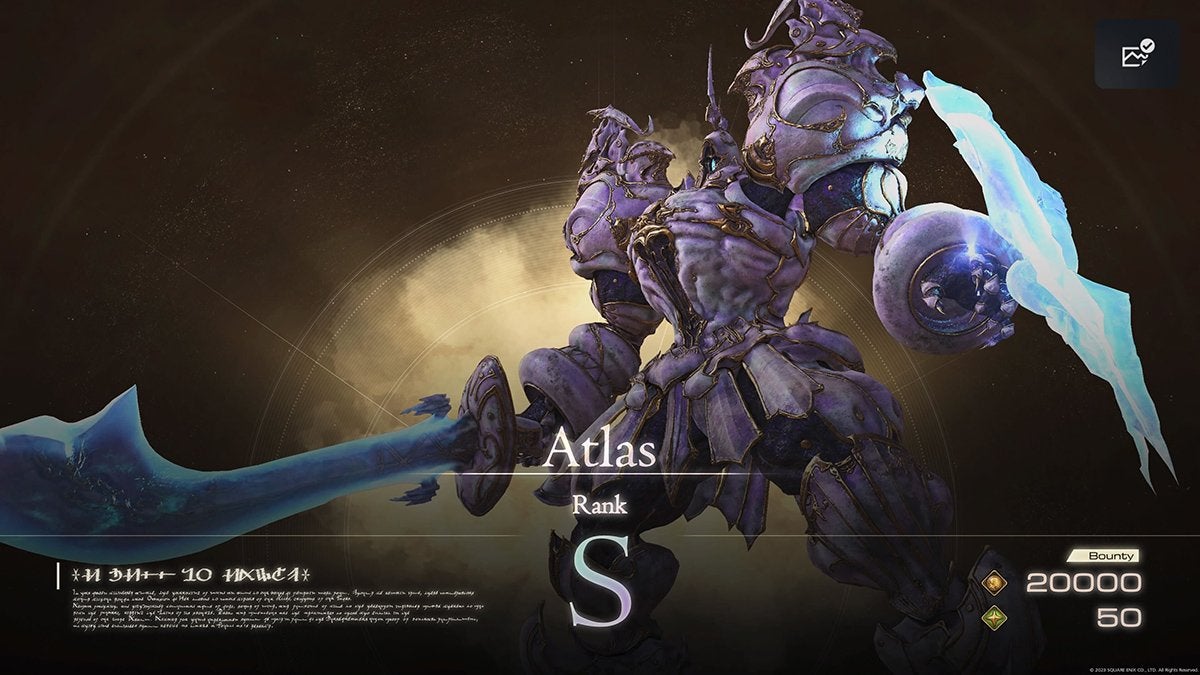
You’ll find this S-rank Notorious Mark in the Imperial Province of Rosaria. Atlas, the Breaker of Worlds, rests in the easternmost part of the Cressida area. To reach this spot swiftly, start from the obelisk at Martha’s Rest and head north into the Greensheaves region. Next, head east into Cressida and keep going until you’re in the isolated pocket of land at the far end.
The Breaker of Worlds hunt brings you ever closer to getting one of the rarest crafting materials in Final Fantasy 16: Orichalcum. Since you’ll need multiple pieces of this legendary metal for end-game crafting recipes, avid arms collectors have no choice but to track down the most terrifying of foes.
Table Of Contents
Where to Find Atlas, the Breaker of Worlds
Even though you can already access the area where Atlas, Breaker of Worlds shows up, the Notorious Mark itself won’t spawn here until sometime after you begin the main quest Things Fall Apart.
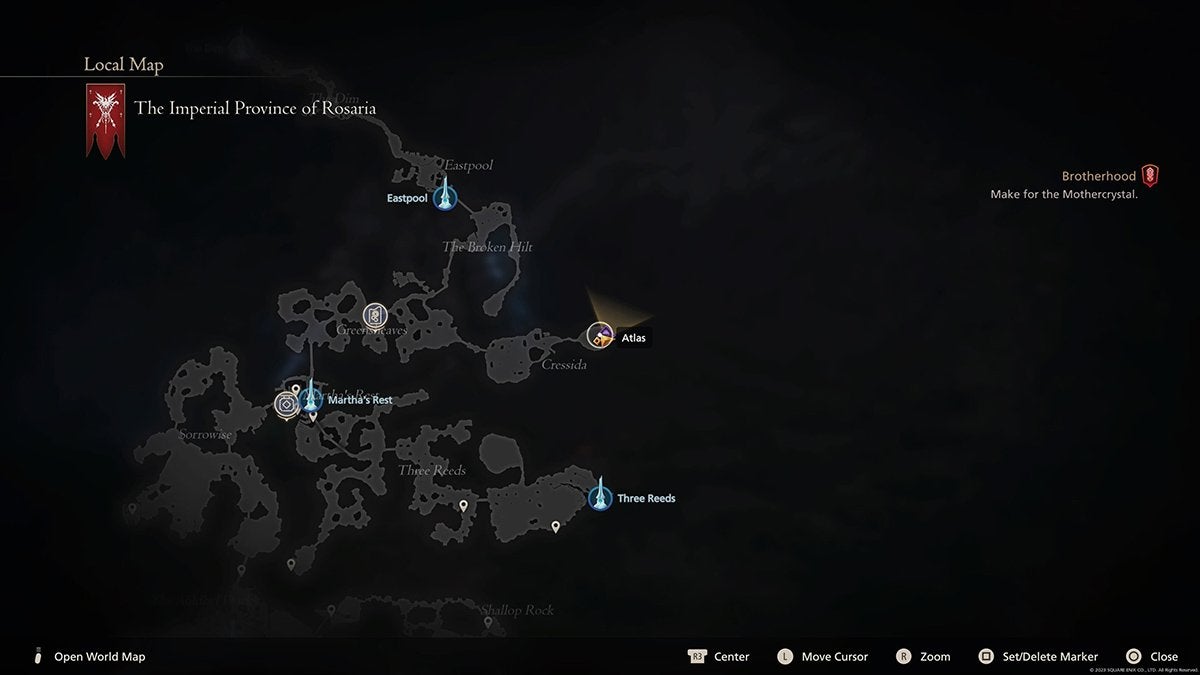
To track down this technological terror, begin your hunt from the Imperial Province of Rosaria—specifically at the Martha’s Rest obelisk. From there, go north into the Greensheaves area, then turn east and cross into the Cressida region. Keep going until you can’t travel any further east. This brings you to a lump of isolated land where the level 45 Atlas is asleep.
If you need more help finding the Breaker of Worlds, check the image above.
How to Beat Atlas, the Breaker of Worlds
Despite being built up as some sort of incredibly powerful foe, Atlas is actually a slight variation of a recurring boss enemy in FF16. If you’ve seen such a large, robotic warrior before, you can use a similar approach to fell this metal fiend during the Breaker of Worlds hunt. With that said, you’ll have to keep an eye out for its unique attacks.
- Celestial Sphere: Atlas opens the battle by using this named ability (whose name text appears on-screen right before it’s used). Celestial Sphere creates a ring of circular marks on the ground that herald where huge beams shoot down. Stay away from these circular markings to avoid this orbital strike.
- Horizontal Slash: The Breaker of Worlds sometimes makes two severe swipes at you with its great glowing blade. You’ll clearly see the mechanical enemy windup for these successive attacks. You can evade the two slashes by dodging away from Atlas. On occasion, your adversary uses one of these big slashes before using another melee attack in a simple combo.
- Overhead Slash: When you see this Notorious Mark raise its sword above its head, get ready for it to be brought down with a lot of force. You need to avoid the area of impact in front of Atlas as well as the linear energy beam that erupts from the end of the sword. Dodge to the left or right to get out of harm’s way.
- Stomp: This straightforward attack involves Atlas raising one of its large feet and planting it in front of itself. When you see your enemy raise its leg, dodge away from it.
- Energy Shield Projectile: If you’re way out of melee range, the Breaker of Worlds likes to launch energy projectiles at you along the ground from its shield. Although the energy projectiles are fast, they’re easy to see coming. They can be evaded by dodging to the left or right.
- Leaping Slam: If you’re slightly out of melee range, Atlas might jump at you and bring its sword down for a mobile attack. You’ll need to dodge away from the area of impact to avoid taking damage here.
- Rushing Slash: Also if you’re slightly out of melee range, this Notorious Mark may charge at you before slashing diagonally with its sword. There’s not much telegraphing for this attack, so you’ll have to stay on your toes to avoid it. With that said, a well-timed dodge to the left or right lets you escape this assault.
- Shield Thrust: Once in a while, Atlas shoves its shield—point-first—at you. Dodge to the left or right to evade this strike.
- Golden Section: This named ability (its name text appears on-screen right before it’s used) involves the Breaker of Worlds jumping back and holding its sword to its side before it begins emitting a ton of bluish-white energy. Afterward, the enemy slashes with this enormous energy sword in a horizontal sweep. You need to dodge through this attack to avoid getting hit. Specifically, dodge toward the direction of the attack at the right time to pass through the energy sword.
- Saber Dance: This named ability (its name text appears on-screen right before it’s used) is very similar to Golden Section. The only difference is that Saber Dance has less of a windup and a shorter range. As such, you can dodge through this attack—like when evading Golden Section—or you can dodge backward to get out of range.
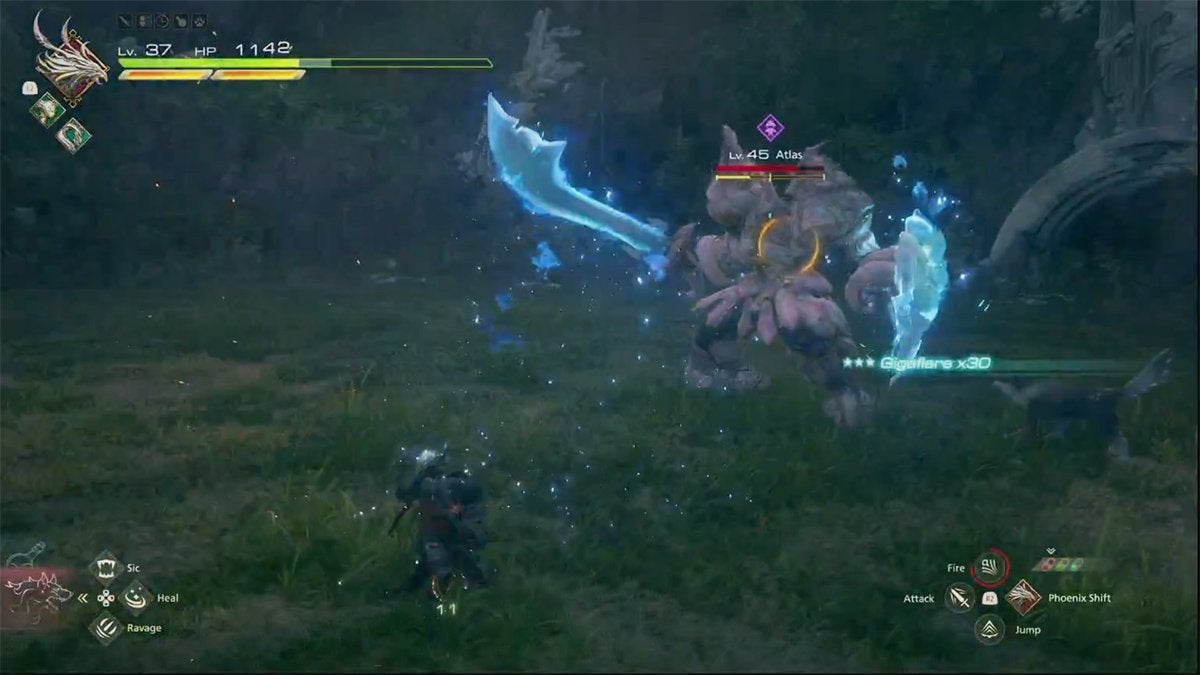
When planning your offense, we recommend equipping Aerial Blast (Garuda) and Gigaflare (Bahamut). Aerial Blast lets you deal a substantial amount of passive damage and also gradually breaks down Atlas’s Will Gauge. Both of these are useful traits in this fight. Also, using Garuda’s Deadly Takedown allows you to open a window for attacks when your adversary’s Will Gauge dips below 50%.
Gigaflare greatly slows down time when it’s being used, so you can safely unleash it to laser down Atlas’s health bar. Importantly, Bahamut’s light-affinity abilities deal proportionally more damage than other types of abilities against Fallen foes. Atlas, and similar enemies, all fall under this category.
If you’re at a much lower level than 45, you may find this fight difficult. If Atlas is too much for you right now, come back later. The Breaker of Worlds hunt won’t disappear. In fact, there’s no time limit on any hunt.
The Breaker of World Hunt Rewards
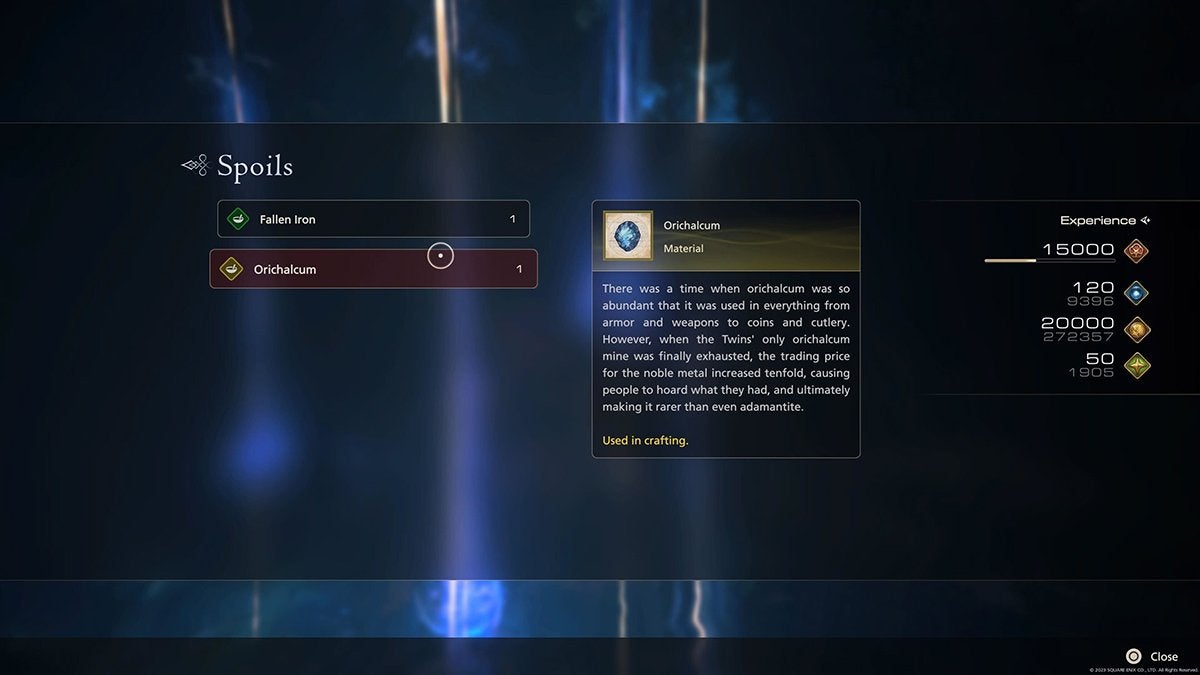
Once you complete the Breaker of Worlds hunt, you get some stellar rewards!
- 15,000 Experience
- 120 Ability Points
- 20,000 Gil
- 50 Renown
- 1 Fallen Iron
- 1 Orichalcum
With so much Experience gained, you’re likely to level up after this fight. That plus the huge haul of Gil makes this hunt worth your time. Although not as much as the crafting materials do! Aside from the hunts that get you Scarletite (like the Dozmare hunt), those that net you Orichalcum are particularly worthwhile.
You need Orichalcum to craft end-game gear. Such arms have higher stats than other pieces of equipment. If you want to raise Clive to the height of his potential, you should make it a priority to collect this mythical metal. This helps you take down tougher enemies—including end-game bosses and S-rank hunts. Never settle for second-best!