![]() Key Takeaway
Key Takeaway
You’ll have to summon your best fighting skills to complete the final Muspelheim trials. Prioritize dodging, parrying, and blocking to succeed. Also, make sure your gear level is high enough, otherwise, you’re in for a rough time.
In God of War Ragnarök, there are six final trials in Muspelheim. Each is unique and will test your skills in different ways. They are designed to be completed towards the middle and late parts of the game.
Table Of Contents
Level Up or Come Back Later
You want to be at gear level six or higher before you take on these trials. This is due to some of the enemies here being at levels seven and eight, which means that the stronger foes can potentially one-shot you if your gear level is too low.
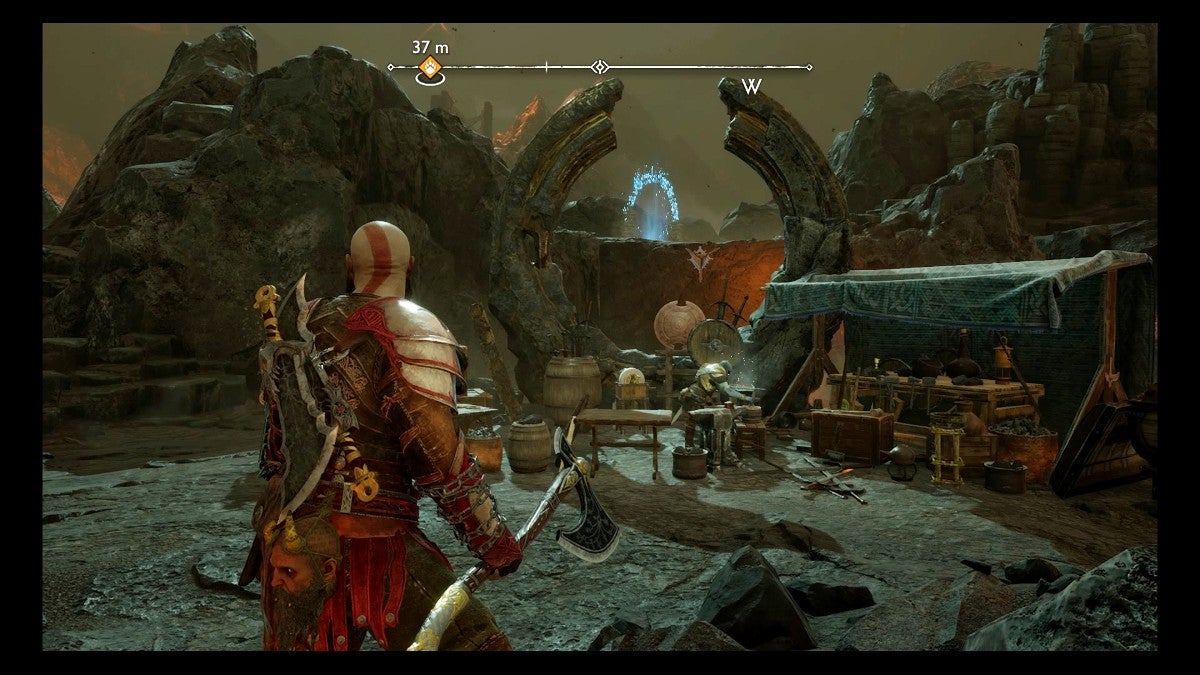
Thankfully, you can grind for resources by completing the F-Sword, N-Sword, and R-Sword trials repeatedly. Take these resources to Brok’s forge to upgrade your gear. If you still aren’t at gear level six yet, you should come back later.
There’s no time limit to complete the final trials in Muspelheim, so there’s no reason to attempt them before you’re ready…unless you want an extreme challenge. However, if you are ready, then check out some tips, a breakdown, and the suggested best build before facing the final trials in Muspelheim.
The FN Trial – Endurance Challenge
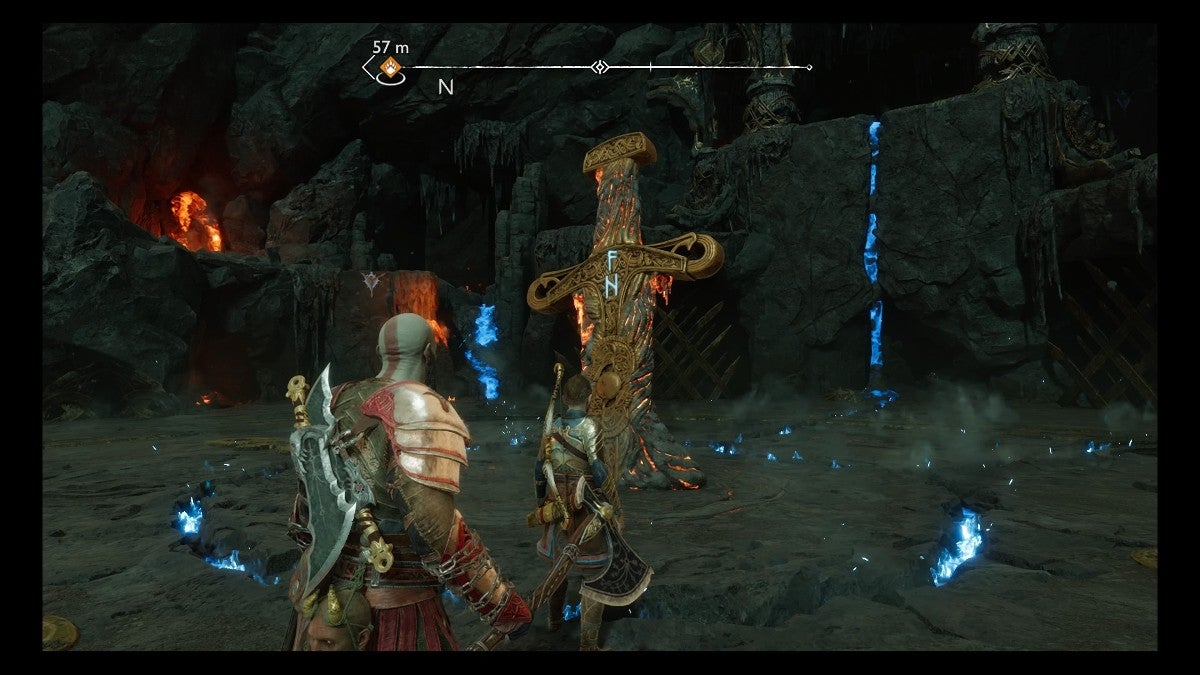
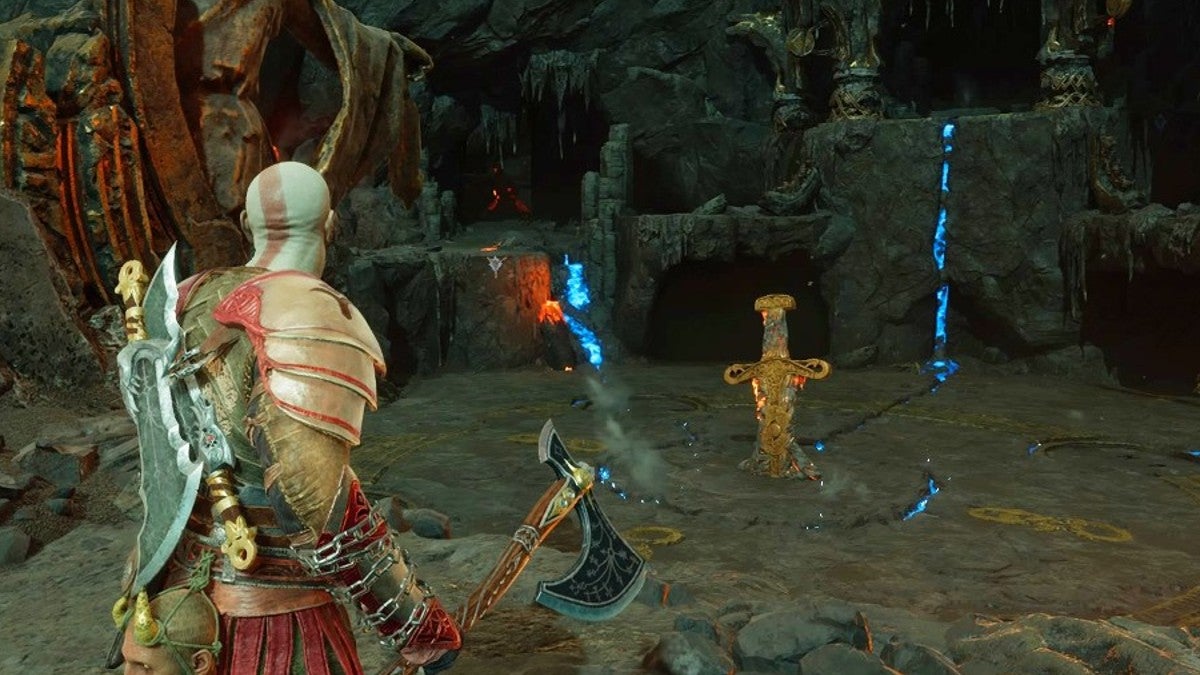
To start the Endurance Challenge, you need to complete any trial from the F-Sword arena and then any trial from the N-Sword arena. Afterward, make your way back to the central Surtr sword to begin.
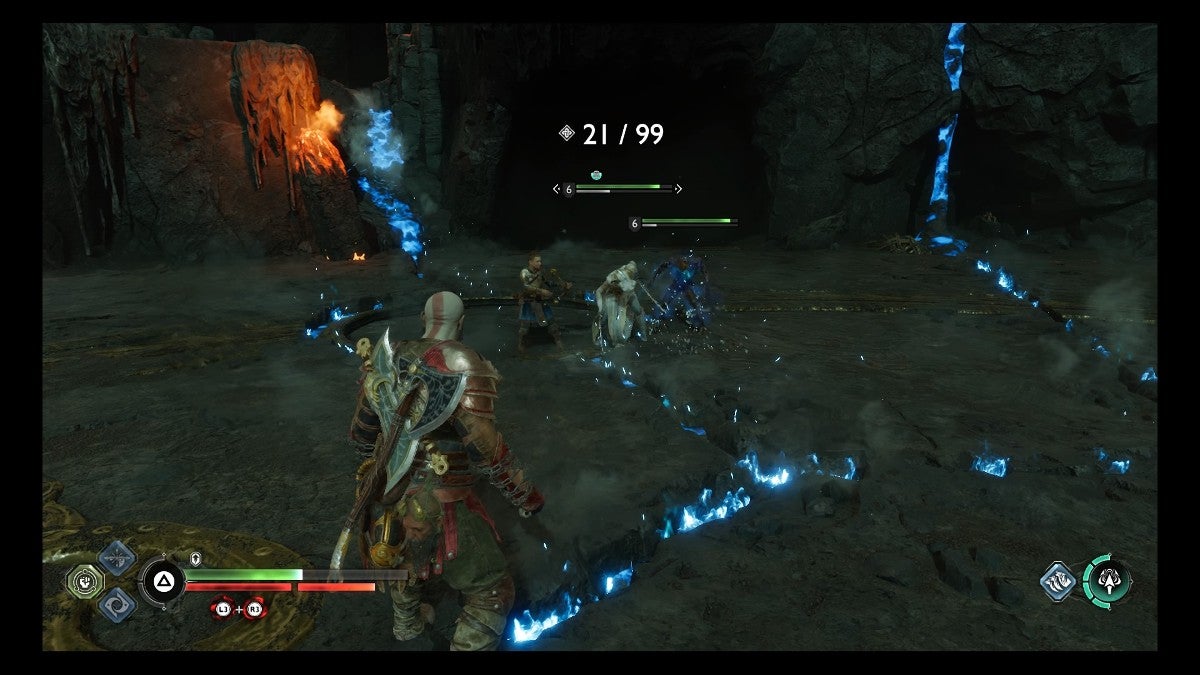
In this challenge, you must defeat 99 enemies without dying. To make things easier, make sure that you buy a Ressurection Stone from Brok before beginning this combat trial. Getting knocked down and then resurrected does not count as dying, so it won’t cause you to fail this challenge.
The Raider Wave
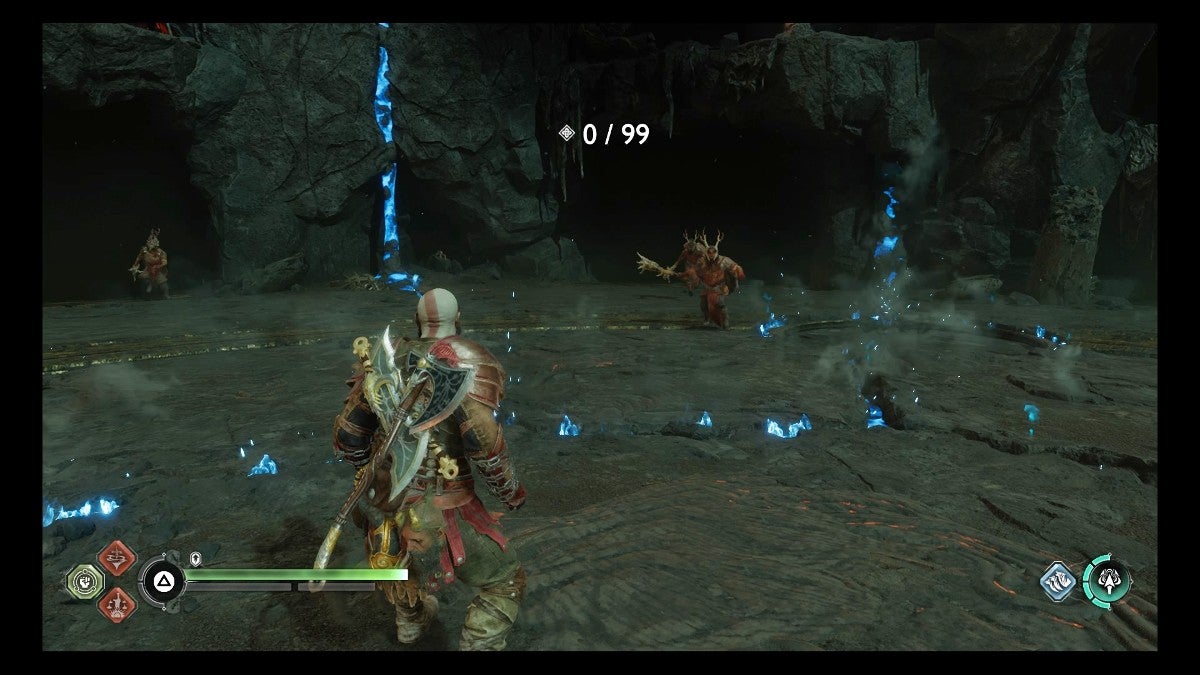
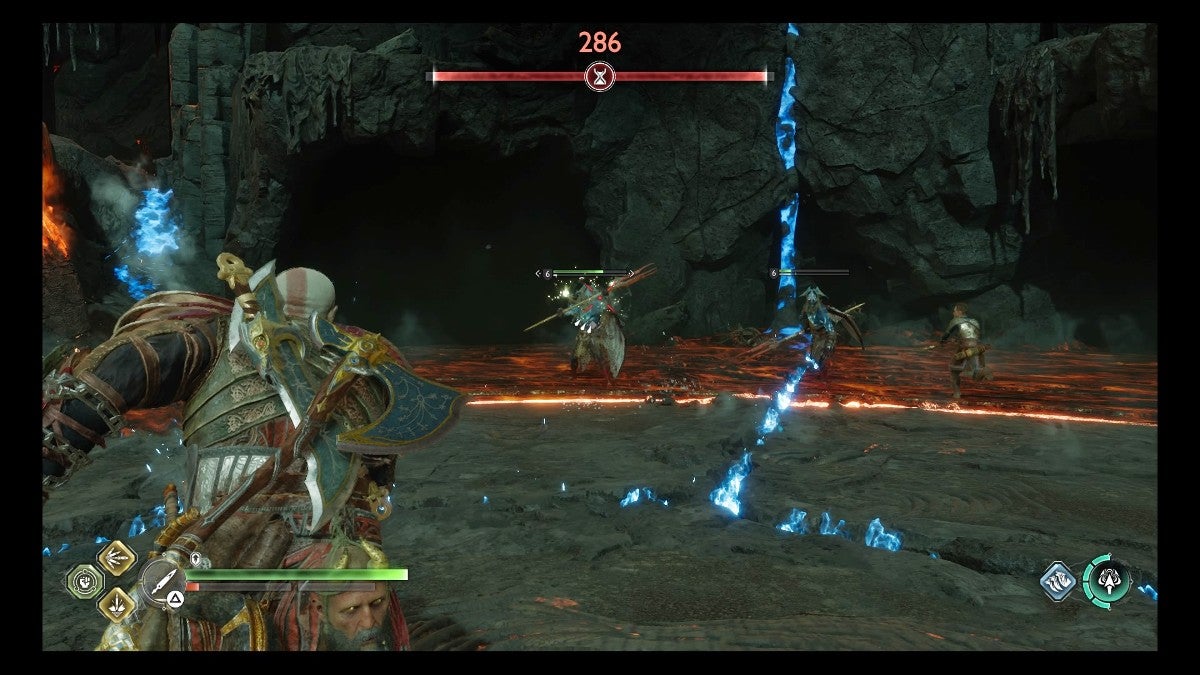
When the Endurance Challenge begins, multiple Raider enemies will charge at you. These foes will hit you with consecutive attacks that you can’t block or dodge easily if you get hit by the first blow. As such, be sure to block, parry, or dodge the first incoming strike.
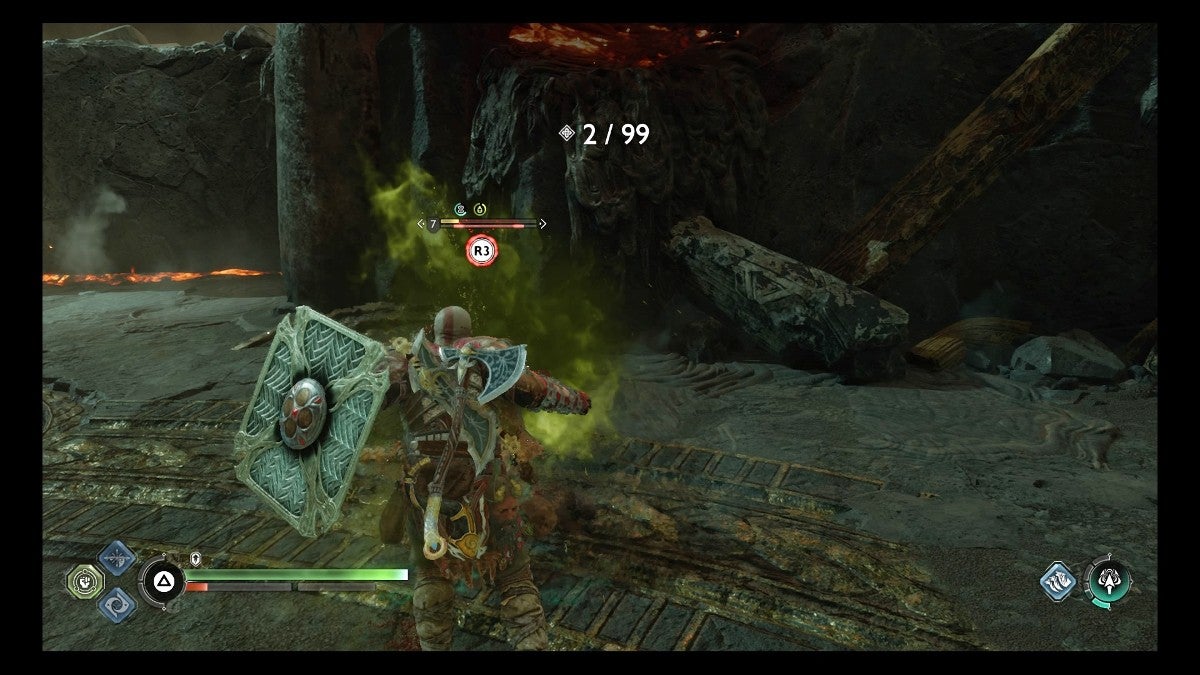
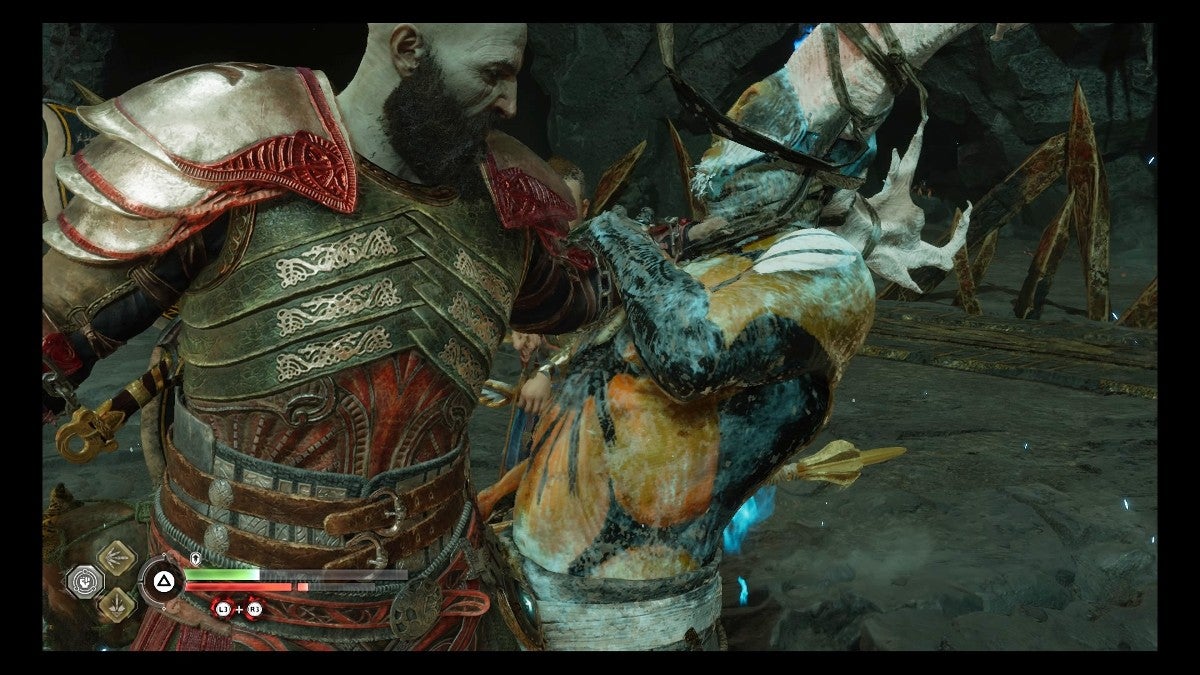
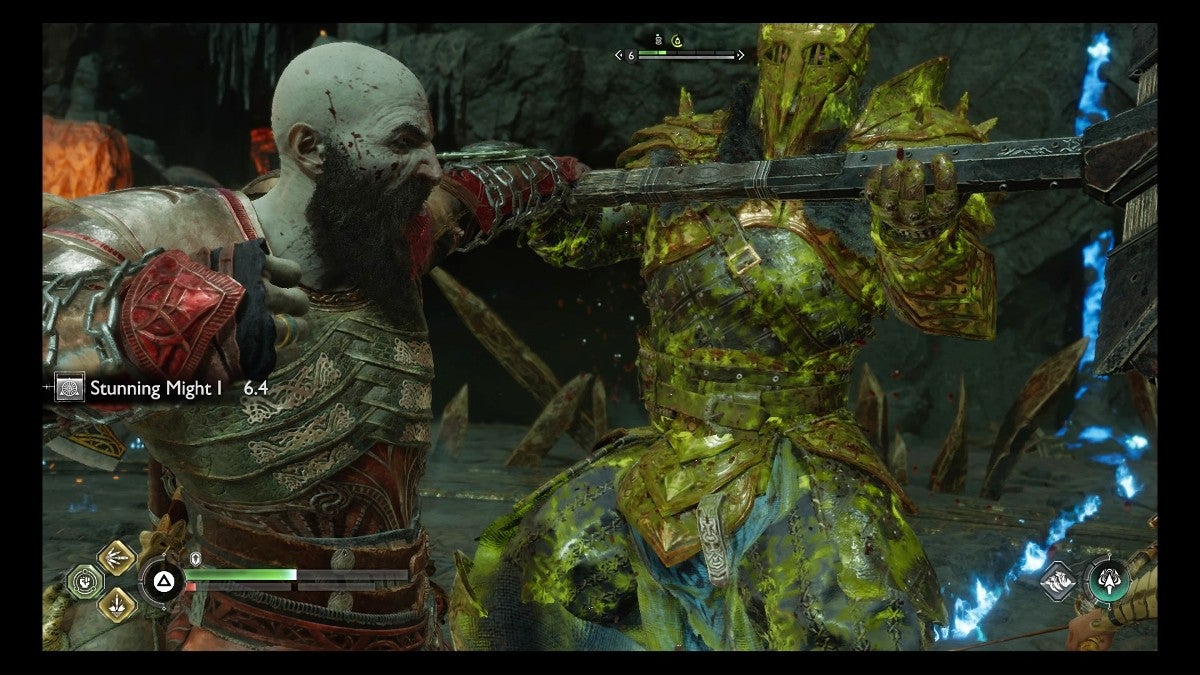
As usual, you should make use of stun-related tactics. You are invulnerable during grab attack animations, so abuse this feature liberally to both avoid getting hurt and kill enemies quicker. On a related note, make sure to get Atreus to shoot arrows at foes to help with this tactic and more.
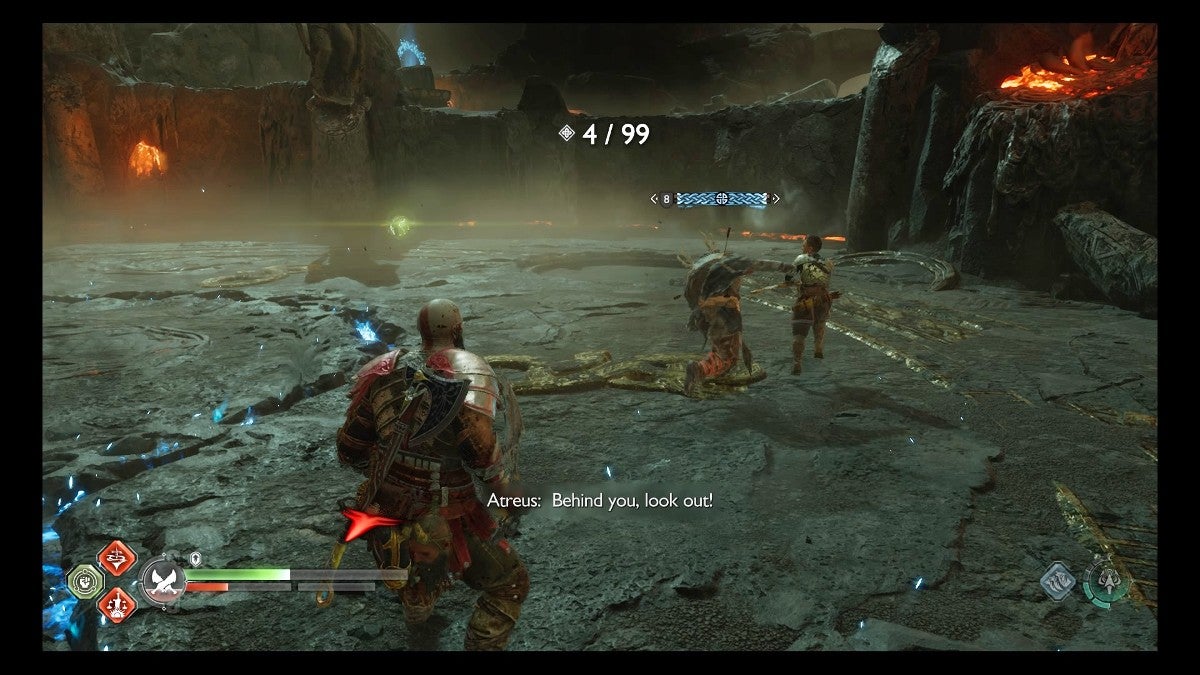
During this wave, a few Raiders will have blue health bar shields. You should attack these melee foes with the Blades of Chaos to dissipate their health shields before laying into them properly.
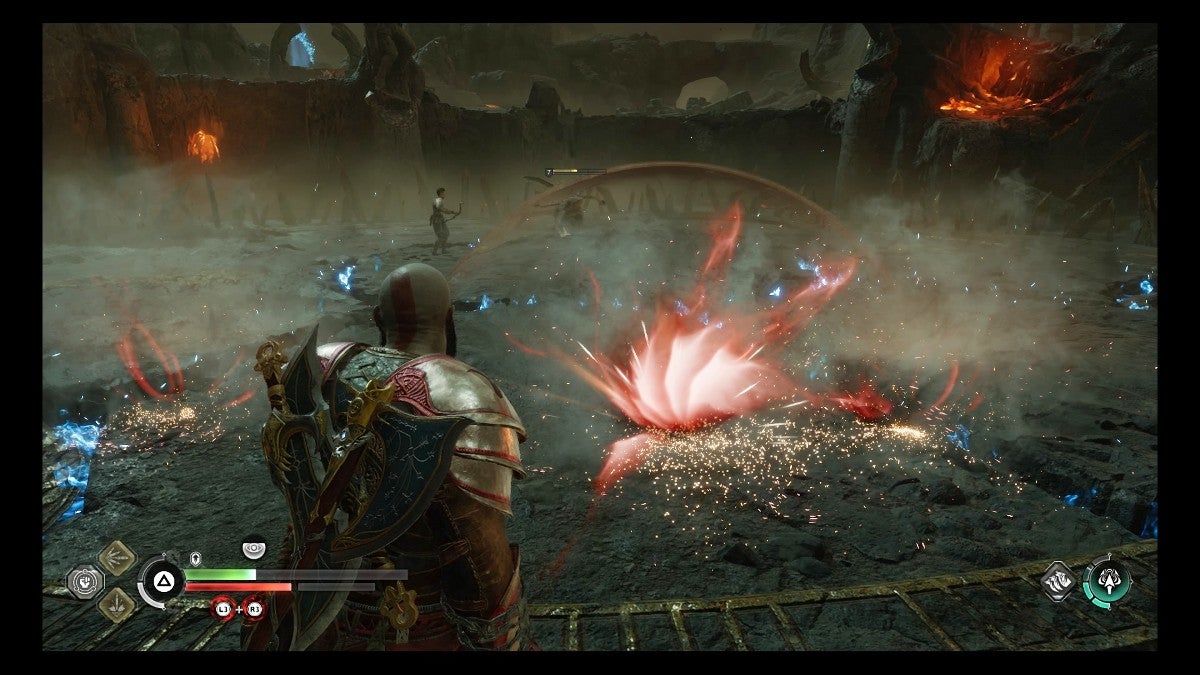
While more and more raiders spawn, so will a few Wisps here and there. You need to get Atreus to shoot these ethereal foes with a runic arrow to disable them. Otherwise, they will dodge all of your normal attacks.
Use these Wisps to your advantage. When they die, they let out an energy explosion that will damage and stun nearby enemies. As such, prioritize taking Wisps out first.
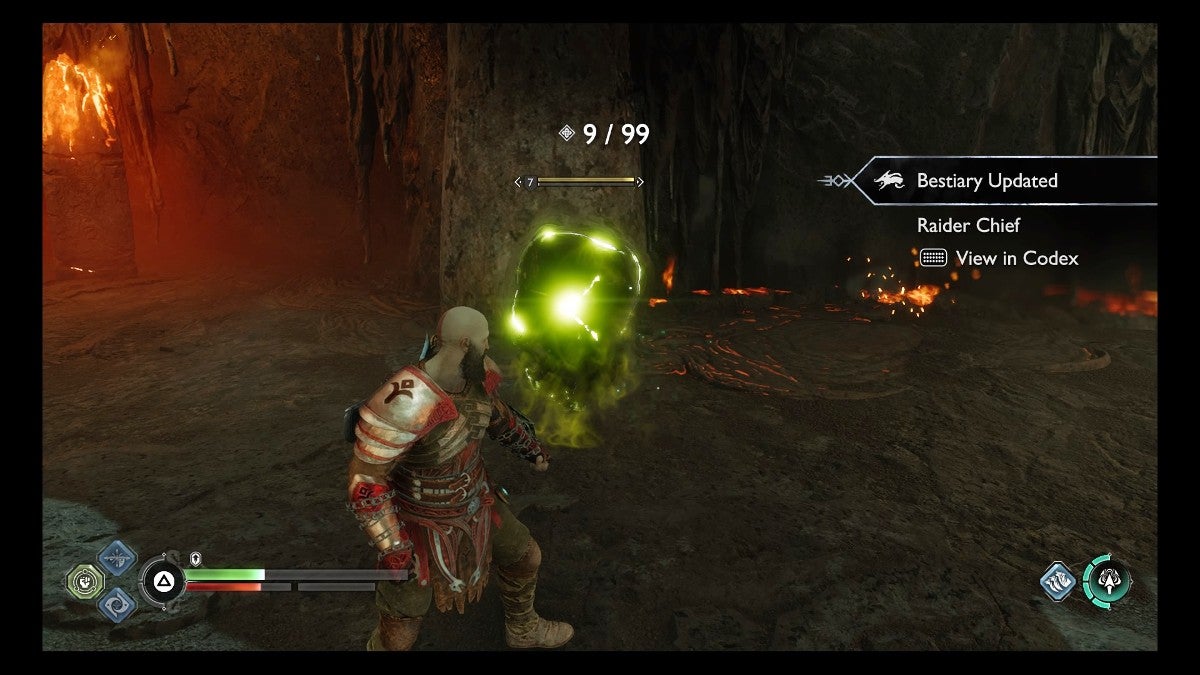
Shortly after the melee Raiders stop coming, ranged Raiders will begin to spawn. They won’t approach you, so you have to chase them down. Just be careful, as they will explode when they die. However, using a stun grab can alleviate this issue.
The Elf Wave
After about 20 kills, the Elf wave will begin. This involves Light Elves and Dark Elves of all kinds showing up. You need to shield strike (double-tap L1) to stun some of the Light Elves when you see a blue circle appear around them. If you don’t, you’ll get hit by a strong attack.
On top of that, there are ranged foes that shoot beams and orb projectiles at you. The blue orbs can be broken with a ranged attack from the Leviathan Axe or Draupnir Spear. However, the beam attacks can only be dodged—as can the mines they leave on the ground.
What’s more, there are fast-moving foes intermixed with the Elves. As such, you need to be fast on your feet to avoid them before they ground-slam or grab you.
The Draugr Wave
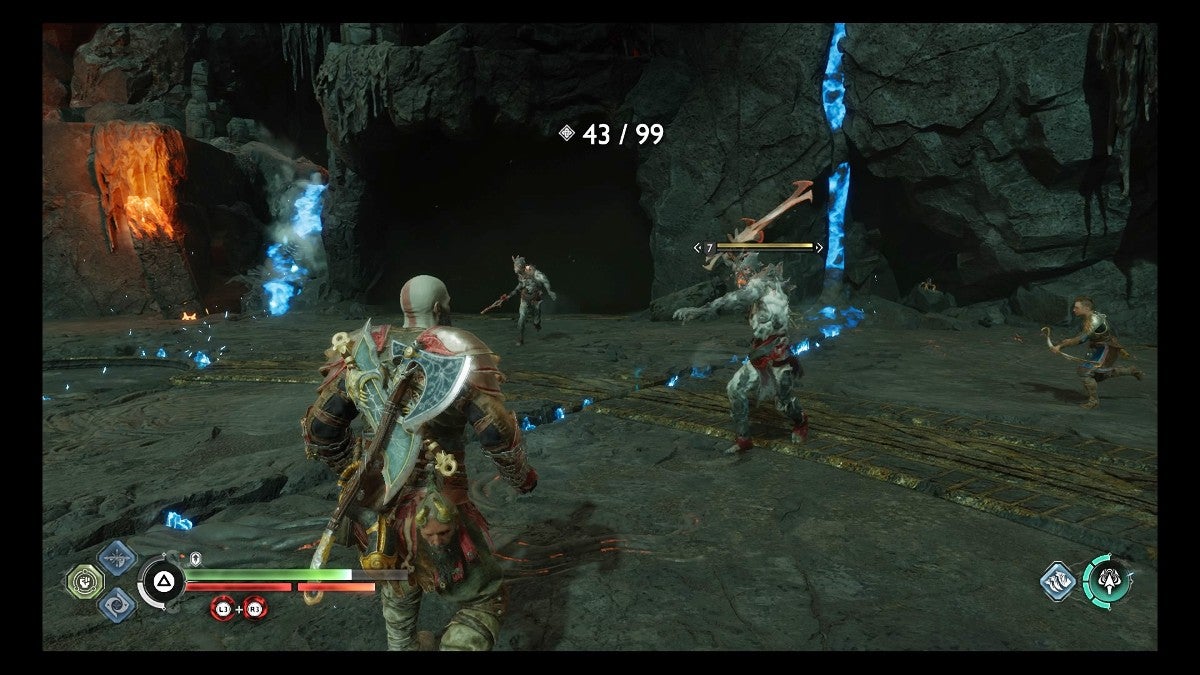
When approximately 40 enemies have been killed, the Draugr wave will begin. Like before, both melee and ranged units will spawn. Thankfully, the generic attacks of these basic Draugr enemies are straightforward to block and avoid.
Although, alongside the Draugr, a Frost Graðungr will also show up. This tough adversary will have a blue health bar shield, so you should use the Blades of Chaos to fight it (at least initially). If you have ready runic attacks for the Blades of Chaos, now would be a great time to use them.
Throughout the Endurance Challenge, be sure to keep your eyes open for Healthstones and Ragestones on the ground. Not only do they heal you and fill your rage meter, but they also briefly stun nearby enemies.
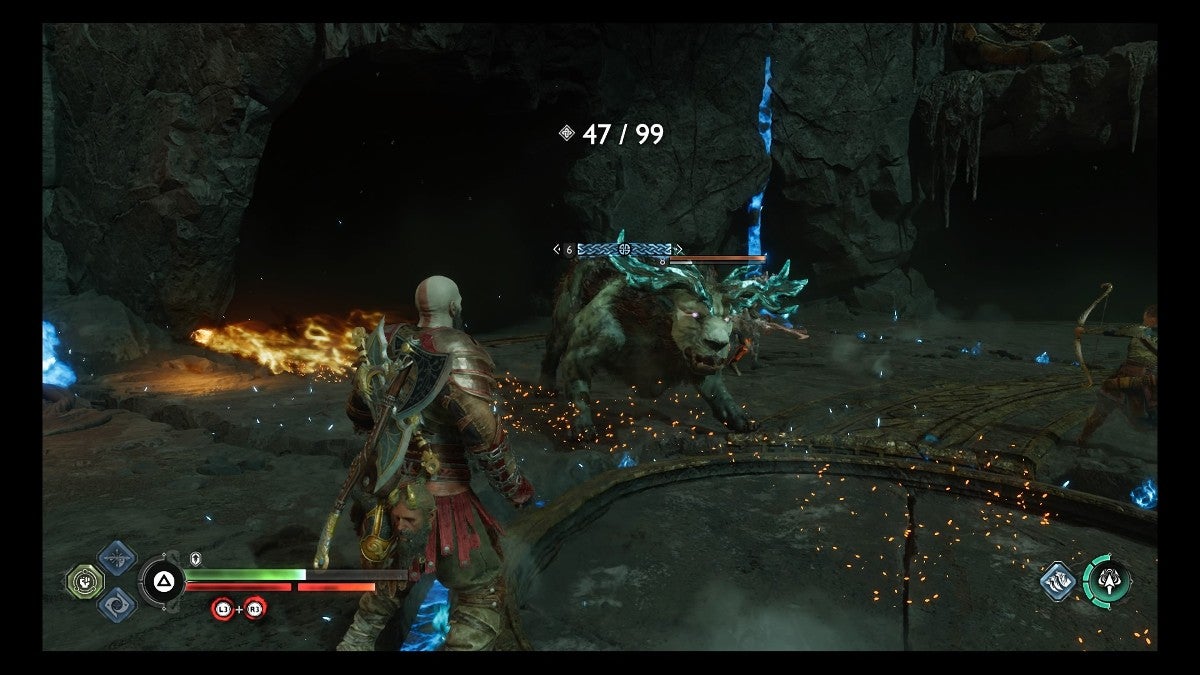
The Grim Wave
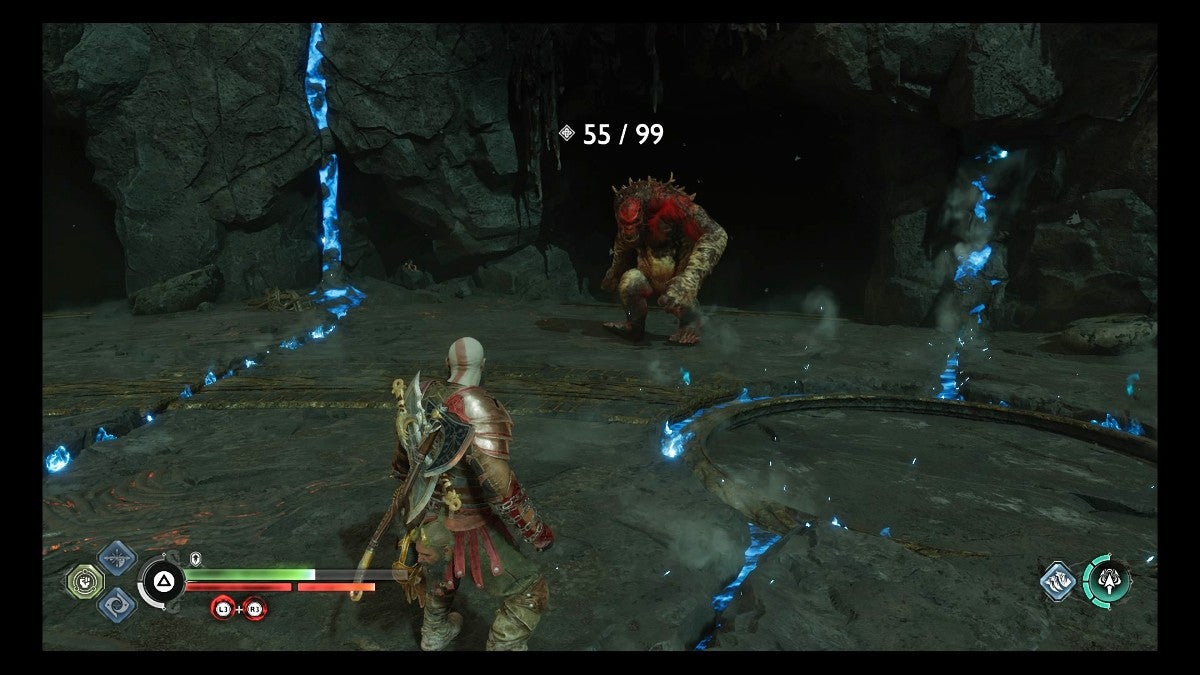
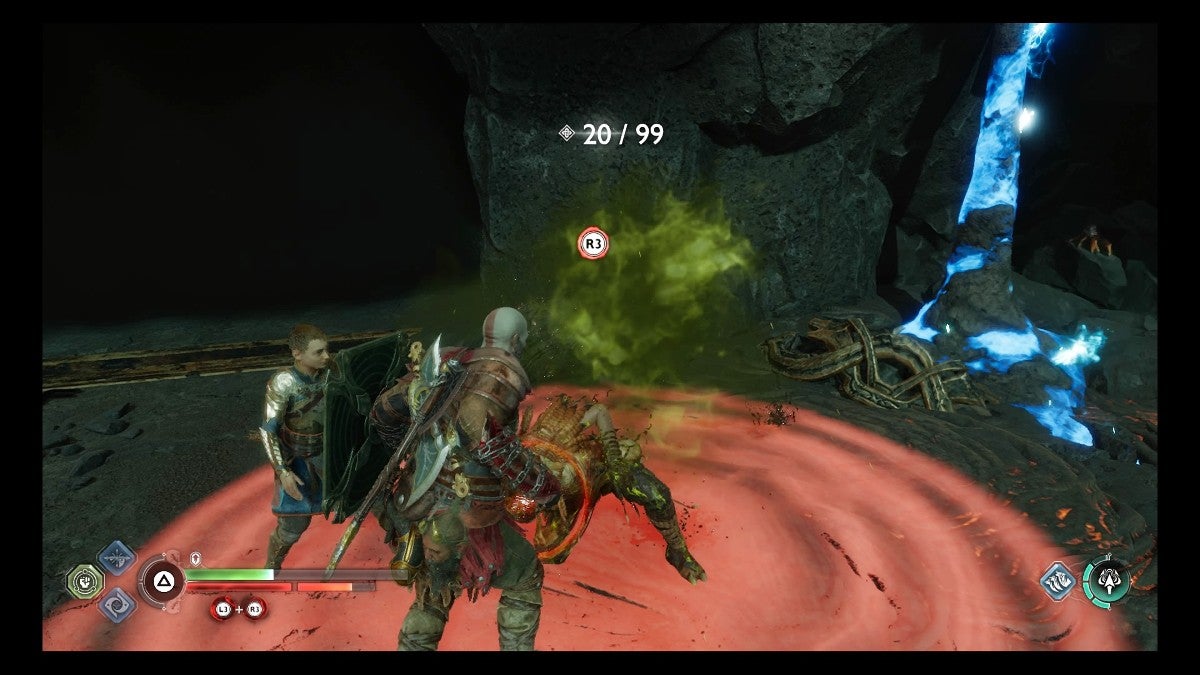
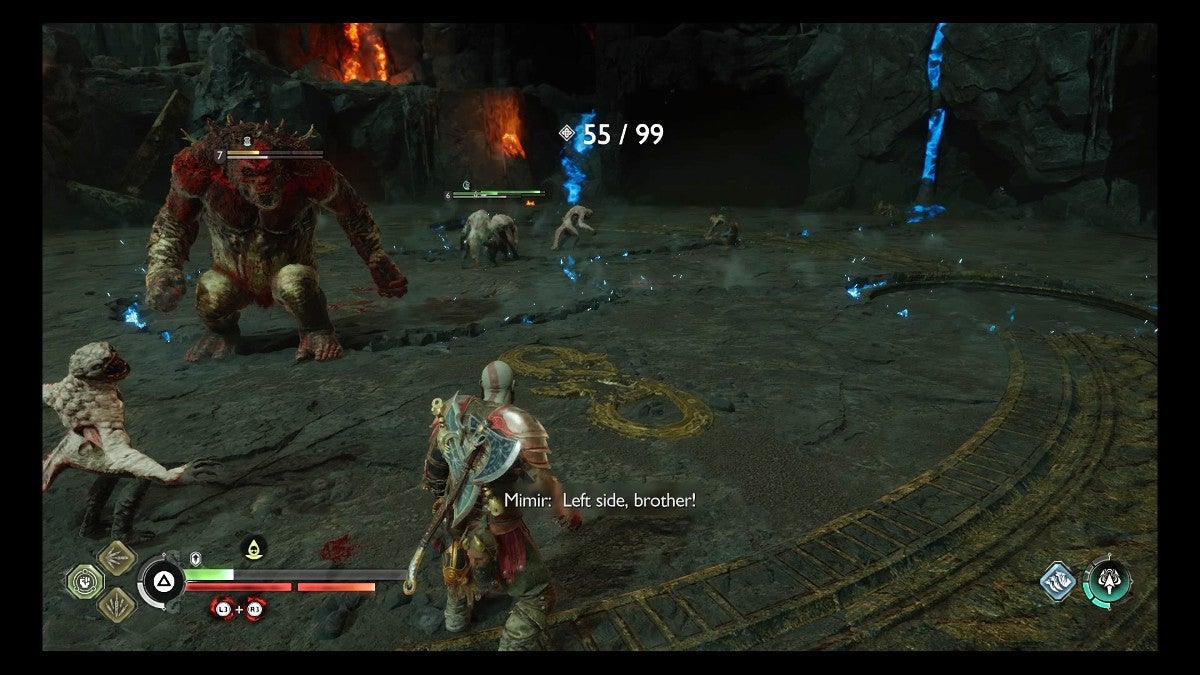
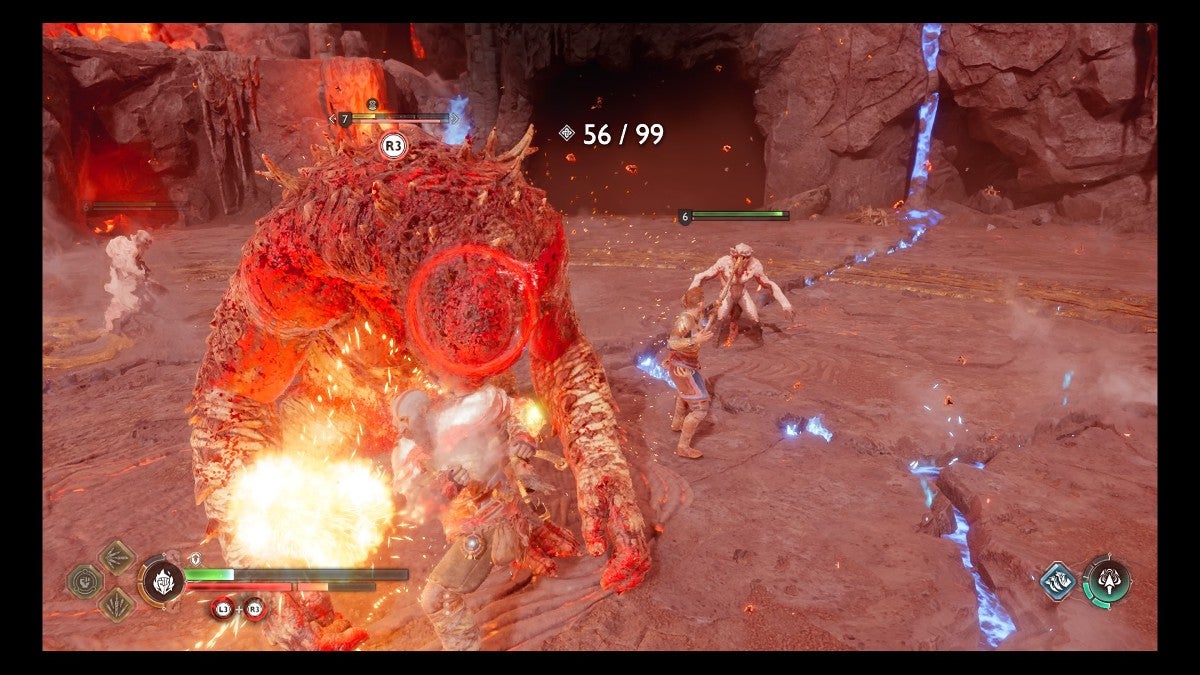
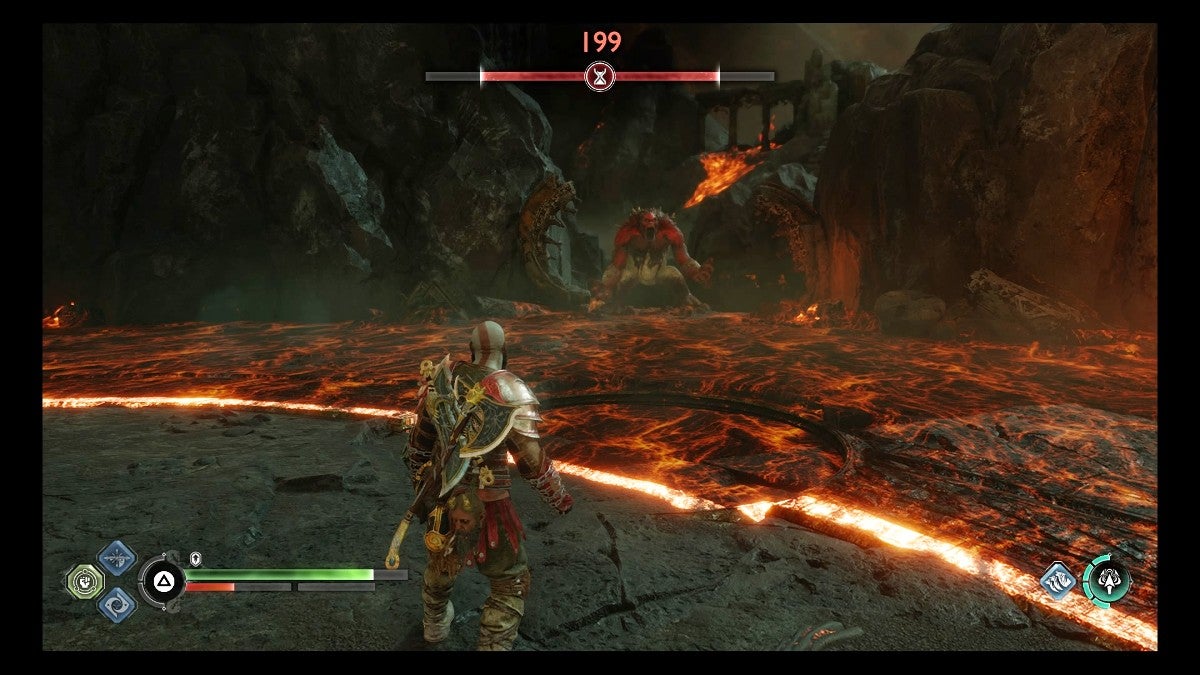
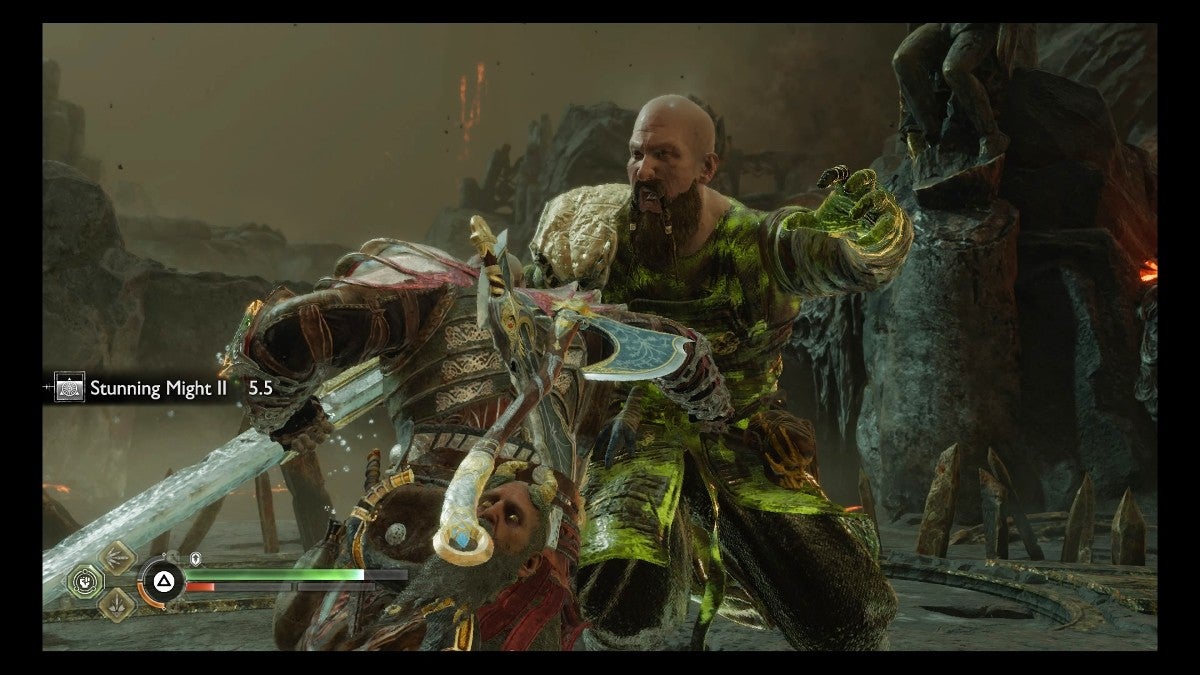
Although the next wave features mostly Grim units, it will begin with the appearance of an Ogre. This happens when you reach about 55 kills. While intimidating, this hefty foe is actually good to have around. Since they spawn before the Grim enemies, you have time to weaken it.
Once you’ve weakened the Ogre enough to get an R3 prompt, ride it to dispatch a bunch of Grim quickly. Grim are fast and relentless—even more so than Raiders, so having some help against them is great.
Also, a bunch of Wretches will swarm you during this wave. To deal with them, get Atreus to shoot these tiny terrors.
If you feel like you’re being overwhelmed, activate Spartan Rage to turn the tide. You’re pretty much invincible in this mode, so go crazy and take out as many enemies as you can. This can be particularly useful against tougher foes like the Ogre.
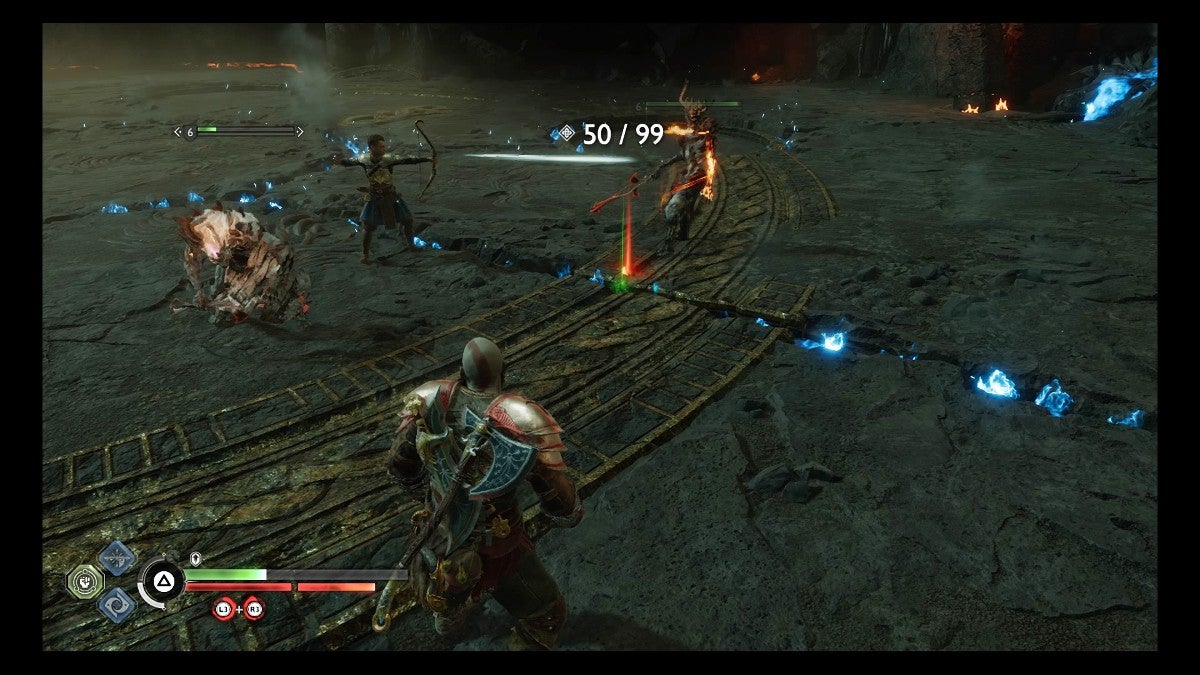
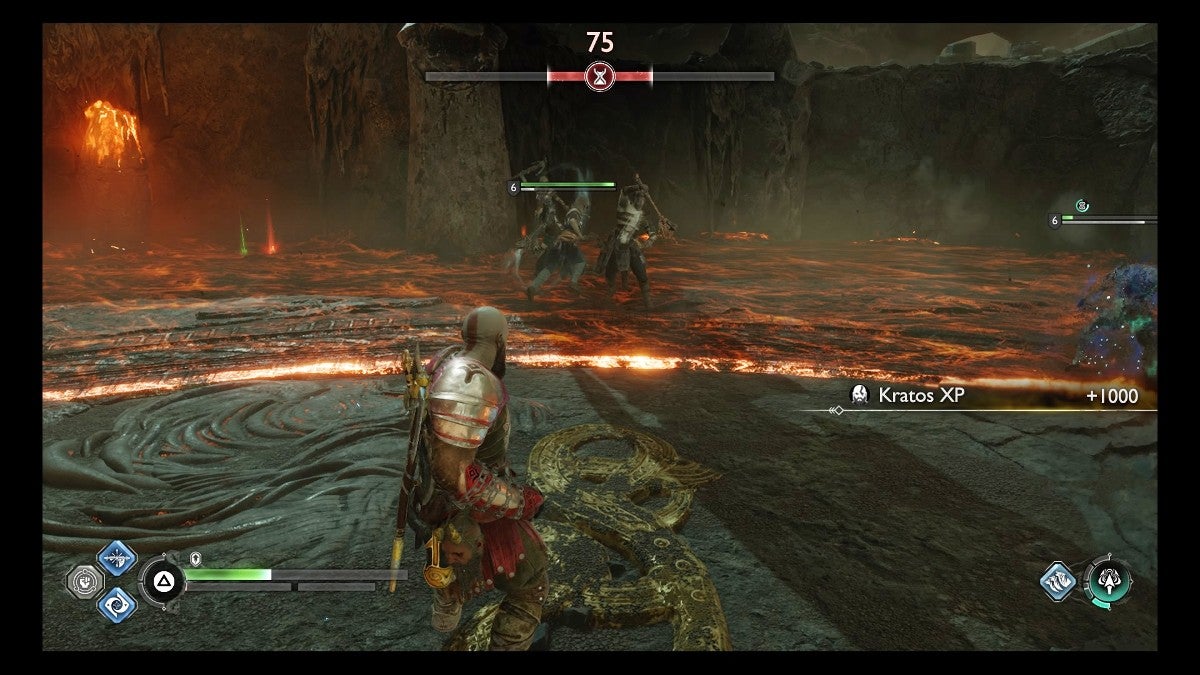
The Einherjar Wave
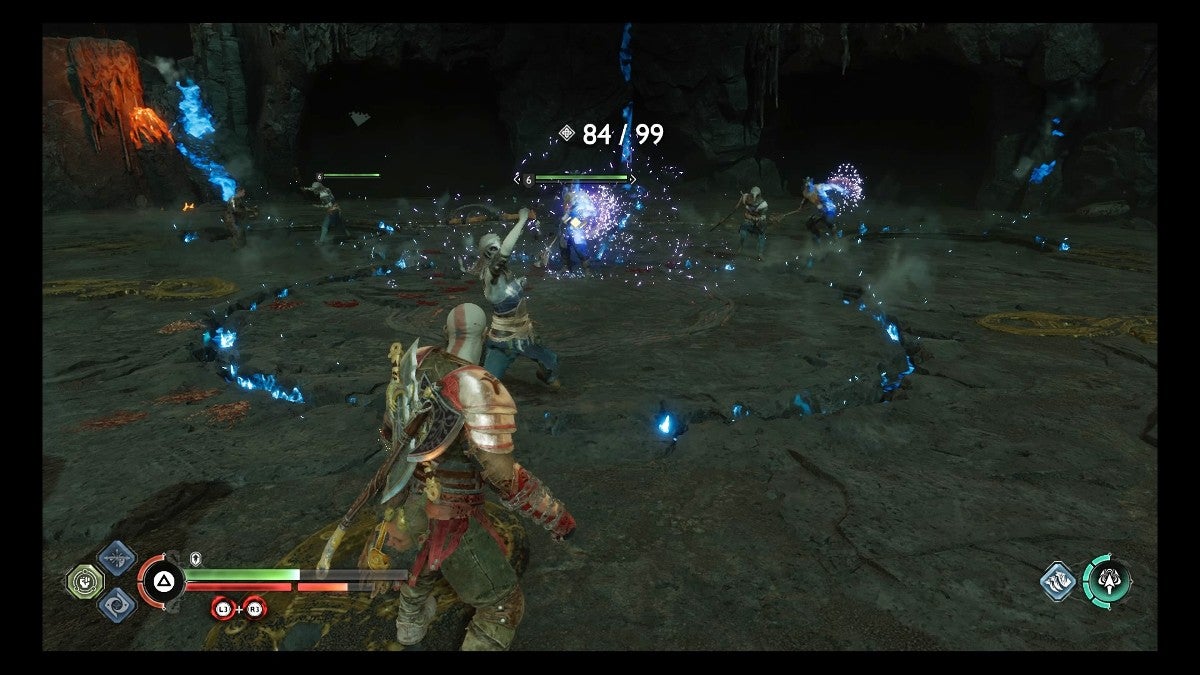
The last wave of the Endurance Challenge will consist mostly of Einherjar foes. These armored warriors start showing up when you’ve got about 85 kills. Some will have shields, which you will need to destroy with a shield strike. Others will have magical boots that grant them great evasion, so use Atreus’ arrows to stop them in their tracks.
Rewards for the Endurance Challenge
After you complete the first of the final trials in Muspelheim, you get the following rewards (repeatable):
- Blazing Embers (1)
- Smoldering Embers (3)
- Glowing Embers (2)
- Divine Ashes (2,000)
- Kratos XP (1,000)
- Atreus XP (1,000)
- Hacksilver (200,000)
The FR Trial – Shield Breaker Challenge
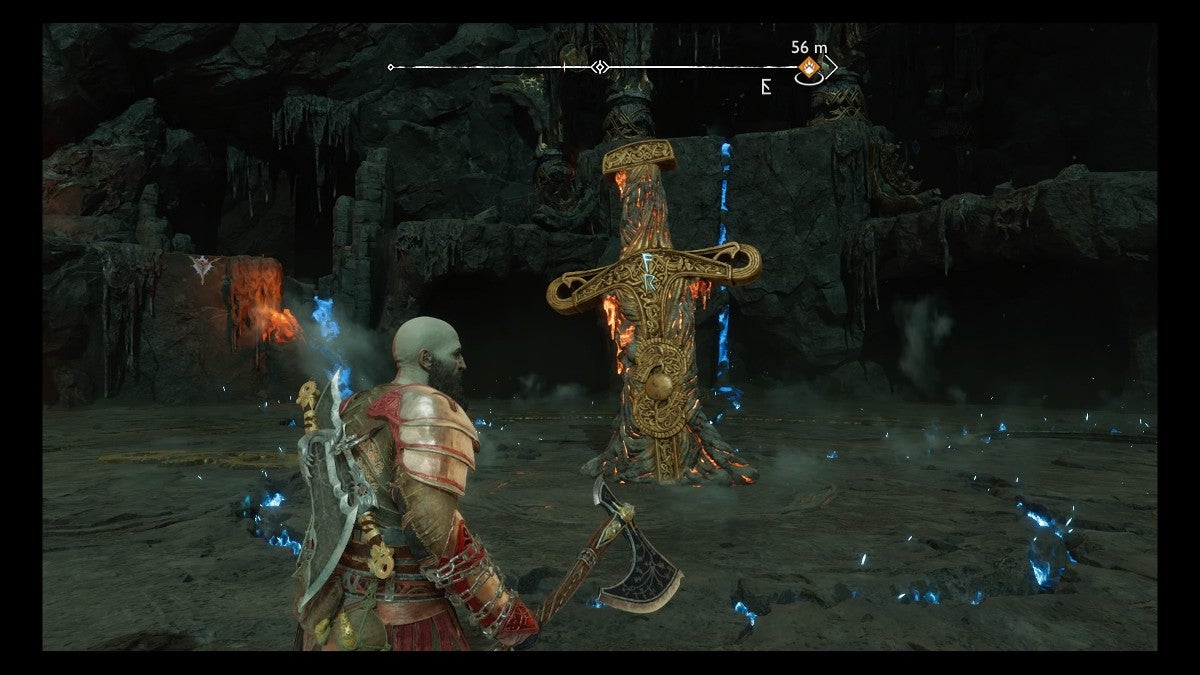
To begin this trial, complete any of the F-Sword trials and then any of the R-Sword ones.
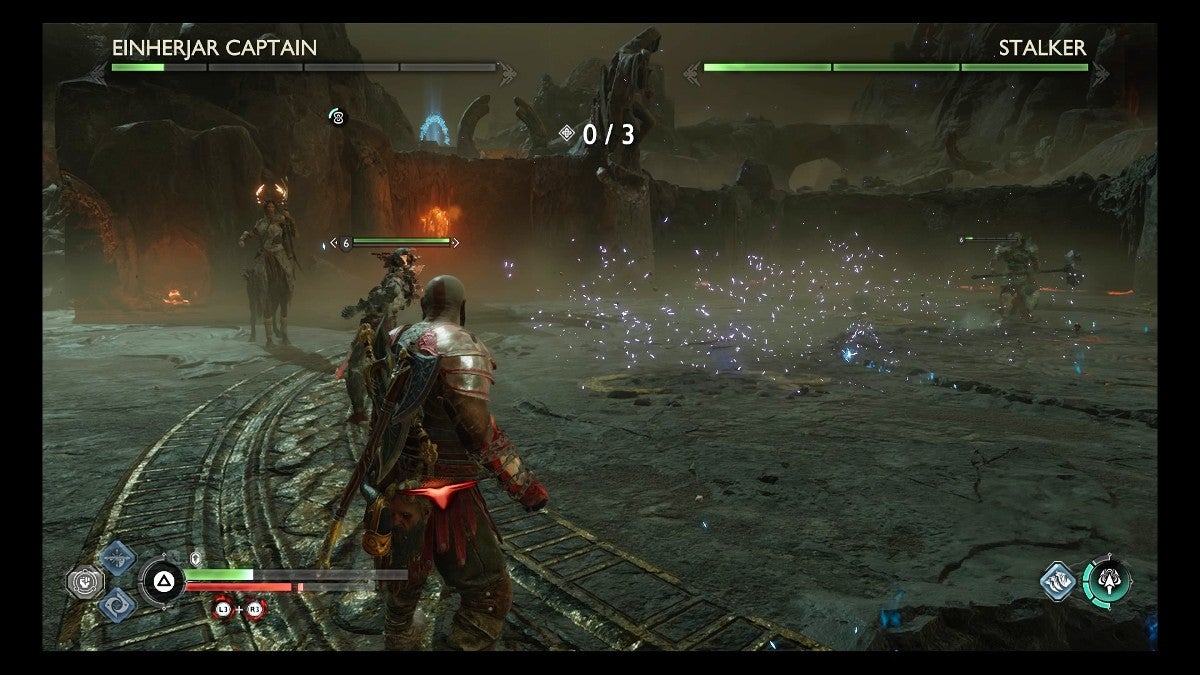
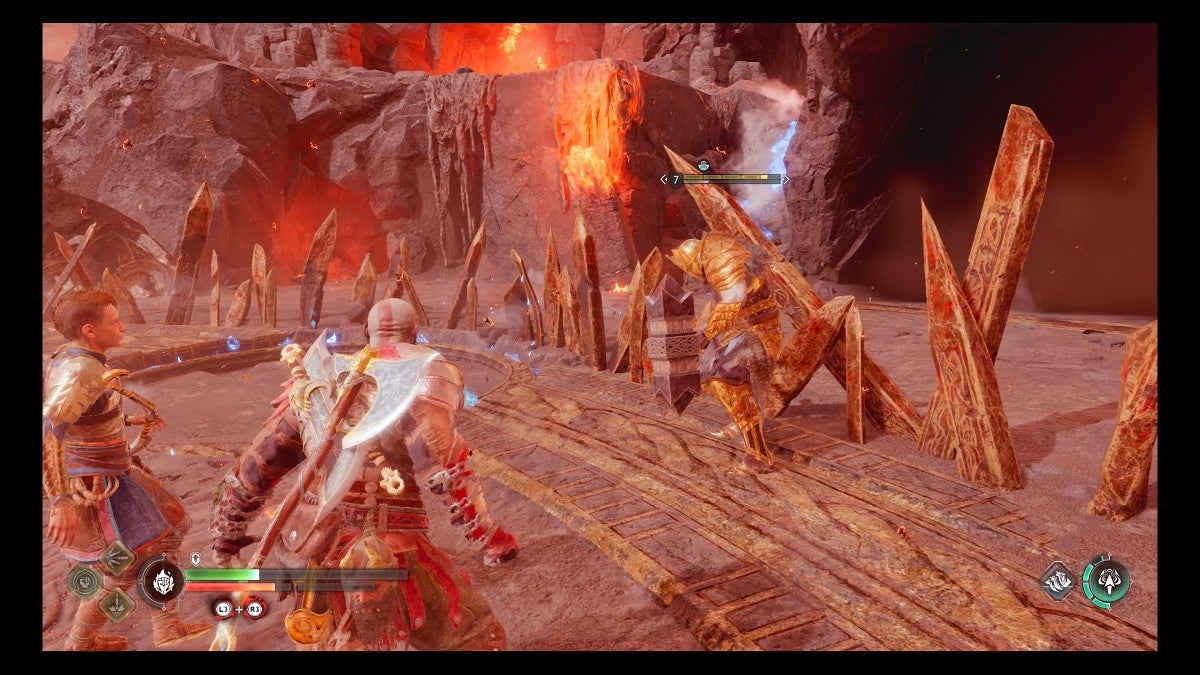
This part of the final trials will pit you against multiple elite enemies at a disadvantage. Firstly, you must deal with an Einherjar Captain, but, towards the end of the fight, a Stalker invades to make things more difficult.
Defeating the Einherjar Captain
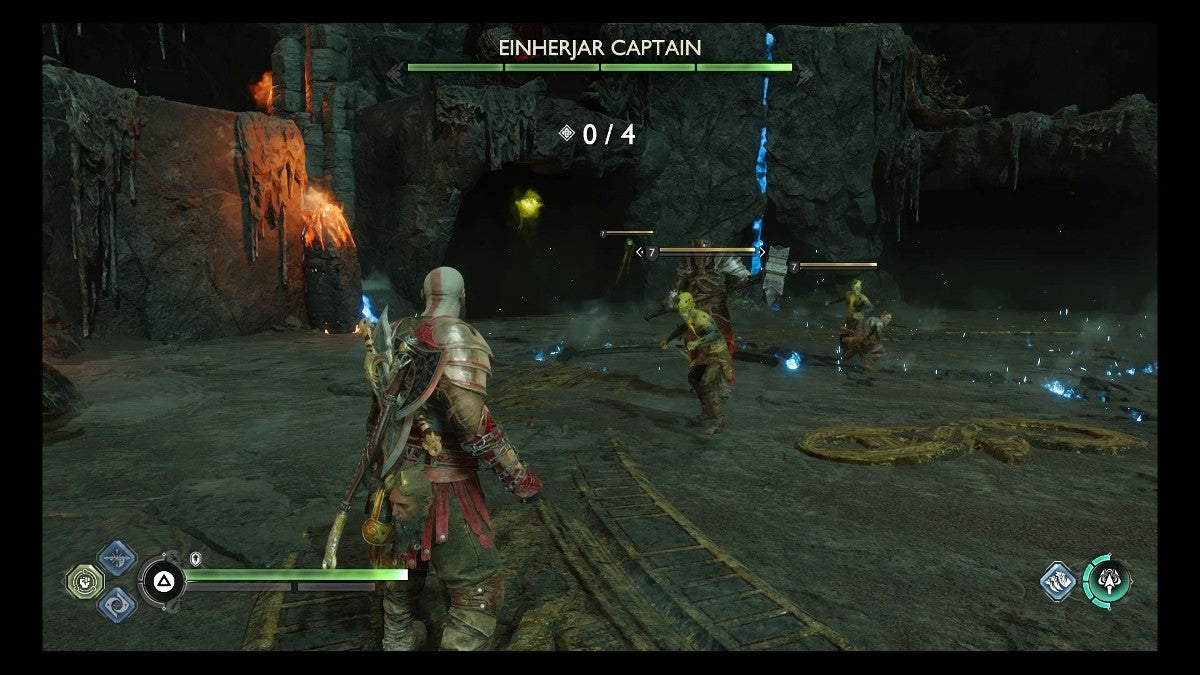
The gimmick here is that you need to take out four enemies to drop the Einherjar Captain’s invulnerability shield. Only then will you be able to hurt the big bruiser. When the challenge begins, the first wave of minions will consist of two Hel-Reavers and two Nightmares.
Dispatch the weaker foes and then go to town on the boss. You should save your runic attacks for the captain, as you have a limited window to deal damage to them before their shield comes back.
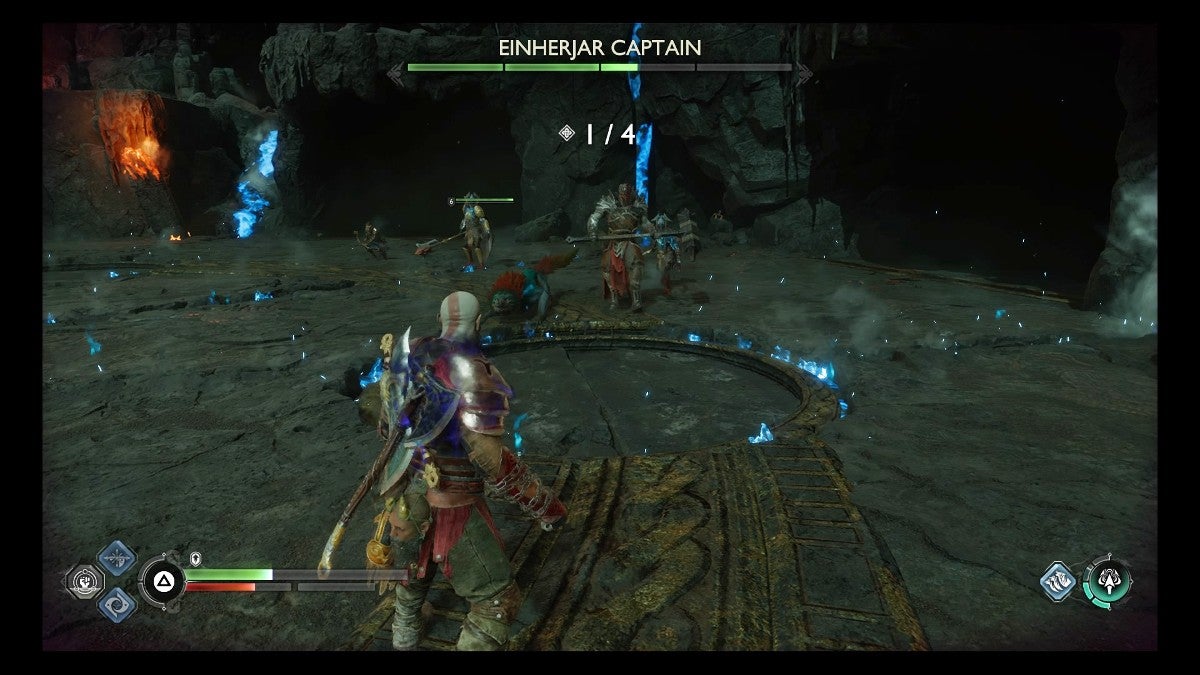
When the boss’ shield returns, new minions will spawn. This time, the main foe will be accompanied by Gulons and Dark Elves—all of which are pretty fast. Make sure to use stun tactics and Atreus’ arrows to help take them down.
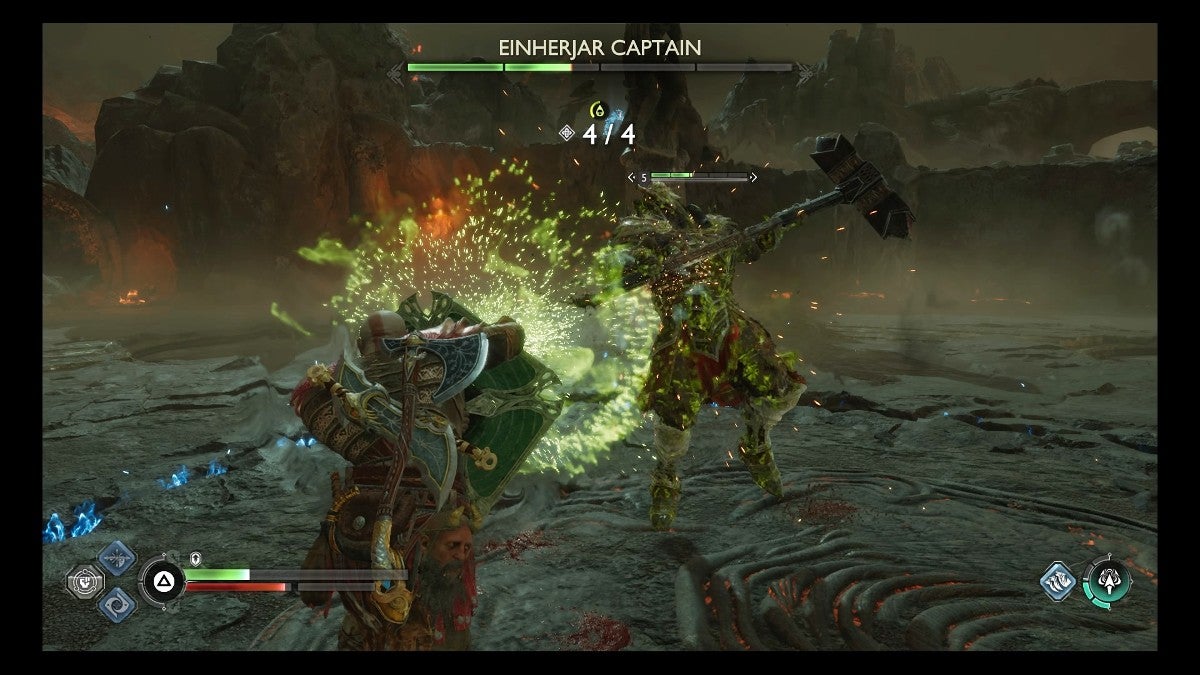
In regards to the Einherjar Captain’s attacks, they will use a variety of moves to hurt you. Thankfully, most of them are easy to see coming, as they involve slow hammer swings. When you see the yellow aura, get ready to parry, and, when you see the red aura, get ready to dodge.
The most annoying of the captain’s attacks is their ranged beam of Bifrost magic, which you must dodge to the side (either left or right) to avoid. Also, keep in mind that this burly fellow can teleport, so get ready to dodge when they do so.
Defeating the Stalker
When you’ve dropped the Einherjar Captain’s health bar below 25%, a Stalker will show up to complicate things. However, keep focusing on the captain, as you can take them down quicker.
The faster you do so, the better, as you don’t want to face both of these elite units at once. This is arguably one of the hardest parts of the final trials.
However, at this point, the number of minions you need to kill to drop the bosses’ shields is three. A few Draugr units will spawn here, so get ready to slay them swiftly before you attack the Stalker.
This part is pretty straightforward, so use your usual tactics to kill the Stalker. In particular, remember to aim for the horns, as that will greatly stun the four-legged foe.
Rewards for the Shield Breaker Challenge
After you complete the second of the final trials in Muspelheim, you get the following rewards (repeatable):
- Blazing Embers (2)
- Smoldering Embers (3)
- Glowing Embers (1)
- Divine Ashes (2,000)
- Kratos XP (1,000)
- Atreus XP (1,000)
- Hacksilver (200,000)
The NF Trial – Ring of Fire Challenge
To begin this trial, complete any of the N-Sword trials and then any of the F-Sword ones.
For the Ring of Fire Challenge, you will need to stay on the move to remain within the eponymous ring. This circle of safety will continuously move around. While you’re avoiding getting burnt to a crisp, you must defeat 15 enemies. For the most part, these foes will be faster Draugr units. However, there is a Wulver and a Wyvern in this trial as well.
Things to Avoid in This Challenge
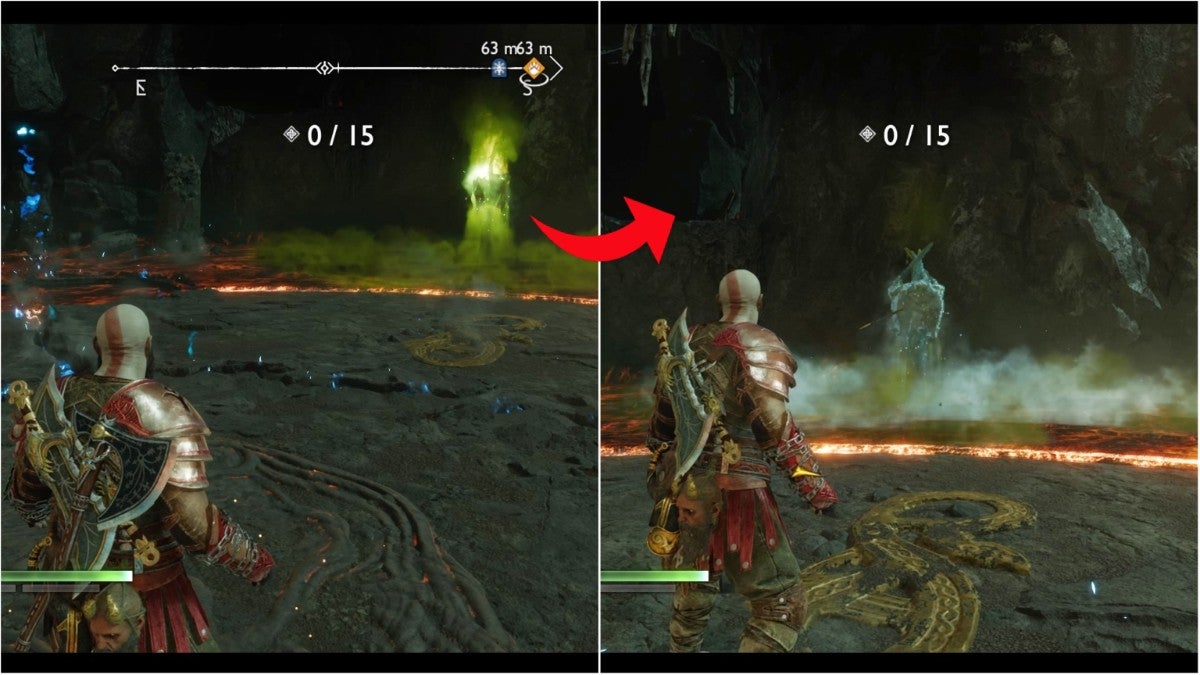
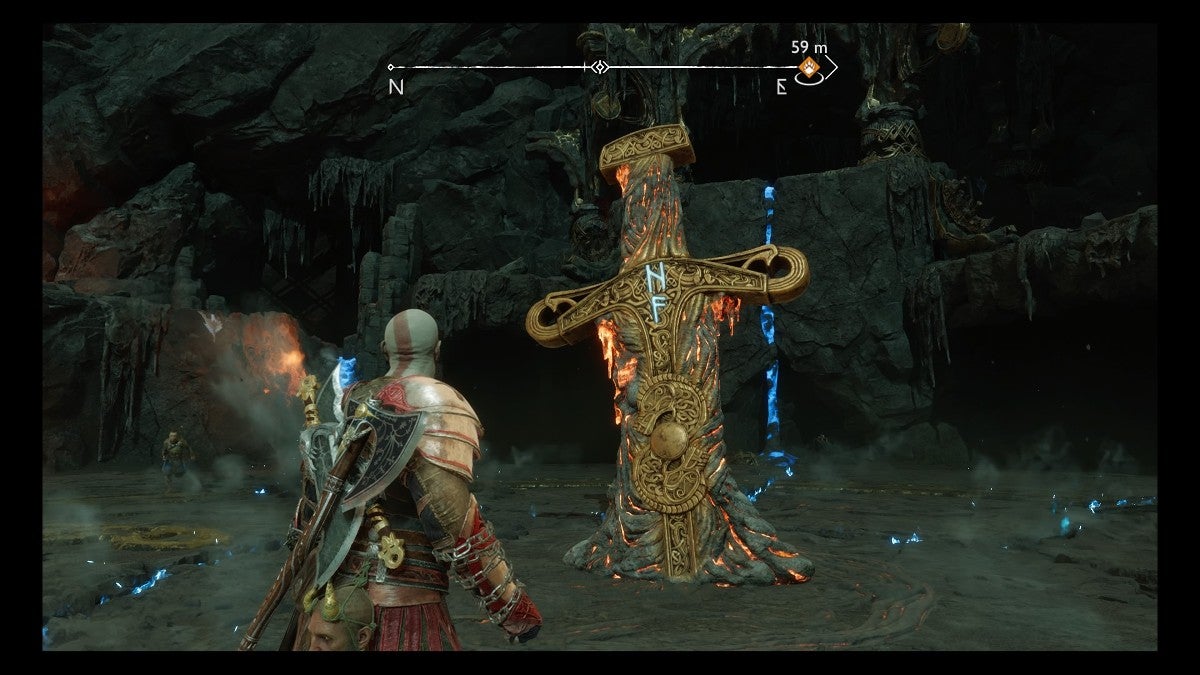
When the trial begins, in addition to the sea of flames, there is a pillar that is giving off poisonous fumes. To stop it from doing so, you need to freeze it by throwing the Leviathan Axe at the top of it.
Eventually, the ring you need to stay within will shift to surround the poisonous pillar, so there won’t be any safe place to stand if you don’t freeze it. If you’re using the suggested poison and stun build, you won’t need the Leviathan Axe, so lob it at the pillar before any enemies spawn.
As opposed to most other Muspelheim final trials, you don’t want to use stun grabs here. While you are immune to damage during stun grabs and executions, once the animation ends, you may find yourself within a sea of fire. The time it takes for the stub grabs to be completed will often leave you in a bad position in this challenge.
Also, when you use a stub grab finisher on one of the Draugr enemies, it will pull the Leviathan Axe back to you for the animation, even if it does not equip it. This results in the axe coming free from the poisonous pillar and allowing the toxic fumes to emerge.
How to Take Down the Enemies While Staying on the Move
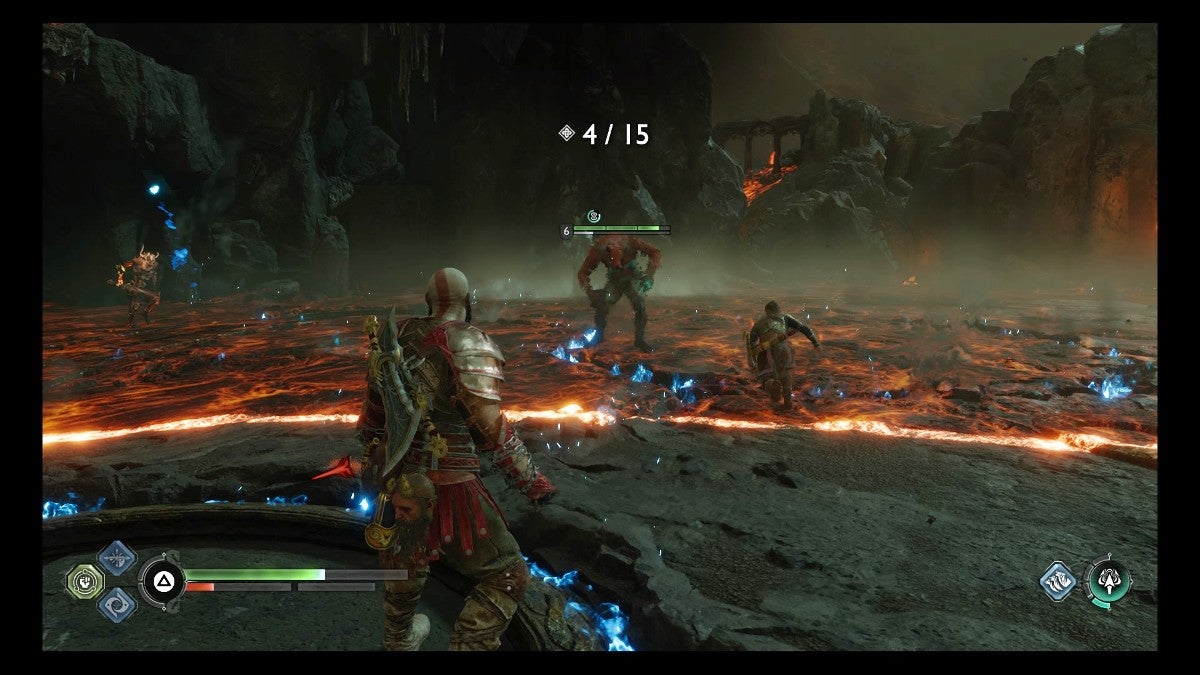
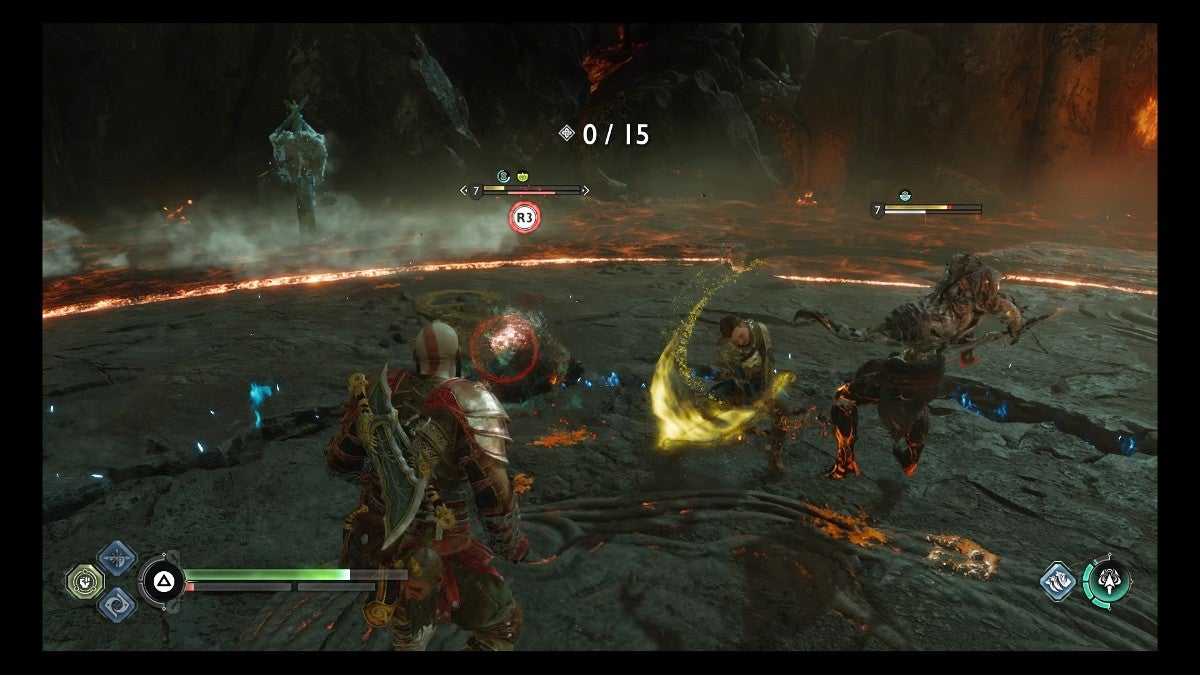
From the beginning of the trial, the Wulver will be present. Alongside a bunch of Draugr, it can be a pain to take down. Don’t get fixated on killing it immediately, as this can cause you to end up in the sea of fire outside the ring.
There’s no time limit in this challenge, so be patient. Take out the Draugr that try to swarm you first and chip away at the Wulver’s health bar when possible. The Draugr do not spawn infinitely—there are only 13 of them. Thankfully, Atreus is immune to the burning ground, so don’t worry about him.
Since the Leviathan Axe is being used to subdue the poisonous pillar, you want to use the Blades of Chaos to pull enemies to you and the Draupnir Spear for alternative ranged attacks.
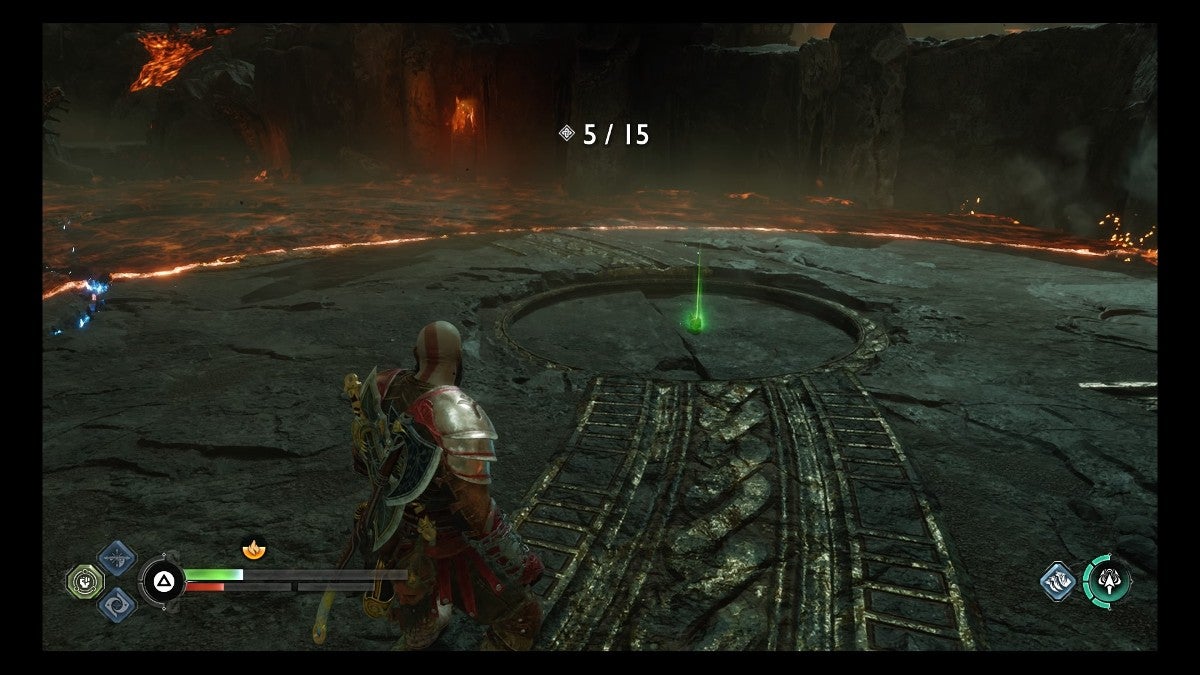
As the ring of fire moves, you will find Healthstones in circular indents on the ground. Make sure to use these sooner rather than later, as your window to access them is limited.
How to Deal With the Wyvern
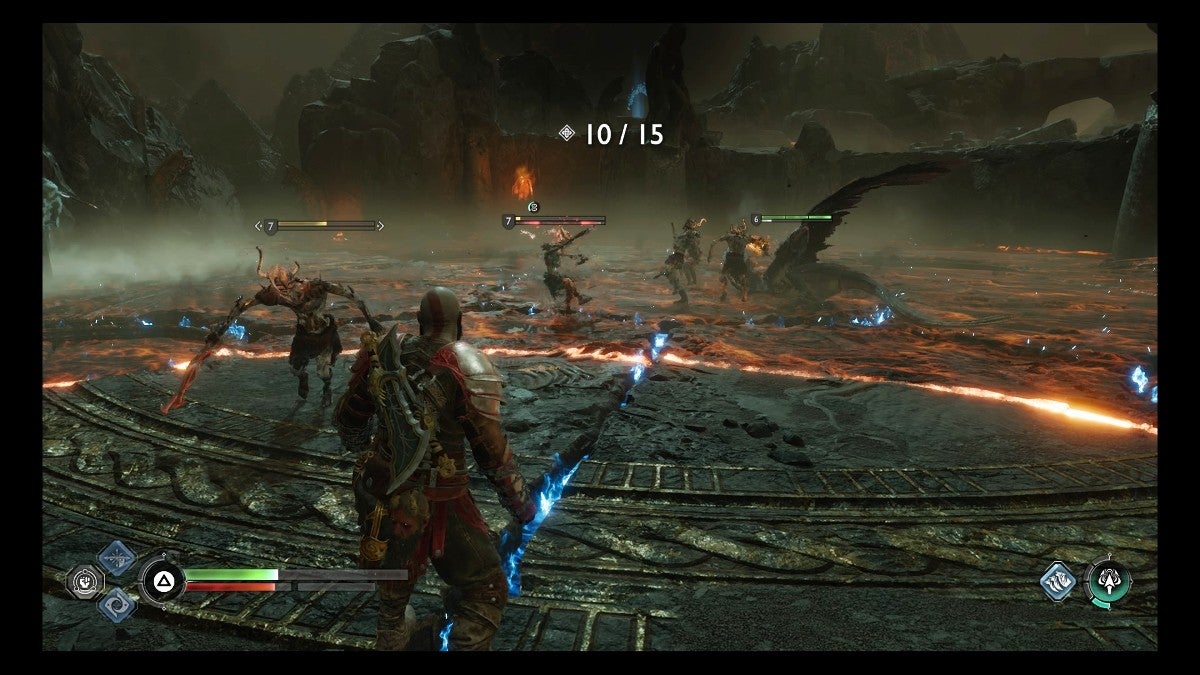
The Wyvern will show up when you’ve killed 10 enemies. At this point, you want to take out the Wulver if you haven’t done so already. Focus on clearing out the remaining Draugr so that you can go one-on-one with the flying fiend.
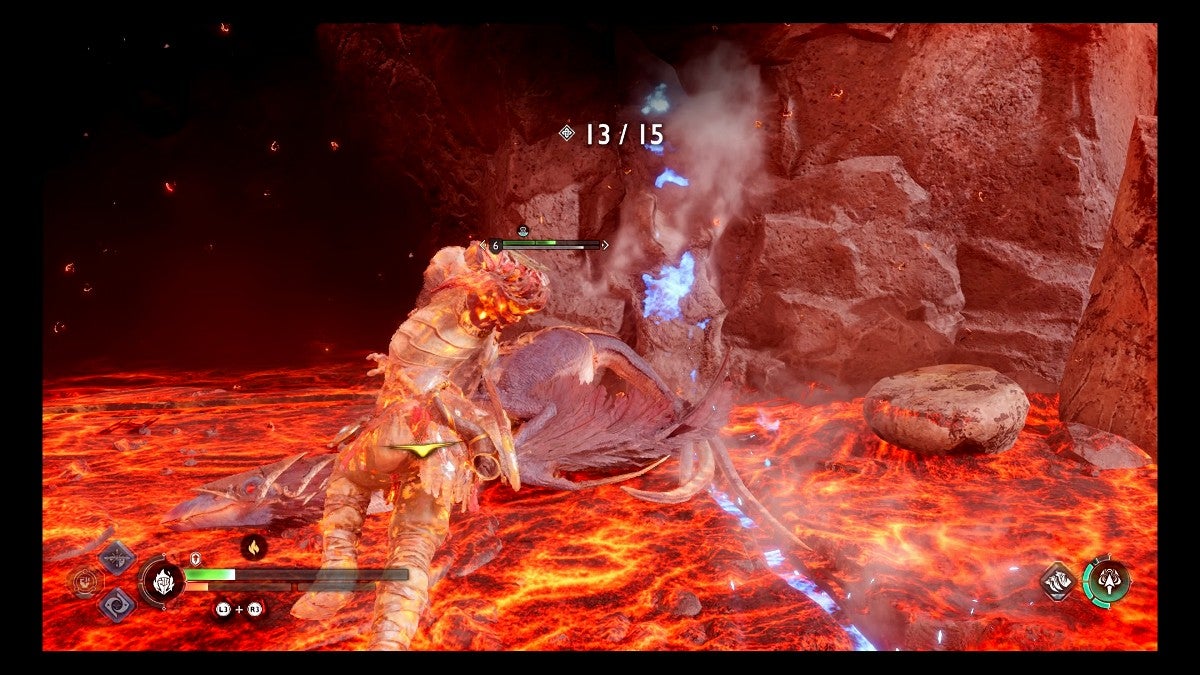
Once you’ve singled out the Wyvern, weaken it so that it has a third of its health left. At this point, you can activate your Spartan Rage and pummel it into submission.
During Spartan Rage, you are immune to the effects of the sea of fire, so you don’t need to worry about taking damage. After the last enemy goes down, the trial will end and the burning ground will return to normal.
Rewards for the Ring of Fire Challenge
After you complete the third of the final trials in Muspelheim, you get the following rewards (repeatable):
- Blazing Embers (1)
- Smoldering Embers (2)
- Glowing Embers (3)
- Divine Ashes (2,000)
- Kratos XP (1,000)
- Atreus XP (1,000)
- Hacksilver (200,000)
The NR Trial – Onslaught Challenge
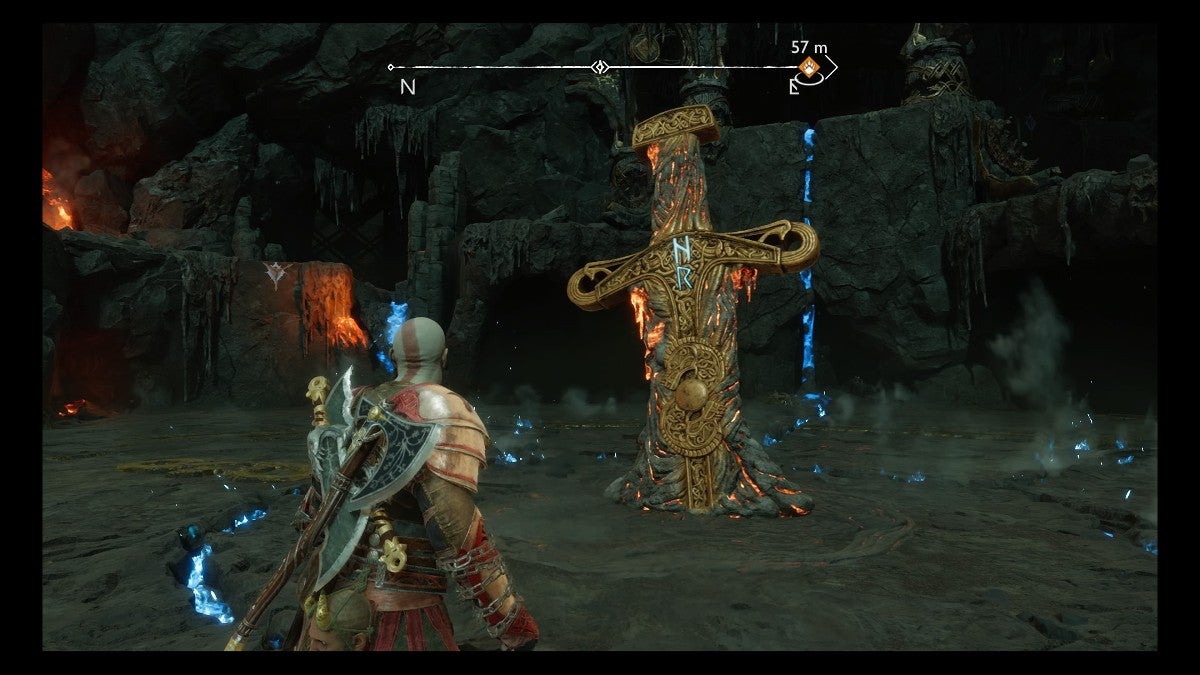
To begin this trial, complete any of the N-Sword trials and then any of the R-Sword ones.
It feels like the Onslaught Challenge and the Endurance Challenge should have had their names swapped around, as, in this trial, you need to survive for 300 seconds (five minutes) against a variety of foes. For the most part, you have to deal with Dark Elves, Hel Shadows, and basic Einherjar units. However, some bigger enemies also show up.
Out of all the final trials, this one is a challenge that you want resurrection stones for the most. Using one will not cause you to fail the trial, so make sure to buy one from Brok before you begin.
Dealing With the Small Threats
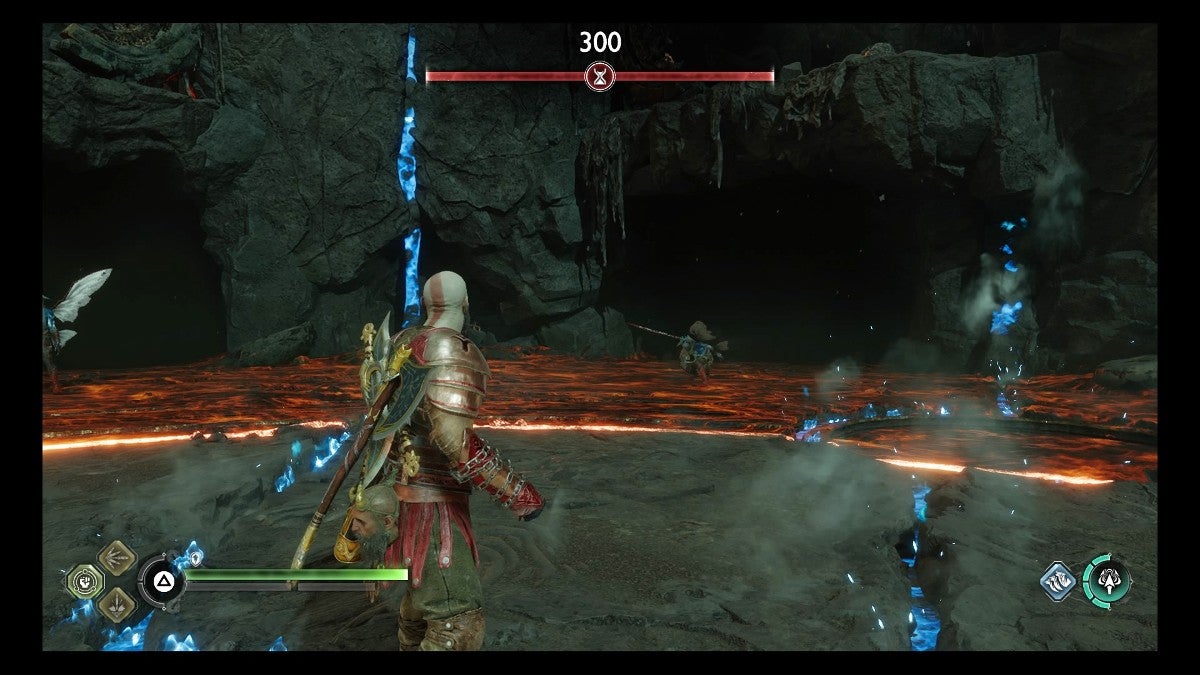
When the trial begins, in addition to seeing some Dark Elves flying your way, you should also notice the ring of fire from the previous challenge. As before, if you step outside this ring, you take fire damage and will begin to burn. Therefore, it goes without saying that you should stay within the circle as much as possible. Thankfully, it doesn’t move in this challenge.
This can be a bit tedious, as Dark Elves and Hel Shadows will use their ranged attacks to pester you from just outside the ring. Though, on occasion, they will wander into the safety zone. When they do, take them out! Also, be wary of the fast foes that can grab you.
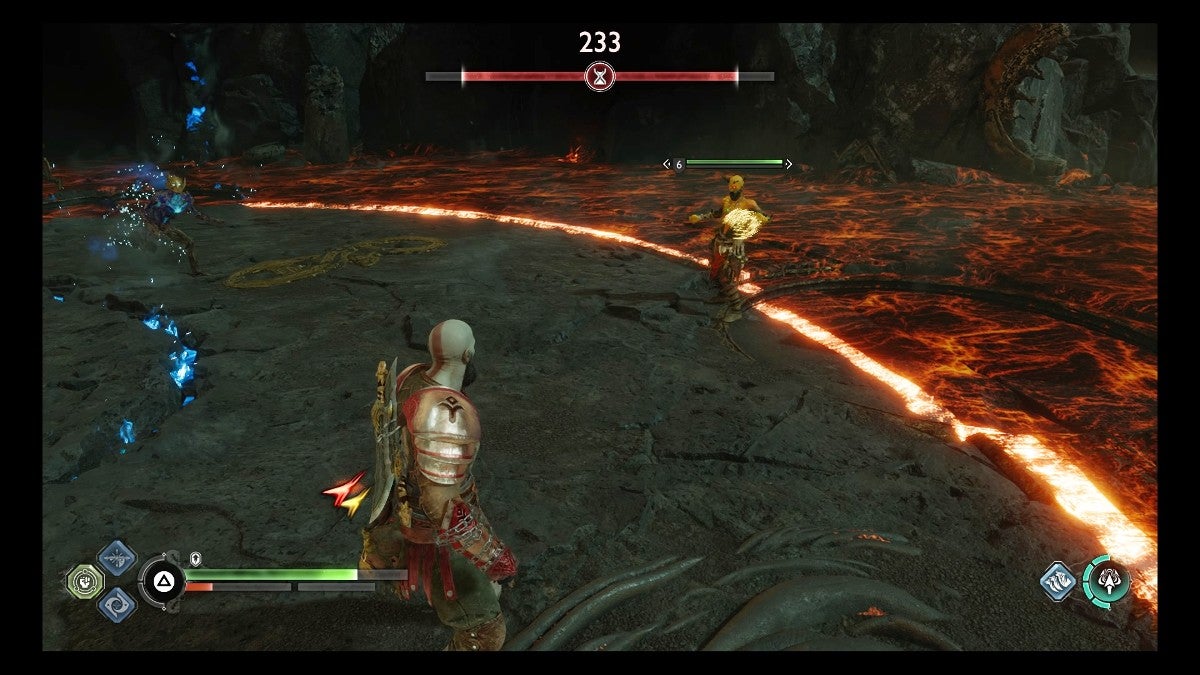
Be sure to use stun grabs as much as you can in this trial. Not only will this maneuver help you take down foes quicker, but the invulnerability granted during grab and execution animations will prevent you from taking damage.
In between pummeling enemies close-up, make sure to use the Draupnir Spear to weaken distant foes as well. This softens them up and lets you take them out faster when they get near. It’s advised to use the Draupnir Spear over the Leviathan Axe here because it has a faster rate of fire.
Dealing With the Ogre
The first of the big threats to show up will be an Ogre. This huge foe will approach from the southeast when 200 seconds remain in the trial. Pepper them with arrows and spears to weaken them and then lay into them once they reach the safe area.
It’s important to focus on the Ogre over the smaller enemies, as you can ride this monster and deal big damage to the other foes nearby. What’s more, other big threats will show up shortly, and you don’t want to face them at the same time as an Ogre. Use stunning tactics and poison to swiftly build up their stun bar so that you can hop on their back.
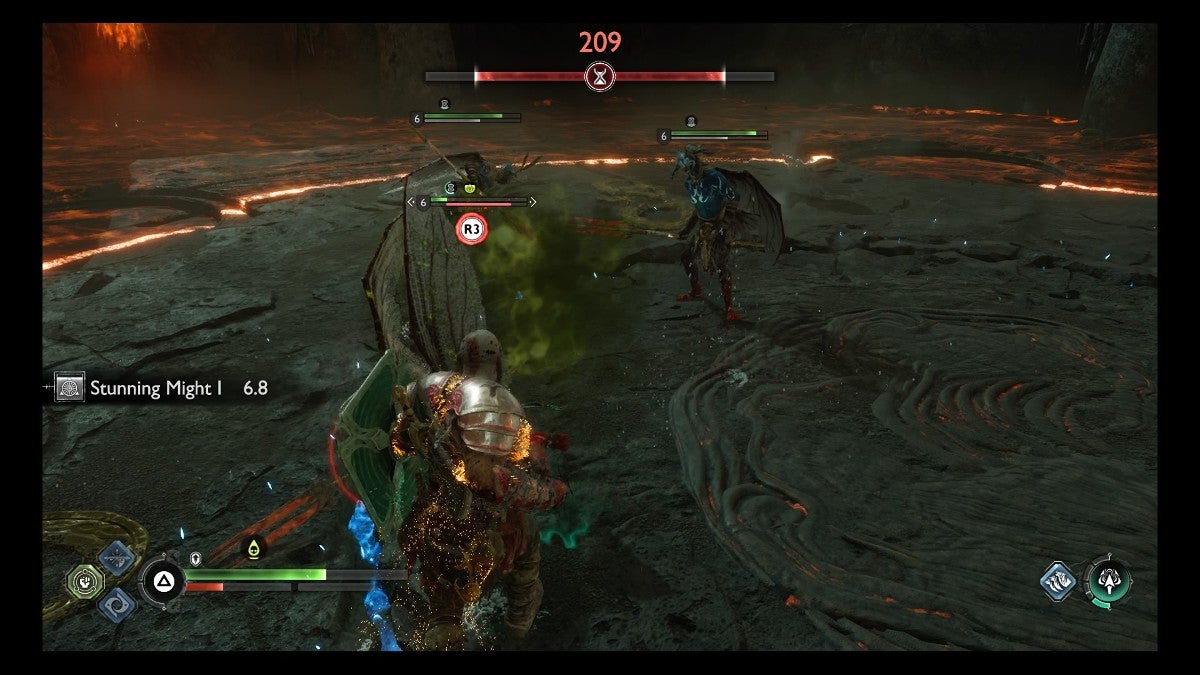
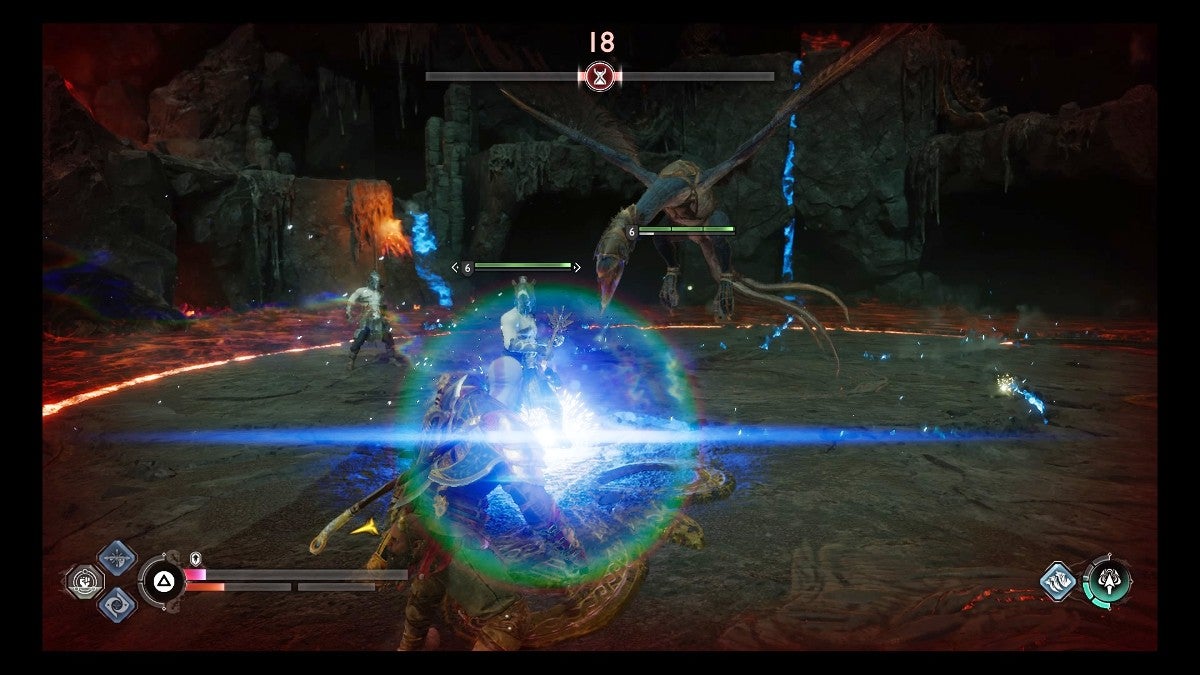
Dealing With the Wyverns and Einherjar

When you have approximately 140 seconds left to go, a Wyvern will swoop down to toughen this trial. These fast and strong adversaries are always annoying to fight, so be sure to kill this one as quickly as you can.
Parrying their dive attack can daze them long enough for you to build up a lot of stun damage. On top of this, make sure to use Atreus’ sonic arrows to make the Wyvern more susceptible to your stun tactics.
As the timer drops down to 75 seconds left of the trial, a group of Einherjar enemies will start spawning. These armored adversaries can take a bit more damage than the other common foes, so it can be tricky to deal with them alongside a Wyvern.
However, sonic arrows and unarmed attacks are more than effective enough to drop their health into execution range quickly. Be careful of their Bifrost attacks, as that will cause you to take additional damage from other sources. Prioritize dodging, blocking, and parrying here.
Unfortunately, another Wyvern will show up when there are 30 seconds left in this challenge. You don’t have to kill it with so little time left, however, it may be best to dispatch it so that it can’t kill you at the last second.
Rewards for the Onslaught Challenge
After you complete the fourth of the final trials in Muspelheim, you get the following rewards (repeatable):
- Blazing Embers (2)
- Smoldering Embers (1)
- Glowing Embers (3)
- Divine Ashes (2,000)
- Kratos XP (1,000)
- Atreus XP (1,000)
- Hacksilver (200,000)
The RF Trial – Phantom Challenge
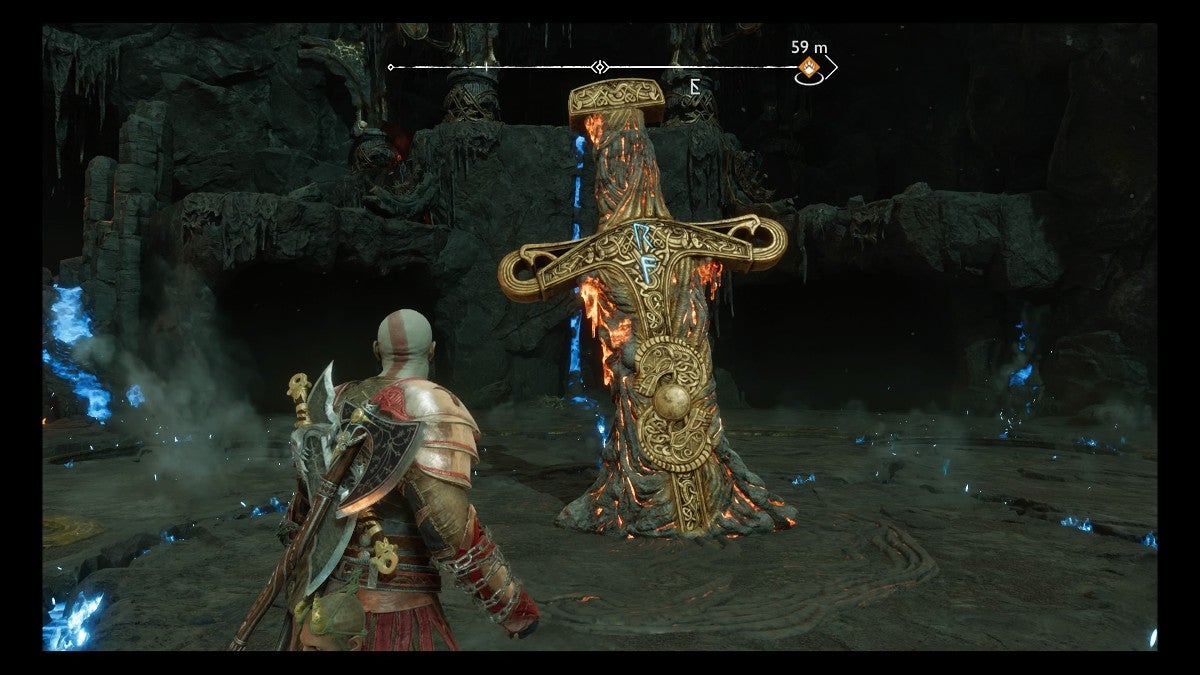
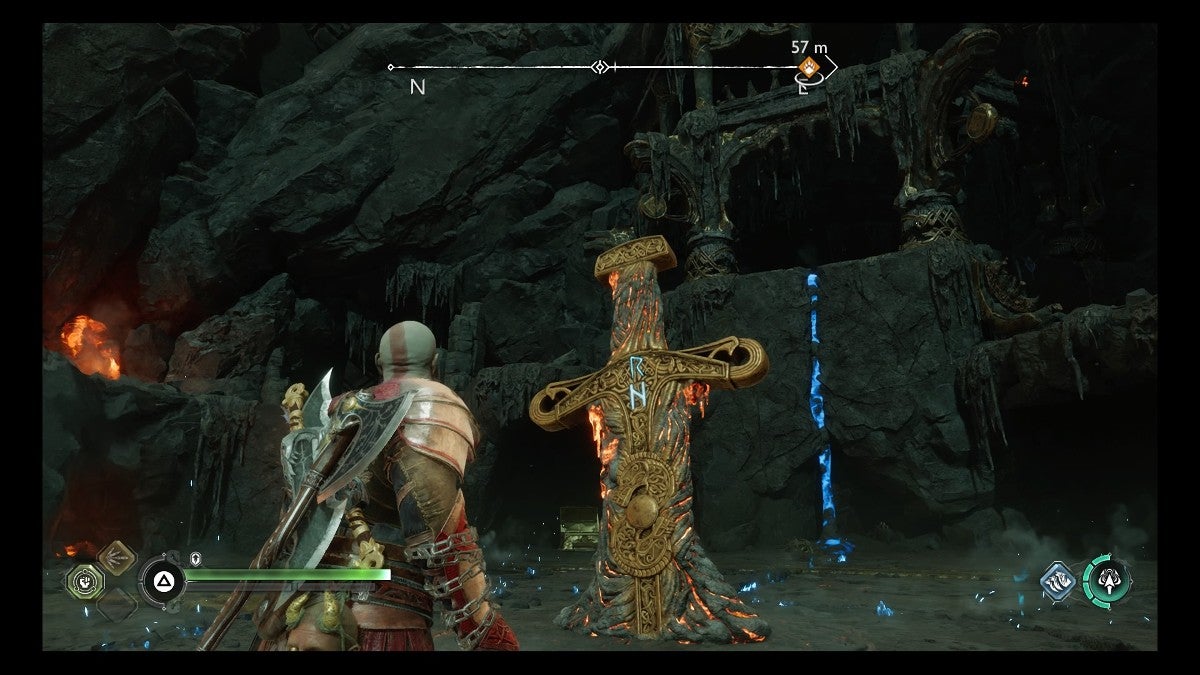
To begin this trial, complete any of the R-Sword trials and then any of the F-Sword ones.
As if dealing with a Flame Phantom by itself wasn’t hard enough, this challenge will pit you against one as well as other strong enemies. You need to be particularly evasive and precise with your attacks in this trial if you want to succeed. Also, bring a Superior Ressurection Stone.
Subduing the Flame Phantom
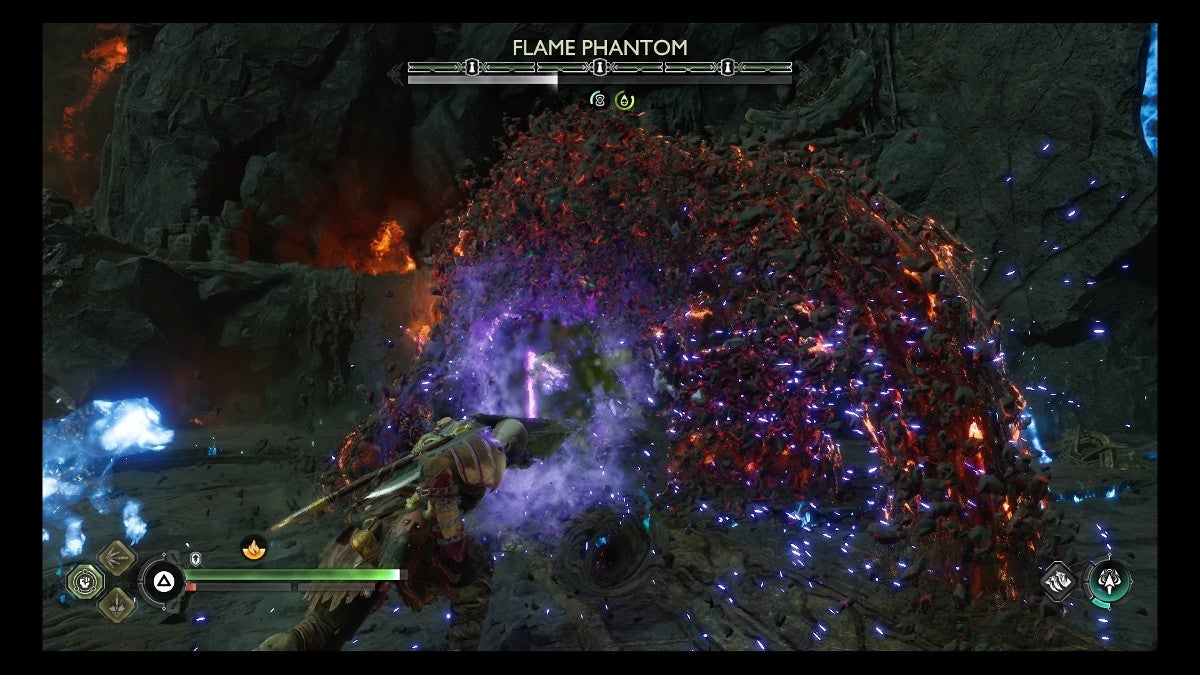
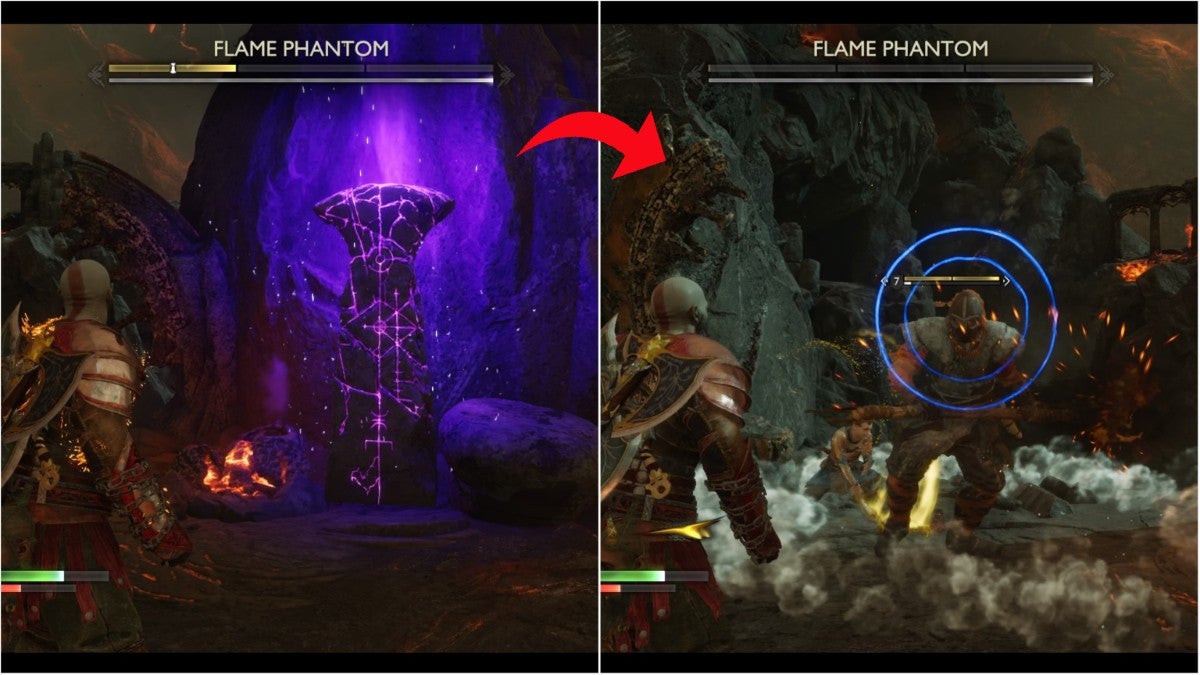
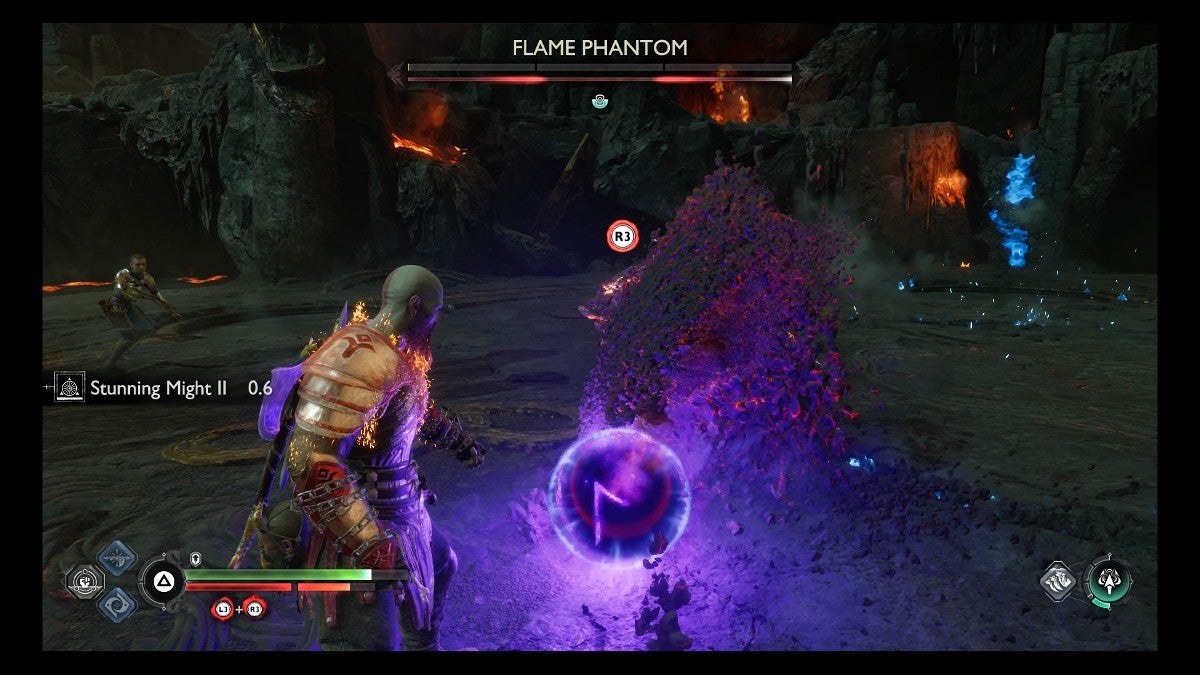
As usual, when fighting a Flame Phantom, you cannot damage its health directly. You need to immobilize it by filling up its stun bar. Every time you do so, the purple pillars around the arena (of which there are three) will become vulnerable. Destroying a pillar will cause the Flame Phantom’s health to drop by one full segment.
Poison is extremely effective against Flame Phantoms, as lowering their level will make them take more stun damage than normally possible. Once poisoned, you should be able to stun-lock this big foe with rapid unarmed attacks.
Additionally, use runic summons, sonic arrows, runic attacks, and your relic to further stagger the Flame Phantom. If you do this, the ethereal fiend will be the least of your worries during this challenge.
How to Deal With the Other Enemies
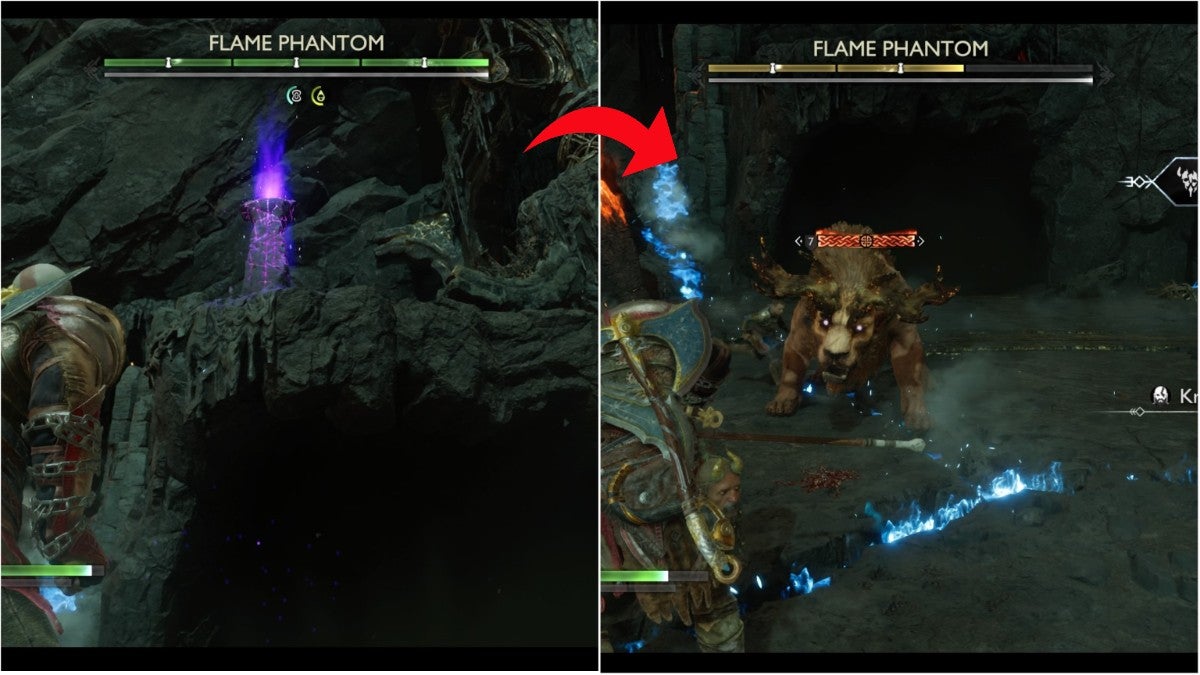
By destroying the northwest pillar, a Flame Graðungr will get summoned. It will have an orange health bar shield, which you should dissipate by attacking it with the Leviathan Axe. Once the health bar shield is gone, go back to your preferred combat tactics.
This beastly foe is more ferocious in battle than the Flame Phantom, so focus on taking it down quickly. Also, you don’t want it to be around when you break the other pillars and summon further foes. Due to its fiery nature, the Leviathan Axe and frost tactics are especially useful against it. Though, with that said, so are poison and stun-related ones.
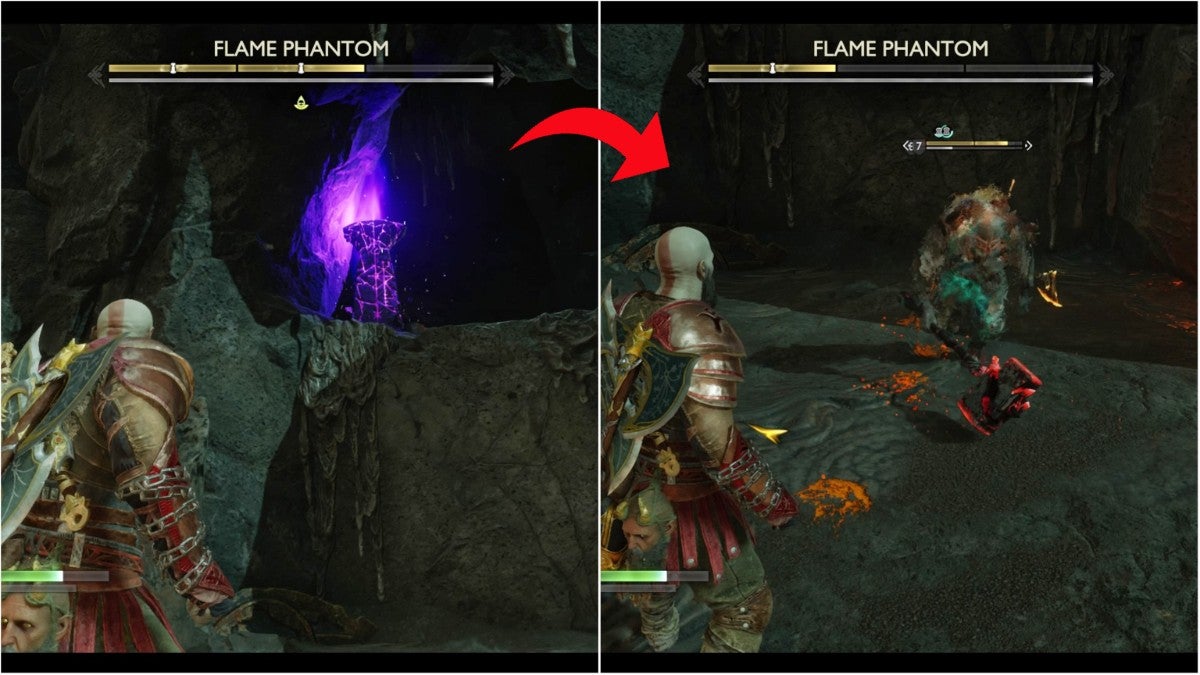
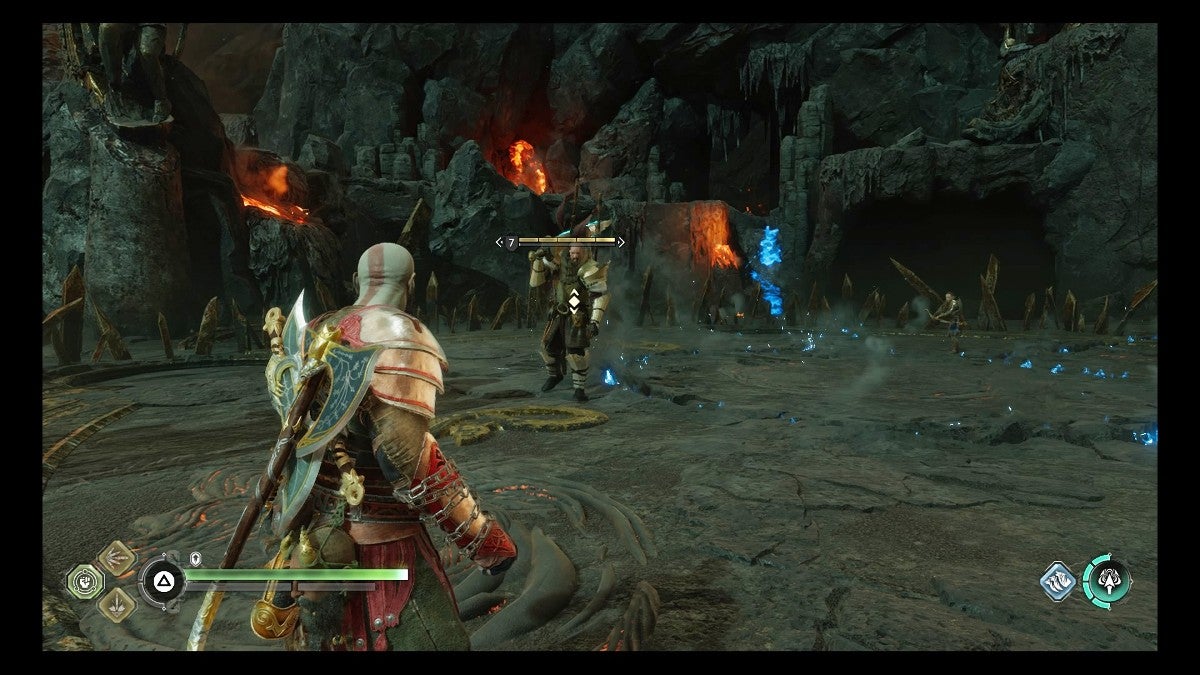
The fifth of the final trials gets even spicier when you take out the northeast pillar. This will spawn three Draugr enemies: one Draugr Lord and two Draugr Fiends. Try to pin them up against the wall, as Atreus can distract the two fiends while you handle the lord.
Stunning unarmed attacks and sonic arrows are as useful as always here, so go crazy with them. The lord is a bigger threat than the fiends, so take it out first before felling the faster foes.
The last pillar—the one in the southeast of the arena—will cause three Raider enemies to appear: one Raider Chief and two Raider Scouts. You should use similar tactics as when you dealt with the three Draugr that spawned from the northeast pillar.
These are the weakest of the summoned enemies in this trial, so they should not pose much of a threat. Be wary of their powerful attacks, as you need to shield strike (double-tap L1) to stop them from unleashing these moves.
After all three pillars go down, you can execute the Flame Phantom immediately. Do so to finish this trial and collect your well-earned treasure.
Rewards for the Phantom Challenge
After you complete the fifth of the final trials in Muspelheim, you get the following rewards (repeatable):
- Blazing Embers (3)
- Smoldering Embers (2)
- Glowing Embers (1)
- Divine Ashes (2,000)
- Kratos XP (1,000)
- Atreus XP (1,000)
- Hacksilver (200,000)
The RN Trial – Boss Rush Challenge
To begin this trial, complete any of the R-Sword trials and then any of the N-Sword ones.
The last of the final trials in Muspelheim will force you to face five boss-tier enemies back-to-back. Thankfully, you go one-on-one with all of them, so this challenge is pretty straightforward. Though, don’t let your guard down, as you won’t have time between rounds to rest!
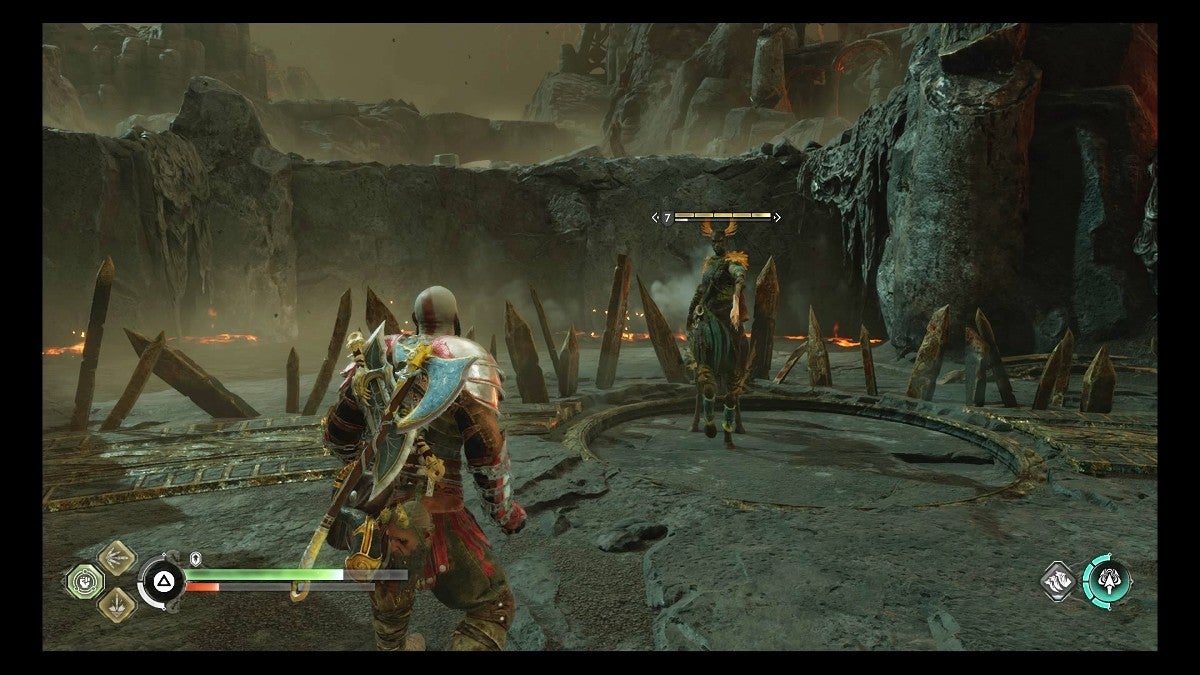
Taking Out the Traveler
The first boss you must fight is a Traveler. This armored adversary has a solid defense but is quite slow. As such, you can dodge and parry all of their attacks with relative ease. Similar to other bouts, poison is very useful, so use it to lower the levels of all bosses in this challenge.
Once you’ve dropped the Traveler’s health bar down to the last segment, you can perform an execution on them to make the fight end a bit quicker. On a related note, you should do this against all the bosses to save yourself some time and effort.
Slaying the Stalker
The next boss rushes you the moment the Traveler goes down. Stalkers are fast and furious, so prioritize dodging even more than usual when it appears. However, they are just as susceptible to stunning tactics and poison, so use those strategies liberally.
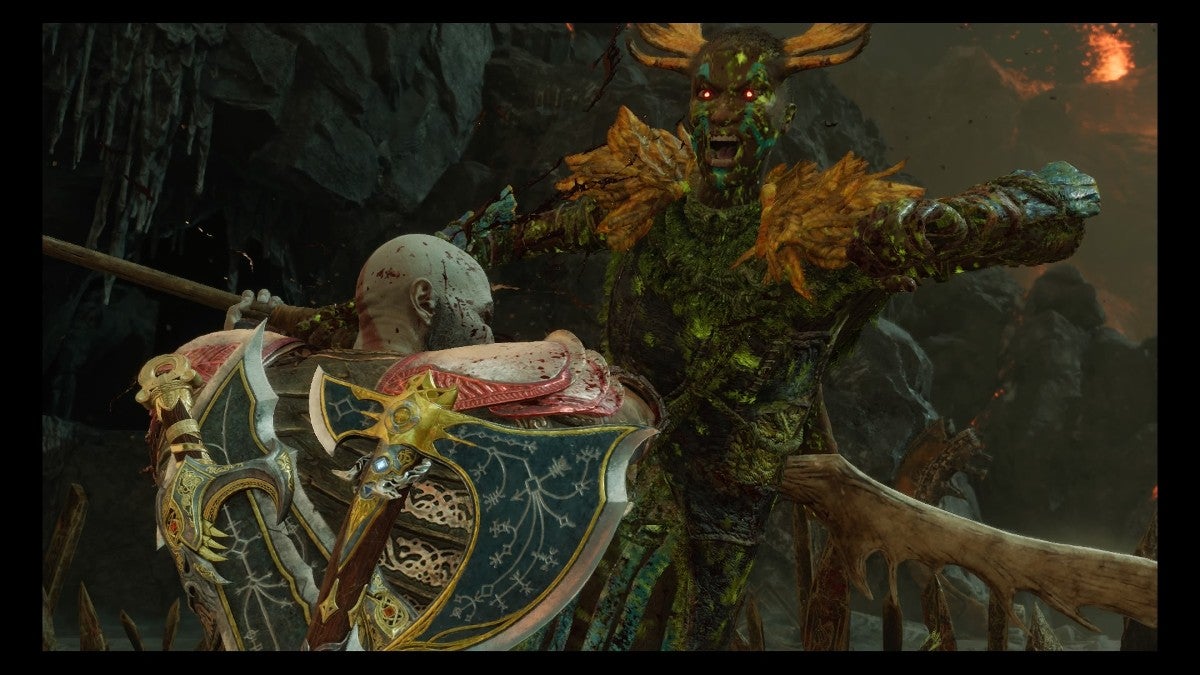
During this round, whenever you see the Stalker’s horns glowing, be sure to throw the Leviathan Axe at them. This will knock the Stalker down and give you a wide window to attack with no risk. Once you’ve gotten them down to the last segment of their health bar, execute them.
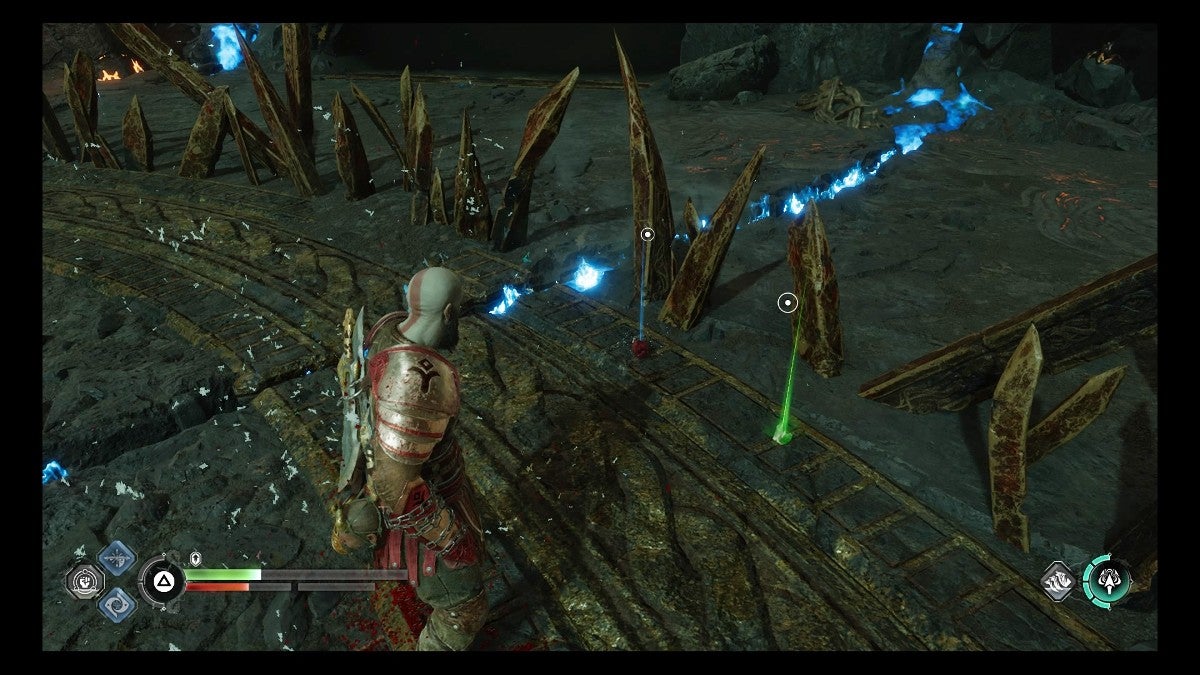
When the Stalker dies, it will drop a Healthstone and a Ragestone. Be sure to pick them up if you’re injured and are running low on rage. But be quick about it, as the next boss will not wait for you to be ready before they attack!
Destroying the Dark Elf Lord

Arguably the most annoying out of the bosses in this challenge, a Dark Elf Lord shows up to ruin your day. They don’t have that much health compared to the Traveler and Stalker, however, their ranged attacks can be tricky to avoid.
The melee moves of the flying foe will be easy to see coming, however, there is a delay on some of them, so be wary of dodging too early. What’s more, their ranged attacks leave light mines on the ground, which explode after about two seconds.
Overall, this bout will be about timing and attacking during safe windows. Thankfully, as a result of the Dark Elf Lord’s frailty, Atreus’ arrows can stun them easily. Make use of this to interrupt the lord’s attacks as often as possible.
By using Atreus’ sonic arrows, you can make the Dark Elf Lord much more vulnerable to your unarmed attacks. Do so and punch the elf until they’re within range of execution. For a few seconds, sit back, relax, and enjoy Kratos unleashing a nasty pile driver-like move on the pesky Dark Elf.
Leaving the Light Elf Slayer in the Dust
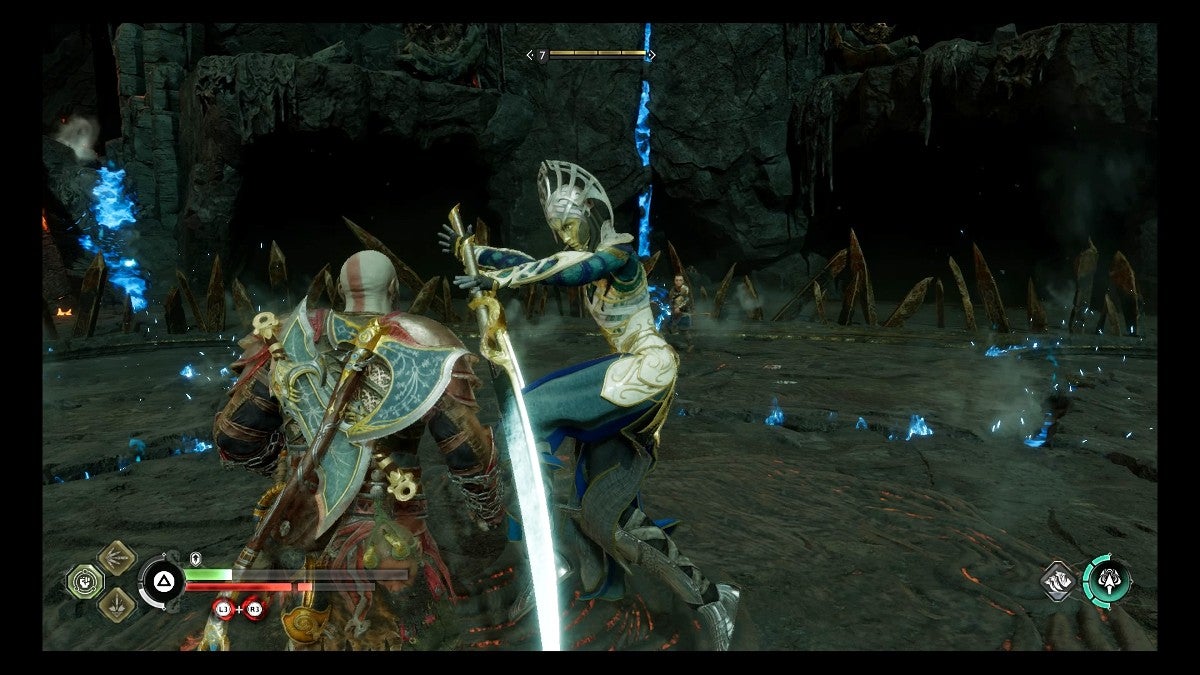
While just as nimble as the Dark Elf Lord, the Light Elf Slayer at least has the courtesy to face you in melee combat. They have a bit more health than their Dark Elf counterpart, however, they’re easier to pummel into submission.

Besides dodging, parrying, and blocking their attacks, you need to stop them from healing. Once you see a double blue ring, shield strike them as quickly as possible so that they don’t restore some of their health.
On a similar topic, Light Elf Slayers hate shield strikes in general, so feel free to abuse this mechanic against them. The Light Elf Slayer also drops a Healthstone, so grab it before the last boss appears.
Eliminating the Einherjar Captain
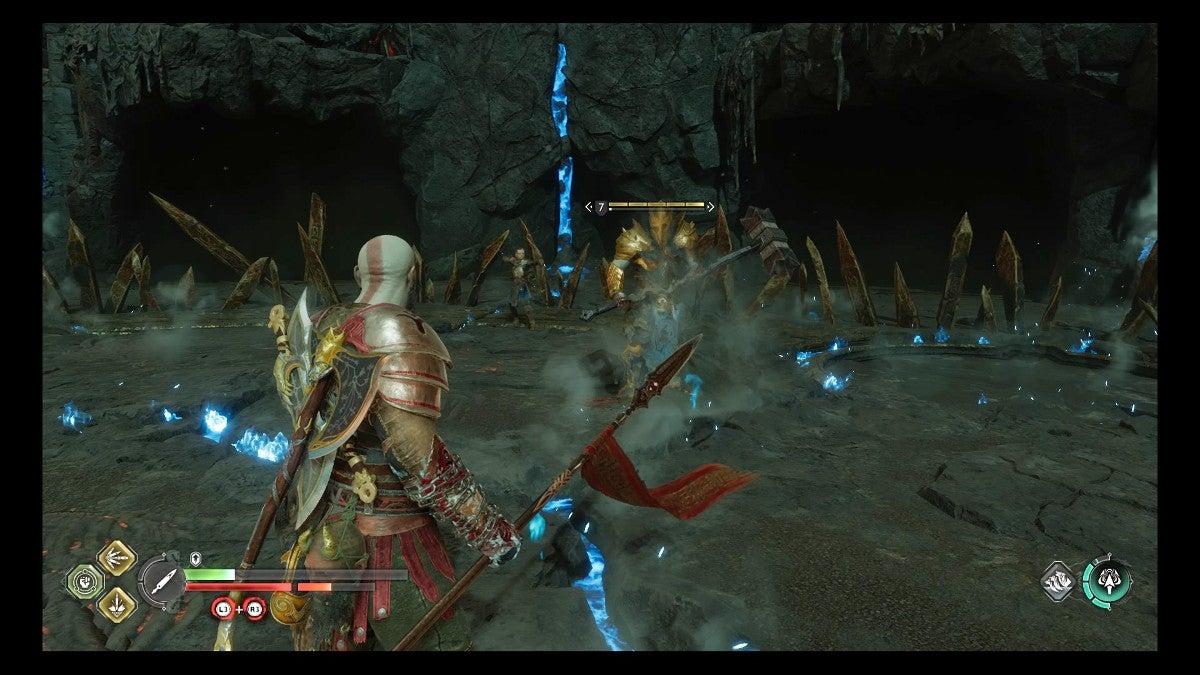
The fifth and final boss you have to fight is an Einherjar Captain. I hope you’re not tired of this enemy from the last time you saw them in the second of the final trials.
You can treat this burly bully much like a Traveler—with a few exceptions. Their slow hammer swings are easy to see coming, so block, parry, and dodge them as usual. In between defensive tactics, make sure to continue the assault of unarmed attacks and sonic arrows to build up that stun bar.
Pay attention to the captain’s color, as it will turn a bit purple when the enemy is about to use their only ranged attack. They will summon a series of Bifrost eruptions from the ground that appear in a line. Dodge to the left or right to avoid it completely. Also, be wary of the captain’s ability to teleport, as they try to get behind you.
Since this is the last boss, don’t hold back your anger! Unleash your Spartan Rage whenever you feel it’s appropriate, as this will make the final fight easier. While you’re in this nearly invulnerable mode, go wild on the armored enemy,
Once you’ve dropped their health bar to one segment, go in for the execution. Although, if you build up the foe’s stun bar quicker than usual, don’t hesitate to use a stun grab instead of an execution; the ends justify the means.
Rewards for the Boss Rush Challenge
After you complete the sixth and last of the final trials in Muspelheim, you get the following rewards (repeatable):
- Blazing Embers (3)
- Smoldering Embers (1)
- Glowing Embers (2)
- Divine Ashes (2,000)
- Kratos XP (1,000)
- Atreus XP (1,000)
- Hacksilver (200,000)