![]() Key Takeaway
Key Takeaway
You’ll need to swim, climb, and fight your way through the Crimson Narrows to rescue the trapped miners. Keep your eyes peeled for yellow climbable objects and carry lots of healing items, as there is some unavoidable open combat.
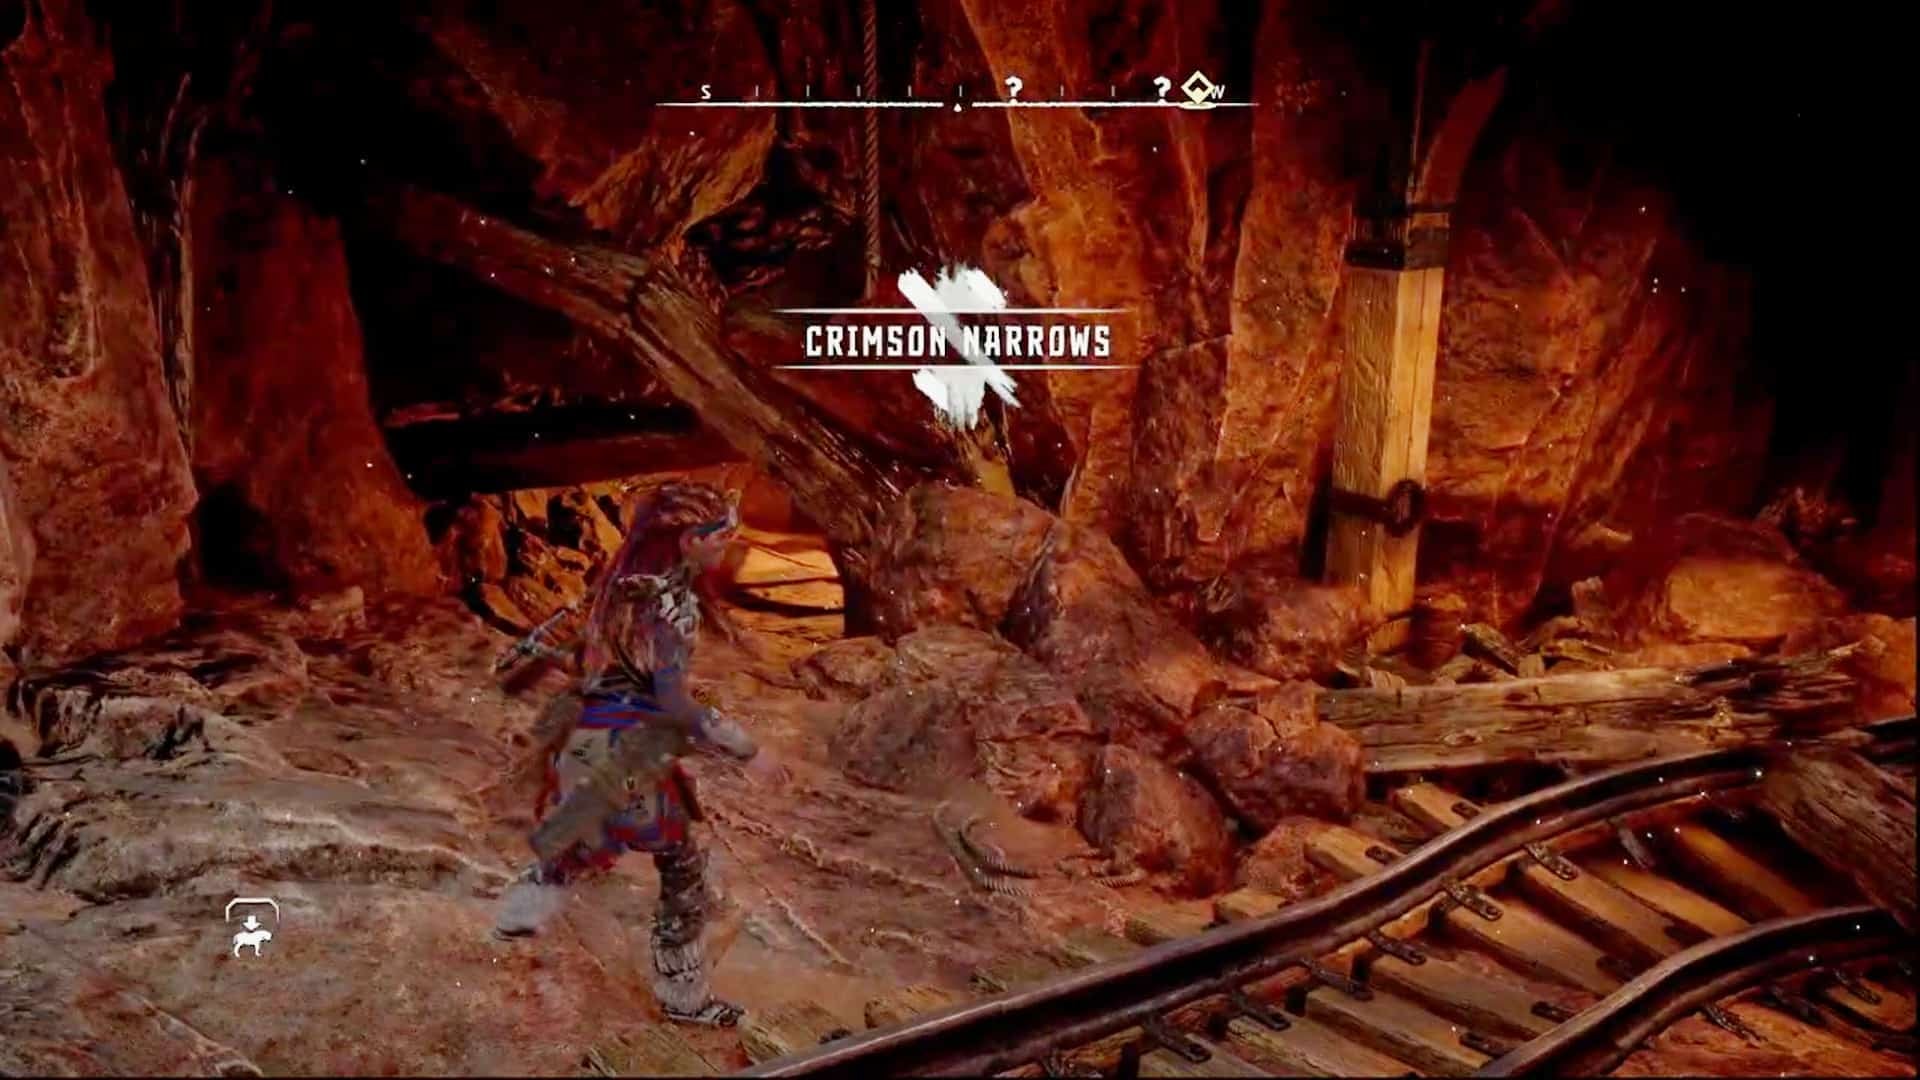
To begin this quest, you’ll need to speak to a miner in Chainscrape before heading north to the Crimson Narrows. Finding this mine is the easy part, but navigating within it can be tricky. Keep your eyes peeled for ladders!
Table Of Contents
Find the Trapped Miners
First, speak to Korvend just outside the mine to learn about the trapped miners. Feel free to get more information from him before proceeding.
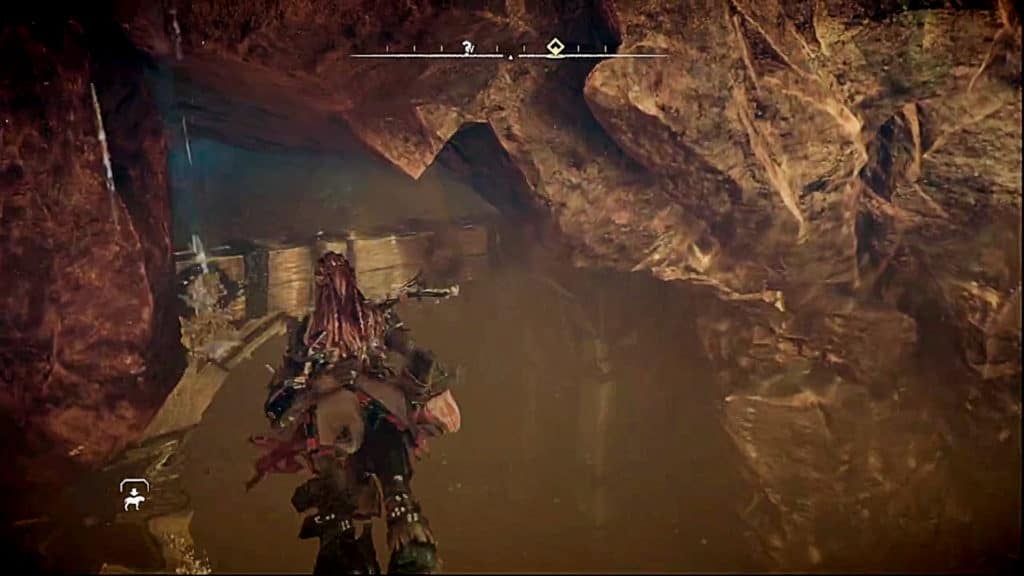
After you enter the mine, you’ll find it flooded. There are crates of loot around, so be sure to dive down and collect them. However, to progress, you’ll want to swim to the western side of this flooded chamber.
Near the western wall, you’ll find a submerged wooden archway. This is the marker that indicates where you need to go. Dive down and swim through the linear underwater passage.
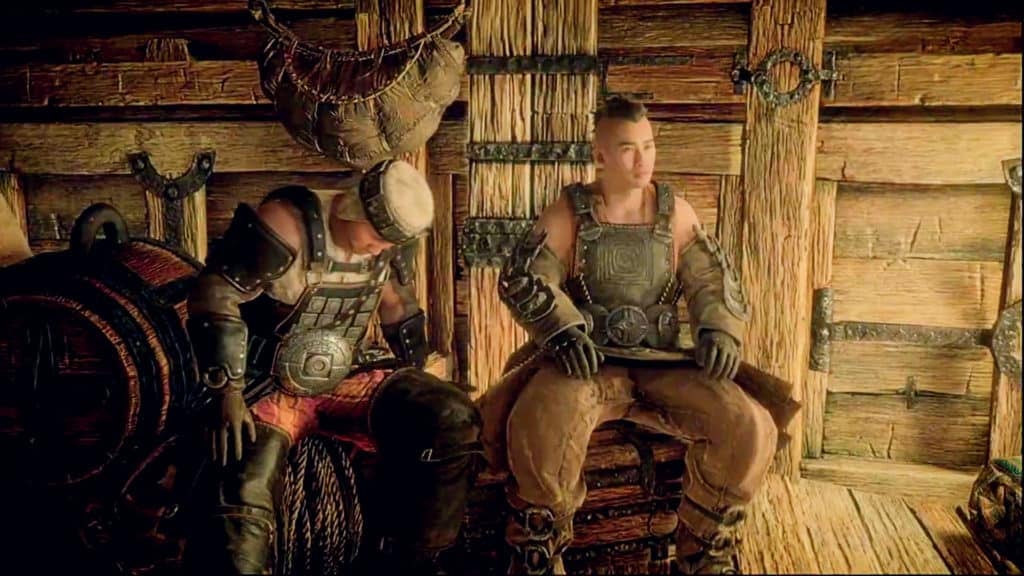
At the end of this underwater passage, you’ll need to surface to find another room. Here, there will be the two trapped miners that need your help. Thorden, the uninjured miner, will fill you in on what happened. Lokuf, the injured miner, will complain a bit about his injury, but otherwise shows no signs of severe trauma.
Swim to the Main Chamber of the Mine
After speaking to the miners, Thorden will give you a Fuse and will mention that you need to blow up a cart of explosives to clear out the water. This is so the miners can get out, due to Lokuf being unable to swim thanks to his injured leg.
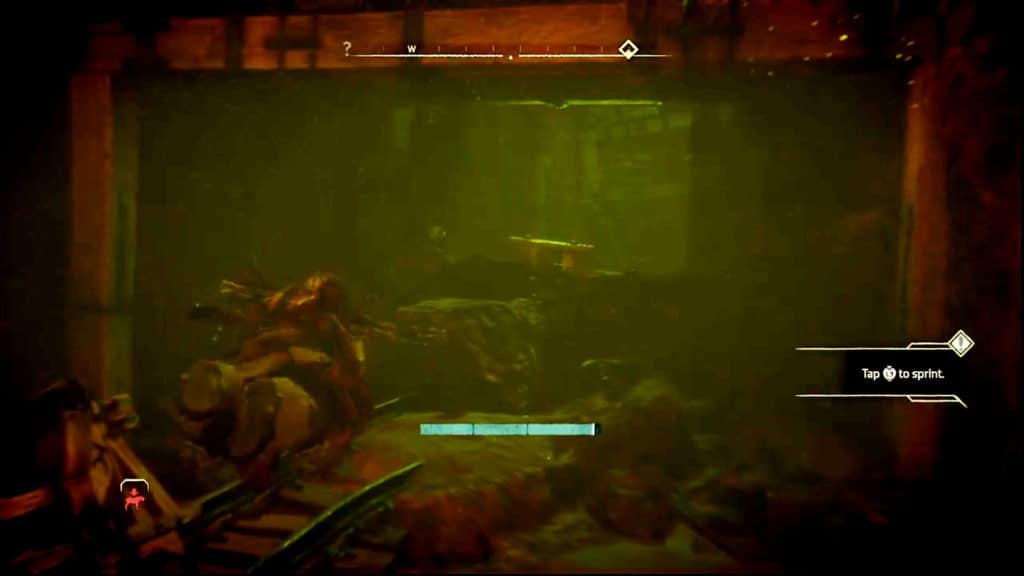
Following your chat, dive into the murky waters and head west. Here, you’ll find another flooded tunnel to swim through, however, the current will impede your progress.
To get through the strong current, press the Circle button to swim dash to the yellow bar in the middle of the tunnel. When you reach the yellow bar, press the Triangle button to boost off of it and get past the worst of the current’s drag. This will let you reach the ladder to the west and climb out of the water.
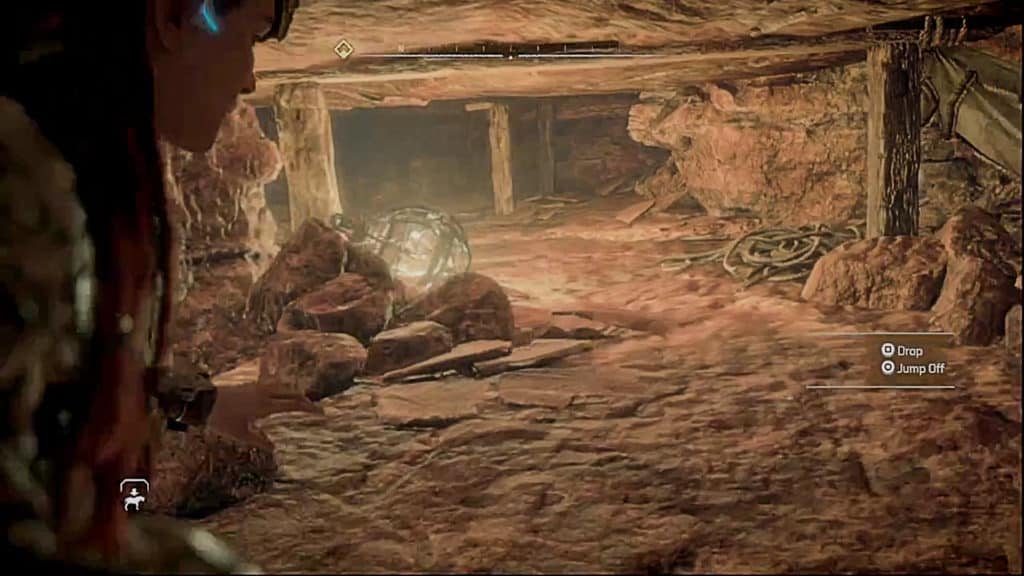
Explore and Ascend the Main Chamber
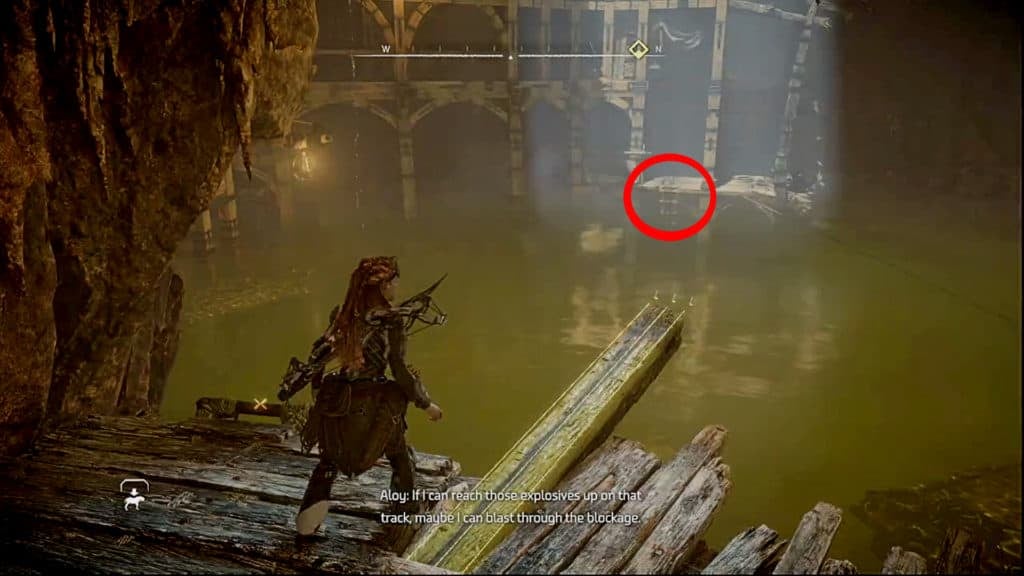
In this main chamber, you’ll need to get up to the tracks holding a minecart of explosives to the north. However, due to the chamber’s size and many climbable objects, it can be tricky to figure out how to do so.
After you’ve explored and gathered all possible loot, head to the ladder rising out of the water to the northwest of the entrance to this main chamber.
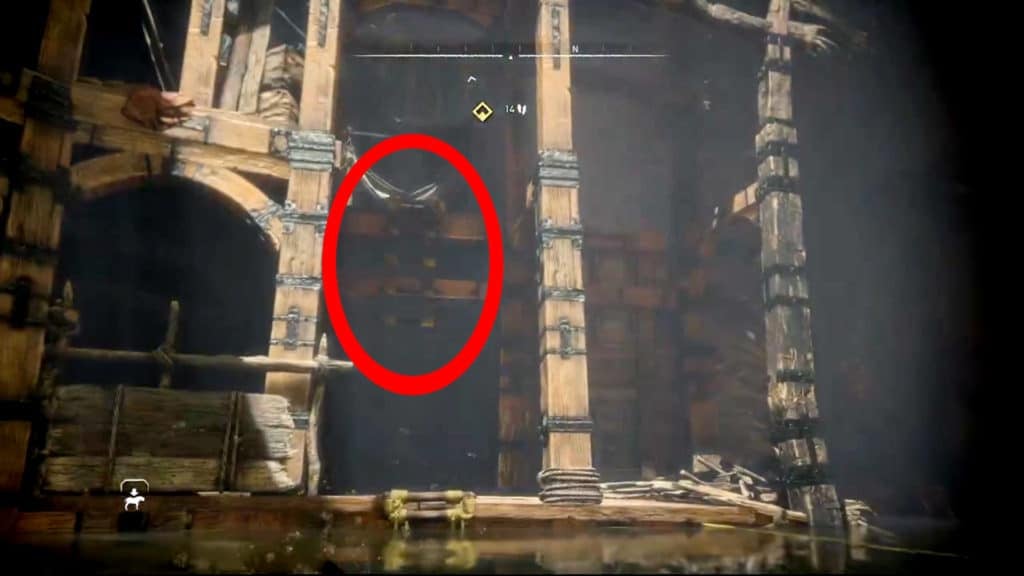
When you climb this partially-submerged ladder out of the water, there is another one that you’ll need to climb to progress. However, this second ladder is fairly hard to see due to being obscured in the shadows.
After climbing the second ladder, loot the crate at the top and then head south across some yellow wooden beams. This will bring you to a chamber with a few machine enemies.
Take Out the Burrowers
In the chamber beyond, there will be 3 basic Burrowers. Even without upgrades, you’ll be able to take out each of these machines with a single stealth strike.
Tips for Dealing With the Burrowers
- Tag all 3 of them so that they can’t sneak up on you
- Shoot the blue mushrooms with arrows to create temporary clouds of dust to hide within (melee attacks do not activate them)
- Refresh the blue mushroom dust clouds by standing near them and holding the Triangle button
- Aim for the Burrowers’ weak points to take them out with ranged attacks (their eye, their chest, and the resource container on their back)
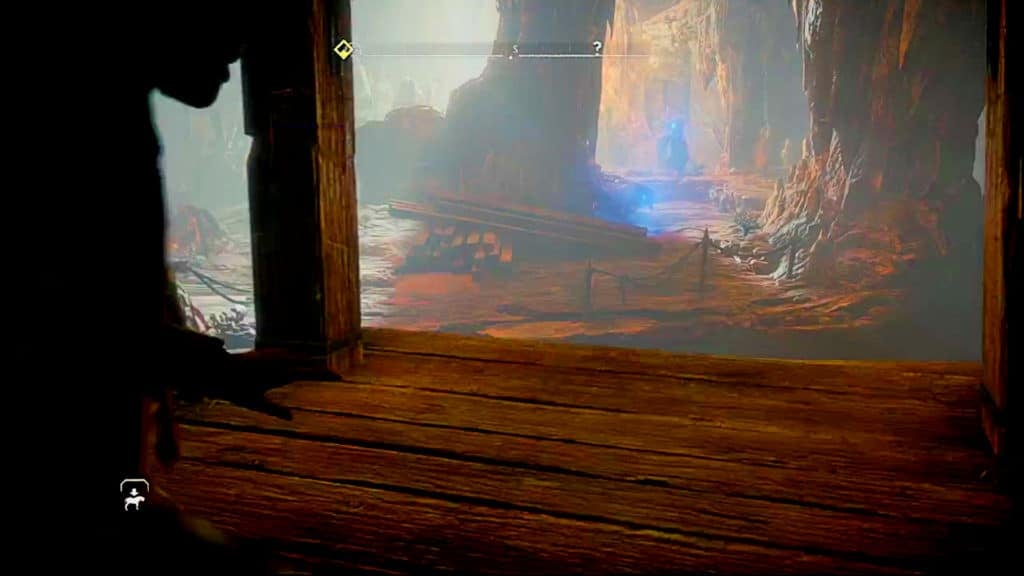
Find the Small Tunnel
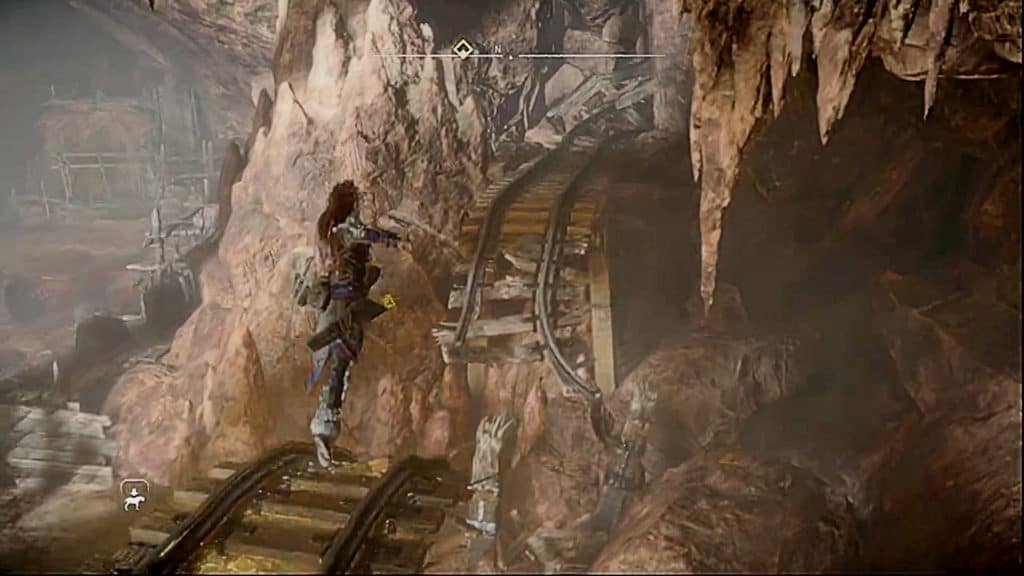
After you’ve cleared the area of enemies, loot the dead machines and crates before heading to the rails at the top of this chamber. You’ll need to jump across to the other side to find a small tunnel. This tight passage is how you progress to the next area of the Crimson Narrows.
Crawl Through the Small Tunnel
There are some crates of goods to loot here, so make sure to grab them before moving on. However, to get to the other side of this tight passage, you’ll need to follow the yellow lanterns. At the end, there will be a point where you can drop down. This will bring you to another side of the main chamber with the cart of explosives.
Use the Pullcaster to Get Up to the Minecart of Explosives
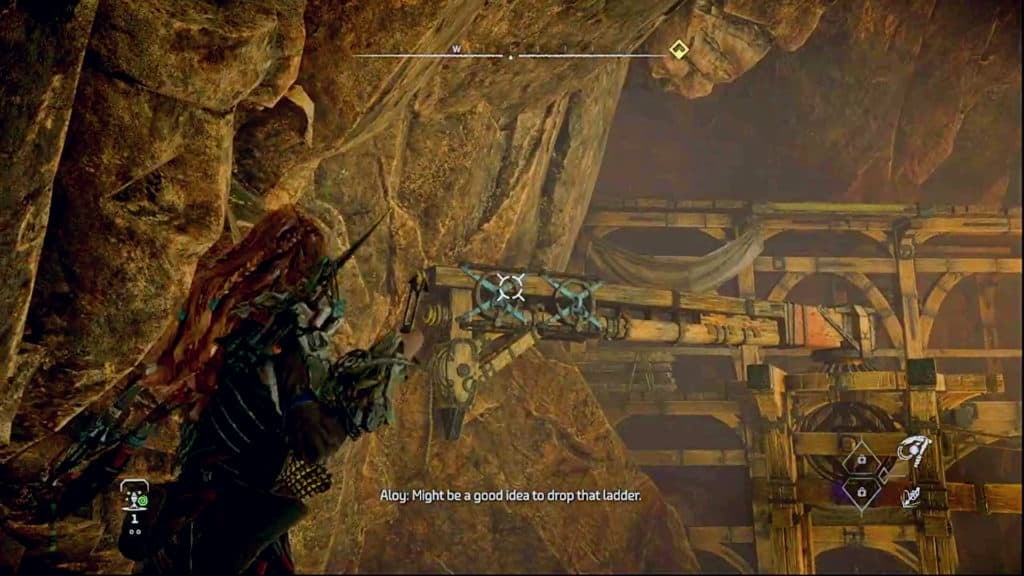
After exiting the small tunnel, you’ll find a ledge with a rolled-up ladder. Be sure to kick it down before continuing. If you fall into the water below, this ladder will help you get back up without having to go all the way around through the chamber where you fought the Burrowers again.
Beyond the lip of this ledge, you’ll also notice a partially-functioning crane. There are blue metal anchors on the side of it that you can latch onto with your Pullcaster. Shoot it and then yank the crane arm as far to the right as the game will let you. If you don’t pull it all the way, you won’t be able to make the jump to it.
When you’ve positioned the crane arm, jump onto it. Then, walk across and leap up to the yellow wooden beam ahead. This will bring you to the stretch of rails leading to the minecart laden with explosives.
Blow Up the Minecart Full of Explosives and Fight More Machines
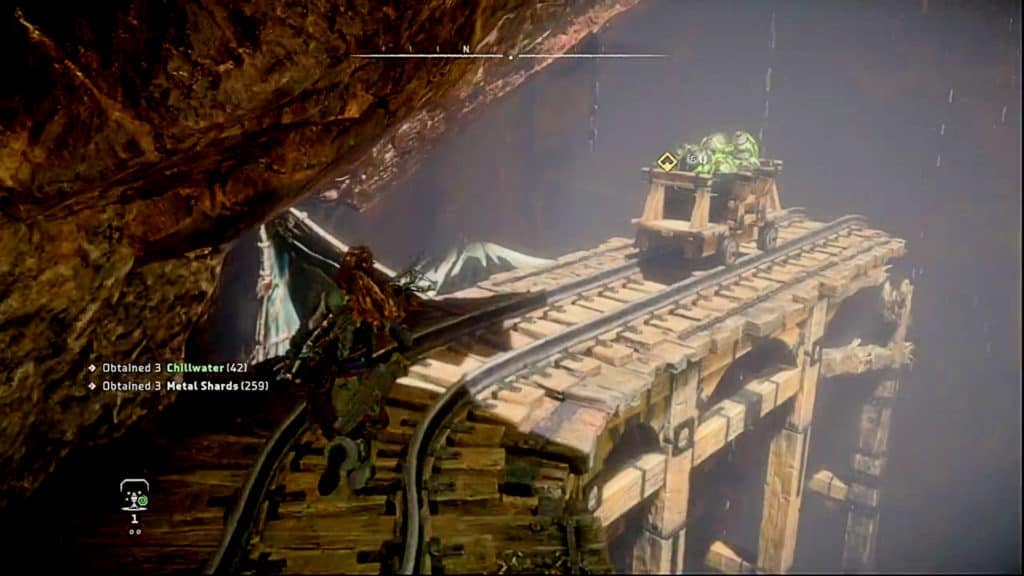
At this point, you’ll be able to interact with the minecart full of green spheres. With the Fuse you got from Thorden, you can send it over the edge and cause it to explode. This will drain Crinsom Narrows of its murky water and will let the trapped miners get out.
However, before you do, be sure to heal, as there is a fight with 3 machines that follows the draining of the mine.
Take Out the Tracker Burrower and 2 Scroungers
Before you can exit the mine, you’ll get attacked by a Tracker Burrower and a pair of Scroungers. All 3 of these machines will be pretty tough if you’re at a low level, so be sure to prioritize evasion over attacking.
With that said, if you are able to hit any of these machines with a full melee combo, you should be able to knock them down. Doing so will let you perform a critical strike. This will outright kill the Scroungers and severely injure the Tracker Burrower.
It’s recommended to use melee here over ranged attacks, as your Spear can do more damage more quickly than your Hunter Bow. Furthermore, making use of the Frost Blastsling to make the machines brittle is also a great tactic. Brittle machines take more damage from all sources, so all follow-up attacks will let you take more health away with each swing of your Spear.
Complete the Quest by Talking to Korvend

After you exit the mine, speak to Korvend to complete the quest. When you do, the lead miner will thank you and you’ll get some decent rewards for your successful rescue efforts.
All Rewards for Completing the Deep Trouble Side Quest
- 1,250 XP
- 2 Skill Points
- The Oseram Artificer Face Paint
Before you leave, feel free to talk to Korvend a bit more to learn about the problems that caused the mine to collapse in the first place. In doing so, you’ll learn that there’s a greedy individual in Chainscrape who’s to blame for this accident—and more.