![]() Key Takeaway
Key Takeaway
Press down on the D-pad to enter Photo Mode. After that, press the Y button to flip the camera around to take selfies. Check out the bottom and left sides of the screen for the photographic options.
It’s always nice when an open-world game has a Photo Mode, as it can really immerse you into the setting. Pokémon Scarlet & Violet not only has one but also a way that you can take selfies!
Table Of Contents
How to Take Selfies in Photo Mode
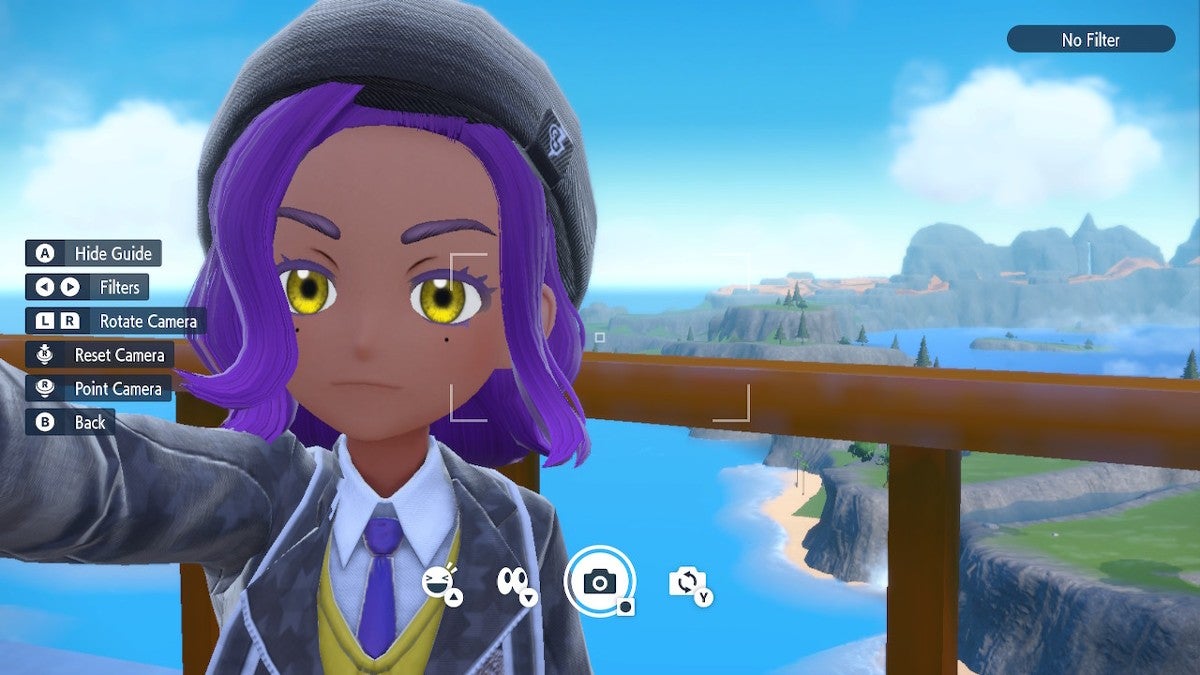
Begin by pressing down on the D-pad to enter Photo Mode. When you do, your Rotom phone’s camera app opens up. From here, you can see some options on the left of the screen as well as on the bottom. To flip the camera around for selfies, press the Y button. To take a photo at any time, press the Circle button.
At this point, you’re ready to take some awesome selfies! However, you can do a few things to make them more fun and unique. Let’s start with the options at the bottom of the screen.
How to Change Your Expression
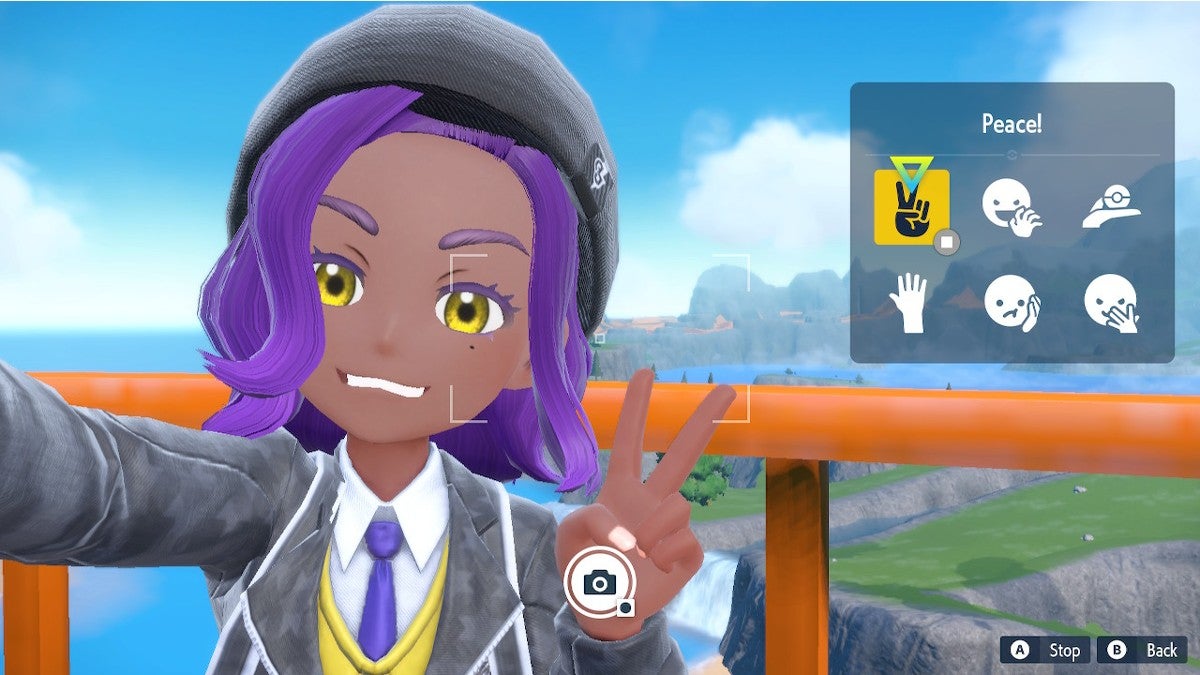
Besides the Circle button to take photos and the Y button to flip the camera around, there are two other icons near the bottom of the screen. The icon on the far left (the happy face emoji) lets you change your facial expression. Press up on the D-pad to access the expression menu.
There are six expressions that you can choose from:
- Peace! – Your character makes a peace sign with their free hand and smiles
- Roar! – Your character holds up their free hand as if it is a claw and they scowl
- What’s This? – Your character lifts up their free hand to point out something behind them while making a curious expression
- Hello! – Your character lifts their free hand in a wave while smiling with their mouth open
- Oh Dear! – Your character places their free on their face in dismay and frowns
- Act Cool – Your character holds their free hand up as if to move their hair out of the way and they smirk
Next to the happy face emoji icon, you see another icon that is just a pair of eyes. By pressing down on the D-pad, you can toggle between looking at the camera and looking away from it.
How to Change the Photo Settings
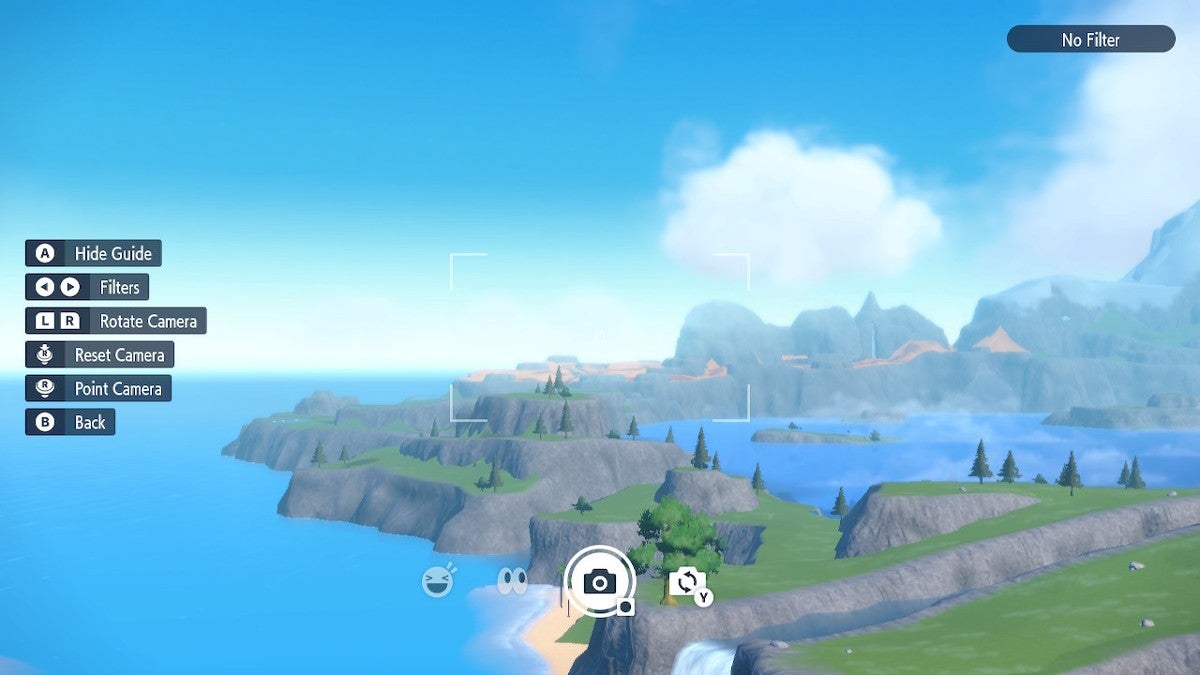
On the left of the screen, you can see another menu with various options. The first one is to hide the guide by pressing the A button. Below that, there are the filters—which you can cycle through by pressing left or right on the D-Pad. Here’s a list of all the different filters that you can apply to your photos:
- Fish-Eye Lens – Distorts the image so that the center comes more forward than the edges
- Blur – Smears the lines of all edges
- Starburst – Very slightly shifts colors
- Film Reel – Adds a brownish tone and fake film damage that look like thin black lines
- Toy Camera – Adds a dark vignette and increases the contrast and saturation of colors
- Monochrome – Makes everything black, white, and gray
- Sepia – Adds a beige tone
- Cool – Adds a blue tone
- Retro – Adds a lilac tone
- Vivid – Increases the contrast and saturation
- Dreamy – Adds a white haze over everything
After the filter options, you can rotate the camera with the L and R buttons. However, this doesn’t actually rotate the camera—it tilts the angle at which you hold it.
Following this, there are the options that involve the Right Stick. Click in on the Right Stick to reset the camera to the default position. Also, you can move the camera around with the Right Stick.
Lastly, you can exit Photo Mode at any time by pressing the B button. With all of these options, you can take some memorable photos—so go wild!
Other Things You Can Do With Photo Mode

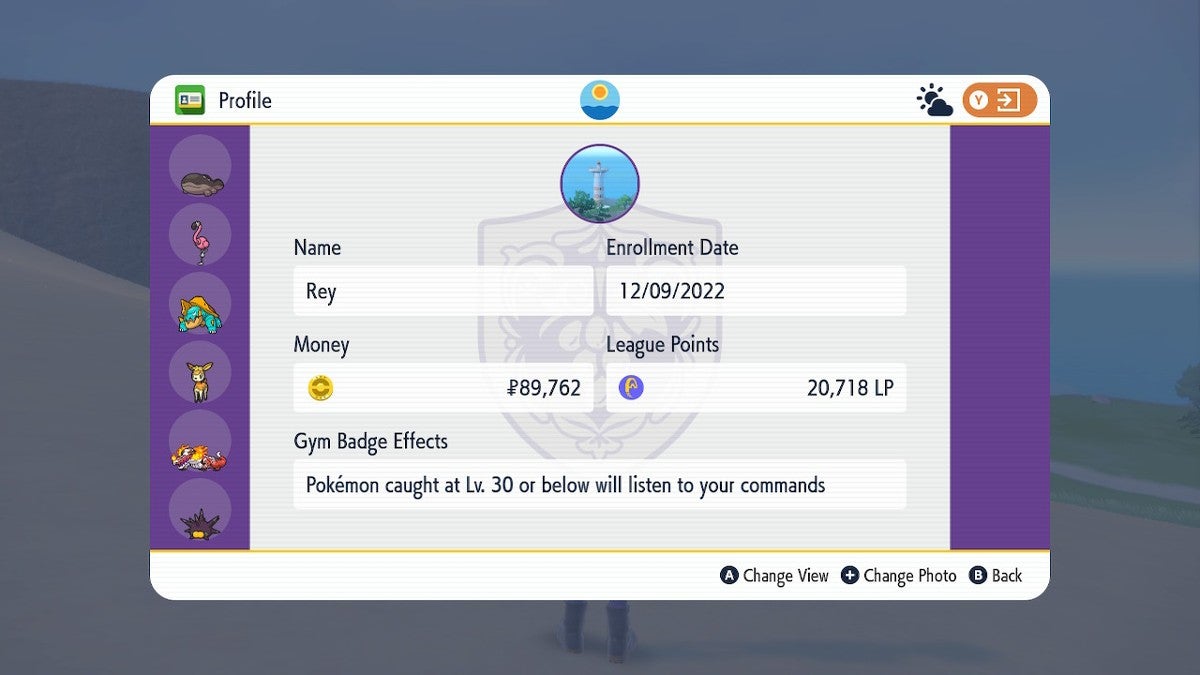
In addition to capturing highlights of your adventures, you can also use Photo Mode to make your Profile more creative. To do so, start by pressing the Y button to open the map. After that, press the X button to open the map’s side menu. Scroll down to “Profile” and then select it to find your profile card.
Setting a New Profile Picture
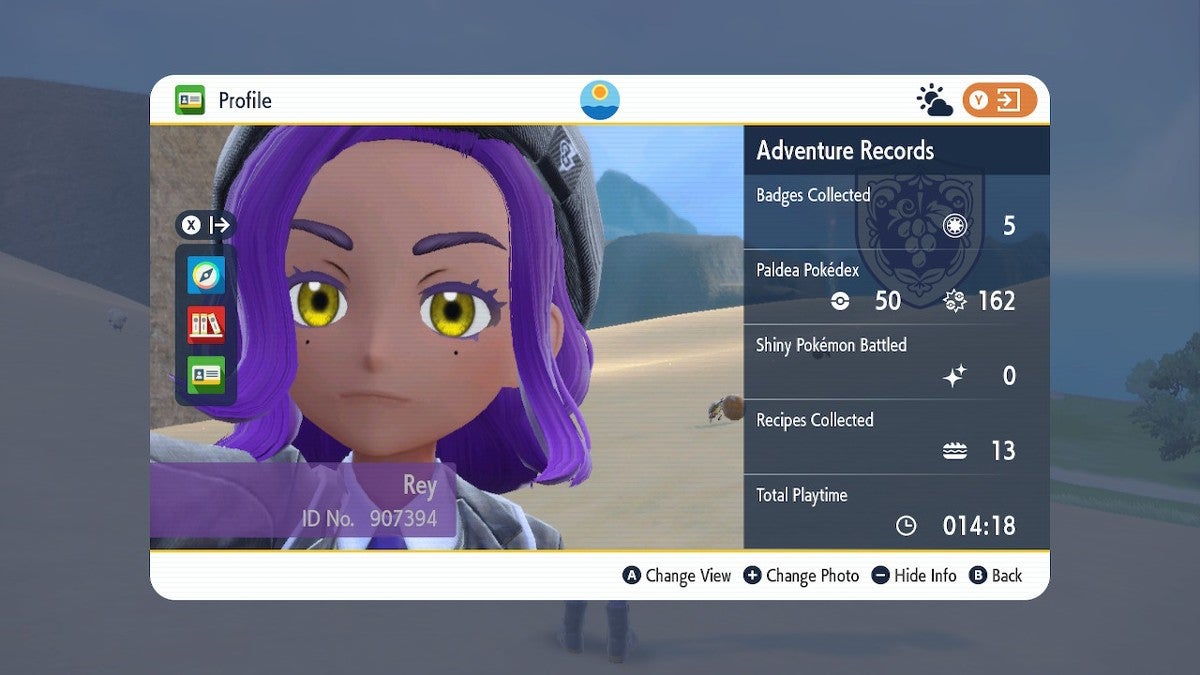
Once you’re at the profile card screen, you can press the Plus button to change either your profile picture or your trainer icon. When you select the “Profile picture” option, you get brought straight to the selfie part of Photo Mode. Snap a shot to create a brand new profile picture.
It is worth noting that you don’t have to take a selfie for this—you can press the Y button to get to regular Photo Mode if you’d prefer a non-facial profile picture. All of the Photo Mode options are available here.
Setting a New Trainer Icon
You can also use the Plus button to change your trainer icon (the small circular image on the back of your profile card). This trainer icon is also used when you are in Tera Raid Battles and more.
From the profile card menu, press the Plus button and then select the “Trainer icon” option. Now, you enter the regular Photo Mode. You cannot flip the camera around to take selfies. However, all options are available except for the selfie-related ones.