Items: Smoked Salmon, Prime Rib, Seed of Power, Mana Egg, Fruit of Defense, Prime Rib
Equipment: Warp Staff, Ogre Helm, Wolf Boots, Iron Clogs
Key Items: Horn of Knowledge
Gold: 260G, 780G, 260G, 260G, 260G, 780G, 260G, 260G, 260G, 260G, 780G, 260G, 260G
Enemies: Fire Hound, Sea Star, Sphynx, Vanatos
Bosses: Gaia Battler (2), Right Hand (2), Left Hand (2)
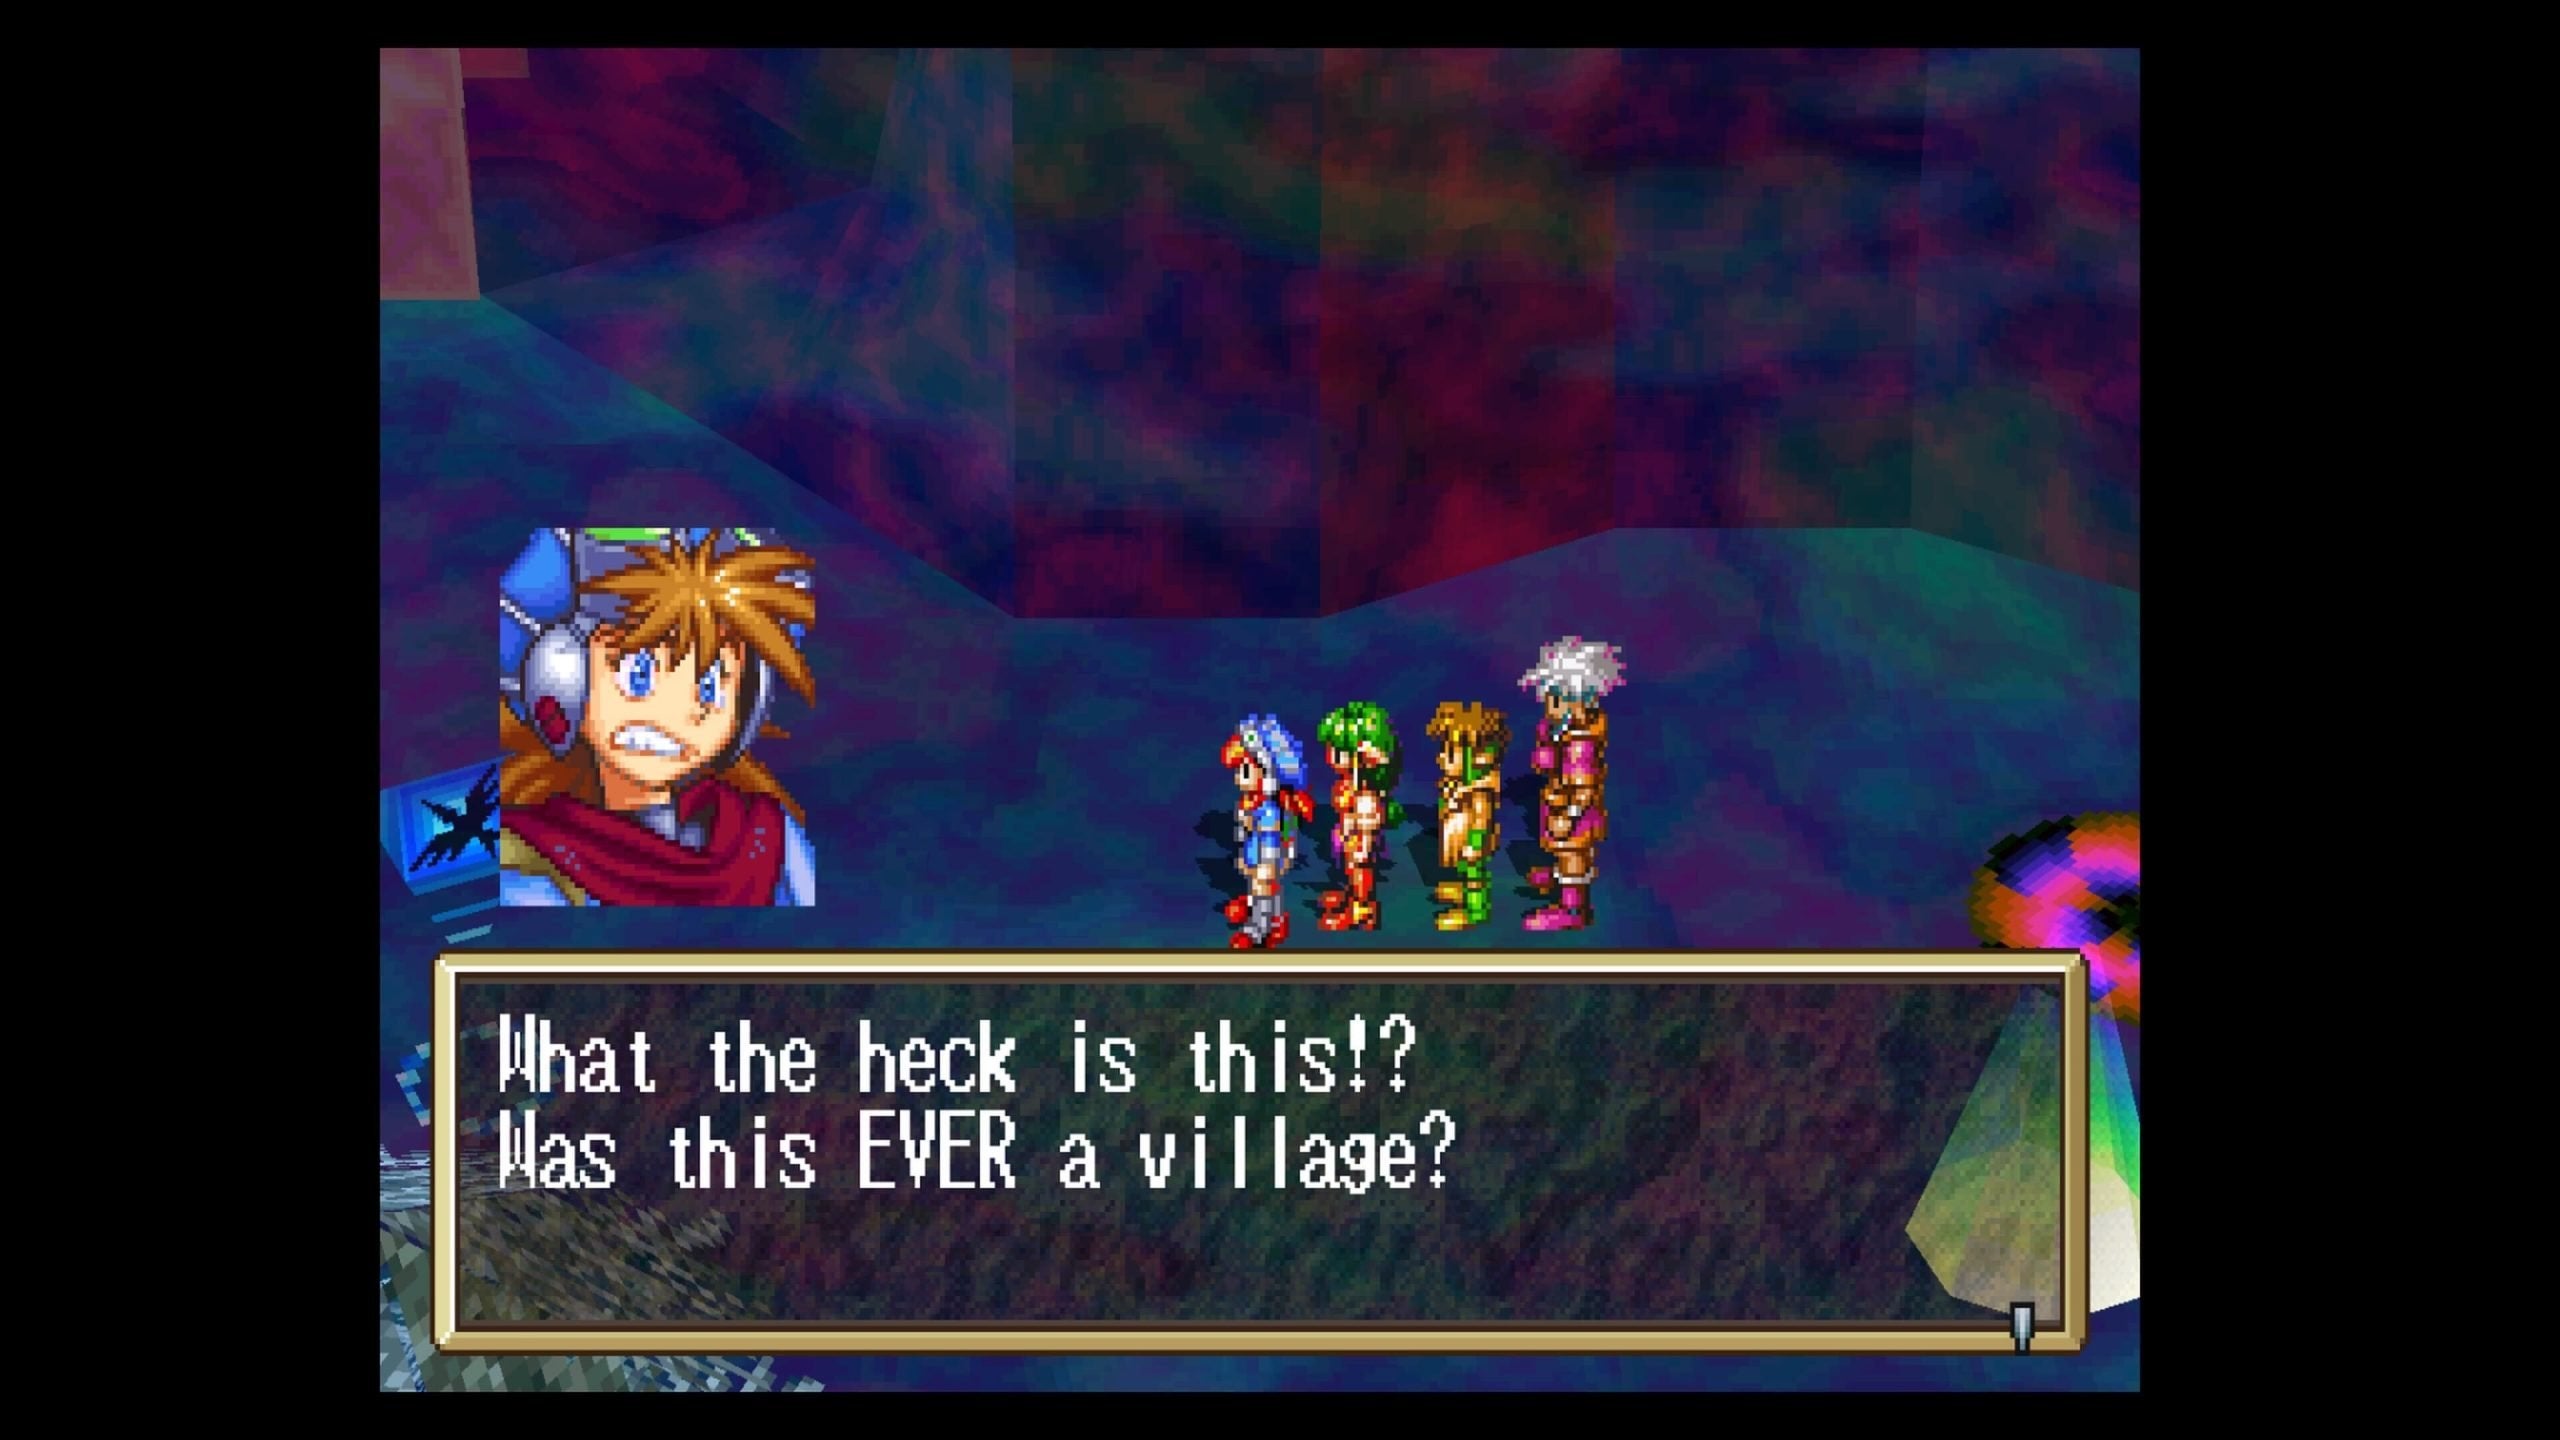
Use the Save Point, then use the DungeonScope Icon to check things out. Head west past the Save Point to a fork. Head south to another fork, then move south and east. Look for some Smoked Salmon to the south.
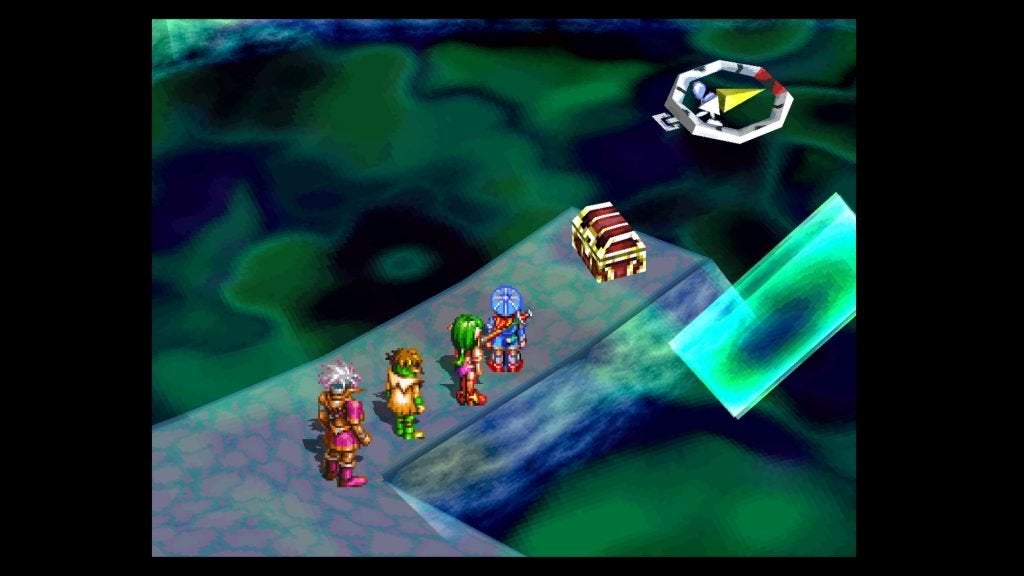
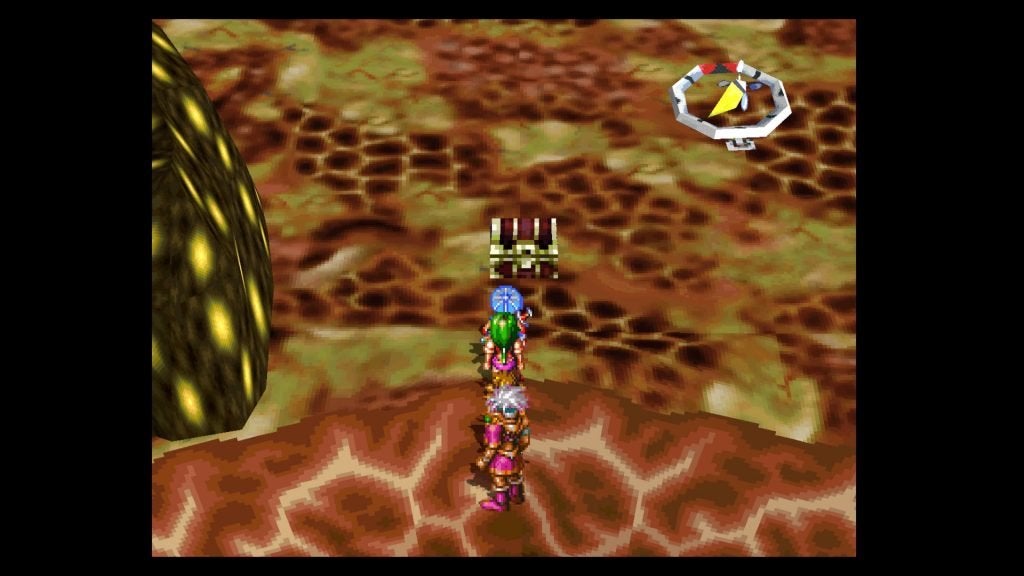
Go east and into this house. It will teleport you to the northern part of the area, where you can go east and get 260G to the south against a wall. Head back and into the house to return to where you were, then move all the way west to a spinning green object in the ground. Run southwest from here to 780G, then head southeast and into this house.
Now we’re in the northeastern part of the area, so check beside/behind the house to find another 260G, then go south and southwest to a wall. Run along it to open it up, then run along against all the walls you can until all of the blocks are down, then you can make your way through it. Check the picture here for the solution.
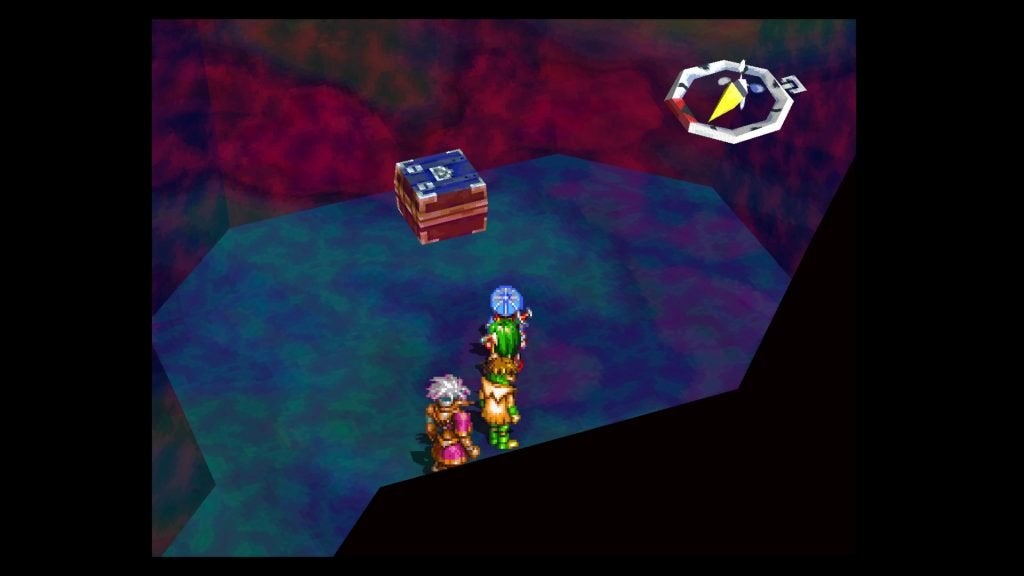
Once you’re on the other side, head southeast and get 260G. Take a few steps west, then head south-southeast to a dead-end where a Warp Staff lies in a chest.
Go back north, through the maze, then all the way north past the house you came out of. To the northwest is another house, so go to the north side of it and enter. Now you’re at the northernmost point of the area. Grab the 260G there, then go through the door to the north to Warp Space 2.
Use the Save Point here if you want, then move north. At the next fork, head west to another fork, then turn north to find 780G. Return to the last fork and head southwest up the stairs. At this fork, head south and southeast to find a Prime Rib, then go back to the fork and head northwest.
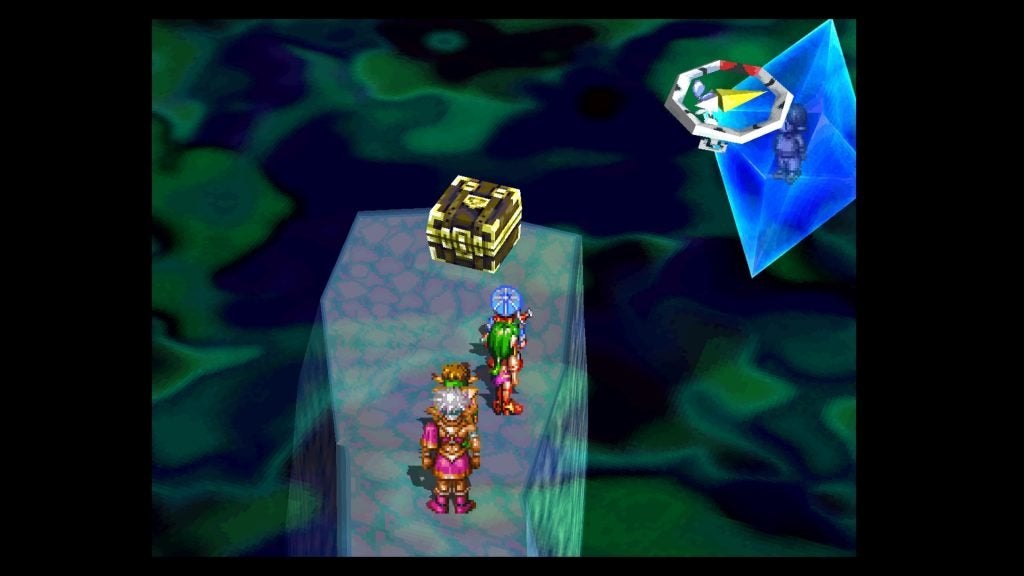
You should come across a DungeonScope Icon to the west. Get the 260G to the southwest, then head up the northern stairs to find an Ogre Helm in a chest at the end of this path. (You can put this on Rapp if you really want to. His MOV should be pretty high to not really be hurt.)
After that, head back to the far southeast to the Save Point. Recover if you need to, then run back north to the first fork. Go north-northeast now, under an invisible bridge, to another fork. Head north and west to find a Seed of Power at the dead-end, then return to the fork and move east and southeast.
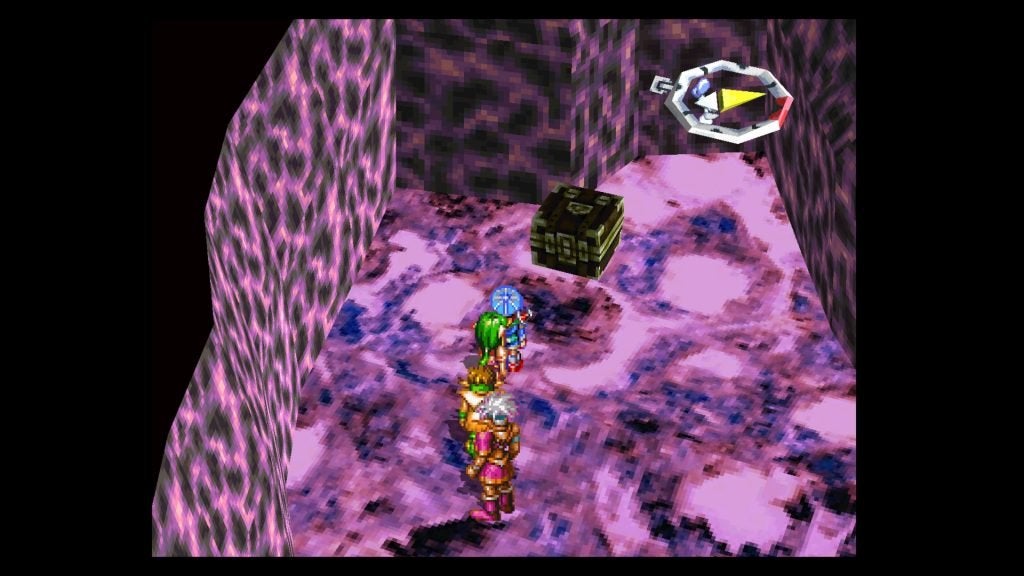
You’ll be at another fork. Move south past the stairs to a fork, then head west and you’ll find a chest with a Mana Egg.
Head back and continue southeast and south onto some blocks on the floor. When you reach the end, it will close in on you and send you to the invisible bridge we passed under earlier. Move west to a fork, where you’ll go north to find 260G.
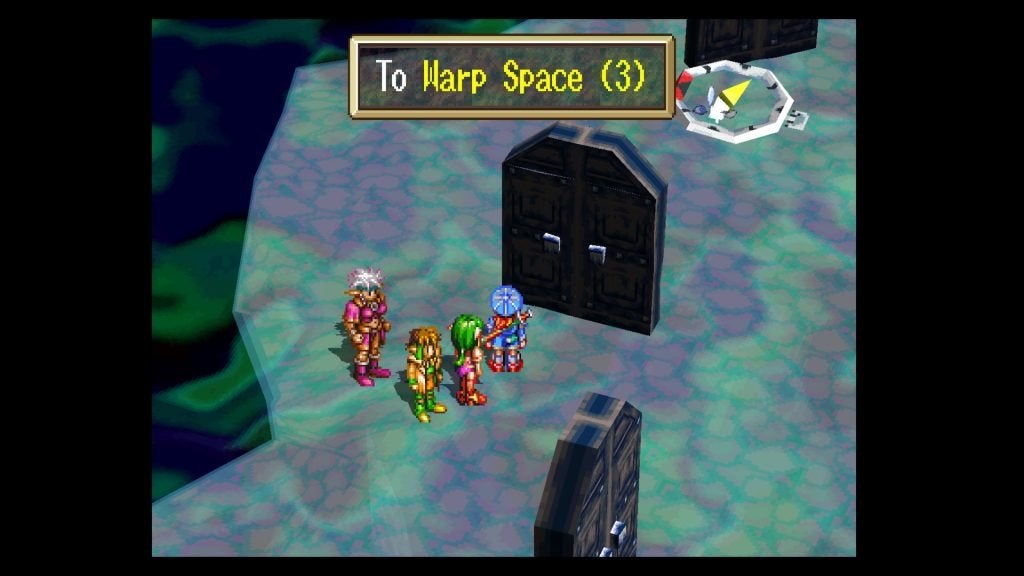
Head south from there, then west and up the stairs, following the path to another teleportation box. This time, you’re sent to the northern part of the area. Run east up the stairs to an area with several random doors.
Head east to find 260G, then follow the compass’s arrow to find the right door to go in. Once you do, you’ll reach Warp Space 3.
Go north to a fork where a tentacle is going nuts. Head east from it and use the DungeonScope Icon.
Grab the 260G northwest of the Icon, then go back to Icon and head all the way south, then west to some Wolf Boots. These make for a decent DEF boost for Feena, even though they’re -10 slower than the Winged Boots.
Return to the Icon again and head north a little, then turn east and continue north, where you’ll come to a dead-end with 780G beside the pulsing tentacle. After you’ve picked it up, head back to the first fork with the floppy tentacle. Take the western path this time, turning northwest to a DungeonScope Icon.
Head southwest from it to find 260G, then return to the Icon and head northeast. When the path turns north, look for a Fruit of Defense (a nice +3 DEF to Feena!) to your west.
Run east, then north to the other side of the tentacle, then check out the northwestern corner to find some Iron Clogs in a chest.
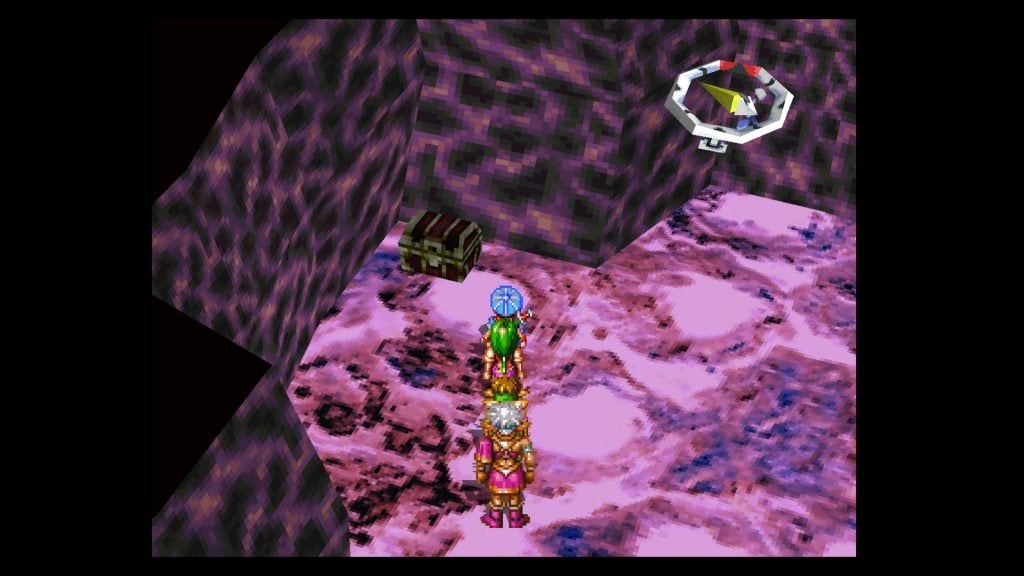
Head back to the DungeonScope Icon one more time, then walk north a few steps, then turn southwest and head past the pulsing tentacle. You’ll find another Prime Rib at the end of this path.
Go back northeast, then head north to another wiggly tentacle at a fork. Head northeast, then turn west. Move west until you can go northwest, then check out the northwestern corner of the next room to find one last 260G. Use the Save Point here, if you like.
Keep running into it so that it beats you, then have Rapp (or whoever else needs it) use Heal (and Alheal, for the others) to heal everyone, then run into it again, then heal again, rinse, repeat. You (hopefully) did this on Mt. Typhoon, and can now do it again.
We strongly recommend taking the time to do it until Rapp is at least Water level 13 so he can learn all (but two) of his Water spells. After that (and for everyone else), it’s up to you.
Since you won’t find trap spots as good as this one for the rest of the game, you may want to consider getting Justin/Feena/Rapp to 20/23/20 so they can learn their final Water moves -Alhealer+/Protection/Alhealer+.
When you’re ready, head north through the green… object to the Warp Space Core. Go north to see the center where it will come out and spit out another Gaia Battler. Here we go!
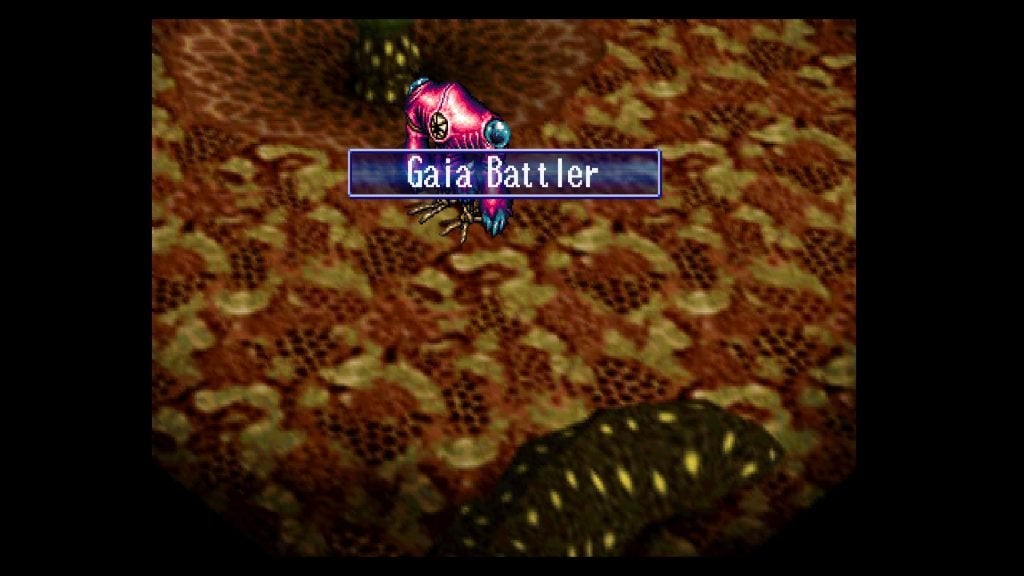

Gaia Battler (2) (with Right Hand (2) and Left Hand (2))
EXP: 6300
Gold: 8600
Same as before, just with more HP! It also has one new trick – Grand Heal, which will undo quite a bit of your progress, so try canceling it if you see it coming. Other than that, this might sound a bit familiar.
The Gaia Battler has three different parts, with different HP for each one. Each Hand has different strengths/weaknesses as well, which is the opposite as before.
Physical attacks are ineffective against the Left Hand, so you’ll have to take it out with magic, whereas the Right Hand is weak against physical attacks, but magic will still at least do some damage. By looking at the attacks below, you’ll see that since the Right Hand can heal, we need to get rid of it first.
All against the Right Hand, have Justin use Midair Cut, have Feena use Crackling (or DragonZap, if she has it), have Rapp use Doppelganger (or Demon Ball, if he has it), and have Milda use Milda hit, then combo attacks. After two rounds, that hand should be gone.
The Left Hand really isn’t anything special to worry about, so I would ignore it and turn your attention to the Battler itself.
Stick Feena on healing duty, using Cure and Alheal(er) when necessary while everyone else works on the body (and if she has a free turn, have Feena use Crackling/DragonZap). Milda should be wailing on it with physical attacks, while Rapp uses Doppelganger/Demon Ball, then physical attacks.
Justin can actually (likely) take out the Right Hand while he’s working the body with Zap All (or DragonZap, if he has it), as it’ll do 700+ damage to it while doing 300+ damage to the body.
Once you’re out of MP for Zap All & DragonZap, switch to Midair Cut on the body, followed by just Zap! if needed to finish it off.
- Single attack: Both hands can use this, but it only hits one person for minor damage. It can now inflict sleep.
- Poison Gas: The Battler itself will hit those around it with poison and minor damage.
- Grand Heal: Right Hand – Will heal all three of its parts for a whopping 300 HP. Make sure to cancel it!
- Combination: Left Hand – A combo attack on one party member that can do major damage. Unlike last time, this isn’t a death sentence, so it’s up to you to cancel it or not.
- Lightning: The Battler itself has an attack that hits ALL party members for medium to major damage. Queue up an Alhealer once it hits, as everyone will need it afterward.
When he’s done, head north and open the chest for the Horn of Knowledge.
Now, to head back… Return to Warp Space 3. Run south and south-southeast, then east, then southwest, then south and southeast to the floppy tentacle, then south back to Warp Space 2.
Venture all the way west to get back to the chest near the entrance of Warp Space 2. Move south, then east and southeast, then northeast, then east, then southeast and south back to Warp Space 1.
Go south into the house, then go southeast from this house into the next house. After that, head north and northeast past the spinning green object, then north to a fork. Head east to the Save Point and the exit beside it.
Technically, the Soldier’s Graveyard should come first, but it’s pretty long and unforgiving. Plus, it only has one Save Point at the start.
The Castle of Dreams, on the other hand, is extremely short and you always have easy access to a Save Point, even though the boss is pretty brutal, so let’s tackle it first. The beginning of each section will tell you how to get to it.
If you’re ready to take them on, be sure to stop at either Cafu or Zil Padon to clear out your inventory and stash the Horn of Knowledge. If you do go to Laine, make sure to avoid Dorlin’s House so as to not progress the story.
If you do not wish to play through these dungeons, skip ahead to Laine Village (2) to continue the story.