The Crystal Peak in Hollow Knight is situated right beside Dirtmouth and the Forgotten Crossroads. This glittering level is filled with tunnels that are challenging to navigate. Your knowledge of the game’s traversal mechanics will surely be tested here.
Table Of Contents
Getting to Crystal Peak
Before setting off, you should first purchase the Lumafly Lantern from Sly for 1,800 Geos. There are a few parts of Crystal Peak that are pitch dark and getting through them without the Lumafly Lantern is virtually impossible.
You’re going to want to start from the Stag Station in the Forgotten Crossroads. From here, leave the room and make your way up. There is a lever situated on the ceiling at the top of this cavern. Hit it to open the doors above you. Once opened, continue heading up.
Climb to the top right platform and take the entrance on your right to proceed to the next room. Keep walking to the right and enter the next room. You’ll then begin to see the Crystal Peak level design take shape. Keep heading to the right and you’ll land on a lift that will send you upwards. Once at the top, take the entrance on the right.
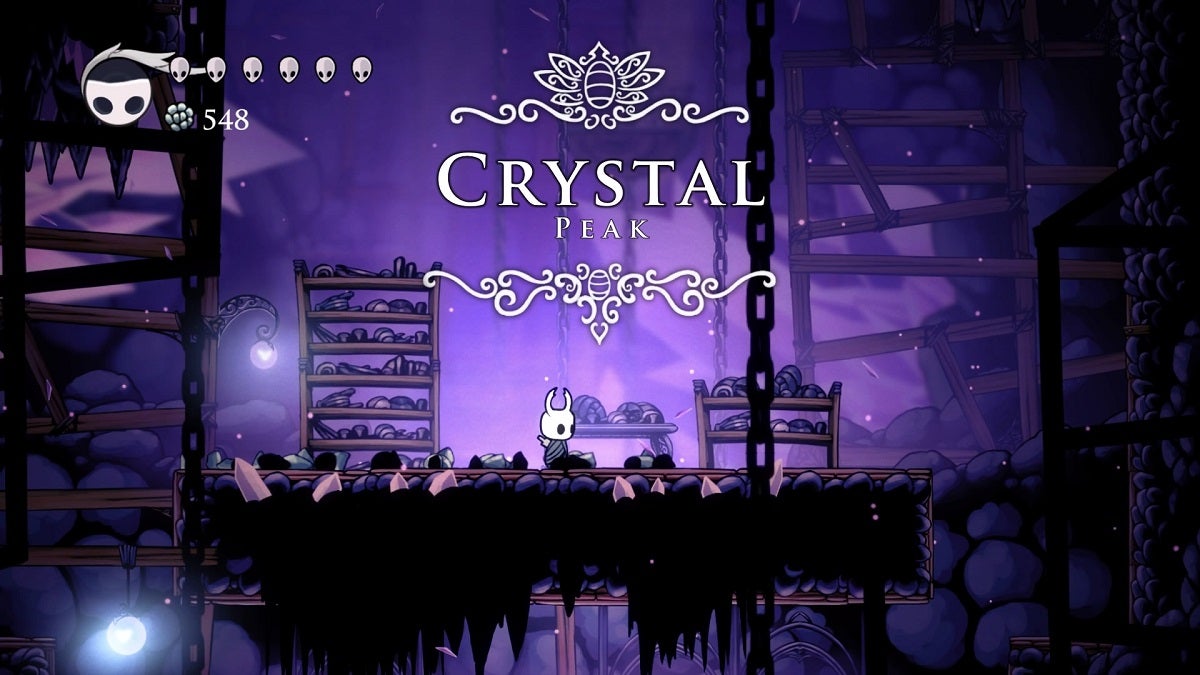
In the middle of this next room is a breakable floor. Use Desolate Dive to break this floor and you’ll officially arrive at Crystal Peak.
Towards the Bench
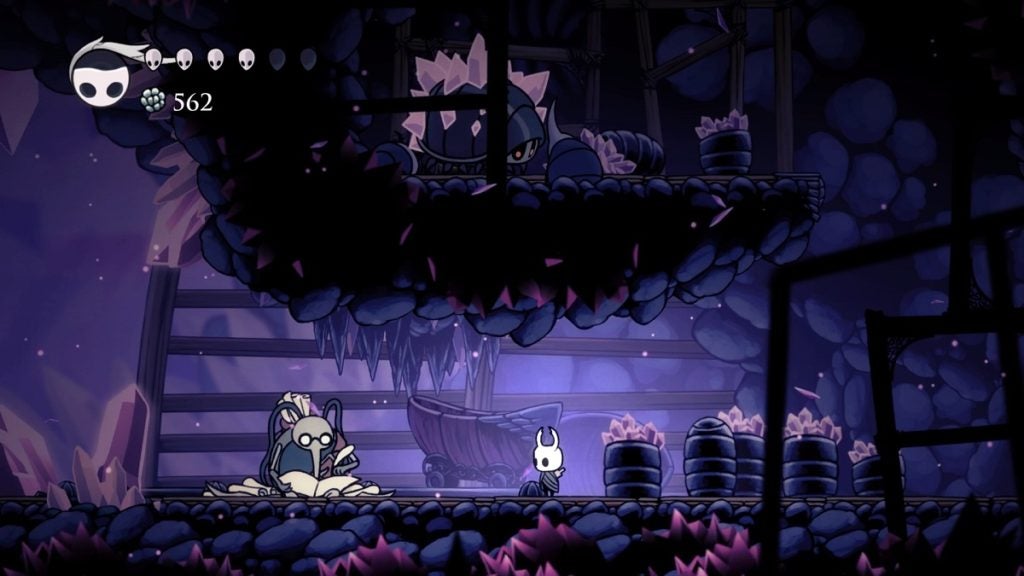
From where you’re standing, head down and enter the hole in the ground. In this next room, continue heading down and you’ll encounter your first Crystal Peak enemy. Glimbacks are invulnerable from the back so only attack them when they’re facing you. Defeat this enemy and keep heading forward. There should be conveyor belts ahead of you now. Use these as platforms to head further east.
Once you move beyond the conveyor belts, take the path on the bottom and continue forward. There’s a bench you can rest on in the next room.
Heading to Cornifer
Return to the next room on your left and start to make your way up. Once you reach the top, you’ll see a crystalized Geo deposit to your lower right. Take the time to acquire that if you want to. Proceed to the entryway on the upper-left corner of the room afterward.
Defeat the Glimback here and continue going up. You’ll encounter two Husk Miners here. Dispatch them, and then cling to the conveyer belt to your left to ascend. At the top is another Glimback. Defeat this enemy and go up one more level.
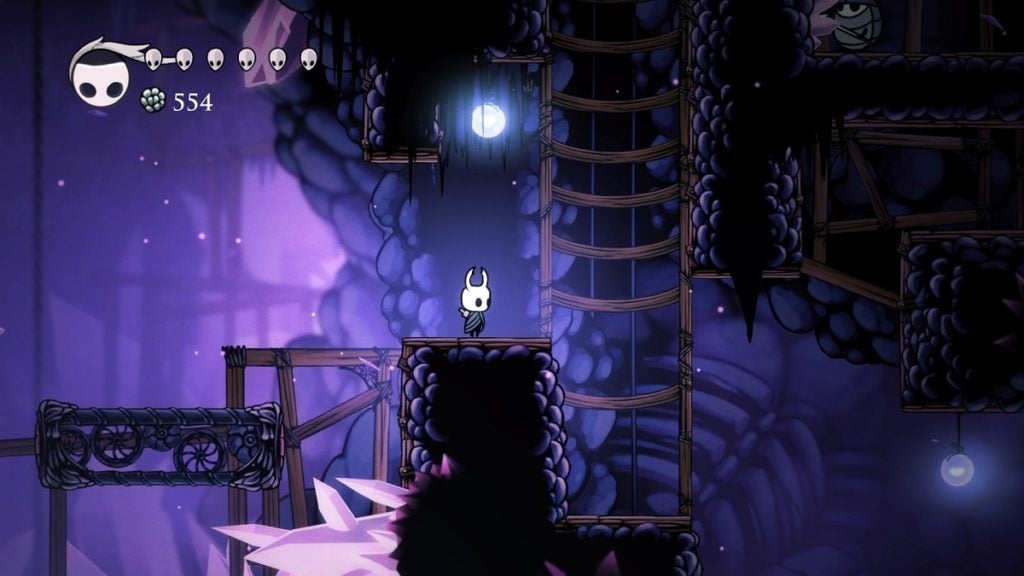
Ride the conveyor belt that’s parallel to a wall of spikes above you. Just before reaching the ceiling, dash towards the parallel conveyor belt. Repeat the process until you reach the top. You must now do the same thing, but now you’re heading downwards. Before reaching the bottom, make sure you dash and lean further to the right to avoid the spike pit below.
Ascend using the conveyor belt while avoiding the spikes one more time. At the top of this obstacle course awaits a trapped Grub and a lever. Free the Grub and strike the lever to open the door ahead of you. Ascend to the level above once done.

This next area is filled with Crystal Crawlers. These small creatures will shoot laser beams from their backs every 2 to 3 seconds. Navigate your way through this area while keeping their laser beams in mind.
At the top, eliminate the Husk Miner to your left and continue going up. You will begin to see Cornifer’s paper trail to your top left. Follow this trail but be careful. There are more Crystal Crawlers here. Once you reach the top, take the entrance to your left. Cornifer is waiting in the next room.
The map costs 112 Geos. Purchase the map from him before moving forward. Once done, return outside and head up to the next room.
The Crystal Guardian
In the next room, jump up to the area where the Crystal Miners are. Carefully make your way to the top of this area. From here, cross the gap and head to the entrance to the right.
In this next room, you’ll see a crystalized creature sitting on a bench. Hit it once and it will awaken. This boss is the Crystal Guardian.
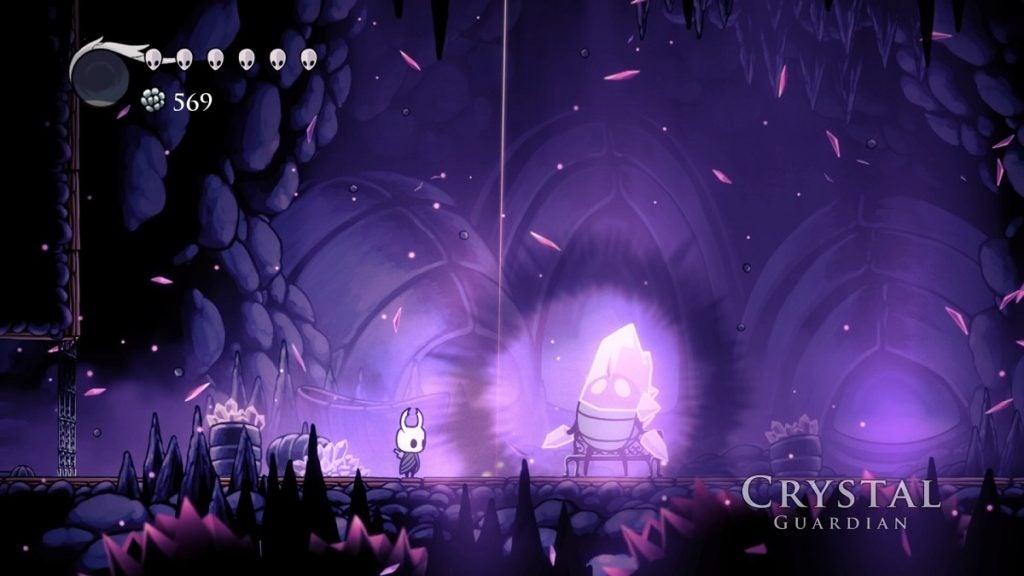
The Crystal Guardian isn’t too tough, but you should still remain cautious. The Crystal Guardian will often leap around the arena. Once it finds a spot to settle, it will fire a laser beam in your direction. If you were in mid-air before it fires its beams, it will fire in that direction instead. Take advantage of this.
Every once in a while, the Crystal Guardian will summon laser beams from the ceiling. They’ll take shape before they actually damage you so you’ll know when to move away from them.
Keep hitting the Crystal Guardian with your nail and spells, and you’ll have a lot of opportunities for this. After a couple of hits, the boss should fall. It will then leap to the level above. Don’t worry about following him yet. For now, sit on the bench and rest.
Acquiring the Crystal Heart
Once you’ve rested, it’s time to make your way to the location of the Crystal Heart. From the bench, go right and continue walking forward until you find a lever. Hit this lever and return to the previous room. Walk past the bench and return to the room on the left.
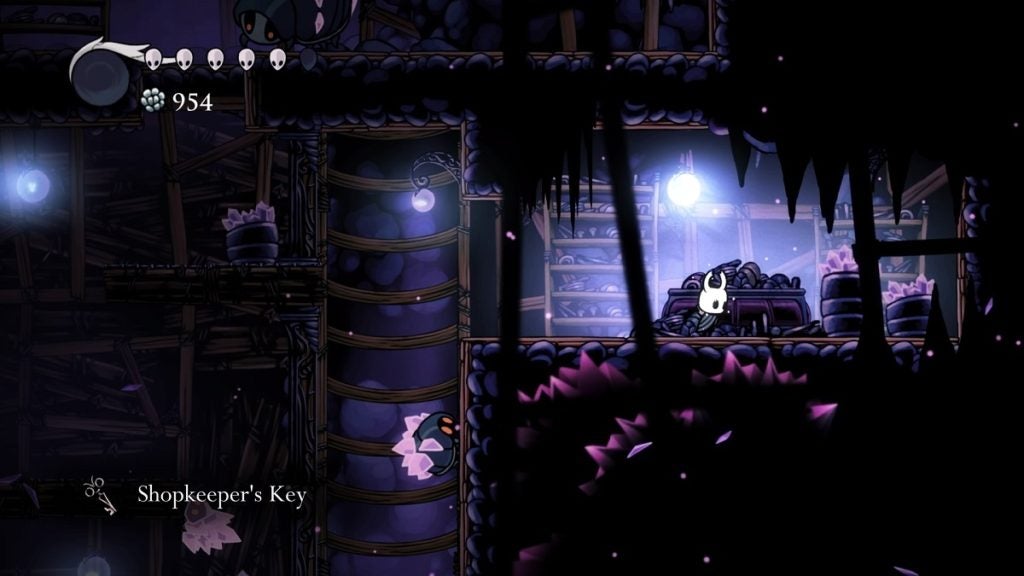
Once outside, jump to the platform on your top left. From here, be mindful of the Shardmite, the small bug that’s crawling up and down the wall opposite of you, and start climbing upwards. At the top of this area lies the Shopkeeper’s Key. Remember to give this to Sly later on as it will expand his inventory.
Once that’s done, return to the bottom and onto the platform on the left. Begin making your way up while avoiding the beams of the Crystal Crawlers. Get to the area above this small corner. Jump onto the floating platforms and continue ascending. Enter the hole in the ceiling to get to the next room.
Proceed upwards and then take the platform on the left. Quirrel is there admiring the view. After interacting with him, proceed to the right and continue forward. Proceed until you reach the next room.
Keep walking forward until you find a hole in the ground. Drop down and you’ll see an opening on both sides. There’s a Wanderer’s Journal at the end of the path to the right that’s littered by Crystal Crawlers. On the left, there are two Husk Miners and a breakable ground. Use the Desolate Dive here and you’ll encounter 2 Crystal Hunters. There are also 2 Geo Deposits here and a Bluggsac containing a Rancid Egg.
Once you’ve collected these items, head back up and continue dropping down. You’ll then see a lever on your right. Hit the lever to open the door next to you.
Begin making your way down while avoiding the Shardmite. Once at the bottom, walk to the right and descend once again. Reach the bottom, walk to your left, and then hit the lever to open the door ahead of you. This shortens the trip from the bench if you ever die along the way.
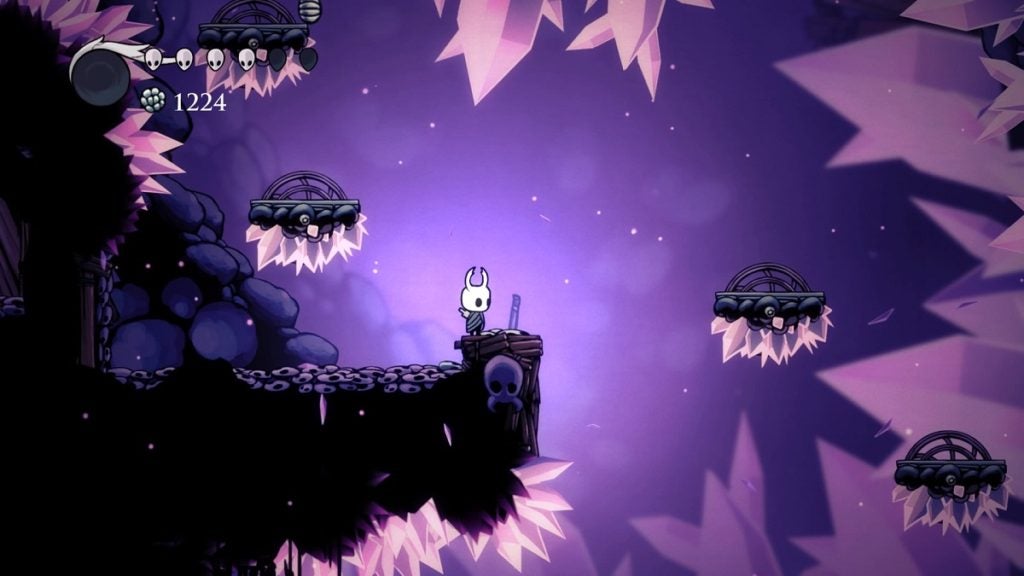
Once that’s done, continue to the right. Keep moving forward and you’ll see a floating platform ahead of you. Keep in mind that when you step on these platforms, they’ll turn over after a couple of seconds. Due to the crystalized bottom section of these platforms, you can’t stand atop them until they turn over again. You can, however, force them to turn over by slashing down on them.
Platform your way to the right side of this section. In one section, you’ll need to drop from a floating platform and dash forward to reach the next one. Once you reach the part with the vertical conveyor belts, cling to them and carefully dash away once you’re about to hit the spike ceilings.
Jump up and carefully make your way to the right side of this next section. Assess when the laser beams turn off so you can dash through. At the end of this area, you’ll need to go through the rotating floating platforms and conveyor belts again while avoiding laser beams. This is the toughest part of this whole section, but it’s also the last one. Carefully navigate your way through to the other side.
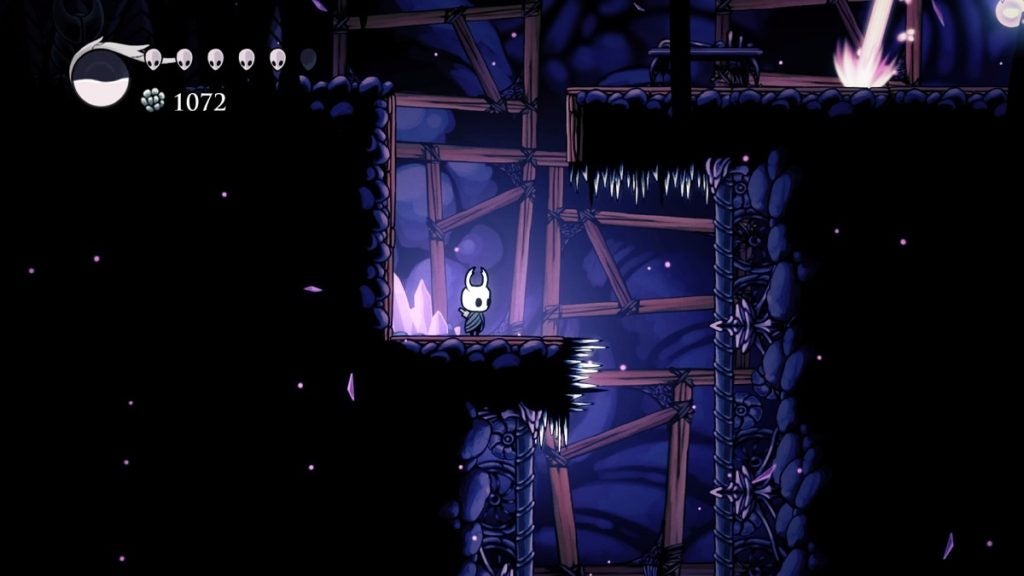
There’s a Soul Totem on the far end of the other side. Harvest some Soul here if you need to heal up. Just continue walking down this path until you reach a bridge on the bottom. Walk to the right and you’ll find the Crystal Heart ability here.
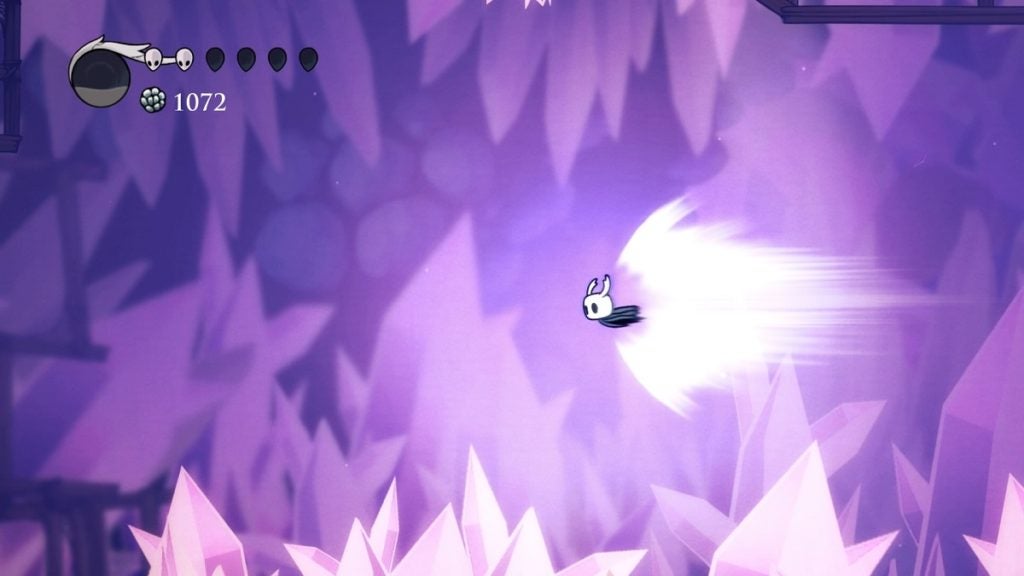
After you acquire Crystal Heart, the bridge before you will collapse. No matter, though, as that’s what this new ability is for. Use your newly-acquired ability to super-dash from where you are to the other side. Continue pressing on to the left until you’re back at the beginning of this challenging path.
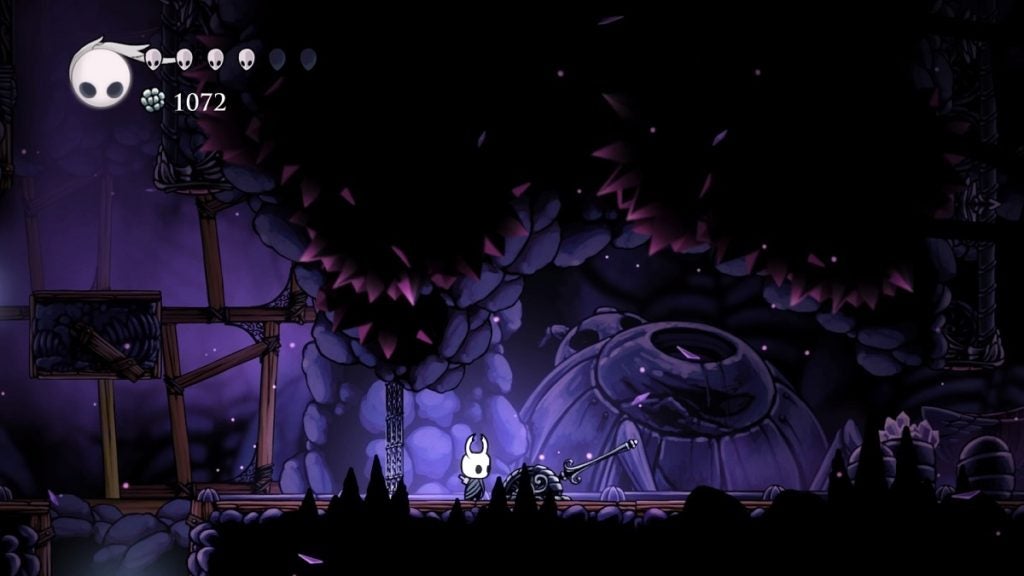
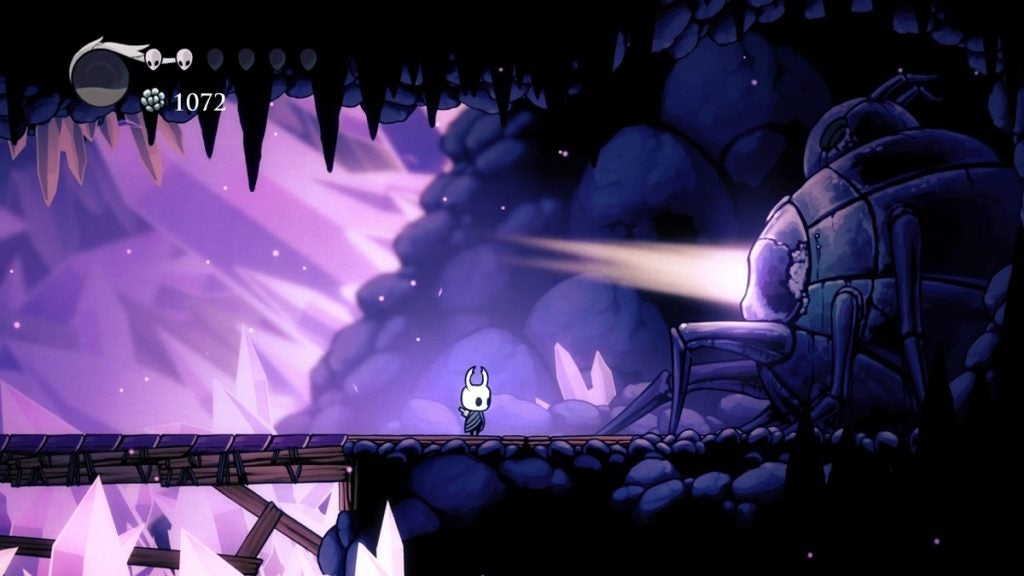
Once you reach the area with the hanging bug-like machination, jump and climb on the left side of the wall until you reach the top. Once here, use Crystal Heart to dash to the other side, where you can set a Grub free.
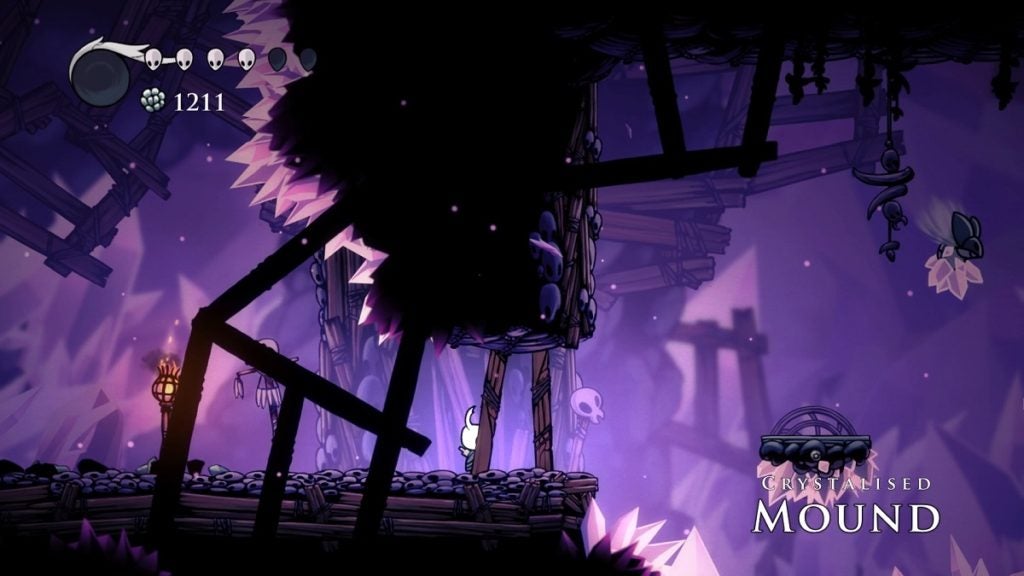
Heading to the Crystalised Mound
From the Grub’s platform, head back down and proceed left. Continue beyond the door you opened earlier and drop into the hole in the ground. Keep descending until you reach the bottom. To your upper right, there’s an opening you can enter. Beyond this area are two Geo deposits. Take the time to explore this area if you want to collect the Geos.
Once done, return to the very bottom and start walking to the right. Be very careful with the crushers ahead of you. Time your dashes to avoid them. After passing through two crushers, drop down and begin heading to the left, where three more crushers await you. Once again, be very careful moving ahead.
After reaching the other side, you have the option to drop down or to keep heading to the left where there are even more crushers and the floor is a conveyor belt. If you get through this area, you’ll come across a lever that will turn off the crusher traps and a chest containing Geo.
Otherwise, just head down to proceed to the next area. Here you’ll be greeted by a Grub. Free it and hit the lever on the right to open the gate. Descend two levels and take the entrance on the left once you’re at the bottom. Continue working your way down and you’ll find yourself at the bench you first discovered in Crystal Peak. Rest and heal if necessary.
Make your way back to the very top of this dark cavern. Once at the top, head right. Be careful of the Crystal Hunter in this next room. Proceed to the eastern corner of the room and climb to reach the entrance above. Take this entrance to get to the next room.
This next cavern is darker than the other rooms on this level, but that’s what the Lumafly Lantern is for. Continue right while jumping from platform to platform and dealing with the 2 Crystal Hunters and a Glimback along the way.
Once you make it to the next room, use Crystal Heart to cross the massive gap. You should find the entrance to the Crystalized Mound on the other side.
Getting the Descending Dark Spell
You’ll immediately step on a breakable floor when you enter Crystalized Mound. Use Desolate Dive to access the area below.
Once at the bottom, make your way to the right and destroy the wooden beam blocking the way. Jump quickly between platforms to reach the other side. Begin climbing and avoid the Shardmite to get to the right-most platform.
From here, drop down and cling to the left side of the wall to descend slowly. When you reach the bottom, jump onto the platform next to you and begin making your way up while leaning on the left side. You’ll eventually land on a platform with a Baldur. Eliminate the Baldur if you wish. There’s also a Crystal Hunter here you’re going to want to take care of to make the trip up easier.
From here, begin ascending and make your way to the right side of the area. Carefully climb the vertically positioned platforms to reach the top where you can rescue another Grub.
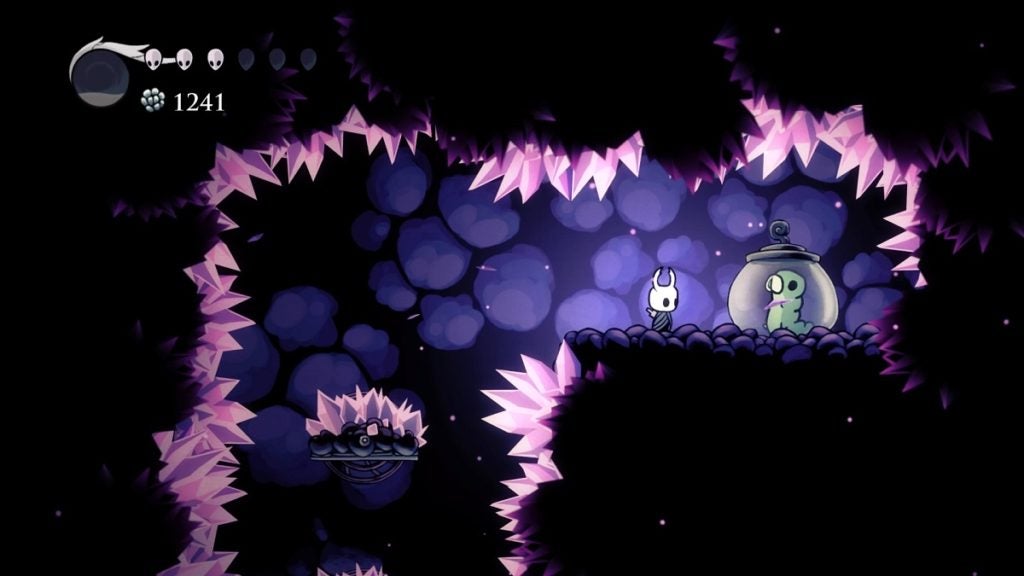
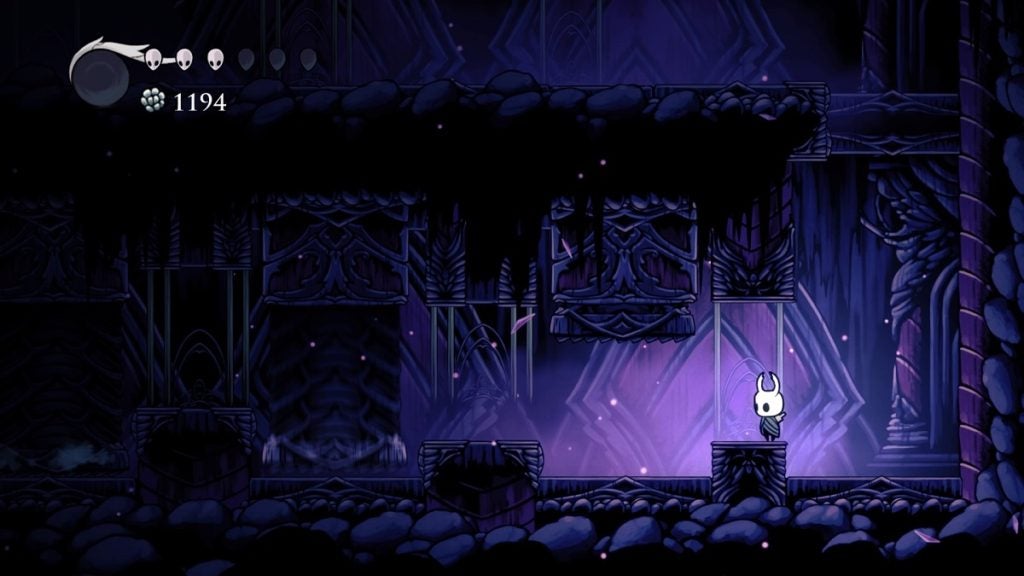
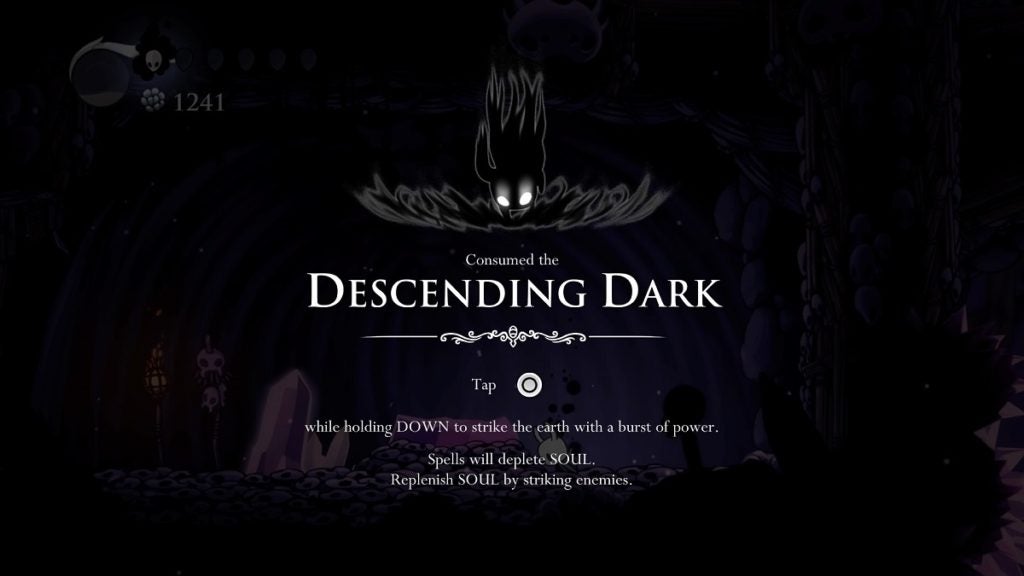
Once this is done, return to the safe platform at the bottom and make your way to the platform on your top left. Cling to the wall still on the top left and climb your way up. Walk to the left and strike the wooden floor to descend. You should see a crystalized shaman here. Hit it with your nail until it breaks and you’ll acquire the Descending Dark spell, an upgrade of the Desolate Dive.
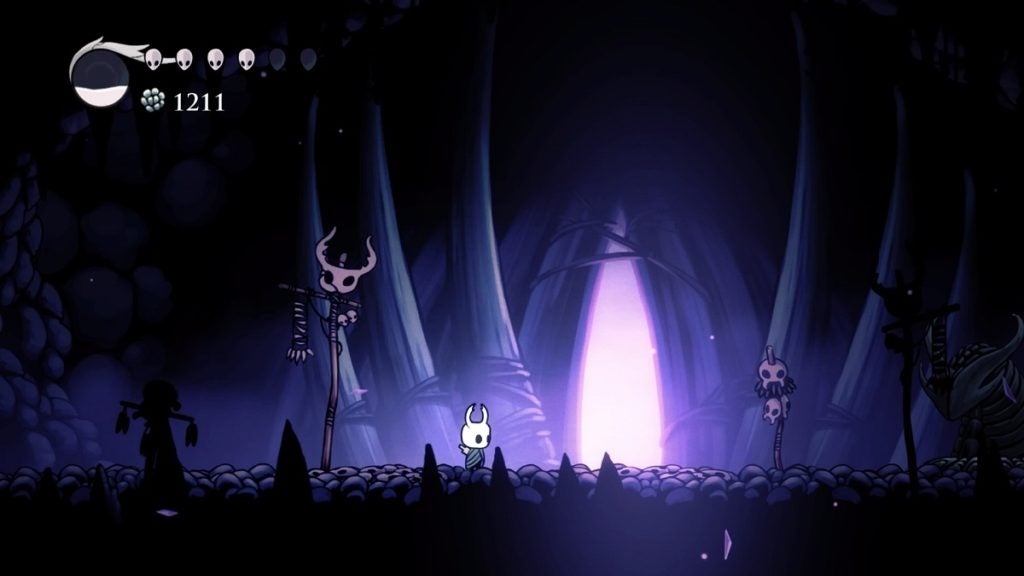
On to the Resting Grounds
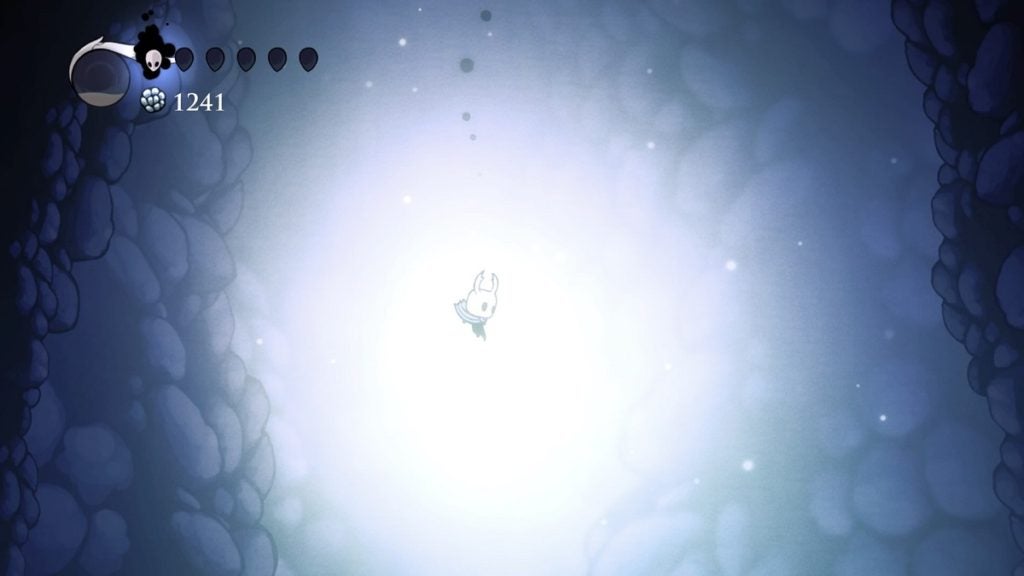
Once you’ve acquired the Descending Dark spell, walk to your left and destroy the wooden beams that are blocking your path. Once you reach the chasm, use Crystal Heart to get to the other side. Allow your Crystal Heart to go on until you’re outside the Crystalised Mound.
Once outside, walk to the left until you’re facing the deep chasm. Jump down and you’ll land in the Resting Grounds.