Now that we’re on our way to deal with the three Dreamers in Hollow Knight, our first stop is at Deepnest. You’ll either love this place or you’ll absolutely hate it. You’ll know within the first minute of exploring it.
Table Of Contents
Heading to Deepnest
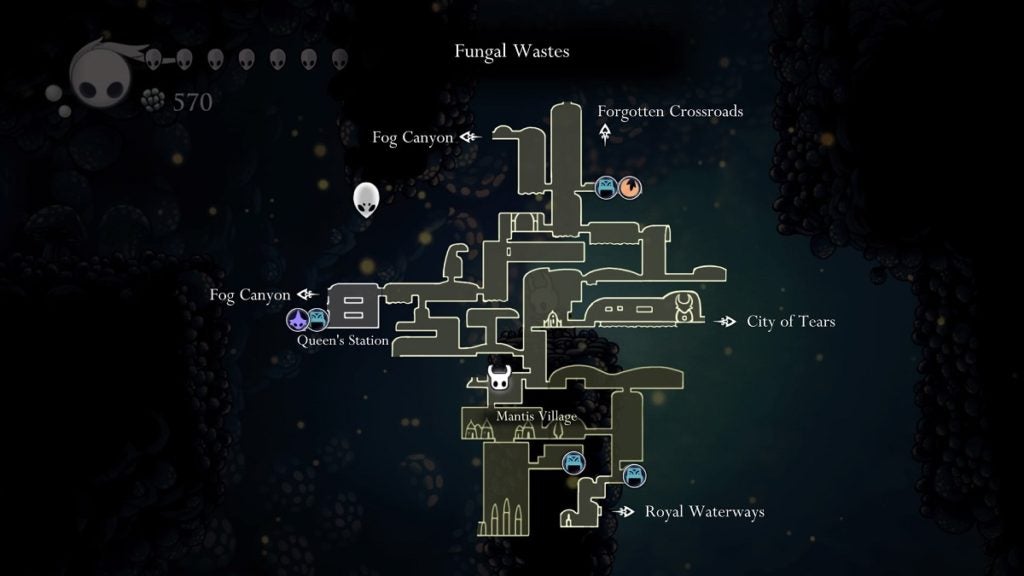
Deepnest is a dark and dangerous place. After doing the necessary farming so you can be as powerful as you can be prior to traversing this perilous level, head to your nearest Stag Station and ride it to the Queen’s Station.
From here, make your way to the section that’s directly above the Mantis Village. Head to the northwest corner of the room and you will see an entrance that leads to the room on the left. Head in to proceed.
Begin climbing up and reach the very top. You will then arrive at Fungal Core. Keep pressing on to the left until you enter a hidden area containing a Soul Totem. Harvest the Souls if needed. Proceed and drop down to find a Rancid Egg.
Walk to your right to find a gap you can drop down on. You’ll come face to face with a Shrumal Ogre at the bottom. Defeat this enemy and continue descending until you arrive at the bottom section.
Keep going downwards until you reach the bottom of the pit where you’ll find two Shrumal Ogres and a Sporg. Walk to your left, climb up, and then drop down.
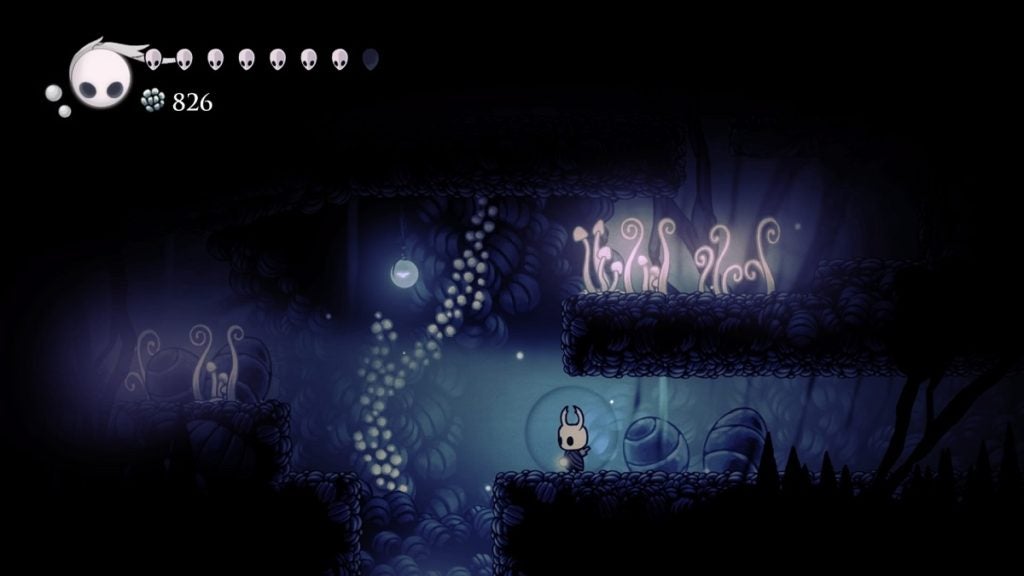
Keep going downwards once again until you see a deep chasm that gleams with light.
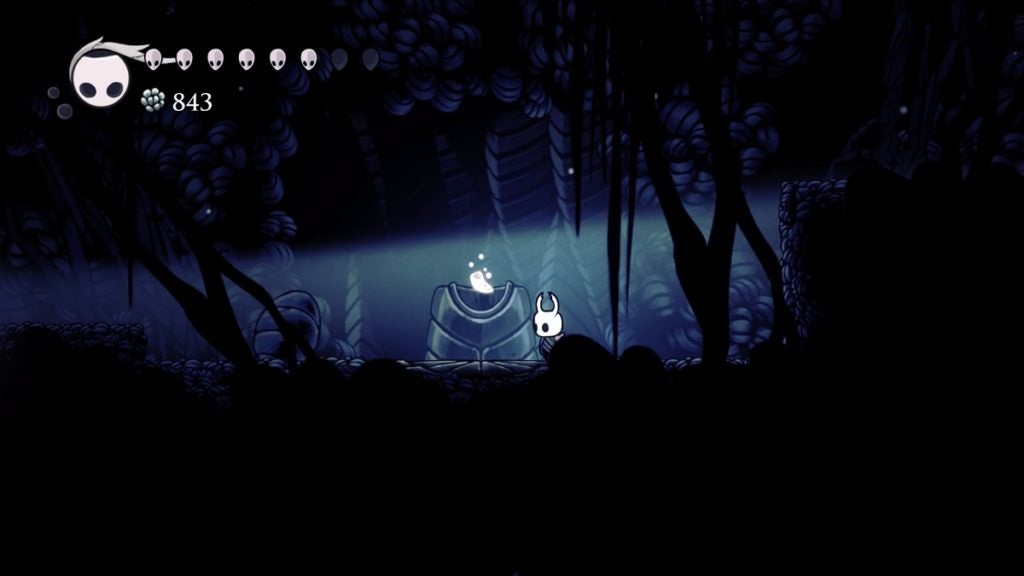
Drop down and you’ll arrive at Deepnest. You’ll immediately see a Mask Shard beside you. Pick it up and then walk to the thin floor to the left and it will collapse beneath you.
Finding Cornifer
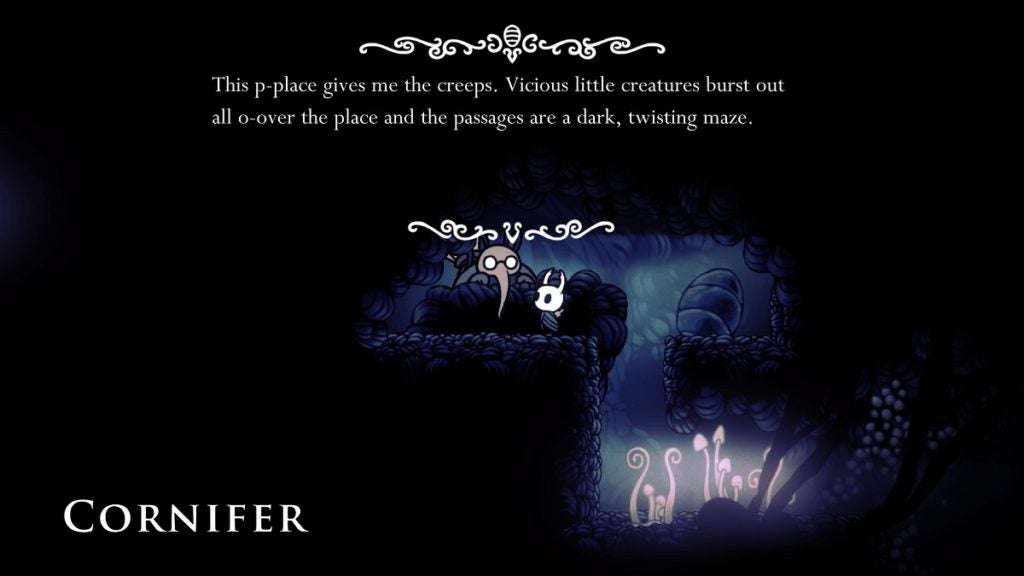
Deepnest is the only level in Hollow Knight where Cornifer won’t hum or leave a paper trail that leads to him. Thankfully, you can find him pretty easily. Walk to the left and climb up the first passage you see. On the top left, you’ll see Cornifer hiding behind a rock. Buy the map from him for only 38 Geos.
Exploring Deepnest Further
Pass beyond the spike pits and once you see a shaft above at the end of the path, begin climbing up. Keep climbing until you arrive at the next section. From here, jump to the floor above. You’ll see a Garpede to your right. Avoid that area for now. Walk to the left, and begin ascending.
At the top, you’ll find a Dirtcarver which will burst out from the ground. Eliminate this enemy and move forward. Drop down and continue left. You’ll find another Garpede here. Continue to the left while avoiding it.
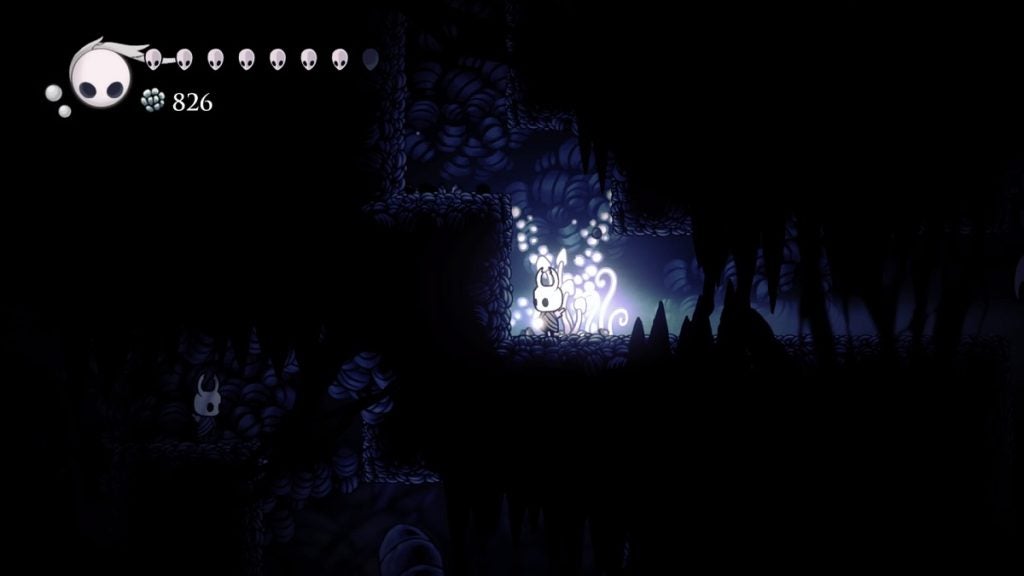
You’ll find a small spider creature called a Deepling in the area to your left. The floor in the middle here will collapse once you step on it, so watch out for it. Keep heading left and climb up. Walk to the right and climb up once again. Walk to the left and the floor beneath you will collapse. Drop down as soon as it does.
Keep descending from here. Just be sure to watch out for the spike pits along the way. You’ll see an entrance to the left at the bottom. Keep walking and you’ll find a hole in the ground in the next room. Drop down to proceed.
Keep descending from here. Once again, watch out for the spike pits. This area is filled with breakable ground. Most of them are necessary paths, some of them contain spike pits. The area also contains a few Garpedes so watch out for them too.
As you descend, you might eventually come across a figure that looks exactly like the Knight standing on a platform that’s out of your reach. Keep this figure in mind. We’ll deal with it later.
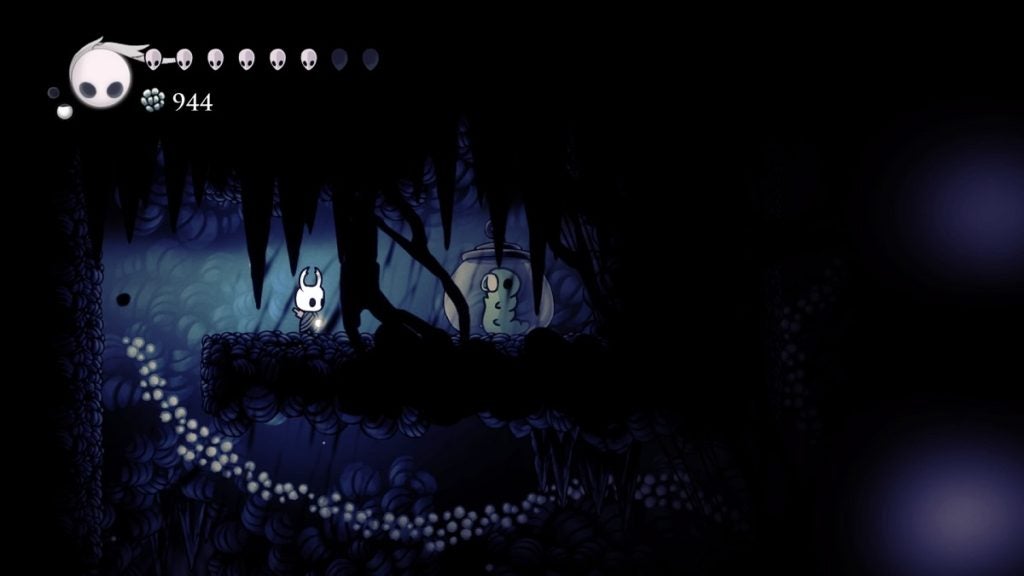
Just continue descending for now while weaving through the breakable grounds, spike pits, Dirtcarvers, and the Garpedes. You’ll eventually find a narrow and tall pit you can drop into. Drop down and you’ll eventually land on a Hot Spring. There’s also a bench just beside it. Take a rest for now as this place is the only soothing area you’ll find in the dark horror cavern that is Deepnest.
A Vessel Fragment & A Charm
From the bench, walk to the right and proceed to the next section. This area consists of 5 floors. There are Garpedes that will move across the arena on floors 2 and 4. What you’ll want is to ascend to the fifth floor, on the left side of the room, and you’ll find a passage onto the next section on the ceiling. Make your way up by carefully avoiding the Garpedes. You’ll eventually find the entrance.
Once you’re in the above section, climb up and walk to the right. You’ll face a wide pit here with spiked ceilings on certain areas. From here, you have two options: you can either use Crystal Heart to dash across and land on a wall, or use the Garpede beneath you as a booster to move across by nail-bouncing on them.
It’s suggested that you nail-bounce on the Garpedes as this is something you’ll need to do to get even further in this area. Once you reach the wall, climb up and jump to the other side. Be sure that the Garpede is beneath you once you reach the other side of the wall so you can nail-bounce on it to reach the platform to the right.
A Dirtcarver will pop up here. Eliminate it and keep heading to the right. Nail-bounce on the Garpede once again. Once you reach a wall, climb up, jump overhead to reach the other side, nail-bounce on the Garpede once more, and repeat until you finally reach the other side. Now, all of this is easier said than done. It will take practice and timing, but with enough patience and repetition, you’ll get the hang of it.
Once you finally reach the other side, you’ll see another Garpede that travels horizontally this time. What you’ll need to do here is nail-bounce on its head again and again until you’re in the area above. Once you pass through the gap, dash to the left. Keep going and you’ll find the Vessel Fragment at the end of this path.
Once picked up, keep heading to the left and you will drop down on the area you began. From here, make your way back to the area below. Descend to the very bottom floor. There’s one more item you need to pick up before you proceed.
Once you reach the bottom floor, make your way to the center of the room where you’ll find a hole in the ground. Drop down to arrive at the bottom room.
From here, keep descending while clinging to the right wall. Enter the first passageway on the right. You’ll come across a Shade Gate here. You can dash through it with your Shade Cloak.
Keep pressing down this path while avoiding the Garpedes and Goams. At the end of it, you’ll find the Sharp Shadow charm. Get the charm, and then make your way back to the bench.
Fighting Nosk
Remember that figure you encountered that looked exactly like the Knight? That’s who we’re going to be tracking now. From the bench, walk to the left and onto the next section.
Keep walking to the left and get past the spike pits. At the left-most platform, you’ll see a very narrow platform on the top left. Jump onto it. The wall to the left is breakable. Destroy it and move forward.
Press forward and you’ll find a Grub below. Free it and then climb to the left once again. There will be a visible breakable wall here. Destroy this one too. From here on, just continue down the path. You’ll see the Knight imposter as you continue forward. Keep following it.
Once you see the Knight imposter on the floor beneath you, walking in the opposite direction, keep walking forward until you hit a wall and a shaft above. Climb up and destroy the wooden beam there to unlock a shortcut.
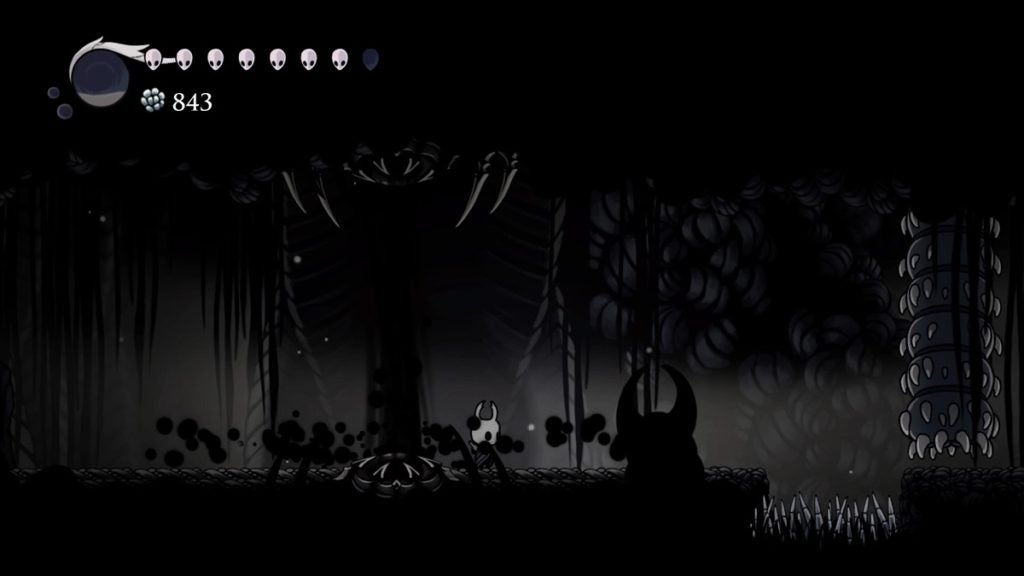
Once that’s done, head back down and keep following the Knight imposter. Keep moving forward then and you’ll catch up to it. The Knight will then contort its body, reverting to its original form, and take the shape of a spider-like creature named Nosk.
Nosk
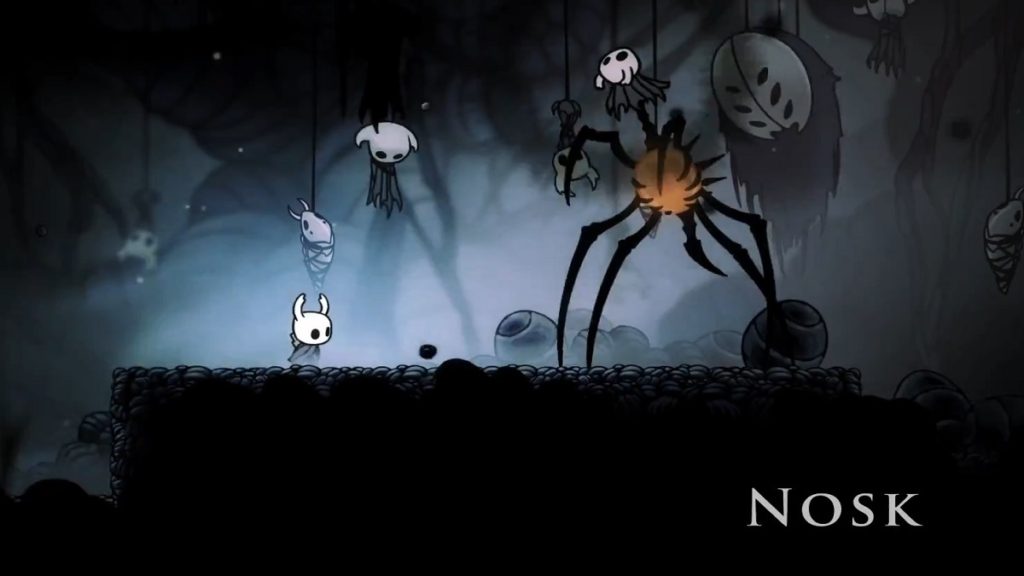
Nosk is a mimic, which is why it was able to copy the Knight’s appearance. It is also very aggressive and swift. Nosk can be very unpredictable and some of its attacks are very difficult to dodge. Nevertheless, knowing its move-sets and when to attack and heal will make this battle more forgiving for you. These are Nosk’s attacks:
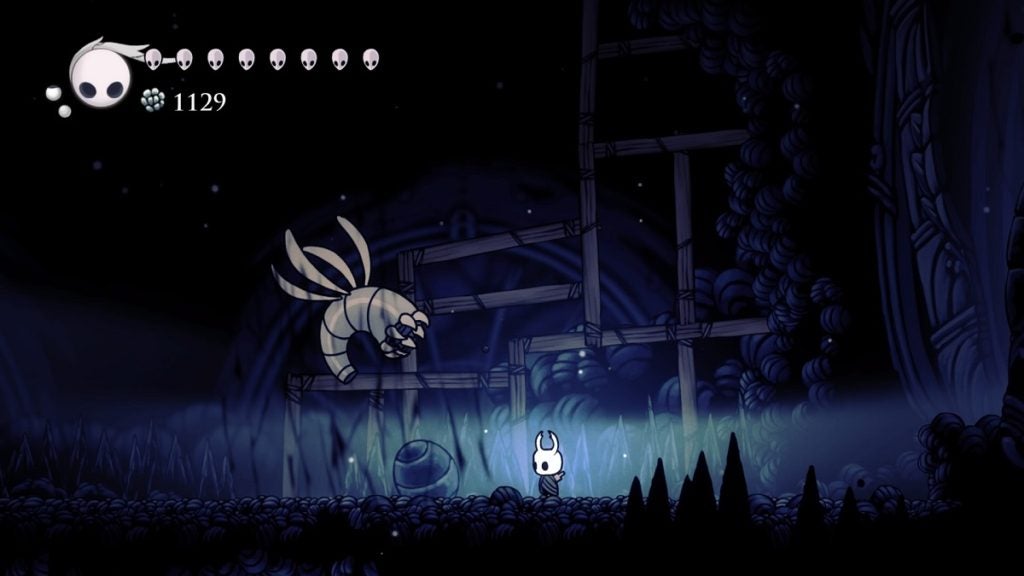
- Forward Charge – Nosk will begin this move by screeching. It will then charge through the other side of the arena. Oftentimes, Nosk will do this twice in a row. Double jumping over Nosk and nail-bouncing is a good way of avoiding this attack while also dealing damage to it. You can also do a Descending Dark for more damage. You can also take advantage of the two corners at the bottom of the middle platform. When Nosk is charging from one side, you can stand on the bottom of the middle platform on the other end and Nosk should miss you. This is also a great time to heal if needed.
- Leap – Nosk will often leap around the arena. It can leap up to 3 times in a row. Sometimes its direction is random, sometimes it’s directed towards you. When Nosk is leaping, pay attention to when it’s about to land. Dash away immediately once you see it heading towards you.
- Infection Eruption – Nosk will stand in the middle of the center platform and spew blobs of infection all around the arena. The best way to avoid this attack is to stand at the corner below the middle platform. This is the area the infection lands on the least.
- Ceiling Attack – Nosk will jump up into the ceiling and drop blobs of infection towards you. The tell for when the infection blobs are about to drop is very subtle. Crumbs of dust will expel in the area where Nosk is whenever it’s is about to drop an infection blob. You can use this as a cue to move away.
A combination of melee attacks and spells is advised for this boss fight. Nosk is aggressive so you’ll need to be aggressive, too. Just keep at it and you’ll defeat it eventually.
Once defeated, the gate to the right will open. Head in and you’ll find a Pale Ore here. Return to the bench to heal up if you need to after this.
Getting the Tram Pass
For this walkthrough alone, you won’t really need the Tram Pass. This item allows you to ride the tram which passes through Deepnest. The Ancient Basin, and Kingdom’s Edge. There’s also another tram you can take from the Forgotten Crossroads to the Resting Grounds.
Be that as it may, if you intend to ride those in the future for ease of travel, you might as well pick up the Tram Pass now since you’re already in Deepnest. If not, feel free to skip this section altogether.
From the room left of where the Hot Spring and the bench are, start making your way up. Don’t stop until you reach the very top. Be careful with the Corpse Creepers here. These are creatures that take control of the bodies of Husks you’ve already put down. When you defeat Husks on your way up, watch for when their bodies shake. If they do, be prepared to fight a Corpse Creeper.
You’ll see the entrance on the top-right ceiling. Don’t enter it yet. Head to the left first and you will see a wide chasm with spikes on the walls. There will be a Grub behind you. Reach it and free it. Once done, return to where the entrance is and jump on it.
In this next section, you’ll immediately hear the ramblings of Zote. To free him, make your way to the very top of this area first. Enter the area above. From here, make your way to the left side of the room and you will see another hole in the ground. Jump down, then continue descending.
You’ll then land in a small arena where you’ll be forced to face multiple Corpse Creepers before you can proceed. Defeat them all and the paths will reopen. Head down and walk to the left to find a King’s Idol. Proceed then to the right and you will find Zote. Hit him once to free him.
After Zote ever so graciously thanks you for saving his hide, make your way back to the upper section. From here, you’ll spot a bench sign. Follow this direction and you’ll find another. Keep heading up. Once you reach the top, head right and you’ll find the bench there.
Once rested, make your way to the left. Dash or walk through the massive opening to reach the next section. You’ll find a Carver Hatcher here, a flying enemy that spawns Dirtcarvers. Eliminate it quickly to avoid it from spawning too many Dirtcarvers.
Keep walking to the left, and just before you reach the hole in the ground next to the gated entrance to the room on the left, climb up to find a Lifeblood core. After harvesting it, head back down and into the hole below. Head down and walk to the right where you’ll see a lever. Hit it and the gate to your left will open. Walk through it to proceed.
You’ll find more Carver Hatchers in this area so be wary of them. Continue to the left until you see a tram with an opening on the ceiling. Enter this tram and the Tram Pass will be just inside.
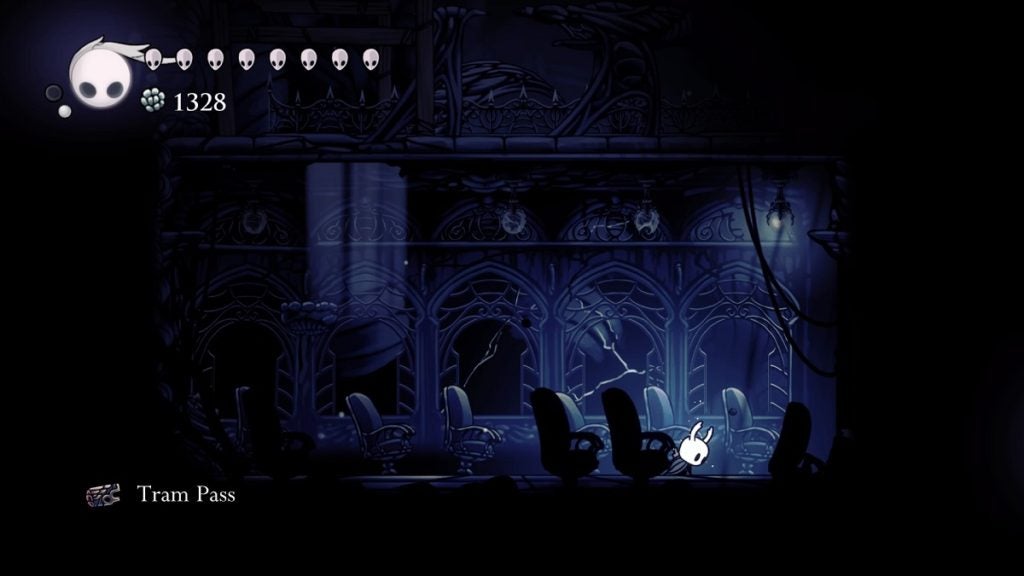
After picking up the Tram Pass, make your way back to the bench. It’s time to head to the lair of The Beast.
Onto the Distant Village
Head to the left once again where you faced the first Carver Hatcher. From here, drop down and you’ll see a hole in the ground to your right. Jump into it to reach the area below.
Begin a careful descent from here as there are spike pits, spike walls, and spike ceilings all around this area. Descend while leaning to the left side of this cavern. After a few drops, you will see an opening to your left. There’s a Warrior Dream here you can challenge.

Once done, or ignored if you choose to skip it for now, return to the previous area and continue descending. Keep going down until you reach the very bottom of the cavern, where you’ll find a hole in the ground you can jump into.
Keep descending once again until you reach the bottom. Begin heading west. Here, you’ll meet your first Stalking Devout. This armored enemy deals two masks of damage. Damaging it is also very tricky. You’ll need to bait it into attacking you. When it attacks, it opens up its mask, allowing you to damage it.
Once dealt with, keep heading west and on to the next section. From here, jump up onto the opening above and climb to the top. Make your way to the left until you’re at a massive cavern with floating platforms.
Get to the level that’s just above you. Continue walking to the right where you’ll find another Stalking Devout. Defeat it to continue. Keep walking to the right to walk through a hidden section. You will then arrive at the entrance of the Weaver’s Den.
Head inside and keep heading to the right. Once you reach the edge, climb up, then use Crystal Heart towards the left. You should pick up the Weaversong charm here. Once that’s picked up, head back outside and continue on the intended path.
Keep heading to the left and you will see a Grub above you that’s unreachable. To get to the Grub’s location, keep heading left, past the floating platforms, and past the spike pits. Once you spot a shaft above you on the left side of the chasm, climb it and continue to head to the right. Keep proceeding and you’ll be face-to-face with a Stalking Devout.
Defeat this enemy and there will be a hole in the ground beyond him. Drop down, walk to the left, and the Grub will be there. From here, you can return from where you passed as it’s closer to your next goal. Go back up and continue heading left until you see the entrance to the next section on the left.
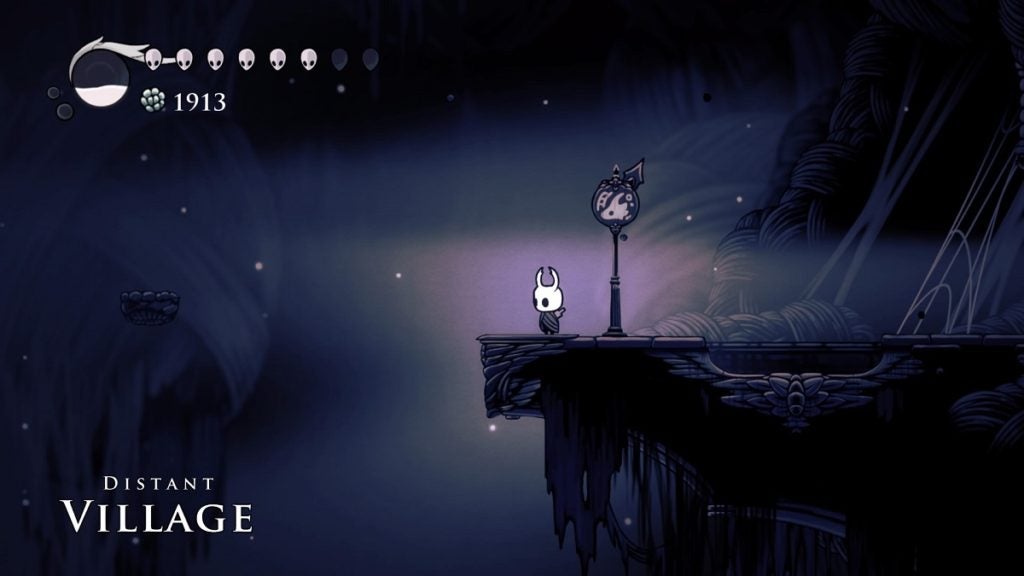
You’ll just need to continue heading westward from here. Keep at it while defeating the enemies and avoiding the spikes. When you arrive at the next area, you’ll be at the Distant Village.
You’ll see a sign for a Stag Station here. Since the last bench you sat at is very far away from your current location, it may be a good idea to head to the Stag Station first. This station doesn’t have a bench, but you can open it up, ride it to another station that has a bench, and ride it back here.
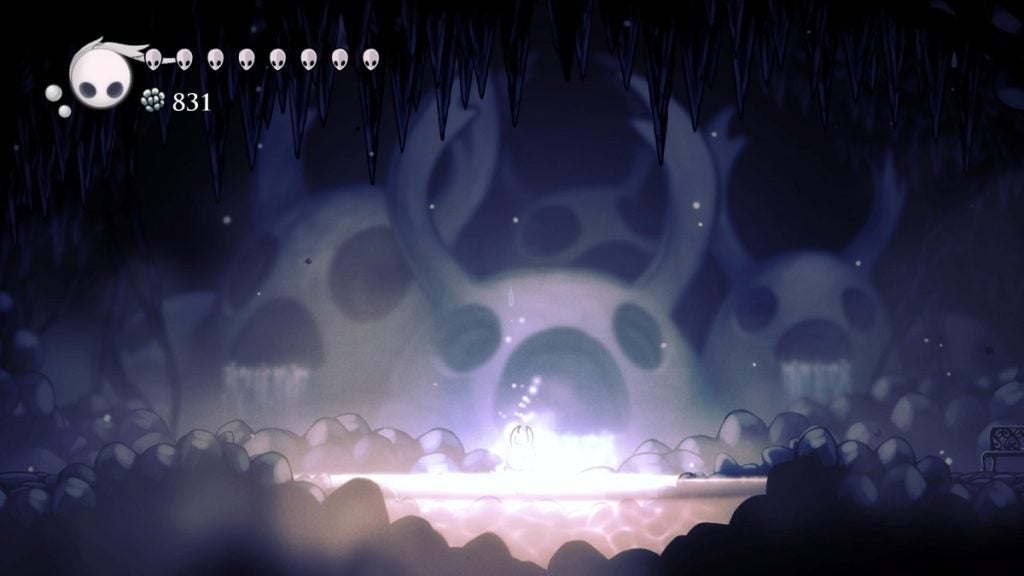
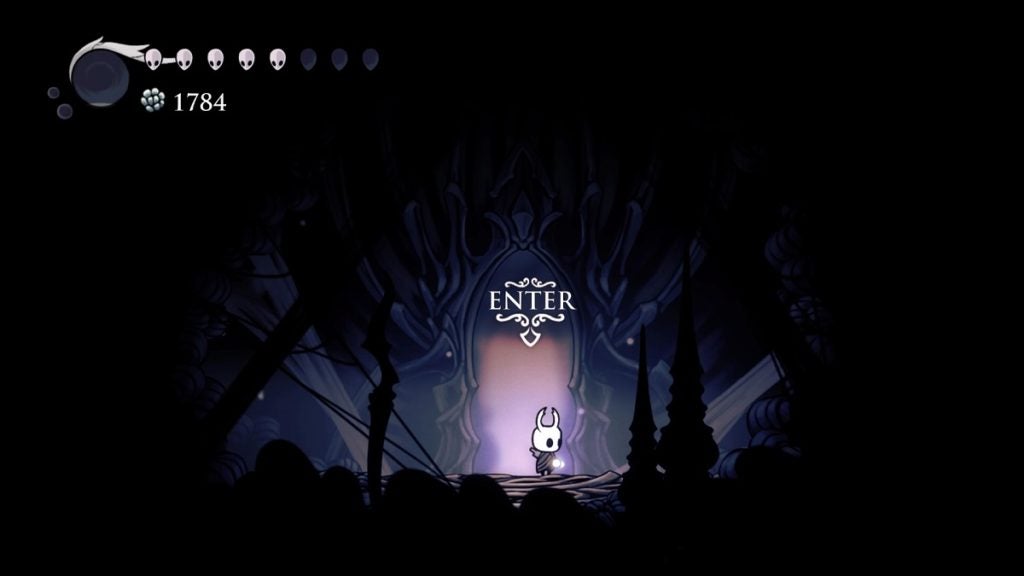
After doing that, return outside and make your way to the center of the chasm. Notice the massive circular structure made of webs with a door on the front here. Head inside and keep walking. You’ll be greeted by bugs who’ll urge you to sit at the bench. Oblige them and it’ll turn out to be a trap. That’s okay, though. This is exactly what you want to happen. Let the scene play out.

Navigating The Beast’s Den
You’ll awaken to find yourself in Beast’s Den, all tangled up in a web. Keep hitting the attack button to break free. Once freed, start walking to the right. When you see the opening to the floor above you, jump up and defeat the Stalking Devout ahead.
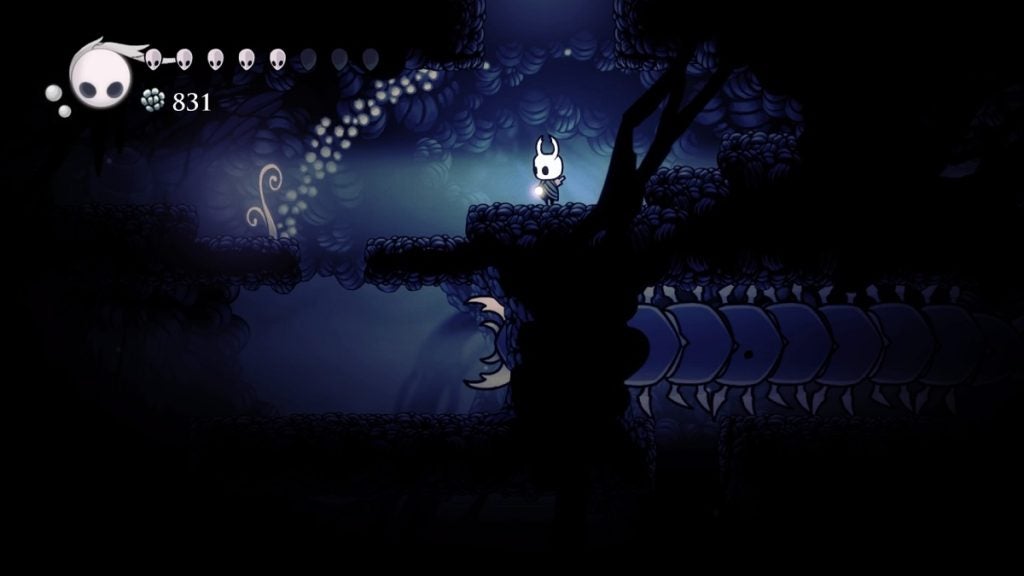
Keep walking to the left and start climbing up. When you reach the top, make your way to the right. When you reach the end, continue heading upwards while carefully avoiding the Deeplings, spike walls, and spike pits.
After climbing a narrow path, walking left, and dropping into a narrow opening in the ground, you will land next to a Grub. Free this Grub before moving forward.
From here, make your way to the left, climb to the floor above, and walk left once more. You’ll find another Stalking Devout here. Eliminate this enemy, then continue on your path.
At the end of this path, you will find an opening in the ground. Start descending from here. Just keep making your way down until you reach the bottom and see a room on the right you can enter. There’s a bench here. Rest up and prepare to make your way up once again.
Once you reach the top, walk to your right and defeat the Stalking Devout here. Move forward and you’ll finally see the body of the Dreamer.

Herrah the Beast
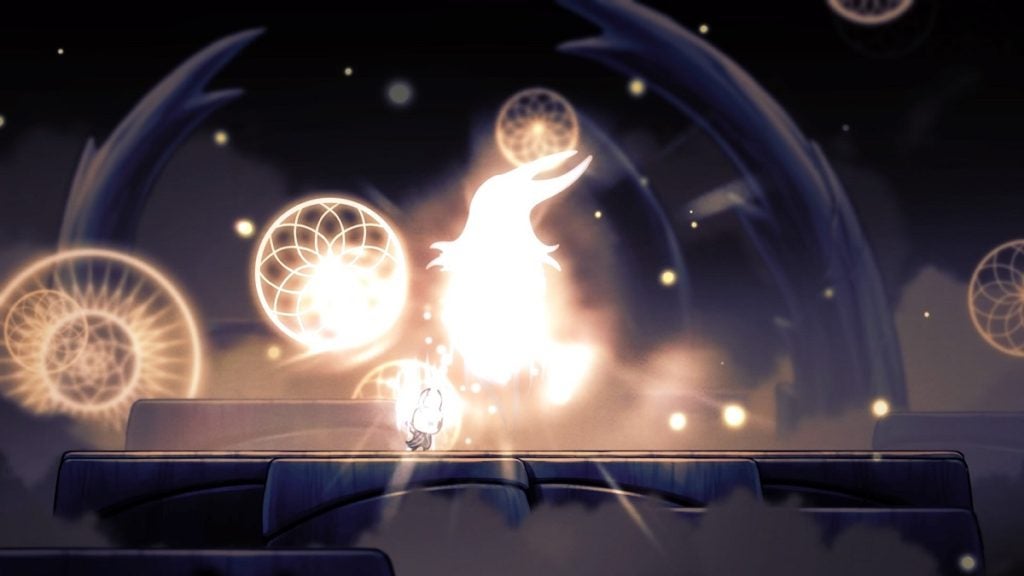
Use the Dream Nail on Herrah’s body to be sent to the Dream World. You will see her here. You must then attack Herrah multiple times and use Focus when her Essence starts to spill from her body. You’ll then absorb Herrah by doing this.
When you return to the physical world, you’ll see Hornet next to you. Interact with her and it will be revealed that Herrah was her mother. After conversing with Hornet, leave the Beast’s Den by dropping into the hole beside the previous bench you rested at. You’re officially done with Deepnest.
Prepare however you can from here. When you’re ready, you’ll need to revisit the Fog Canyon to find the Teacher’s Archives.