After acquiring the Void Heart charm, it’s now time for you to return to the Temple of the Black Egg and fight the Hollow Knight once more. Then, you’ll also get the chance to fight the game’s “true” antagonist.
Table Of Contents
Preparing for the Battle Ahead
After transforming the Kingsoul charm into Void Heart, the Charm Notches taken up by the former charm are now freed up. After acquiring Void Heart, it will remain equipped at all times but it won’t take up any of your Charm Notches. That said, equip your preferred charms at the bench in Dirtmouth before moving on.
Once done, make your way to the Temple of the Black Egg. Hornet will now be right outside the temple waiting for you. Interact with her, then head on inside.
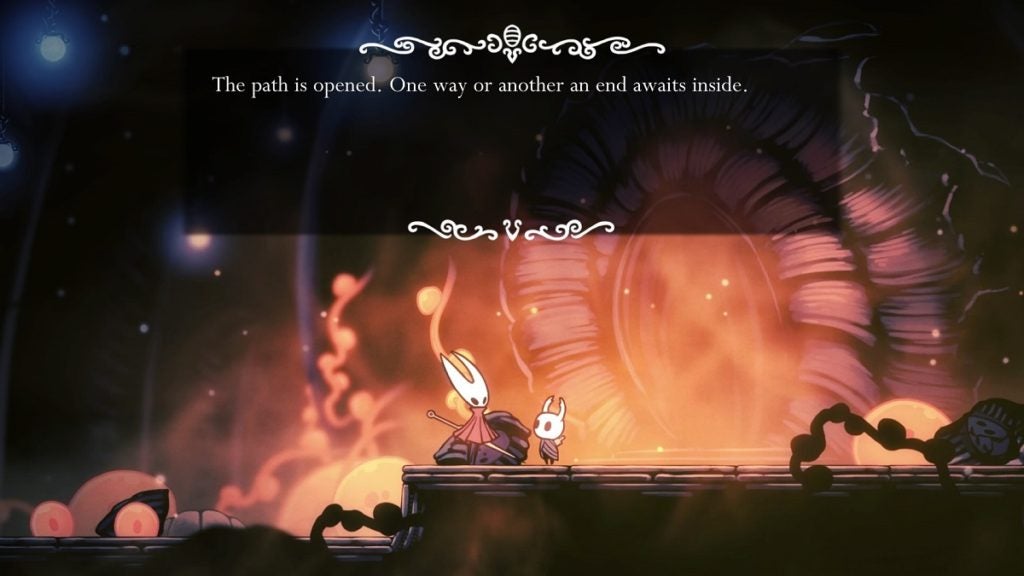
Rest at the bench inside the temple before making your way to battle the Hollow Knight once more.
Playing Out the Two Endings
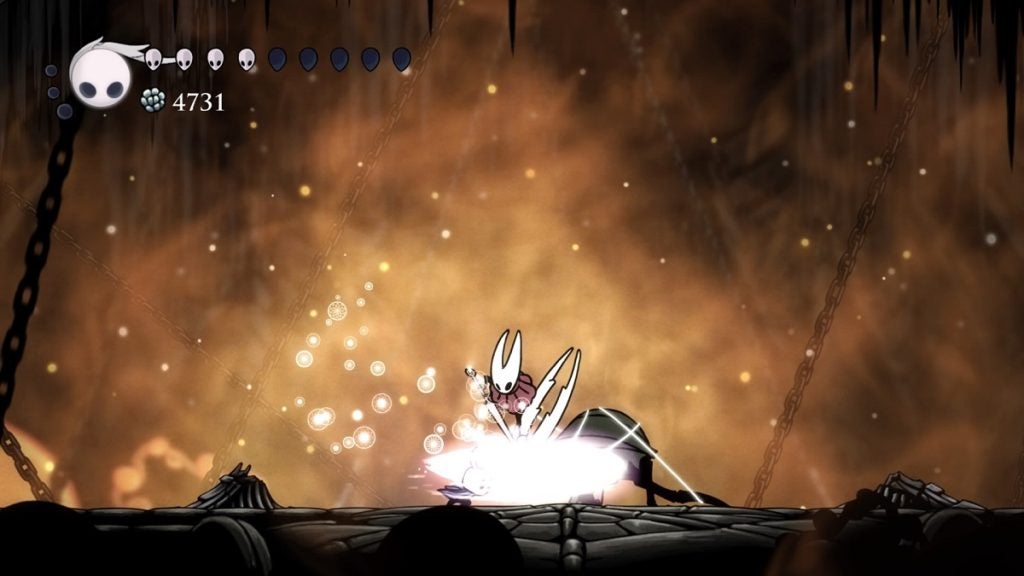
By now, you should already know how to deal with the Hollow Knight. Play this fight out as you did previously. However, upon reaching the fourth phase, Hornet will jump in and bury her needle in the Hollow Knight’s mask.
During this time, if you choose to continue attacking the Hollow Knight, he’ll eventually stand up, sending Hornet away and causing her to collapse. If this path is chosen, the battle will continue as before. Once the Hollow Knight is defeated, you’ll unlock the Sealed Siblings ending.
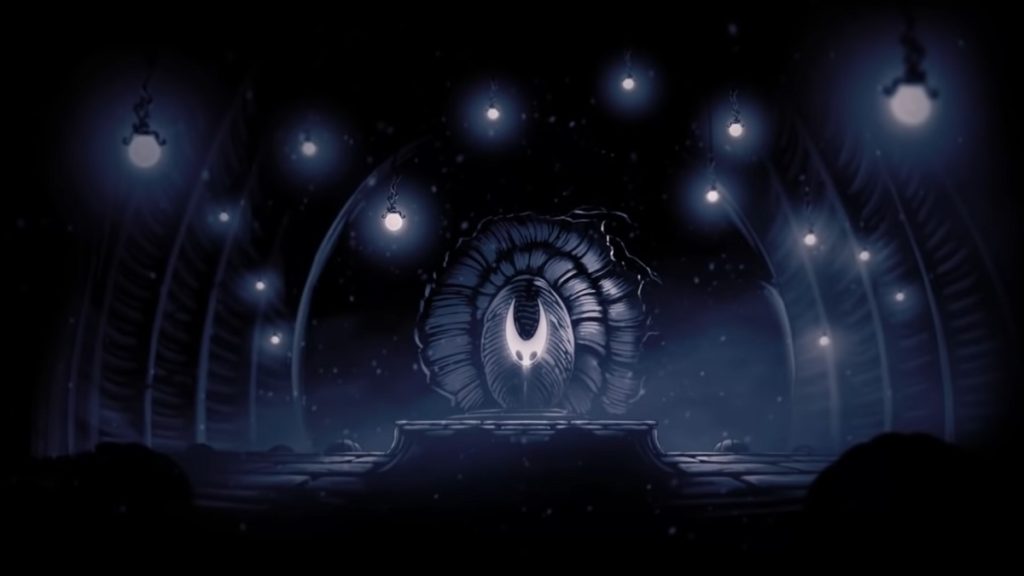
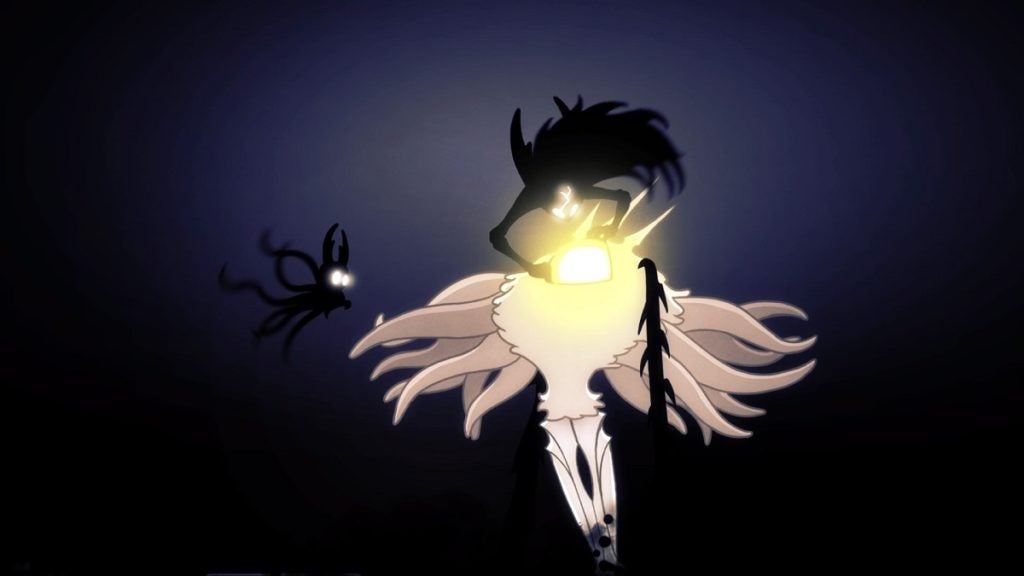
However, if you use your Dream Nail on the Hollow Knight while he is being pinned down by Hornet, you’ll instead enter his dream and fight the game’s main antagonist. The supposed source of the infection: The Radiance.
Take note, if you do decide to unlock the Sealed Siblings ending first, that’s completely fine since you’ll simply be sent back to the bench outside the Hollow Knight’s boss room after the cutscene. You can then fight the Hollow Knight again and enter his dream when the opportunity comes up.
The Radiance

The Radiance is widely considered to be one of Hollow Knight’s most difficult boss fights. Thankfully, you’ll enter this battle with all of your masks intact regardless of how many you had left during the Hollow Knight boss fight.
To defeat The Radiance, what you’ll really need is to understand her attacks. Familiarize yourself with them, know how to dodge them, and in some instances, know when to sneak in an attack or two to her while avoiding hers.
The Radiance has a total of 5 Phases. During each phase, there will be a slight alteration in the arena. The Radiance will also employ new attacks in certain phases, although some attacks will persist throughout multiple ones.
The Radiance’s Phases
Here’s a breakdown of what you can expect during each phase.
- 1st Phase – The arena remains wide open.
- 2nd Phase – The Radiance will summon spikes on the floor that cover half of the arena. The spikes will last for about 5 seconds. There should be a glow of light on the ground marking where the spikes will sprout from. Once the spikes disappear, another set of spikes will appear on the opposite side.
- 3rd Phase – Spikes are positioned on both sides of the arena, forcing you to stay in the middle.
- 4th Phase – The entire arena is filled with floating platforms. The wide floor that was present during the previous phases is now covered in Void. You’ll lose one mask if you fall through.
- 5th (Final) Phase – During this phase, you’ll need to jump from platform to platform to ascend to the top.
The Radiance’s Attacks
Now that you know what to expect of the level layout during each phase, it’s now time for you to learn the boss’s attacks. Here are The Radiance’s attacks and which phases you can expect them to happen.
Beam Wall – The Radiance will summon a wall of light that will travel across the arena from right to left or the other way around. You can avoid getting damaged by this attack by dashing through it with your Shade Cloak. However, if this ability happens to be cooling down and the wall of light is already getting close to you, you can also bypass it by using Descending Dark just before it hits you.
The Radiance will use this attack during phases 1, 2, and 4.
Beam Burst – The Radiance will fire multiple beams around her. Before the beam solidifies, its light will mark its intended position. This will give you an allowance to move away before the beam can damage you.
While moving around in between the bursts, you can jump and strike upwards to damage The Radiance. This is also a great time to use Abyss Shriek on her.
This attack will persist during phases 1, 2, and 4.
Sword Burst – Similar to the pattern of the Beam Burst attack, only The Radiance will summon swords instead of beams of light. The swords will launch simultaneously. Stand in-between the gaps of each sword to avoid being damaged. Your attack window here remains similar to the Beam Burst attack.
The Radiance also uses this attack during phases 1, 2, and 4.
Horizontal Swords – Swords will travel across the arena from left to right or the other way around. There’s usually a gap between the swords you can dash through to avoid getting damaged.
It’s hard to land a hit in on The Radiance while this attack is going on, so it’s best to wait for it to finish before attacking her.
This attack is still used during phases 1, 2, and 4.
Light Orbs – The Radiance will summon light orbs that track your movement and travel in your direction. Once these orbs hit the ground or go off-screen, they immediately disappear. That said, it’s best to lead these orbs to a corner or straight to the ground and dodge away just before they make contact with you. It’s also best to dodge towards the direction of where the orbs appear.
Your Shade Cloak will also allow you to dash through this attack.
Similar to the previous attacks, The Radiance will use this during phases 1, 2, and 3.
Sword Rain – Swords will travel from above towards the ground. Stand on the gaps between the swords to avoid being damaged.
If you’re quick enough or are standing in the proper position while this attack is going on, you can land plenty of upward slashes or Abyss Shrieks on The Radiance.
She will use this attack starting from phase 1 until phase 3. This is the only attack The Radiance will use during the 3rd phase.
Light Beam Attack – The Radiance will continuously fire single beams of light towards your approximate position. Similar to The Radiance’s Beam Burst attack, the beams will first light up their positions before they materialize to damage you. This will allow you to know exactly where to stand to avoid the attack.
The Radiance only uses this attack during the 5th and final phase. She’ll constantly do this attack as you ascend all the way to her. Avoid the beams as best as you can as you make your way up. The moment you finally reach The Radiance, you’ll only need to hit her once and the fight will be over.
Things To Keep in Mind
You’ll need to make use of your spells throughout this fight. The Abyss Shriek is undoubtedly your most useful tool here. Whenever you’re positioned directly below The Radiance, hit her with this spell as much as you can before she teleports away.
That said, it’s best if you equip charms that are suited for spells for this fight. Charms such as the Soul Catcher and Shaman Stone are immensely useful here.
Remember to use Descending Dark throughout this fight as well. Remember, when you’re unable to dash through an attack, using this spell will give you a few moments of invulnerability.
It should be noted that every single one of The Radiance’s attacks deals two masks of damage. Dropping towards the void or hitting the spike floors, however, will only rid one mask from you.
Be patient and keep at it. You’ll eventually become familiarized with The Radiance’s attacks. You’ll virtually seal your win the moment you reach phase 5, as long as you don’t get hit by the light beams she throws at you.
Defeating The Radiance
Once The Radiance is finally defeated, the void form of the Hollow Knight will hold her head up. The Knight’s void form will then break free from its vessel. You must now hit The Radiance with a flurry of melee attacks as The Knight’s void form. After a few hits, The Radiance will finally fall and you’ll unlock the Dream No More Ending.
And that’s that. Congratulations on finally defeating one of the game’s toughest bosses.
While this marks the ending of the game, there are still a lot of things you can do in Hollow Knight. Most prominently, there’s still the Godmaster DLC, an undertaking that’s infinitely more difficult than anything you’ve gone through thus far. That’s what we’ll be tackling next.