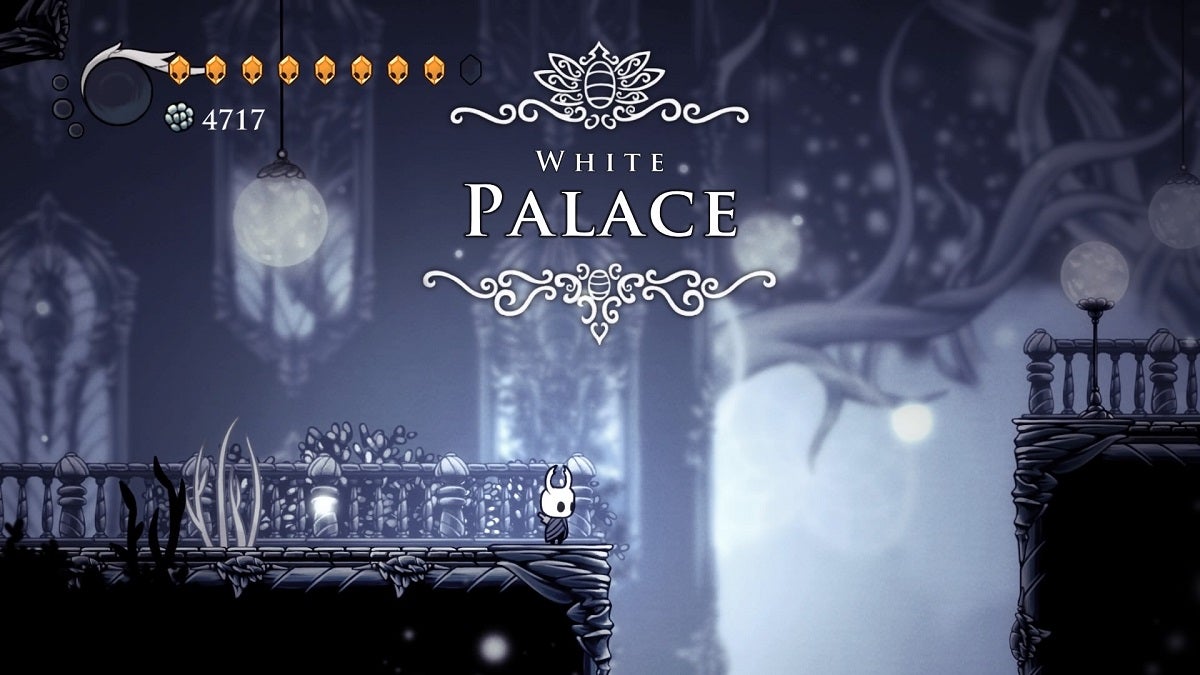
The White Palace is undoubtedly one of the most challenging levels in Hollow Knight and will put your platforming skills to the test. Anything less will surely send you back to the bench, disallowing you to acquire the second half of the Kingsoul.
Table Of Contents
Getting Ready for the White Palace
Before heading to the White Palace, there are a few things you’ll need to acquire first.
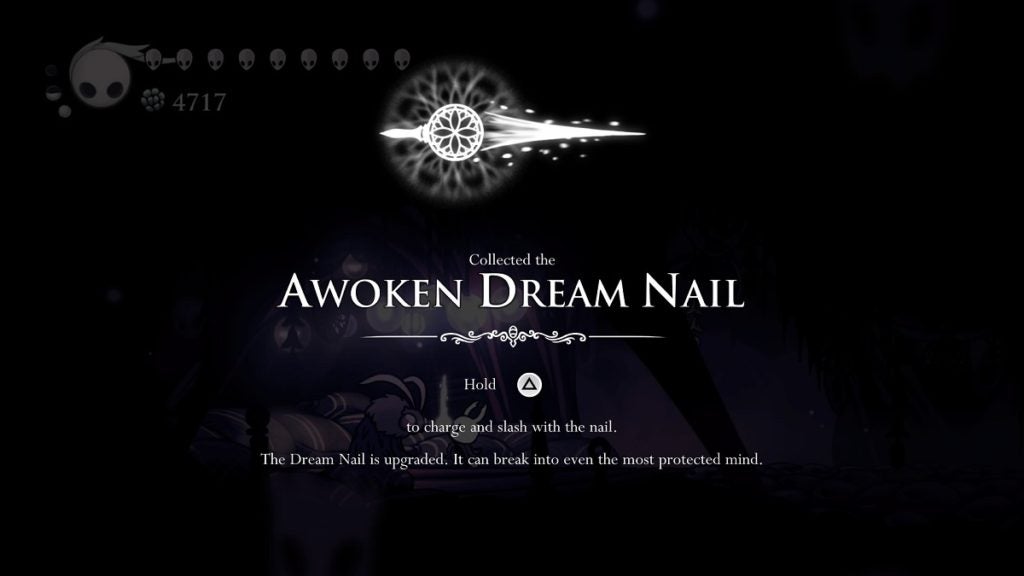
The first thing you’ll want to do is get the upgrade for your Dream Nail called the Awoken Dream Nail. This version of the Dream Nail will allow you to enter the White Palace. To get it, you’ll need to collect 1,800 Essence and return to the Seer in Resting Grounds.
The second thing you’ll need is the Hiveblood charm. This isn’t actually necessary, but it will make traversing the White Palace much easier. This charm is located at the end of The Hive, just beyond the Hive Knight’s boss.
It’s also recommended that you equip the Mark of Pride charm for this level if you haven’t yet. This charm will increase your Nail’s reach and it will greatly help you nail-bounce on spikes much better.
Once you have these things, take a Stag Station and travel to the Hidden Village. Exit to the left and keep going until you see a body on the ground in white armor. Hit it with your newly acquired Awoken Dream Nail and that will send you straight to the White Palace.
Navigating the White Palace
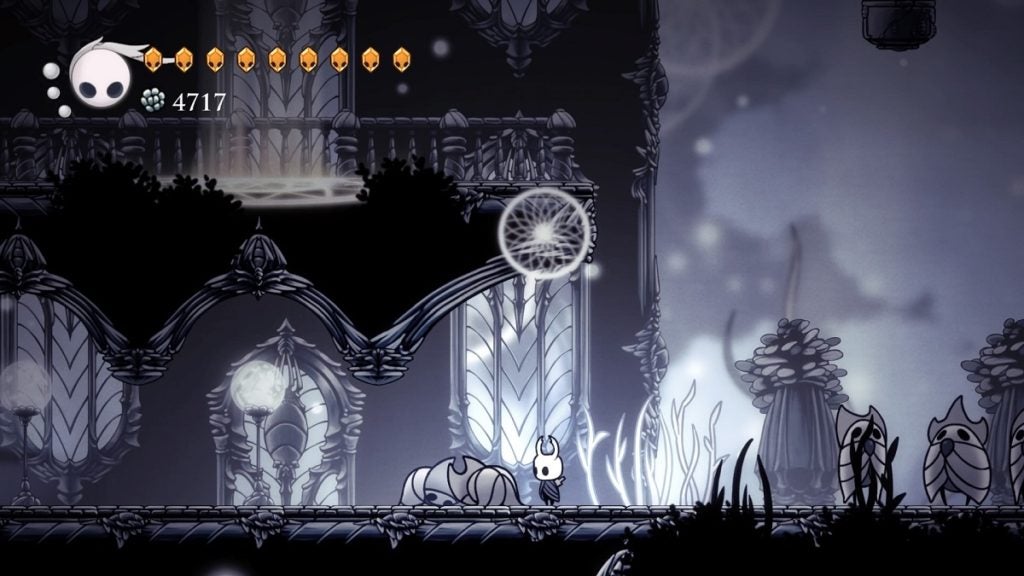
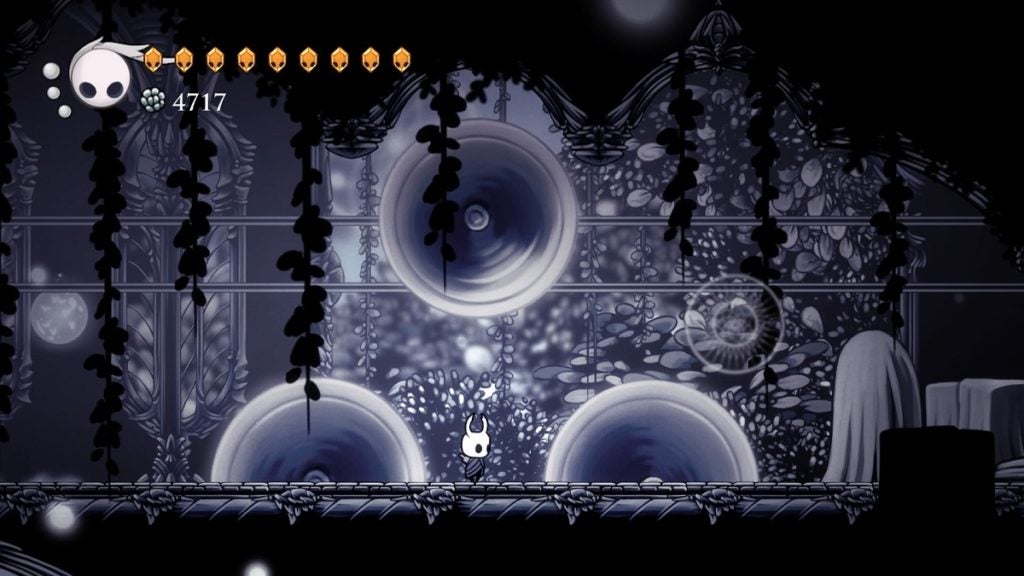
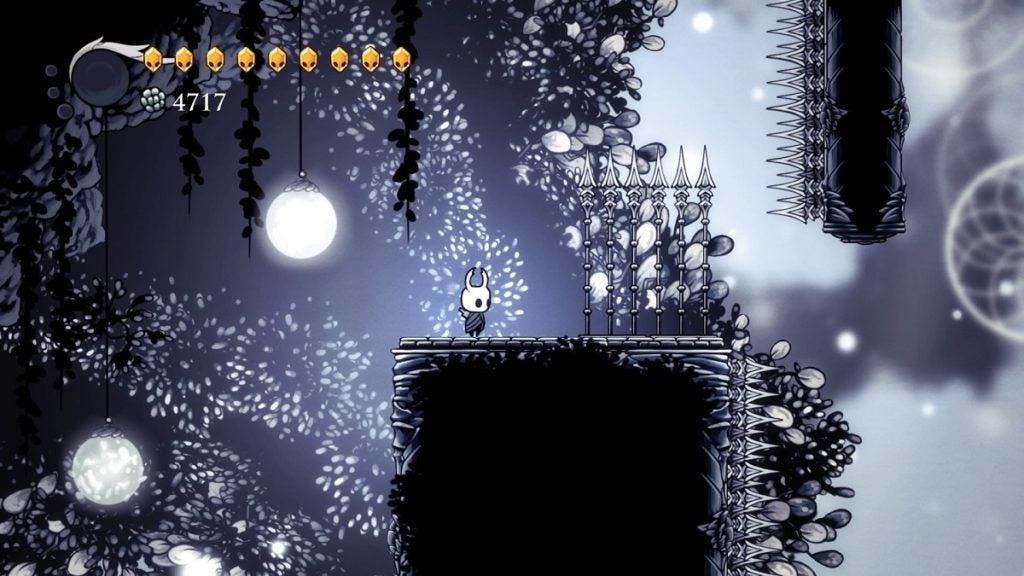
Start walking to the right and you’ll eventually come face-to-face with a Kingsmould. Once defeated, enter the structure behind him. Then, continue making your way to the right. You’ll then come across small Wingmoulds hovering in the air. Use these creatures as platforms and nail-bounce on them as you make your way to the top right. You’ll then find your first bench.
After resting, head to the right and jump on the platform ahead of you. Then, jump and dash towards the pillar on the right. Cling to this pillar and slide down. The moment you drop, dash to the right to reach the floating platform. Continue making your way to the right from here. Keep going until you enter another section.
Keep heading right until you arrive at a room with a Kingsmould waiting for you. Defeat this enemy to move on. Continue and jump onto the platform on the right. Begin making your way up by climbing the right side of the floating platform above you. Once you get to the top, jump to the left. Keep walking and you’ll stumble upon a glass contraption with a lever on the side. Hit the lever to activate this contraption.
Walk to the left until the floor beneath you collapses. Drop down and make your way back to the previous section on the left. Keep walking and jump onto the platform on the top left. There’s an elevator here you can ride to the top. Stand on it to proceed.
Heading Up
Once the elevator reaches its peak, make your way to the floating platform on the left, beyond the pillar with spikes on top. Once here, continue making your way up. At the top, walk to the left until you see an opening in the ceiling. Jump into it to get to the next section.
Climb up using the shaft above you. At the top, start walking to the right. The NPCs here, called Royal Retainers, aren’t enemies, so you can simply leave them be. You can also use your Dream Nail on them to gather Souls if you need it.
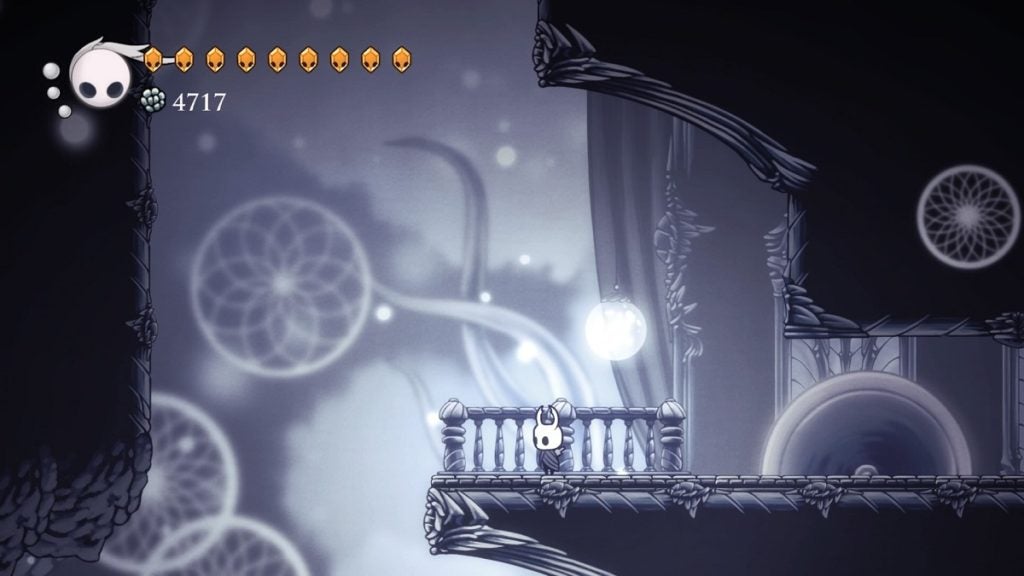
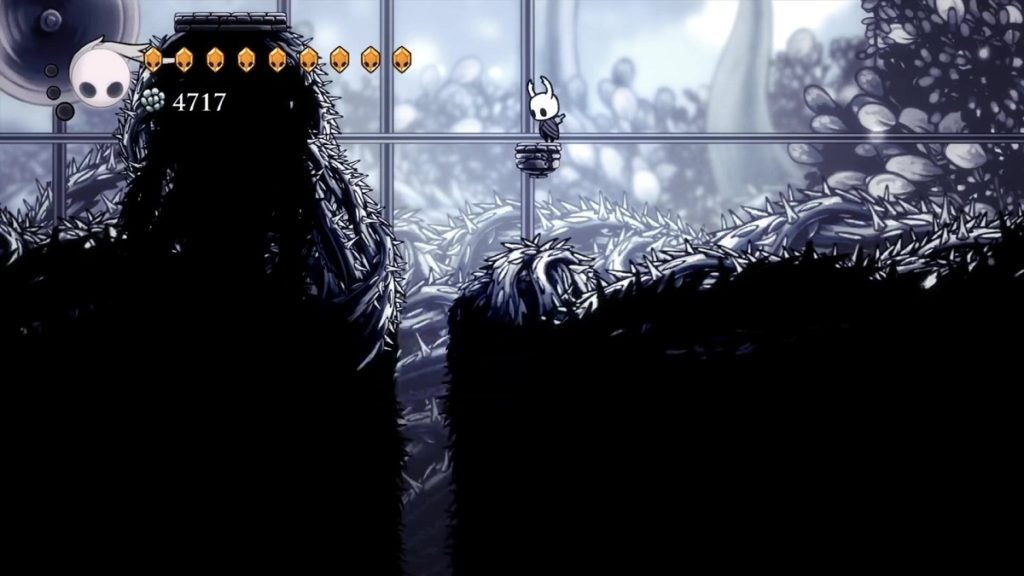
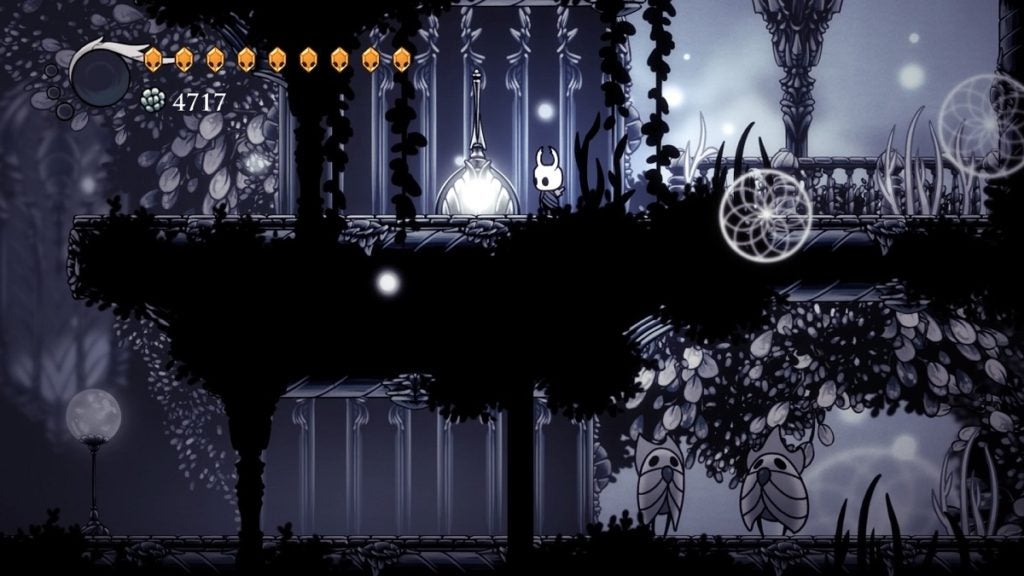
Jump onto the platform above you, and then onto the area on your top right. There should be a bench here. Rest up for now. Once done, make your way to the section on the left. From the bench, keep walking until you see an entrance to the next room. On the platform above the entrance, there’s a portal that will lead you back to the outside world. If you need to get out for a while to gather a few things, now’s the time to do that. You’ll be sent back here once you re-enter. Otherwise, just take the entrance to your left to continue.
Saws Everywhere
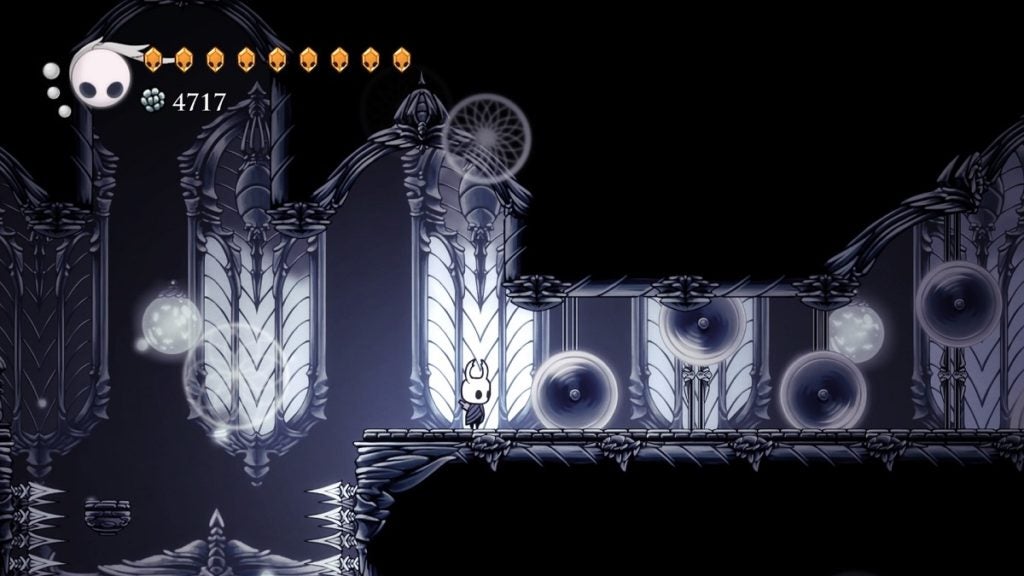
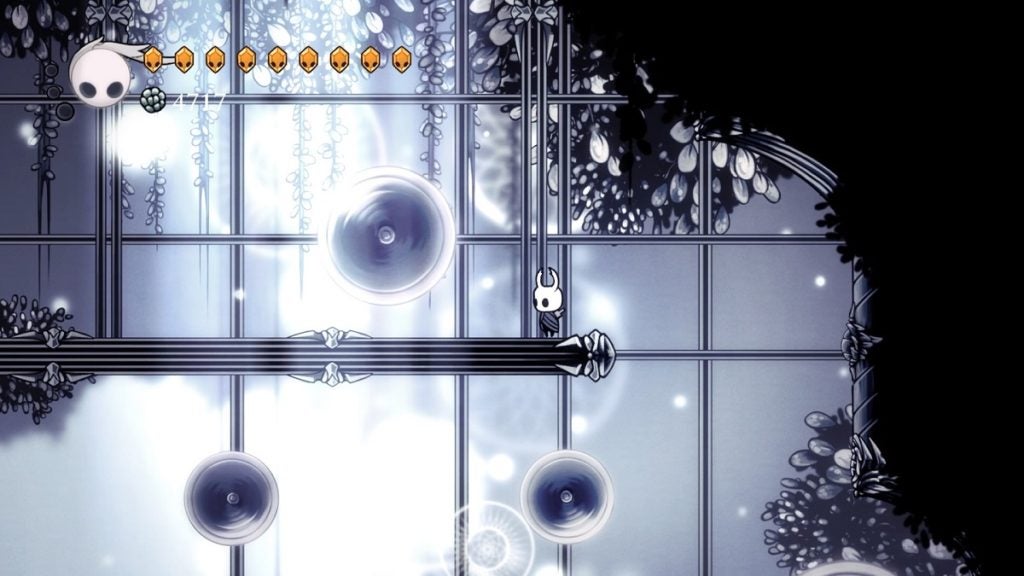
In this next section, you’ll need to be extremely careful when moving forward. You will come across one stationary circular saw and another that dashes across the path ahead. Make use of the spaces overhead to avoid the mobile saw. Be careful. Once you reach the second overhead space, quickly dash forward. There’s a space at the end of this path that the circular saw can’t reach.
Now that that’s done, you’ll need to deal with the same type of obstacle, but you’ll need to traverse vertically this time. What you’ll want to do here is climb the wall across you when the circular saw dashes upwards. Make a small climb, and then jump onto the parallel wall to the left when it is clear. Keep making your way up. Analyze when the circular saw on this side starts going down. When it’s about to do that, jump to avoid it and dash to return to this wall. Keep climbing up and you’ll spot a platform you can land on to your left.
There are more Royal Retainers here, so harvest Souls from them if you need it. Once done, continue walking to the left and prepare to drop down.
This area is filled once again with circular saws. You can use the one stationary circular saw in the middle as a starting point by nail-bouncing on it as you prepare to drop further. Be mindful when dropping down once again as there is another circular saw below. Lean a little bit to the right to avoid it, or be prepared to nail-bounce on it.
Once you reach the bottom, jump slightly and carefully dash to the left to cling to the wall there. Then, drop down while moving slightly to the right. You should then land on a floating platform surrounded by circular saws
Carefully make your way to the floating platform to your lower right. Then, drop to the right and dash to the left to get to the other floating platform here. Do the same to get to the wider platform to your lower left. From here, nail-bounce on the circular saw on your left, jump up to the saw to the upper left, nail-bounce on this too, and land on the platform beside it.
You’ll then need to dash in between the two circular saws ahead of you. It can be challenging to do this but it’s most certainly doable. Once you manage this, dash forward and jump up to reach the other platform. Continue to the next higher platform from here.
This next area requires you to ascend while avoiding the circular saws that are dashing horizontally across the arena. Carefully make your way up by using the floating platforms. You’ll eventually land at a safe area to the right where you’ll find a Soul Totem. After harvesting this, return to the left and continue climbing up. You should find an opening in the ceiling to the top-left corner of this area.
In this next section, you’ll need to ascend a somewhat narrow shaft. It still has circular saws moving in a horizontal pattern, but they’re much slower and easier to get across. Take a look at the bottom saw. Once it disappears to the wall on the left, begin climbing quickly. You should be able to reach the top before the saws reappear.
The next area now is filled with circular saws shifting vertically. Pay attention to the flower-like embellishment on the floor. Those things mark where you should stand to avoid getting hit by the saws. Carefully walk from one of these marks to the next.
When you come across the big circular saw on the ground, nail-bounce on it and wait for the opportunity to get across. Once you finally get to the other side of the big circular saw, you’ll need to pass through one more saw, and then another with three saws that move simultaneously. You can use Crystal Heart to get through these three final saws.
Start making your way up. You’ll see only one circular saw that vertically moves. The opening this saw makes is your way to the other side. Carefully dash through. Drop down and cling to the left side of the wall to slowly slide down. Be careful of the spikes below.
Now you’ll see a floating platform to the left. Get to it and continue moving towards the left. Keep walking and you’ll see a lever here. Flip it and head forward.
Drop down and you’ll land behind a locked gate with a lever beside you. Flip the lever to open the gate. Head to the right and you’ll be back at the bench you previously rested at.
Once you’re finished resting, you must now head to the right. Jump to the platform to your upper right and keep in this direction until you reach the next section.
A Little More of the Same
Upon arriving in the next area, the lever you’ll need to hit should just be ahead of you. Unfortunately, it is restricted behind two locked gates. No matter. For now, jump over it and continue pressing on to the right.
In this next area, you’ll need to make it to the right while avoiding the saw above you and the saw on the ground. Start making your way across when the saw on the ground reaches its furthest point on the left and starts making its way to the right. Walk along with it and, when you come across the gap with a hole in the ground, stop there and wait for it to return.
Once it dashes towards you, jump over it, but don’t jump too high as there is one more circular saw above it following its direction. Jump and dash forward and you should spot three stationary circular saws. In between these saws is a space you can stand on. Jump and dash forward carefully to get here. Make sure you do this before the previous circular saws get to where you are.
Continue heading to the right and onto the next room. From here, start climbing upwards using the left wall. Be careful, though, as a circular saw dashes up and down here. You should be able to avoid it by just clinging to the wall and waiting for it to pass through. You should then find a safe platform to land on.
From here, continue making your way up. Be careful of the circular saw on top. Only begin climbing when it is on its way up. Then, move to the right wall and make your way to the safe platform here. Prepare to continue ascending.
This platforming section is incredibly tricky. Start climbing up carefully by using the left wall. Get ready to jump away when the saw makes its way down. Dash towards the right wall, and when you see the circular saw above you, jump towards the left, nail-bounce on the saw here if necessary, and finally land on the area on the top left. Proceed walking to the next section.
Drop down onto the narrow floating platform, and once more below it. From here, you’ll want to drop onto the narrow space beyond the small moving circular saw to your lower right. Slide down by clinging to the wall, and drop down while moving to the left. You should find a small floating platform here. This is where you want to land.
From here, you should spot a very small and narrow space to your lower left. Jump down here. You’ll then want to navigate this area to make it to the other side. Consider this path a “shortcut” that’s less complicated than the alternative. Once you make it back topside, jump up onto the floating platform above you.
To your left, you’ll see two circular saws that move up and down. Dash through when it’s clear to land on a floating platform below. Proceed to the narrower one to your lower left. Then, dash to the left and jump up. Continue ascending from here, making your way to the upper right side of this area while dashing through the circular saws, until you arrive at a wide platform.
Head towards the opposite side of this platform. Be mindful of the circular saw here. When you get to the other side, drop down, and then walk to your left onto the next section.
There is a Soul Totem at the far end of this path. Use it if you need more Soul. Once done, return to the center and prepare to make your way down. Once you do, cling to the left wall and be mindful of the spike pit below. Watch out for the circular spikes here. When it’s clear, dash towards the right wall and slide down once again. Keep doing this until you reach the very bottom, where you’ll find a lever.
Flip it and drop down onto the hole beyond it. You should then find yourself atop the area that houses the switch we found earlier. The previously locked gates should be opened now. Flip the lever and head back outside to the left. Make your way to the bench for now.
Just above the bench, there’s an elevator that used to be locked behind gates, which are now open. Take the elevator to reach the upper sections of the White Palace.
Upper White Palace
When the elevator reaches the top, keep making your way up until you reach the next section above. From here, keep ascending once more while avoiding the saws and the Wingmoulds. Hit the Wingmoulds to make them open up, allowing you to get past them. Once you reach the top, you should find a bench you can rest at. Once done, continue making your way up.
In this next area, climb up and jump onto the platform on the left when the circular saw here is on the other side of the platform. You can jump and dash on top of this saw to get to the other side.
Once here, jump on top of the circular saw on your top left and nail-bounce on it while waiting for an opening to dash further to the left and onto the floating platform here. Then, quickly make your way to the other floating platform to your top left.
You can then use the circular saw to your right by nail-bouncing on it to get to the narrow passage on the upper right. There are spikes that pop down and up from the ceiling here. Dash forward when it’s clear.
Making your way up in this next section is considerably challenging because of how fast the saw here moves. Time your ascend right. Make it to the platforms above you slowly. Then, when you’re required to climb up, make sure to do it after the saw dashes downwards. Quickly make your way to the top left then.
Then, jump to the right, beyond the spike pit, and onto the small floating platform. Proceed to the next one way to the right. Dash forward, slide down, then dash towards the right once again. Climb to the right and onto the platform with the surfacing spikes.
When it’s clear, walk forward and dash forward. Then, jump up to cling to the right wall of this floating platform. Jump up when the spikes are clear, then jump to the top left.
You’ll then need to make your way to the left. Cling to the walls of the platforms and dash over them only when the spikes are clear. Once you reach the other side, start making your way up.
Cling to the left wall and jump onto the circular saw when you’re clear of the spikes. Nail-bounce on the saw and jump once again to reach the floating platform. Continue making your way up from here, carefully, until you reach the section above.
Head to the left and jump beyond the spike pits and begin climbing the wall here. On your right, there should be a gap between the circular saws you can jump into, landing on a narrow platform. Carefully jump to the next one to your upper right, and then another, and then onto the furthest to the right.
Start climbing from here. What you’ll need to do then here is to use Crystal Heart towards the left to get to the other side, past the narrow pathway filled with circular saws. Make sure you place the starting point of your Crystal Heart properly so that you’ll dash right between the two sets of circular saws. You should also time it right so that you’ll avoid the one circular saw here that moves in a vertical motion.
Once you’re able to dash through, stop just before reaching the other side of the wall as there is another circular saw here that will damage you if you dash towards it. Then, jump up to the area above.
What you’ll want to do here is to nail-bounce on the spikes to get to the floating platform to the right. Jump to the next one while avoiding the circular saw here. Then, jump once again onto the platform on the top left. Once more to the other platform on the left, and then jump up to the area on the top right.
You’ll need to time your dashes perfectly here to get to the other side. Dash once and land on safe ground in between the surfacing spikes. Keep doing this until you finally reach the other side.
Make your descent from here. Spikes will surface from both sides of the wall in certain areas here so be sure to watch out for those. There are platforms you can land on during this drop so watch out for those as well. Once you finally reach the bottom, there’s a lever here you can fill that opens the gates to your left and the one below you. Flip it to open the gates. Then, walk left, drop down, then proceed to the right.
Onto the Throne
You should then be facing a massive chasm. Jump and dash towards the right to reach the platforms there. Make your way to the platform at the bottom right. From here, drop down, dash underneath the saw, then jump to reach the platform.
Start making your way up from here. Make your way past the speedy circular saw and jump onto the other side. From here, use Crystal Heart to get to the other side. Make your way up from here while avoiding the spikes. You must then use Crystal Heart once again to get the other side, beyond the spike pit. Stop just before you hit the Wingmoulds, jump to the platform on the top, and jump to the next one once more.
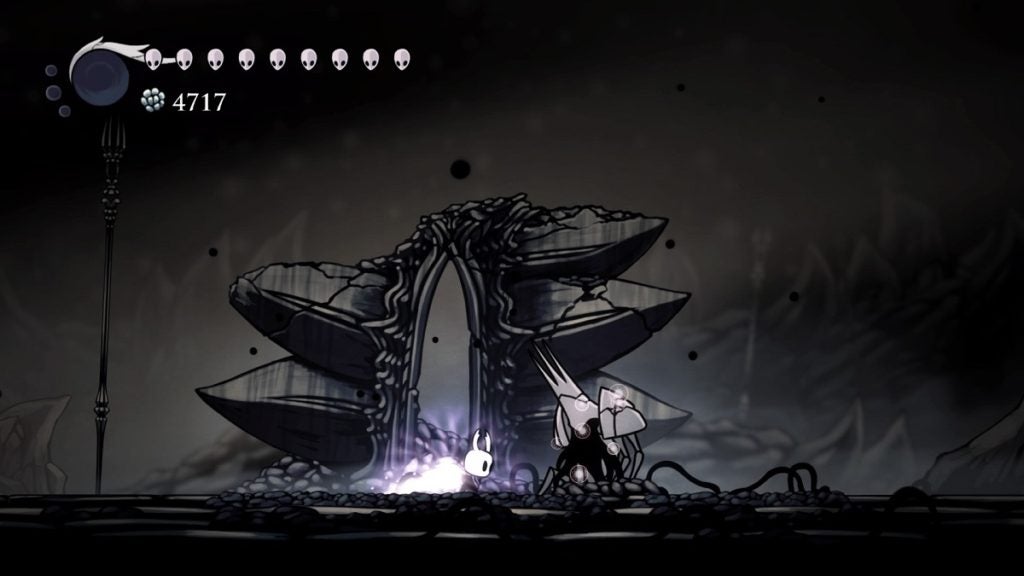
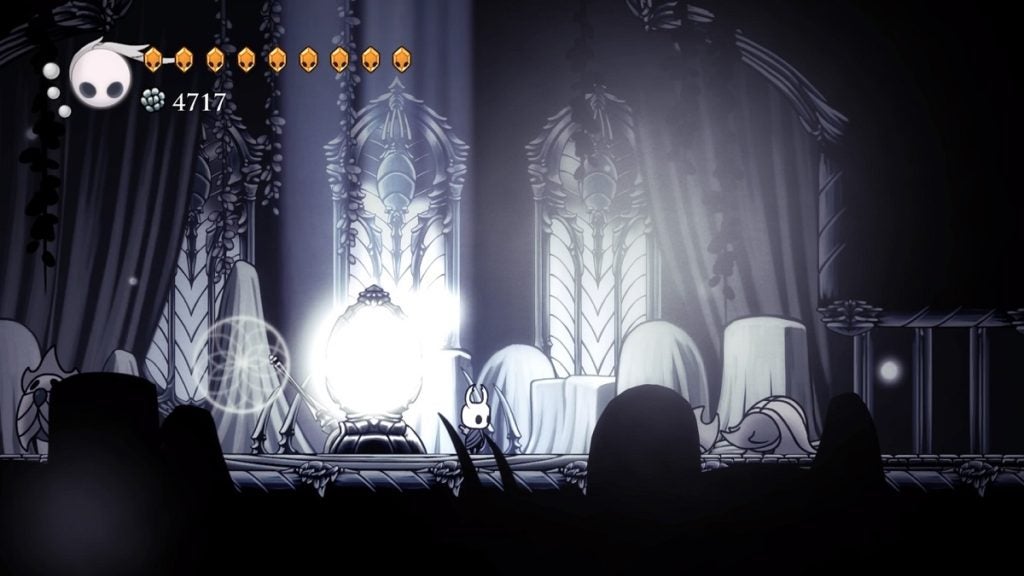
From here, use Crystal Heart to get to the other side. Climb to the very top, and use Crystal Heart once again to get to the left side of the area. Keep going until you hit a wall. Keep ascending from here. At the very top, you’ll see the body of the Pale King, sitting on his throne. Hit the Pale King repeatedly until he drops a White Fragment.
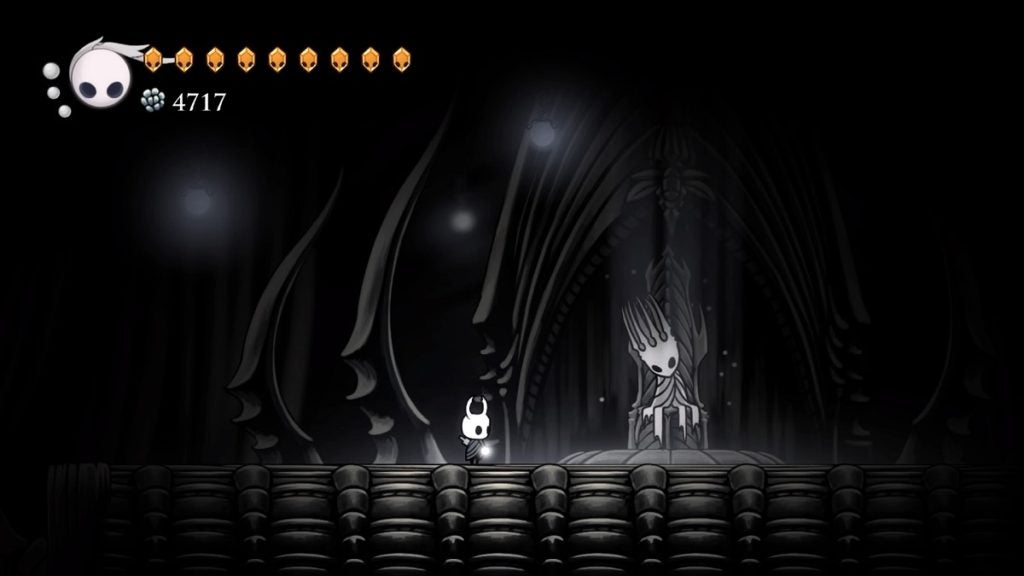
Now that you have two, you’ll have formed the Kingsoul.
After collecting what you came here for, you’ll automatically be sent back to the outside world. You’ve finally braved through the game’s most challenging level when it comes to platforming. There’s one last thing you need to do now before you return to the Temple of the Black Egg. For now, make your way to the Stag Station to your right and rest up at the bench before you head back to The Abyss.