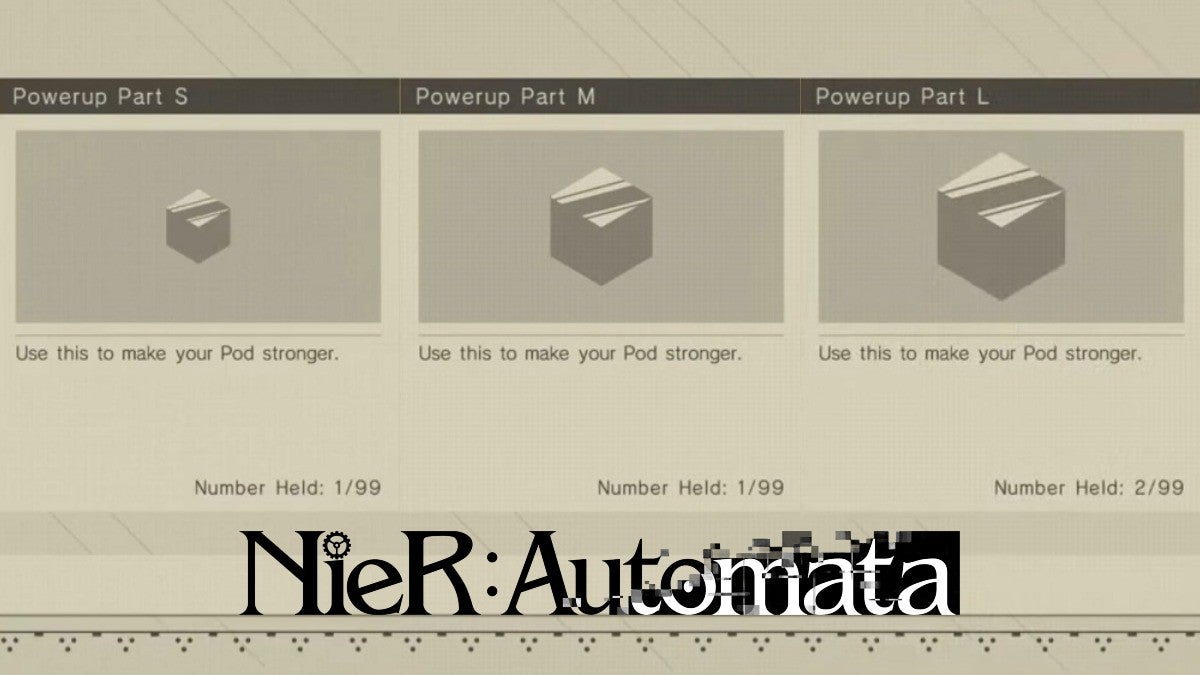
The Pods in Nier Automata are already handy at their base forms. However, you can make them even stronger with Powerup Parts. That said, here’s where you can get all the Powerup Parts in Nier Automata.
Table Of Contents
Where to Get Powerup Parts in Nier Automata
There are only a total of 9 Powerup Parts in Nier Automata, and that’s all you’ll ever need. The part itself has three variations: Powerup Part S, Powerup Part M, and Powerup Part L. You can collect 3 of each by completing certain quests, defeating certain enemies, or by looting them from locked chests.
Listed below are all 3 Powerup Part variations are where to get them.
Powerup Part S
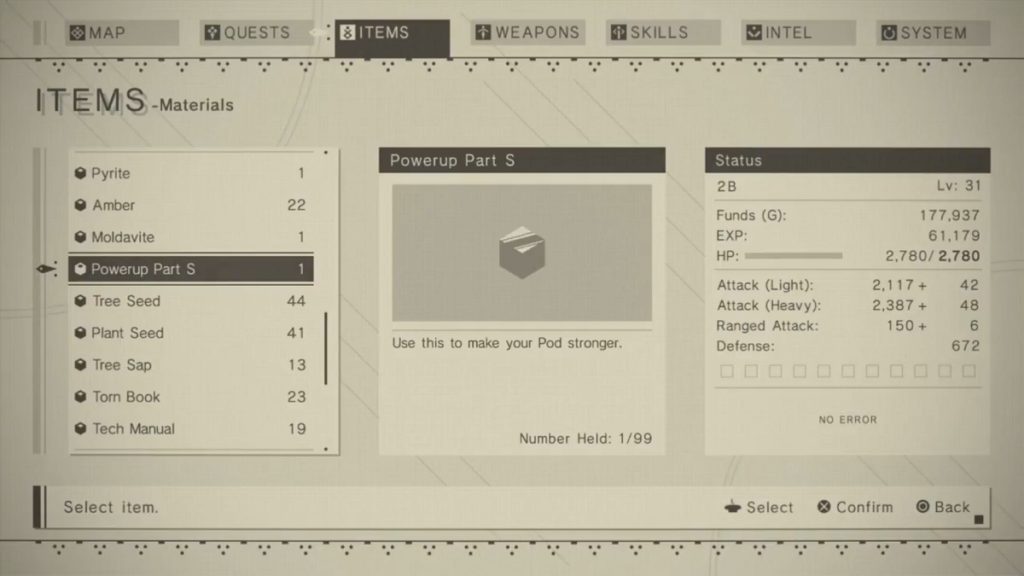
The Powerup Part S is required to increase your Pod’s level from Level 1 to Level 2.
Powerup Part S #1
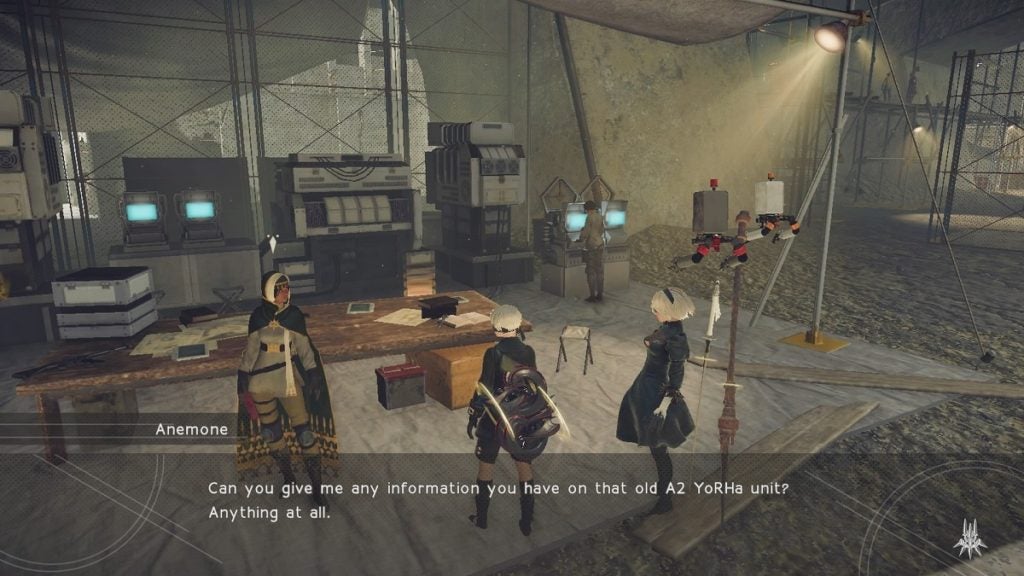
You will earn one Powerup Part S for completing Anemone’s Past, a side quest you can do after you complete the Resupply main quest and the Camp Development side quest.
2nd Powerup Part S #2
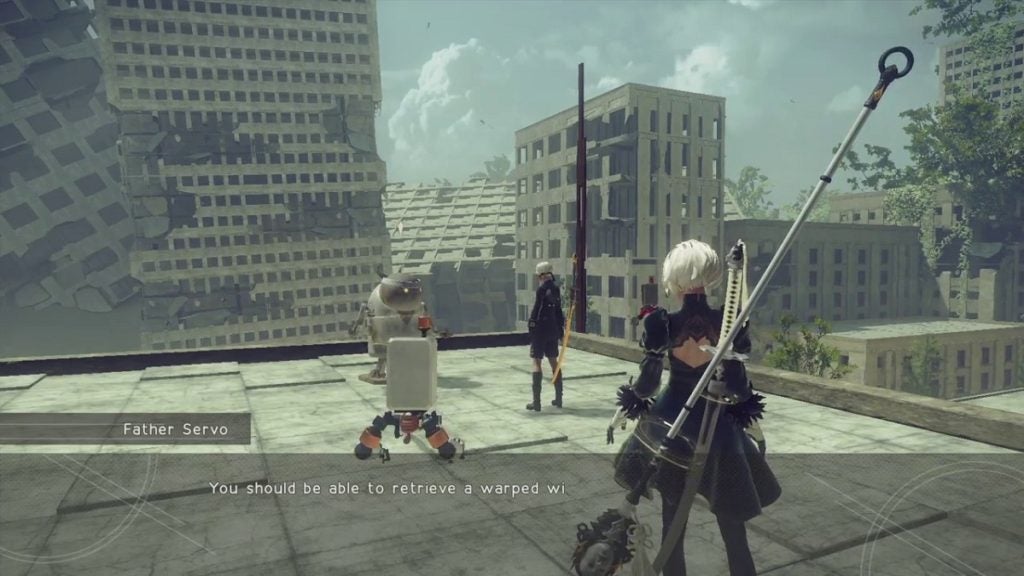
There’s another Powerup Part S waiting for you as a reward at the end of the Robo Dojo—Red Belt quest. You’ll need to find and approach an NPC named Father Servo to get to this quest.
He is located in the City Ruins, atop a building near the entrance to the Desert Zone. Spotting him should be easy since he will appear as a red quest marker in the minimap. His first quest is titled Robo Dojo—White Belt. Keep fighting and getting the items that he needs until you get to Robo Dojo—Red Belt.
Powerup Part S #3
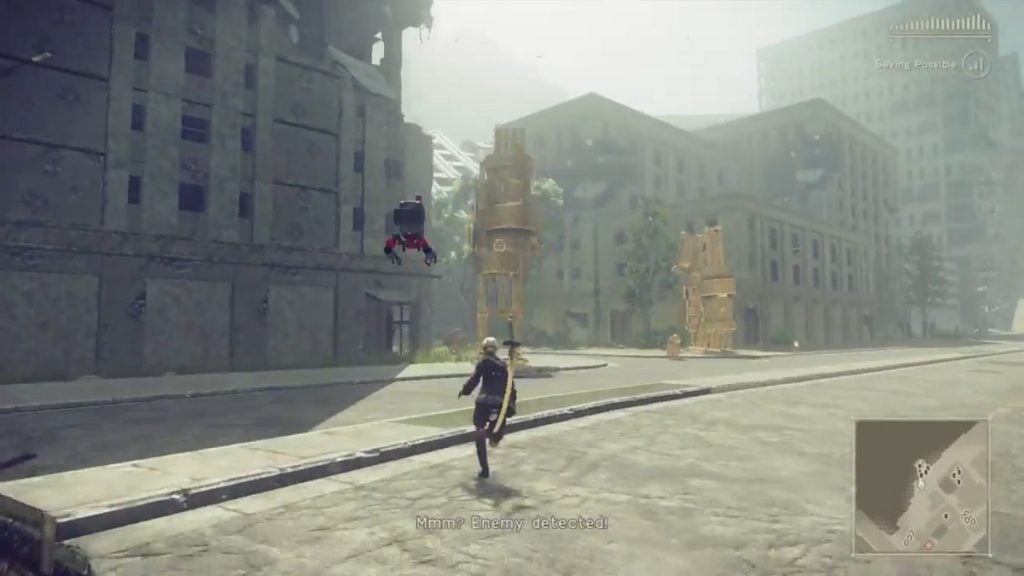
You will also get one Powerup Part S by defeating the Courageous Brother and the two Gold Goliath Bipeds that are accompanying him. These machines are discerned by their recognizable golden color. They are located in the City Ruins, west of the Center waypoint.
Powerup Part M
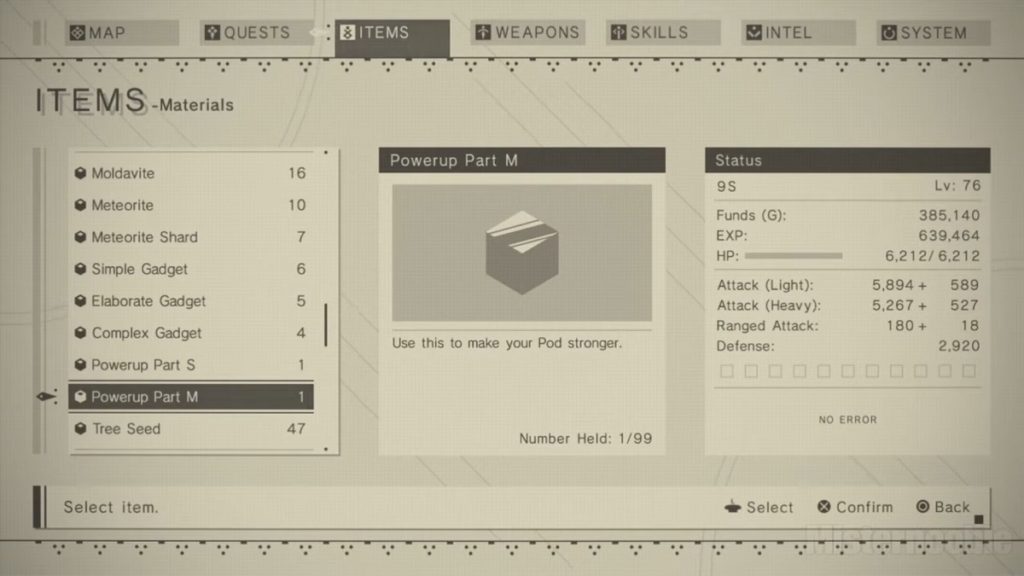
The Powerup Part M is required to increase your Pod’s level from Level 2 to Level 3. The 3 Powerup Part M’s in the game are stashed behind Locked Chests, which means they can only be opened by 9S.
Powerup Part M #1
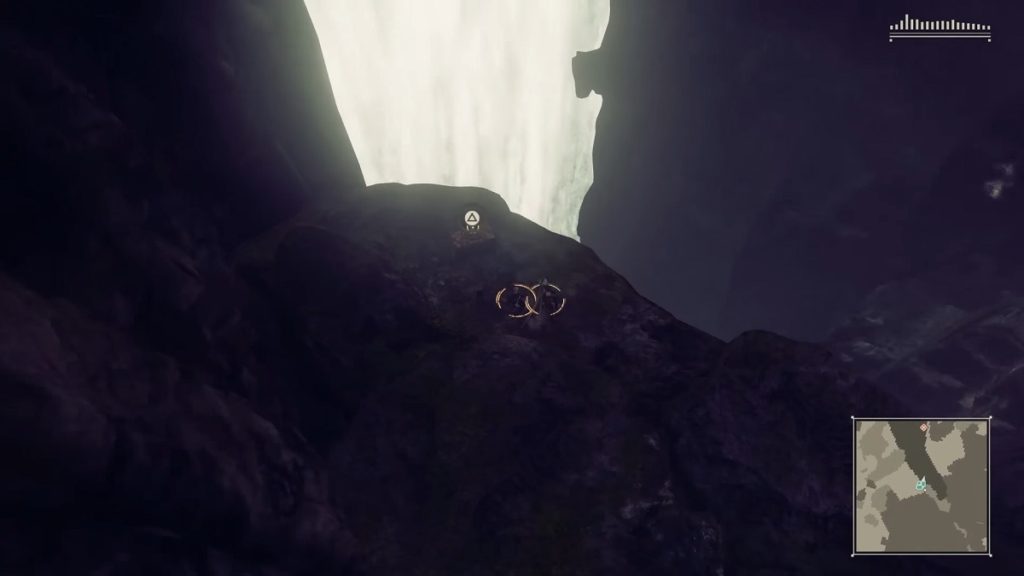
Located in the Forest Zone. Refer to the image above for its exact location.
Powerup Part M #2
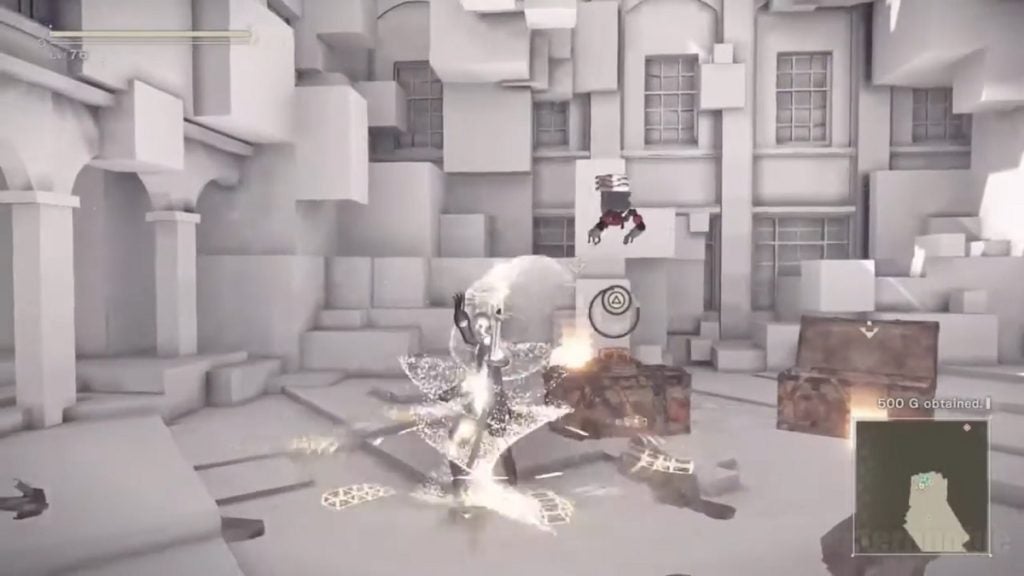
This locked chest is located in the Copied City. Take the path opposite of Adam’s boss area and you should find the locked chest once you reach a dead-end. As 9S, you can return to this area during your third playthrough.
Powerup Part M #3
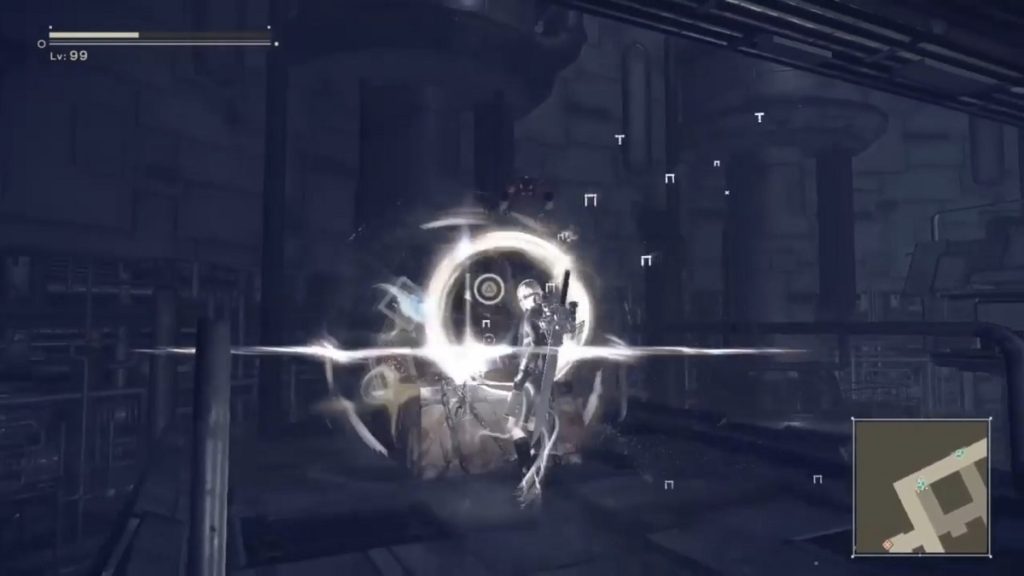
Located inside the Soul Box recovery unit. The locked chest can be easily spotted once you reach the fourth elevator.
Powerup Part L
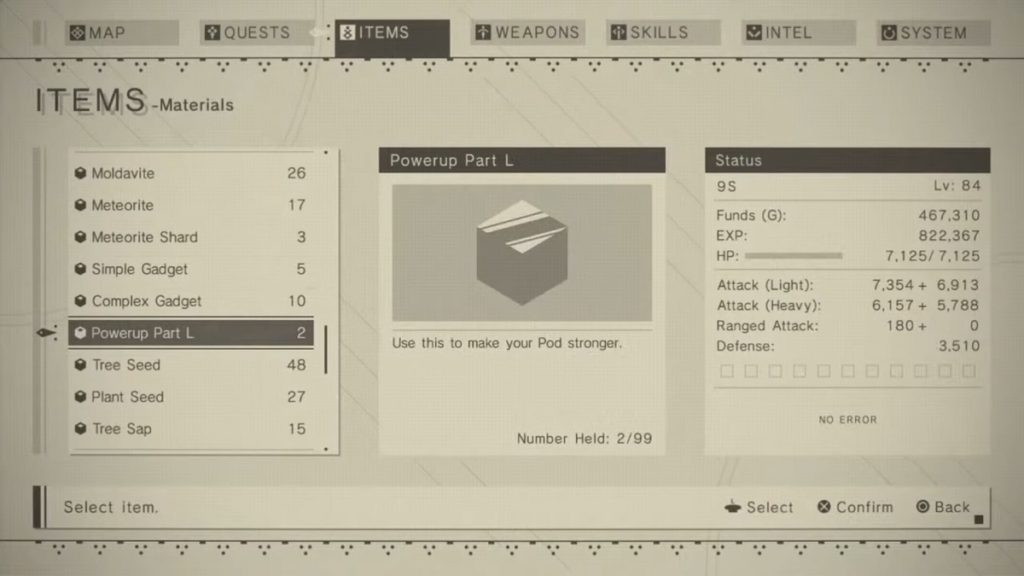
The Powerup Part L is required to increase your Pod’s level from Level 3 to Level 4, the maximum level a Pod can attain.
Powerup Part L #1
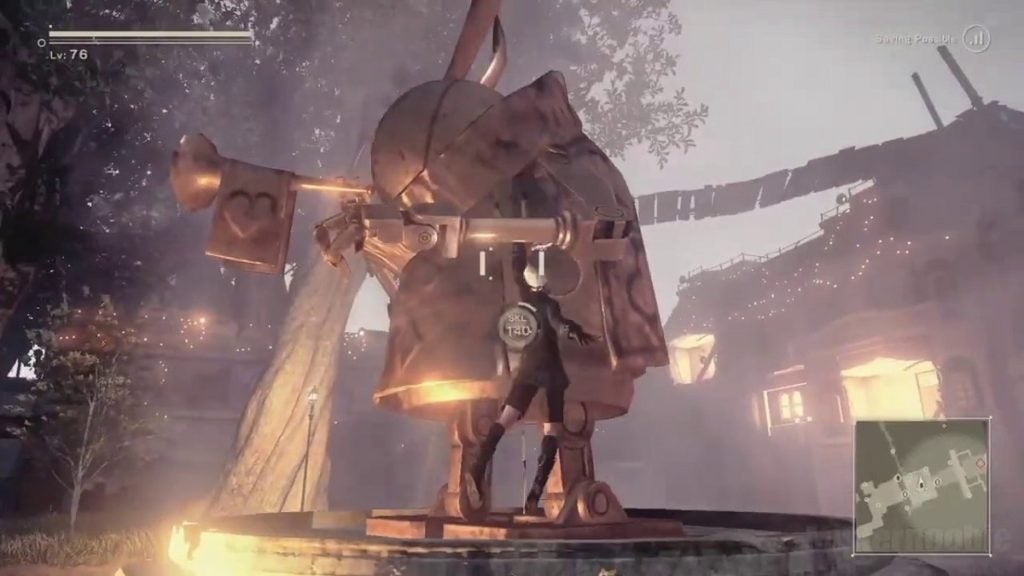
You can earn one Powerup Part L for defeating the Amusement Park Rabbit. Even though this enemy seems like it’s only a statue, it will eventually wake up to fight you if you attack it enough. You need to be at least at level 70 to wake up the Rabbit and initiate the fight.
Powerup Part L #2
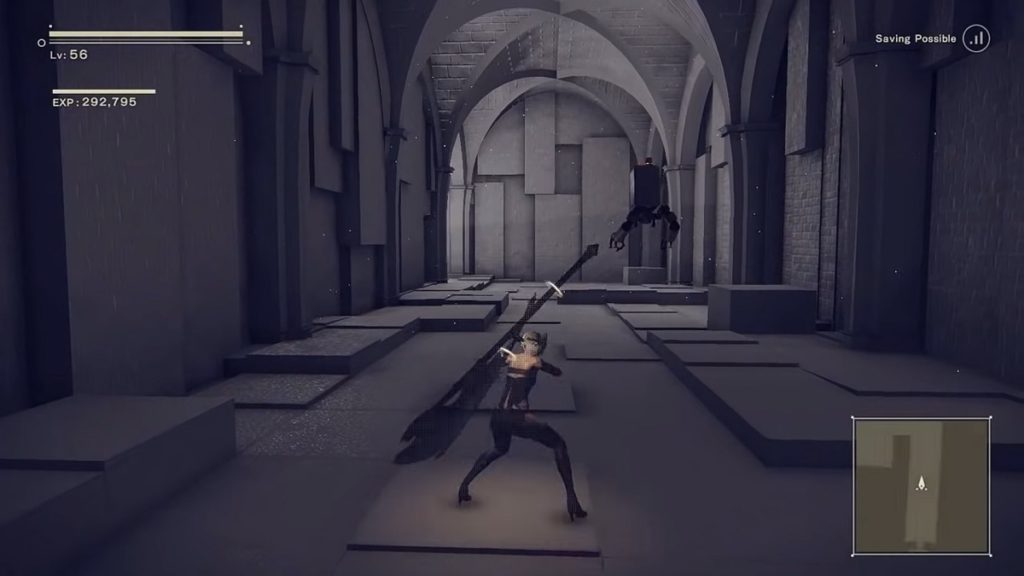
This Powerup Part L is located inside The Tower. You should be able to pick it up as A2 after defeating Ko-Shi for the first time.
Powerup Part L #3
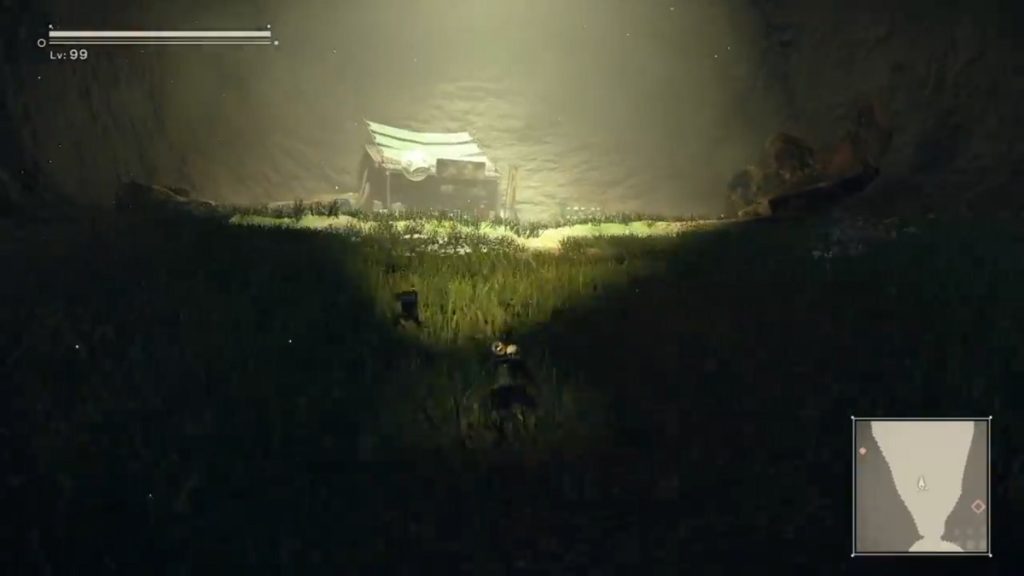
You can find one more Powerup Part L at Emil’s house inside a chest after you’ve defeated him by completing the Emil’s Determination quest.


