
Fungal Wastes in Hollow Knight is a mystifying level. It has a very unique level design and its enemies are no pushovers too, especially those in one of the level’s sub-areas.
Table Of Contents
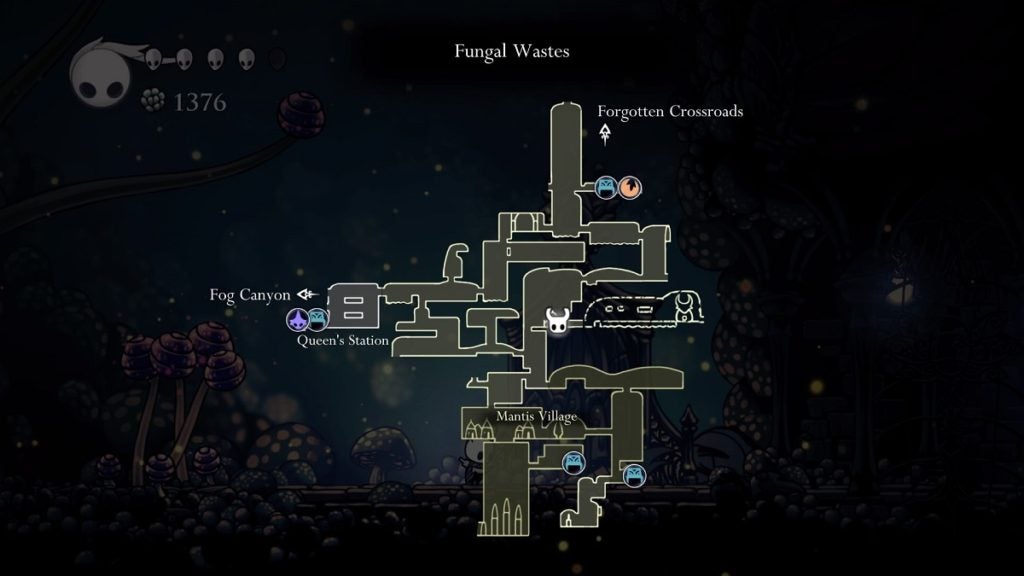
Seeking Out Cornifer
The first thing you’ll do after you arrive in the Fungal Wastes is look for our friendly neighborhood cartographer. To start, read to the upper right corner of the Queen’s Station to continue your journey.
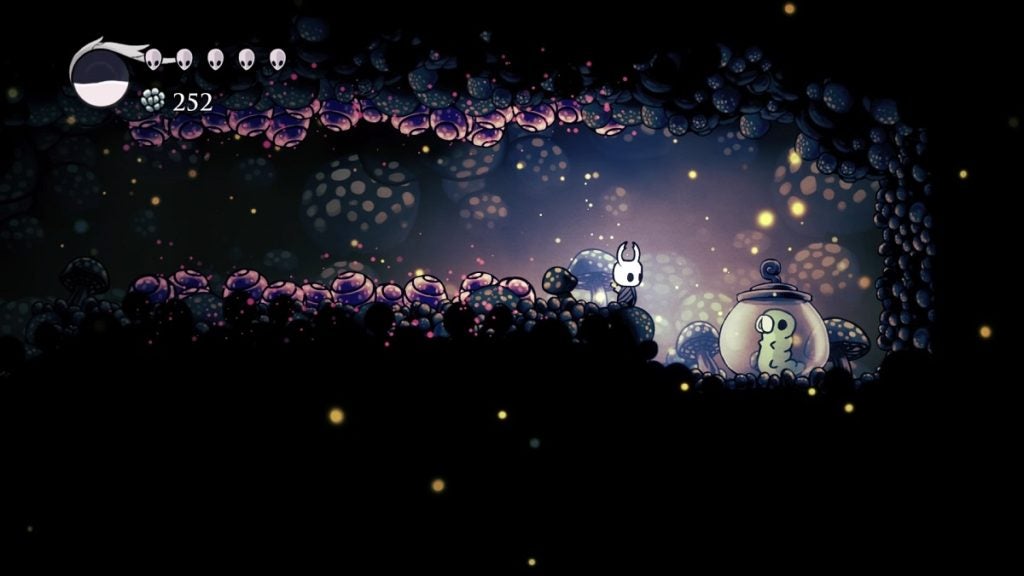
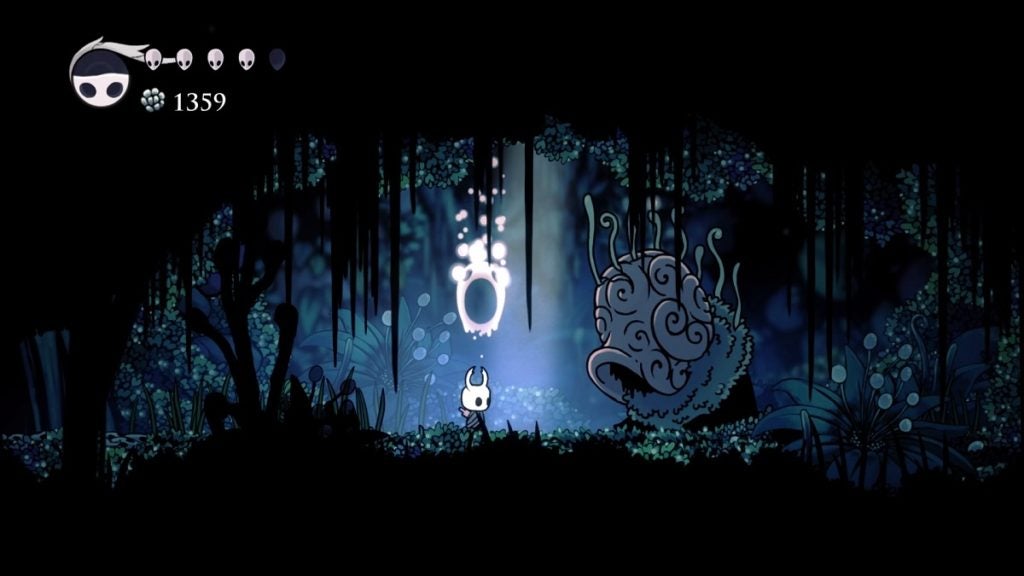
As soon as you step out of the Queen’s Station, you’ll immediately meet a new type of enemy called a Fungoon. These floating fungal balls will spew down toxic gas below it, so be sure to watch out for that when passing underneath them.

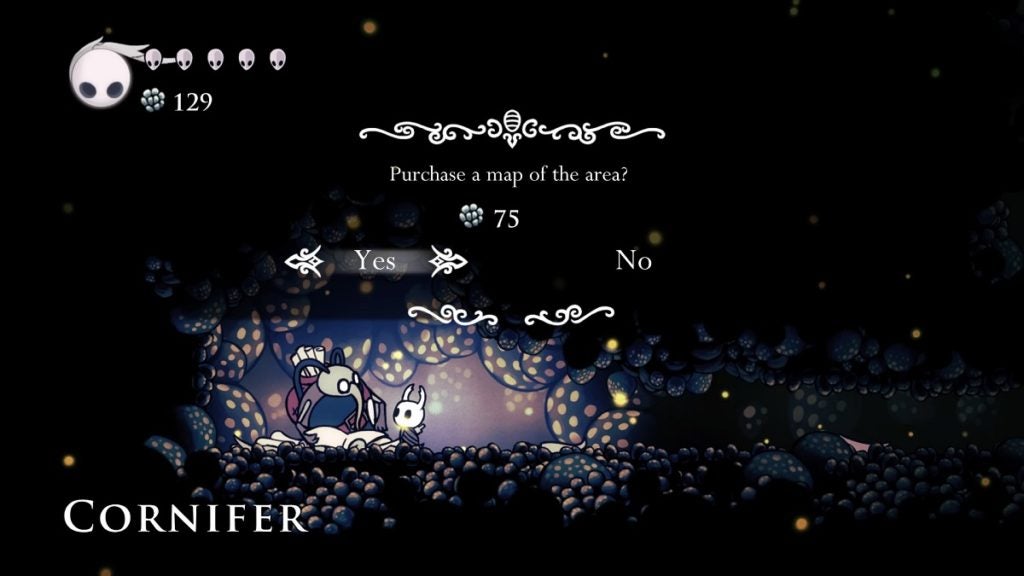
Once you pass through the Fungoon, you’ll begin to see pieces of paper lying on the ground. Follow its trail leading to the bottom of the cavern and into the area below. Keep on following the paper trail until you come across Cornifer. He’ll sell the map of the Fungal Wastes for only 75 Geos.
Proceeding Deeper into Fungal Wastes
Once you’ve collected the map, head back to the level above, where you first found the first piece of paper. From there, proceed to the right and keep going until you reach the next room.
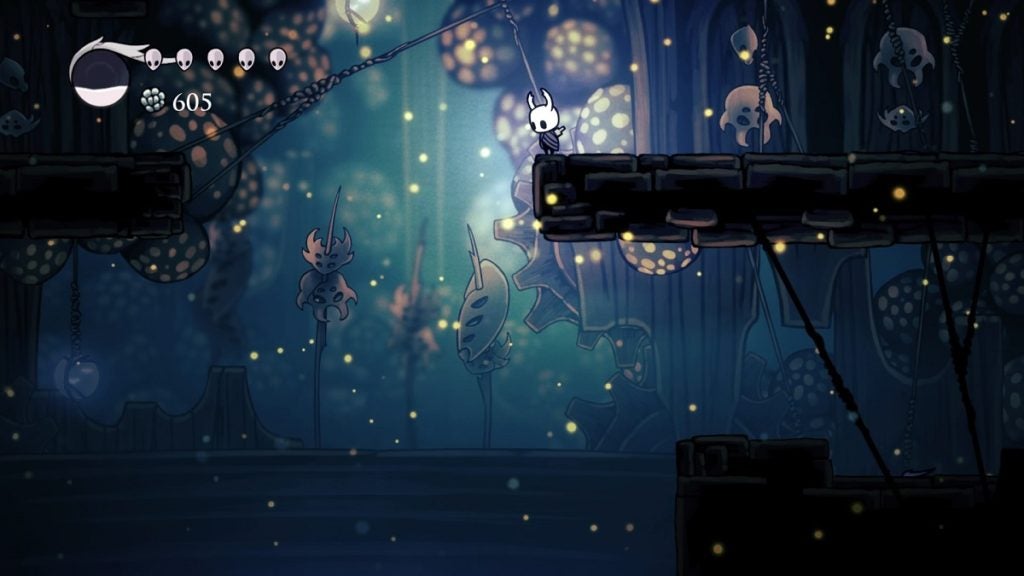
Start ascending from here. While heading up, Sporgs will sprout from the walls and start shooting green balls that will follow you. Those balls will explode after a few seconds or when they’re close enough to you. Be sure to ascend quickly to avoid them.
Once you’ve gotten past the third Sporg, you’ll see an entrance on the top right. Take this entrance to proceed.
You’ll come across a Shrumal Warrior in this room. This enemy will curl into a ball and roll towards you. It will also occasionally leap into the air. All the way, it will leave a trail of orange poison gas that will damage you if you get in contact with it. You should be able to eliminate this enemy after three to four hits or one to two spells.
Keep going and you’ll find another Shrumal Warrior waiting for you. Behind it is a higher ledge you can jump onto, and to the upper left of that is a floating platform. Reach the floating platform and proceed to the left where you’ll encounter two more Shurmal Warriors. Defeat them before continuing on this path.
You should then arrive at an area where you’re faced with a lever on the ceiling. Hit this lever to open the door, unlocking a shortcut. After this, jump on the opening on the ceiling to proceed to the next room.
Keep climbing up and you’ll reach a small room where you’ll be faced with two Shrumal Ogres. Dealing with these enemies is easy. Spam them with your melee attack and only step back when they start to slam their heads on the ground. Repeat until they’re defeated. You can make this fight even quicker by using Vengeful Spirit. After these enemies are defeated, a Charm Notch will fall to the ground. Pick it up as this will increase your Charm slot capacity by 1. Continue walking to the right after this.
Meeting the Leg Eater
In the next room, you’ll see a path that leads upwards. Take this path and keep heading upwards until you see an entryway on the right. Enter this room to meet the Leg Eater.

You’ll also find a bench in the Leg Eater’s room so be sure to take advantage of that. The Leg Eater sells fragile charms. Their effects are very potent but they’ll break when you die. You can only use those charms again if you take them back to the Leg Eater to be repaired.
Once your business with the Leg Eater is done, return to the area below where you began ascending. Once you reach the bottom, just keep heading to the right until you’re in a room with Shrumal Warriors. Continue right until you reach the next room, where you’ll see a Fungoon. Deal with the Fungoon or ignore it and descend at this area. As you descend, there will be Sporgs once again that will make your trip just a tad more difficult. Be sure to watch out for them.
Once you reach the very bottom of this area, take the entrance to the left to proceed.
Meeting Cloth and Trekking to the Mantis Village
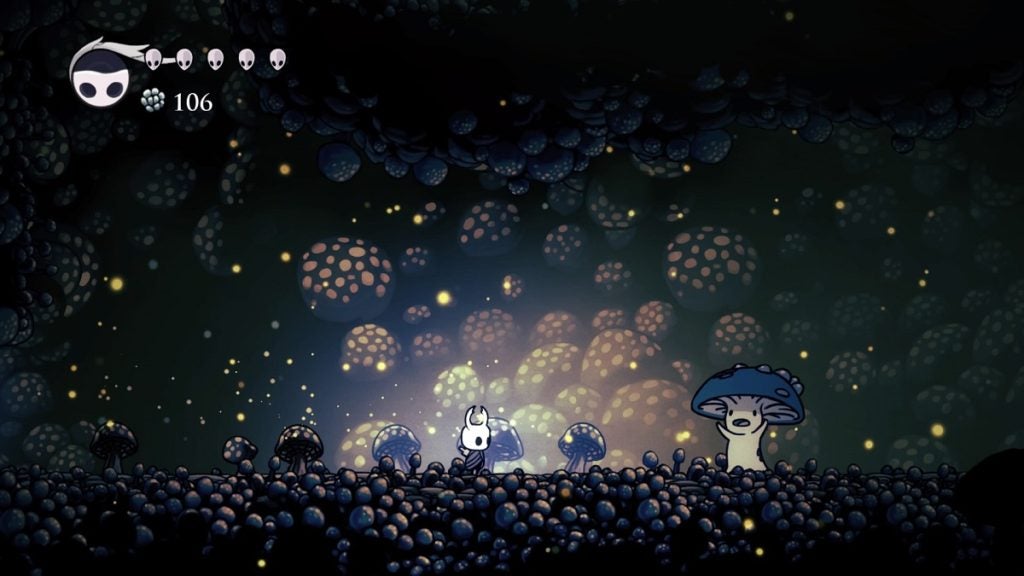
As you walk to the left in the next area, the floor beneath you will begin to shake. Don’t worry. There’s no enemy coming. Instead, an NPC named Cloth will emerge from the ground. Interact with this character. She’ll tell you about the village that awaits you ahead. Keep heading to the left after talking to her. You’re on your way to the Mantis Village.

There are purple balls of mushroom in this room that you can bounce off of by nail-bouncing on them. This will take some getting used to, but you’ll eventually get its timing once you do it enough. Keep heading to the left and use the mushrooms to nail-bounce to reach the high platform on the left.
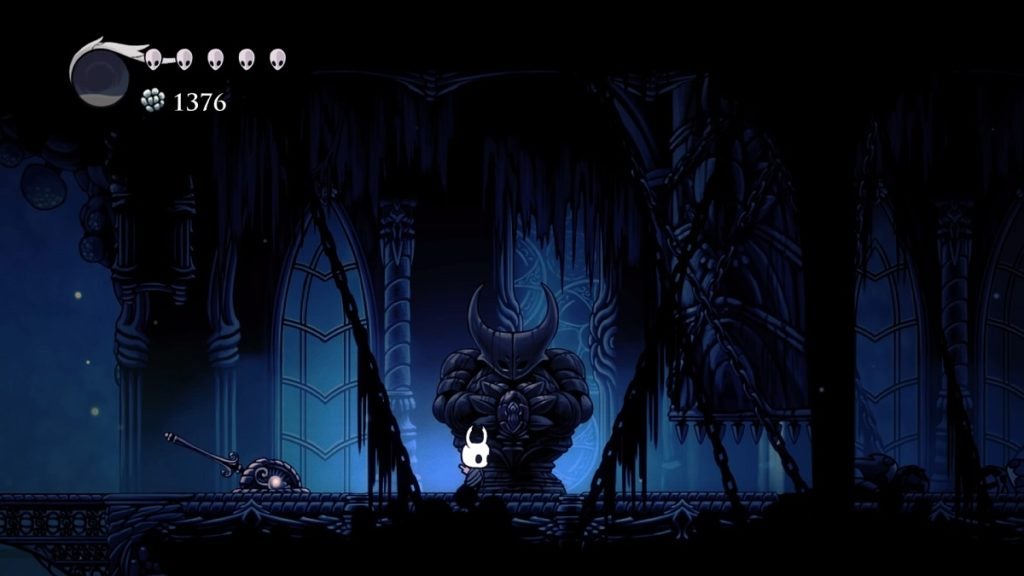
When you reach the left-most area of the room, begin heading downwards until you reach the bottom where you’ll see your good ol’ friend Hornet again. She’ll rush off to the right side of the room, but you don’t have to follow her yet. Walk to the left and enter the hole in the ground.
Keep heading down until you come across a Fungoon. To the left of this enemy is an entrance. Enter this area. Keep walking to the left and once you spot a vertical area, keep ascending until you reach the top. On the right side of this area is a Grub. Free the Grub and then return to the bottom.
Keep pressing on to the left until you reach its end where you’ll find a locked door and a lever. Hit this lever to open the door. This opens a shortcut between the Queen’s Station and the Mantis Village, a shortcut you’ll need because the Mantis Village can be a daunting place. If you want, take this time to return to the Queen’s Station bench before heading back.
Return to where the Fungoon is and continue working your way down. Once you reach the bottom, take the entrance on the right.
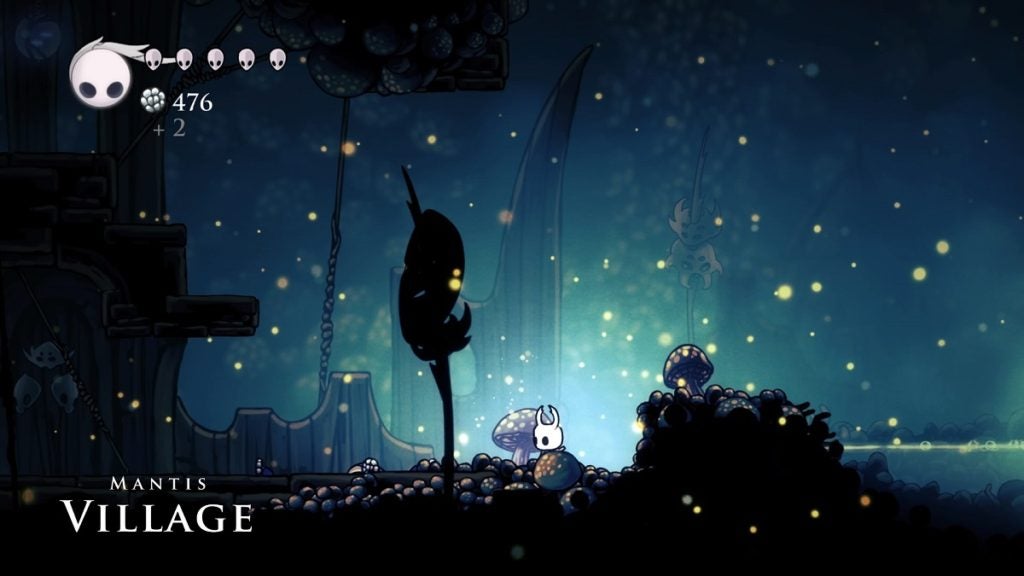
The Mantis Village
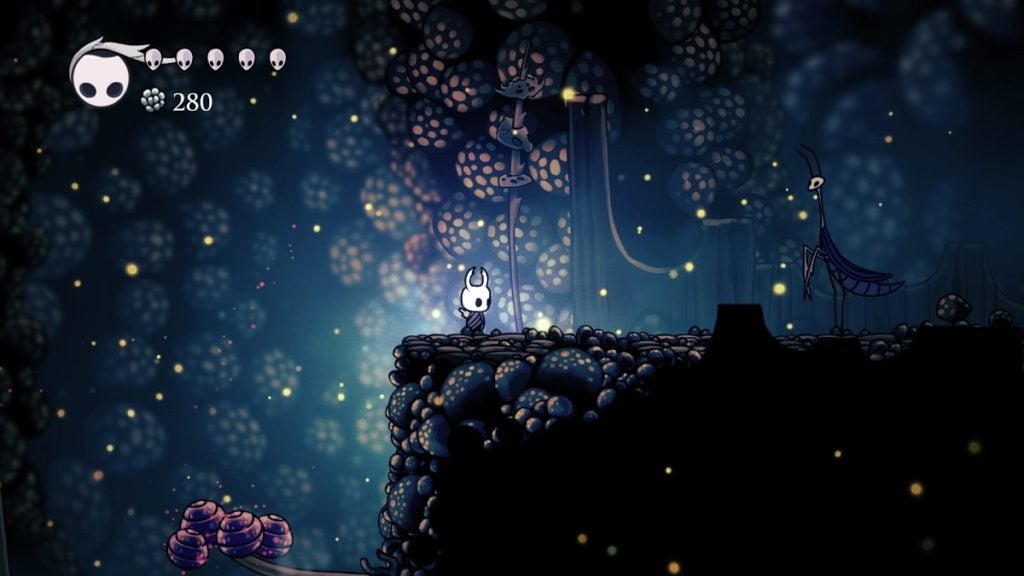
The Mantis Village is filled with Mantis Warriors and Mantis Youths. Both of these enemies are tough and quick. The moment you reach this new room, you’ll immediately encounter your first Mantis Warrior as you proceed to the right. Its attacks have a long reach so dash away if you need to. You can also jump up and dash forward to get behind it. Attack only when the Mantis Warrior is open. Be liberal with your spells to eliminate them quickly.
Once you’ve defeated this Mantis Warrior, keep walking to the right to come across a Mantis Youth. This flying enemy type will swoop in quickly to attack you. Dispose of this enemy quickly. Keep walking to the right and you’ll find another Mantis Warrior. Defeat or avoid this enemy to move forward.
You’ll then spot a gap that leads below. Jump down and walk to the left. At the edge, you’ll find a hole in the ground. Jump in to proceed to the next area.
From here, just keep going downwards while fighting the Mantis Warriors and Mantis Youths along the way. You’ll begin to see signposts for a bench that point downwards. Once you reach the second sign, to its left you will see a Mantis Warrior and a Mantis Youth. There are two Geo deposits behind these enemies. Defeat these enemies to harvest the Geo behind them. Once that’s done, proceed to seek out the bench.
Once you arrive at the very bottom of this area, you should be able to spot the bench on the right. Take a rest before resuming your journey. Once you’re ready, head back up and keep ascending until you see an entrance on the left side of the area. Take this entrance and keep going forward.
You’ll then officially arrive at the Mantis Village. Keep on walking to the left and defeat any enemies you come across. Once you reach the edge, hit the lever on the ceiling. Now, head back to the right until you can see a platform you can jump on that will take you to the path above.
From here, keep moving to the left. Stay on the top platforms by jumping and dashing. Once you reach the end of the room, make your way up, and then right to drop down to a small area where an item glows on a bed of claws. Pick up this item to acquire the Mantis Claw ability.
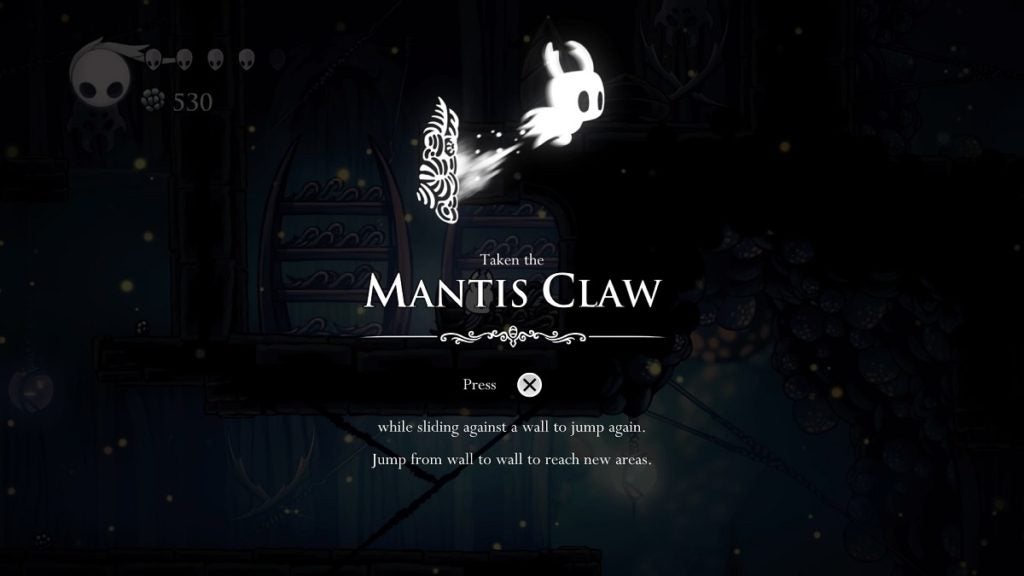
With the Mantis Claw, you’ll be able to cling to walls and jump off of them. Once you’ve acquired the Mantis Claw, use this new ability to climb up and reach the floor on your top right. Keep heading up and you’ll find two Geo deposits. Harvest them before heading back out.
Leave this area and go right. Once you see an opening above you, climb up and take the path to the right to reach the upper areas of the Mantis Village. Keep moving forward until you reach the room with the spiked pits.
Use your Mantis Claw to cling to the wall and carefully slide down. Dash forward to reach the platform to the right. Keep heading to the right while avoiding the spiked pit until you reach the edge where you’ll need to head down to a lever behind a locked door. Hit this lever and not only will it open the locked door but it will also open a large hole on the ground in the middle of the village.
Jump down the hole to arrive at a tall, spike-filled cavern. Work your way down to the platform beneath the one you’re standing on. From there, take the hole on the left and cling to its walls to reach a small area that’s filled with even more spikes. Work your way up through this area to open the gate at the top.
Once the gate is open, proceed down until you spot another lever. Hit this to open the gate here. Descend once again while avoiding the spikes to find yet another lever. Open the gate here too.
Head down one more time and defeat the Mantis Warrior that’s blocking your path. Continue walking towards the right and ascend once you reach the end to open the door at the top. Once that’s done, proceed to head down until you reach the very bottom where you will find the Mantis Lords.
Mantis Lords
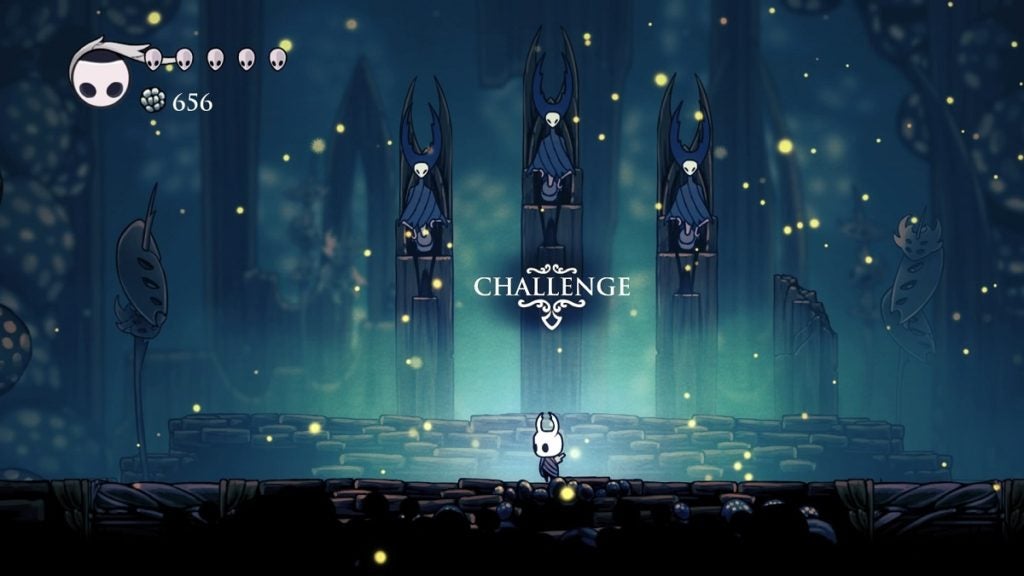
You are presented with the opportunity to challenge the Mantis Lords here. Take note that defeating the Mantis Lords is completely optional. This boss fight is considerably challenging and if it proves to be too tough for you, you don’t have to fight them right now. However, if you do defeat the Mantis Lords, the Mantis Warriors and Mantis Youths will cease attacking you and you’ll have the chance to acquire the Mark of Pride, one of the best Charms in the game, which will extend the reach of your Nail attack further.
You can skip this part if you want to pass on fighting the Mantis Lords for now. If you’re keen on fighting them, read on.
During the first phase of this fight, only one Mantis Lord will descend from the throne to fight you. These Lords are very agile so you’ll need to be quick as well.
The Mantis Lords only have three attacks, but don’t let that fool you as these three attacks can already be fairly overwhelming.
- Boomerang – The Mantis Lord will cling to the wall and throw a spinning disc at you which will return to the attacker after spanning the room. Take note: if the Mantis Lord is positioned higher up, the boomerang will start overhead and work its way back below. If the Mantis Lord is positioned lower, it’s the other way around. Therefore, if the Mantis Lord is positioned high, you can simply remain standing and jump only when the disc is on its way back. You can land free hits while you’re waiting for the disc to return. Reverse the strategy if the Mantis Lord’s position is lower.
- Forward Lunge – The Mantis Lord will land on either side of the arena and lunge at you. Jump up to avoid the attack. You can nail-bounce on the boss to inflict damage or simply land behind them and attack them from there.
- Downward Lunge – The Mantis Lord will teleport above you and lunge downward. Dash away to avoid being damaged or, if you’re confident enough, simply walk to the side and wait for the Mantis Lord to land for an opportunity for multiple hits.
Healing during this fight can be difficult because these bosses are very swift. One of the best times to do it is when the Mantis Lord throws a boomerang from a lower position. You can heal after avoiding the disc and as it returns to the Mantis Lord.
Given that situation, it’s best to be liberal with your spells during this fight. Attack the Mantis Lord as frequently as you can with both melee and spells. Once you defeat the first Mantis Lord, the other two will attack you simultaneously.
This is when the fight starts to get really challenging. Even though they still employ the same attacks, having two Mantis Lords fight you at the same time makes this even more difficult than it already is. With that in mind, the best advice you can follow is to simply match their speed. Don’t just stand around waiting for them. Move as often as you can and land hits whenever you can. Don’t try to focus your attacks on one Mantis Lord. Attack whichever you can, whenever you can.
Once you defeat one of the two, the battle will begin to become easier. Keep at it until you finally defeat these formidable bosses.
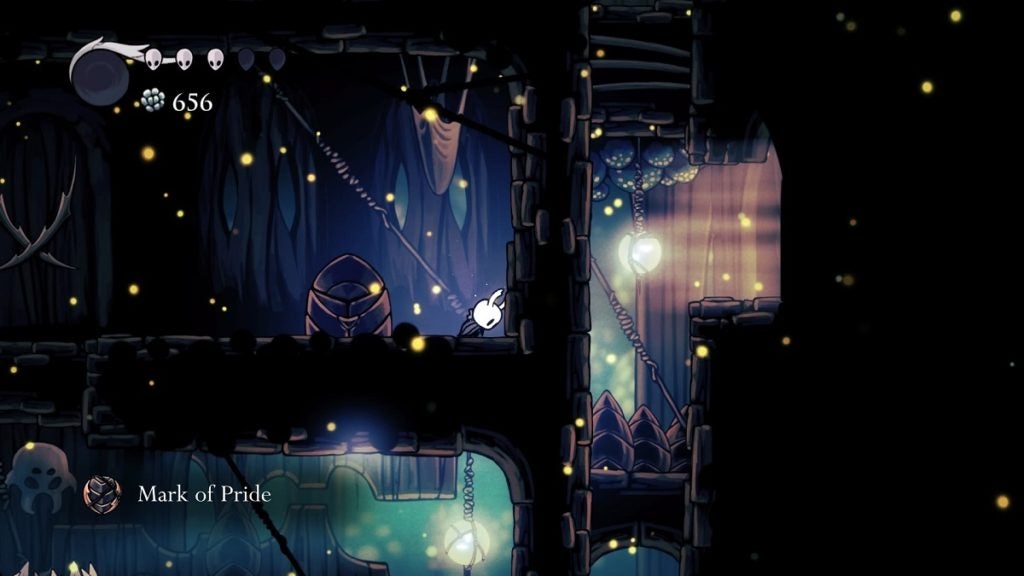
Getting the Mark of Pride
Once you defeat the Mantis Lords, work your way back up. Don’t worry. The enemies here won’t attack you anymore. Once you reach the second entry point to the right, take it and work your way up again. You should then find an entrance to your right. Enter it to proceed to the next room.
When you arrive at this room, walk forward and take the second vertical path. Get inside this room and you will find the Mark of Pride here inside the glowing chest. There’s also a Hallownest Seal in the area above here so you be sure to claim that too. To the right is one more chest that contains 620 Geos.
Head back down and walk to the right. You’ll find a bench you can rest on here. Once you’re rested, head back outside and work your way up and to the Queen’s Station. You’ll find a shorter route if you take the path above the Mantis Village.
There are a few more things you should do before you head to the City of Tears.
Revisiting the Fog Canyon
Once you arrive at the Queen’s Station, rest if you wish and then head back out. Before we go to the Fog Canyon, head to the right side of the room and climb your way up while avoiding the spikes. A Vessel Fragment awaits at the top. Collect this and open the gate, and then proceed to head back to the Fog Canyon.
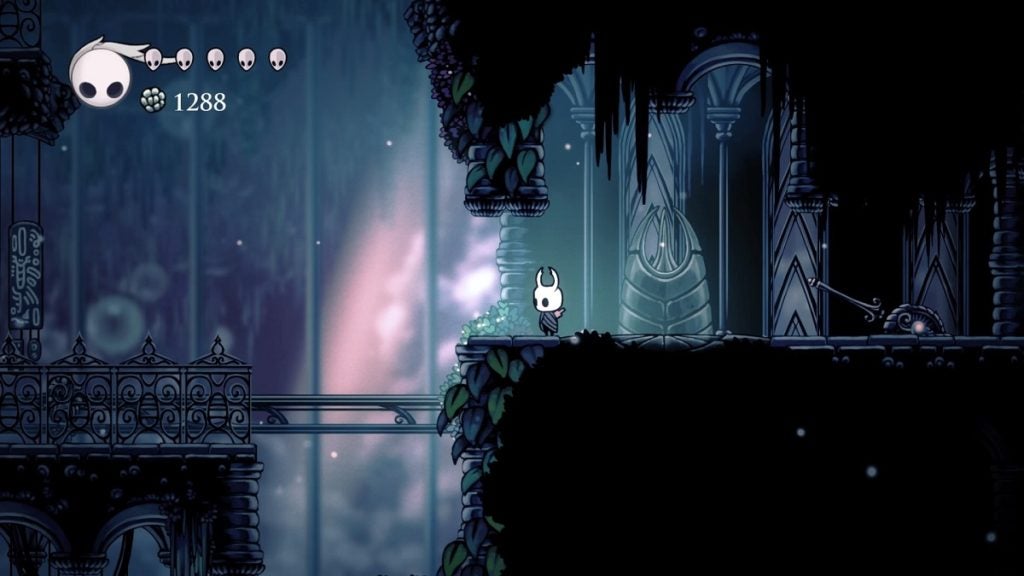
Once you’ve arrived at Fog Canyon, keep climbing up until you reach the top. Enter the room on the left. While here, keep climbing once again but keep hugging the left side of the room. About halfway through, you’ll spot an opening on the left. Take this entrance.

From here, work your way through all the way to the left of the area while avoiding the electric bugs until you arrive at the next room. Once here, start walking until you see an opening above you. Climb up and continue walking left. This will lead you to a structure.
Head inside this structure and you should arrive at the Overgrown Mound. Keep pressing forward while defeating the enemies along the way. At one point, you’ll be trapped in a tall cavern while fending off Squits. Once they’re defeated, take the path above and drop down. At the end of this area is the Howling Shriek spell. This will allow you to expel your spell upwards, damaging those that are directly above you.
Once you’ve retrieved the Howling Shriek spell, return once again to the Queen’s Station. We’ll now begin to work our way through to the City of Tears.
Heading to the City of Tears
From the Queen’s Station, proceed to the Fungal Wastes and use the shortcut you unlocked that leads to Mantis Village, the path southeast of where you found Cornifer. Once you arrive at the end of this path, move past or defeat the Fungoon and begin making your way up to where you found Hornet earlier.
Once there, take the path to the right and proceed. Use your Mantis Claws to reach the platform on your top right. Platform your way forward by clinging to the walls and dashing away to avoid the spikes. Keep navigating to the right and you will eventually arrive at a platform below which holds a lever. Hit this lever to summon a bridge to your left.
Now, you must go through one more platforming section from here. Climb the platform to your upper right and navigate to the right once again. You’ll only need to go through two obstacles to finally make it to the end.
Once you make it to the other side, hit the lever and approach the statue.
Place the City Crest here, the item you got after defeating the False Knight in the Forgotten Crossroads, and the gate to the City of Tears will open up for you.