The Royal Waterways in Hollow Knight is located beneath the City of Tears. You’ll need to explore this dark cavern to get one of the most useful items in the game and to get to the next level.
Table Of Contents
Passing Through the City of Tears
Take the elevator from Resting Grounds to the City of Tears. You’ll then arrive at the eastern part of the City of Tears. This section of the level is the second half you haven’t explored yet. Before you head to Royal Waterways, you should first get an item here and unlock the Stag Station in this area.
From the bottom of the elevator, head to the right. Once in the next room, begin climbing until you reach the top and see an opening in the ceiling on the top-left corner of the area.
Keep walking to the right until the gate behind you closes. You’ll need to defeat the enemies here before you can proceed. Once the enemies are defeated, continue walking to the right. There’s a Vessel Fragment at the end of this area. Get it and then head back to the room below.

Take the elevator on the right and ride it as low as this elevator can take you. Head left and climb up to the area above. Defeat the enemies here and claim the Geo inside the chest ahead of you. You can then summon the elevator to your left and ride it all the way down.
Head down one more level and you’ll find a hole in the ground to the left. Jump into the hole to get to the area below. You’ll now arrive at the King’s Station. The entrance to the Stag Station is two levels below to your right. Head inside, rest at the bench, and pay 300 Geos at the toll machine to summon the Stag. If you’re short on Geo, the next two rooms to your left are great areas to farm Geo.
Preparing for Royal Waterways
Before you head to the Royal Waterways, make sure you have a Simple Key in your inventory. You should have picked one up back when you were exploring the City of Tears for the first time. In case you missed it, here is its exact location.
Otherwise, you can purchase one from Sly for 950 Geos.
Getting the Shade Soul
There’s another thing that’s recommended to do while you’re in the City of Tears before heading to Royal Waterways. This is completely optional, but you might as well do it, and you’ll know why in a moment. After giving Sly the Shopkeeper’s Key, you can then purchase the Elegant Key from him for 800 Geos. Once you’ve acquired that, head to the area in the City of Tears where you found Cornifer.
From here, head to the right and into the shortcut you opened up here. Begin climbing until you reach the top. You’ll see a huge ornate door here. You can open this with the Elegant Key. You’ll need to defeat a Soul Warrior in the next room before you can proceed.
After defeating the Soul Warrior, walk to the left, climb up, and walk to the right. You’ll encounter a deceased Shaman here. Interact with this Shaman and you’ll receive the Shade Soul.
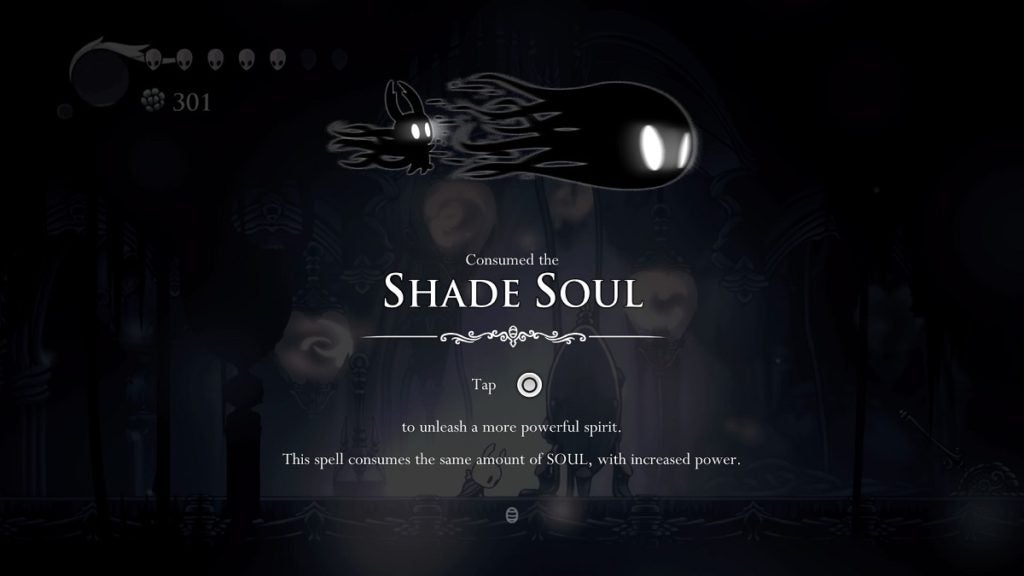
The Shade Soul is an upgrade to your Vengeful Spirit spell, which makes the attack more powerful and covers more vertical space while using up the same amount of Soul. This will make you more prepared for the journey that’s yet to come.
Heading to Royal Waterways
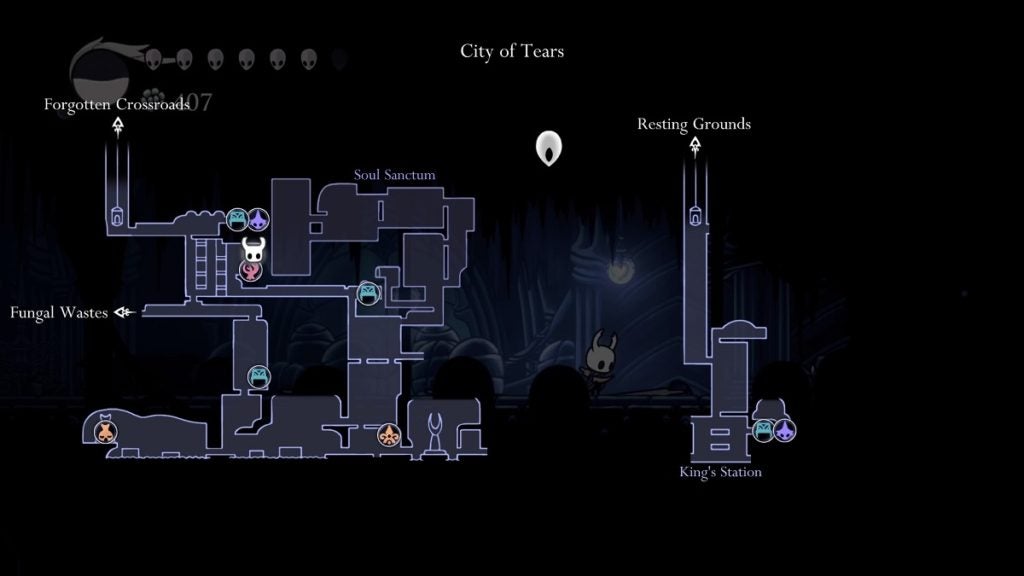
From either the City Storeroom or the King’s Station Stag Station, begin making your way to Relic Seeker Lemm’s shop. It’s suggested you begin from the King’s Station so you can open the gate that used to block off the eastern part of the City of Tears. You’ll also have the chance to defeat enemies along the way that drop more Geo than most enemy types.
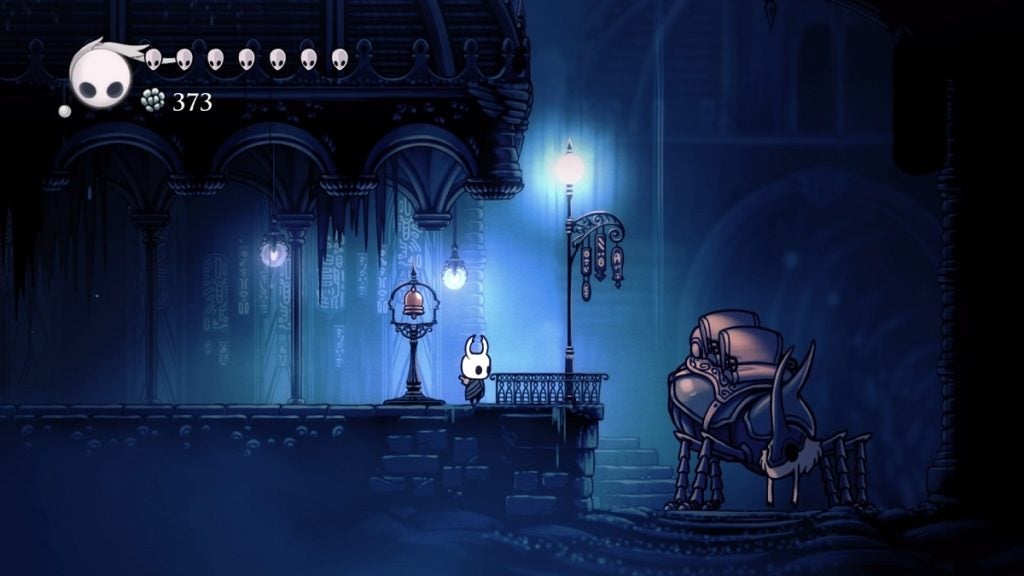
From the King’s Station, make your way west while dealing with the enemies you find along the way. A new enemy type you’ll discover here is Great Husk Sentries. These towering Husks wield a sword and a shield. Be careful when dealing with them as they deal two Masks of damage. Defeating one will net you 50 Geos.
Keep moving to the left. Once you come across a path that forks above and below, take the platform above and continue to the next room on the left. Press on while dealing with the small Husks here. In the next room, you’ll encounter a lever and a locked gate. Hit the lever to proceed.
You should now be at the plaza where the memorial of the Hollow Knight is. Keep walking to the left until you’re directly below Lemm’s shop. There’s a mechanism here that will ask for a Simple Key. Insert the key and the ground to your right will open. Jump in to arrive at the Royal Waterways.
Finding the Bench
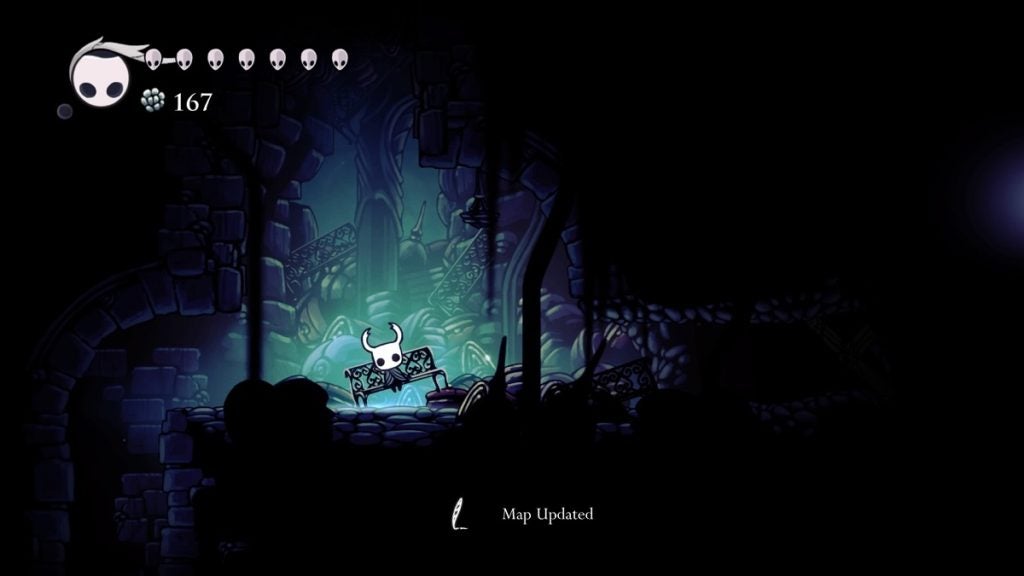
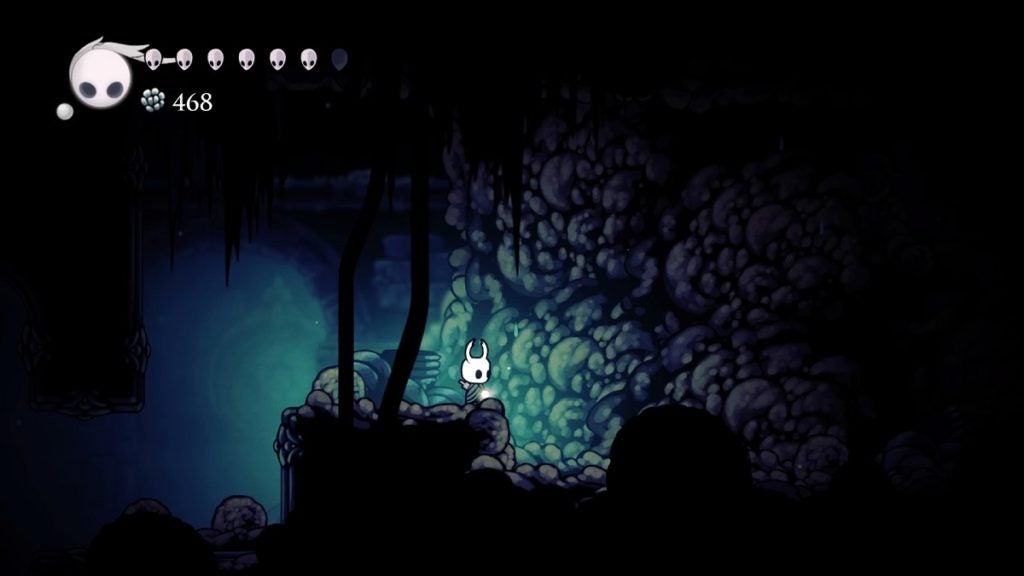
Begin by walking left. You’ll encounter two Pilflips here. Deal with them and continue. At the end of this path, drop down and you’ll see a bench sign that points to the left. Follow this direction until you’re standing on a breakable floor. Use Descending Dark to proceed. Once you reach the very bottom, you’ll be standing right next to a bench.
Finding Cornifer
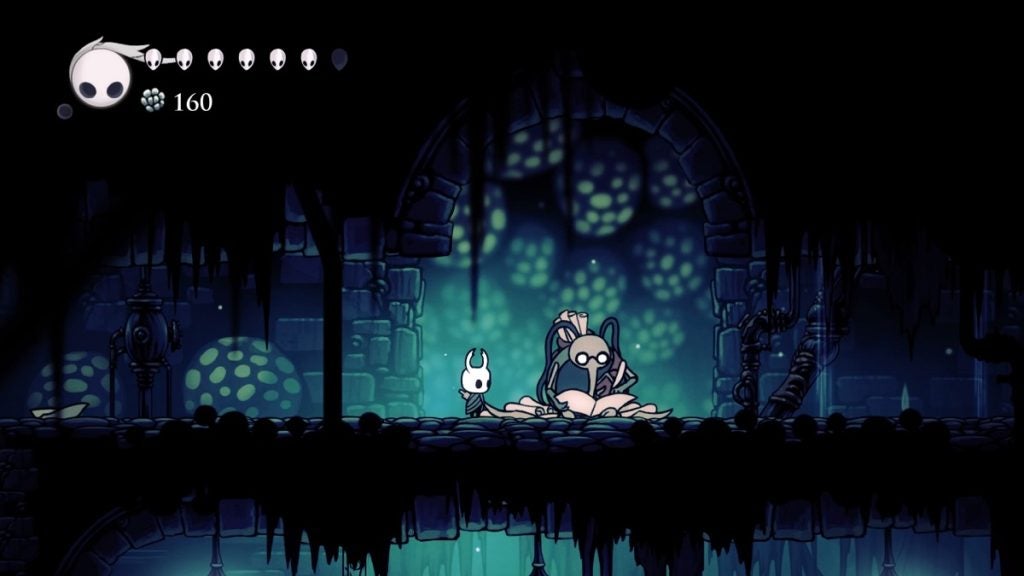
Rest on the bench before proceeding. To make your journey on this dark and damp cavern much easier, you must first seek out Cornifer. He’s located on the far western section of the Royal Waterways.
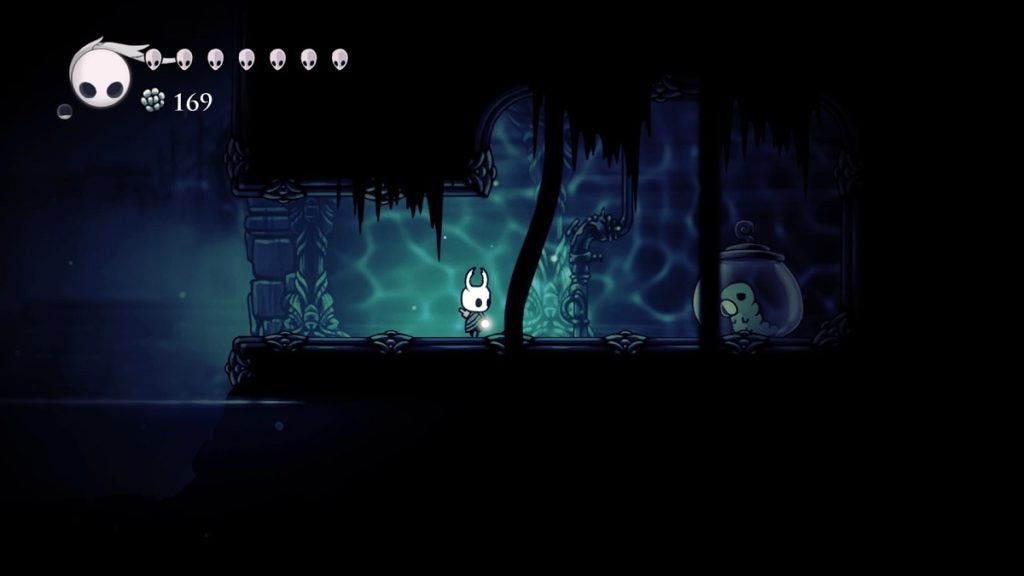
From the bench, begin climbing up until you see the bench sign in the room above. From here, proceed to the left. Be careful of the Belfly that is on the ceiling at the end of this corridor. Drop down to the water below and start hitting the wall to your right. There’s a Grub behind it you can rescue.
Once that’s done, head back up and continue left while jumping from platform to platform. The enemies here will inflate when you hit them. You can either deal with them or avoid them altogether.
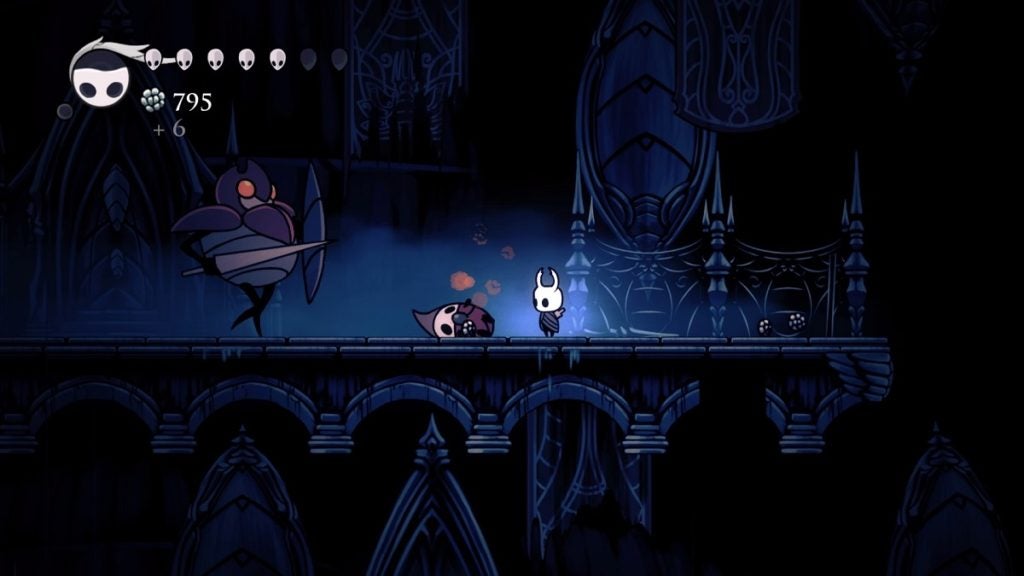
After jumping a few platforms to the left, you’ll see the start of Cornifer’s paper trail on the upper platform to the left. Jump onto this platform and continue walking to the left. You’ll encounter a new enemy type called a Flukemon. After killing this enemy, its top half will be separated from its body and fly towards you. After a few seconds, its lower half will also run towards you. Keep this in mind whenever you encounter this enemy. There are a lot of them in Royal Waterways.

Continue west while following Cornifer’s paper trail. After crossing two sections, you’ll begin to hear Cornifer’s humming. This next room is filled with Hwurmps. You’ll need to defeat them all before you can move forward. They shouldn’t be too difficult to deal with.
After the Hwurmps have been eliminated, resume following the paper trail which will lead you to the upper section of this room. Cornifer will be right here. Purchase the map from him for 75 Geos.
Returning to the Bench
Now that you’ve gotten what you came for, you must now make your way back to the bench. There’s just one stop you might as well make on your way there.
Start walking to the right and the ground below will cave in, sending you directly beside the entrance. Go to the room on the right. Keep walking and drop into the water below. Keep swimming to the left. You’ll find a Mask Shard at the end of this path.
After collecting the Mask Shard, continue heading east until you’re back at the bench.
Optional Boss, Flukemarm
There’s a boss in Royal Waterways you don’t really need to face for now. However, defeating this boss will grant you a charm. The boss is fairly easy and getting to its location isn’t too much of a bother. If you don’t want to deal with this boss for now, skip this part of the walkthrough.
If you do want to slay this boss, jump down into the opening to the left of the bench. At the bottom, you’ll find a breakable floor a few steps right from where you landed. There’s also a Flukemon and a Flukefey in this room. Deal with them as you wish. Once done, use Descending Dark to proceed to the area below.
Walk to the right and drop down. There’s another Flukemon here you’ll need to take care of. Head then to the left and drop to the water below. Proceed to the right and into the open pit where you’ll face multiple Flukemons and Flukefeys.
Deal with them and continue heading to the right. Jump onto the high platform ahead of you. Be mindful of the Belfly on the ceiling. Keep walking to the right and drop down to the very bottom of this cavern, where you’ll yet again face more Flukemons and Flukefeys.
From here, you can walk to the right to find a Soul Totem. Fill up your Soul gauge if needed. Once done, proceed to the left to pass through a narrow path that’s crowded by worms. Don’t worry, they won’t damage you. You can even hit them to regain some Soul.
Keep walking until you reach the next room, where you’ll need to swim forward to proceed. Keep swimming to the left until you reach the open cavern. Flukemarm is waiting for you here, dangling in the middle of the arena. The boss fight will only begin when you attack her.
Defeating Flukemarm

Flukemarm is a very simple boss. She is immobile and only has one attack. From the holes on her body, she’ll expel Flukefeys which will then fly towards you.
One very simple trick for dealing with this boss is to remain standing at the widest platform to her left. You can deal with the Flukefeys that she sends your way from here and bombard her with Shade Soul whenever you can. You’ll defeat her after a few hits. She’ll drop the Flukenest charm upon defeat.
Once the boss is defeated, head back outside and jump onto the path above the narrow walkway. There’s a Geo chest above you. Loot this before proceeding upwards. Once you’re at the top, be wary of the Belfly on the ceiling. Destroy the wooden beam to unlock a shortcut. Your trip back to the bench from here should be short.
Heading to the Dung Defender
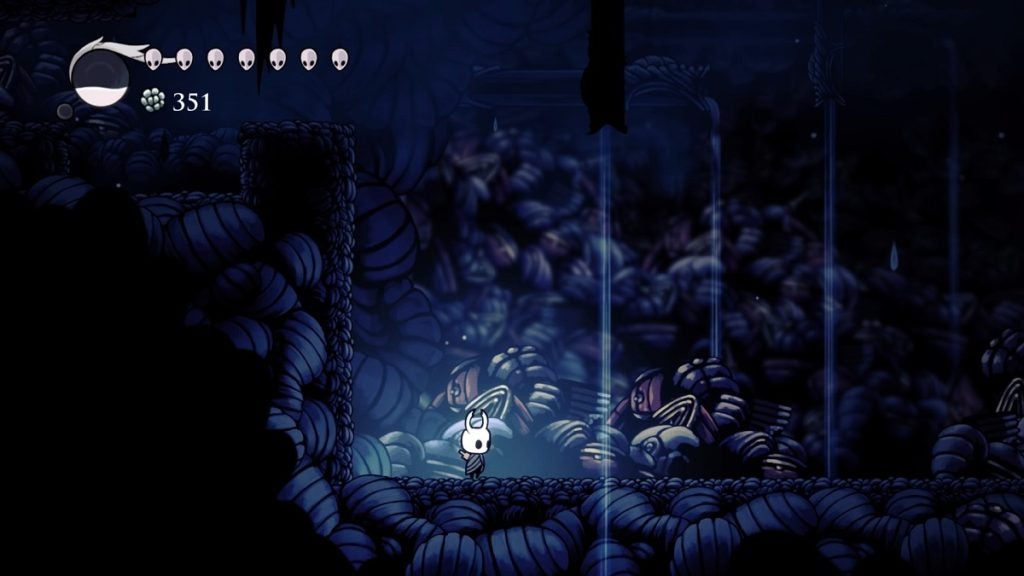
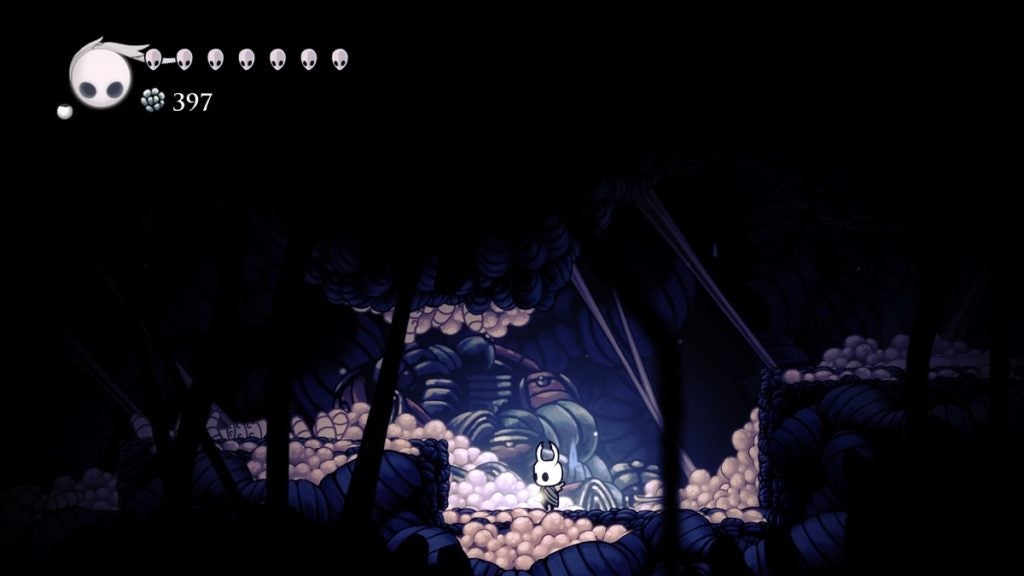
From the bench, walk to your right and destroy the wooden beam. Proceed onward and continue heading east. You’ll eventually arrive at an area that’s covered in dung and a deep voice can be heard speaking and laughing. Proceed upwards until you reach the next room.
Continue ascending, move to the right once you’re at the top, and then drop down. Continue walking to the right from here and you’ll come face to face with the Dung Defender.
Dung Defender
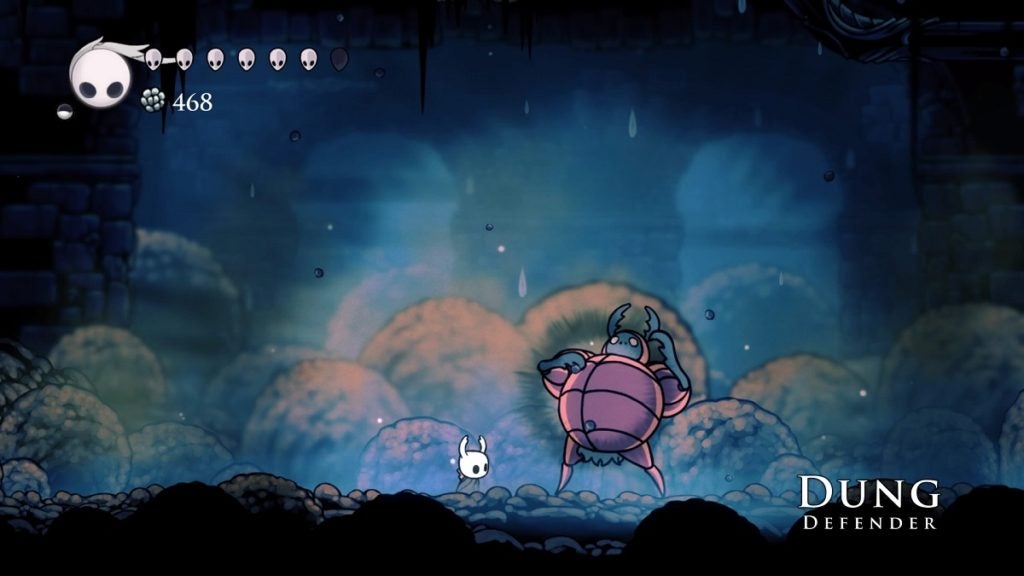
Dung Defender is a very energetic boss. He’ll keep on moving around the arena either by bouncing around or by burrowing underground. These are the boss’s attacks:
- Burrow – The Dung Defender will often dive underground and move around from there. He’ll then burst out from the ground, sending 2 dung balls on either side to pop out and rain down. Whenever the Dung Defender does this, you can force him to surface and damage him at the same time by performing a Descending Dark.
- Dive – He’ll also occasionally dive in and out of the ground as a dolphin would in the ocean. Dash away from his direction or jump up and dash towards his direction to avoid him. The Descending Dark spell can also be used here to maximize damage.
- Dung Toss – The Dung Defender will gather and roll up dung from the ground and toss it at you. Sometimes he’ll throw just one, sometimes he’ll throw two. You can break these balls by hitting them with your nail.
- Bouncing Ball – The Dung Defender will curl up into a ball and bounce around the arena. If you time your attacks right, you can upward slash the Dung Defender just as he’s about to hit you from above.
- Consecutive Bursts – After dealing enough damage to Dung Defender, he’ll release a battle cry and move faster than usual. He’ll burrow to the ground and burst out after a couple of seconds, dive into the ground again to do the same thing about 3 to 4 more times. He’ll only do this once throughout the fight. You can cut this attack short by simply performing a Descending Dark on him.
As you can see, the Descending Dark spell is very useful during this fight, so be sure to use it liberally. Dung Defender will also stagger and remain fallen on his back for a few seconds, giving you time to heal.
You’ll eventually defeat Dung Defender by employing the tips listed above. Upon defeat, you’ll be rewarded the Defender’s Crest charm. The gate to the right will also open which houses a huge lever. Flip this lever to open a path to Isma’s Grove.
Proceeding to Isma’s Grove
From the room where the lever is, head to the right and destroy the wooden beams. This opens a path that leads to the City of Tears above and the Ancient Basin below. For now, just open it and leave it. Head back to the left, exit the Dung Defender’s boss room, and on to the section below.
Drop down and move to the left until you’re out of the dung-filled area. You can return to the bench to rest up and heal up if you want. Make your way back here afterward.
From here, take the path on your bottom left. Drop down at the end and continue walking to the right where you’ll encounter two Pilflips. Defeat them and press on. At the end of this path is a hole in the ground. Drop down to proceed to the next room.
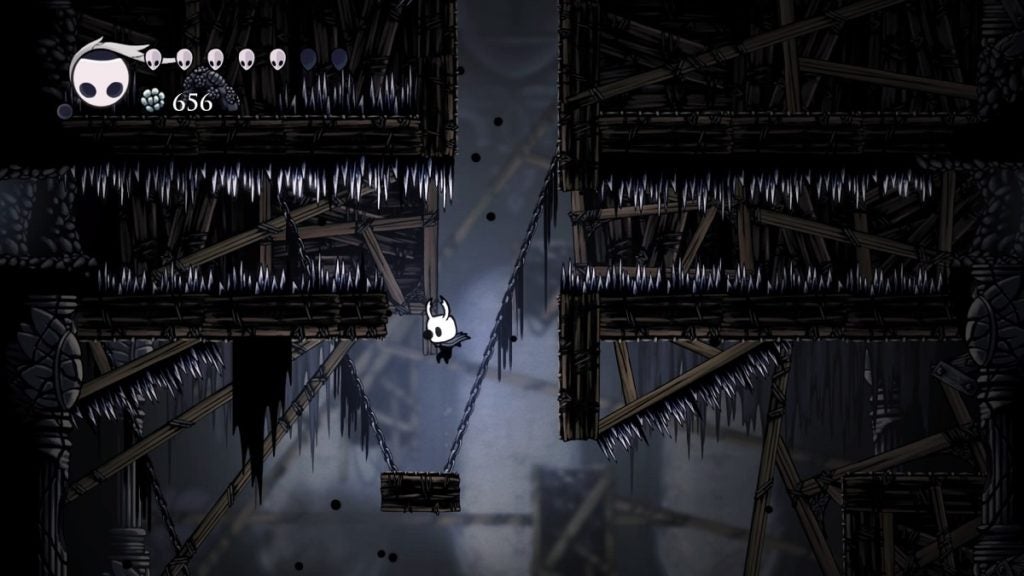
Head to the left and defeat the Pilflips along the way. You’ll eventually arrive at a tall cavern. Slowly and carefully descend by using the floating platforms. You should also eliminate the Flukefeys here, as they can be a nuisance. At the very bottom of this cavern is an acid pool so be careful not to fall down. Once you reach the lower area of this cavern, head to the right and move forward.
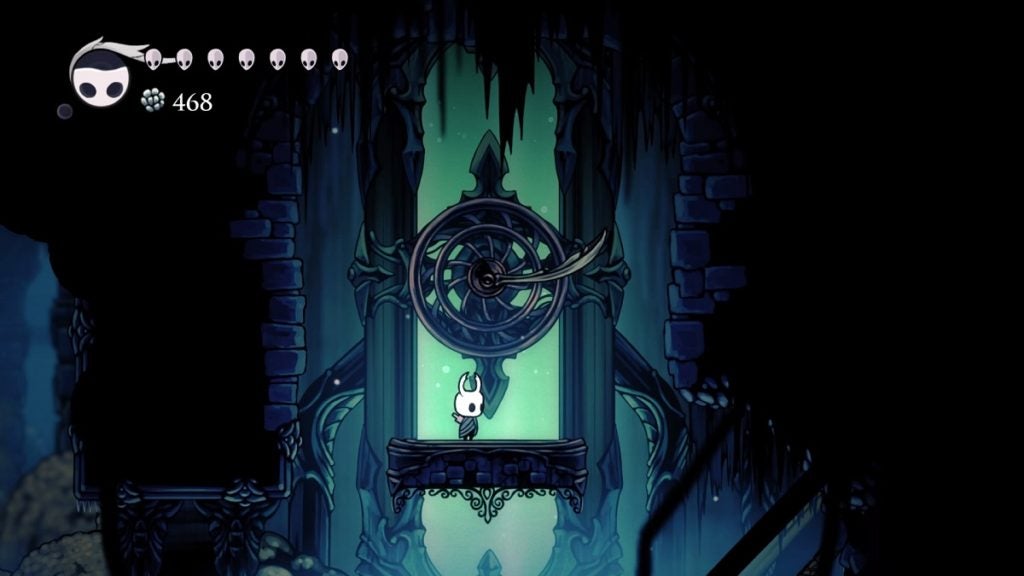
At the edge of this path is a crystal formation, indicating you should use Crystal Heart here. Do so to dash forward, on to the next room, beyond the narrow spike-filled path, and on to the next room again.
As soon as you hit a wall, bounce away and cling to the wall on the left. Slide down until you see another crystal formation. Use Crystal Heart here to move across. Once you hit the wall, immediately climb up to avoid falling into the pool of acid. From here, head to the right and start making your way up.
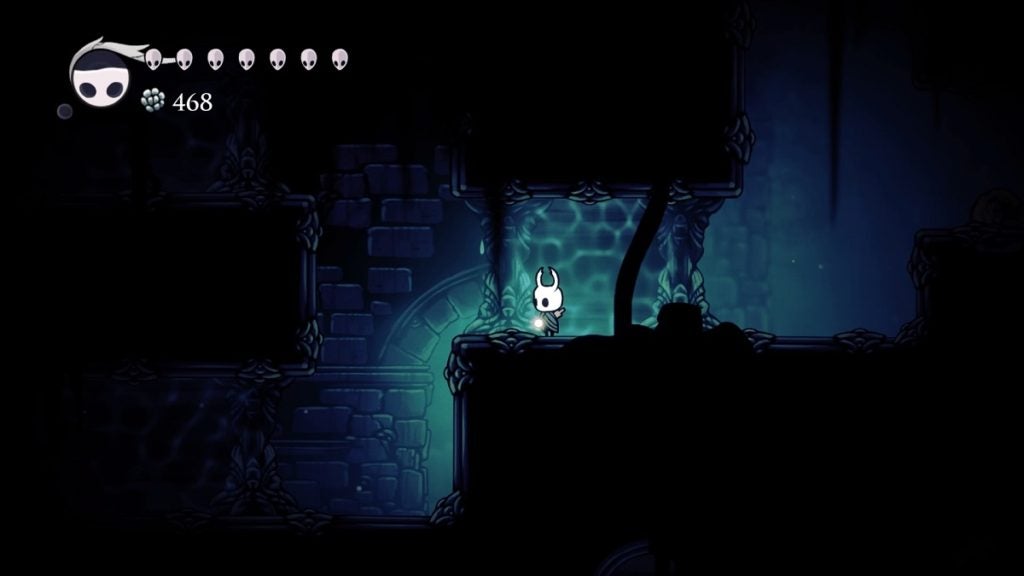
You should see a sign penned by the Dung Defender at the very top. From here, continue right and on to the next room. Climb the vertical passage above you and work your way to the top. Be careful of the Winged Sentries here. Head then to the right and drop down.
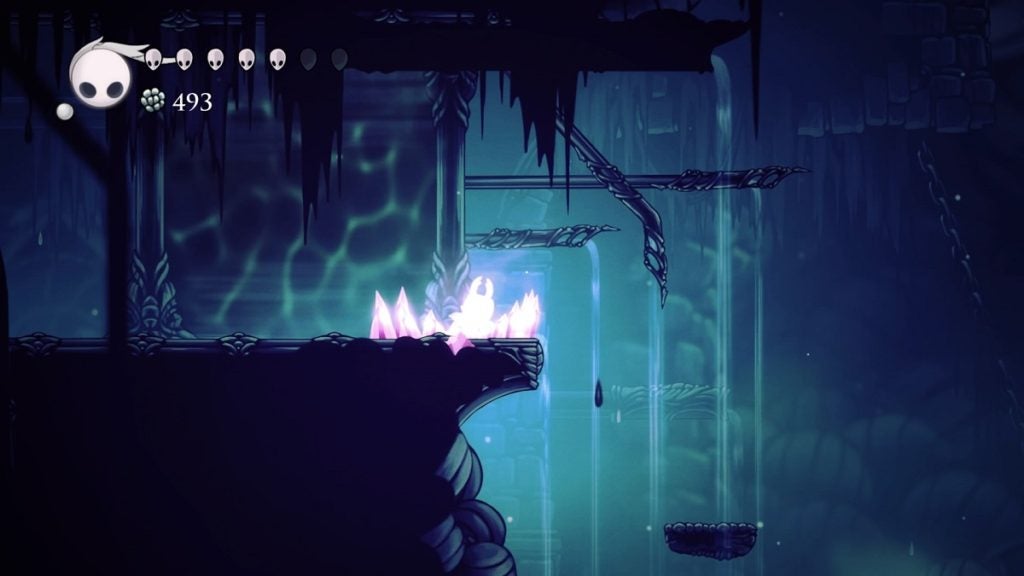
You’ll need to fight and defeat the enemies here before you can proceed. After about three waves of Sentries, head right and drop down. Proceed down this path until you drop down to Isma’s Grove. From here, head to the right and you’ll find Isma’s Tear at the end.
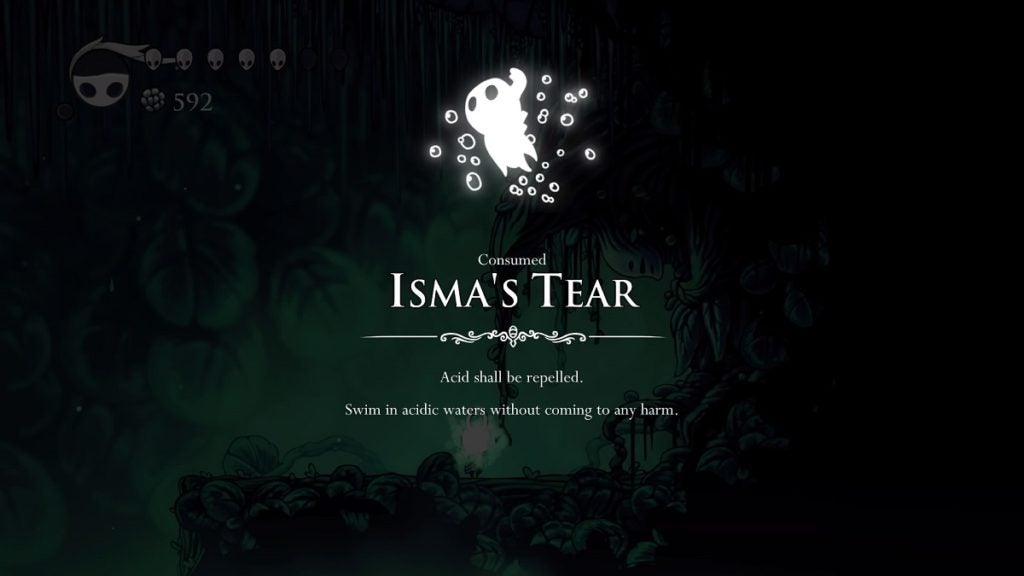
Isma’s Tear allows you to swim in acidic waters without being damaged. To put this to the test, drop down and swim to your right to come across a secret passage. Begin climbing once you reach the end to find a Grub at the top.
On to the Ancient Basin
Make your way back to the Dung Defender’s boss room, or to the bench if you need to heal up. Going back shouldn’t be too hard now that you can swim in acid pools.
From this area to the Ancient Basin, there is a shortcut you can take so you won’t have to return to the Dung Defender’s boss room anymore. In the area where you need to use Crystal Heart to get from one area of the Royal Waterways to the next, you’ll notice that you’ll cross a narrow path with spikes on its ceiling and floor. There’s a gap in between these spiky pathways that allows you to drop to a platform below if you can stop the Crystal Heart at the precise moment. If you’re able to do this, you can continue descending and you’ll eventually arrive at the Ancient Basin without having to make your way up to the Dung Defender’s room.
If this proves too difficult, it’s no matter. Just make your way up to the lever room beside the Dung Defender’s boss arena. Enter the passageway you previously opened on the right side of this room. You can begin making your way down to the Ancient Basin from here.