![]() Key Takeaway
Key Takeaway
Follow Yunobo to Death Mountain and, after defeating the gimmick boss atop it, head down into the Depths. Meet up with Yunobo underground and make your way north towards the Fire Temple.
Once inside the Fire Temple, activate the terminal at its center to learn how to unlock the gate to the final part of the dungeon. Once the locations of the five locks appear on the dungeon map, seek them out to open the way to the boss room.
When it’s time to fight the boss, use Yunobo to smash the big enemy’s legs for an easier time attacking the boss’s weak point: its eye. Don’t let up—keep smashing the boss’s legs and eye until it goes down! After the battle, you’ll get a Heart Container, another Sage Vow, and some deep lore.
The Fire Temple in The Legend of Zelda: Tears of the Kingdom is located in the Depths of the world. Here, you must solve lava and rail puzzles to unlock the door leading to the boss. Thankfully, you have a helpful Goron ally with you as you traverse this dungeon.
Table Of Contents
Complete Fire Temple Guide – Zelda: Tears of the Kingdom Video Guide
Make Sure You’re With Yunobo the Goron Before Entering the Fire Temple
Like how you need Tulin in the Wind Temple, you’ll need the help of the Goron Yunobo to get through the Fire Temple. There are lots of marbled rocks that only Yunobo can break with his rolling attack. You can’t get by these obstacles without Yunobo’s help.

After you climb to the top of Death Mountain and defeat Moragia the gimmick boss, you’ll open a huge pit that leads into the Depths. Jumping down from Death Mountain into this massive pit leads you to a Lightroot almost directly below the hole.
Yunobo is waiting for you very close to this Lightroot—the marker on the map (if you have the “Yunobo of Goron City” main quest marker active) shows his exact location in the Depths.
Once you’ve spoken with Yunobo after descending into the Depths, make your way north until you find the Fire Temple’s entrance. Along the way, there are statues that are facing the directions you should travel—so keep your eyes peeled for them!
Activate the Terminal at the Center of the Fire Temple (02:15 in the Video Guide)
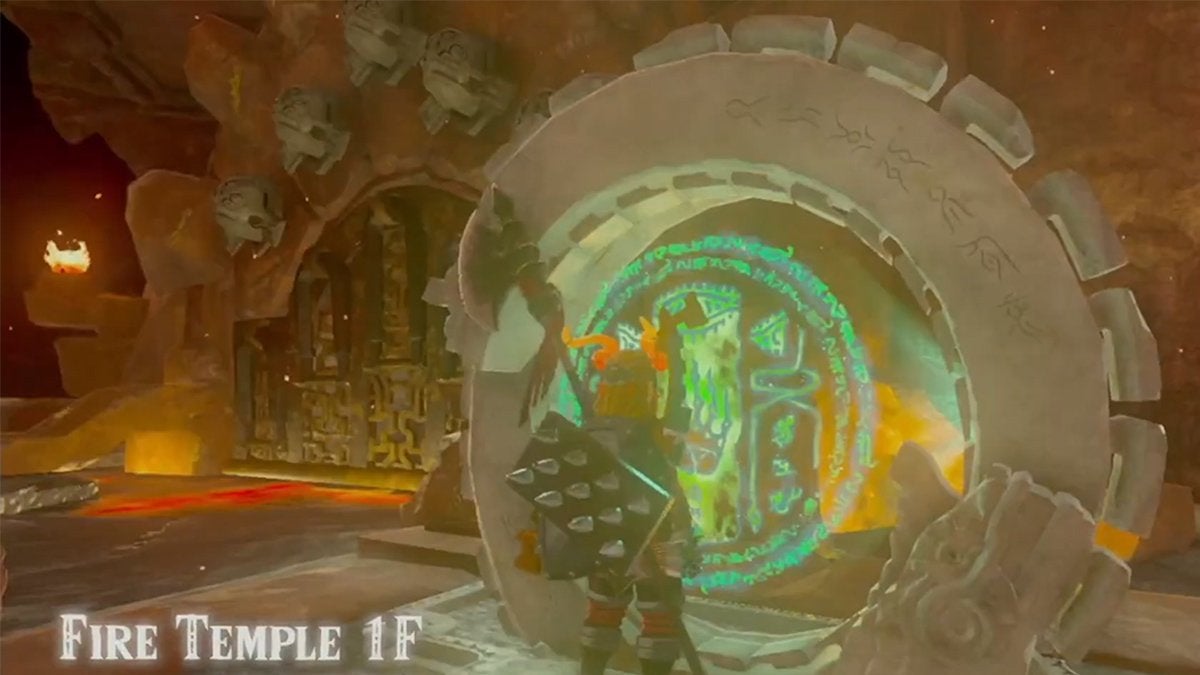
Heading into the Fire Temple, you and Yunobo discover a few interesting sights—including a locked gate and a nearby terminal. After the cutscene where Yunobo looks through the gate, you should walk up to the terminal nearby and activate it. This creates a fast travel point right in front of the locked gate, which will be useful later.
Also, doing so plays a short cutscene during which a mysterious voice tells you how to unlock the gate barring your way forward. Five markers then appear on the dungeon map, which shows the positions of five gongs that you need to hit to open each of the five padlocks keeping the gate shut.
Finding the First Lock (03:40 in the Video Guide)
From the locked gate, head southeast toward the Zonai construct enemy. After taking them out, you’ll notice a small stream of lava upon which slabs of stone are floating (03:55 in the Video Guide).
Getting Past the First Lava Pool
You can easily use the slabs to get over this stream of lava; however, it’s the stretch of lava beyond this that presents your first obstacle in the Fire Temple. To get past the bigger lava pool, you’ll need to use the slabs that spawn on the small lava stream to build a bridge (04:05 in the Video Guide).
Riding the Rails to the Southern Part of the Temple
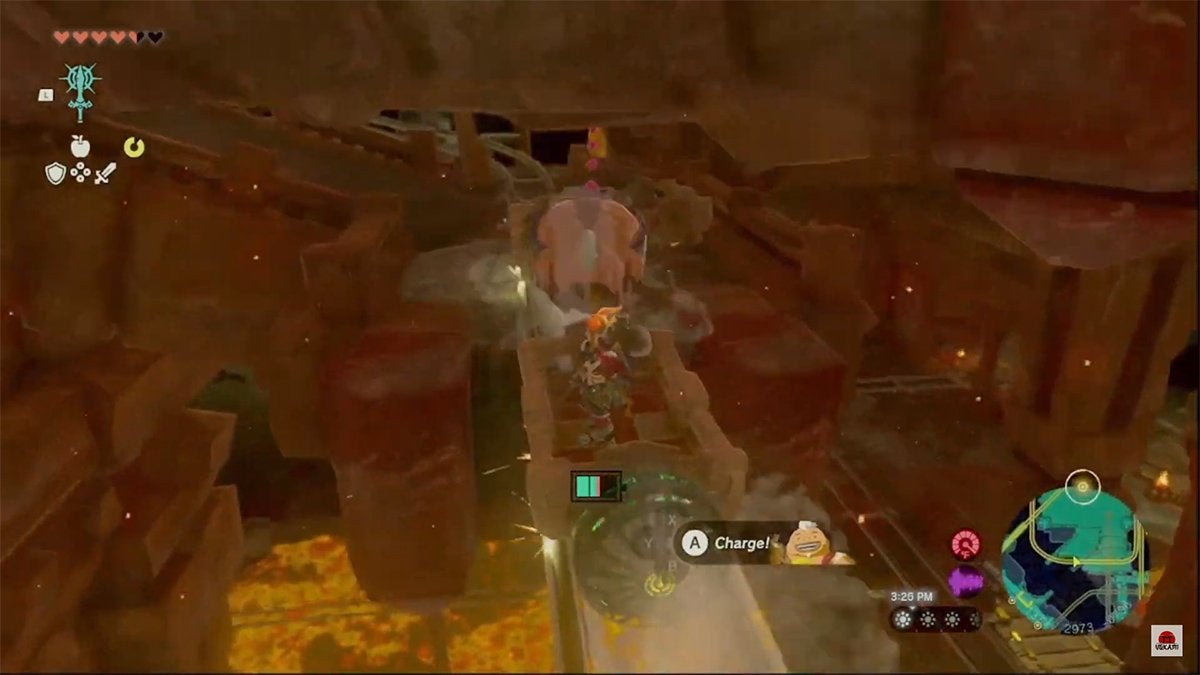
Once you get across the bigger lava pool, you’ll find a minecart with a fan on it upon some rails. Hop into the cart and hit the fan to power it. This pushes you to the next area you need to go.
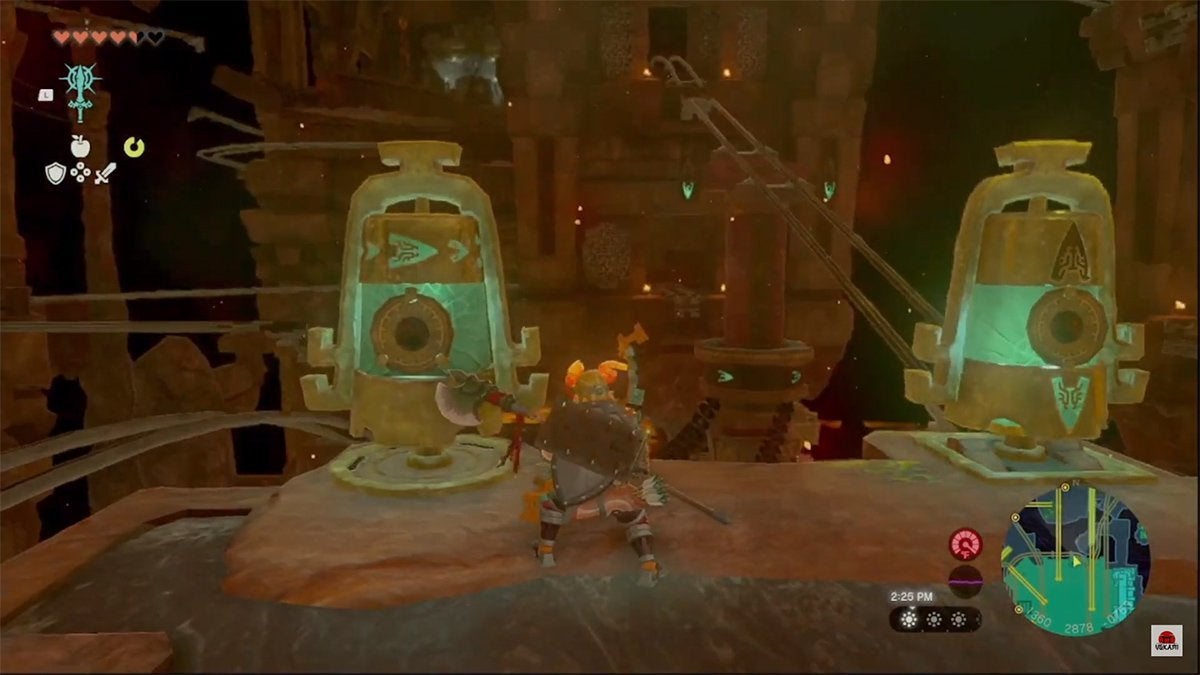
While you’re on these rails, use Yunobo to hit the large circular switch ahead of you. You need to do this to change the direction of the rails from a right turn to a straight stretch; you need to get to the area to the south (04:50 in the Video Guide).
Breaking the Marbled Rock in Front of the First Lock
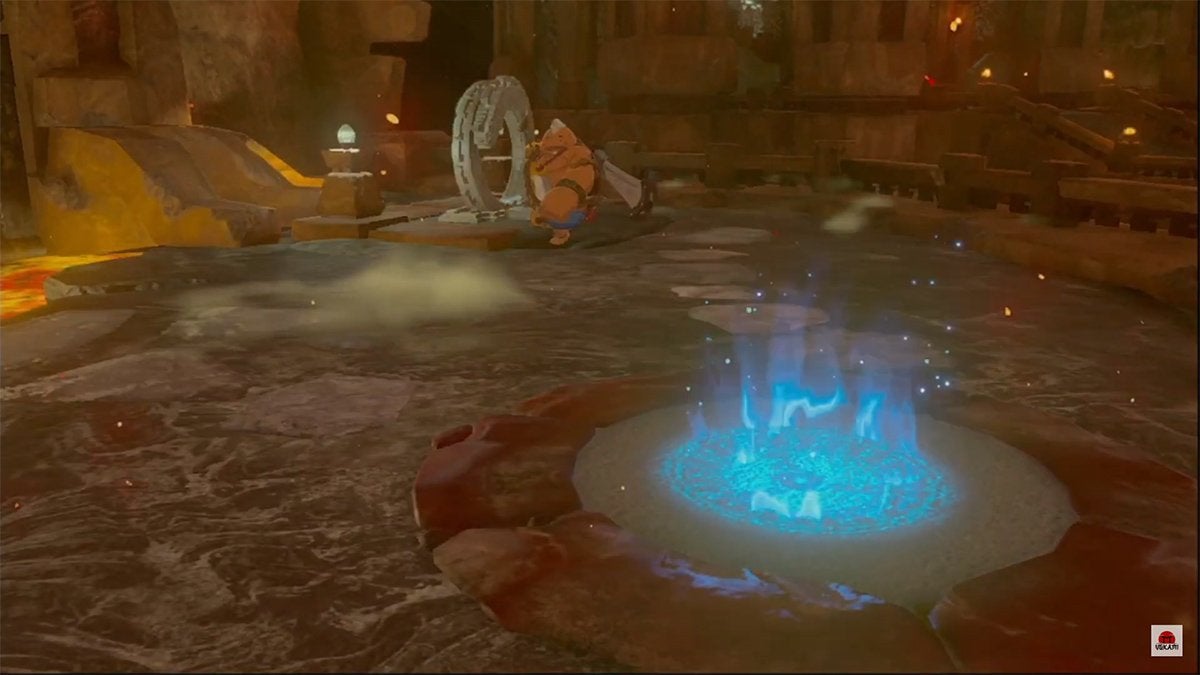
After reaching the southern part of the temple, hop off the cart and defeat the Fire Like around the corner. Once the way is clear of enemies, grab one of the hydrants nearby with Ultrahand and bring it southward: to the stretch of lava in front of a marbled rock (5:40 in the Video Guide).
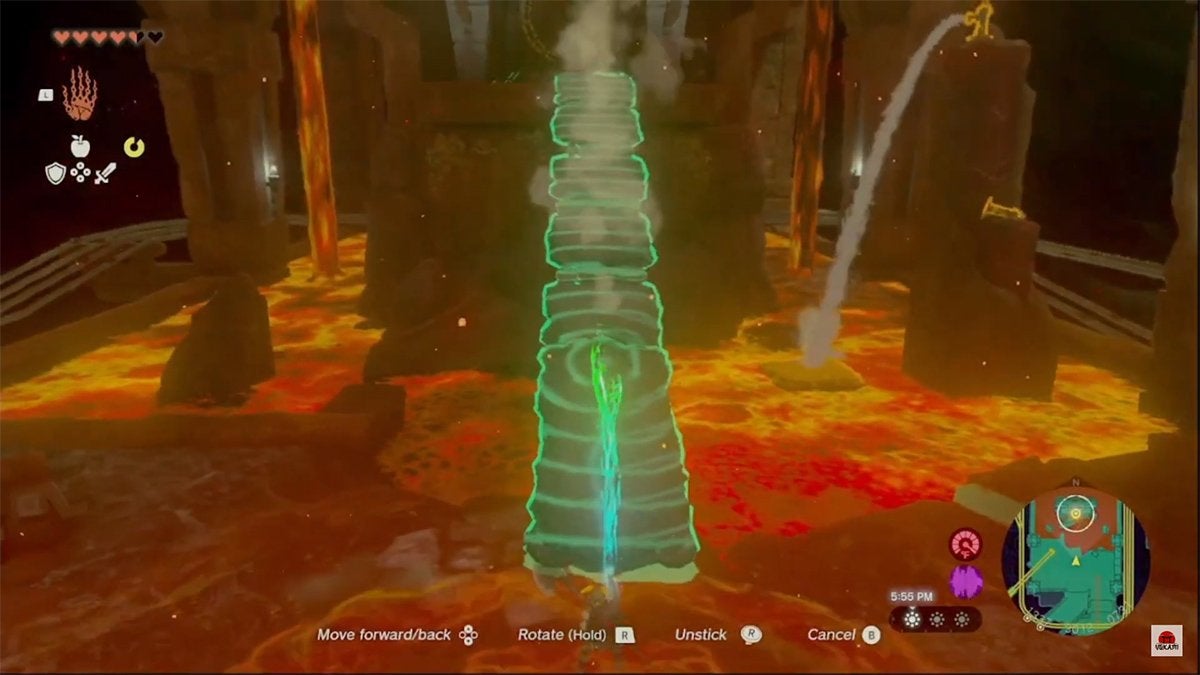
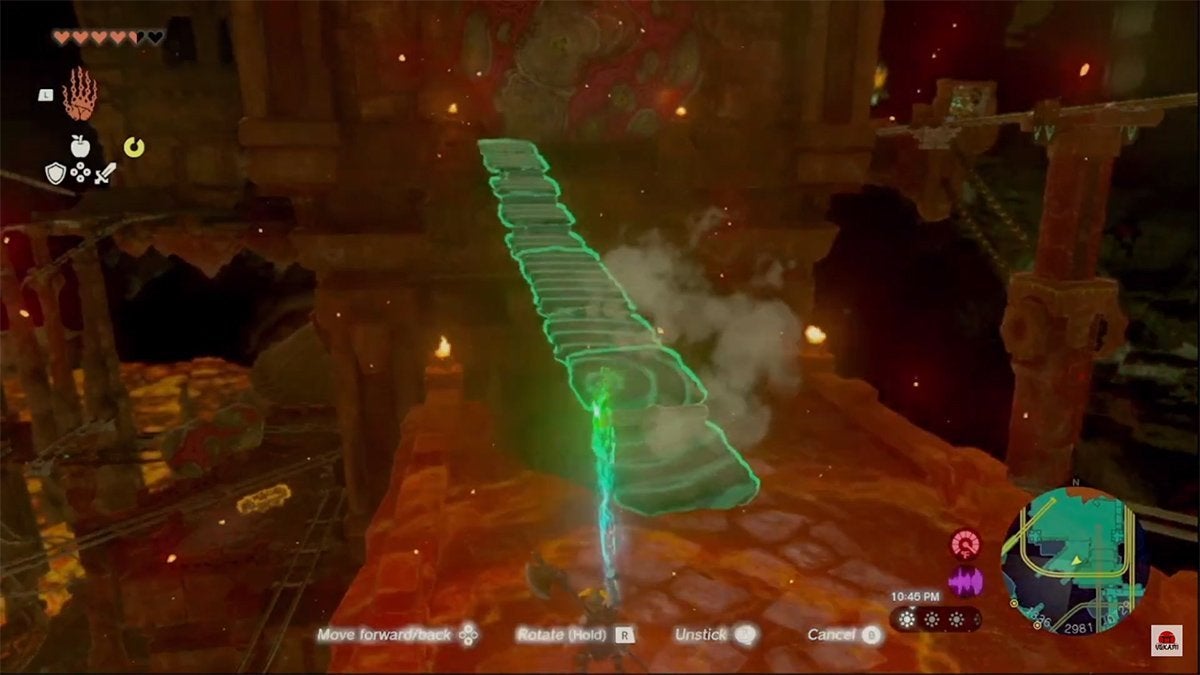
Point the hydrant so that it’s facing the lava and then hit it to turn it on. At this point, you want to use the water flowing out of the hydrant to create stone slabs. Then, use the slabs to create a ramp that leads up to the marbled rock (05:53 in the Video Guide).
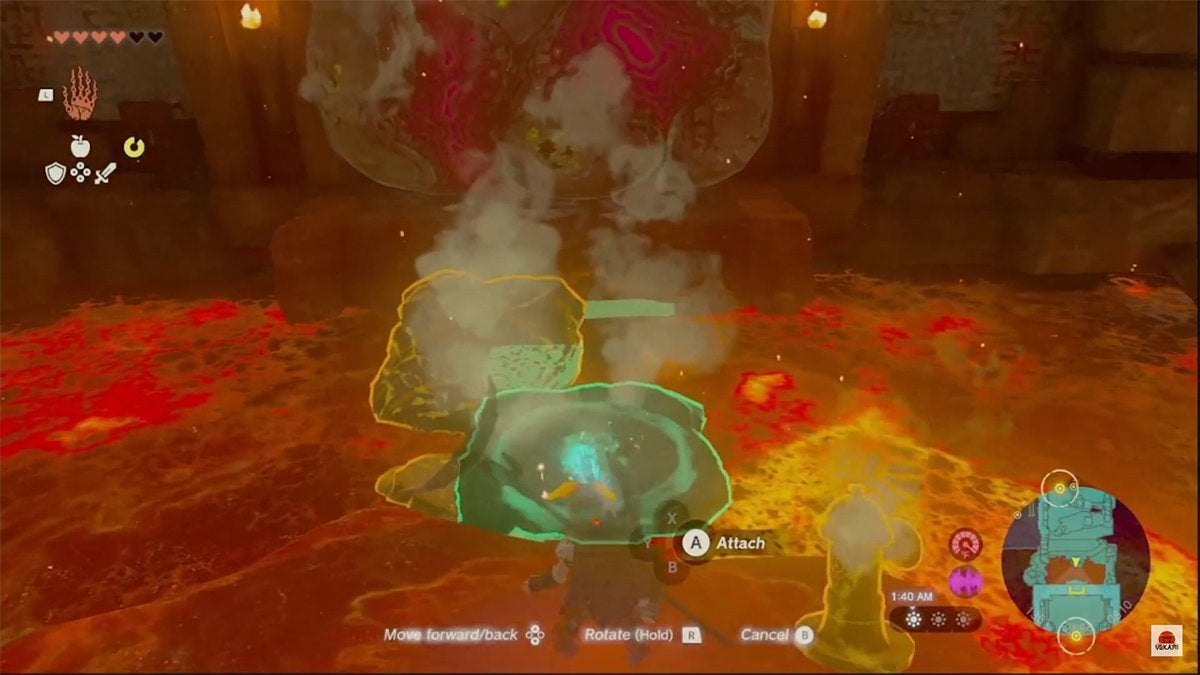
You need to make a ramp up to the marbled rock so that Yunobo can get to it with his rolling attack. Think of Yunobo like a wheel: he needs a level path to something in order to break it. Once you’ve made a path for your Goron ally, get him to charge through the marbled rock to open a path onward (06:15 in the Video Guide).
After you step into the now uncovered area, Yunobo points out the gong at the end of the hallway: this is the first lock. Loot the area and then walk up to the gong before getting Yunobo to charge into it. Ringing this gong opens the first padlock barring the gate. One down, four to go-ro!
Finding the Second Lock (07:05 in the Video Guide)
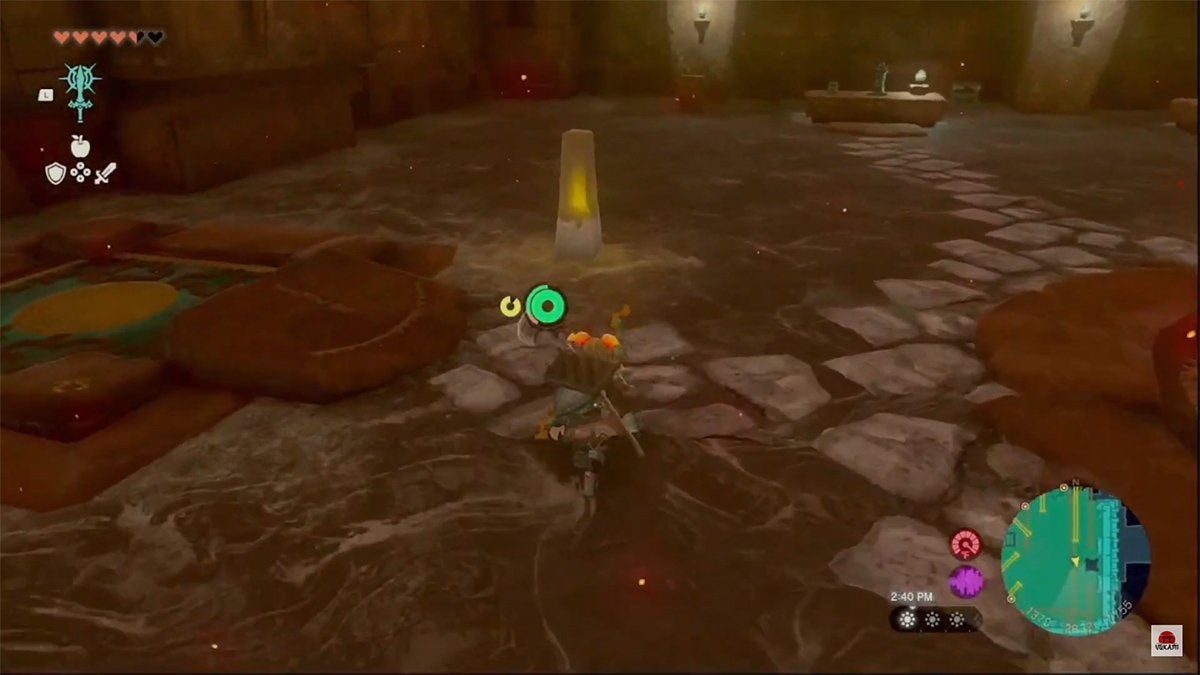
Retrace your steps until you’re back at the rails north of the first gong lock. There’s a switch with a yellow light that you need to hit to open a bar blocking your minecart from moving beyond. Hit it, and then hop into the minecart once more.
Get to the Upper Central Area
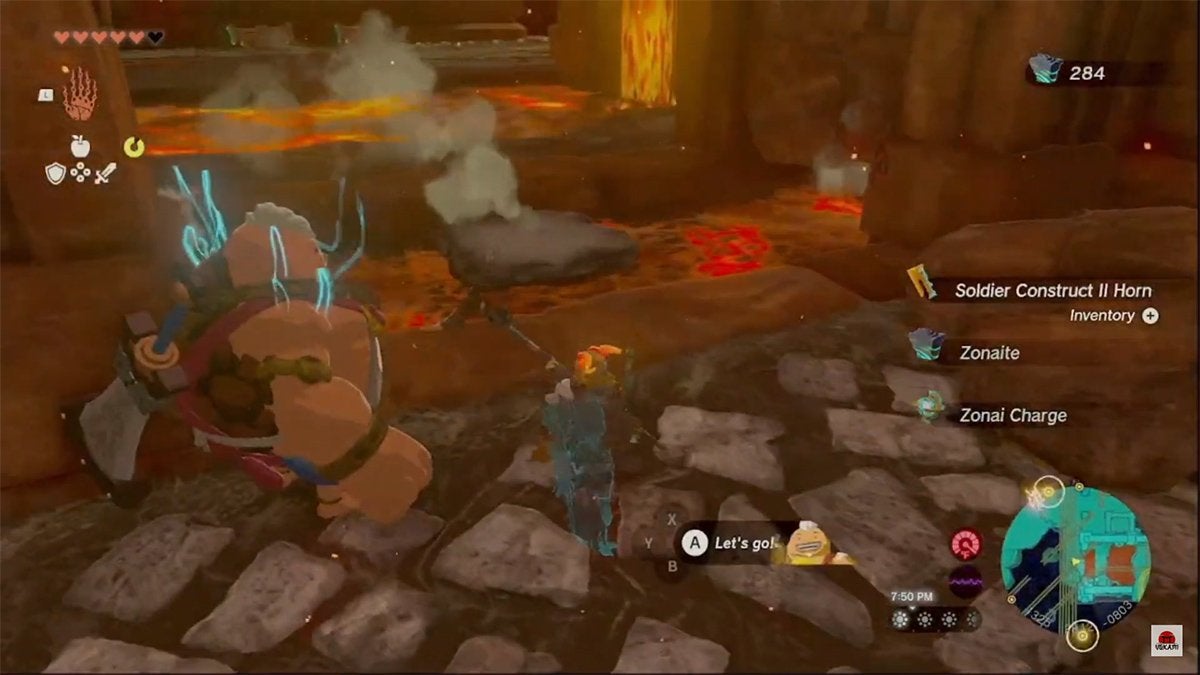
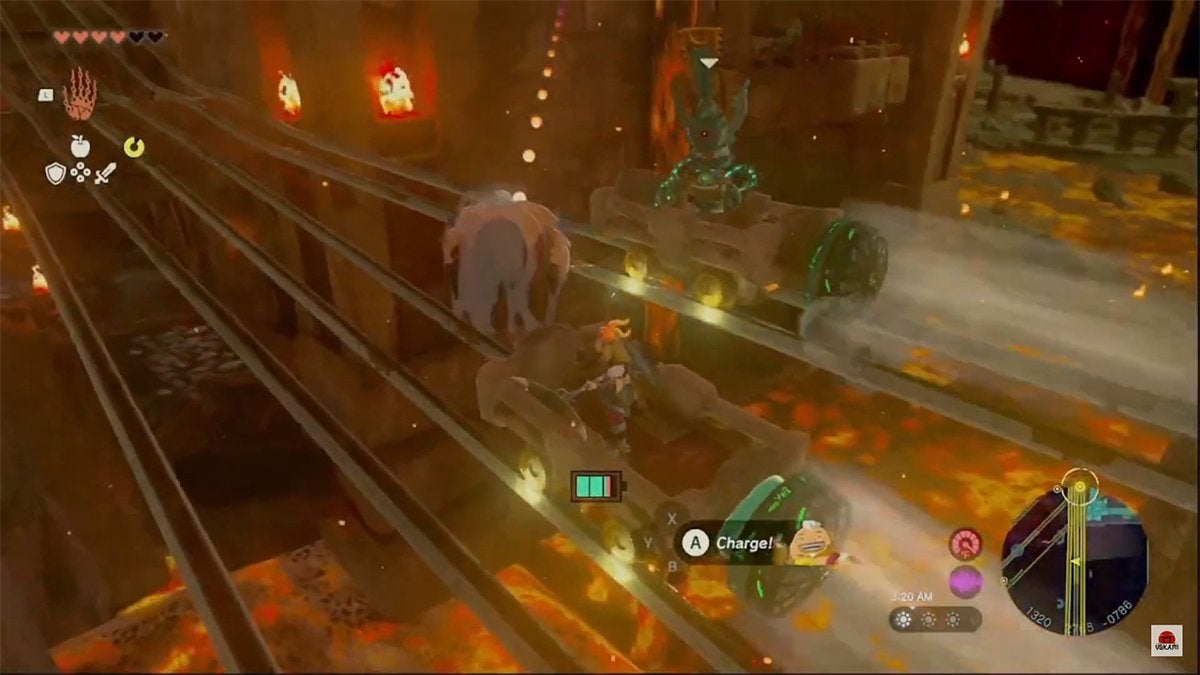
Hit the fan on the back of the cart and proceed along the rails. Just around the corner, there’s a marbled rock that you need Yunobo’s help to break through. As you zoom northward, a construct enemy shows up on a cart next to yours and tries to attack you. Although, with Yunobo’s help, it’s pretty easy to defeat them.
This minecart ride leads you to an area close to the center of the Fire Temple. After the cart comes to a stop at the end of the track, jump out and hit the bell switch nearby to flip the cart around (08:13 in the Video Guide).
Reach the Split Path
Following this, jump back into this same minecart and go back along the rails you came from. However, you now need to use Yunobo to hit the large round switch ahead of you to change the direction of the rails to the right (08:38 in the Video Guide).
You’ll come to a stop at a spot where there are two separate rails leading northward. The eastern one leads to a bit of loot while the western one brings you to the next lock. Also, there are bell switches next to each of their respective tracks that you need to hit to align the rails so that they can go northward.
Take special note of the bell switch next to the western rails, as you’ll need to use it again to get to the gong lock after this one. With that said, when you’re ready, align the western tracks and go north to the area ahead.
Cross Another Lava Pool
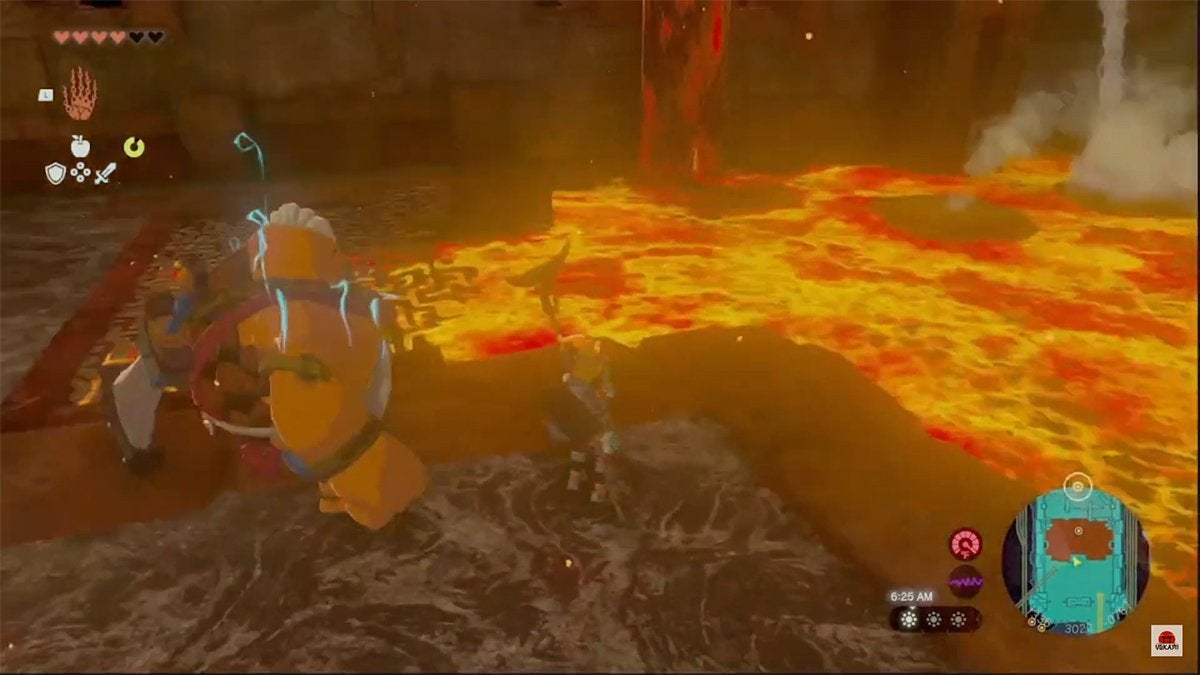
Once the minecart reaches the area to the north, you’ll find another pool of lava blocking your way. There’s a marbled rock up ahead that you need Yunobo to break.
After doing so, the hydrant pouring water from above starts creating stone slabs. Use these slabs to create a bridge that takes you to the other side of the lava pool (11:20 in the Video Guide).
Beyond this pool of lava, you’ll find a construct enemy guarding the next lock. Take them out and then get Yunobo to bang the gong and open the second padlock. That’s two—three left!
Finding the Third Lock (12:15 in the Video Guide)
After opening the second lock, return to the minecart across the lava pool. Before hopping back into it, shoot an arrow at the bell across the gap, as this raises the tracks. Doing so lets you reach a convenient area on Floor 3 of the Fire Temple (12:50 in the Video Guide).
Hit the Two Bell Switches on Floor 3
When the tracks are raised, hit the bell switch next to you and ride your cart upwards to the higher floor. Here, you’ll find a construct enemy guarding some loot. Take it out and harvest the goods nearby.
Next, head to the north end of this area and hit the two bell switches you see—once each. This points the tracks to the east straight north and upwards: the direction of the next lock (14:19 in the Video Guide).
Now that the tracks are pointing in the correct direction, you can head to the next area to find the third lock.
Activate the Elevator Switch
However, before you do, hit the yellow switch on the east side of this area, as that activates an elevator that makes this floor more accessible from Floor 1 of the Fire Temple (14:52 in the Video Guide). Doing so makes it a lot easier to get back to this spot in the future.
Build a Big Ramp to the Third Lock
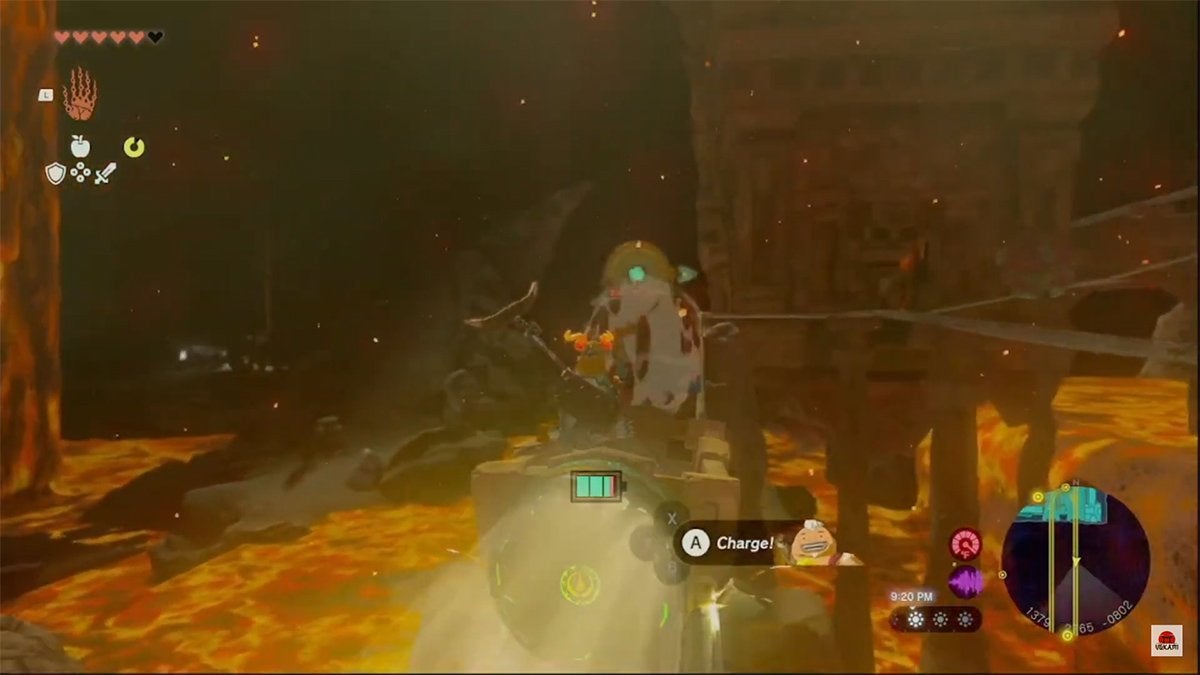
You’re done in this area. Now, head up the tracks we pointed out above to get to the rails circling around the third lock. Here, you’ll come across another construct enemy in a minecart—use Yunobo’s charge attack to dispatch it.
Next, hop off the minecart as it passes the southern end of this area (15:43 in the Video Guide).
To the north, you’ll find yet another pool of lava with a hydrant making stone slabs. As before, you need to make a bridge with the stone slabs that keep spawning. Do so and then use the bridge as a ramp to help Yunobo reach the gong above (16:24 in the Video Guide).
Bang the gong and then move on—three down and only two locks left!
Finding the Fourth Lock (17:05 in the Video Guide)
We hope you’re not tired of building bridges yet—as there are a few more gaps to cross in the Fire Temple!
After banging the third gong, grab your ramp with Ultrahand and then turn around to face the large marbled rock across the broken bridge. You must extend your ramp with a few more stone slabs to make a functional crossing to the marbled rock (17:28 in the Video Guide).
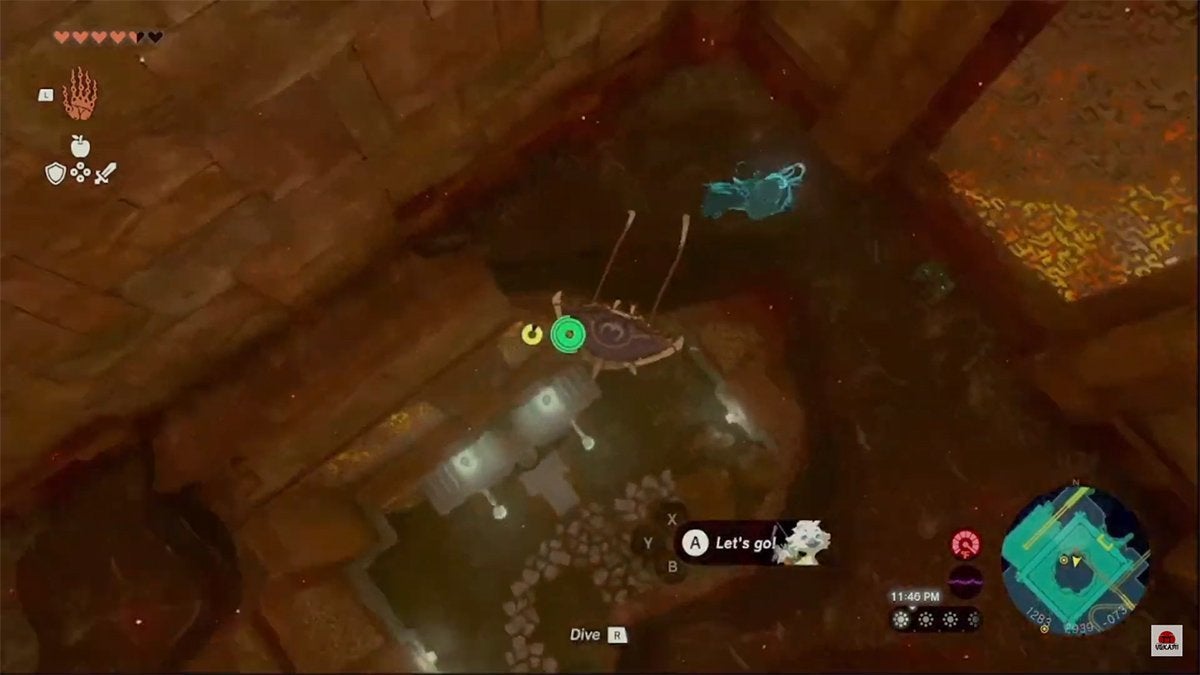
Afterward, get Yunobo to smash through the marbled rock to clear a path. When you ascend into the room beyond, you’ll find a huge hole in the floor. Descend with help from your Paraglider to get to the fourth lock at the bottom of this tower.
Once you reach the bottom of the tower, get Yunobo to do his thing and you’ll have unlocked four of the padlocks in the Fire Temple—only one left!
Finding the Fifth Lock (19:13 in the Video Guide)
To get out of the room with the fourth lock, hit the yellow switch in the southern corner of the chamber. This opens the gate barring your path. Next, make your way back to the entrance of the Fire Temple—which is east of the dungeon’s fast travel point. Here, you’ll find the elevator that you activated earlier on Floor 3 (19:55 in the Video Guide).
The lift brings you up to the area on Floor 3 where you activated the elevator switch. When you get back here, go to the southwest corner where you’ll find some rails leading to the southwest of the dungeon (20:30 in the Video Guide). There’s also a bell switch in the distance.
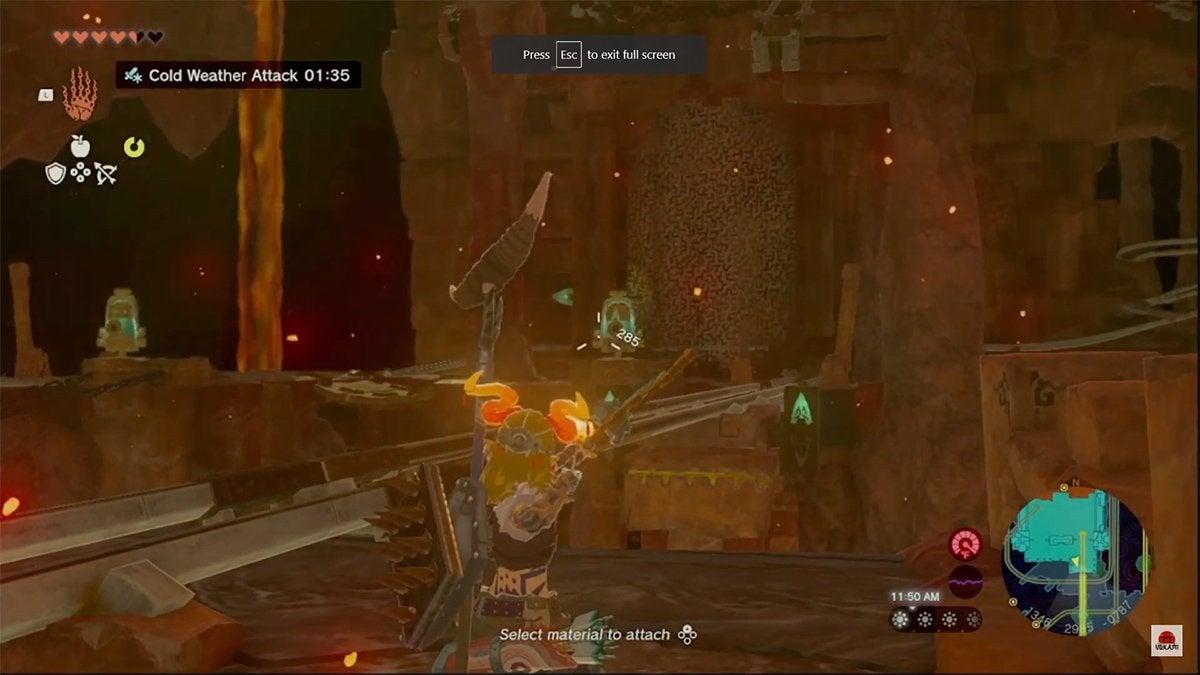
Hit the Distant Bell Switch to Line Up the Tracks
You need to hit this bell switch to lower the tracks that let you travel southwest toward the fifth and final lock. However, the bell switch is too far for a normal arrow to travel. You need to fuse a monster wing (doesn’t matter what type) to an arrow so that it can reach the bell switch.
Now you’re free to plop a minecart onto the rails. Make your way to the southwestern portion of the Fire Temple and defeat the construct enemy you find before proceeding.
Break Through the Ceiling
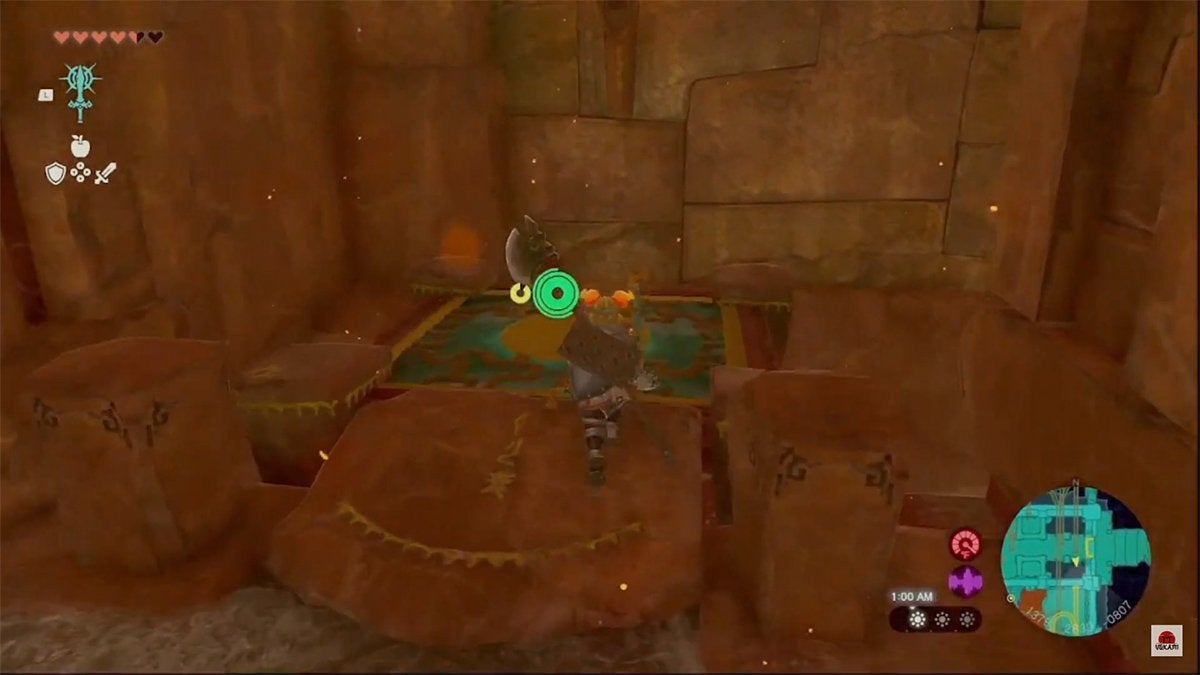
At the southwestern end of this new area, you’ll find a short and broken wooden bridge. Use Ultrahand to attach the ends of the bridge to make a curved ramp. This ramp lines up with the wall neatly.
Following this, get Yunobo to charge up the ramp and wall—which lets him smash the marbled rock in the ceiling (22:10 in the Video Guide).
Afterward, if you have enough Stamina, you can climb up the wall and through the hole in the ceiling.
In the room above, you’ll find the fifth and final lock in the dungeon. Get Yunobo to bang this gong and all the padlocks will be gone!
Fighting the Boss of the Fire Temple (23:35 in the Video Guide)
Now all that’s left is to defeat this dungeon’s boss: Marbled Gohma. To quickly get back to the now unlocked gate, open your map and fast-travel to the area near the terminal. Interact with the terminal to open the door to the boss room.
After you enter the boss room, you’ll find a clump of marbled rock on the ceiling. You need Yunobo to charge up the curved walls of the room to reach this clump of reddish stone and smash it (24:20 in the Video Guide).
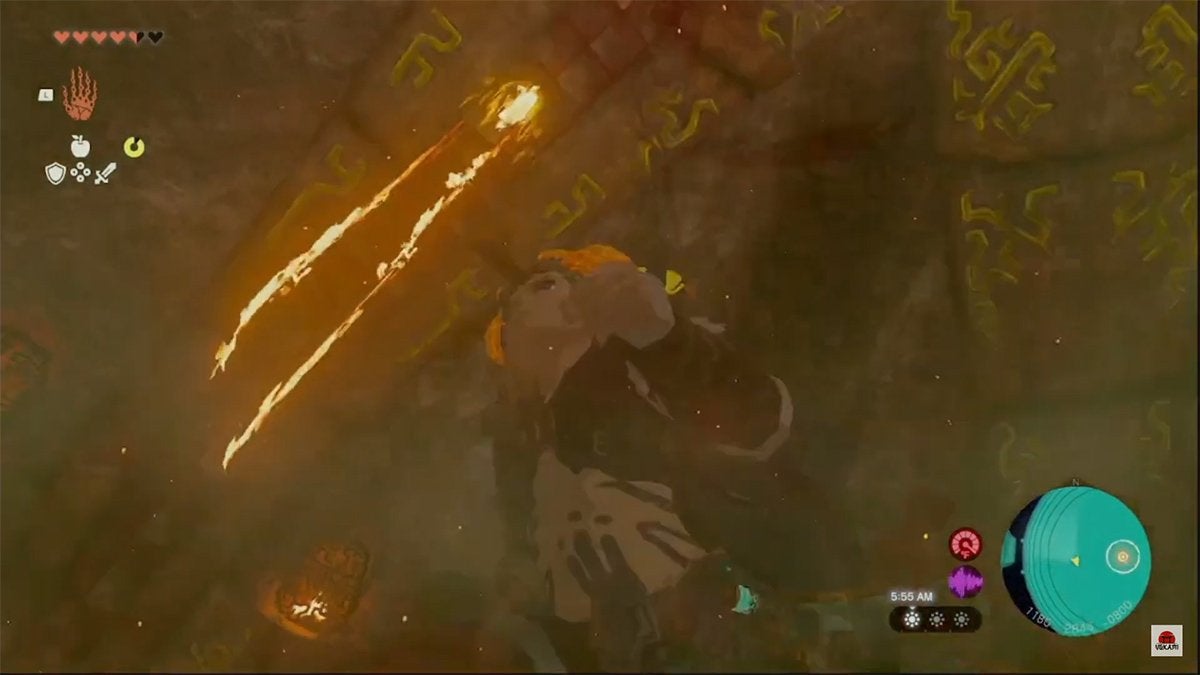
Doing so begins a cutscene where Marbled Gohma is introduced. It’s time to fight fire with fire!
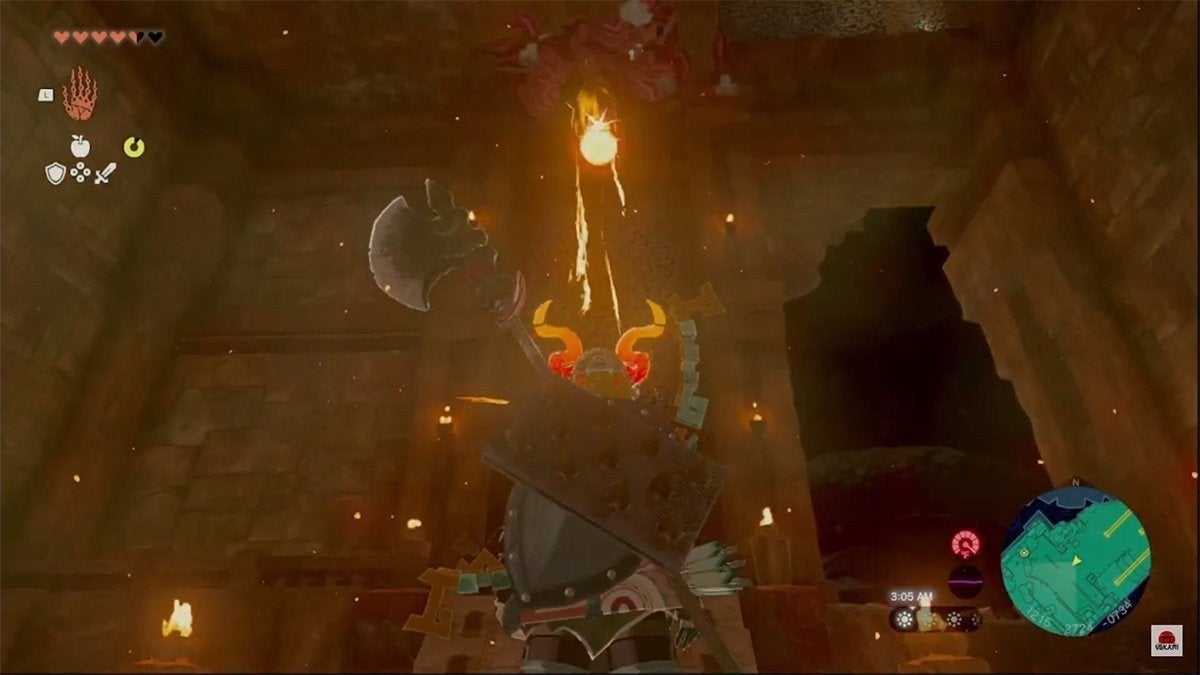
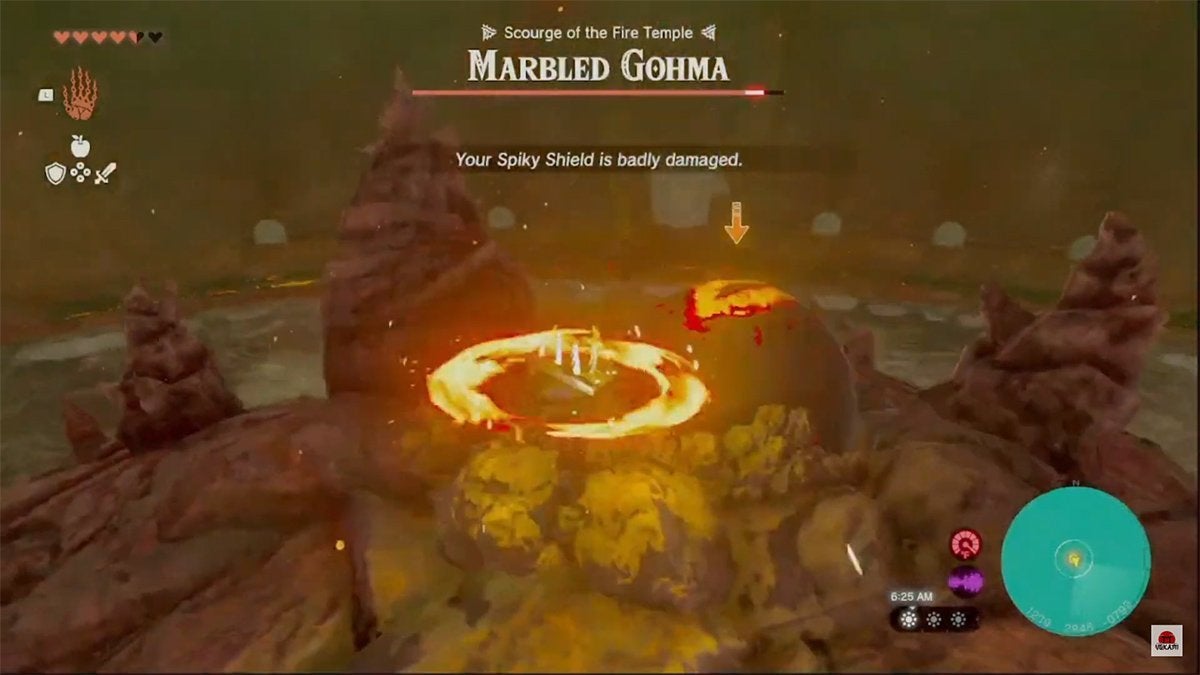
Marbled Gohma – Phase One (25:30 in the Video Guide)
Take note of Marbled Gohma’s legs: they’re made of marbled rock—which Yunobo is great at destroying. Get your Goron buddy to smash two of the boss’s legs and it’ll collapse for a few seconds. This gives you time to hop onto the fiend’s body and hit it in its weak spot—its eye—a bunch of times (26:04 in the Video Guide).
After a few seconds, the boss knocks you off of its rocky rump and regenerates its broken legs. All you need to do is keep smashing the boss’s legs with Yunobo’s charge attacks to get more chances to easily hit Marbled Gohma’s eye.
Rinse and repeat this tactic until the boss is at half-health. Once Marbled Gohma’s health bar gets down to 50%, you’ll enter phase two of the boss fight.
Marbled Gohma – Phase Two (26:55 in the Video Guide)
When the boss enters phase two, it attaches itself to the ceiling. With that said, your battle strategy doesn’t change very much. In fact, the fight almost becomes easier.
Like before, you need Yunobo to smash Marbled Gohma’s legs—but this time, you only need to break one to make the boss vulnerable. Aim your Goron ally at the curved walls of the boss room and line up a strike on one of the boss’s legs. This can be tricky but far from impossible.
Once one of the beast’s legs gets smashed, it won’t be able to hold onto the ceiling: it’ll come crashing down. When it does, this is your chance to smack it in the eye a few times.
Keep following this pattern until you empty the boss’s health bar. When Marbled Gohma disappears in a dramatic explosion, you’ll get a Heart Container. Afterward, sit back, relax, and watch the lore-rich cutscenes that play (28:30 in the Video Guide).
Leaving the Fire Temple
After a glimpse into the past, you’ll get automatically transported back to Goron City. Here, you’ll be rewarded with the Vow of Yunobo, Sage of Fire. This key item lets you summon a clone of Yunobo almost anywhere—so you’ll never be without your rock-smashing Goron friend!
If you haven’t already, you should head to Rito Village to find Tulin and confront the Wind Temple. This is another part of the main quest which involves investigating the strange phenomena plaguing Hyrule and the surrounding areas. Best of luck triumphing over every temple!