![]() Key Takeaway
Key Takeaway
Before heading to the Tomb of Giants, bring a light source! You can use a Skull Lantern, the Sunlight Maggot, or the Cast Light spell to illuminate your way.
Getting to the bottom of the Tomb of Giants leads you to Gravelord Nito. Defeat him to earn a Lord Soul.
After clearing The Catacombs, the next area you must deal with in Dark Souls is the Tomb of Giants. This area is marginally more challenging than the previous level. It’s also home to one of the bosses you must defeat in the game to earn a Lord Soul: Gravelord Nito.
Table Of Contents
Navigating the Tomb of Giants With a Light
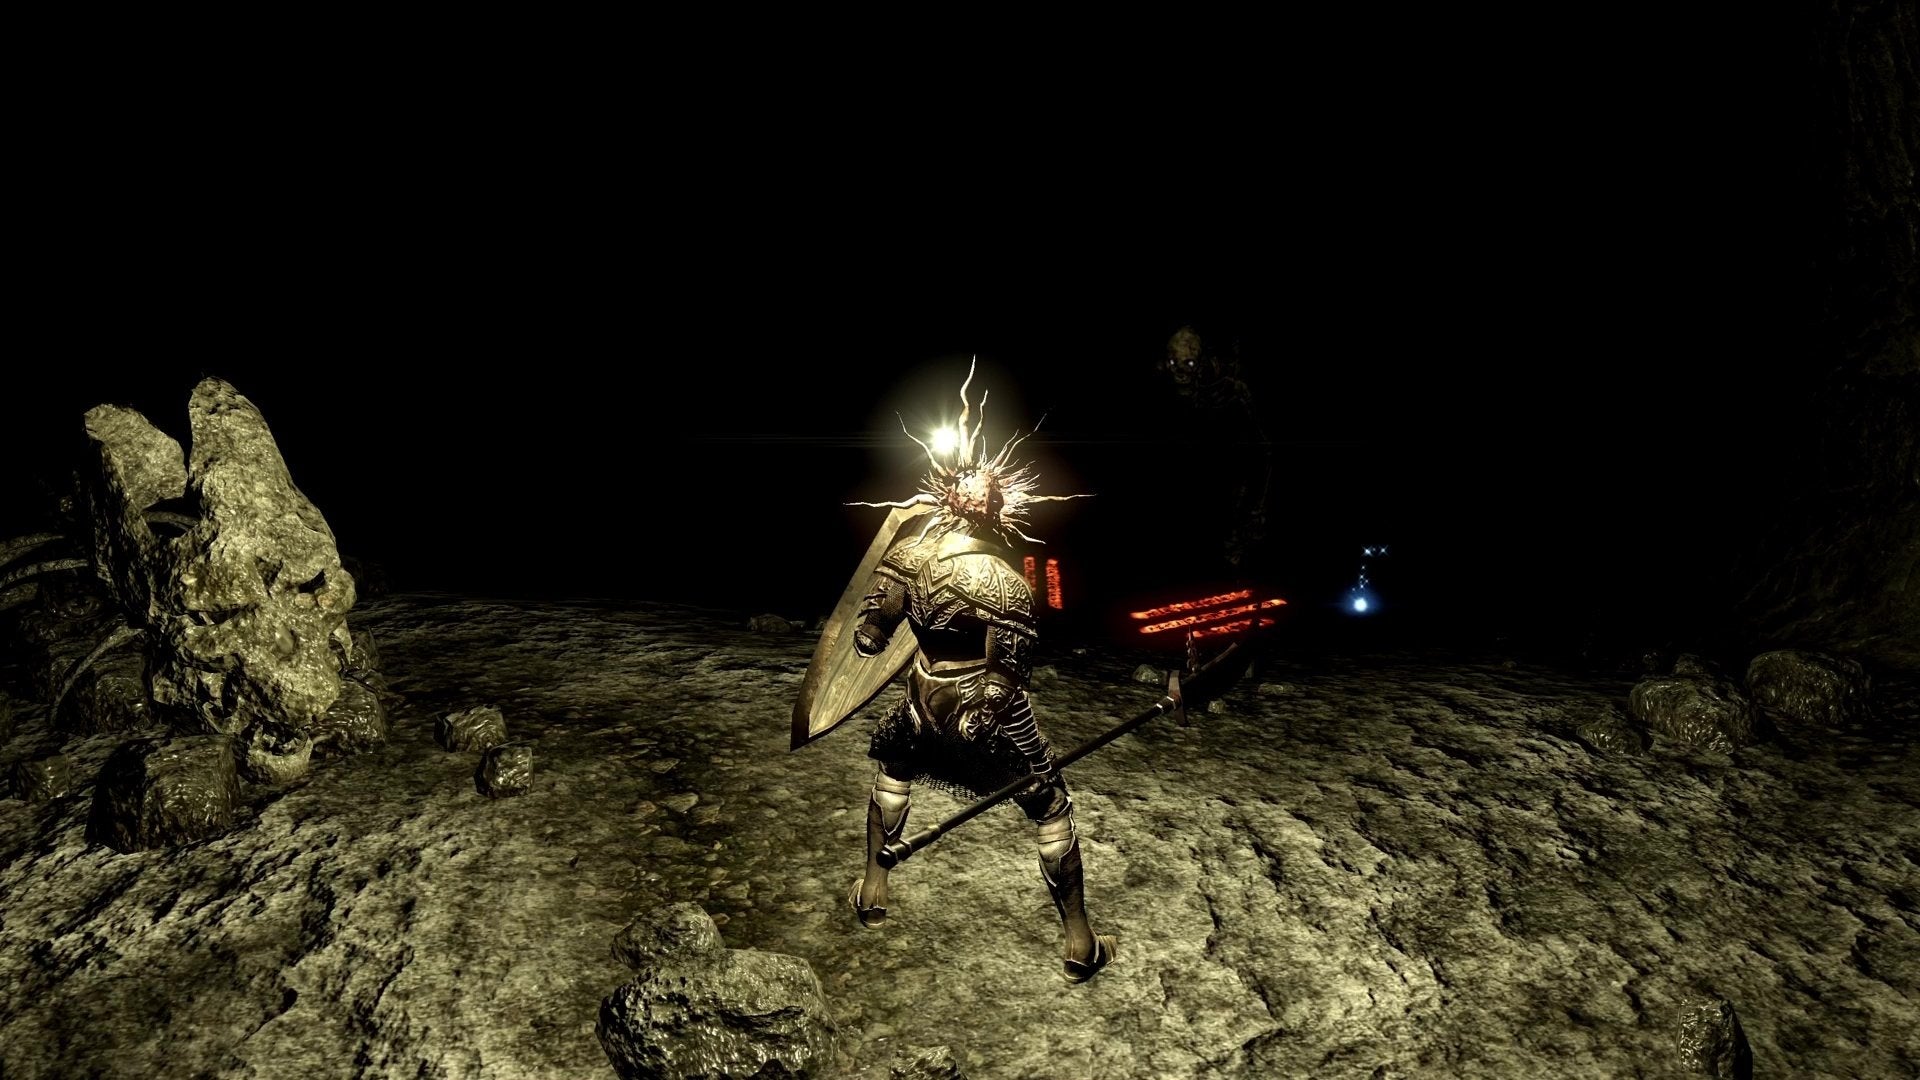
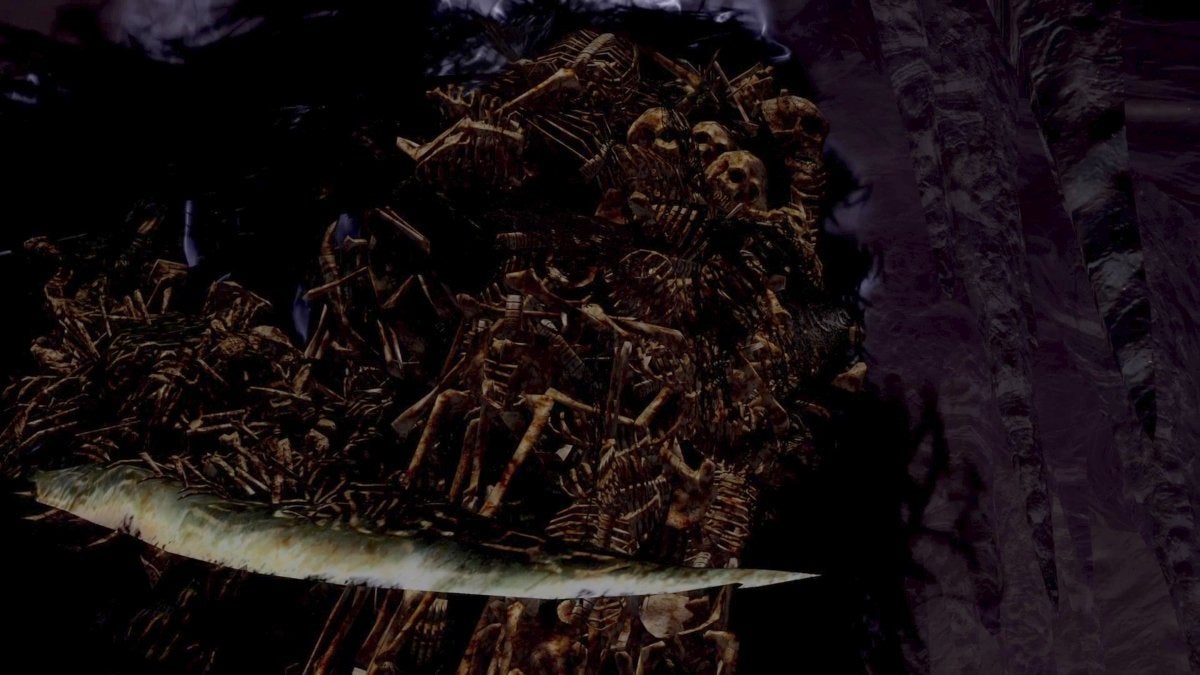
One of the most notable things about the Tomb of Giants in Dark Souls is that a vast majority of it is absolutely devoid of light. It’s the first thing you’ll notice about the level when you get to it after passing through The Catacombs. That said, before you even consider navigating this location, you must first acquire a light source.
The easiest light source you can opt for is the Skull Lantern. This is dropped by the Undead Mages that you encountered in The Catacombs. As long as you navigated the previous level thoroughly and killed every Undead Mage you came across, there’s a very high chance you already have this item in your inventory.
You can also use the Sunlight Maggot to light your way as you navigate this level. You receive this item by killing the red-eyed Chaos Bug while traversing Lost Izalith. It’s on the pathway that leads you through the Demon Ruins to Lost Izalith. This is also the same area where you fight Solaire of Astora.
The third option is to use the Cast Light sorcery. You can purchase this from Dusk of Oolacile in Darkroot Basin.
Making Your Way to the First Bonfire
After clearing through The Catacombs and defeating Pinwheel, head over to the back-right end of Pinwheel’s boss arena to find a ladder. There are two sets of ladders here. Keep climbing until you’re out of Pinwheel’s area.
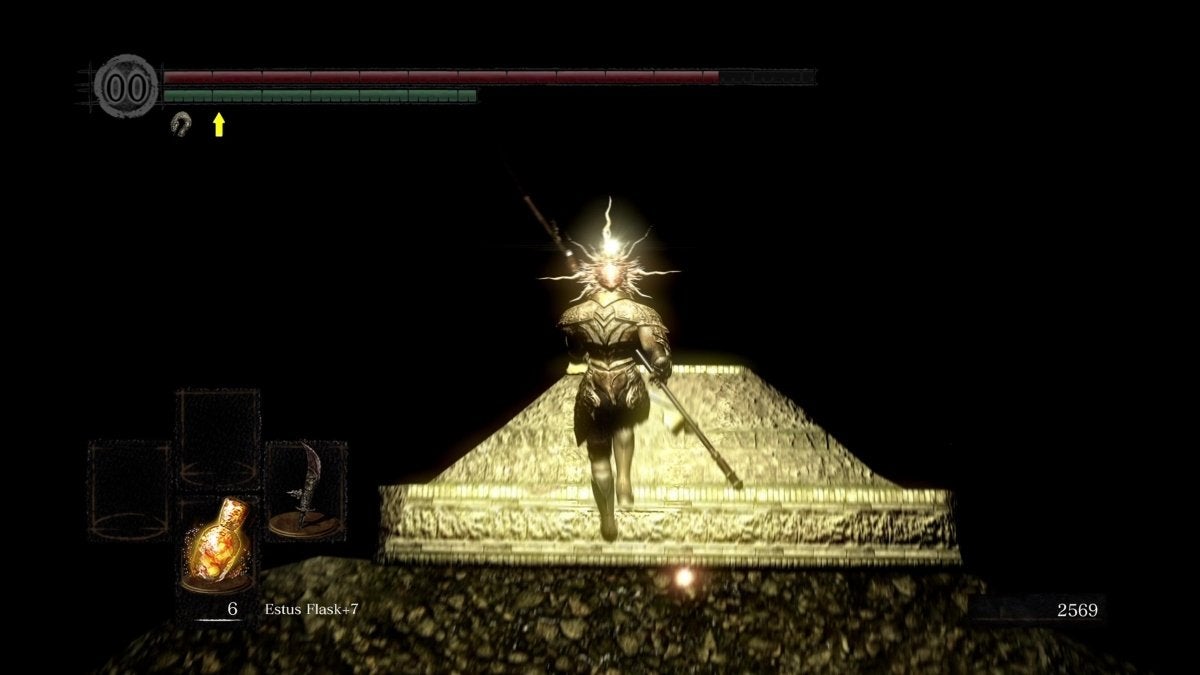
You’ll notice Prism Stones on the floor in the next spot. Run over to them as they’re meant to guide you forward. You’ll then find a coffin that acts as a platform. Use it to go onwards. Eventually, you’ll come across the first Giant Skeleton in the area. Fight it—if you dare.
Afterward, take the narrow downwards path behind the Giant Skeleton. You’ll find another giant coffin here. Get on top of it to slide down.
Do this one more time with the next coffin. When you get to the bottom, head to the right and get ready to face off against two Giant Skeletons.
Continue forward and you’ll find another giant coffin. Slide down once again. At the bottom, you’ll find Patches the Hyena.
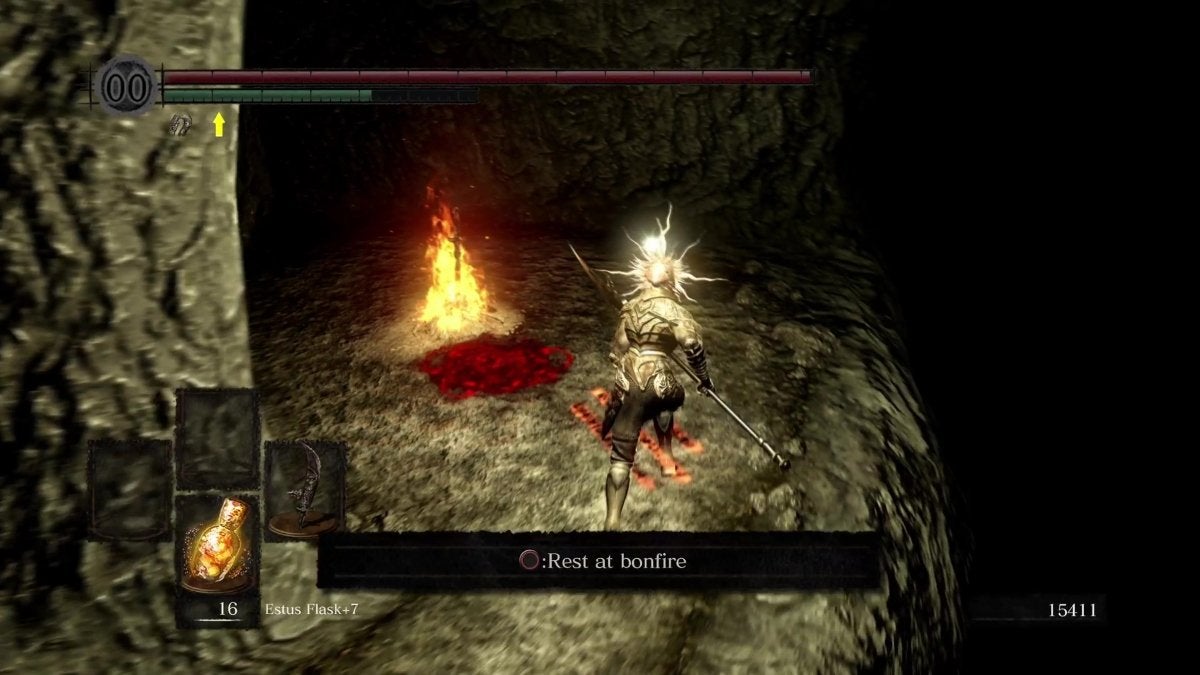
Don’t bother with Patches yet. For now, make your way to the bonfire that’s near here. While facing Patches, walk to the left and get close to the edge of the cliff. You’ll find a ladder here. Use it to head down, walk to the left, and you’ll spot the bonfire.
Getting the Large Divine Ember
After resting at the bonfire, return to the ladder and head back up. Make a right and go on the narrow path. Keep heading forward until you spot a hole in the ground with a ladder. Don’t go here yet. Instead, take the path on the left and continue along this narrow path.
There’ll be a Giant Skeleton up ahead. Deal with it as you please. Be careful about the nearby Giant Archer that constantly fires arrows at you. The giant arrows move slowly so you’ll have an easier time dodging them than regular ones.
There’s a ladder at the end of this path. Take it to get to a higher area. Dispatch the two Skeletons here before proceeding. Then, go to the left side of the back end of this area to find another ladder. Climb up and you’ll find yet another ladder. Ladders for days!
Climb up once more, walk forward, and you’ll spot a corpse with an item you can loot on the ledge to your lower right. Get down here and loot the corpse to receive three Eyes of Death.
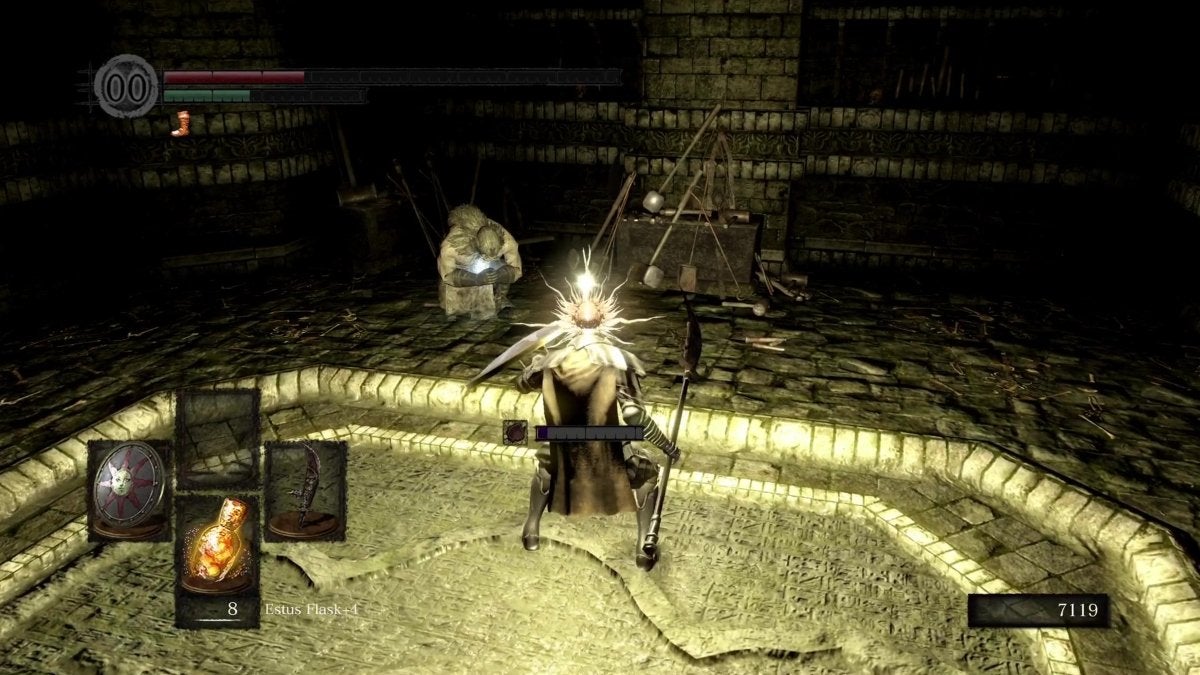
With that, head back down and return to the area with a hole in the ground that has a ladder in it. When you return, you’ll find that six Giant Skeletons are waiting for you. Be very careful here. You can either eliminate these enemies or run past them. At the end of this room, there’s a dead blacksmith. Loot the blacksmith to receive the Large Divine Ember.
With that, return to Patches, or return to the bonfire to rest up before moving on.
Dealing With Patches’ Trickery
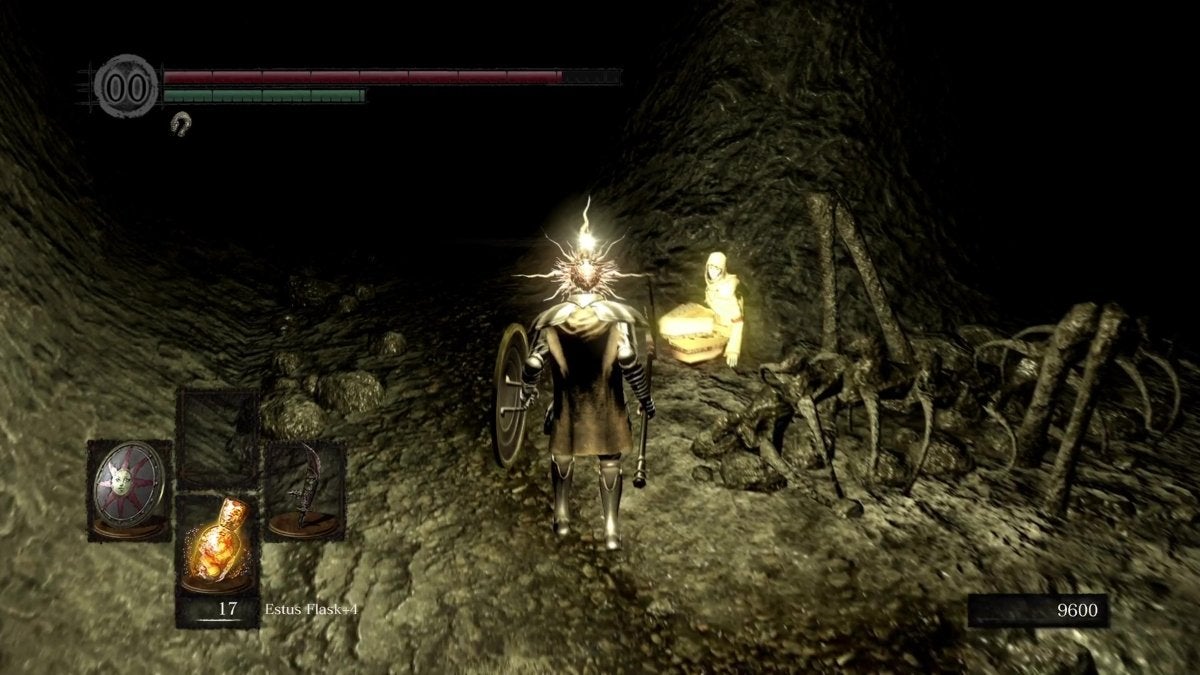
It’s time to talk to Patches the Hyena. He’ll tell you the pit below him contains treasures you should look over. Follow his instructions and he’ll kick you down to the pit. Terrible move, I know, but it’s actually a good thing that you’re here. In this pit, you’ll find a Skull Lantern, two Large Souls of a Proud Knight, and Reah: an NPC you first meet in Firelink Shrine.
Two of Reah’s companions are also here, but both of them have gone hollow. Defeat them, talk to Reah again, and she’ll give you the Replenishment spell. This also progresses her storyline.
After speaking with Reah, return to the narrow pathway where her companions were lingering. You’ll find a new enemy type at the end of this path: a Bone Tower. Defeat this enemy to move on.
Once the Bone Tower has been destroyed, take the ladder behind it to go up. Once you’re at the top, strike the wall ahead of you to dispel the illusory wall. You should now be on the ledge above the previous bonfire.
That said, rest up first and confront Patches for his trickery. You’ll have the opportunity to end him here. However, it’s best to “forgive” him. He’ll later move to Firelink Shrine where you can then purchase items from him.
What Patches Sells at Firelink Shrine
Items
- Eye of Death x 3 (3,000 Souls each)
- Divine Blessing x 1 (20,000 Souls)
- Prism Stone (10 Souls each)
- Humanity x 3 (10,000 Souls each)
- Twin Humanities x 1 (20,000 Souls)
Spells
- Heal miracle (5,000 Souls)
- Great Heal Excerpt miracle (10,000 Souls)
Weapons
- Crescent Axe (10,000 Souls)
- Mace (3,000 Souls)
Talismans
- Canvas Talisman (1,000 Souls)
- Thorolund Talisman (5,000 Souls)
Armor
- Cleric Helm (5,000 Souls)
- Cleric Armor (7,000 Souls)
- Cleric Gauntlets (5,000 Souls)
- Cleric Leggings (5,000 Souls)
- Mask of the Father (8,000 Souls)
- Mask of the Mother (8,000 Souls)
- Mask of the Child (8,000 Souls)
Getting to the Second Bonfire
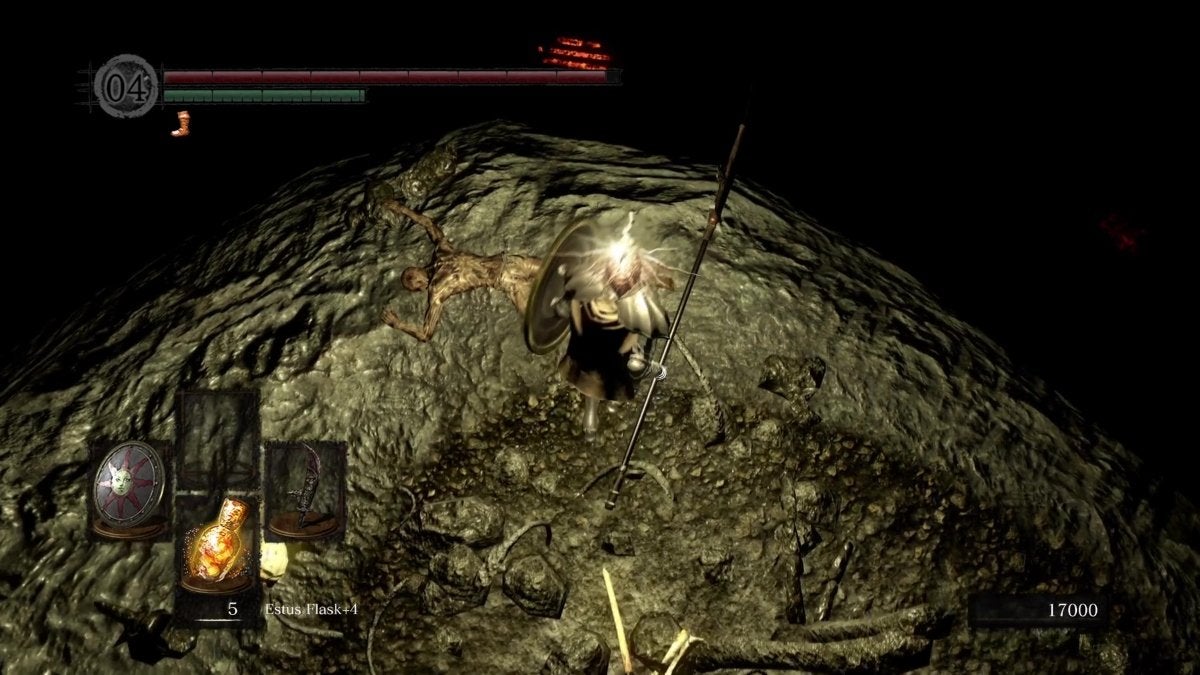
Take the path right of where Patches is hanging out. Keep heading forward until you’re face-to-face with a Skeleton Beast.
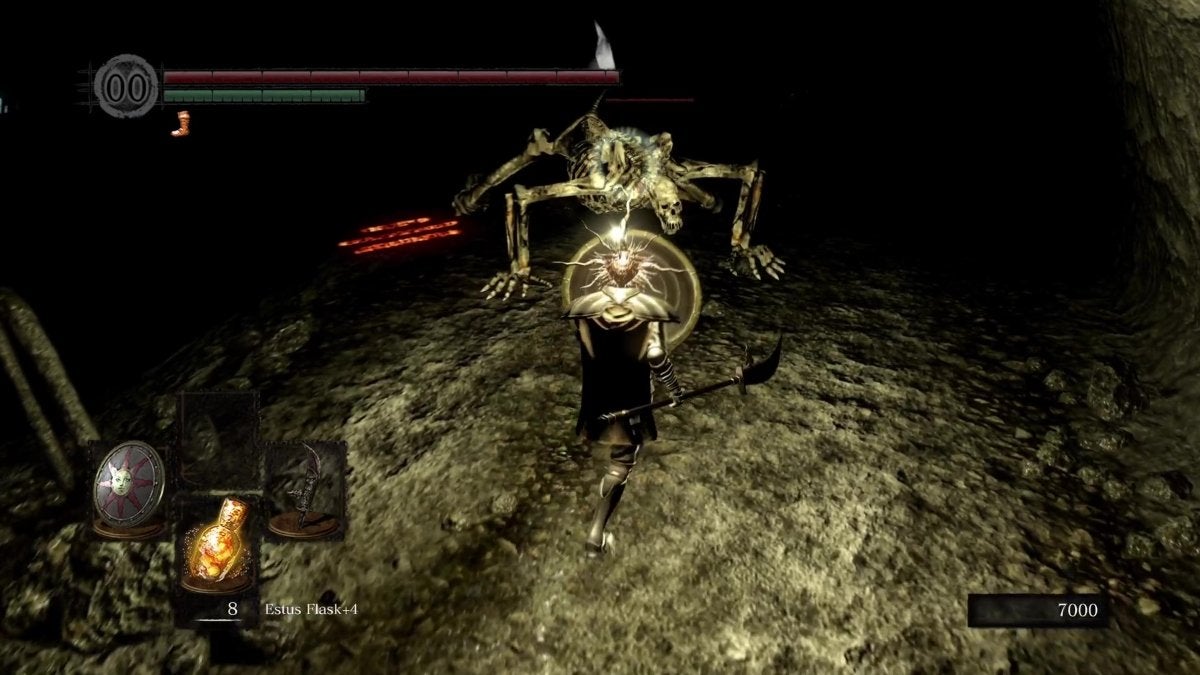
This enemy looks similar to Giant Skeletons, but they crawl on all fours instead of standing upright. After passing this skeletal fiend, move forward to find a fog gate.
Cross the fog gate and you’ll find another Skeleton Beast. A Skeleton Archer will also continuously fire arrows at you from the left. You can deal with the Archer first, then with the Skeleton Beast.
As if these two aren’t tough enough already, there’s also a Black Knight nearby. He lingers on the ramp to your left. It’s possible for you to not aggro the Black Knight when you fight the Skeleton Beast. If you can make this happen, deal with the Skeletons first, then face the Black Knight afterward.
If the Black Knight has begun engaging with you, retreat to get away from the aggro range of the Skeletons. Fight the Black Knight one-on-one. Whatever the case, avoid fighting all three enemies at once. You have little to no chance of making out of that alive.
Once all the enemies are defeated, make your way to where you found the Skeleton Archer. Head to the left and you’ll find another Skeleton Beast. Put it down and proceed to the ramp next to it.
Head down, make a left, and take the next slope down. You’ll face another Skeleton Beast and a Giant Skeleton here. Defeat them then keep following the path on the left to arrive at the next bonfire.
Getting to Gravelord Nito’s Boss Room
Before we finally clear this area, we’ll get a useful ring first. From this bonfire, make your way to the Skeleton Archer next to the first Skeleton Beast you encountered here. There’s a corpse behind where the Skeleton Archer was positioned. If you look over to the cliff past the corpse, you’ll find that there’s a platform you can land on below.
That said, roll forward and you’ll land down here. Keep heading forward and you’ll find a corpse on the ground. Loot it to get the Covetous Silver Serpent Ring. Be warned, though. After picking up the ring, a couple of Bone Towers will emerge from the ground, surrounding you.
Destroy them before you make your way out of here. Return to the bonfire you previously rested at to take a breather.
Following your nap, head back up from the bonfire. Before the area where you faced the Skeleton Beast, go to the left to find a slope.
Head down here, then take the path on the left. There’s another Skeleton Beast here. Fight it or ignore it—the choice is yours.
Emerging From the Darkness
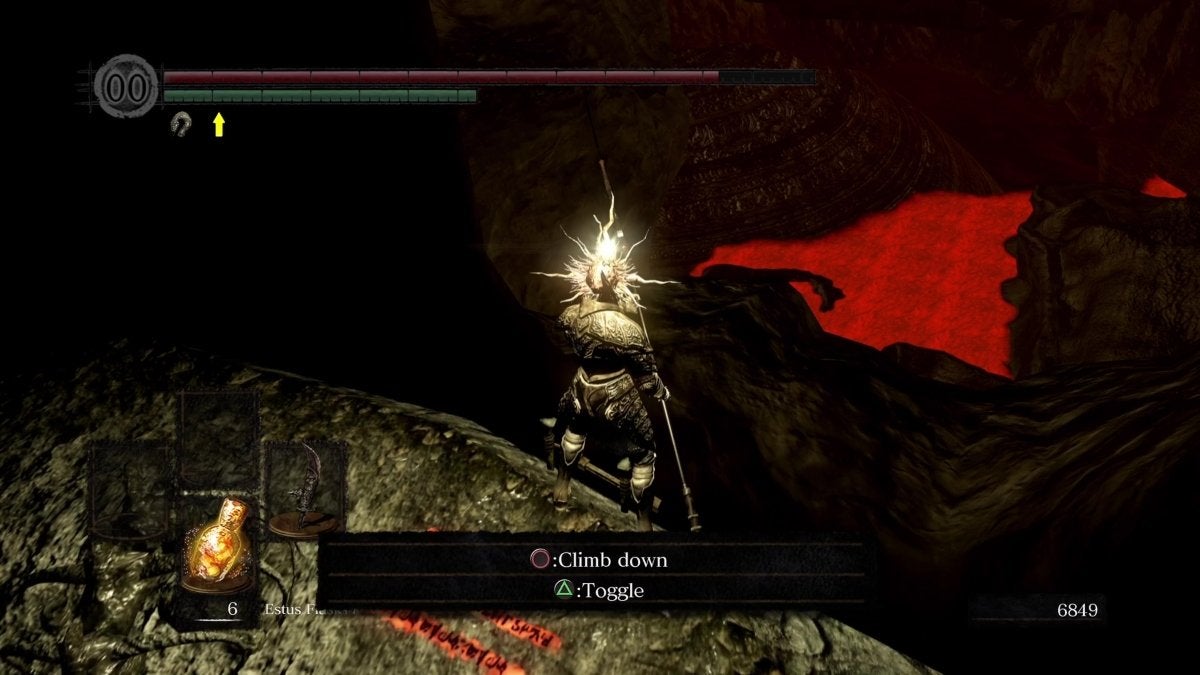
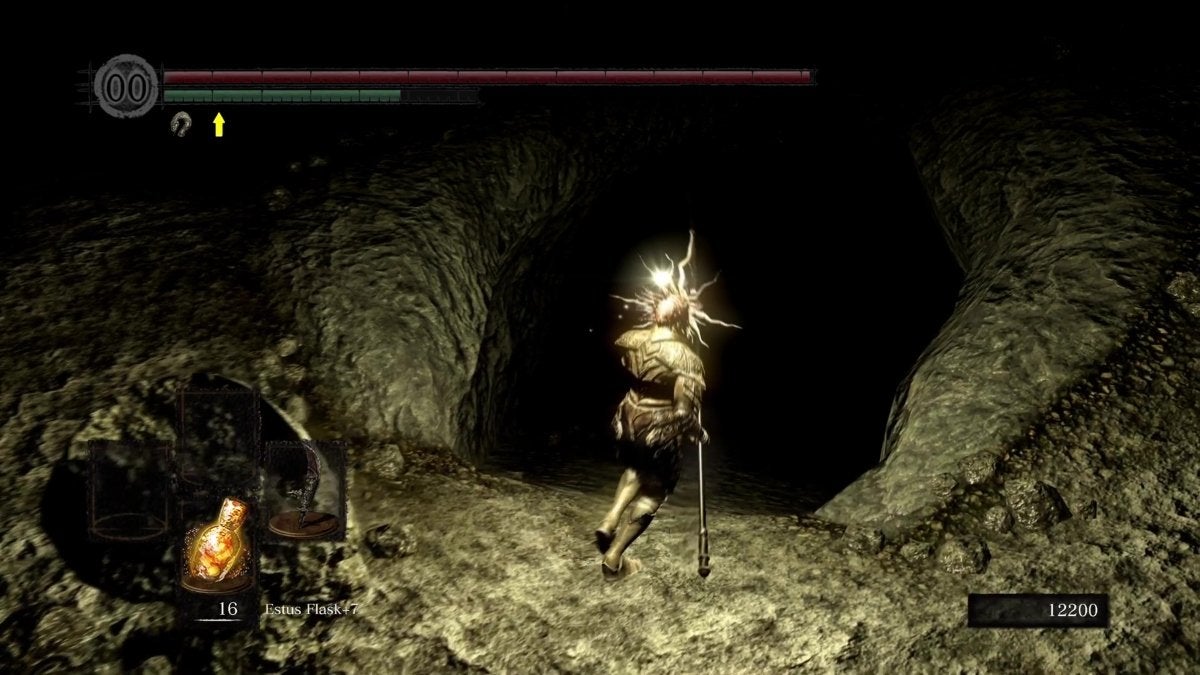
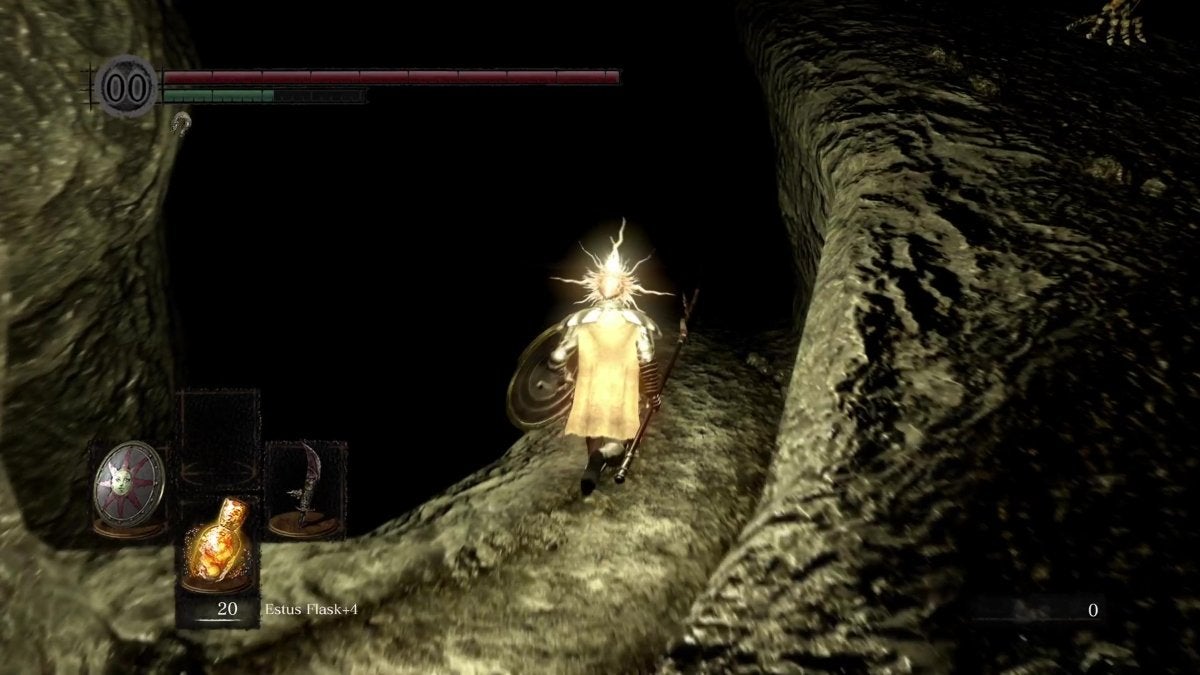
Keep hugging the right wall to find another downward slope. Keep following it down until you find a hole in the ground. Enter the hole and follow this path forward. You’ll now be out of the dark. Praise the sun!
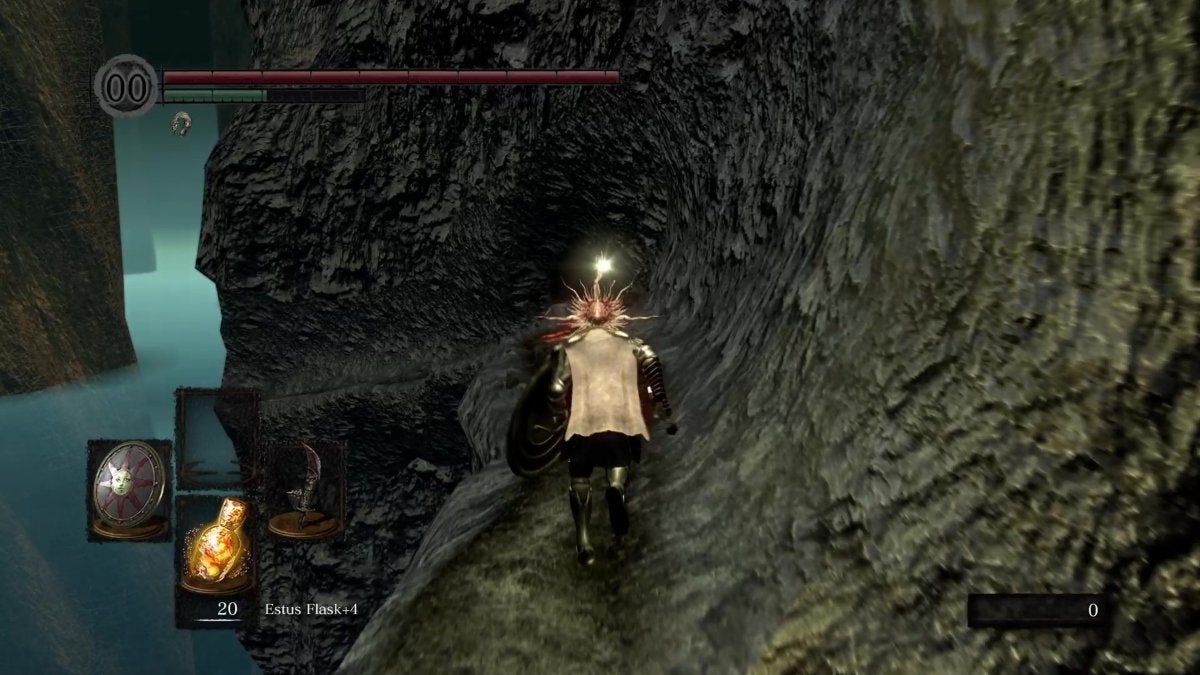
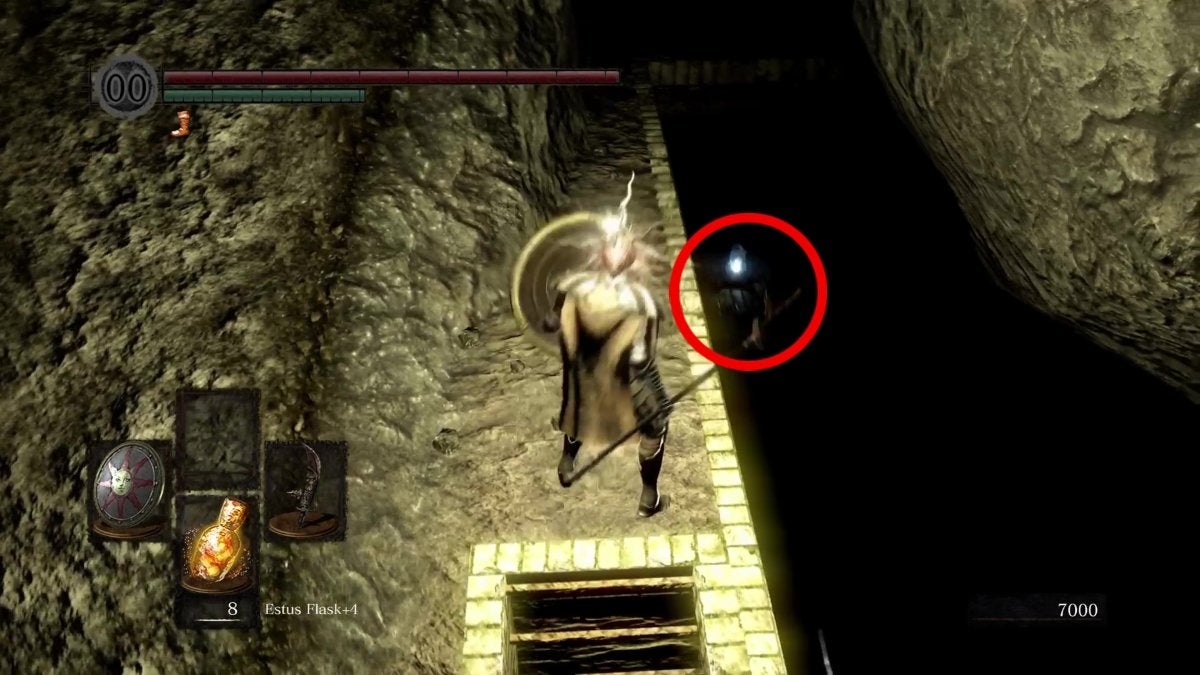
Follow this path and enter the cave on the right. There’s a Crystal Lizard on this path. Kill it quickly to receive your loot. If you’re not Hollowed, you’ll also be invaded by the Black Phantom Paladin Leeroy here. Defeat him to receive the Grant weapon, a Sanctus Shield, 2 Humanities, and 20,000 Souls. Paladin Leeroy is one of the tougher Black Phantoms in Dark Souls, so it feels appropriate that he’s guarding the exit from the Tomb of Giants.
After dealing with this enemy, keep heading forward. A series of Bone Towers will block your way. Either take them out or run past them. At the end of this path, you’ll arrive at an open cavern filled with smaller Pinwheels. Again, defeat them or run past them.
At the end of this cavern is a fog door. Cross it, drop down, and you’ll be in Gravelord Nito’s boss arena.
Defeating Gravelord Nito
One factor that makes the Gravelord Nito encounter tricky is that this area is filled with other Skeleton enemies. There are smaller and giant skeletons here. That said, if you don’t want to attract the attention of the bigger skeletons, as soon as the fight begins, stay in your starting area instead of approaching Nito. Have him come to you instead.
Throughout this fight, slay the Skeletons that get close to you. Once Nito approaches, the best strategy is to stay behind him; keep attacking him from the back. Whenever smaller Skeletons disturb you, deal with them accordingly.
Keep employing this strategy. Attack him from behind until his HP reaches zero. Once defeated, Gravelord Nito will drop one Humanity, 60,000 Souls, and the thing you’re here for: a Lord Soul.
The Tomb of Giants in Dark Souls is a horrifying place filled with terrifying enemies and ends with an intimidating boss. Thankfully, you’re now out of the woods. At least, for now.
Take the time to rest up. If you haven’t gotten the other Lord Souls yet, you’re in for a challenge. You now should go to the Crystal Cave, Lost Izalith, and New Londo Ruins (beware the Ghosts). These areas bring different challenges in their own right. Good luck!