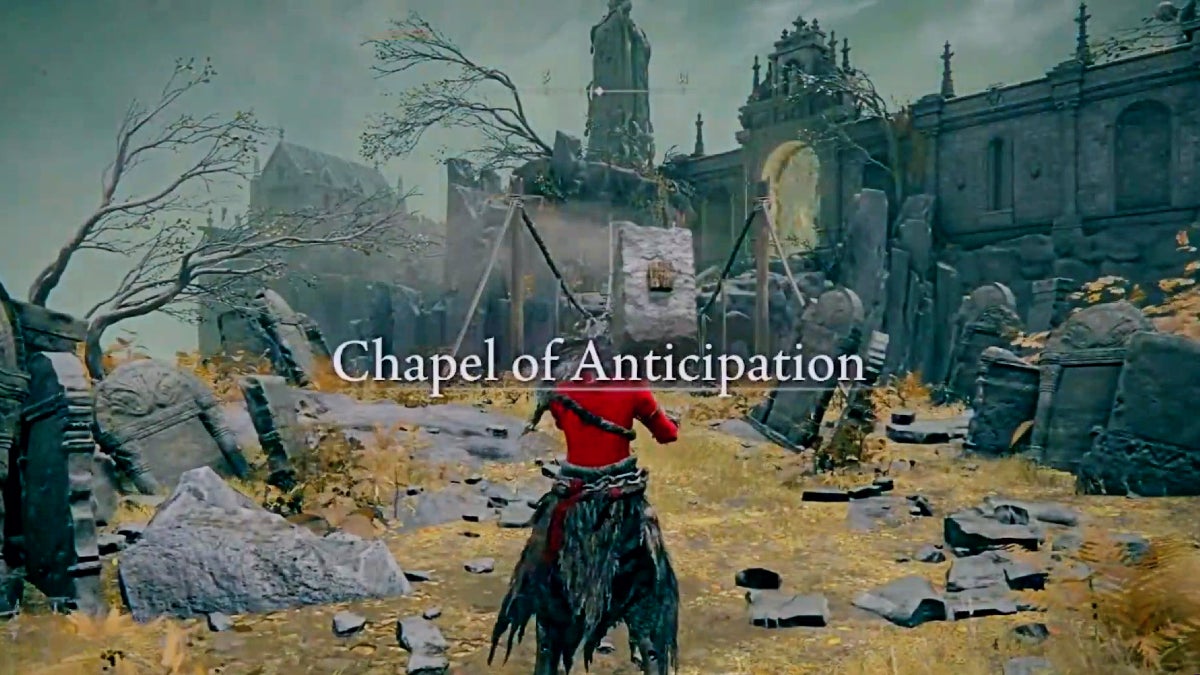
In Elden Ring, the island west of Stormveil Castle is the Chapel of Anticipation. This is the tutorial area with the Grafted Scion boss. To get back here, you’ll need to visit the Four Belfries in Liurnia of the Lakes.
If you need more visual references for topics mentioned in this article, check out the video below:
Where to Find the Four Belfries
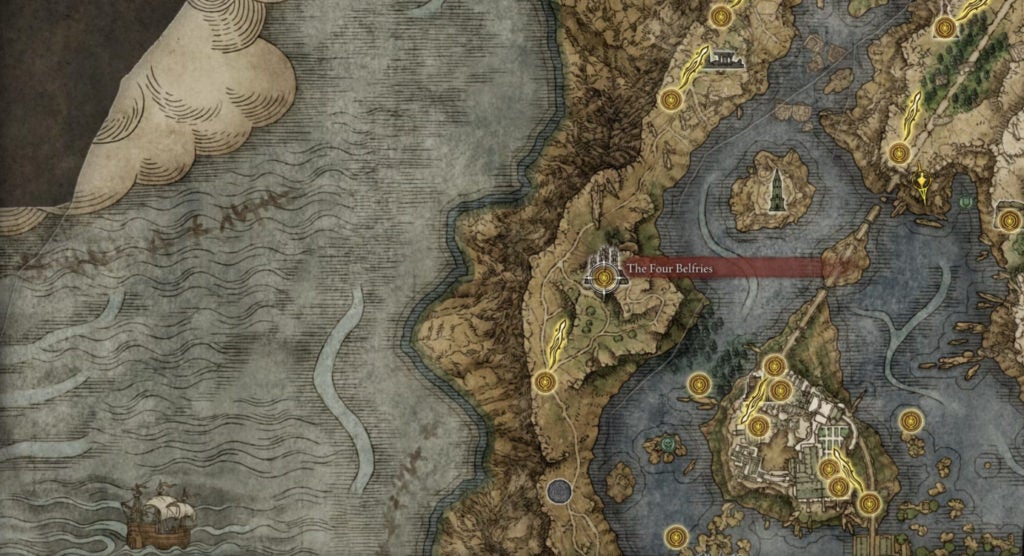
You can find the Four Belfries in the west part of Liurnia of the Lakes. There are four structures here upon a hill that is visible from both the north and south.
There are three teleporters at the Four Belfries. The one that leads you to the Chapel of Anticipation is the teleporter at the northeasternmost belfry. If you’re ascending the area via the road to the southeast, the northeastern belfry will be the third one you encounter.
Which Teleporter to Enter to Get to the Chapel of Anticipation (00:55 in the Video)
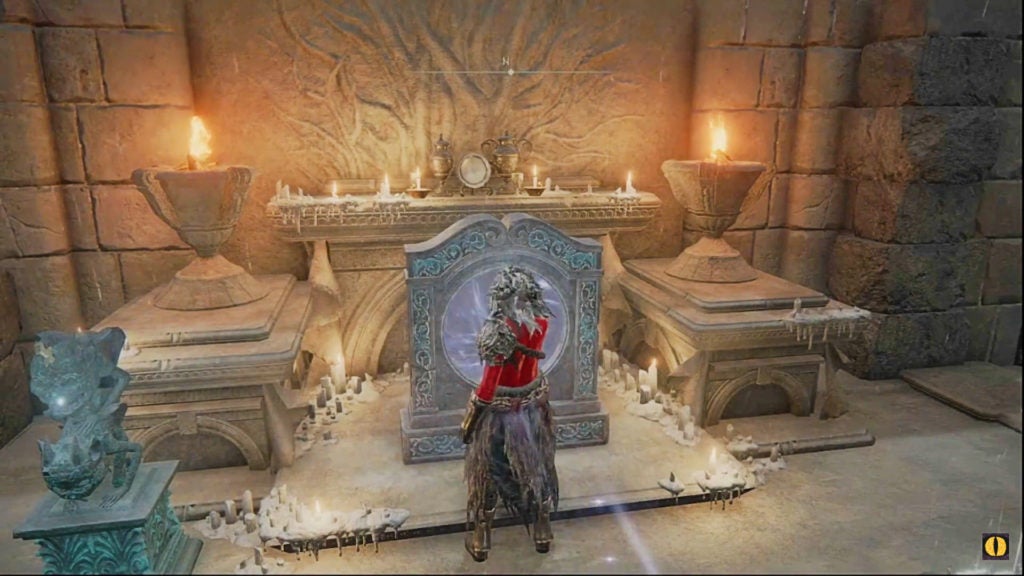
The message beside the teleporter here will read “Precipice of Anticipation.” This will help to ensure that you activate the correct teleporter. Since Imbued Sword Keys are very rare, you don’t want to use them on the wrong teleporter.
With that said, there are a total of three Imbued Sword Keys in Elden Ring—all of which can only be used at the Four Belfries. One is found very nearby, however, the other two will require you to explore dangerous locations.
Where to Find Every Imbued Sword Key
- At the top of the hill where the Four Belfries is located, there is a chest at the foot of the northernmost (the fourth) belfry that holds one Imbued Sword Key
- In the Academy of Raya Lucaria, you can find one Imbued Sword Key on a corpse within a rooftop tower (video of location)
- Within Sellia, Town of Sorcery, you can find one Imbued Sword Key in the northeast sealed chamber within a chest (video of location)
What’s at the Chapel of Anticipation

When you reach the Chapel of Anticipation, you won’t find any Sites of Grace. As such, if you die, you’ll respawn at the last one you activated or rested at. However, there’s some worthy loot on this island, so it’s worth checking out. Here are the most important features found on this island:
- A boss fight (the Grafted Scion who defeated you at the beginning of the game)
- Some unique weapons dropped by the Grafted Scion (the Ornamental Straight Sword and the Golden Beast Crest Shield)
- The Stormhawk King key item
- The Stormhawk Deenh Ashes
Beware the Butterfly Trap! (02:15 in the Video)
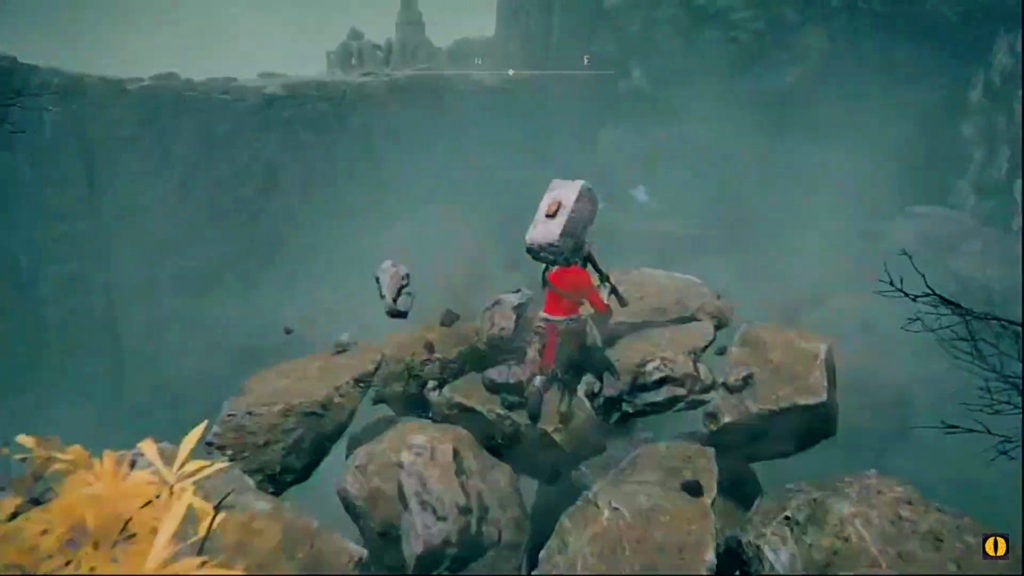
The moment you reach the Chapel of Anticipation, you’ll come across a sneaky trap. From your spawn point, if you turn east, you’ll see some nascent butterflies hovering at the end of a ledge. However, if you wait a few moments (and are playing online), you’ll begin to notice a great number of bloodstains.
These many bloodstains leading up to the butterflies should be taken as a warning. If you activate one, you’ll see a red player ghost walk to the ledge with the butterflies before falling to their doom. The same will happen to you if you’re not careful.
If you throw caution to the winds and walk up to the gray butterflies by the edge of the island, the ground beneath your feet will crumble. This will drop you into the chasm separating the Chapel of Anticipation from Stormveil Castle, resulting in death. Worse yet—you won’t even be able to obtain the nascent butterflies that drew you to the precipice.
From your spawn point, if you go southwest across the wooden bridge, you’ll find a golden fog gate. Past this barrier is the island’s first and only boss: the Grafted Scion. If you were upset that it beat you in the past, now’s the time to get revenge!
How to Beat the Grafted Scion (06:10 in the Video)
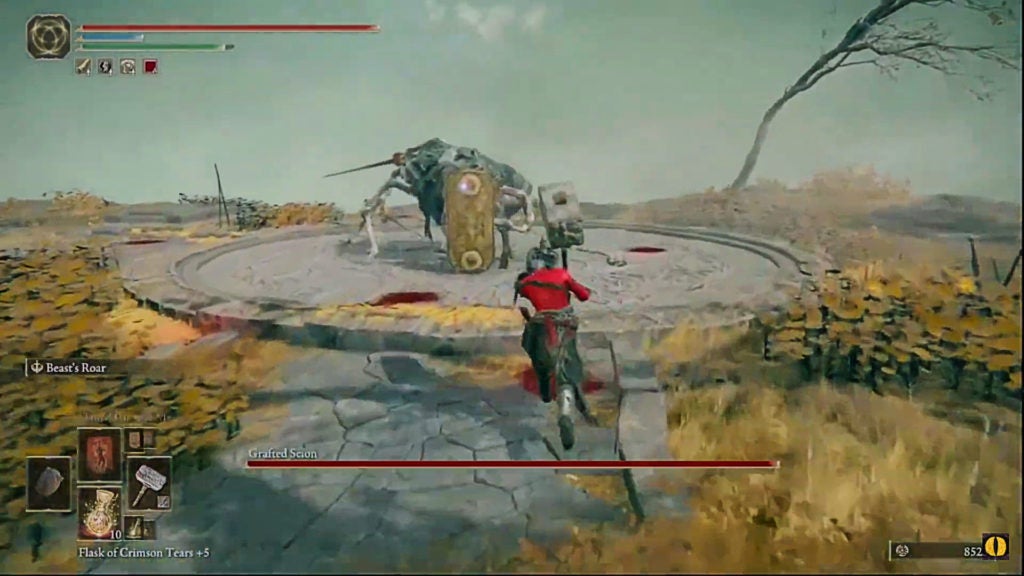
In terms of armaments, the Grafted Scion wields two straight swords and one greatshield. As you likely remember from past encounters with such foes, you’ll know this enemy can unleash a flurry of attacks. In addition to some more notable techniques, the Grafted Scion will throw the odd thrust or slash at you to keep you on your toes.
Although this fiend was able to overpower you before, you should now be at a higher enough level to take them down. This boss has about 500 HP on New Game, which is very little compared to most other tough foes you’ll encounter in Elden Ring. In fact, depending on your build, you probably have more HP than this as well!
Sweep Attacks (06:15 in the Video)
If you are in front of the Grafted Scion, they may lift their swords up before performing back-to-back horizontal slashes. This first one will be easy to see coming, however, the follow-up sweep will be unexpected. Furthermore, after the second sweep, the boss will back off to evade any incoming attacks.
To avoid damage, you’ll need to roll twice. After dodging the first sweep, you should immediately dodge again to avoid the second strike. You’ll have a hard time hitting the boss without taking damage during these sweeps. However, if you have enough poise, you can tank through these sweeps fairly easily since they don’t do much damage.
Downward Assault (06:20 in the Video)
When you see the Grafted Scion hoist most of their body into the air, try to get around them. After a brief wind-up, the many-armed foe will repeatedly attack the ground in front of them with their swords and greatshield. After attacking twice with each armament (six attacks total), the boss will leap up into the air for a slam attack. The Grafted Scion will be able to rotate while in the air, which gives this move great tracking.
During the wind-up before the assault, if you get around to the back of the boss, you’ll be able to land a hit or two. However, don’t get greedy, as the slamming portion of this attack will punish you if you do. After you land a hit or two, roll away from the boss to avoid getting slammed by the foe’s greatshield.
Golden Tempering (06:25 in the Video)
After the boss’ health drops below 50%, they will buff their two swords with a skill. This will cause their sword attacks to possess some holy attack power in addition to their base physical attack power.
While this buff cannot be interrupted, you can use this time to lay into the Grafted Scion. It will take them a full two seconds to buff their weapons, during which you can deliver a heavy strike of some kind. If you have a slow yet powerful attack, now’s the time to use it!
Thrusting Combo (06:30 in the Video)
On occasion, the Grafted Scion well lift one of their swords above their head while holding the other out to the side. This posture indicates that the boss is about to unleash a dangerous combo attack. After a one-second delay in this pose, the foe will strike forth with a series of thrusting jabs. There will initially be two stabs, but after a half-second pause, a flurry of many more will shoot forth. There is then another brief pause before the boss thrusts once more with each of their swords in a final movement that will cross their blades.
The moment you see the boss lift their swords into the pose mentioned, try to get behind the boss or get as far away as possible. Getting behind the boss will allow you to stay mostly out of harm’s way. The boss can reposition themselves throughout this attack, however, if you stay behind them, she should not be able to track you. Alternatively, if you’re too far to get behind the boss, get back as far as you can, as this assault has a surprisingly far reach.
What Items the Grafted Scion Drops (06:45 in the Video)
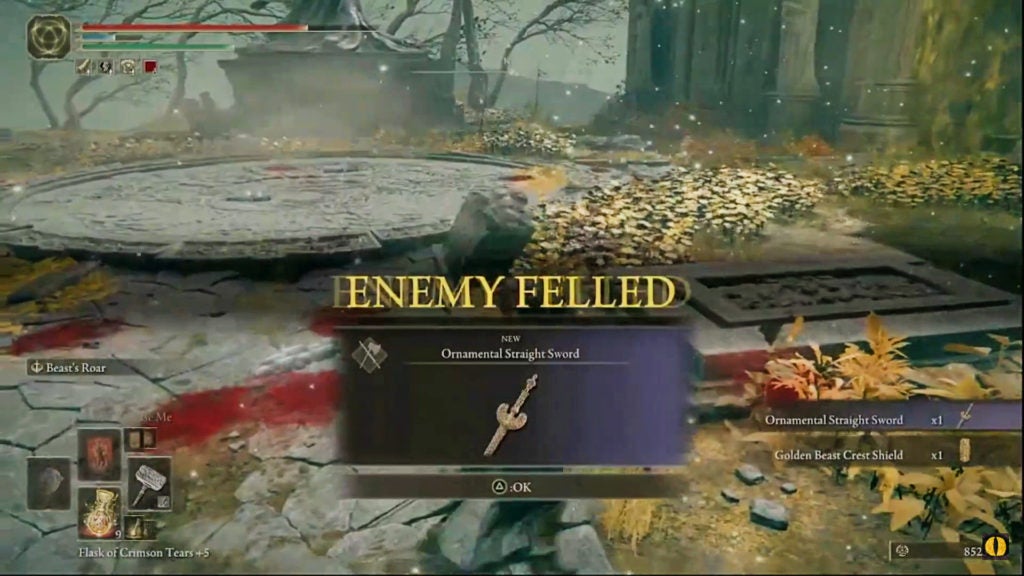
You will get two unique weapons when you defeat the Grafted Scion at the Chapel of Anticipation. Both the Ornamental Straight Sword and the Golden Beast Crest Shield will drop from this fiend’s many arms.
About the Ornamental Straight Sword
This blade is a straight sword that you’ll need 14 dexterity and 10 strength to wield in one hand. Its base weapon scaling is D-tier with dexterity and E-tier with strength. Like many other straight swords, the Ornamental Straight Sword hits targets with either standard or pierce-type damage, depending on the kind of attack you use. It has 101 physical attack power as well as a critical stat of 110 (most weapons only have 100).
Interestingly, the Ornamental Straight Sword is a paired weapon. This means that if you two-hand it, instead of holding a single sword with both hands, you will gain a sword in your offhand. Put another way, when you two-hand the Ornamental Straight Sword, you’ll equip two Ornamental Straight Swords—one in each hand.
With that said, it is in this special two-handed mode that you’ll be able to use the Ornamental Straight Sword’s skill (Golden Tempering). When you use this weapon skill, which costs 30 FP, you will temporarily buff your blades with some holy attack power just like the Grafted Scion could. Furthermore, using strong attacks while this skill is active will cause them to turn into combo attacks that utilize both blades.
Where does the second blade come from? No one knows except FromSoftware. Even the item description doesn’t give you any hints. As such, don’t question it—just accept it.
About the Golden Beast Crest Shield
This greatshield requires 24 strength to be wielded in one hand. Its base weapon scaling is D-tier with strength and no other stats. The Golden Beast Crest Shield has no skills of its own, which allows it to be paired well with many weapons.
In terms of its guard damage negation, the Golden Beast Crest Shied has the following stats:
- Physical – 100
- Magic – 55
- Fire – 55
- Lightning – 48
- Holy – 55
In addition to the above stats, this greatshield has a guard boost stat of 60—which is slightly below average for a greatshield. However, it is also lighter than the average greatshield; weighing in at only 12.5 units. For this reason, it can be particularly useful for mid-game shield-oriented builds with somewhat low endurance stats.
Where to Find the Stormhawk King Key Item (11:40 in the Video)
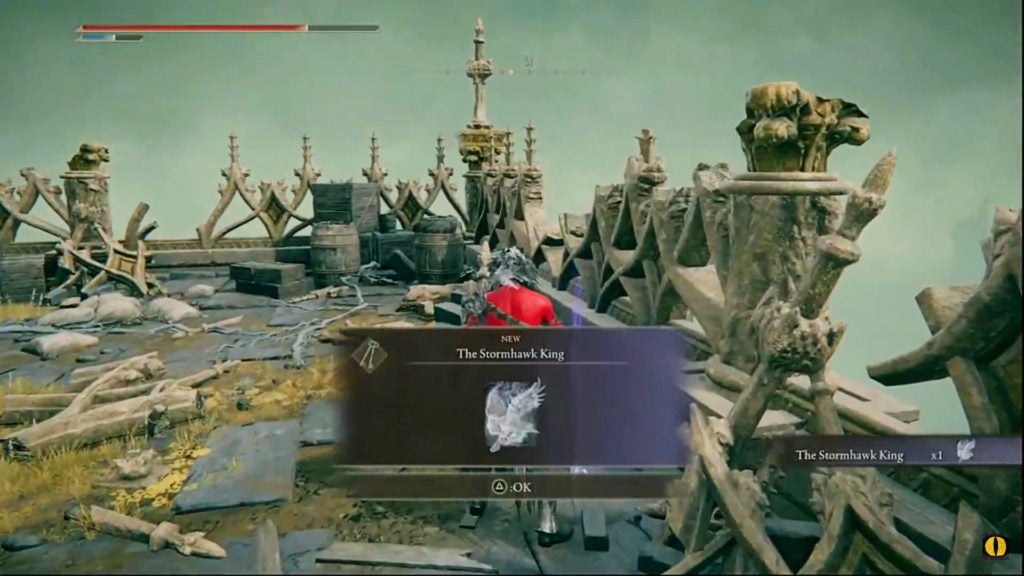
After you defeat the Grafted Scion, head south out of the boss area. This will lead you to the place where you initially started the game before finding the Grafted Scion the first time. Ascend the stairs here until you find an open area at the top. On the northern wall overlooking the rest of the island, you’ll find the Stormhawk King.
While this item will look like the type of Ashes that you can use to summon allies, it is actually a key item. As such, you cannot summon the Stormhawk King as an ally in battle. However, it does have a use.
*The following explanation about the usage of the Stormhawk King contains spoilers for some NPC quests.
What the Stormhawk King Key Item is Used For
You’ll need to give the Stormhawk King to Nepheli Loux during a later part of their quest. You cannot do this if you have given them Seluvis’s Potion, so make sure to choose wisely. If you give them the Stormhawk King, you can get an Ancient Dragon Smithing Stone from Nepheli Loux if you meet up with them after you defeat Morgott, the Omen King.
Where to Find the Stormhawk Deenh Ashes (12:40 in the Video)
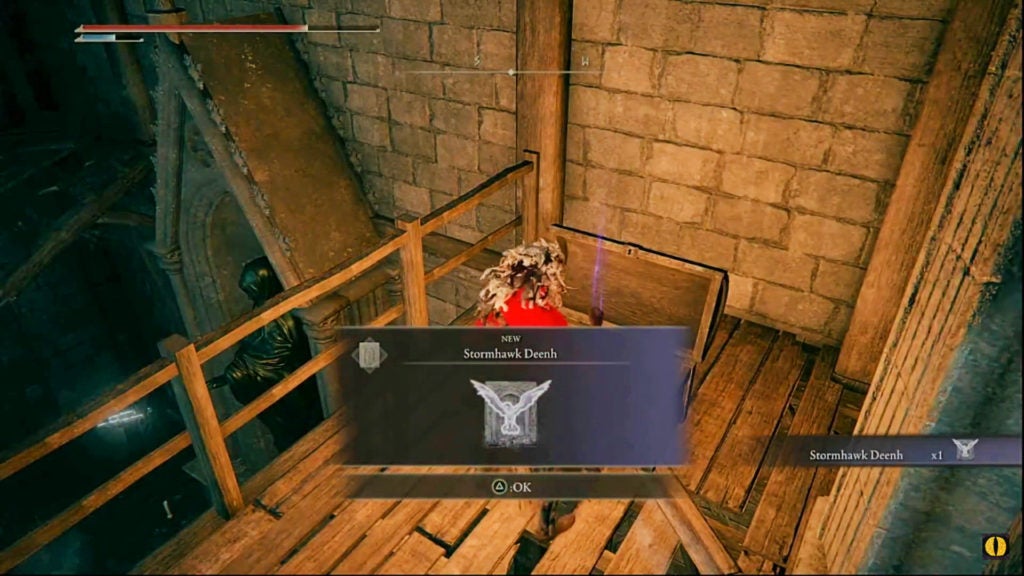
Through the open doorway south of where you found the Stormhawk King, you’ll find a raised area overlooking the place where you found the Tarnished’s Wizened Finger. On the west of this wooden walkway, you’ll find a chest. Within, you’ll find the Stormhawk Deenh Ashes. Afterward, there won’t be anything noteworthy left to find at the Chapel of Anticipation.
What the Stormhawk Deenh Ashes Do
These ashes allow you to summon a spirit stormhawk named Deenh for 47 FP. This avian ally can fly and unleash many swift attacks. Although they don’t have much defense or HP, they can zip around the battlefield to successfully distract enemies while also dealing decent amounts of physical damage. Their natural agility and being totally airborne allow them to avoid some attacks, which increases their longevity versus some foes.
In addition to these attacks, Stormhawk Deenh will sometimes let out a shrill cry that can either give you a physical attack buff or HP regeneration. Neither of these effects lasts that long, however, they can both be active at the same time. As such, Stormhawk Deenh is one of the better Ashes due to its low FP cost and high usability. Furthermore, this summonable ally will only get more powerful if you upgrade them via spirit tuning.