
Earning an S+ rank in the remake of Resident Evil 4 on Professional difficulty is no easy feat. You’ll need to finish the game in under 5 hours and 30 minutes and only save 15 times on a New Game. It’s a daunting task, but it’s doable with the right approach.
Table Of Contents
Do Professional on New Game Plus First
Before you jump into Professional on a fresh save, give the difficulty a try on New Game Plus first. This way, you’ll have a chance to know what to expect. See how much tougher the encounters are. Assess which parts of the game you should run past and which you can manage to fight head-on. On top of that, you can also see how different some of the puzzles are. The solutions to a few of the puzzles in the game are different in Professional difficulty from in Standard and Assisted.
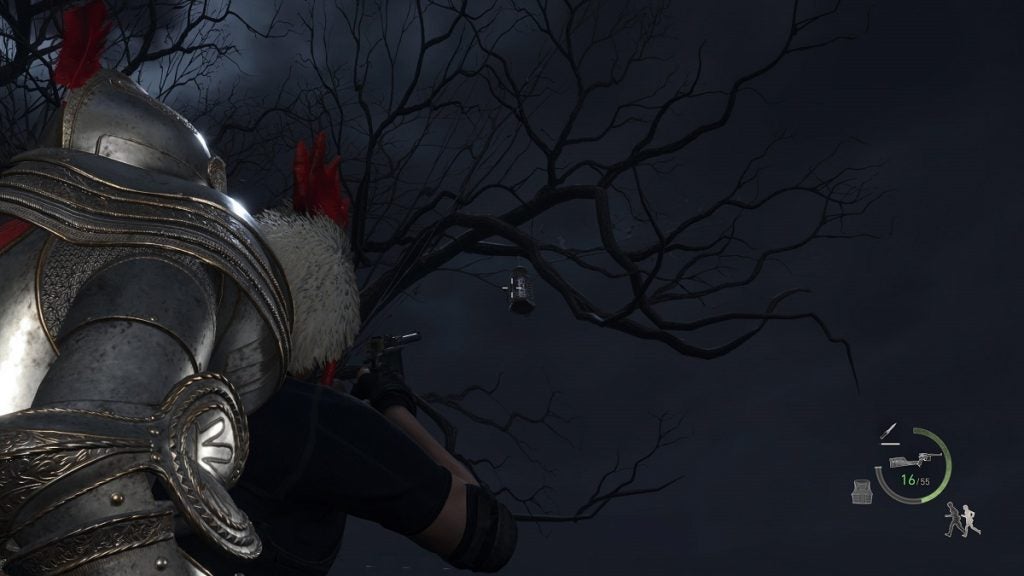
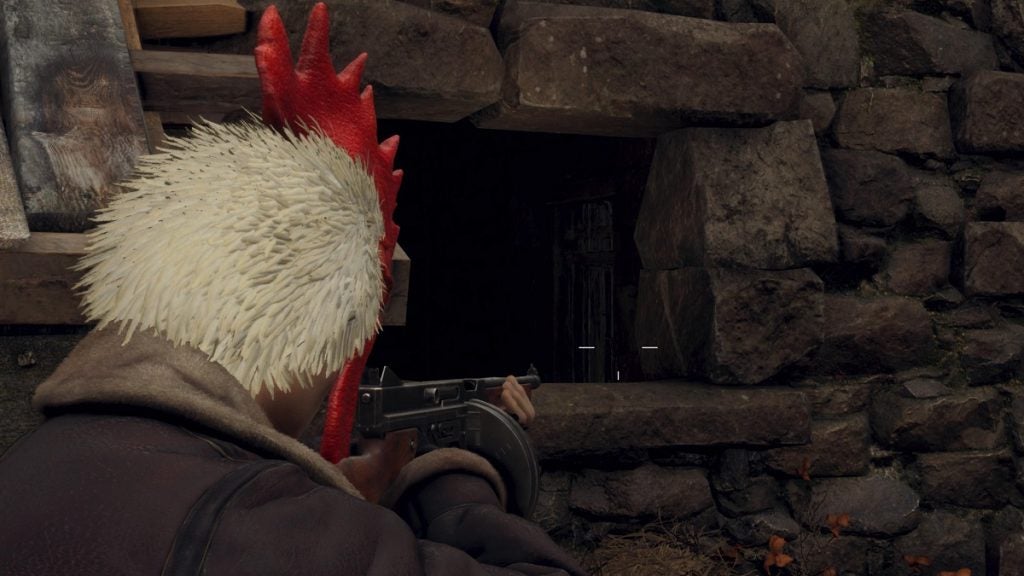
With all that said, the main reason why you should do Professional on New Game Plus first is so you can acquire the Chicago Sweeper and the Armor costume for Ashley. The Chicago Sweeper is one of the best weapons in the game and it will be the main weapon you’ll use during your Professional on a New Game run. The Armor costume makes Ashley invulnerable to enemy attacks.
You can earn both after you complete the game on Professional with an A Rank. This requires you to beat the game on Professional in under 7 hours. You can do this on New Game Plus since only S+ requires a fresh save.
Accessories and Weapons to Equip
These are the accessories and weapons that prove most useful for this run, their effects, and how to acquire them.
| Accessory / Weapon | Effect | How to Acquire |
|---|---|---|
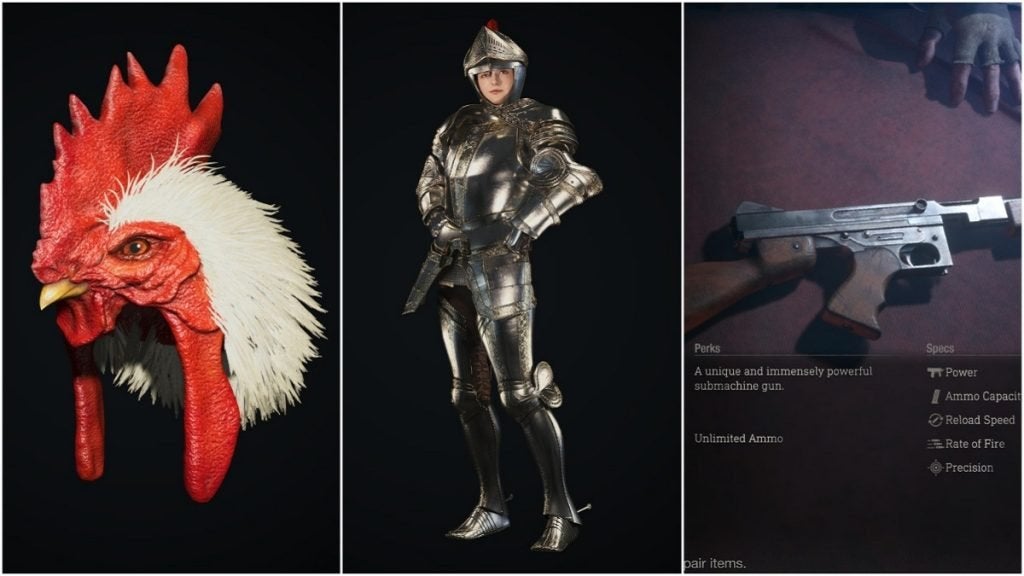
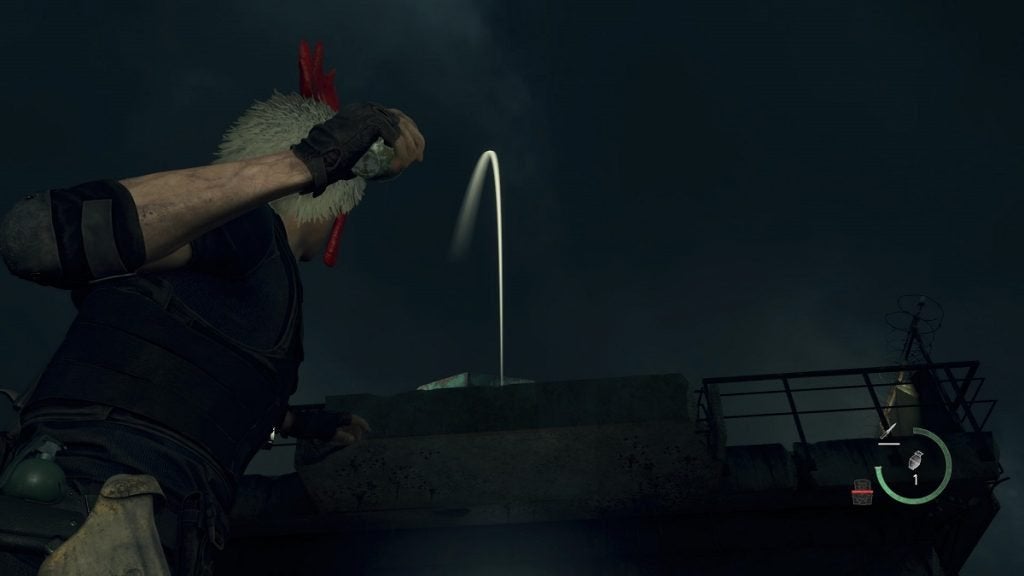
| Chicken Hat | Increases Leon's defense. | Complete the game on Hardcore with an S+ Rank. The game must be completed in under 5 hours and 30 minutes. There is no minimum save requirement. |
| Armor for Ashley | Makes Ashley invulnerable to attacks. This also prevents her from being carried away by enemies. | Complete the game on Hardcore or higher with an A rank. |
| Chicago Sweeper | An automatic rifle that has an exclusive perk that makes it have infinite ammo. | Complete the game on Professional with an S rank. |
Be sure to fully upgrade the Chicago Sweeper’s damage. As previously mentioned, this will be your main weapon for this run. You’ll want it to be as powerful as possible.
Grab Treasures
Grab treasures as often as you can. The best approach for this is to know where the treasures are by playing the game normally. You can do this on New Game Plus if you want. Purchase Treasure Maps from the Merchant to know where to find the treasures. Once you start your new run on Professional, head to the locations you’re most familiar with and obtain the treasures.
Pick up treasures and gemstones and sell them to the merchant for extra Pesetas. You’ll need these to upgrade weapons and buy healing items.
Skip Cutscenes
Your playtime continues to run when you play out cutscenes. That said, be sure to skip every one of them, including comms calls. The fastest way to do this is to press Start to pause the game and skip cutscenes and comms calls from there.
Exit to the Menu When You Die
If you ever die during the run, be sure to quit the game and return to the title screen instead of continuing the game. Continuing the game will not restart the playtime clock. Reload the previous save so the clock reverts.
Complete All Merchant Requests in the Village
This is a very important part of the S+ on the Professional difficulty run. Be sure to complete every single Merchant Request in the Village. By the time you get to the castle, you’ll have 31 Spinels. You can use 30 of these to purchase an Exclusive Upgrade Ticket from the merchant.
You must then use that ticket to unlock the Chicago Sweeper’s exclusive upgrade. This gives the weapon infinite ammo. With this unlocked, the run becomes significantly easier moving forward.
The following are the Merchant Requests in the Village and how to complete them:
- Destroy All Blue Medallions 1 – Destroy the five blue medallions in the Farm.
- Pest Control 1 – Kill the three Rats in the Abandoned Factory.
- Viper Hunter – Acquire three Vipers and sell them to the Merchant. You can find Vipers in boxes and in the Fish Farm.
- Grave Robber – Destroy the V-shaped emblems on the twin’s tombstones found in the graveyard in the Church area.
- Destroy All Blue Medallions 2 – Destroy the five blue medallions in the Quarry and the Fish Farm.
- Egg Hunt – Obtain a Golden Egg and sell it to the Merchant. You can find the Golden Egg on the eastern island of the lake. You’ll find a ton of chickens on this island. The Golden Egg is on the back of the island.
- Catch Me a Big Fish – Find a Lunker Bass and sell it to the Merchant. You can find a Lunker Bass on the waters north of the Boat House on the lake. You’ll need to be on the boat to find a Lunker Bass. The fish is bigger than the rest of the fish in this area. Kill it with a harpoon.
- A Savage Mutt – Kill the wild dog in the Village. First, head to the Village Chief’s Manor. From there, return to the Village and you’ll find the savage mutt.
Don’t worry about your time running out as you do these requests. You’ll have more than enough as long as you do them quickly.
Don’t Engage in Every Fight
Since time is very limited for this run, there are a handful of fights and encounters you don’t really need to engage in. If running past an area is possible, run past that area. Only engage in fights that are totally necessary, such as ones that hinder you from moving forward unless you defeat a strong foe or a certain number of enemies.
Skips to Remember
In the spirit of not engaging in every fight, there are also things you can do that can help you skip a certain area or encounter. These will significantly make your run faster. Take note of the following and be sure to do these skips on your run:
Barn Door in Chapter 1
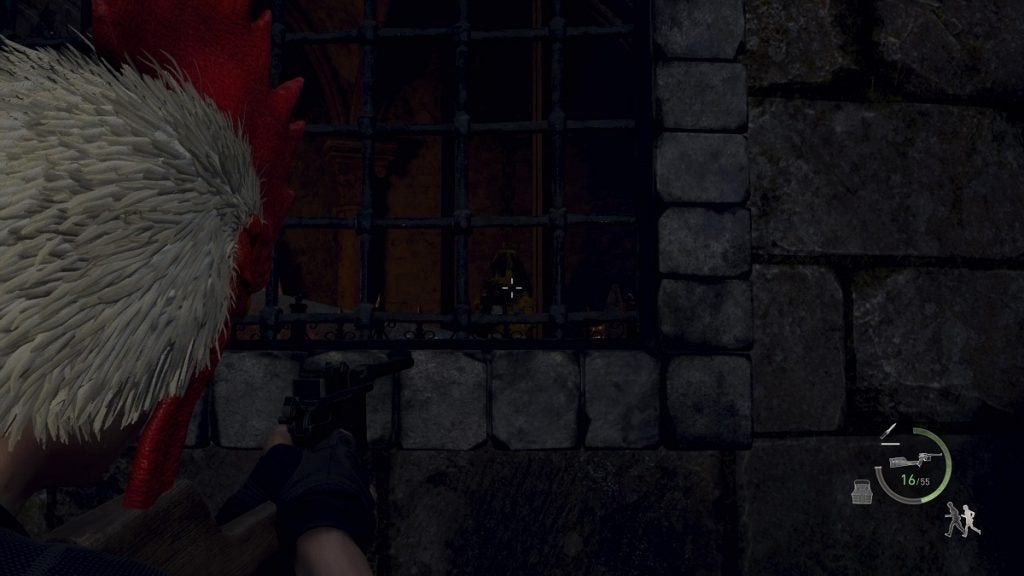
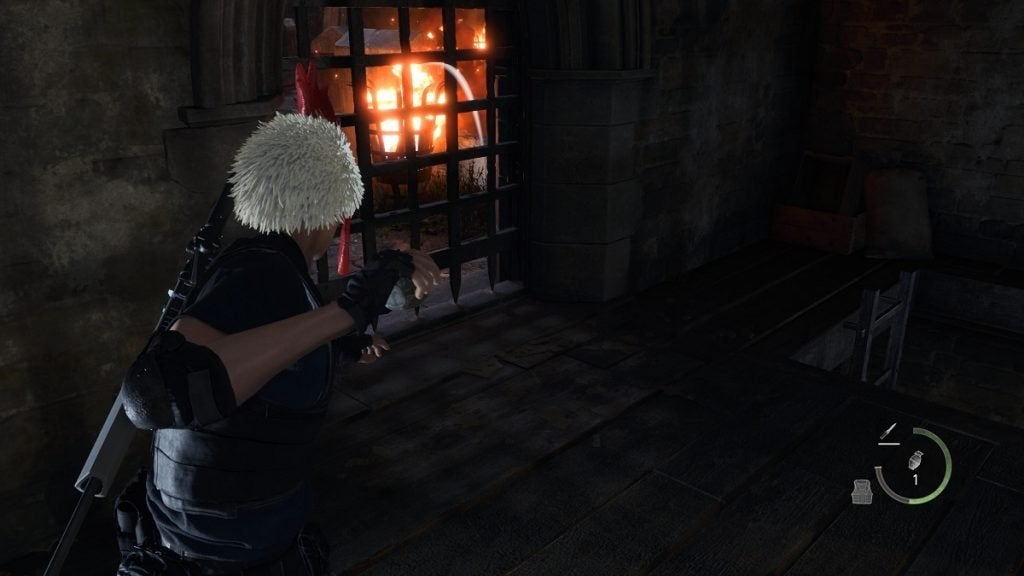
Shoot the lock on the back door of the barn where the Wooden Cog is on the Farm in Chapter 1. You can aim from the window outside and shoot the door to break the lock. You can then climb the ladder up and run to the lever, place the cog on the mechanism, and open the door.
Cannon in Chapter 7
You can make the cannon outside the castle doors in Chapter 7 rise early by shooting the weight that’s keeping the cannon down. You can shoot the weight from the window on the spiral staircase outside.
Castle Battlements Gates in Chapter 8
You can open many of the gates in the Castle Battlements in Chapter 8 just by tossing a grenade through the metal bar. There are weights outside that keep the doors closed. You can destroy these weights with a grenade to open the doors instead of going all the way around to the levers.
On the upper gate in the first tower, throw a grenade to the right to open the gate.
In the next tower, throw a grenade to the left.
From here, simply keep running forward until you reach the cannon.
Gallery in Chapter 9
On the bridge in the Gallery in Chapter 9, in the area where the Goat Head is, throw a grenade or flash grenade at the balcony where the lever is. This will stop the Zealot from turning the lever and lowering the bridge, allowing you to run straight to the Goat Head.
Ashley Section in Chapter 9
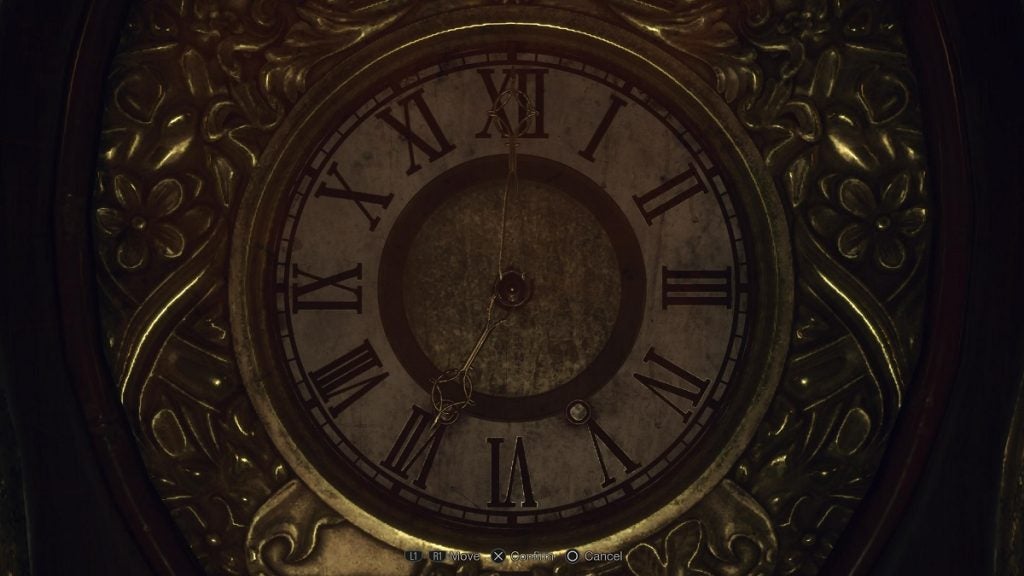
If you’ve run through the game at least once, then you already know how to solve the clock puzzle during the section where you play as Ashley in Chapter 9. Take note, though, that the answer to this puzzle in Professional is not the same as the Standard difficulty answer.
Once you reach the clock, wind it to 7:00 to open this door immediately.
The Wall in Chapter 14

In the area where Ashley uses a wrecking ball to slowly destroy a wall, you can help break the wall down faster by throwing grenades at it. Throw two to three heavy grenades at the wall and it will be destroyed after only taking one hit from the wrecking ball.
The Anti-Aircraft Gun in Chapter 15
You can throw two heavy grenades at the anti-aircraft gun in Chapter 15 from the bridge outside to disable it. This way, you won’t have to go all the way up the building across the AA gun to get to the turret.
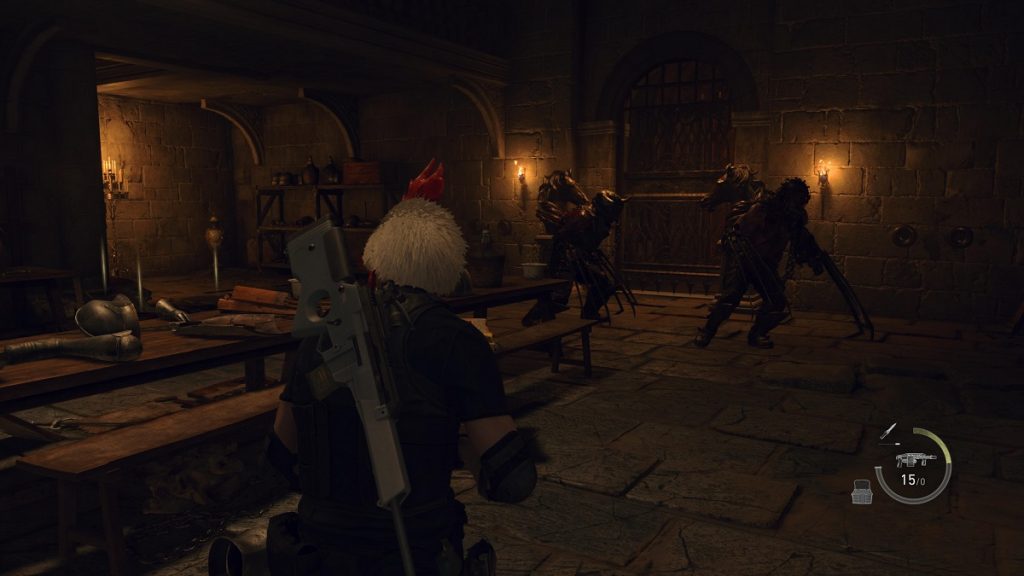
Necessary Battles and How to Overcome Them
While skips are great for this particular run, there are also areas and battles that you’ll need to power through in order to move forward. However, that doesn’t mean there aren’t ways you can make these encounters easier.
The following are the tougher battles in Resident Evil 4 Remake and how you can more easily overcome them.
The Village Fight in Chapter 1
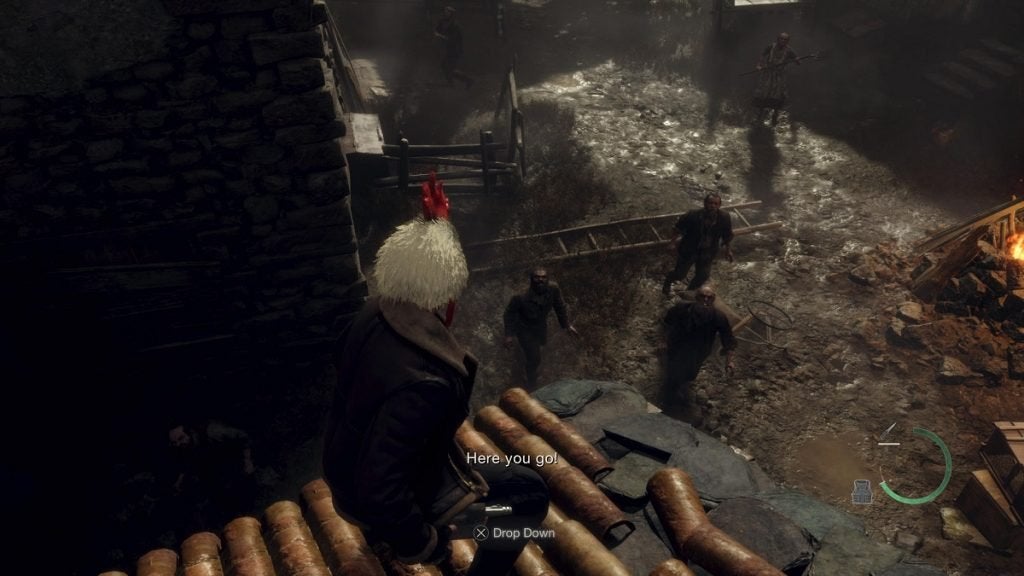
One of the most infamous battles and definitely one of the harder ones. Considering this one is in Chapter 1, it’s the perfect litmus test on how well you will do on the rest of the run.
To make this encounter easier, run up to the house to the left of the bell tower beside the church. If you can manage it, kill any enemy that crosses your path. A cutscene will play out once you reach the house. Be sure to skip the cutscene immediately.
Head to the second floor and immediately head to the window on the far end of the room and kick the ladder down. Then, obtain the shotgun, the shotgun shells, and the grenade on this floor. Proceed through the window next to the cabinet where the grenade is. Look down and you’ll spot multiple enemies gathering where the ladder should be.
Throw the grenade onto the pile of enemies to kill as many of them as possible. The bell will ring once you kill 15 to 20 enemies. Use the shotgun if enemies are grouped together to kill multiple at once with one shot. Don’t bother killing the chainsaw-wielding enemy. Run away from him and focus your sights on the smaller enemies.
El Gigante Fight in Chapter 4
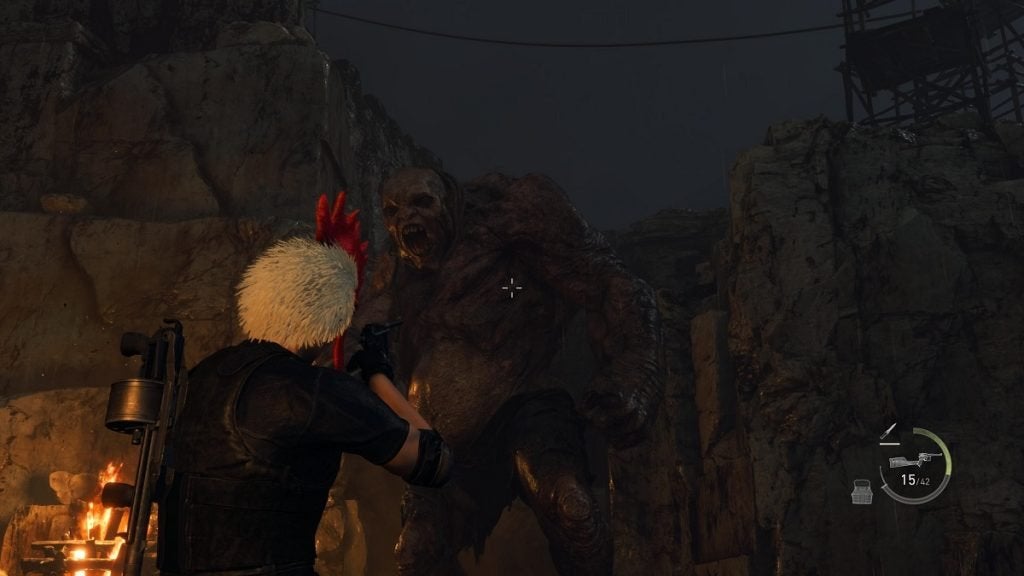
First things first, be sure to free the dog from the bear trap outside the Village Manor in Chapter 3. The dog will make the El Gigante fight much easier.
During the fight, enter one of the small houses and wait for El Gigante to approach. Once he bends over to pick up the house, head outside and fire away at his head with your most powerful weapon. When the plaga on his back emerges, fire at it until he falls, or throw a flash grenade at him to make him fall down right away.
Once down, shoot the plaga with your strongest gun instead of melee-ing it. This will cause more damage to El Gigante.
Keep repeating until the dog arrives. Continue the fight as is until the boss is defeated. If done right, this fight will only last two minutes.
The Cabin in Chapter 5
Be sure to have grenades before you reach the cabin in Chapter 5. Heavy Grenades and Flash Grenades are preferred.
Block up the windows with Wooden Planks except for the window across the staircase. Linger on the staircase and kill the enemies from here. Wait for the enemy to enter the house before you kill them so you can pick up their loot. You’ll need this for more Wooden Planks.
Keep this up until a cutscene plays out showing enemies putting up ladders to the second-floor window. Disregard this. Remain on the ground floor and kill any enemy that comes your way. In just a few seconds, a Brute will enter the house. Immediately bombard the Brute with grenades until he dies. A few seconds after the Brute falls, a cutscene will play out and the encounter is finished.
Bella Sisters in Chapter 6
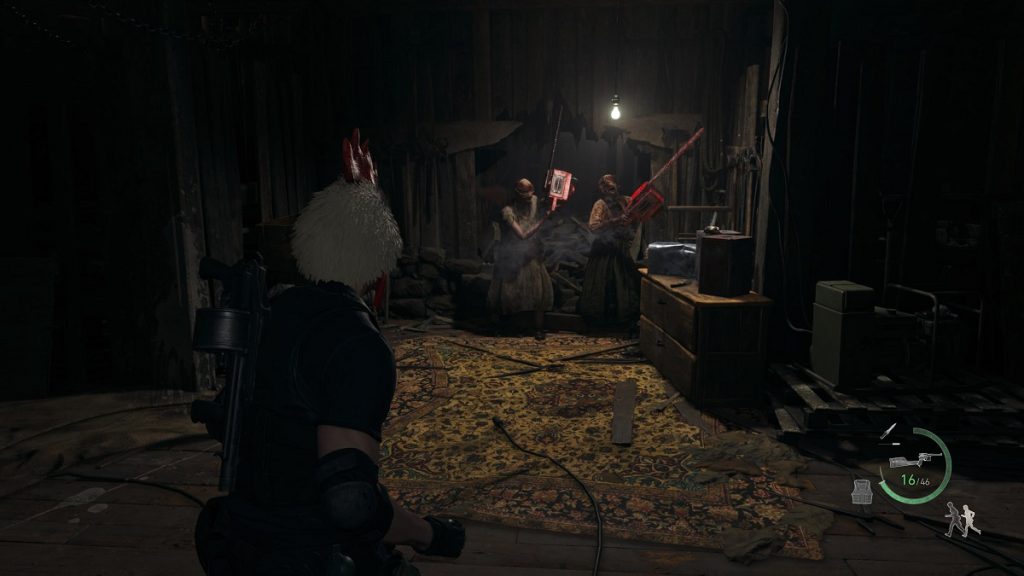
The Bella Sisters are the Chainsaw-wielding duo you need to defeat to acquire the Checkpoint Crank in Chapter 6. Grenades are very useful for this fight, so be sure to stock up on some or craft them if you can. It’s best to stay inside the house during this encounter since there are enemies outside that will throw Molotovs at you, which can make this section harder.
There’s no cheese to this fight. Basically, simply throw everything you have at the sisters until they fall. Grenades, shotguns, and rifles — use them all.
Mendez in Chapter 6

During the first phase of the Mendez fight, it’s best to stay on the upper platforms. It’s easier to hit Mendez from here, as well as dodge his attacks. When Mendez is stunned, you can perform a jump attack directly onto the eye on his back from the upper platforms. Return back up after the attack.
During the second phase, simply keep firing at Mendez. Whenever he throws planks at you, start running to the opposite side of where you are before he throws the planks.
Garrador Duo in Chapter 10
Make use of the bell on the southern wall of the Antechamber to distract the Garradors. Throw grenades at them and keep firing your Chicago Sweeper on the plaga on their backs until they fall. The Flash Grenade can be very useful in this fight.
Verdugo in Chapter 10
The Verdugo is one of the hardest enemies in Resident Evil 4. However, you don’t necessarily have to kill him. While waiting for the elevator to come down, you can simply run around the underground lab and use the liquid nitrogen showers to freeze him. That being said, though, killing the Verdugo will make the elevator arrive early. This way, you can make the entire segment shorter.
Just take advantage of the liquid nitrogen. Once frozen, melee attack the Verdugo and shoot him with your Chicago Sweeper. Be sure to keep your shots on his face for maximum damage.
Ramon Salazar in Chapter 12
Before you head to the clocktower in Chapter 12, head to the Throne Room first and get the Golden Egg from the locked box. This will help you save more time later.
When you fight Salazar, throw the Golden Egg at him. Be sure to hit him. If you miss, you can reload a save before the fight. The Golden Egg will remove about 70% of Salazar’s health. This will also stun him. While stunned, fire at him with your Chicago Sweeper until he dies.
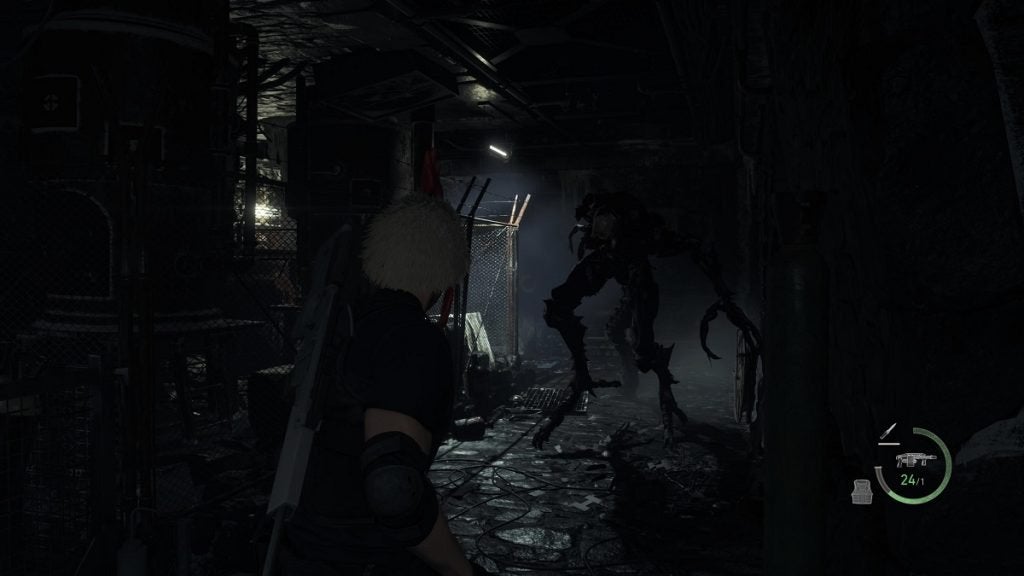
Regenerador Pods in the Incubation Lab in Chapter 13
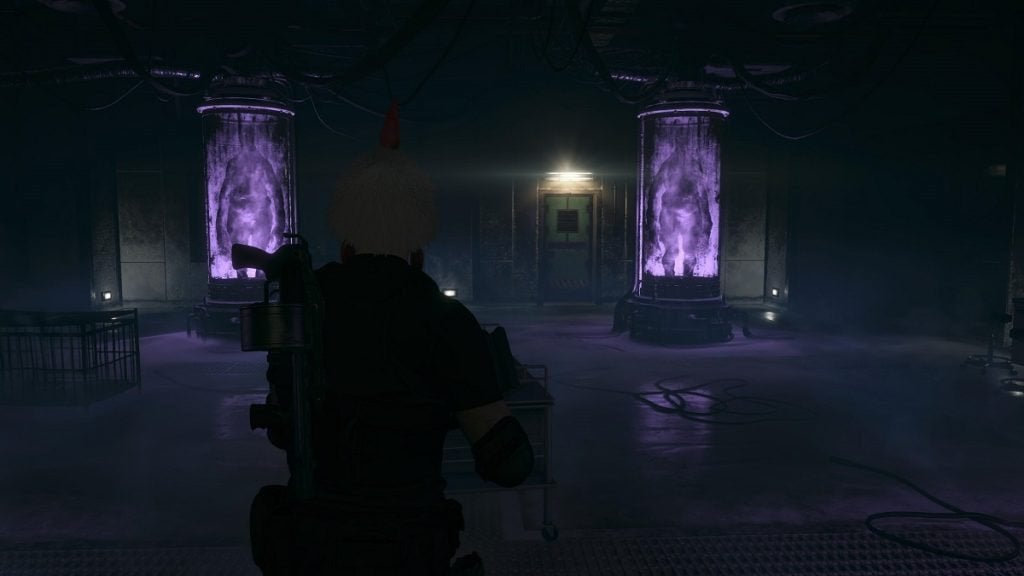
When you get to the Incubation Lab to upgrade your keycard to level 3, be sure to get the biosensor scope and place it on a rifle. Then, find the wrench using the scope. Kill the Regenerador and obtain the wrench. Leave the other Regeneradors alone.
When you place the keycard on the update system, immediately run to the hallway outside the Incubation Lab and fight all enemies from there. Do not allow them to hit any of the pods. Otherwise, you’ll have to deal with them and three other Regeneradors.
Where to Save
This information is very crucial for your S+ on a Professional difficulty run. Knowing exactly where to save will make or break this process. Be sure to save at these locations only.
- Merchant Hideout in Chapter 3 before the Del Lago fight.
- Merchant Hideout in Chapter 4 before the El Gigante fight.
- Village Chief’s Manor in Chapter 5 before the Savage Mutt fight.
- Merchant Hideout in Chapter 6 after the Cabin encounter.
- Outside the Slaughterhouse in Chapter 6 before the Mendez fight.
- Water Hall Entryway in Chapter 7.
- Post-Ashley section in Chapter 10.
- Waterway in Chapter 10 before the Verdugo encounter.
- Stopover in Chapter 11 before the second minecart section.
- Upper Clock Tower in Chapter 12 before the Salazar fight.
- Utilities in Chapter 13 before the Regeneradors encounter.
- Campsite in Chapter 14 before the Krauser fight.
- Stronghold in Chapter 15 before the chopper sequence.
- Specimen Storage in Chapter 15.
- Sanctuary in Chapter 16 before the Saddler fight.
It may seem daunting to go through the first three chapters of the game without saving, but as long as you can get through the village encounter, you’ll be just fine. Your saves are better used later on when the challenge becomes more difficult.
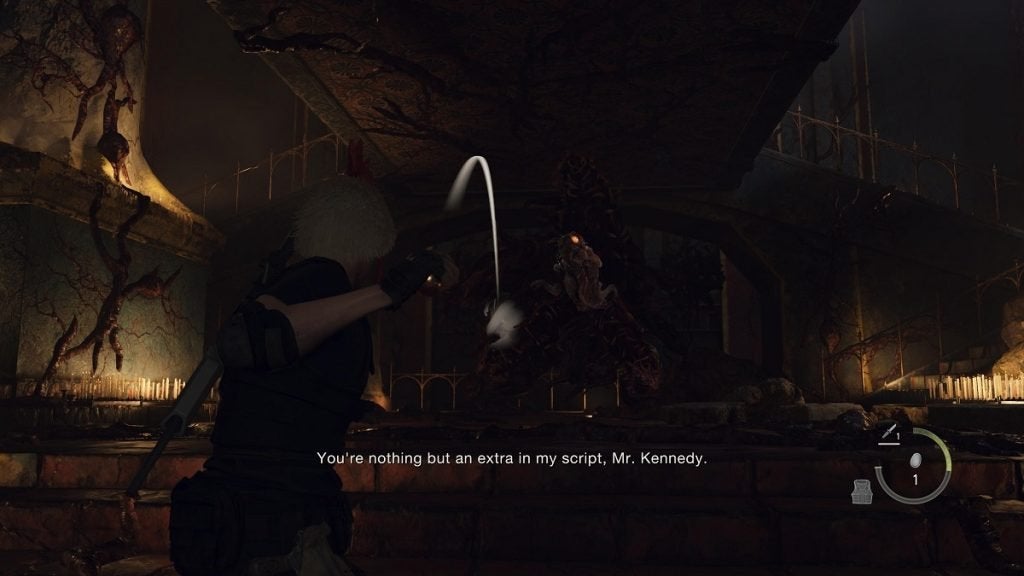
Purchase the Rocket Launcher Before the Final Boss
When you get to the merchant in the Sanctuary, sell everything you have and buy a Rocket Launcher. This essentially ensures that as long as you can make it to the Sanctuary, you’re pretty much set to finish the run.
During the fight with Saddler, fire the rocket at him to immediately trigger phase 2. During this phase, wait for Ada to throw another rocket launcher at you. Use this to finish Saddler for good.