![]() Key Takeaway
Key Takeaway
The best shield in the game is the Shatter Star Shield. Afterward comes the Guardian Shield and the Stone Wall Shield, respectively. The Dauntless Shield and the Onslaught Shield aren’t very good.
Out of the five shields that you can get in God of War Ragnarök, only three of them are viable. This is due to their specific gimmicks being generally more useful. Here’s how the best shields stack up.
Stone Wall Shield
While shield-hugging can be considered a cowardly tactic by some, it is a reliable maneuver in tricky situations. When you are faced with a new enemy and you don’t know their moveset, blocking continuously can let you safely learn your foe’s attacks. There’s no better shield for this than the Stone Wall Shield.
Unlike every other shield, you can block guard-break (yellow ring) attacks with the Stone Wall Shield. As such, it eliminates the need to parry or dodge these incoming assaults. This is useful against individual adversaries as well as against groups of them.
In regard to this shield’s gimmick, it lets you unleash a powerful slam attack that can knock weaker foes back and stun bigger threats. If you block enough attacks before doing a shield slam, its effect gets greatly amplified. This can be a great way to gather intel on enemies before unloading a lot of stun damage on them.
For these reasons, out of the best shields, the Stone Wall Shield gets third place. The Stone Wall Shield’s stats at max level are:
- Defense: 130
- Vitality: 26
Suggested Shield Attachments
- Rönd of Absorption (29 Defense and 34 Runic at max level)
When choosing a shield attachment for the Stone Wall Shield, you should pick one that has an effect based on blocking. You want to block as much as possible to build up enough charge for huge shield slams. As such, the Rönd of Absorption can be a great choice.
Blocking with this shield attachment equipped increases the skill gauge of Permafrost, Immolation, and Maelstrom. This means that regardless of what weapon you’re wielding, blocking will let you power up your next attack. The universal buff that happens as you block makes this rönd useful in every situation when the Stone Wall Shield is equipped.
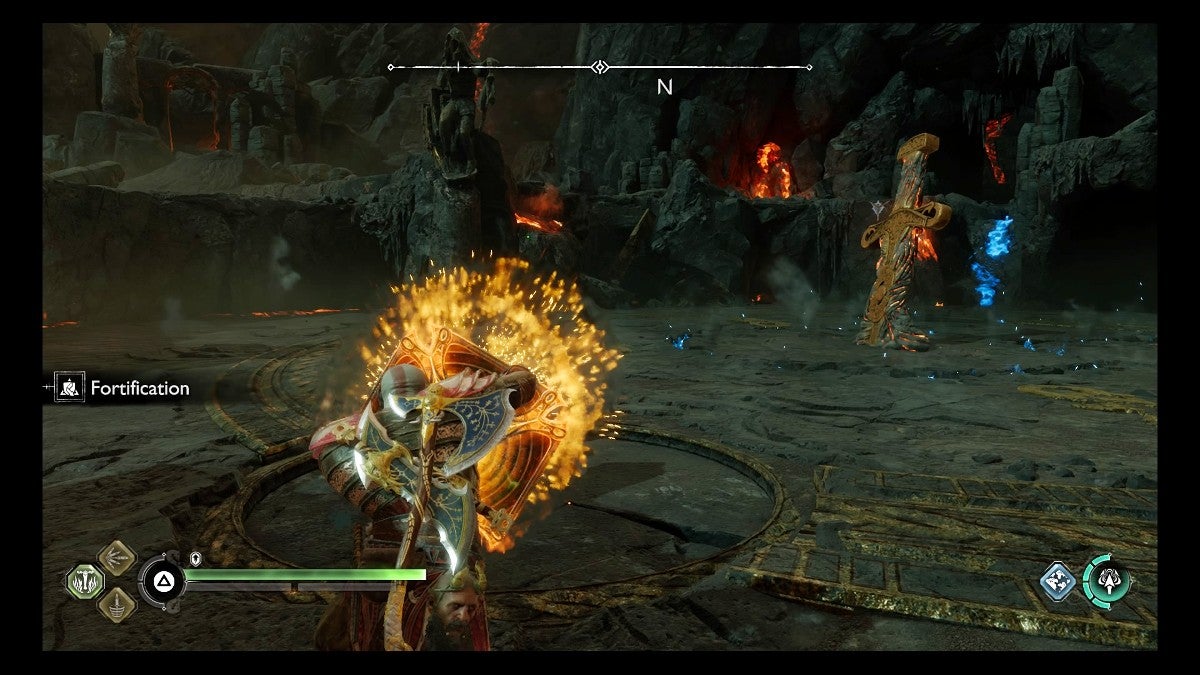
- Rönd of Fortification (63 Defense at max level)
The other ideal shield attachment for the Stone Wall Shield is the Rönd of Fortification. Like the previously mentioned shield attachment, this one is great for when you plan to do a lot of blocking. In fact, you don’t even need to successfully block attacks to make use of this one; you just need to hold your shield up.
After holding down L1 for a few seconds, you get the Fortification buff. The next time you use a shield strike (shield slam in this case) or block an incoming attack, your shield will let out a big explosion. This reaction inflicts a lot of stun damage on the enemies in front of you. Overall, this is a combat tactic that can always be useful—especially against crowds of foes.
Guardian Shield
The next of the best shields is the Guardian Shield. Despite being the first shield that you get in the game, it’s one that you can use for the whole playthrough due to being awesome all around. It is well-balanced with no big weaknesses and its gimmick is both interesting and genuinely useful.
The Guardian Shield is the only defensive armament that has special counterattacks after a parry. If you press R1 after a parry, you smack a foe in the face with the edge of your shield. And, if you press R2 after a parry, you slam your shield into the ground for an even bigger impact. Both of these special counterattacks deal a decent amount of stun damage.
What’s more, since enemies always get staggered after a successful parry, you always have a clean opening to use these special moves. Their stun damage, combined with that of the initial parry, will let you stagger foes with ease.
Out of the best shields, the Guardian Shield gets second place for being useful from the point you get it all the way until the end of the game. The Guardian Shield’s stats at max level are:
- Defense: 130
Suggested Shield Attachments
- Rönd of the Nine Realms (29 Defense and 34 Luck at max level)
This shield attachment creates a realm shift, which temporarily slows down time, whenever you successfully parry. Since the Guardian Shield is a parry-heavy tool, you can generate a lot of realm shifts with the Rönd of the Nine Realms attached to it. As such, you have an even bigger window after some parries to inflict damage on your target.
However, it should be mentioned that the realm shifts from this rönd are generated based on low Luck-based odds. You can get unlucky and go most of a fight without getting a Realm Shift, so be sure to increase your Luck stat if you use this rönd.
- Rönd of Deflection (29 Defense at max level)
For a more consistent shield attachment, consider using the Rönd of Deflection. Its effect isn’t fancy but it’s always useful and doesn’t rely on Luck-based odds to be triggered. This rönd increases the timing window for all parries, which will make it easier to get a successful one. When you’re in a tight spot and you really need a parry to land, this rönd can save your life.
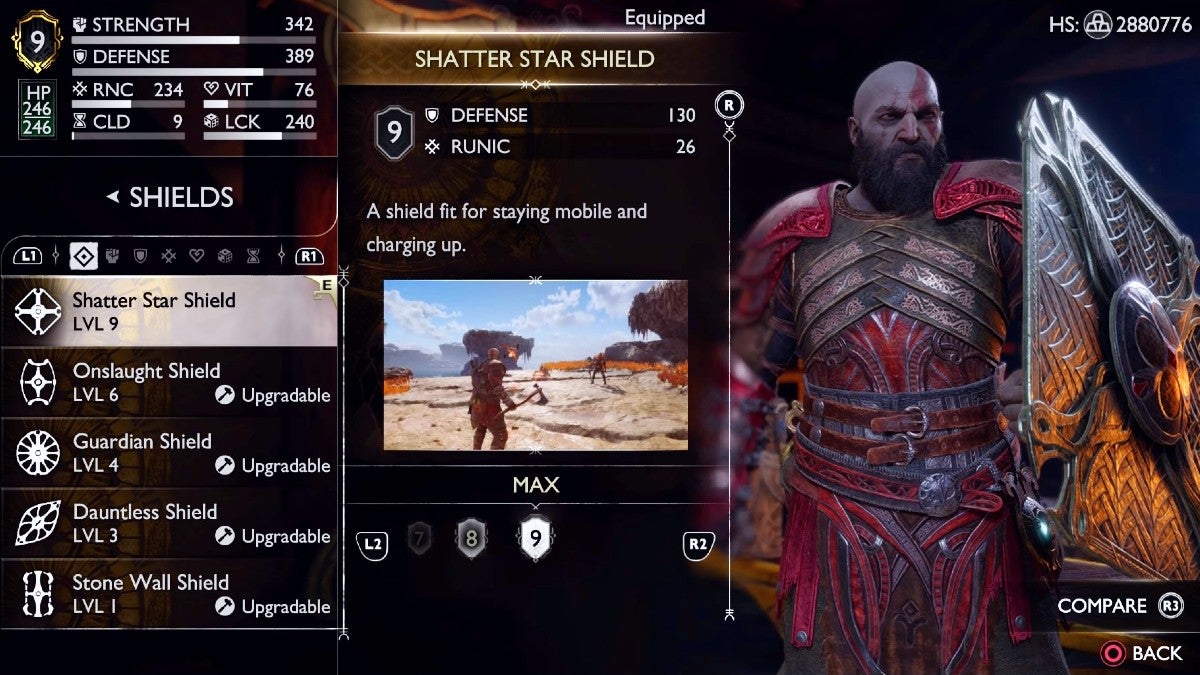
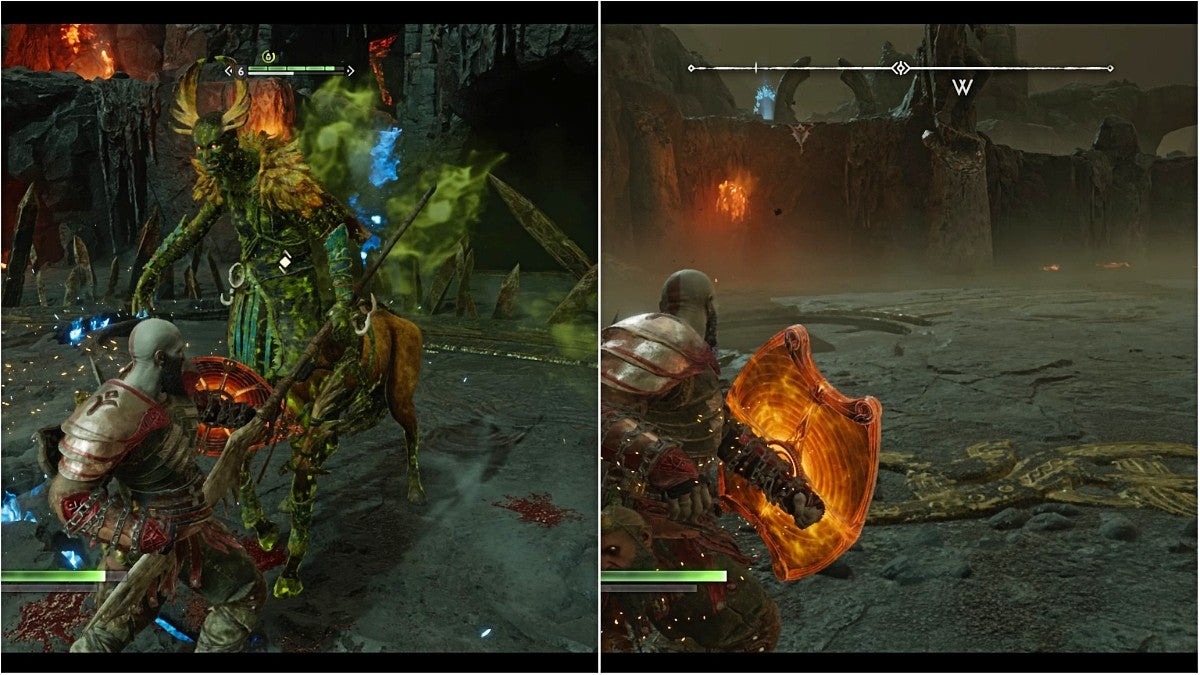
Shatter Star Shield
Out of all the shields, the Shatter Star Shield is the best choice if you want an offensive tool as a defensive armament. The best defense is a good offense, they say, and it’s true! You want to use this shield as another weapon instead of something to rely on when you’re backed into a corner.
Its gimmick replaces the normal shield strike with a shield punch. The shield punch has the same effect as a shield strike, but with greater range and more impact—plus, you can charge it! By holding down L1 for a few seconds, you can charge up a large explosion that will knock foes further back than even the Stone Wall Shield’s slam attack.
Also, the shield punch can parry some incoming attacks, so you can use it in place of a regular parry if the enemy is just out of melee range. Usually, a parry just blocks a projectile attack, however, if you use a shield punch instead, you have a chance of staggering the attacker if you are close enough.
The Shatter Star Shield is the best shield in the game because it acts more like a weapon than defensive equipment. The Shatter Star Shield’s stats at max level are:
- Defense: 130
- Runic: 26
Suggested Shield Attachments
- Rönd of Affliction (29 Defense, 23 Runic, and 23 Cooldown at max level)
You want to focus on using a rönd that has an effect that triggers from shield strikes (shield punches are considered shield strikes) when using the Shatter Star Shield. This one lets you cause elemental explosions when you shield punch an enemy afflicted with a status ailment.
This will cleanse the enemy of their status, however, it will deal noteworthy damage to them and spread the status to surrounding enemies. Plus, since the shield punch has a greater range than normal shield strikes, the impact is amplified. This lets you chain elemental explosions, which can allow you to become more of a force of nature than a warrior.
- Rönd of Purification (34 Strength and 29 Defense at max level)
If you’re going up against foes that tend to inflict status ailments on you a lot, this shield attachment may be for you. If this rönd is equipped and you use a shield punch, it will cleanse you of your ailment. Also, it will apply that status’ elemental damage to your target. This is particularly useful if you’re affected by poison or Bifrost.
- Rönd of Fortification (63 Defense at max level)
Since you have to hold down the block button for a few seconds to charge up a big shield punch, this rönd goes very well with the Shatter Star Shield. As you gain the Fortification buff, you will charge up your shield at the same time. The effects stack, so all your shield punches become extra powerful. This is arguably the one of best combinations for the best shields.
What About the Other Shields?
The other two shields—the Dauntless Shield and the Onslaught Shield—have weak gimmicks. As such, they aren’t worth using compared to the others. Even when you consider their stats, they have no real advantage.
Reasons Why the Dauntless Shield Isn’t Good
Despite seeming like the ideal tool for parries, the Dauntless Shield doesn’t have that much impact. Its description states that it deals high stun damage on shield strikes (called shield bashes) but it’s not that much compared to the gimmick moves of the best shields.
What’s more, you need especially good timing to make the best use of parries (perfect parries) which is hard to do in the toughest fights. Also, if you equip the Rönd of Deflection for bigger parry windows, it only affects normal parries and not perfect parries. The perfect parry niche is just too difficult to time properly—and not worth the effort given its lackluster effect.
Reasons Why the Onslaught Shield Isn’t Good
By far the worst shield in the game, the Onslaught Shield’s gimmick is only useful for chasing down enemies that are far away from you. It does let you close distances quickly, however, you don’t really want to be running around and chasing ranged foes.
You want to deal with the threats closest to you and then work your way toward the distant enemies. Doing anything else opens you up to a bunch of melee attacks. The Onslaught Shield’s charge move protects you from the front but does nothing to defend your sides or back. This makes it more of a liability to use when you’re surrounded.