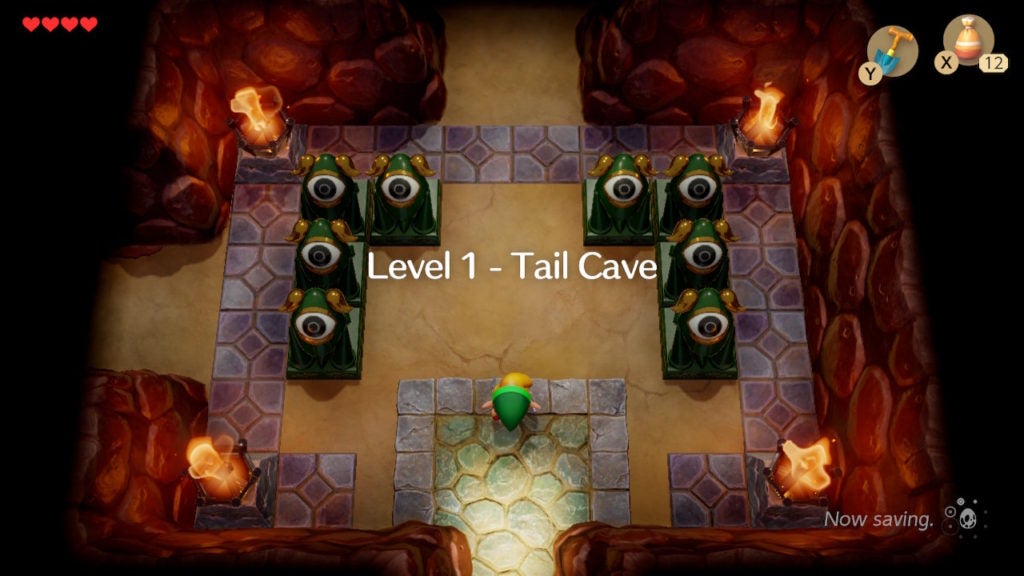
After you unlock the entrance with the Tail Key, you’ll be able to set foot inside the dungeon. Inside, you’ll be initially greeted by a room full of 8 statues and possessing 2 exits.
Table Of Contents
Find the Compass
Start by taking the left path, which will lead you into a room with a basic puzzle.
Get the 1st Small Key Along the Way
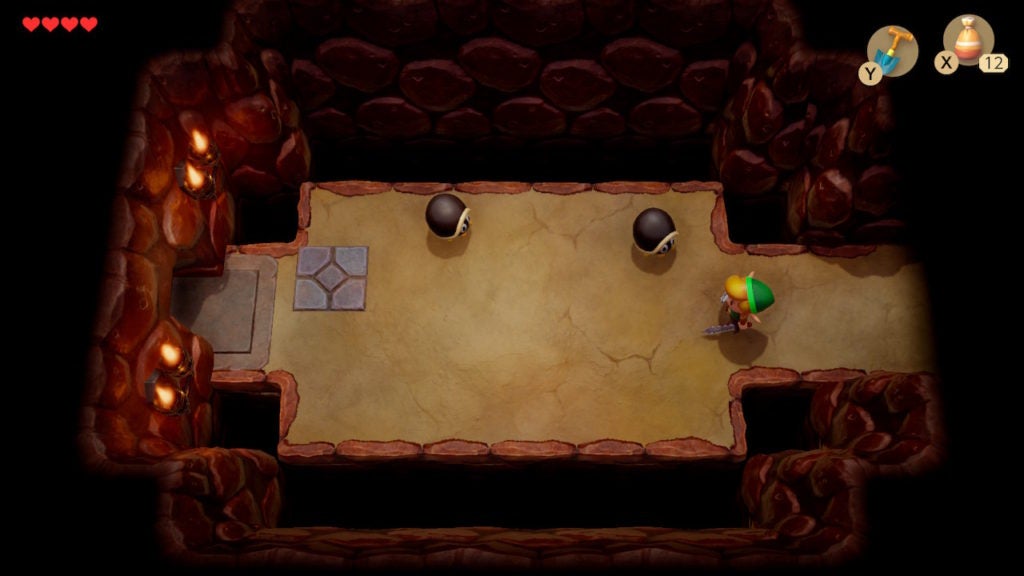
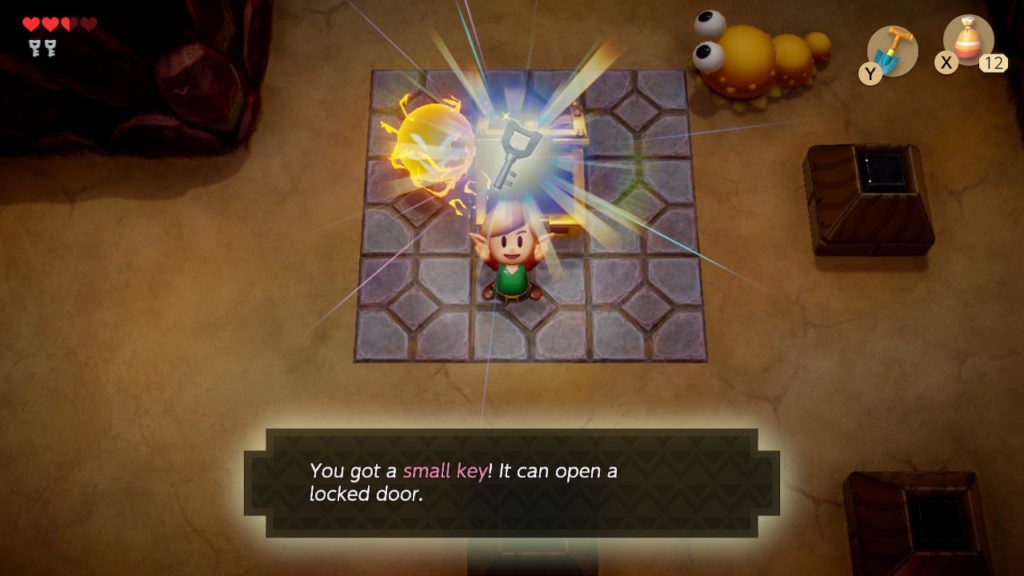
In the room west of the entrance, you’ll find a couple of enemies. These armored foes are Hardhat Beetles and you can’t damage them with your Sword directly. It’s possible for you to simply run to the exit to the left of this room since there is no door. However, if you defeat the 2 Hardhat Beetles, you’ll get 1 Small Key. Small Keys are very important in dungeons, as they will let you unlock any regular lock you find. You’ll also be able to keep track of how many Small Keys you have as they will appear in the top-left of your screen—just underneath your Hearts.
To defeat the Hardhat Beetles, hit them with your Sword to knock them back. If they fall into the gaps on the north and south borders of the room, they will perish. After these simple enemies have been dealt with, 1 Small Key will appear on the ornate stone tile on the western side of the room. After you pick it up, proceed out the left exit into the next room.
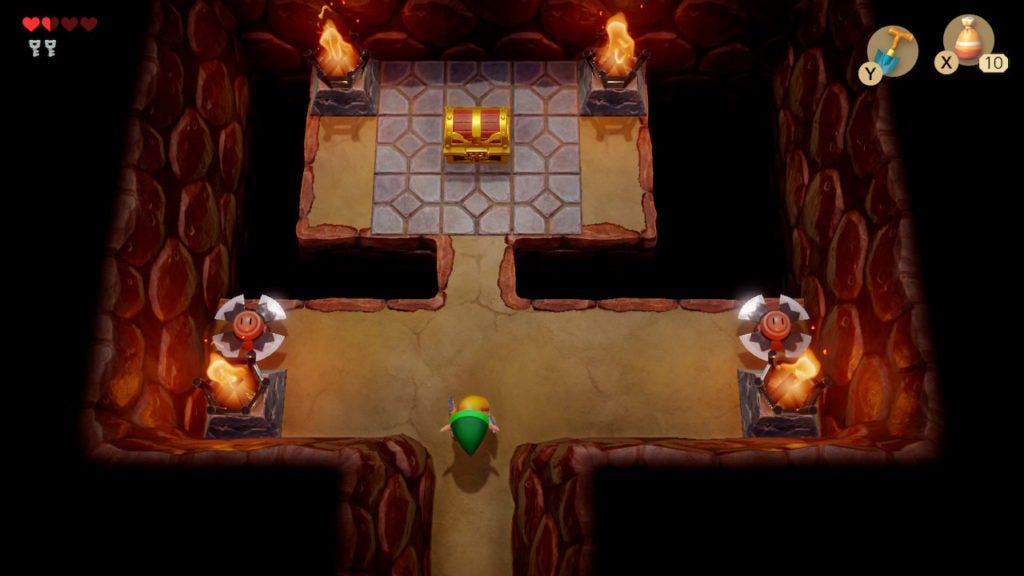
Loot the First Chest for the Compass
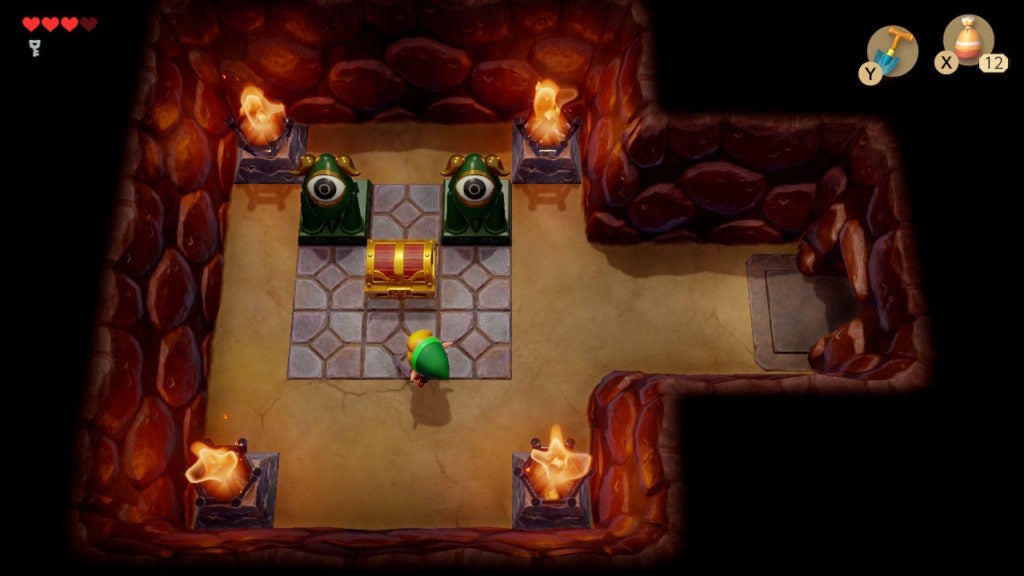
The next room will be a dead-end but will contain a chest. Inside this chest is the Compass for this dungeon, which will show you the locations of all the chests as well as the boss room. Although, it won’t show you the layout of the dungeon, as you’ll need the Dungeon Map for that. With that said, the Dungeon Map is within one of the chests marked with your Compass, so you’ll find it as long as you keep seeking out these valuable containers. You don’t really need it to beat Level 1 – Tail Cave, but, if you’re a completionist, be sure to grab it before leaving the dungeon.
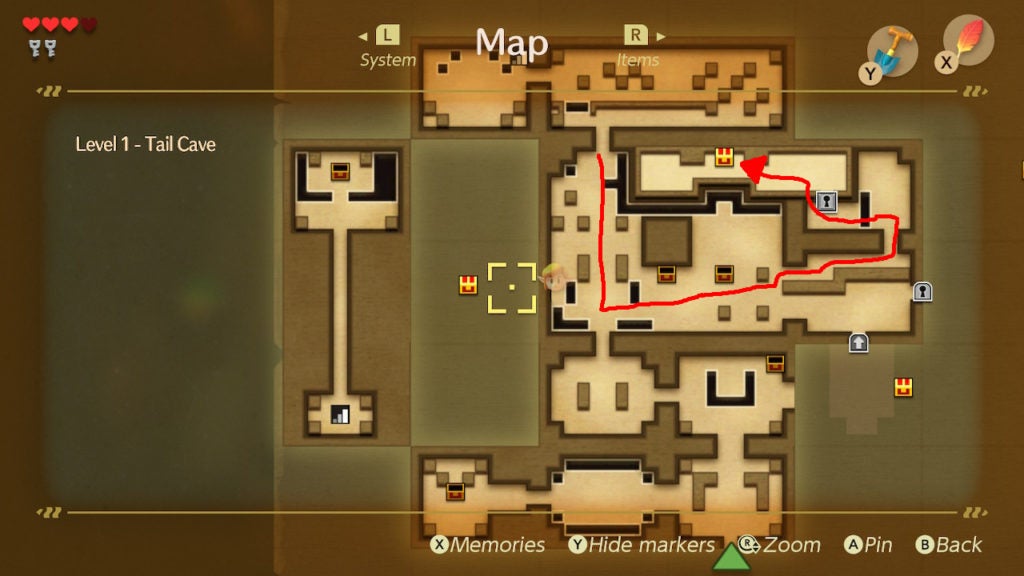
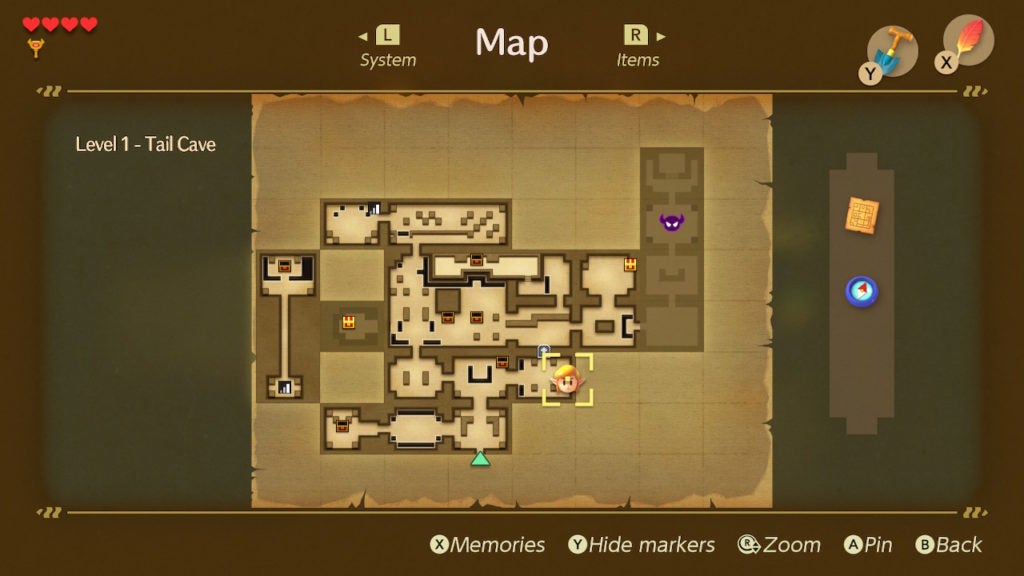
Now would be a great time to pop open your menu Map and take a look at where those chests are located. Doing so will give you the gist of a dungeon’s layout as well as indications of where to go next.
Scout the Dungeon for Treasure With the Compass’s Help
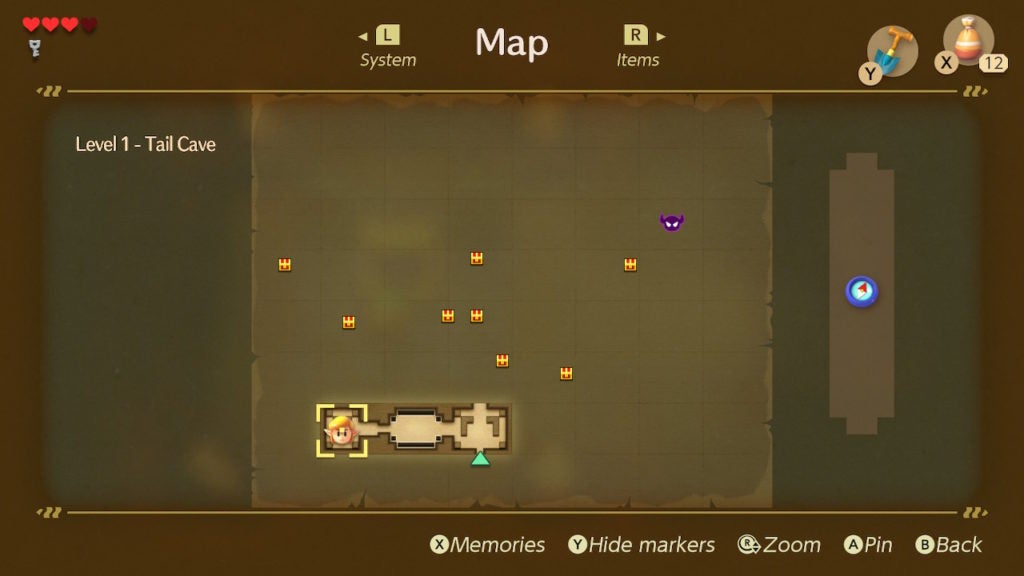
Here, you can see the rooms you’ve already explored as well as all chest locations. The Compass even shows chests in rooms where you need to solve a puzzle to make them actually appear.
On the far right, you’ll also see a vertical bar with the Compass in the middle. This holds your dungeon-specific items: the Compass, the Dungeons Map, and the Stone Beak (after you obtain them). Each dungeon has this same set of 3 items that you can find to progress fully to the lair of the Nightmare. In most dungeons, all 3 are very important, however, in Level 1 – Tail Cave, you only really need the Compass.
After observing the Map, you’ll quickly note that there’s only 1 other way for you to go: north from the main entrance. Knowing this, you can now close your Map and head that way.
Find the Roc’s Feather
Going north of the entrance will begin the leg of your dungeon-delving quest to get the Roc’s Feather: an item that will let you jump while it is equipped.
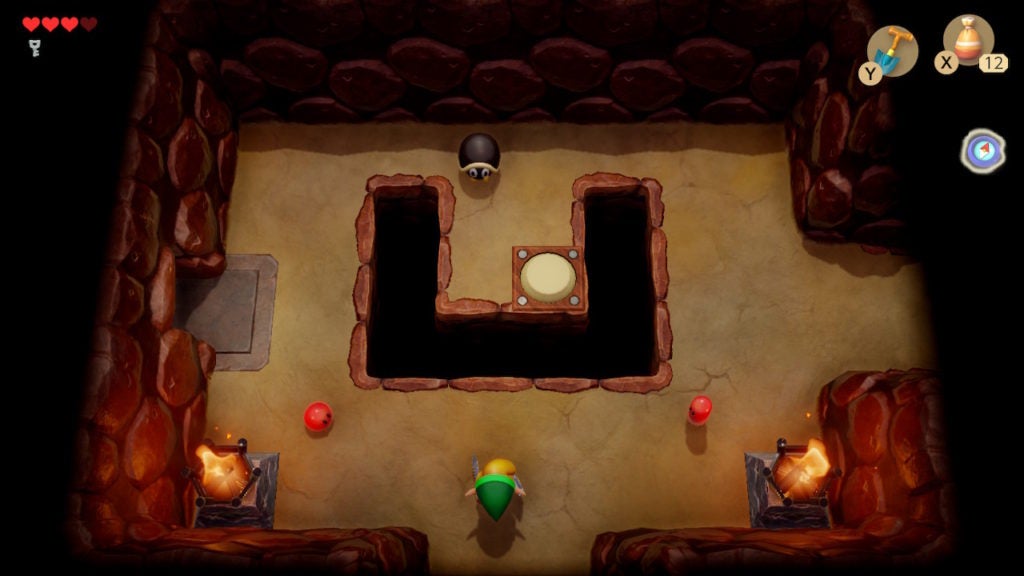
In the room north of the entrance, you’ll find yourself flanked by 2 Red Gel enemies. You can take them out easily with a few swings from your Sword. However, hitting a Red Gel with your blade will cause them to split into 2 smaller Red Gels. The smaller ones can’t hurt you but will prevent you from attacking if they jump on you. Thankfully, the small ones can be slain with Sword attacks as easily as the big Gels. If small Gels jump on you, shake them off by moving around before slaying them with your Sword.
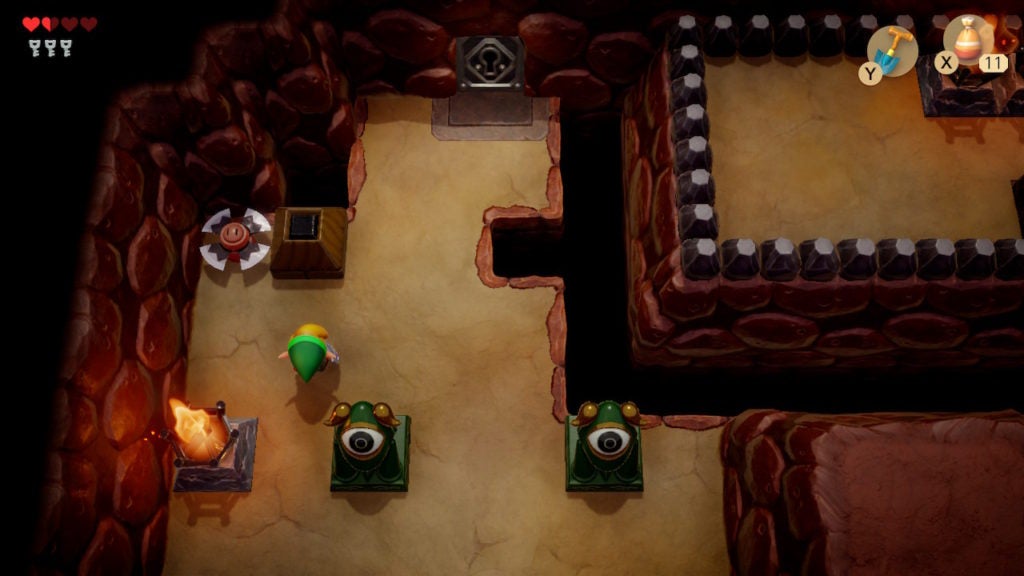
Push the Button to Make a Chest Appear
After dealing with the Gels, you’ll want to knock the Hardhat Beetle in the north of the room into the u-shaped hole. Afterward, step on the circular floor button to make a chest appear in the top-right of the room. This chest will contain another Small Key.
Next, proceed through the left exit to continue your quest for the Roc’s Feather.
Kill the Keese to Proceed
In this room, you’ll get locked in with a few small enemies. There are 4 bat-like Keese in here that you’ll need to slay in order to unlock the exits of this room. Beware of the cracked floor tiles around the edges of the room as you take out the flying foes with your Sword. If you stand on a cracked tile for too long, it will break and you’ll fall through.
After dispatching the Keese with your trusty blade, the doors will unlock and you can go north into a large, open room.
Find the Secret Seashell in the Hidden Room
Immediately after entering this large room, you’ll see that it contains 3 chests and 3 locks on the Map. This will give you some options of where to explore next, however, it’s recommended to stick to the western side of the room for now. The path to the Roc’s Feather is the way directly north of the big room’s southern entrance. Though, before proceeding to it, you should loot the nearby chests.
The cracked wall to the west of the big room’s entrance can be easy to miss, though, what’s beyond is only a collectible, so you don’t actually need it to beat Level 1 – Tail Cave. However, if you’re a completionist, you’ll want to grab it.
Blast open the cracked wall with a Bomb to find a chest in the room beyond. In this chest will be 1 Secret Seashell. If you miss this little secret, you can always come back to Level 1 – Tail Cave later to obtain it.
Find Another Small Key and 20 Rupees
In the middle of the room, you’ll see a chest being orbited by a Spark, which will hurt you on contact. You can open the chest quickly enough to avoid touching this electric enemy. Within the chest will be a Small Key to add to your growing collection.
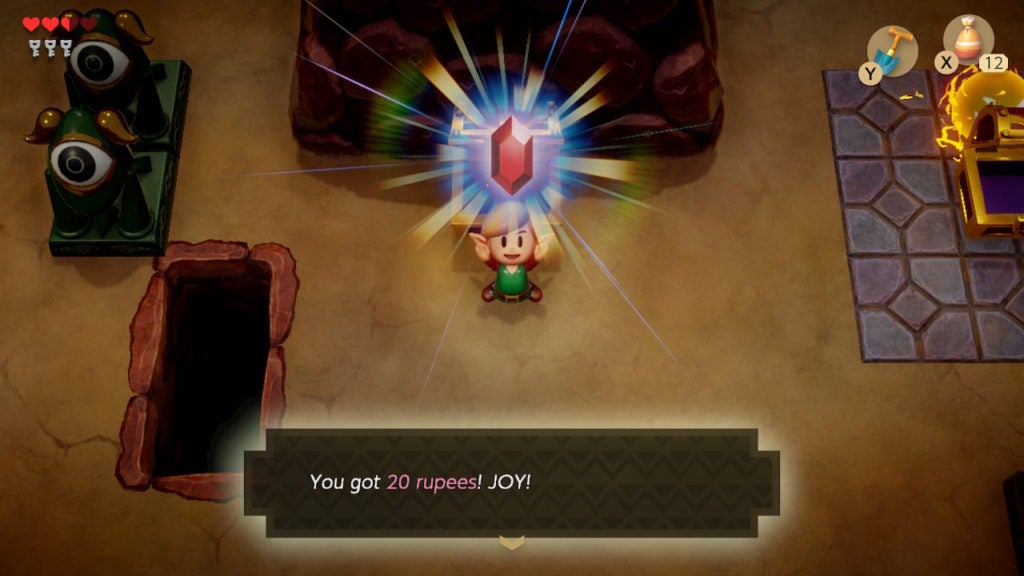
There is also a Mini-Moldorm in this room. This worm-like adversary will slither all over the place until you slay them with a few strikes from your Sword. When you do, another chest will spawn just to the west of the chest that held the Small Key. Looting it will give you 20 Rupees.
Traverse the Room North of the Big Room
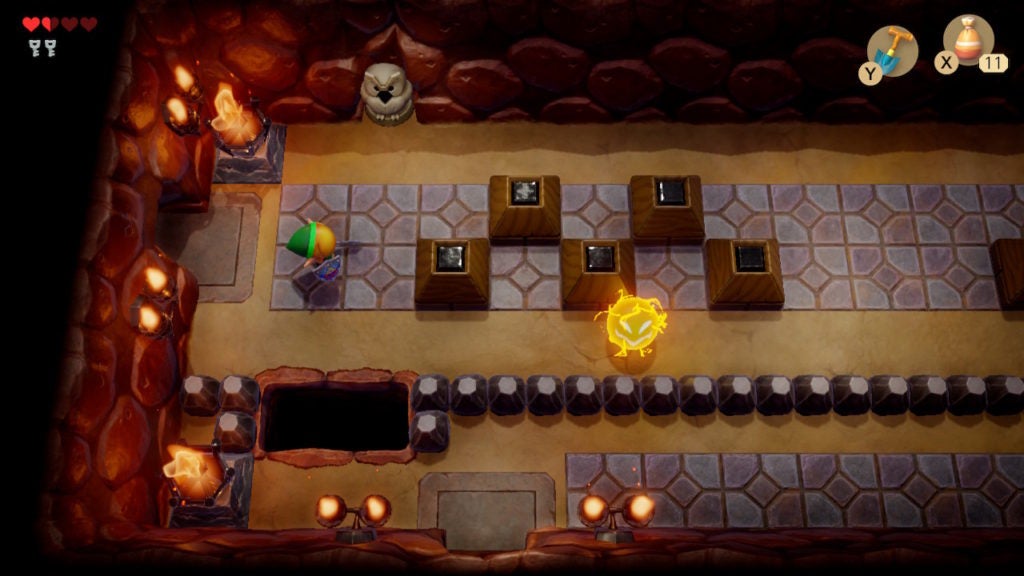
For now, ignore everything else and go north to the locked door at the top of the big room. You have plenty of Small Keys, so now is the time to start using them! Just be sure to avoid the Blade Trap enemy by not walking in a straight line from them. Like a rook in chess, they’ll linearly charge at you if given the chance.
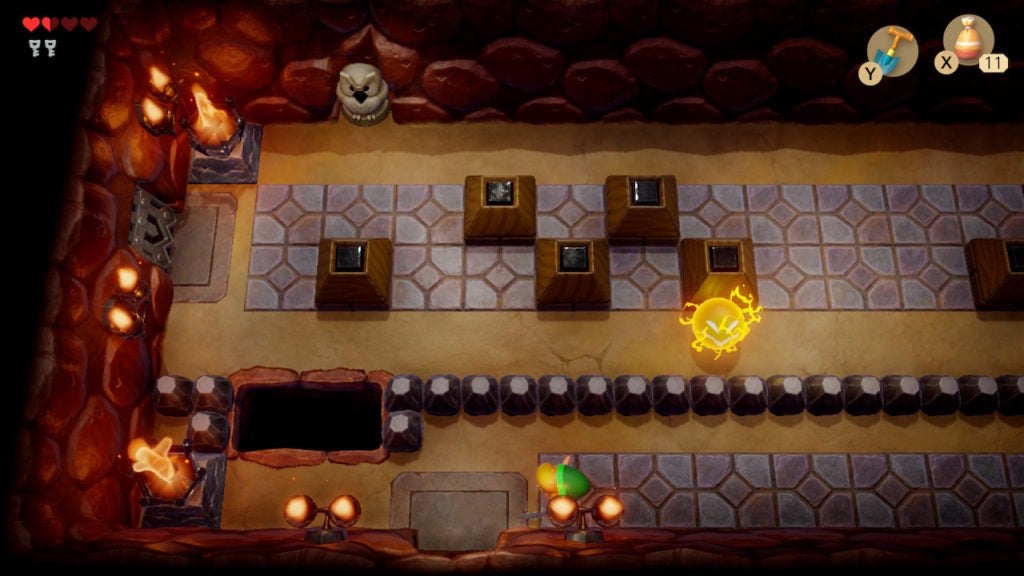
In the northern room beyond, you’ll notice that you can’t get to the door on the west side yet, though, doing so will be relatively simple. However, due to the barrier in front of you, you’ll have to go to the east side of the room and loop around.
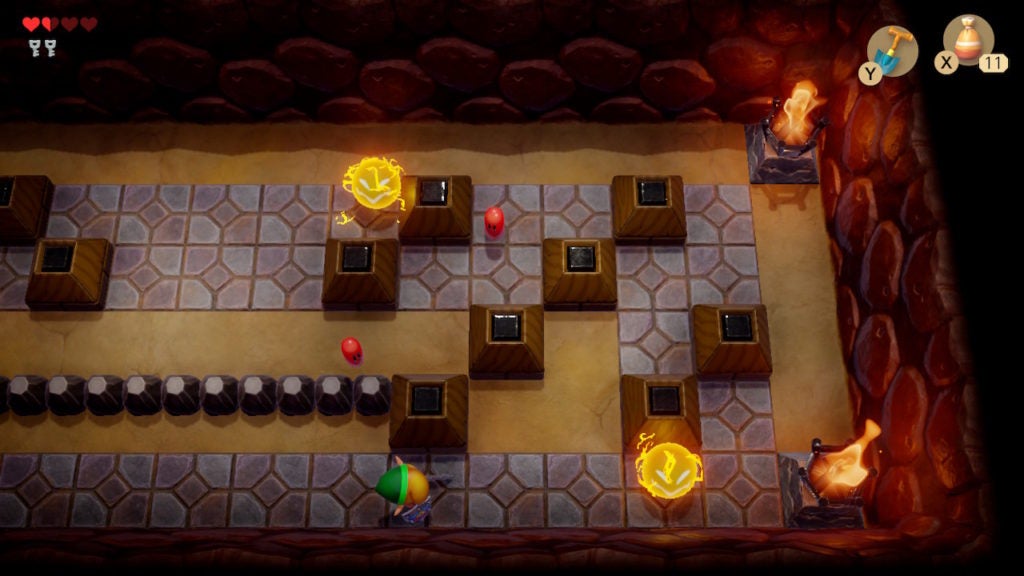
Avoid the 2 Sparks as you make your way around. You’ll have to deal with 2 Red Gels as well, but they’ll fall quickly to your swordplay. When you make your way back to the west side of the room, there’s a simple puzzle waiting for you.
All you need to do to open the locked door is push the westernmost block 1 space to the east to complete the room’s M-shaped block pattern. Afterward, go west into the next room.
Slay the Spiked Beetles to Reveal the Hidden Staircase
Here, you’ll come face to face with 2 Spiked Beetles. Like their smooth brethren, you cannot damage them conventionally with your Sword. However, if you raise your Shield and then walk into them, you will flip them over. This will reveal their soft underbellies, which you can attack with your Sword to slay the beasts.
When you take care of both Spiked Beetles, a hidden staircase will appear in the top-right corner of the room. Proceed down it to find a change in perspective.
Find the Chest Containing the Roc’s Feather
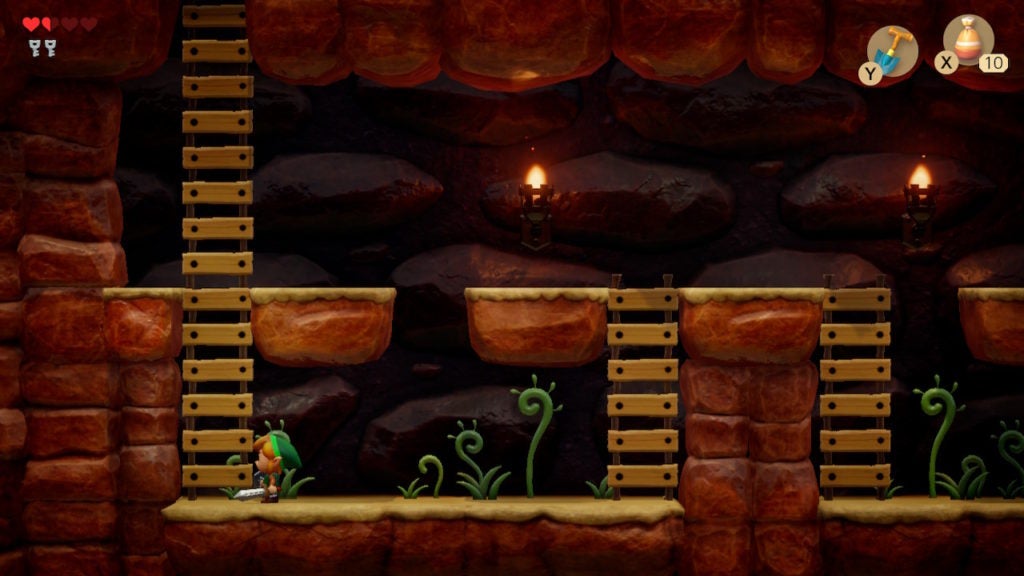
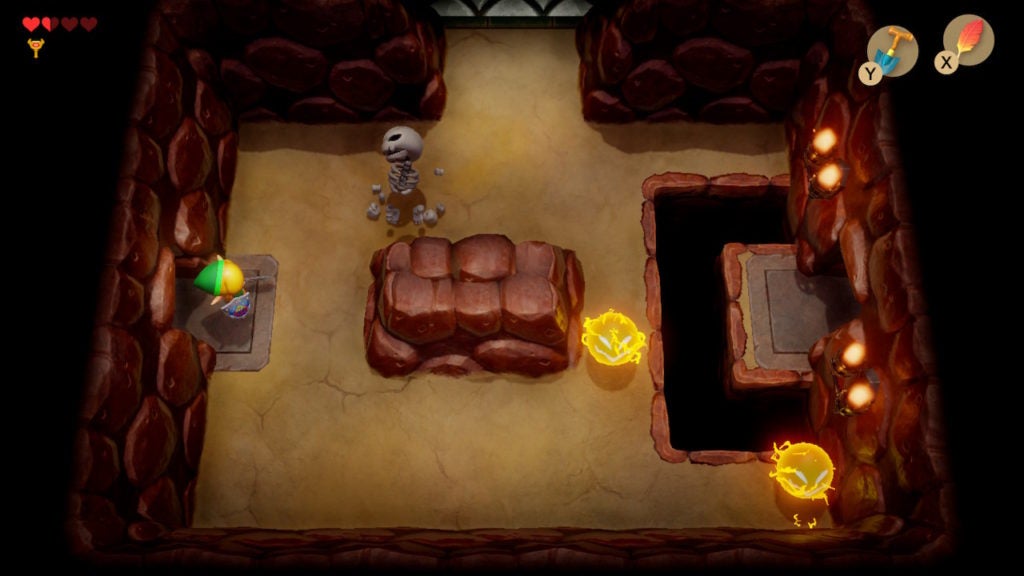
When you descend the stairs, you may have a bit of a jarring experience, as the perspective will change. You’ll go into a side-view mode to travel this underground route. Ignore the fact that the stairs turn into ladders down here and make your way to the west. There are a few Goomba enemies here, though they’re not very dangerous and can be slain with your Sword.
As you ascend the westernmost ladder, you’ll find yourself in a small room with only 1 way to go: north. Do so to find the chest holding the Roc’s Feather. It is beyond a couple of annoyingly-placed Blade Trap enemies, but there’s an easy trick to get by them. You can fake them out by stepping in front of them and then backing away. As they reset their position, you’ll be able to get past them without any issues.
Open the chest and equip the Roc’s Feather to either your X or Y button to use it. When you press the corresponding input, Link will jump. Momentum plays an important factor in jumping mechanics, so practice makes perfect.
The Roc’s Feather is extremely useful for not only traversing many areas but also for evading enemy attacks. As such, you’ll need it so often that there’s not much point in ever unequipping the Roc’s Feather.
With this vital item equipped, backtrack through the dungeon as you cannot progress any deeper this way.
Find the Nightmare Key
To find the next crucial item in this dungeon, you’ll have to return to the big room from before. This time, however, you’ll need to reach the chest held in the northern area.
You won’t be able to reach the chest from the west of the big room, even with the Roc’s Feather. However, you can go to the northeast area to find a gap that you can now leap across.
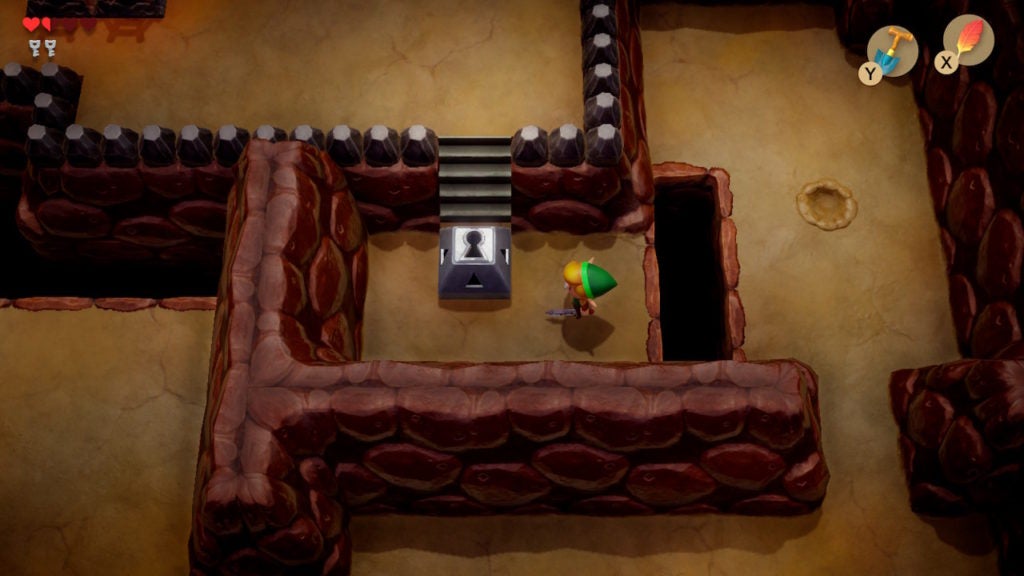
Once you’re across the small chasm, you’ll need to use a Small Key to open the Locked Block here. This will allow you to ascend the raised area and reach the chest in the north of the room.
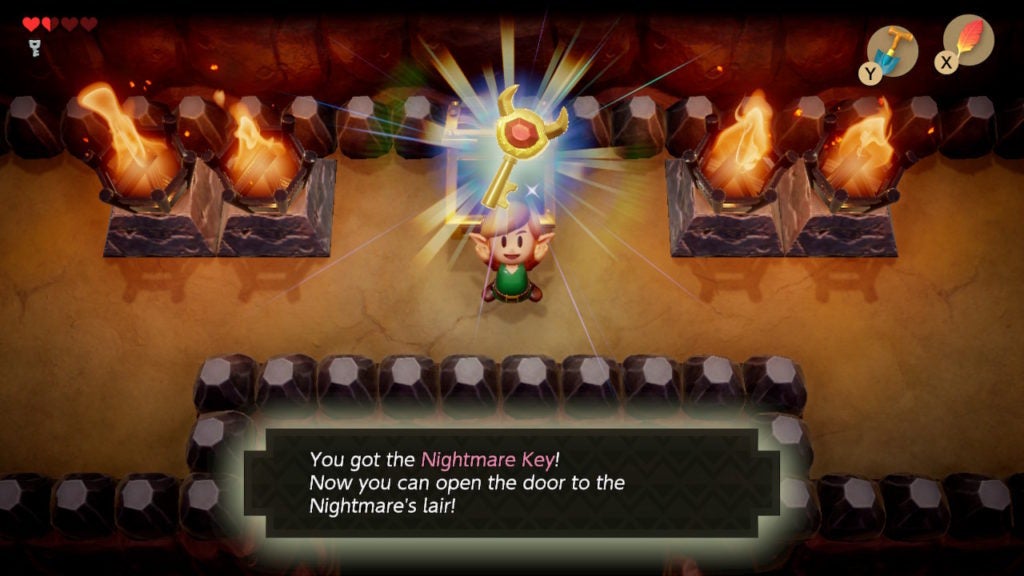
Within the chest will be the Nightmare Key, which unlocks the boss room. At this point, you can actually make it to the boss room and defeat this dungeon. You don’t technically need either the Dungeon Map or the Stone Beak. You’ve already explored the most important areas of the dungeon and the Owl Statues don’t provide the most useful of hints in Level 1 – Tail Cave.
Find the Dungeon Map (Optional)
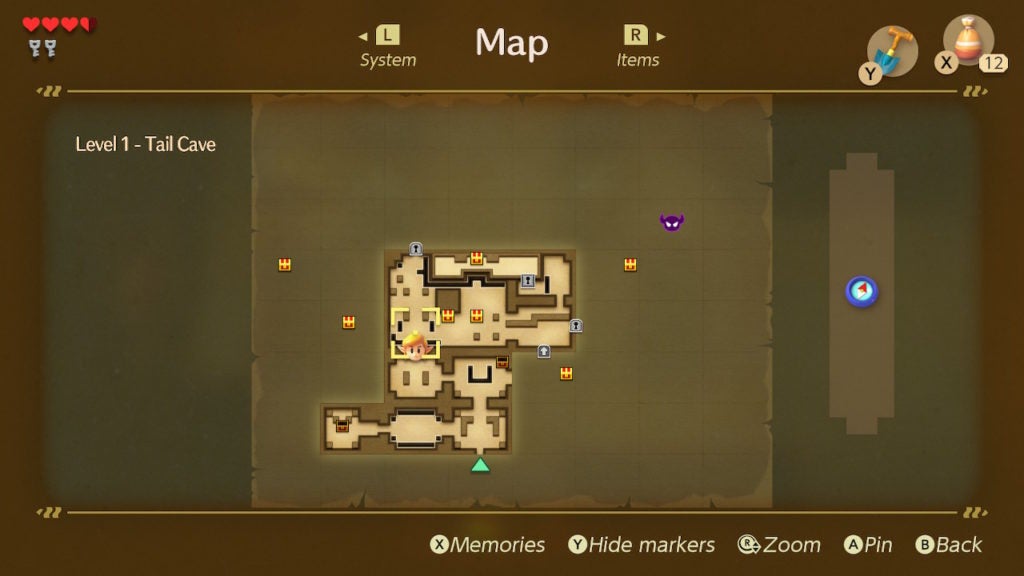
From the big room, you can backtrack towards the main entrance but stop at the room with the button on the floor. Head out the eastern exit and into the room beyond to find a few enemies.
There will be 2 skeletal Stalfos enemies as well as 2 pesky Keese. You can defeat all of them with a few slashes of your Sword, but you’ll have to time your attacks. The Stalfos will jump back when you first strike, so you’ll have to be aggressive to pursue and take them down.
When the room is rid of enemies, a chest will appear against the east wall. This chest will contain the Dungeon Map, which you can look at for a clearer view of Level 1 – Tail Cave. From here, if you’ve opened all the chests in the western parts of the dungeon, the only one left should be the chest containing the Stone Beak. This is located north and a bit east of the room with the Dungeon Map chest.
Find the Stone Beak (Optional)
To get to the Stone Beak chest, unlock the room to the east of the big room. This door has a lock, but you should have at least 1 Small Key with which to open it. When inside, you’ll find 1 Stalfos and 2 Sparks.
There’s no need to fight the Stalfos here, however, if they’re bothering you, don’t hesitate to dispatch them. The last chest in the dungeon lies north, so head out of the room in that direction.
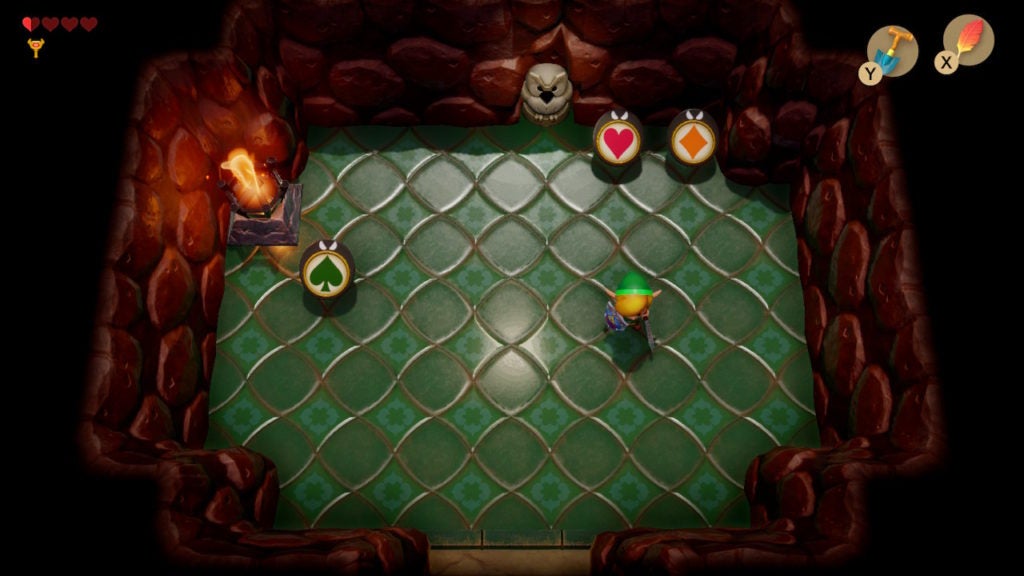
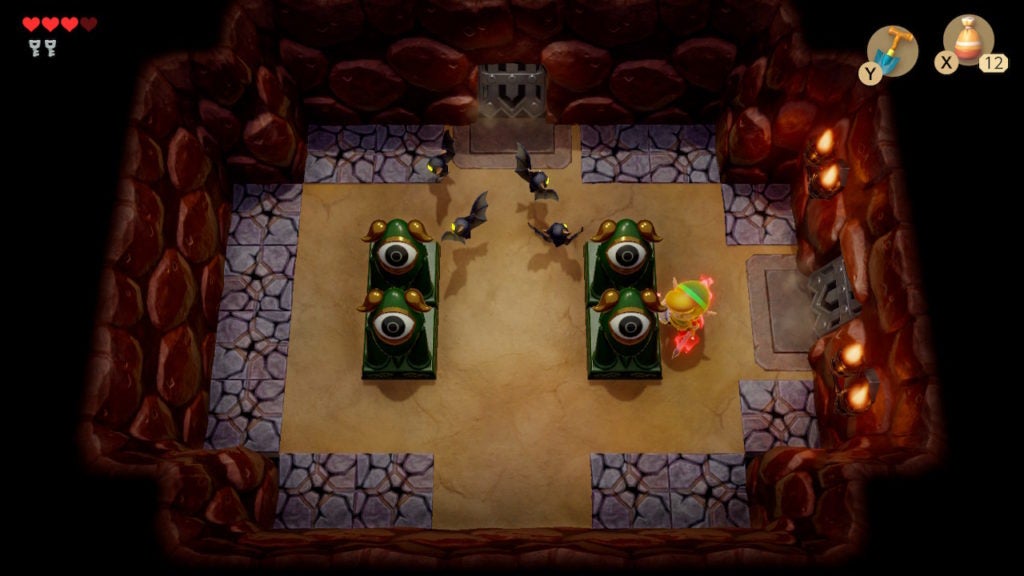
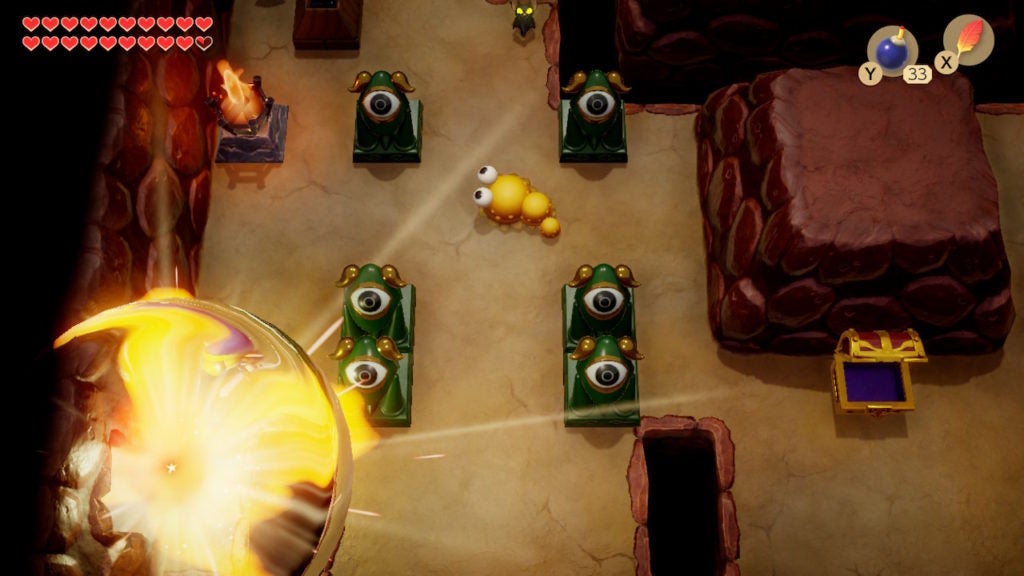
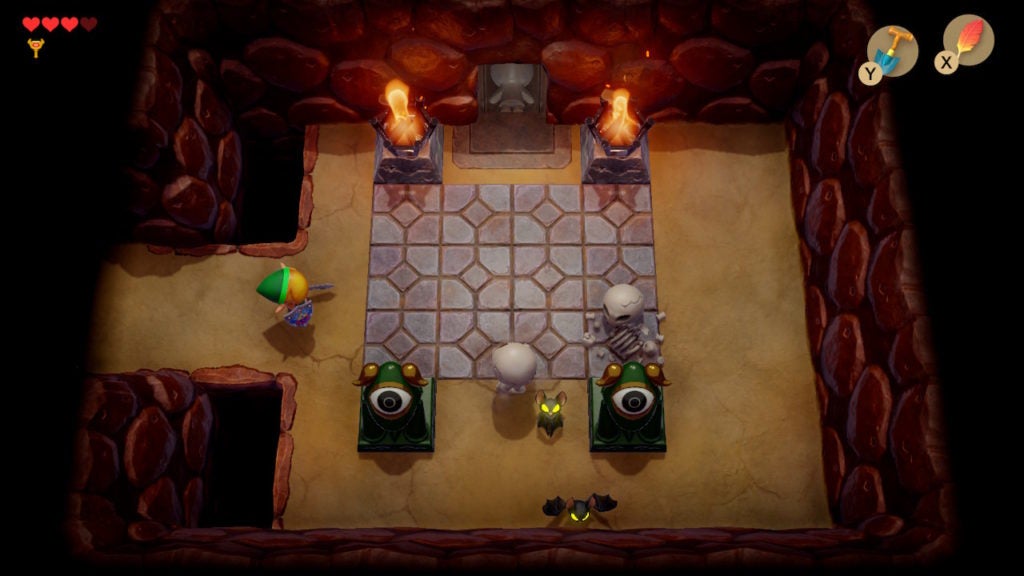
The first thing you’ll notice about this room is its oddly ornate green tiles. However, the enemies here are of more importance. The 3 round foes here are Three-of-a-kind enemies. You can only defeat them by matching the symbols on their bodies. They will flip through each of their 4 symbols by themselves, so it’s up to you to stop them with well-timed Sword strikes.
After dealing with the minor threats, a chest will appear on the east side of the room. Within, you’ll find the Stone Beak, which you can use on any of the Owl Statues you see in this dungeon. However, nothing any of the statues have to say in Level 1 – Tail Cave is very useful. With that, you now only have to face the mini-boss and then the boss to clear this dungeon.
How to Beat Spike Roller
Head south to the room with the 1 Stalfos and 2 Sparks. Cross the gap to the eastern exit, but be prepared. In the room beyond is Spike Roller, the mini-boss of Level 1 – Tail Cave. You’ll need the Roc’s Feather equipped to dodge their attacks, so assign it to a button if you haven’t already done so.
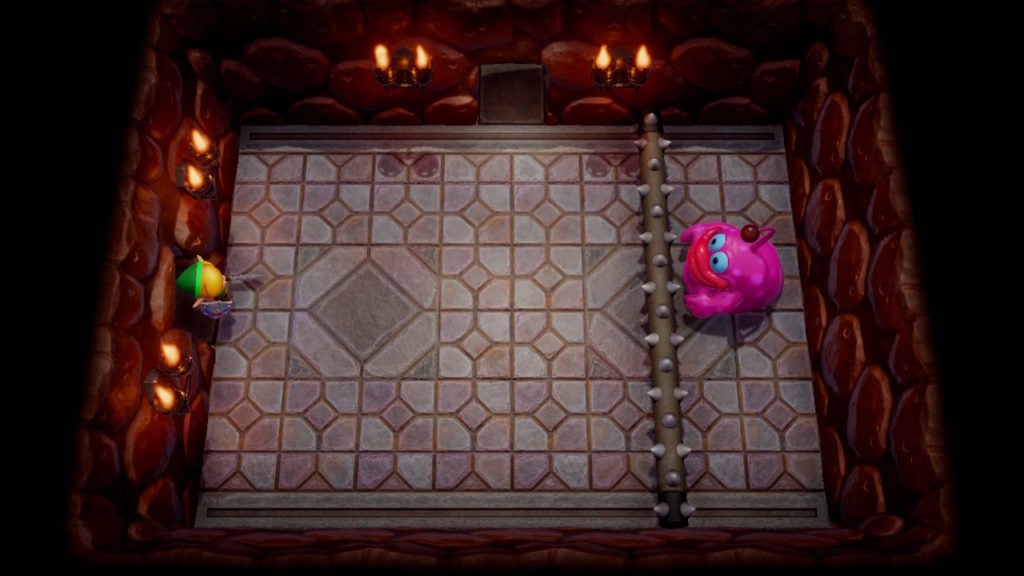
Although Spike Roller, and the other mini-bosses throughout the game, never have their names appear in-game, you’ll understand why they call this fellow Spike Roller very quickly. This pink blob with arms will push a room-spanning log covered in spikes in your direction to harm you.
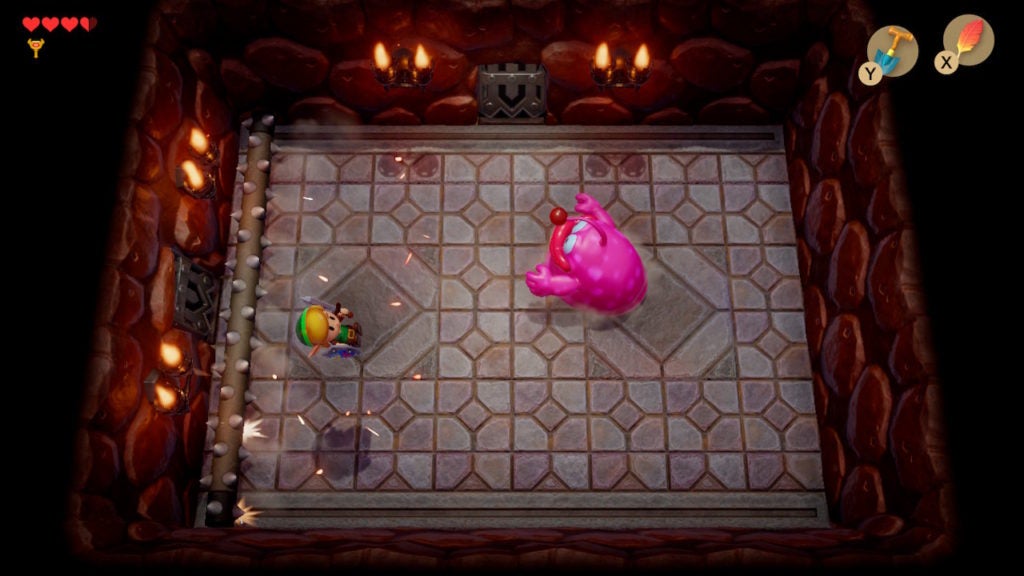
However, with well-timed jumps, you can leap over the spiky log to avoid getting hurt. When you’re not dodging the spiky log, focus on attacking Spike Roller with your Sword. If you prioritize dodging over attacking, you should be able to defeat Spike Roller relatively easily. Keep hitting them with your blade until they go down and you’ll be rewarded.
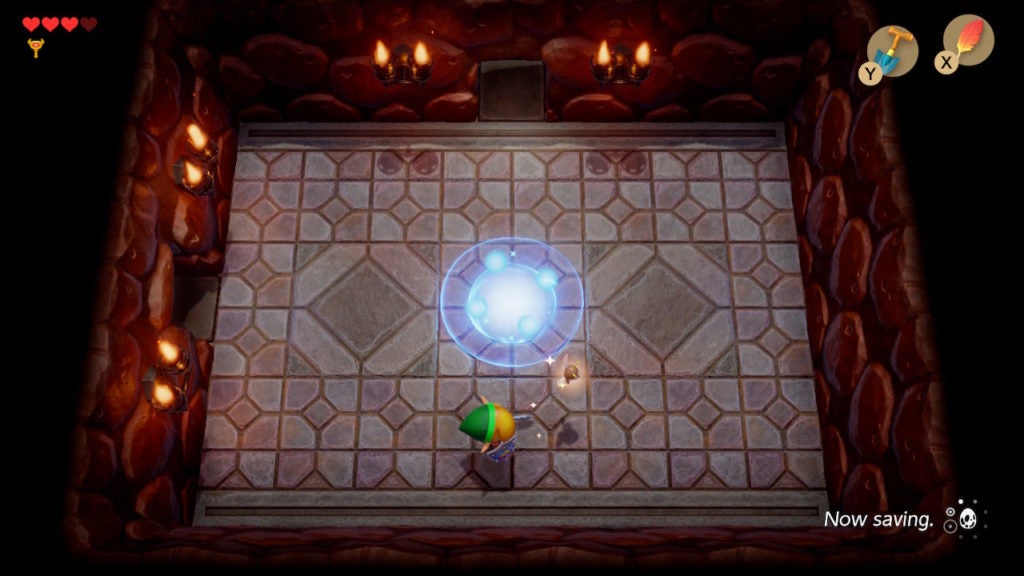
In addition to causing a warp point to appear in the center of the room, defeating Spike Roller will also cause a Fairy to spawn. If you have a Fairy Bottle, you can capture the Fairy to release later for 10-Hearts worth of healing. However, if you’re injured, you can give the little fae a high-five to restore your Hearts.
If you want, you can teleport back to the main entrance of the dungeon with the warp point. Although, if it is progress you seek, proceed north to chamber beyond.
How to Beat Moldorm
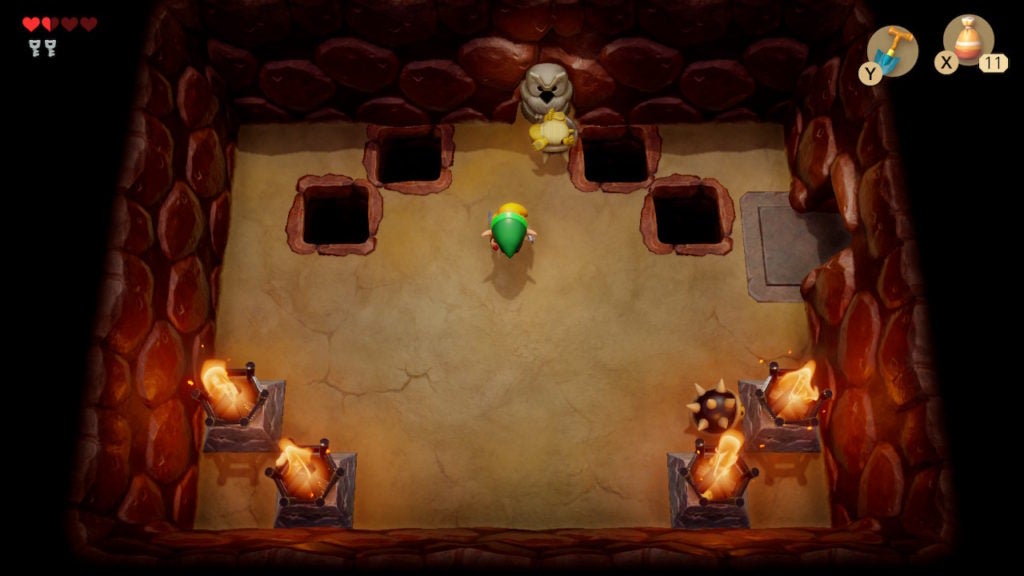
Going out of the northern exit from Spike Roller’s room will lead you into a chamber with a special locked door, a staircase, and, most alarmingly, 4 Blade Trap enemies around the perimeters. The second you enter this room—stop! As 2 Blade Traps will come charging at you from both the left and right side. You can stand in the doorway without getting hit or going back into the previous room.
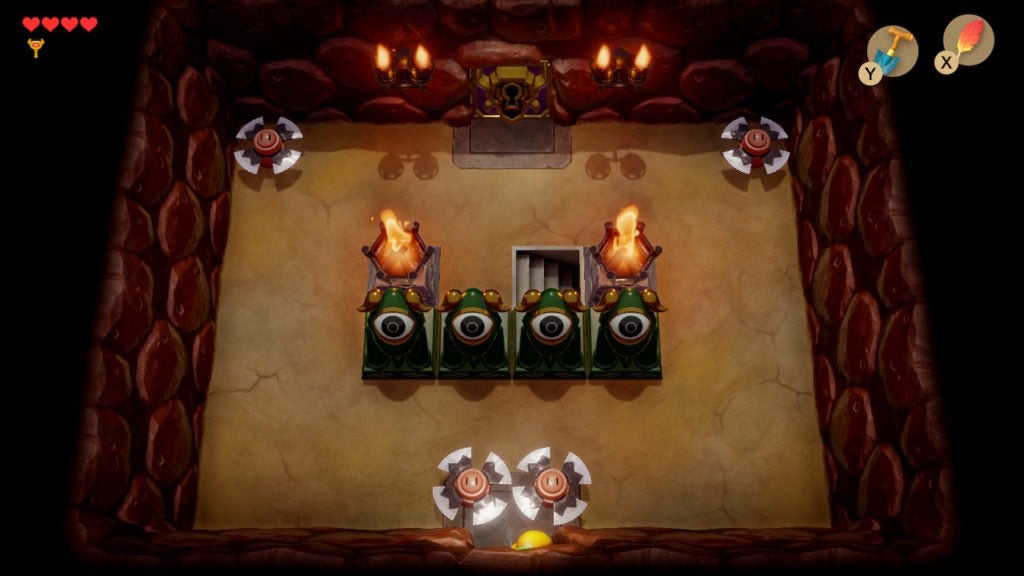
However, after you evade the sneaky Blade Traps, you can proceed into the center of the room. You’ll note the staircase leading downward, however, that is only a way back if you fall into a pit within the boss room beyond, so you should ignore it for now.
With that said, you can now make your way to the locked door at the north end of the room and open it with the Nightmare Key. Just be careful of more Blade Traps. Go into the room beyond to confront the Nightmare in their lair.
How to Fight Moldorm
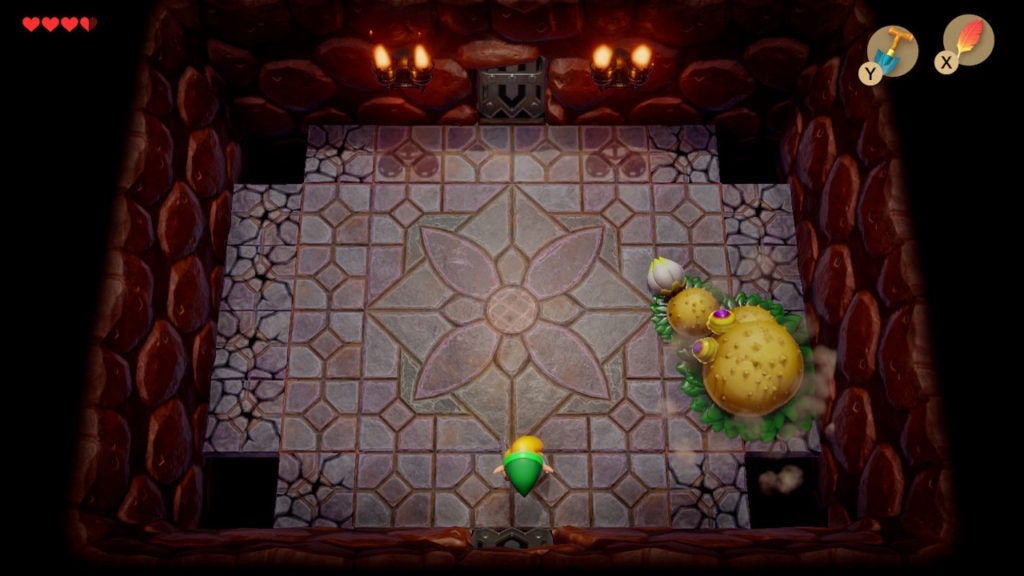
The most important thing about fighting Moldorm is staying away from the left and right of the room. The worm-like boss will rush around the area and try to bump you. While contact with the boss will damage you, getting shoved into one of the holes is worse, as it will cause Moldorm’s health to reset.
The best strategy to avoid a fall is to stand in the south of the boss room by the entrance with your Shield raised. Moldorm cannot harm you through your Shield, so a turtle-like approach is a good one here.
How to Hurt Moldorm
You can only deal damage to Moldorm by hitting the tip of its tail with your Sword. This will be tricky as Moldorm is constantly moving about. With this in mind, you should wait for it to come to you in order to attack easily and effectively. Stand with your Shield raised in the south and wait for Moldorm’s tail to approach before swinging at it.
Each time you do, Moldorm will lose a bit of health and will get faster. They will also sheath their weak point for a bit, so be patient and wait for a few seconds until Moldorm lets their guard down. After you hit Moldorm’s tail a few times, they will become enraged and enter their 2nd phase.
Ending the Fight
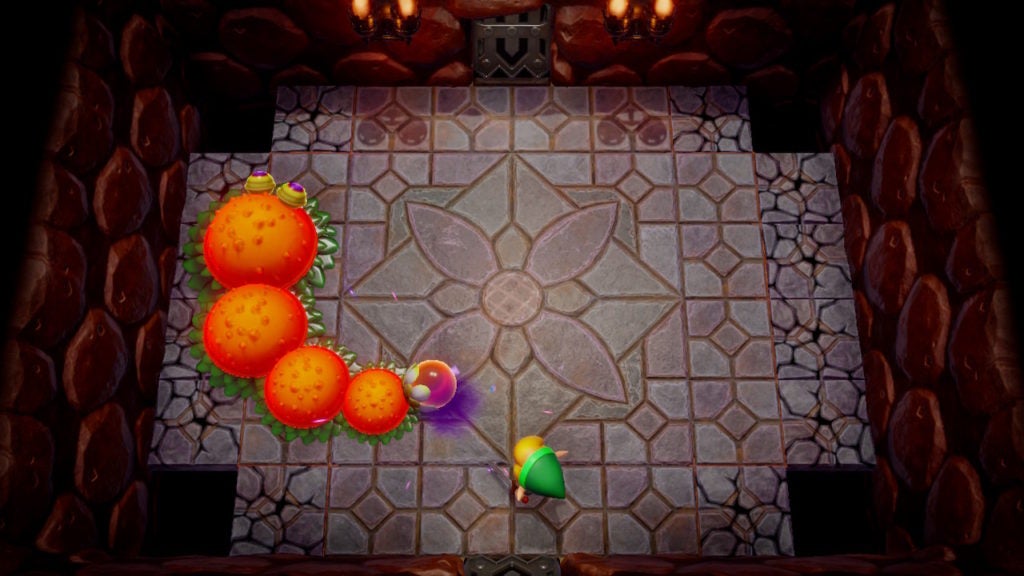
In phase 2, Moldorm will act much the same as in phase 1—just faster. You can use the same approach as in phase 1 to hit their weak point and defeat them once and for all.
Grab the Heart Container and the Siren Instrument

After Moldorm literally explodes, a Heart Container will be left behind and the exits of the room will open. Picking up the Heart Container will increase your maximum number of Hearts by 1 and will also fully heal you.
With your strength restored, you’re ready to get the greatest treasure of Level 1 – Tail Cave: the Full Moon Cello.
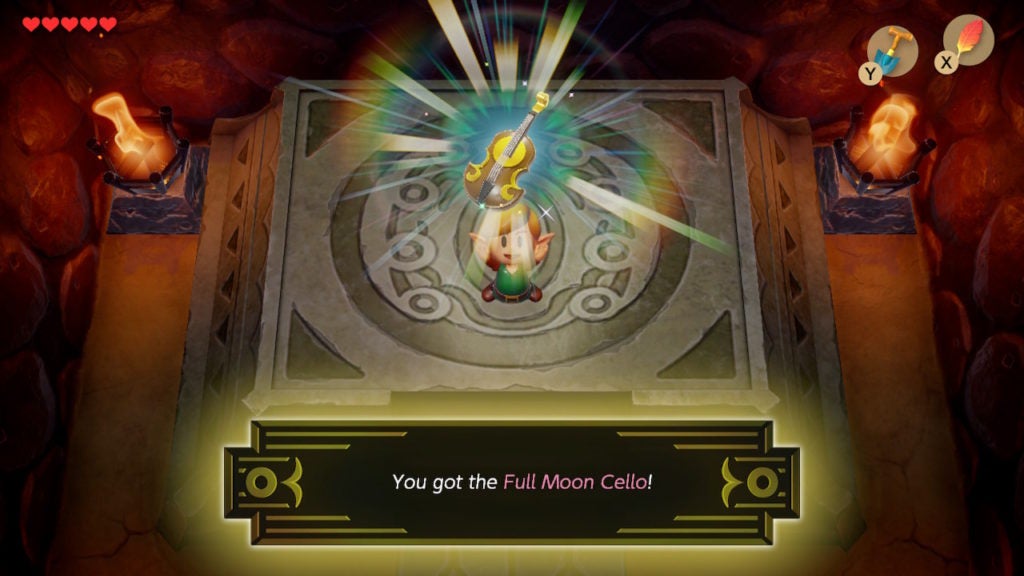
When you pick up the Siren Instrument, you will hear some pure, clear notes ring out from the Full Moon Cello. You will then see a white screen and some text hinting that you will now need to visit a swamp.
Where to Go Next
If you’ve gathered all the goods from Level 1 – Tail Cave, you can leave this dungeon behind to progress your adventure. When you do, you’ll meet up with the wise Owl in front of the dungeon’s entrance.
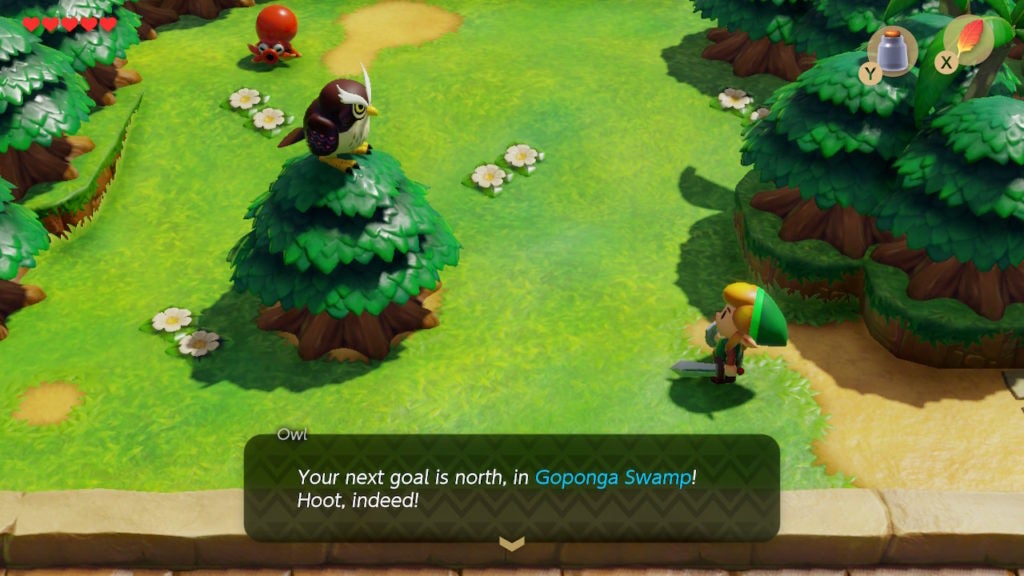
In line with the hint that you got after picking up the Full Moon Cello, the wise Owl will point you in the direction of Goponga Swamp. However, as you head north, you’ll encounter a crisis in Mabe Village. Someone has abducted BowWow, which means you have to rescue them! In the next part of your adventure, you will have to save BowWow and search Goponga Swamp for the next dungeon.