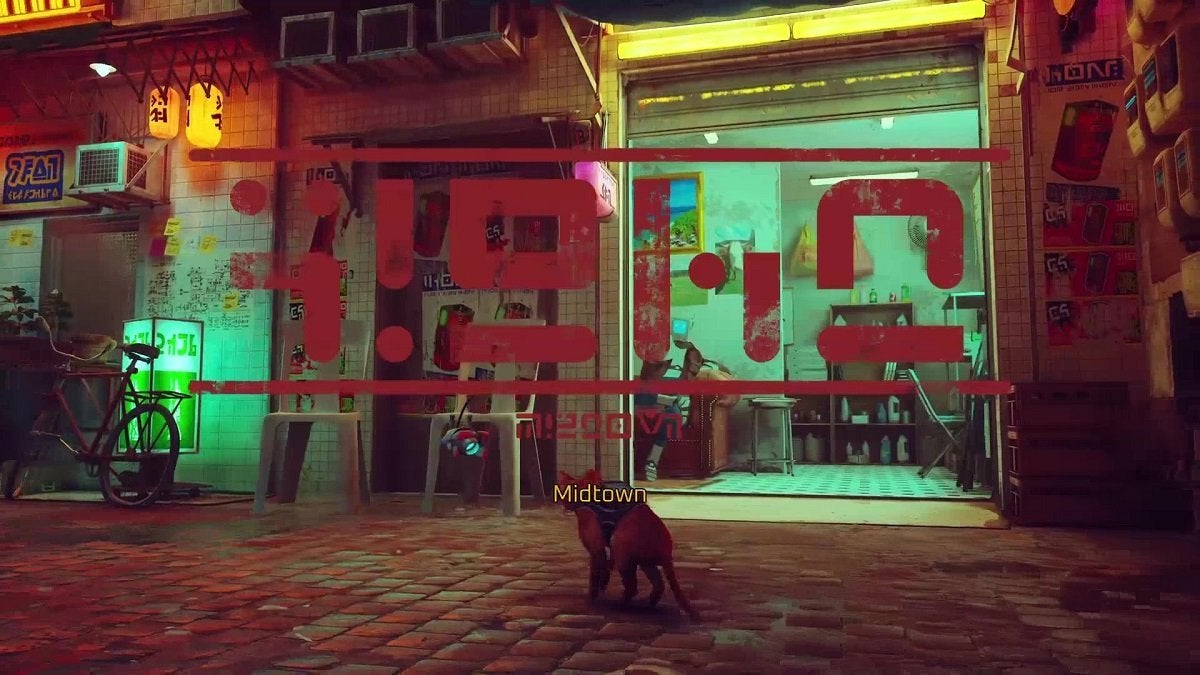
Welcome to Midtown! This is the place you’ll be exploring during Chapter 10 in Stray. There are a lot of things to do here before you can advance. Get ready for the longest chapter you’ll have to complete in the game.
Table Of Contents
Stray: Chapter 10 – Midtown Video Walkthrough
Arriving at Midtown
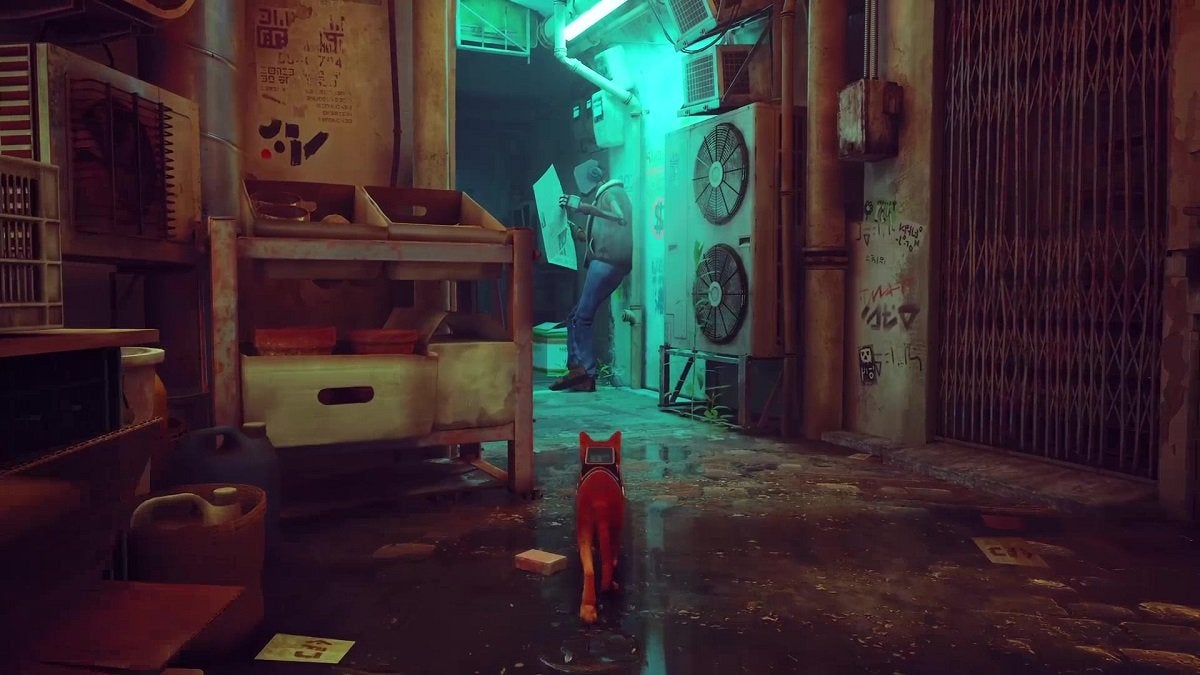
As soon as the chapter begins, continue walking forward until you reach the subway station. A cutscene will play out here and a memory will automatically unlock. Once you’re able to take control of the cat again, make your way to the other side of the station and you’ll find a staircase here.
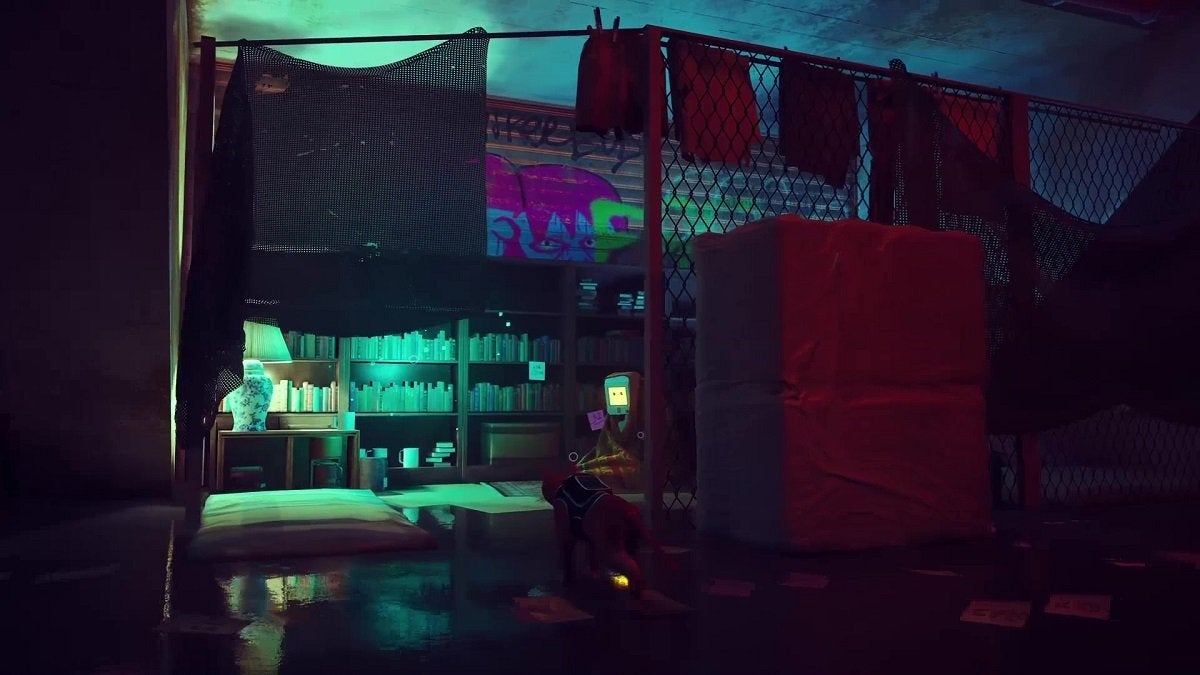
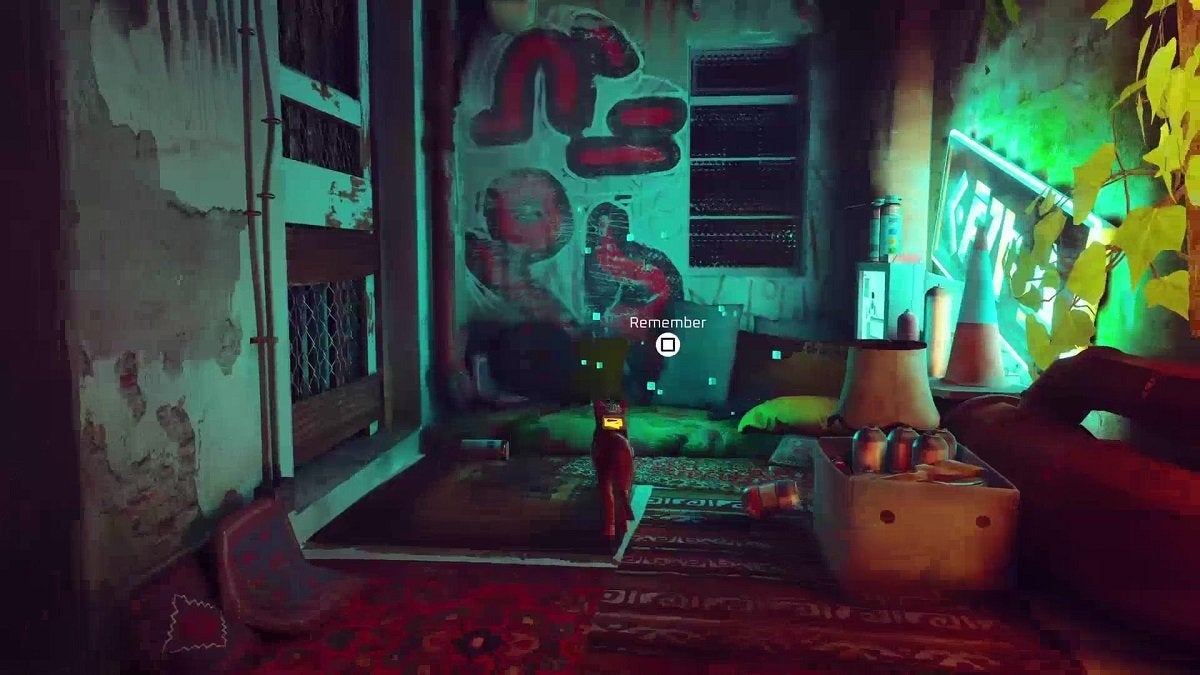
Make your way up, then cross the fence through the short slit. Head right and you’ll have a small nook with bookshelves in it and a single robot. Interact with the bookshelves to unlock another memory.
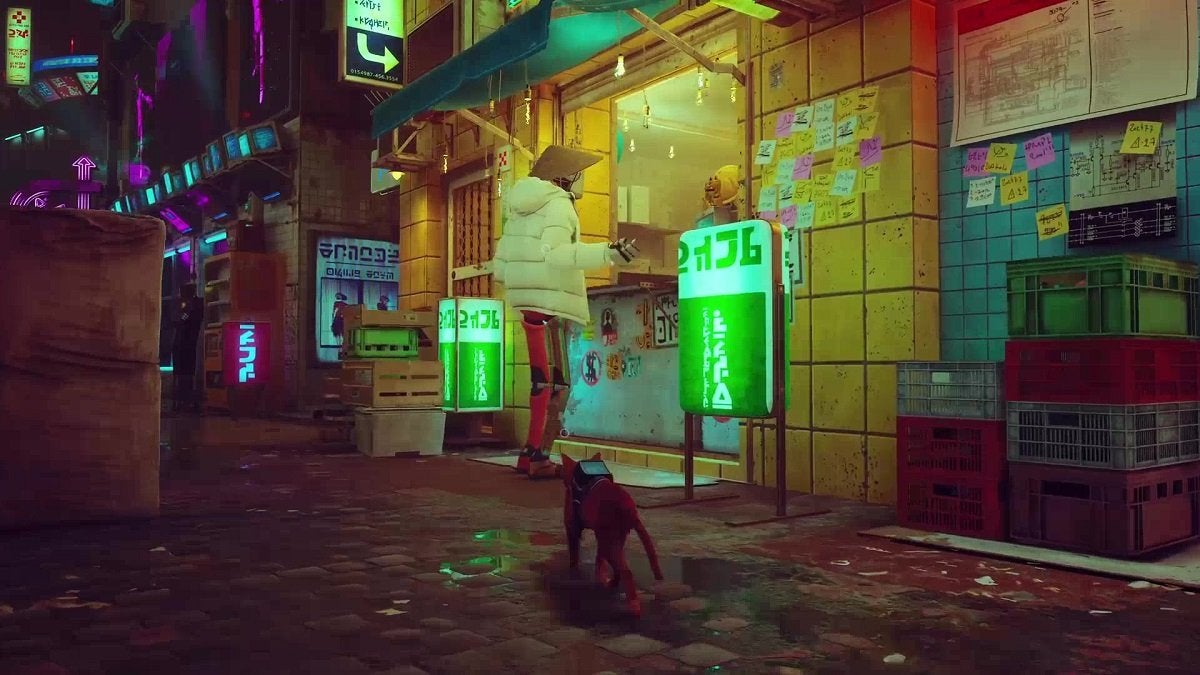
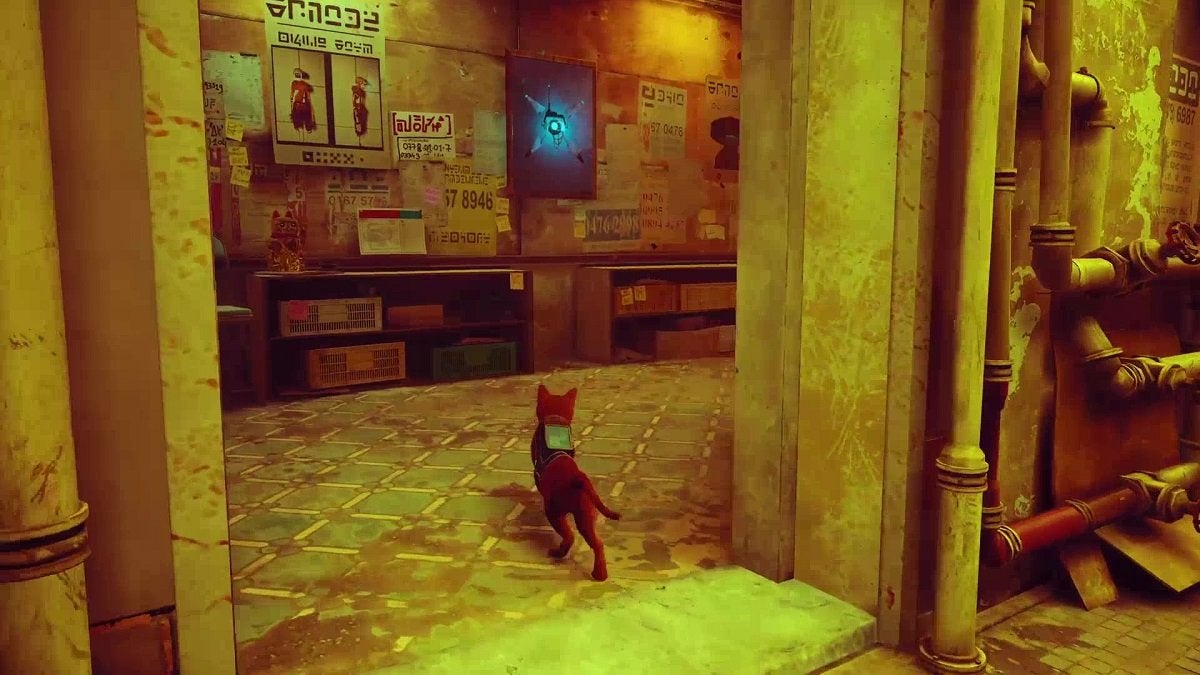
Exit this area and continue onward. When you leave this room, a robot that’s being chased by a drone will run past you. Head right from here and continue forward. You’ve officially arrived in Midtown.
You find out where Clementine is by talking to certain robots and showing them the photograph that Zbaltazar gave you during the previous chapter. Before heading to Clementine’s apartment, though, there are a couple of memories on this level that you can unlock first.
Exploring Midtown for Collectibles
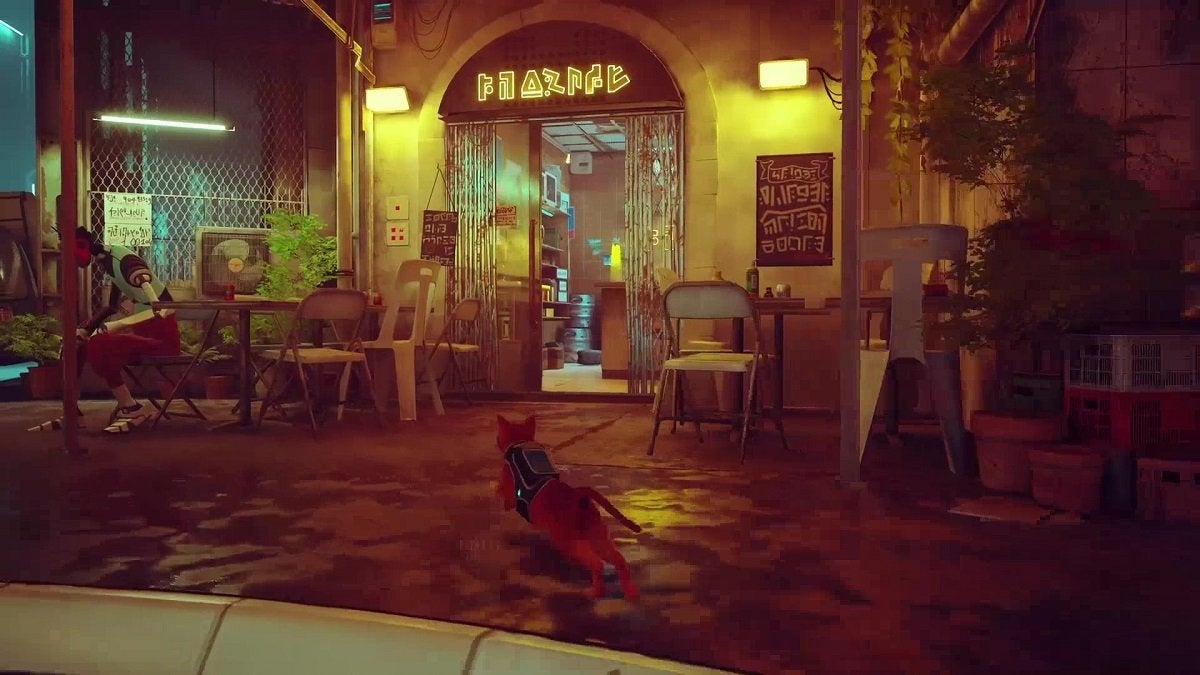
Head up the stairs past the area where the robot is captured. Keep walking forward until you see a shop where there’s a robot outside complaining to another inside the shop. There are two green signs outside this shop.
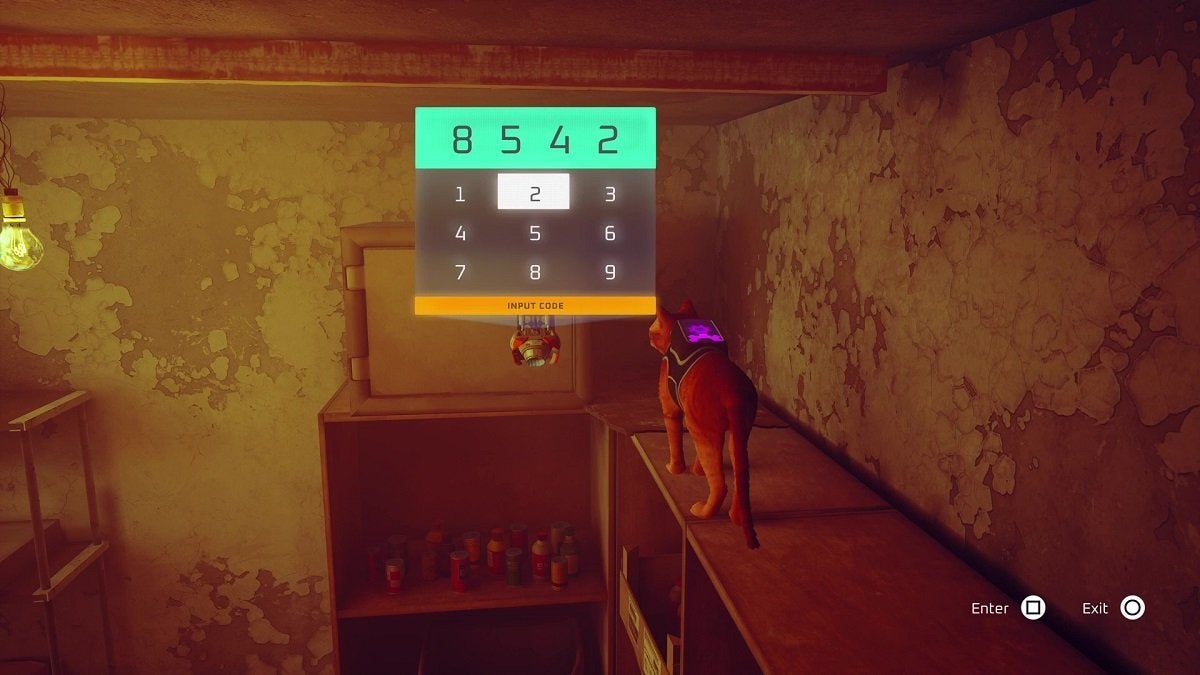
Hop on the front desk and get inside the shop. Go to the back and look over to the right to find a white sign that B-12 can translate for you. This sign translates to the “2458 :edoC” backward digicode.
With that, hop onto the table to the right of the sign. From here, keep ascending until you’re on the top of a bookshelf and spot a safe at the end—which you can open with a digicode. The code for this safe is 8542. The sign is written backward, made evident by the word “code” that follows the numbers spelled in reverse, which is why the digicode is 8542.
Inside the safe is a badge. Take it and head back outside. Make a hard right to find a narrow alleyway. Keep walking forward until you find a robot sweeping. There’s a trash bin in this area next to a vending machine.
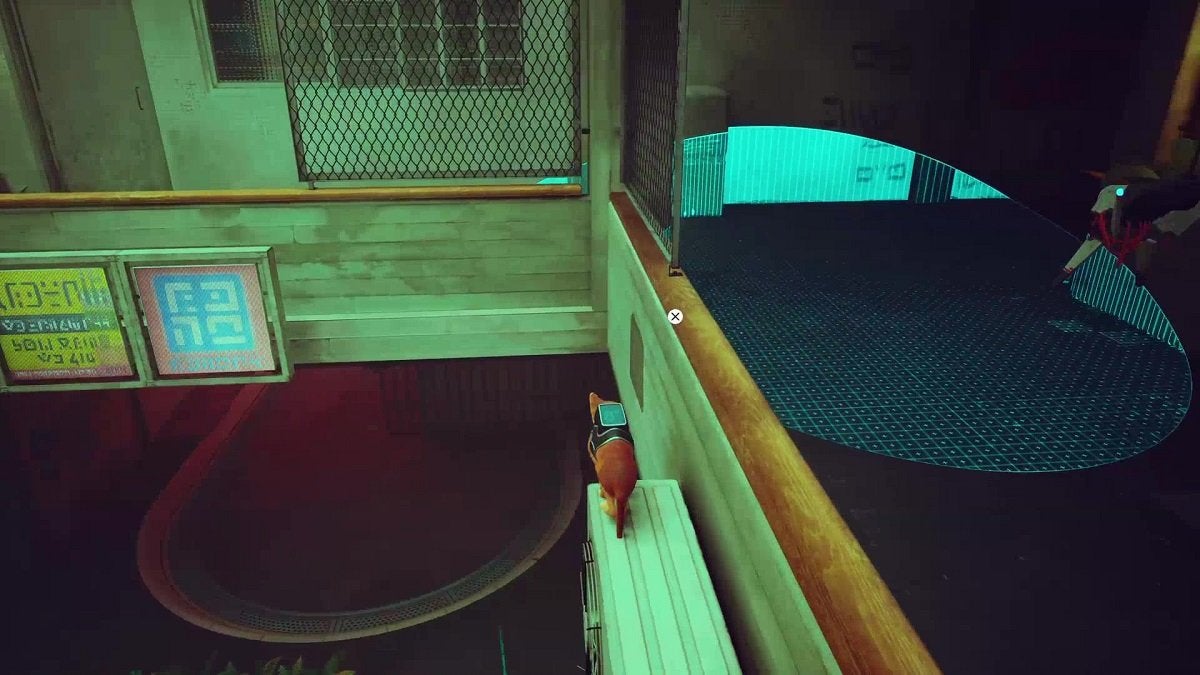
Hop on top of the trash bin, then jump to the canopy on the right. Leap on top of the AC unit fan left of the neon sign, then continue heading up from here. You’ll then arrive on a small rooftop where you’ll find a memory to unlock.
Head back down. There’s a bucket here you can ride to get back to the ground faster. Head to the alley on the right, then make a left. You’ll now be in Midtown’s central plaza.
While facing the hologram at the center of the plaza, look to the right and you’ll find a small shop with a yellow neon sign above the door and two yellow lights on either side of it.
Enter this shop and go to the back. Hop on top of one of the tables here, then get on top of the partition wall behind Mattbee, the robot that either owns this shop or works here. You can hop to the crawlspace above through the broken ceiling from here. There’s a memory here you can unlock.
Once done, head back down and exit this shop. Turn slightly to the left and you’ll see a shop that has a closed door but a partially open window. There are two yellow signs above the window. Approach the window and hop in to enter the shop.
Hop on the sofa, then get on top of the shelf left of the neon sign. Get on top of the neon sign from here and keep walking forward to reach a small attic. There’s another memory here for you.
After unlocking the memory, leave the shop. It’s time to find Clementine.
Meeting Clementine
After exiting the barbershop, go right and you’ll reach the residential area. The image on the back of Clementine’s picture shows you three green dots and five red dots. These symbols indicate Clementine’s address. The three green dots mean she’s on the third floor and the five red dots mean she’s in the fifth apartment.
Make your way to the third floor and find the fifth apartment. There are symbols outside each apartment that indicate their room number. Once you finally find the room that has the three green dots and five red dots symbol, you’ll find that the door is barred shut but there’s a small opening on the window you can pass through. Enter the apartment through this opening.
Walk forward for a bit and a cutscene will play out. This is when you’ll finally meet Clementine for the first time. Show her the picture Zbaltazar gave you during your conversation. After this, follow Clementine until she tells you her plans on how to reach the surface.
You’ll then be tasked to find an Atomic Battery. More accurately, you’ll be tasked to steal one from the Neco Corporation factory. Clementine will then tell you to find a robot with a bomber jacket and a gold chain. She’ll also give you a message to take to this robot.
Finding Clementine’s Contact
After all that, exit Clementine’s apartment and return to the ground floor. You may have noticed three robots in the lobby, and that one of them is carrying a boombox around. Approach the robot that’s sitting down and interact with the cassette tape by his feet.
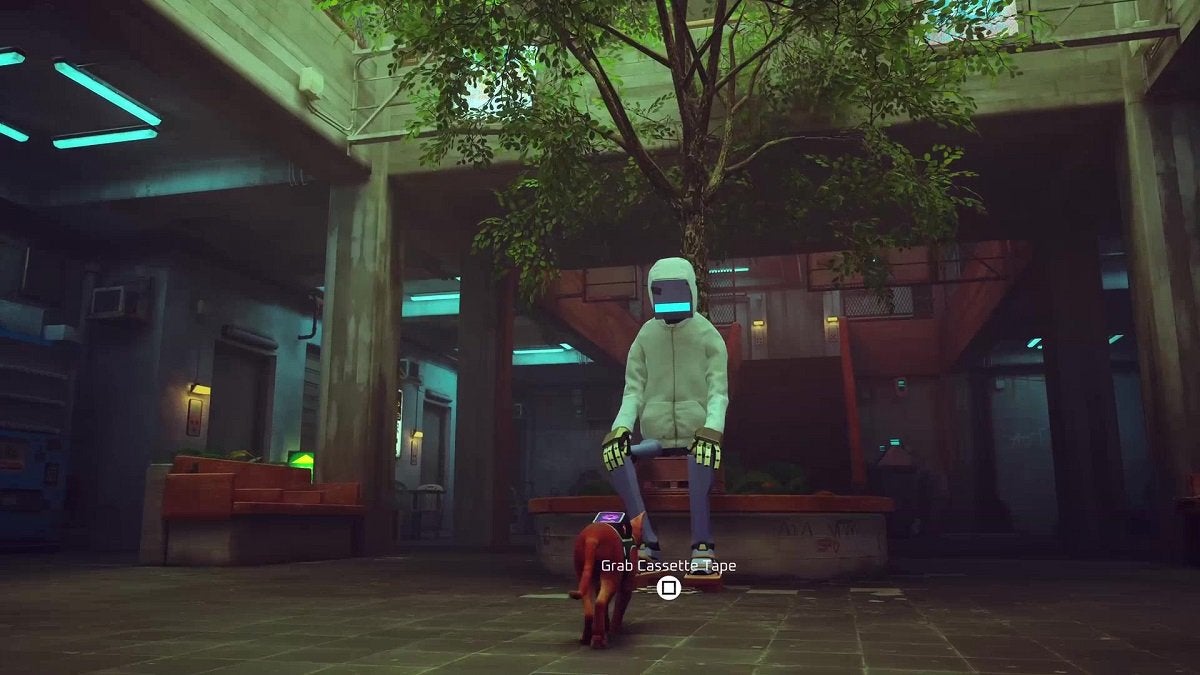
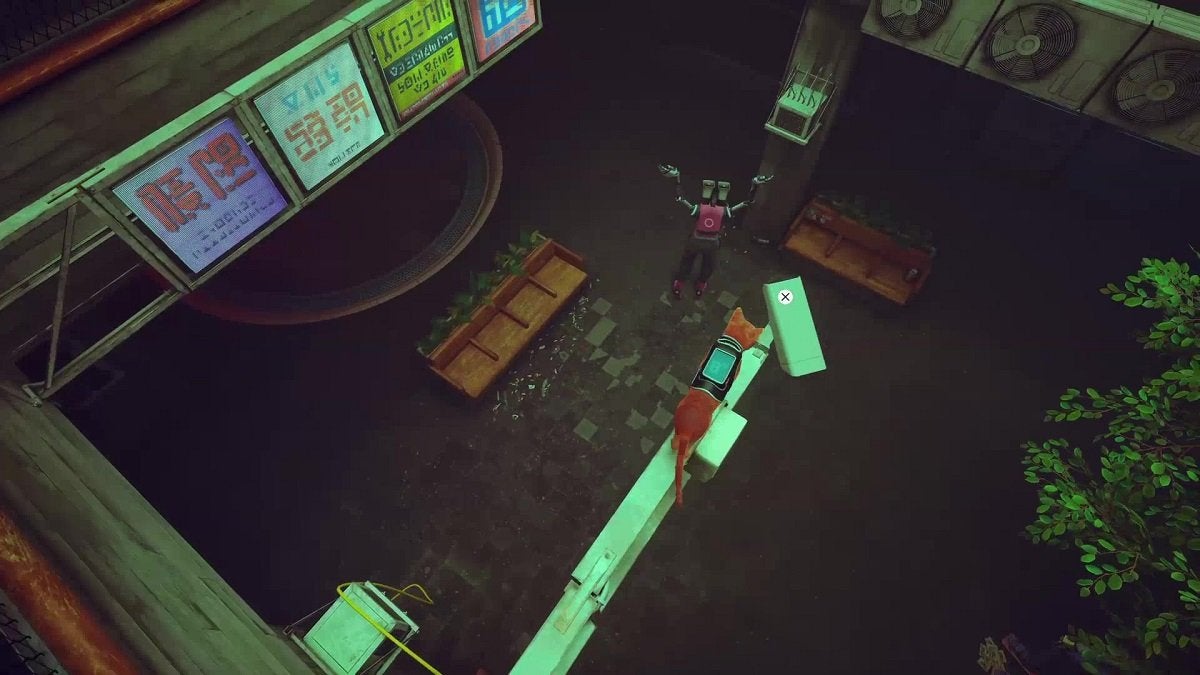
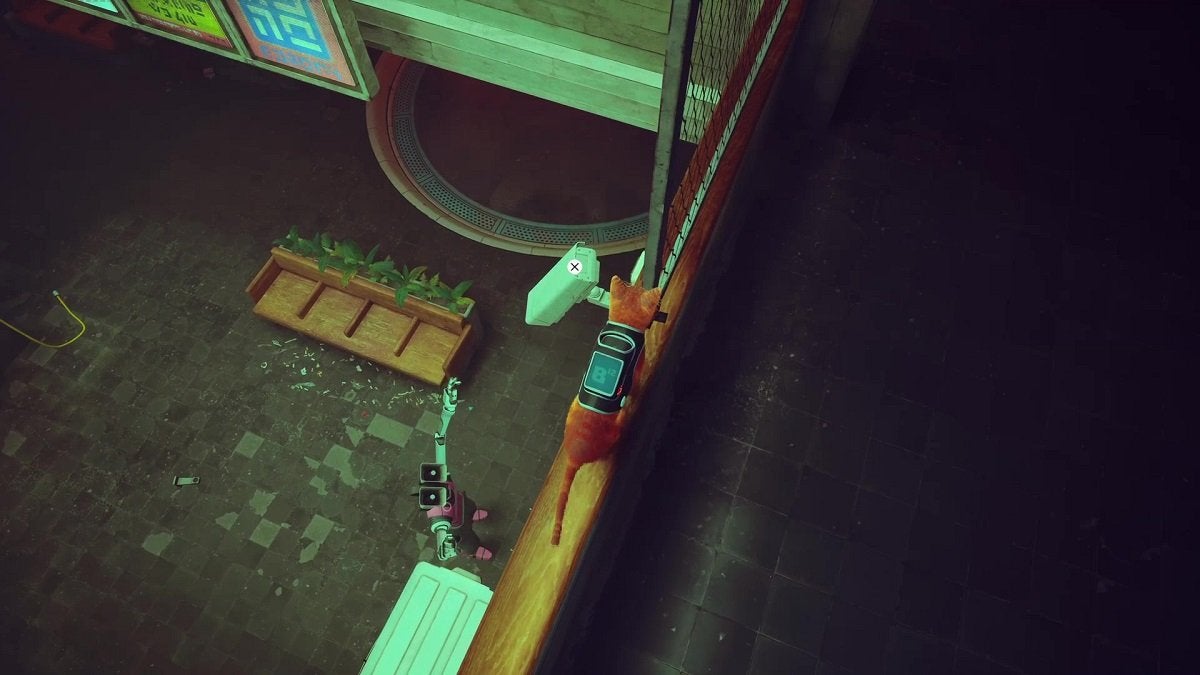
This robot’s name is Simon. He will then tell you that he’s willing to give you this tape, as long as you get rid of the three security cameras that are pointed toward the lobby. You can destroy these by jumping on top of them. You can start this task by going to the next floor.
One of the cameras is on the side of a sign that’s protruding above the lobby.
The next camera is above the door to the room with a symbol that shows two green dots and one red dot.
Finally, the last one is located approximately across from where the first camera was. The pink robot on the ground is looking directly into this camera.
Once all three cameras are taken down, head back to the ground and talk to Simon. He’ll give you the cassette tape for your service. You’ll need this for something else that’s related to your mission later on.
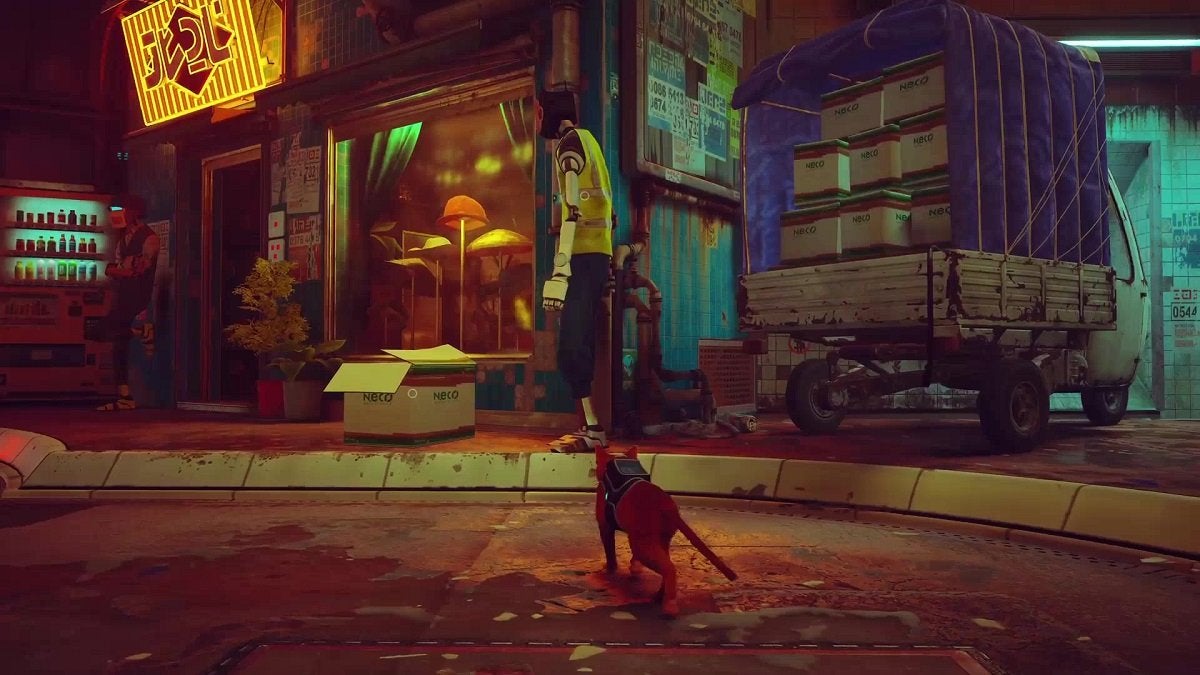
Return to the central plaza. While facing the hologram in the center, make a left and continue forward. Look to your right and you’ll find a clothing shop. Right after this clothing shop is a narrow alley. Proceed through this alley and you’ll find a robot wearing a bomber jacket who’s reading a newspaper.
This robot’s name is Blazer. Talk to him and hand over the message Clementine gave you. Blazer will tell you he’ll need two items before he can sneak you into the factory: a worker jacket and a worker helmet.
Finding a Worker Jacket
To get a worker jacket, enter the clothing shop you passed by earlier. One of the mannequins that are looking out the window is wearing a red jacket. This is the worker jacket you’ll need. However, you won’t be able to steal this right away. The owner of the shop will stop you if you try.
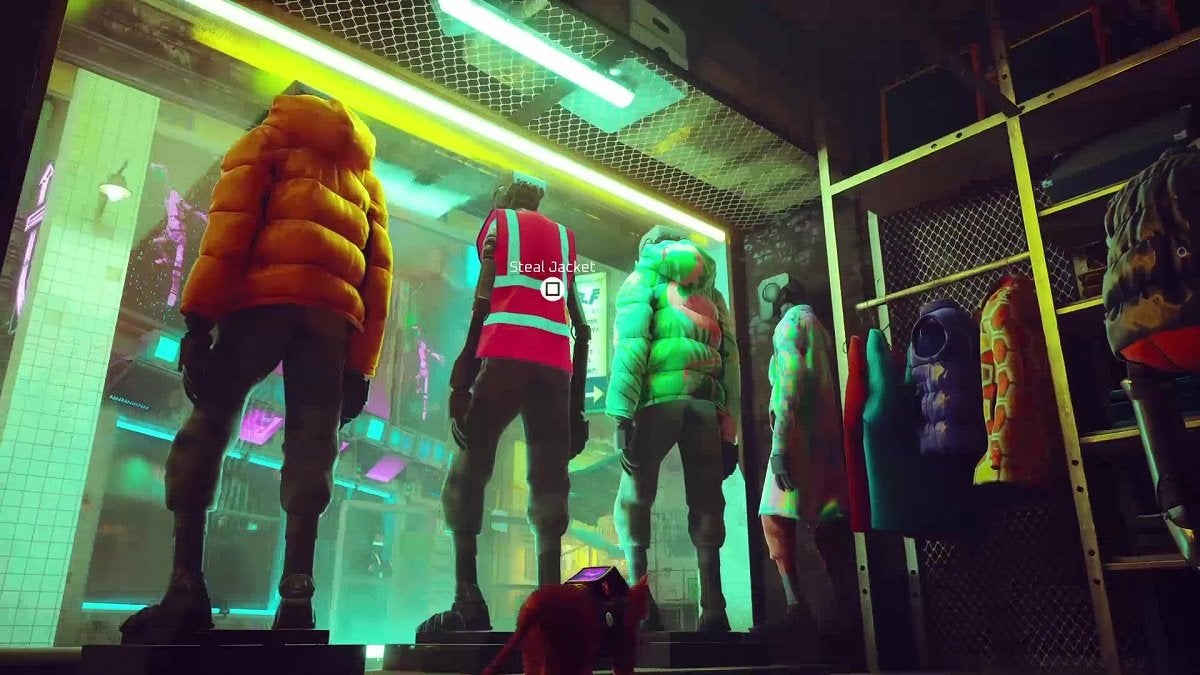
You’ll have to go to the dressing room, located at the back of the shop. At the end of the dressing room is a stereo. Place the cassette tape you got from Simon in the stereo and it will play outrageously loud music, causing the shop owner to head to this area. This will leave the worker jacket unguarded, allowing you to freely take it.
Finding a Worker Helmet
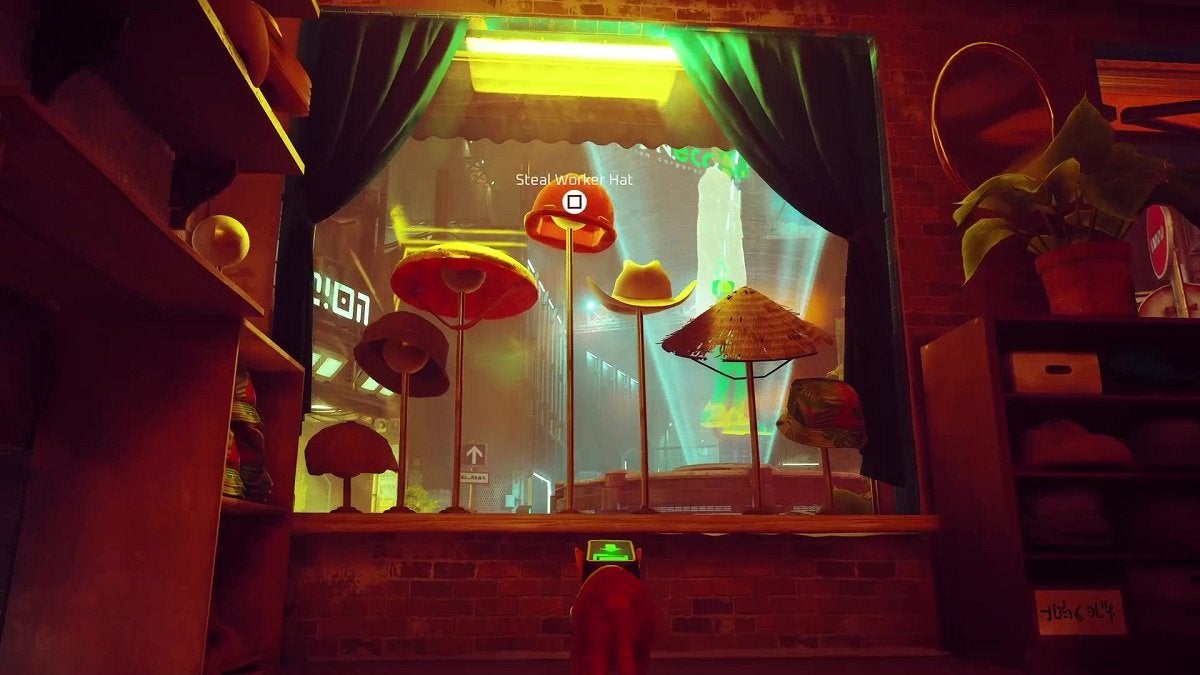
There’s a helmet/hat shop in the central plaza. As you approach the central plaza from the clothing shop, look over to the right and you’ll find a shop that has a yellow neon sign above the door. You’ll clearly see hats being displayed through the shop’s main window. However, you won’t be able to enter this shop just yet.
If you speak to the robot that’s standing behind the truck beside the shop, he’ll tell you that someone is supposed to help him restock the hats, but they might be slacking off at the bar. That’s where you’ll head next.
While facing the hat shop, look over to the left and you’ll face the road that leads to the residential area. To the left of this road, you’ll see an entrance that has bright red neon lights outside. This is the bar.
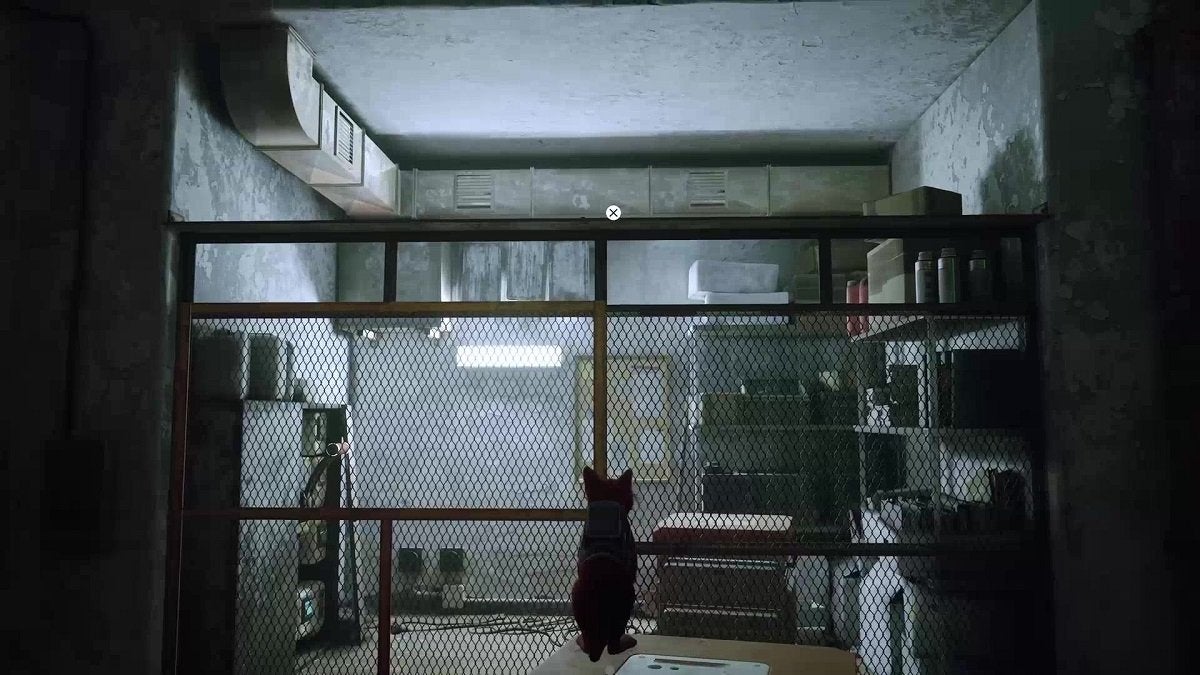
Enter the bar and proceed to the room in the back. You’ll find the hat shop worker here, passed out on the table. To encourage the worker to wake up, get on top of the stool at the end of this room, and then onto the shelf on the right. Walk forward and you’ll find a box of bottles conveniently placed directly above the snoozing robot. Interact with the box and the cat will slowly slide it off the shelf and make it fall directly next to the robot.
This will, of course, wake the robot up. He will then groggily and slowly return to the hat shop. You should make your way back there too. You’ll have to hop into the box that’s at the feet of the other worker robot. Later on, the robot you just woke up will carry the box, along with you, inside the shop.
Once inside, hop out of the box and approach the front window. The hat that’s placed the highest is the worker hat. Take it and exit the shop through the small vent to your left.
Neco Corporation Factory Heist
Now that you have everything you need, return to Blazer. He’ll be waiting for you in the same place as before. Give him both items and a short cutscene will play. He’ll then instruct you to hop inside the box here. Wait for Blazer to enter the factory. Jump out of the box as soon as he puts you down.
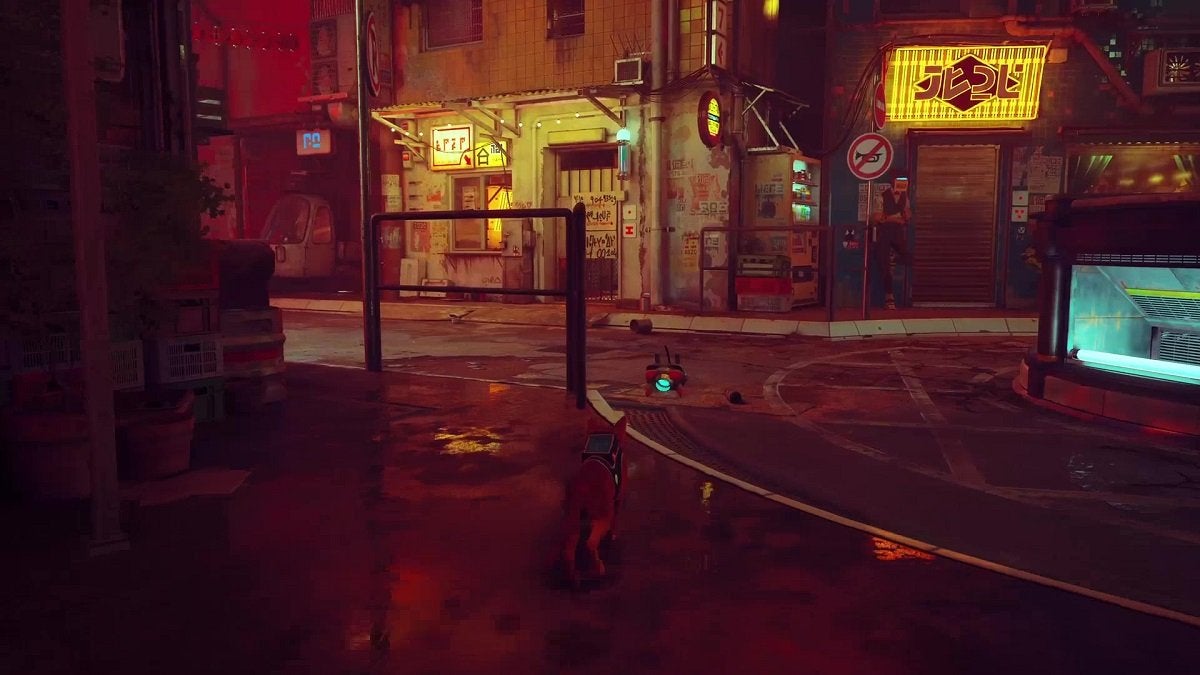
Proceed to the bridge ahead. Be wary of the Sentinel drone that’s scouting the next hallway. Don’t let its light spot you, or else it’s game over. The entire factory is guarded by these drones. If you can manage to get through the entire factory without being spotted by any of them, you’ll receive the Sneakitty trophy.
Wait for the drone to position facing the left end of the next hallway. Run all the way to the right as quickly as you can, then make a left at the end.
In this next area, you’ll have to make it across the water via the floating barrels. However, one drone here surveys the area where the barrels are stationed. Wait for the drone to move out of the way before proceeding.
As soon as you make it to the other side, enter the box here to avoid detection. Wait for the drone closest to you to fly over to the right side of this area. Once it does, jump out of the box and run straight to the barrel on the water ahead.
Jump to the next barrel and continue to the ground ahead. Run behind the drone and into the partially opened door.
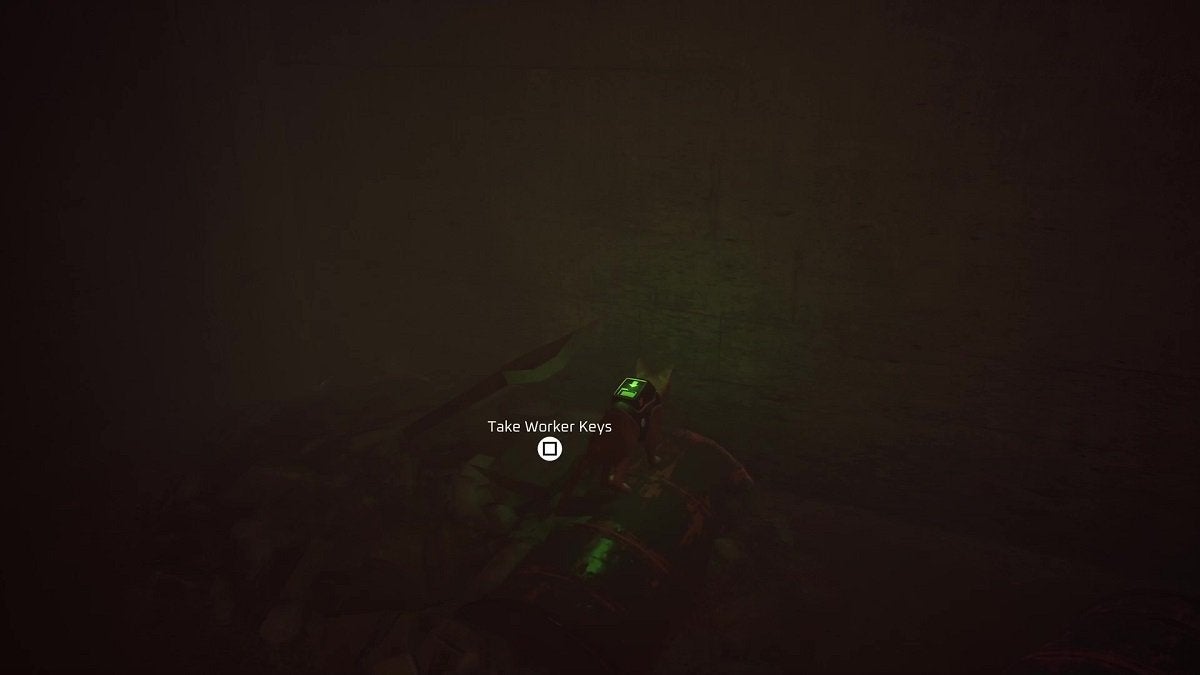
Continue forward and you’ll find a robot slumping over the railing. Talk with the robot and he’ll tell you that he’s looking for his keys. You can find his keys for him later on. For now, proceed to the catwalk and hide behind the wooden planks ahead to hide from the surveying drone here.
Once the drone is facing the area on the right, quickly run to the covered boxes on the left and straight onto the metal beam from there.

This metal beam will swivel forward when you hop on it. When it stops on the other side, jump down to this small area and you’ll find a lever on the wall. Get on top of the lever to flip it down. This opens a large door on the right.
Hop to the box on the left, then onto the metal bar ahead, and then get back down to the ground. Run to the right and make your way to the newly opened door. Remember to use the covers here to avoid the drone’s line of sight.
In this next area, there are crates on a hanging conveyor belt that will run from the right side of the area to the left. Up ahead, there’s a drone that’s facing directly a robot cleaning the ground. This is also the path you’ll have to take to advance. You’ll want to wait for a crate to pass by to block the drone’s view before moving on.
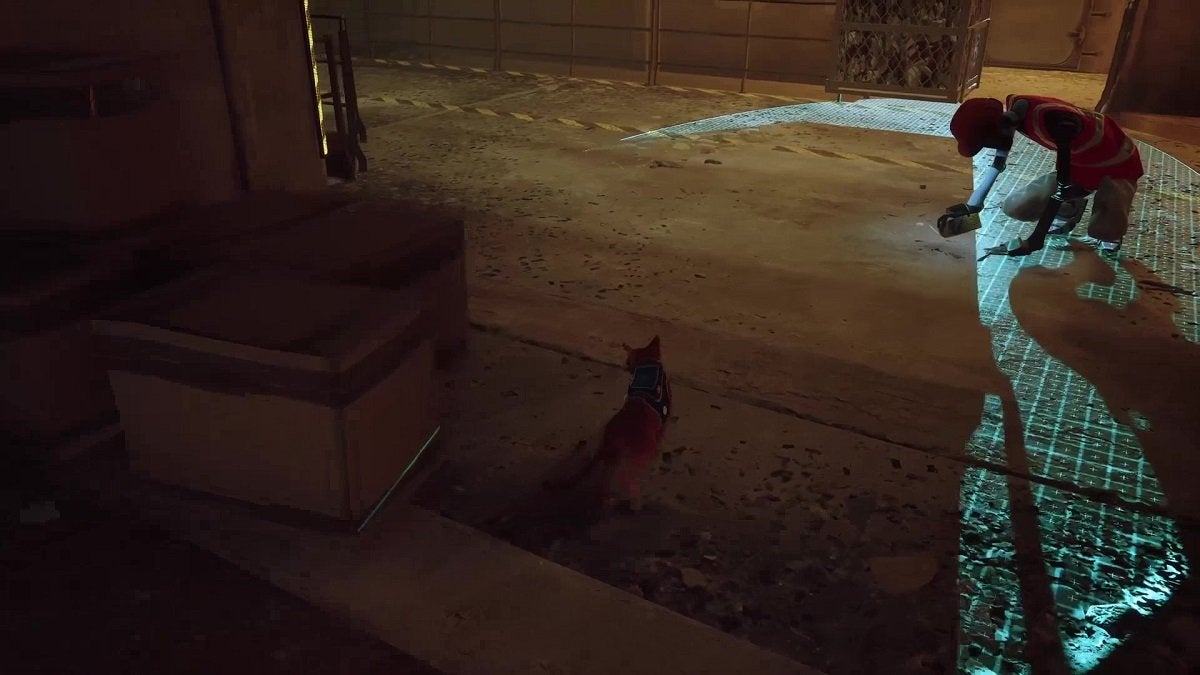
Do the same with the same process for the next stationed Sentinel drone. As soon as a crate passes in front of it, run alongside the crate. In this next area, hop to the barrel on the right, then jump to the right once more. You’ll find the missing keys here for the robot you spoke to earlier.
Continue onward by hopping from one floating barrel to another. As soon as you make it to the ground, turn left and you’ll find a closed door. The lever that opens this door is to the right.
Open the door, but stay on the left side so that when it fully opens, you’ll be behind a pile of boxes. This is just in case the drone behind the door happens to be facing your direction when it opens.
If the coast is clear, proceed, then make it across the water to the left. Pass through the door and you’ll find the worker robot who lost their keys. Give him the keys and he’ll give you the Neco badge.
Make your way back to the door you recently opened. Once you make it back, head left before the pile of boxes to avoid the drone’s line of sight. Continue forward and keep using the crates as cover as you advance.
Stealing the Atomic Battery
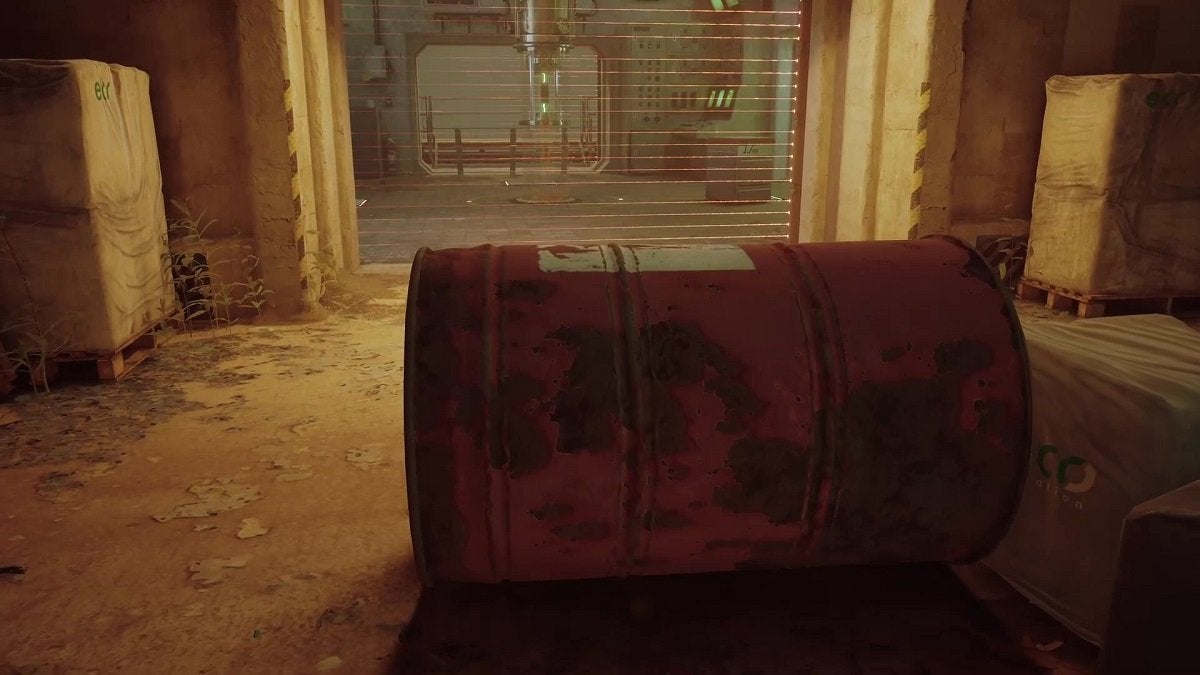
The next area is blocked by a laser grid. Thankfully, there’s a red barrel at the end of this area. Enter the barrel and have it roll forward to pass through the laser grid safely.
The Atomic Battery you’re here to get is behind the glass in the middle of this room. You’ll have to solve a short puzzle to fully open this glass and obtain the battery. Around the glass, you’ll spot three square panels on the ground. There needs to be heavy objects over these three panels for the glass to fully open.
Go to the machine to the right of the glass. Interact with it and it will follow you until you interact with it again. Walk over to the side of this area where there’s a fenced room. Have the machine get close to the fence before you deactivate it. Get on top of the machine and jump over the fence.
Afterward, trigger the lever on the left to open this fence. Then, activate the moving machine within the fenced area and have it follow you to either the panel that’s closest to the fence or the one on the other side. Make sure that it stops directly above the panel. Whichever you decide, have the other moving machine cover the panel on the other side.
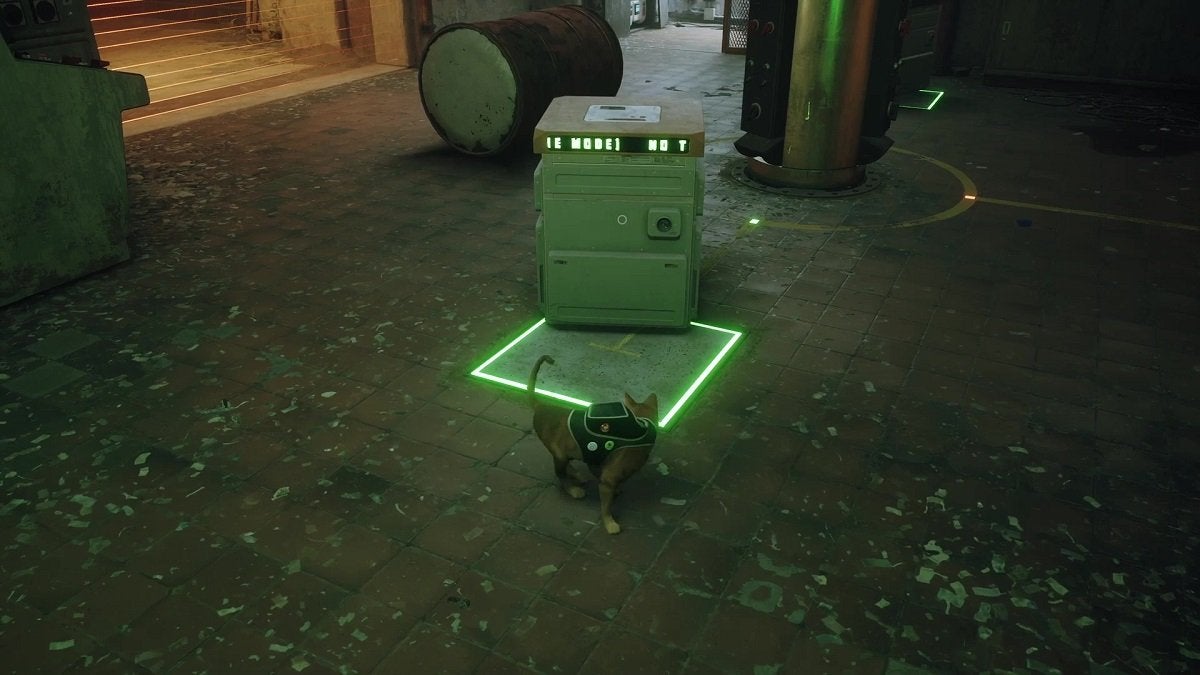
There should now be a gap in the middle big enough for the barrel to roll through. Get inside the barrel and roll it onto the last panel. This will open up the glass, allowing you to finally get the battery.
Returning to Clementine’s Apartment
As soon as you take the battery, the factory will shut down. Thankfully, the balcony in this room will remain open. Proceed to the balcony and head left to find a bucket zipline. Enter the bucket to get to the other side. You’ll be taken to Midtown’s starting area.
From here, make your way back to the residential building. On your way, stop by a newly opened room right next to the central plaza. This room is next to the clothing shop. There’s a memory inside this room you can unlock.
With that, continue heading to the residential building. You’ll notice that the entrance is now blocked by security. Don’t worry, though, as you can still walk through.
However, once you make it to the lobby, you’ll find that it’s now guarded by Sentinel drones. Just like the factory, you’ll have to make it to Clementine’s apartment without being spotted by the drones.
While in the lobby, take either the left or right path, depending on where the drones ahead are facing. Time your approach. The first goal here is to make it to the staircase and get to the second floor.
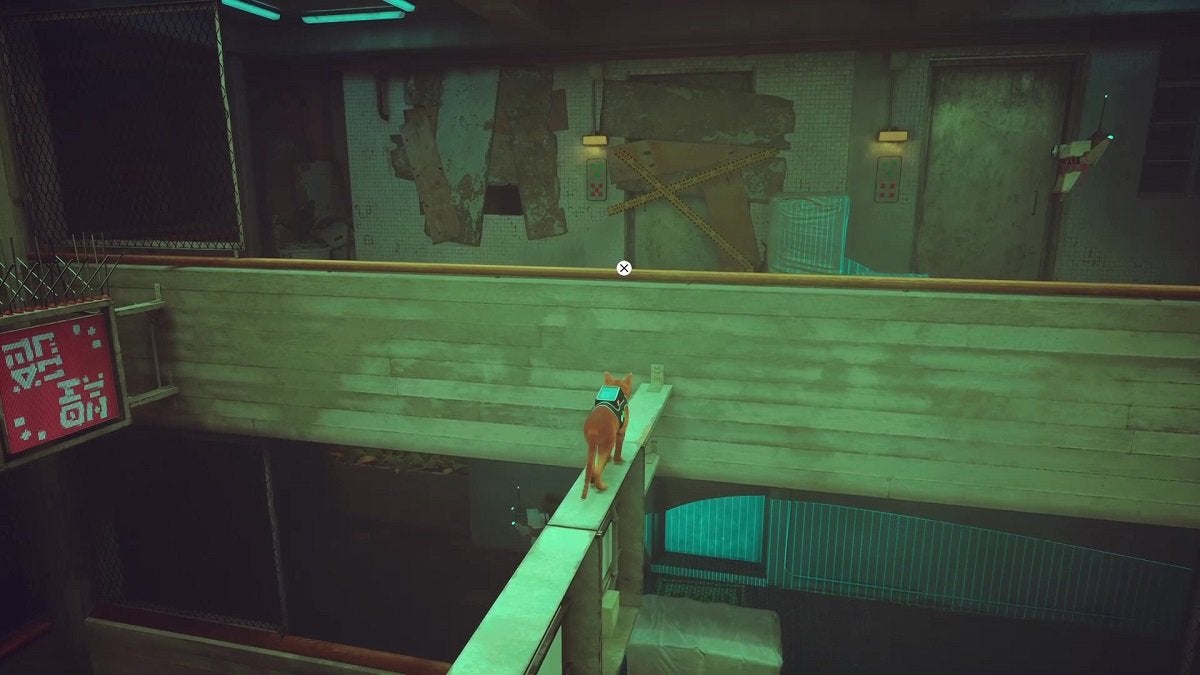
Once you’re on the second floor, quickly run to the central corridor. There’s a box here you can enter if there’s a drone nearby. Pay attention to the drone in the corridor ahead and to the right. Once it moves in the other direction, follow it, hop onto the railing on the left, and then jump down to the AC unit fan below.
Wait for the drone to turn around and head to the corridor behind you. Once you’re clear, return to the corridor, run forward, then head left. If the drone in the other corridor isn’t facing this direction, keep running forward until you reach the stairway to the third floor.
Once you’re on the third floor, quickly hop on the railings and jump onto the metal bar in the middle to get to the other side. You’ll be directly across Clementine’s apartment now. Just be sure to wait for the drone to pass or to turn around before you cross.
Searching Clemetine’s Apartment
Head to the clue board in Clementine’s computer room to find a note left behind by her. This note has four symbols on it, which each lead to four items in this apartment that will tell you Clementine’s current location.
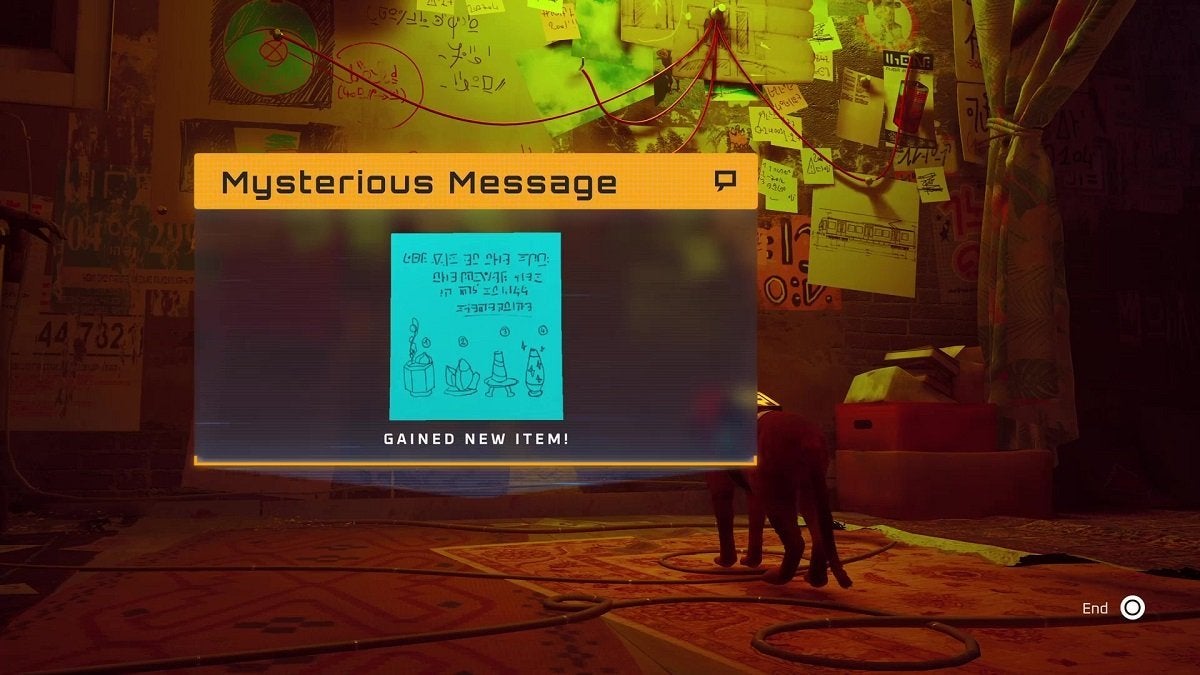
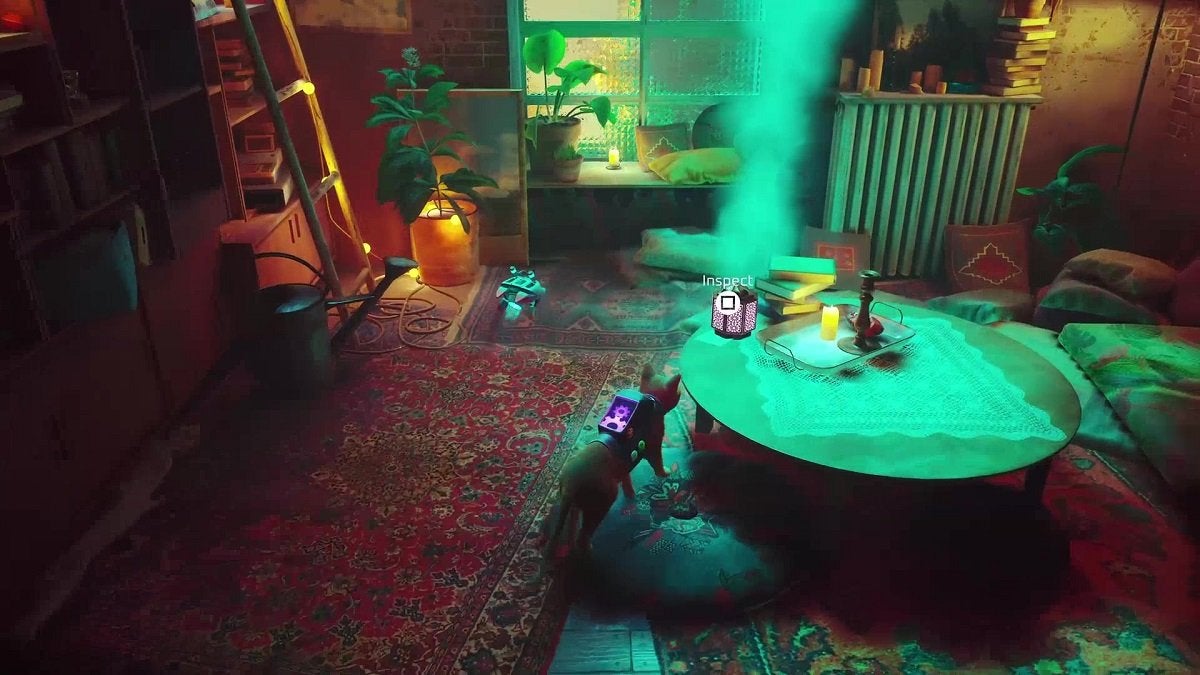
Exit this room and make a left. Approach the incense burner on the table and interact with it to discover the first message.
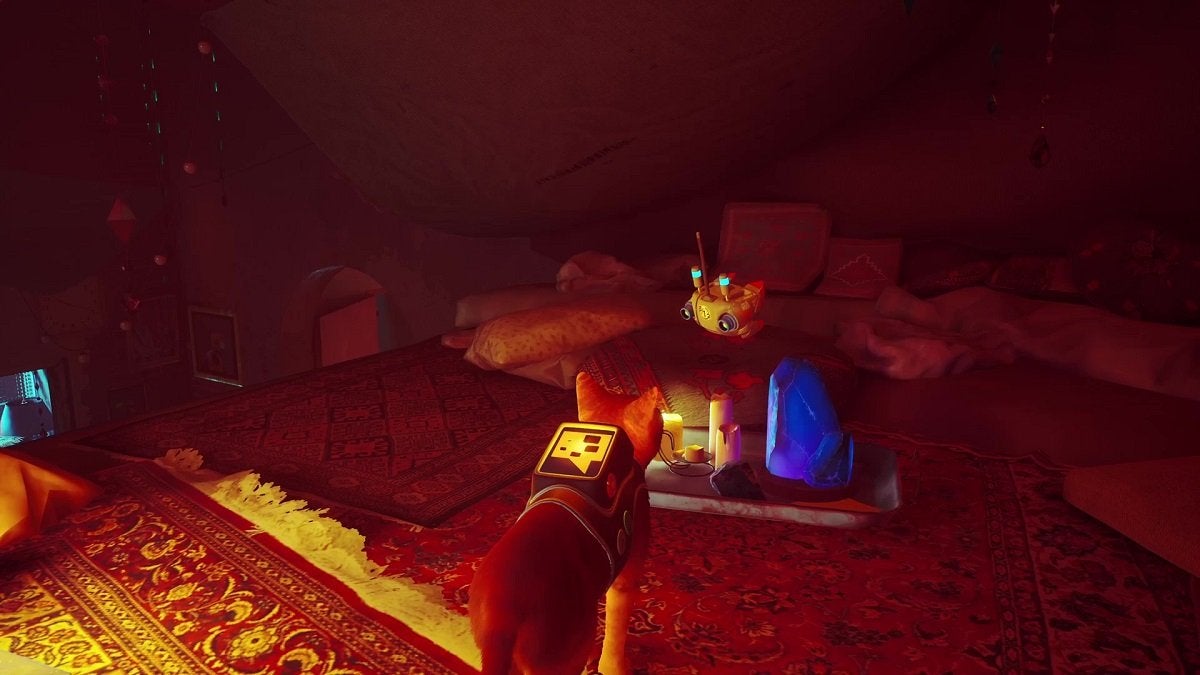
Face the bookshelf to the left and scratch the cloth that’s sticking out of a drawer. This will pull out the drawer, allowing you to jump on it and get to the top of the bookshelf. Go right, then around to the left and you’ll find a blue crystal on a tray. Interact with the crystal to find the next message.
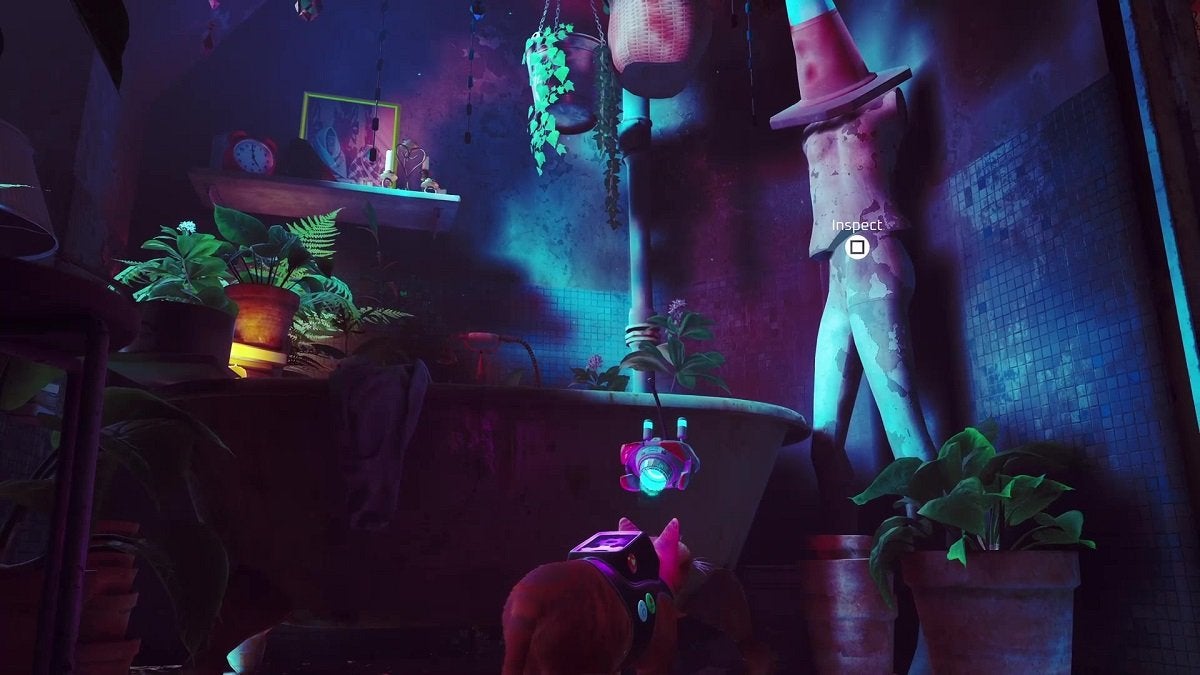
Head back to the ground and enter the bathroom. There’s a mannequin here next to the tub with a cone on its head. This is where the next message hides.
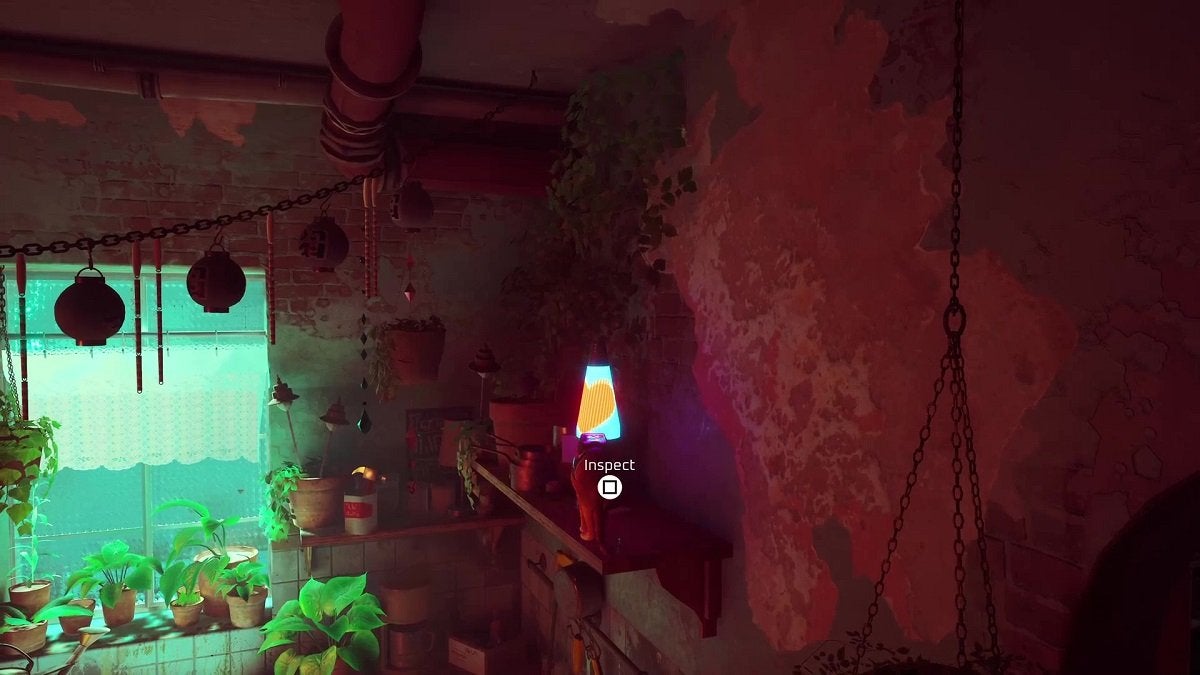
Finally, head to the kitchen and get to the shelf above the stove. There’s a lava lamp here with a heart symbol on it. This item holds Clementine’s last message.
When pieced together, the message will tell you to go to the nightclub.
The Nightclub
Leave Clementine’s apartment and the residential building. Remember that there are still Sentinel drones here. You can quickly and much more safely exit the residential building by using the beams and signs at the center of the building to get back down to the lobby.
When you make it to the central plaza, make a left. There’s a pink sign to the left of an arrow circling and pointing upward. This building is the nightclub in Midtown. However, you won’t be able to enter through the front door.
Go to the narrow alley to the right of the nightclub. This is the same area where the janitor robot is found. Get on top of the trash bin once more, then onto the canopy. Walk over to the right and get to the other side using the wooden plank.
Keep walking forward and jump to the pipe ahead. Walk to the right, then leap to the higher pipe. Walk to the right once more and keep going until you’re directly below a window into the nightclub. There’s a robot here looking out from the inside. Interact with the robot and he will let you in.
Once inside, head to the bar area and take the yellow Strange Drink. You’ll use this later. Approach the dumbwaiter on this counter to be taken to a room below. In this room, there’s a lone table in the middle. Interact with the table to unlock a memory.
Make your way back up to the bar by riding the dumbwaiter. Head to the main dancing area and walk over to the right side. There’s a robot here that’s wearing a green shirt and holding a lever handle. Talk to this guy and he’ll give you the handle for the Strange Drink you picked up earlier.
Head to the other side of the dance floor and hop on the table that’s closest to the bar. You’ll find a vinyl disc here. Pick up the disc and head to the DJ’s booth on the stage. Hop on the DJ’s table and place the disc on the turntable to the right. Once placed, scratch the disc to unlock the “Scratch” trophy.
With that out of the way, return to the ground and head to the lever base to the right of the DJ’s booth. Insert the lever handle here and hop on it. This will lower the platform beside it. Once lowered, jump on top of it. One of the DJs here will flip the lever again, sending you to the top area.
Once at the top, hop to the narrow ledge and walk to the right. You’ll arrive at some sort of a control room. Leap on the console and you’ll find three buttons. You’ll want to press the buttons on the left and the right. This will lower several platforms that will allow you to reach the VIP area.
With the platforms in place, jump forward, then hop to the platform on the left. Keep heading forward from here until a cutscene plays. Once done, you’ll be able to see the balcony to which you need to go. Once you make it here, go up the stairs and let another cutscene play. This officially ends the tenth chapter of Stray.
Stray: Chapter 9 – Antvillage