In Stray, you’ll start Chapter 11 in Jail. You’ll awake in a dangling cell alone. To escape the cell and find your companions, walk from left to right and have the cell hit the pipe on the left twice. This opens the cell’s door.
Table Of Contents
Stray: Chapter 11 – Jail Video Walkthrough
Finding Clementine
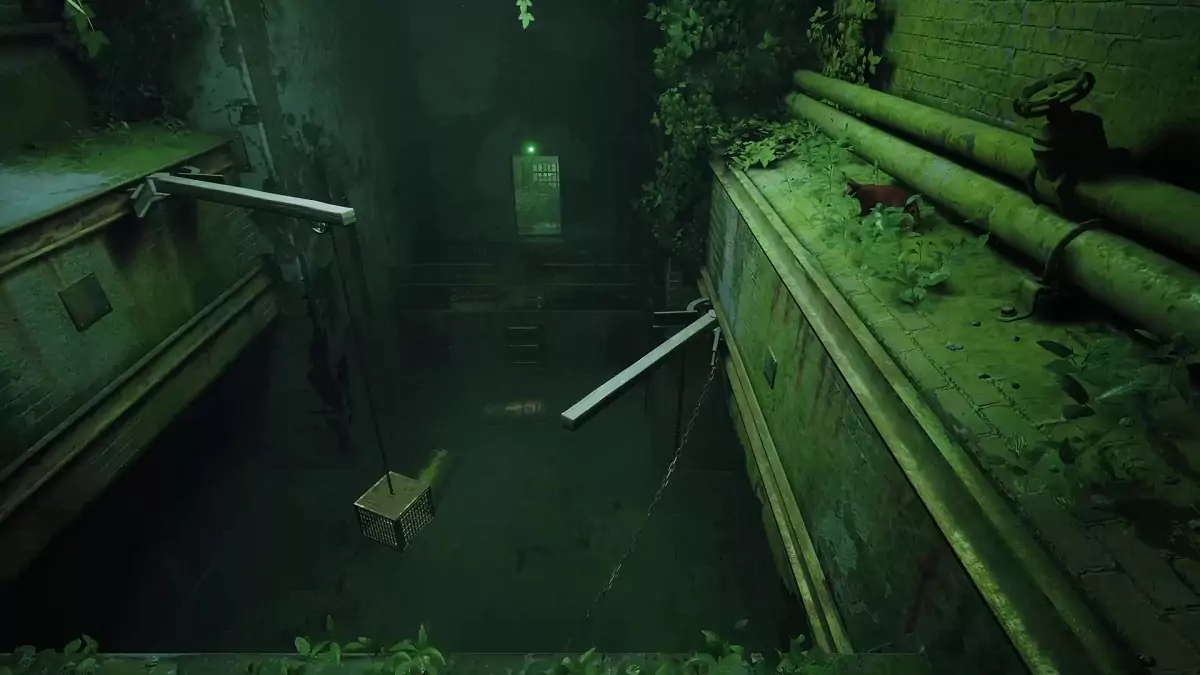
When the cell door opens, hop onto the pipe on the left and walk towards the area ahead. Jump up to the ledge, walk right, then hop to the railing. Jump to the metal bar ahead and it will swivel forward. Then, jump to the higher metal bar and continue to the platform ahead.
Walk through the grate and continue forward and you’ll arrive at another section with metal bars and hanging cells. Walk toward the metal bar on the left and jump on it to make it swivel forward. Return to the ledge on the left, then go all the way around to reach the metal bar on the right.
Jump to the metal bar, then jump down to the cell below. Make your way to the floating barrels below and head to the platform ahead. Pass through the door ahead. You’ll notice that there’s an imprisoned and shackled robot in the cell across from you. There’s, unfortunately, nothing you can do about this one.
Instead, turn around and hop on top of the back of the AC unit ahead. Get on top of the pipe on the right and walk forward. At the end of the pipe, hop on top of the railing and get to the floor on the right. Walk forward until you can reach the lower platform on the left.

Be wary of the Sentinel drone that’s scouting the floor below you. Wait for it to walk in the other direction before jumping down. As soon as it turns around, jump down and run forward. When it stops, you can hide behind the garbage bin on its left. Wait for it to turn around and fly forward before moving on.
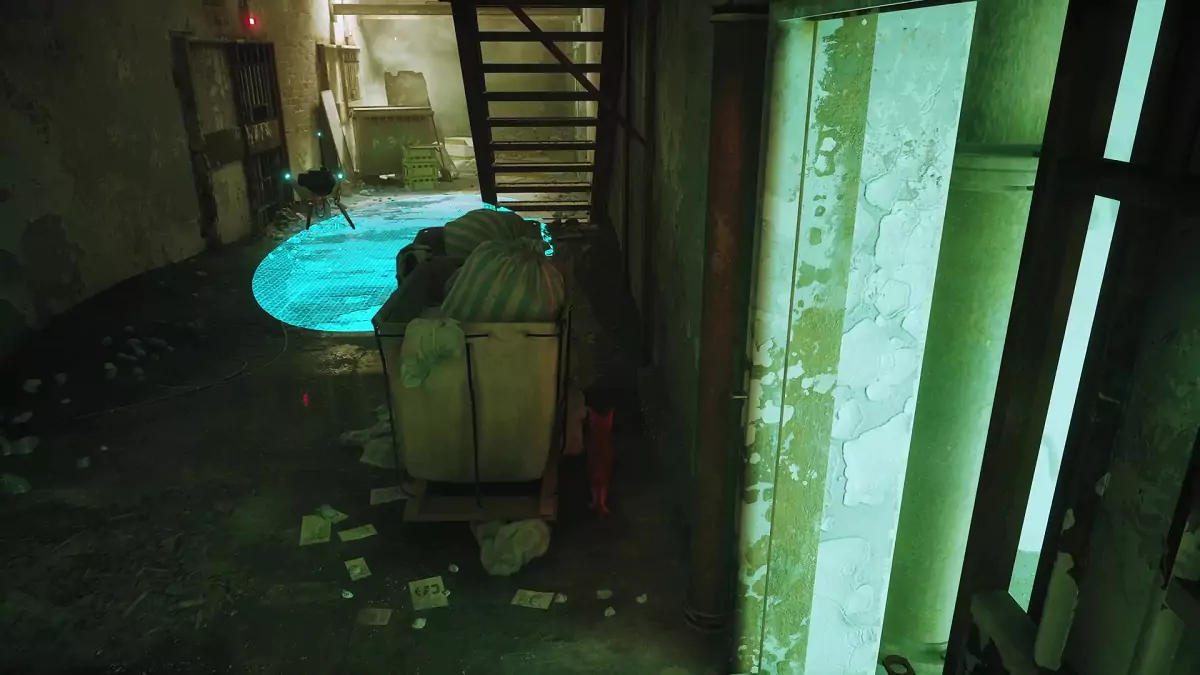
When it’s clear, run forward and get on top of the Neco trash bin on the left. From here, get on top of the metal beam above you. You can then get to the upper floor from here. When you do, you’ll immediately find Clementine’s cell on the left.
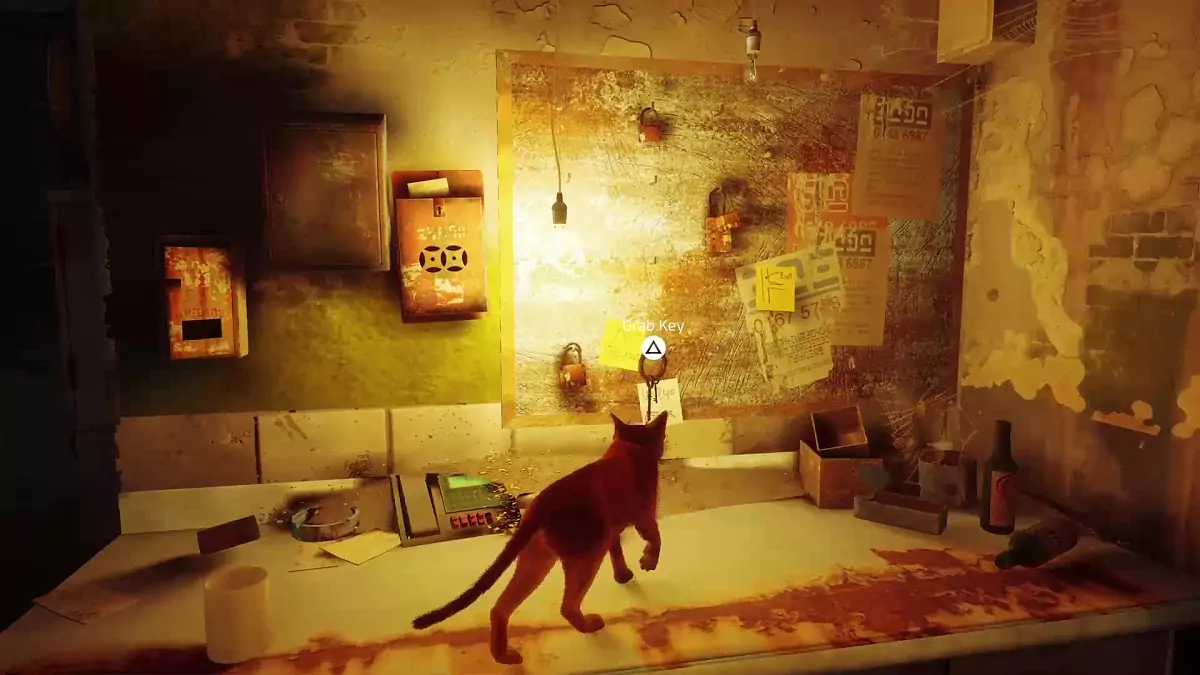
Upon meeting Clementine, note that you won’t be able to understand her considering B-12 isn’t there to translate for you. However, she’ll point forward, revealing the key that will open her cell.
When you’re able to control the cat again, walk to the end of this corridor and enter the door on the right. Hop on the window at the end of this room and make a right. You’ll be able to reach the room where the key is from here.
Rescuing B-12
After taking the keys, return to Clementine. Hand her the key and she’ll open her cell. Follow Clementine as she walks to the end of the corridor. She’ll open the door ahead. Keep following her until a cutscene plays.
It’s here you’ll find where B-12 is being kept. You can’t get out of here without your trusty bot companion. It’s time to free him!
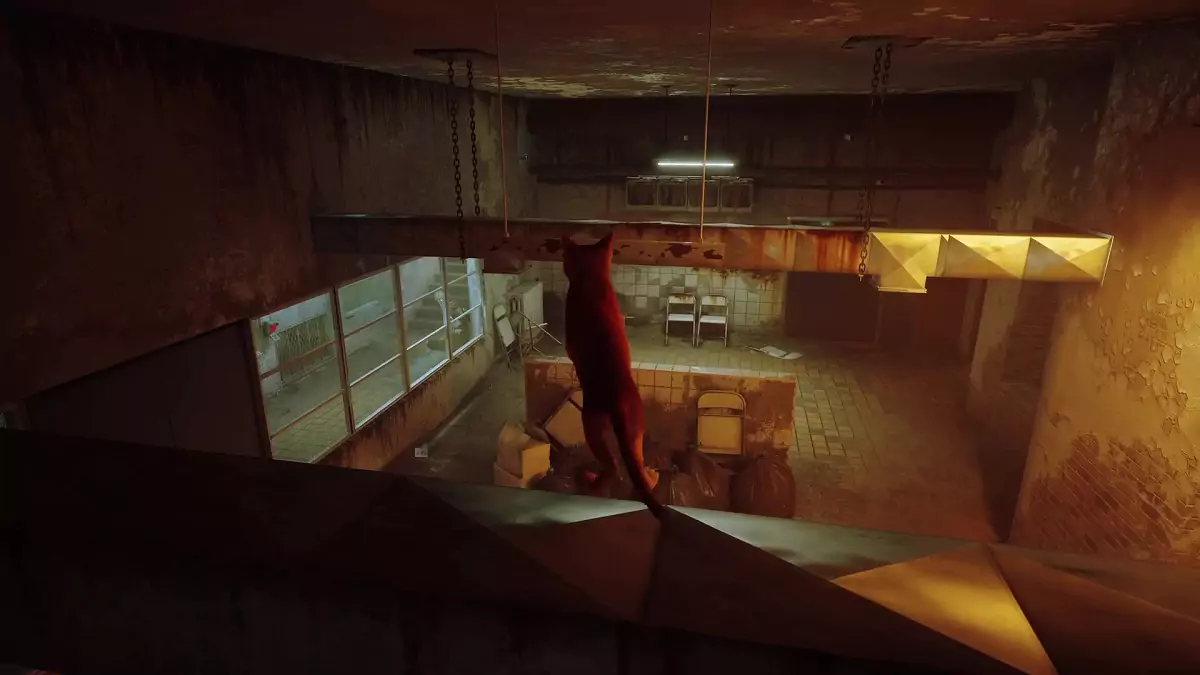
After the cutscene, Clementine will open another door that leads to the bottom floor. Follow Clementine down. She’ll stop in an area before a window. You’ll have to go forward alone since there are Sentinel drones ahead.
Run to the end of this hallway and get on top of the counter. Enter this room, make a left, hop on the counter again, and jump down to the other side. Walk forward and leap on top of the boxes. You’ll be able to reach the metal beams above from here. Get to the middle and jump forward, then one more time, to get to the other side of the laser grid below.
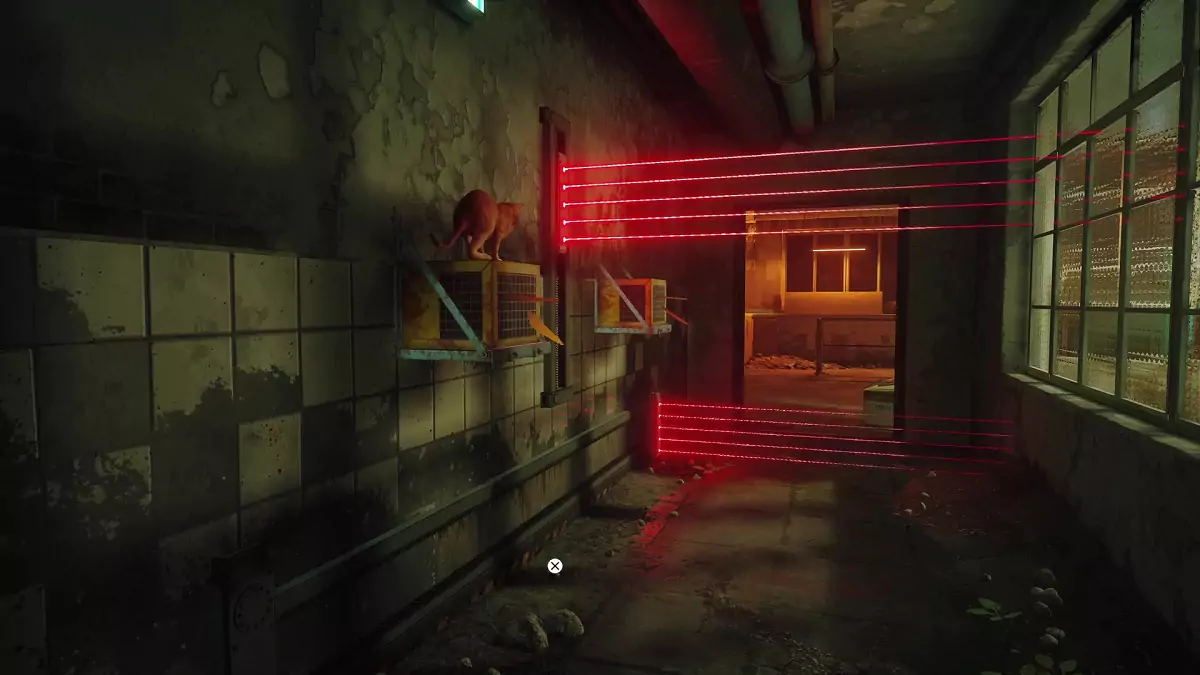
Pass through the door on the right, then hop on the pipe on your left. Wait for the laser grid on the ground to go in the other direction. When it’s safe, jump down. When you cross the yellow stitched line on the ground, you’re safe from the laser grid. However, you must now pay attention to the Sentinel drone.
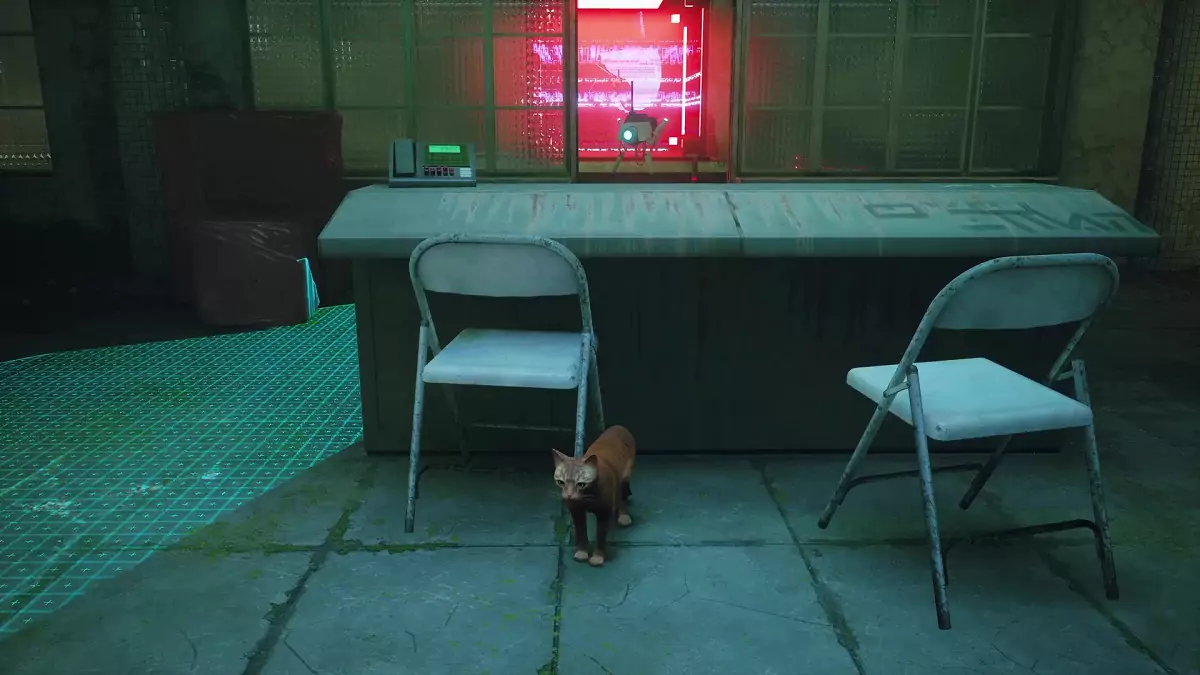
When its line of sight is pointing away from your position, head left and hide behind the console. Wait for it to look to the other side again before continuing forward.
Once it’s clear, proceed down this hallway, then jump to the AC unit on the left. From here, you can either hop on top of the next AC unit when the vertically moving laser grid ahead is positioned at the bottom, or you can run to the ground below if the laser grid here is far enough. The decision is yours. Take any path you’re comfortable with, as long as you can make it to the other side.
There’s a Sentinel that will scout the area immediately past the door in the next room. Be sure that you’re out of its line of sight before you get closer. When it’s safe to do so, dash forward, make a right, but stay on the path behind the railing, and then race to the booth ahead.
There’s a lever here. Flip it to turn off the forcefield that’s trapping B-12.
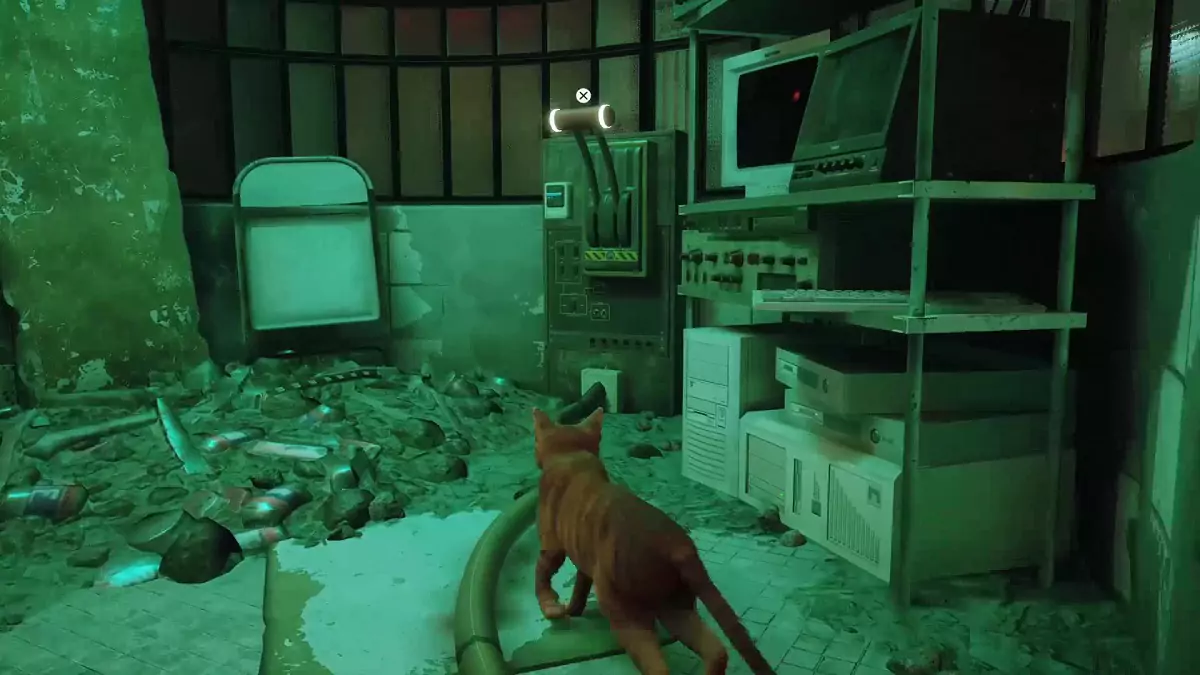
The forcefield will now turn off, but you’ll have to pick B-12 up yourself. The drones will also become more active. Leave this booth. You can go either to the left or to the right. Either way, be sure to remain behind cover in case there are drones around.
Wait for the drones to fly away from you before you continue further. There are several bits of cover—including boxes—in this area of which you can take advantage. Your goal here is to make your way to B-12 as sneakily as you can. Take any route you want. Use the available cover to hide from drones along the way.
Once you’re finally able to pick B-12 up, run toward the open window in the other corner of the room. It’s on the same side of the room from where you originally came in.
From here, quickly make your way back to where Clementine is resting. It doesn’t matter if any drone spots you now. Just run back as quickly as possible. The laser grids are gone now so you can remain on the ground and focus on getting back.
Once you finally make it back to Clementine, a cutscene will play and B-12 will awaken.
Escaping the Jail
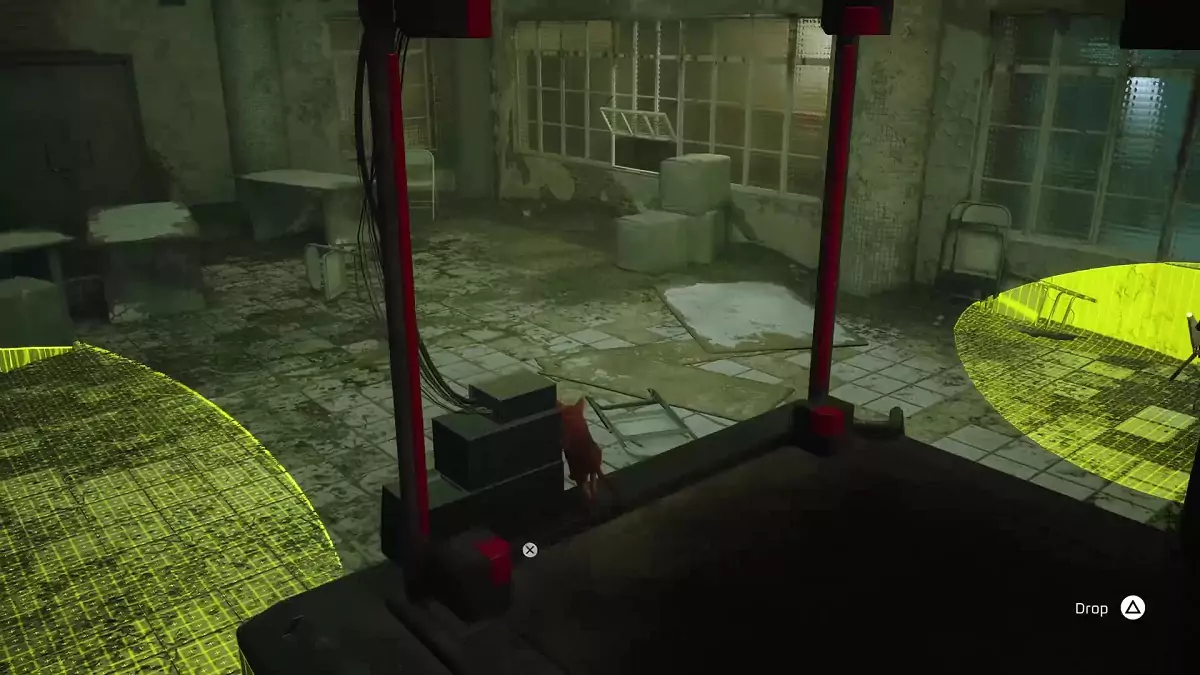
Now that all three of you are together, it’s time to escape this prison. Approach the console beside the door here to open it. Walk forward and hop on top of the trash bin. There’s a pile of bricks here. Interact with it to knock it down.
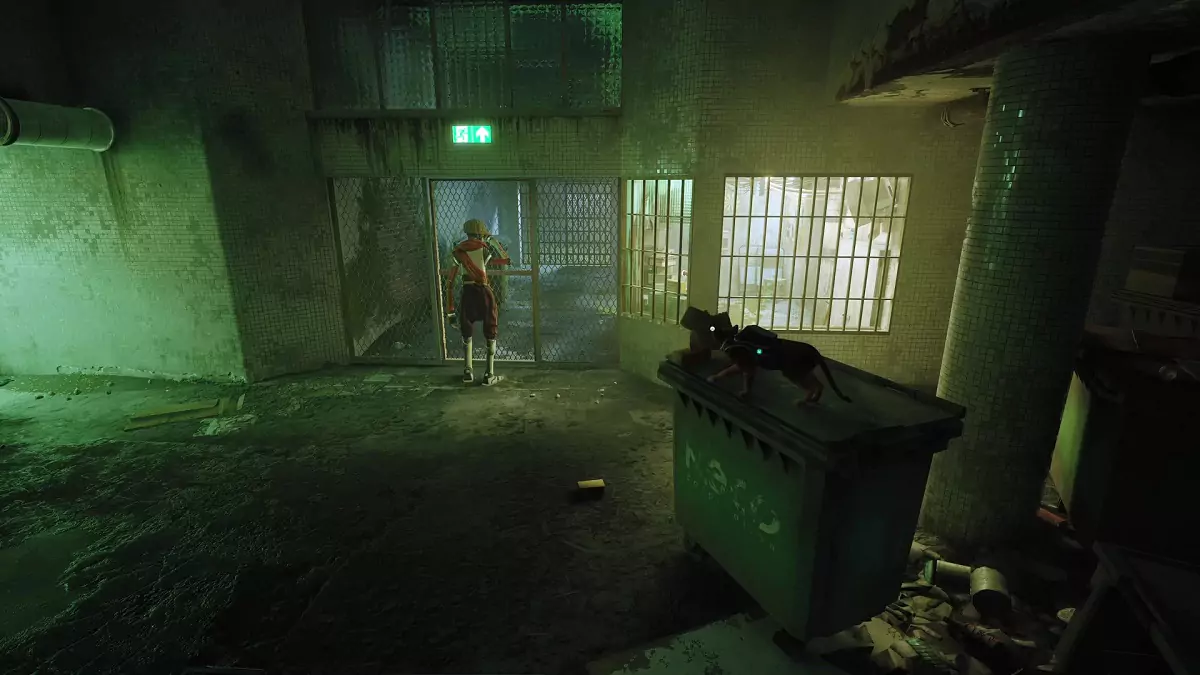
Clementine will then pick up one of the bricks and throw it to the glass above the door ahead. Once that’s done, Clementine will crouch before the door and signal you to hop on her head. Do so and wait for her to stand up. Then, hop on the window above and get to the other side. Get to the ground and enter the door on the right. Flip the lever here to open the door for Clementine.
There are Sentinel drones in the next area and Clementine suggests trapping them in the cells on the left. With that, proceed to the courtyard ahead and get the drone’s attention. When you do, run to the cell on the left. Once here, if the drone isn’t in the cell yet, wait behind the boxes here.
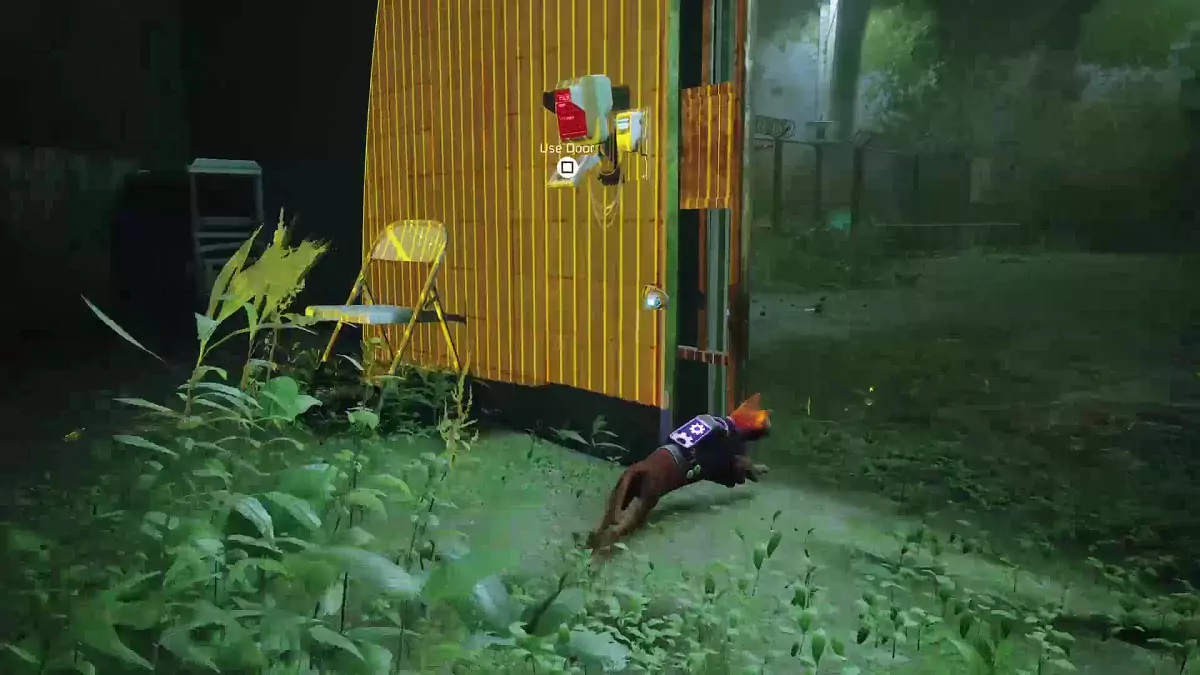
When it is, quickly run in the opposite direction and dash toward the console beside the door. Make sure the drone isn’t too close behind you. You can run around the room for a while to make sure the distance between you and the drone is far enough before reaching the console. Quickly interact with the console to have B-12 close the door as you dash through it.
If you’re able to do this successfully, Clementine will enter the courtyard. Follow her to the next area. When she opens the door, make a right and approach the robot sitting on the ground to unlock a memory.
Clementine will open the next door for you. You’ll have to trap drones one last time to get through this area. This time, there are two drones instead of one. The cell on the left also has two doors; one of them open and the other closed.
You can lure both drones at the same time and trap them in one attempt. Do the same thing you did in the previous area. Run around the cell for a bit if the drones are too close. Next, run towards the console and quickly close the door as you run past it.
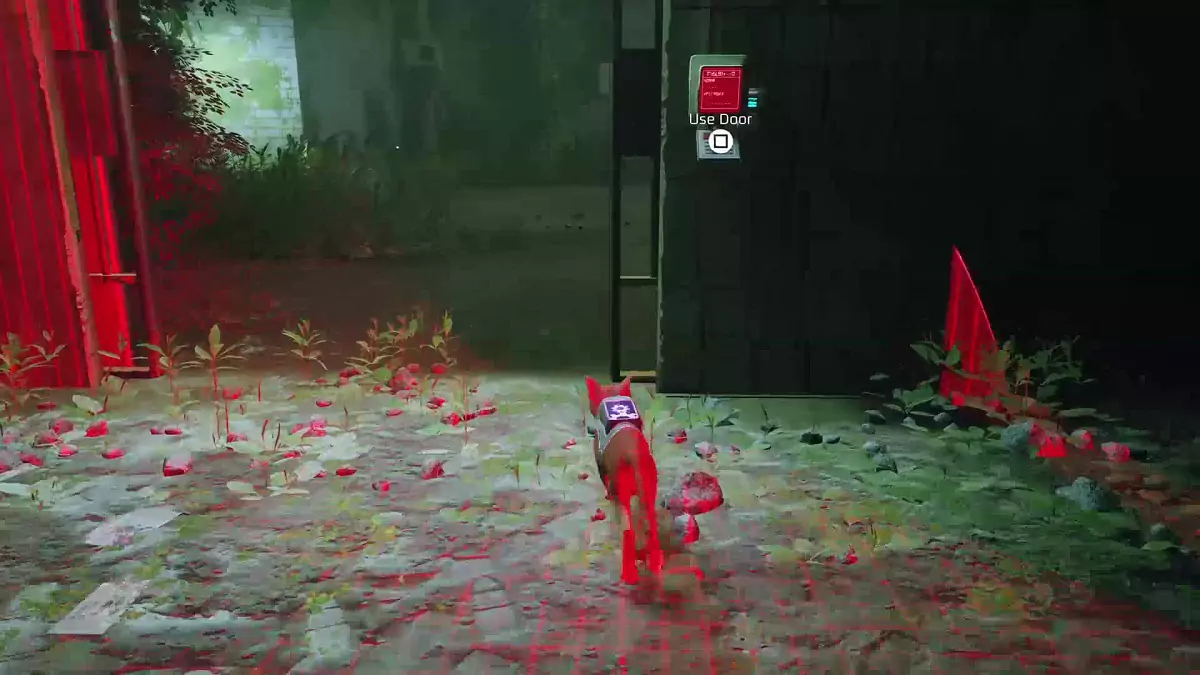
With that done, wait for Clementine to open the door at the end of this courtyard. When she does, proceed through and make a right. Head under the short vent on the right and pass through the grate ahead. Head left toward the gate and flip the lever to let Clementine through.
The next step is to get to the control room so you can leave the Jail once and for all. To get to the control room, approach the truck on the other side of this yard. Go to its left door and interact with the key you find there.
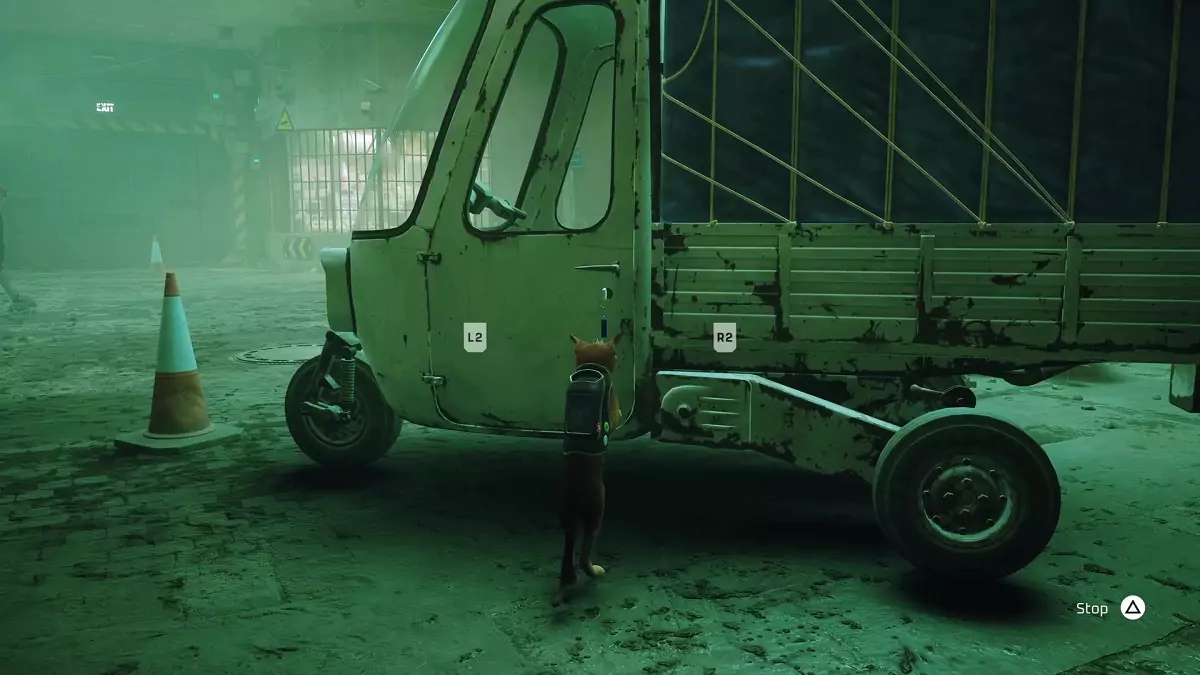
Clementine will notice this. She’ll then back the truck up so you can reach the fence at the back. Before she backs up, hop on the back of the truck and go over the fence once the truck backs up enough. You can now reach the control room from here. Simply flip the lever and the gate will open.
As soon as the gate opens, a horde of Sentinel drones will arrive in the area. Quickly run toward the truck. When you get to the yard outside, Clementine will start driving forward to escape the drones. You’ll have to chase after the truck and hop on its back. While chasing the truck, be sure to zig-zag to avoid the drone’s shots.

When you get close enough to the truck, a prompt will pop up allowing you to hop on. A cutscene will play after you reach the truck.
Leaving Midtown
This chase will end at the subway. Clementine will close the door behind you and urge you to continue without her. She’ll also give you the Subway Key. After saying your goodbyes, head back down to the train in the subway.
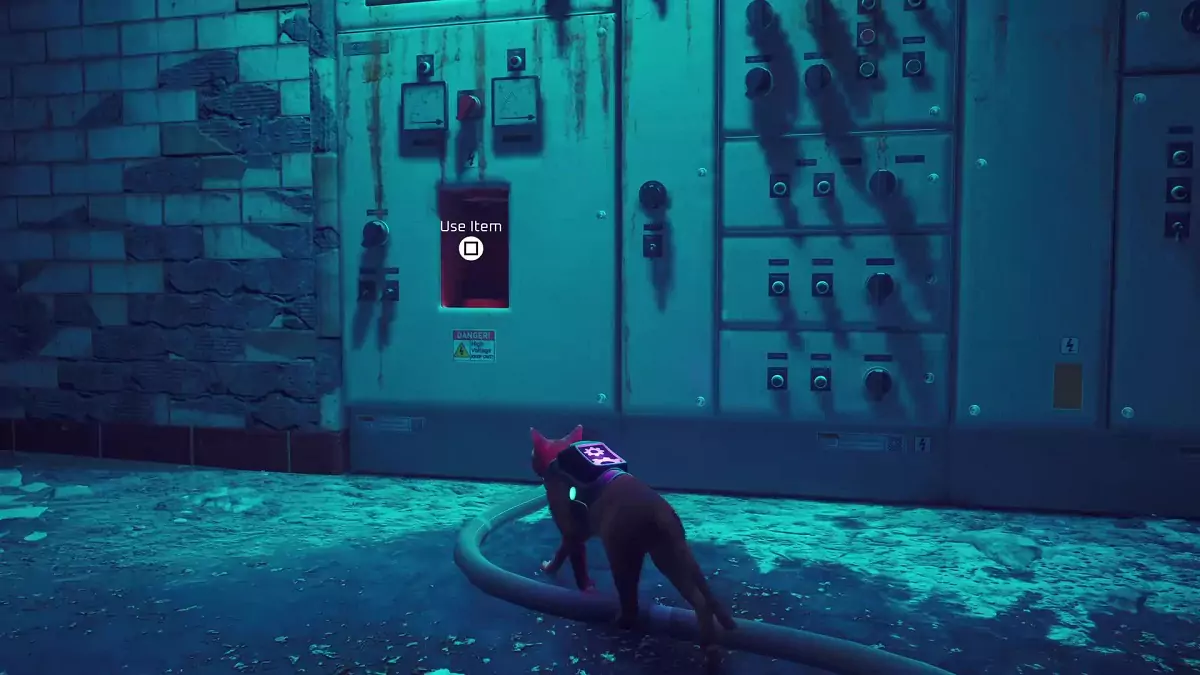
Upon reaching the train, you’ll have to head down once more to power up the train. Go to the staircase on this floor that leads down. This is the same area where you first arrived from Antvillage. Approach the slot on the machine on the right. Place the Atomic Battery here. This will give power to the subway.
Return to the train and proceed to the front car. Hop on top of the chair and interact with the console on the left. Use the Subway Key here to make the train start.
Stray: Chapter 10 – Midtown