Continue walking with Seamus as you leave the Slums. Eventually, Seamus will decide to let you move on alone since the area ahead is too dangerous for him. Continue heading forward and you’ll make it to a place called Dead End.
Table Of Contents
Stray: Chapter 7 – Dead End Video Walkthrough
Running Away From Zurks
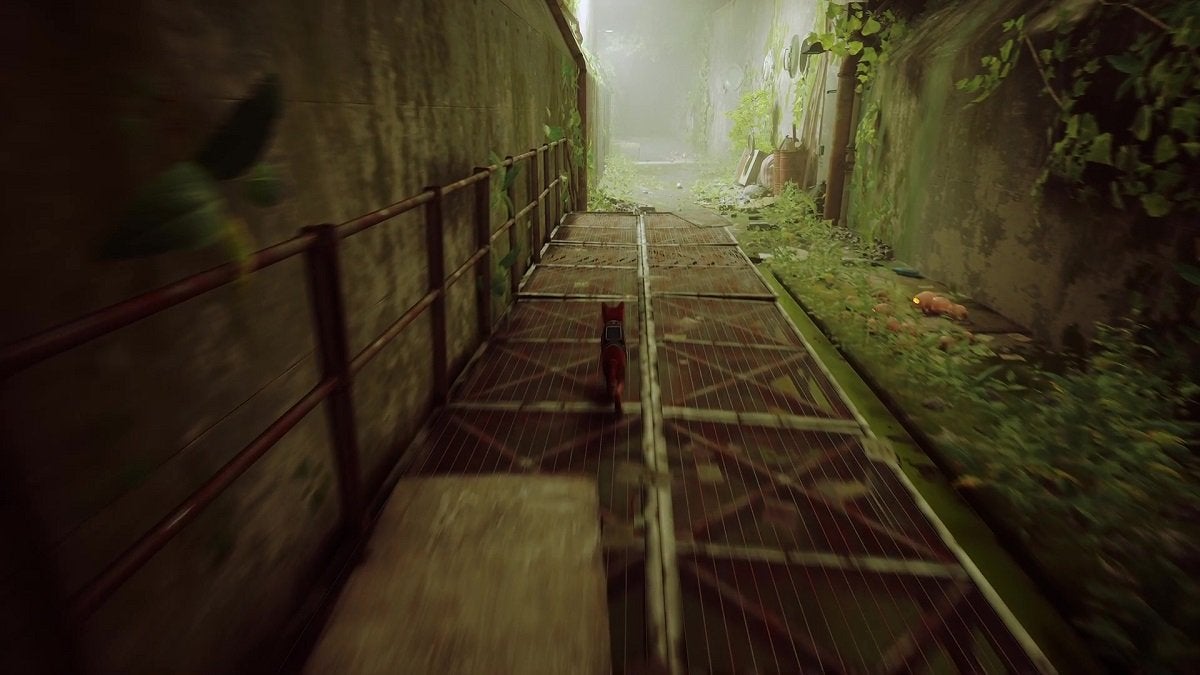
At the end of the alleyway, make a left first and walk over to the gate ahead to unlock a memory. Afterward, turn around and press onward. Continue until you have to slide down a slope. From here, you’ll have to continue running forward while avoiding Zurks. There are a ton of them in this area.
There are many sections in the area ahead where the path will split. Zurks will always lurk on one side, allowing you to choose the other path. That said, as you run forward, if you notice any Zurks on the path to the left, run toward the path to the right—and vice versa.
If any Zurks happen to latch onto you, shake them off and keep running forward. At one point, you’ll reach an area where you’ll have to jump up a series of pipes. Be sure to hold the Jump button as you push forward to continue advancing.
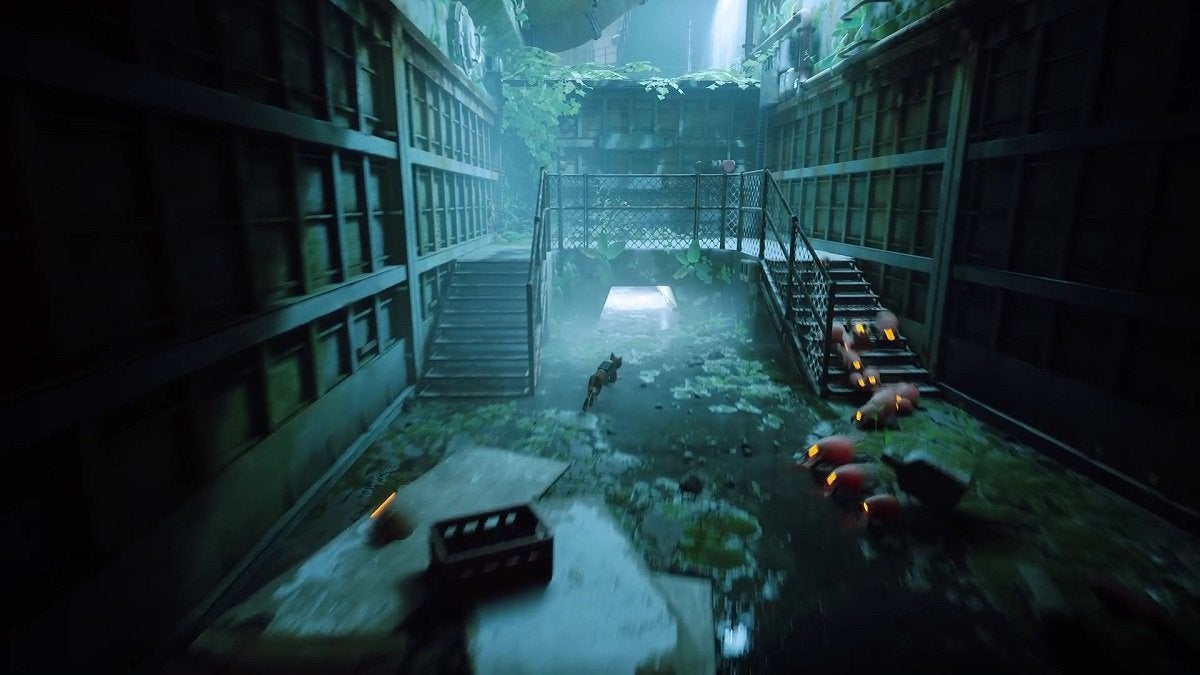
Past the area with the pipes, you’ll find a short passageway at the end, under and in between two staircases. You’ll also notice that there are Zurks emerging from this passageway. What you can do here is climb up one of the staircases and run all the way around to the other staircase to head back down. The Zurks will follow you and you’ll be freely able to enter the passageway without the Zurks.
Continue running forward until you have to jump up a ledge. You’re safe from the Zurks here. Hop onto the swinging beam to the left, then down to the pipe below. From here, hop on to the swinging beam to the right, then onto the pipe ahead.
Turn around and hop to the swinging beam once more to make it swivel forward. When it stops, jump to the pipe on the left, then turn around and hop back to the swinging beam. It should now swivel forward so that you can reach the pipe ahead. Hop forward and continue onward.
Jump down to the floating barrels and continue forward. Jump up to the beams above and keep hopping forward. At the end of the beams, you’ll have to jump down to a cart. When you do, the cart will run forward on its own. You won’t be able to control the cart. Wait for this section to be over.
Our poor cat will be sent flying forward at the end of the cart section. Don’t worry, though, as it will recover in no time. B-12 will also speak to you during this time. After the interaction, walk forward to find the cat limping. Just keep walking until the cat licks its legs. It will walk normally again after this.
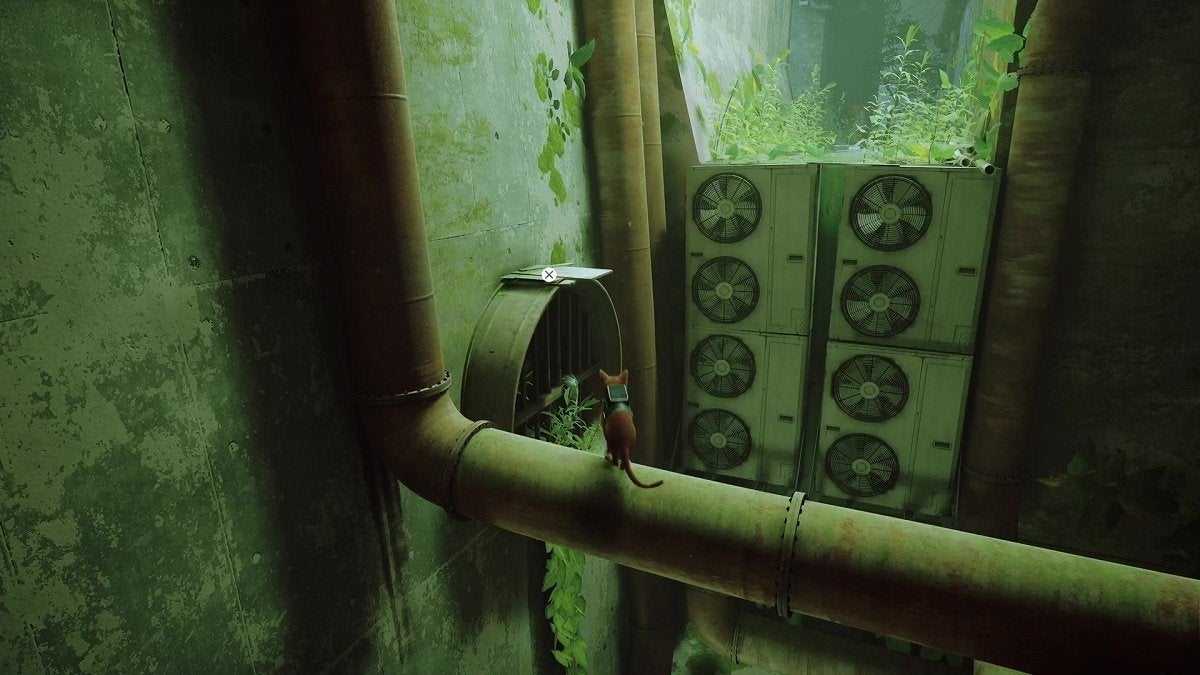
Hop on top of the vehicle ahead and get onto the pipe on the left from here. Walk forward and get on top of the next pipe. Continue ascending from here until you can get on a platform on top of a sewer grate. You can then get on top of a series of AC fans from here.
Meeting Doc
From here, you can either go left or head toward the metal fence. Past the metal fence is a dock where you’ll find a memory. You can get that first before heading to the area on the left.
Keep ascending, then hop on top of the AC fan on the left to get on top of the fence. Continue forward from here until you find a building and two alleyways on either of its side.
You can take whichever alley you want. Get behind this building and you’ll find a window. Hop to the window to enter the building. Get to the bottom floor and you’ll find the Outsider you’ve been seeking.
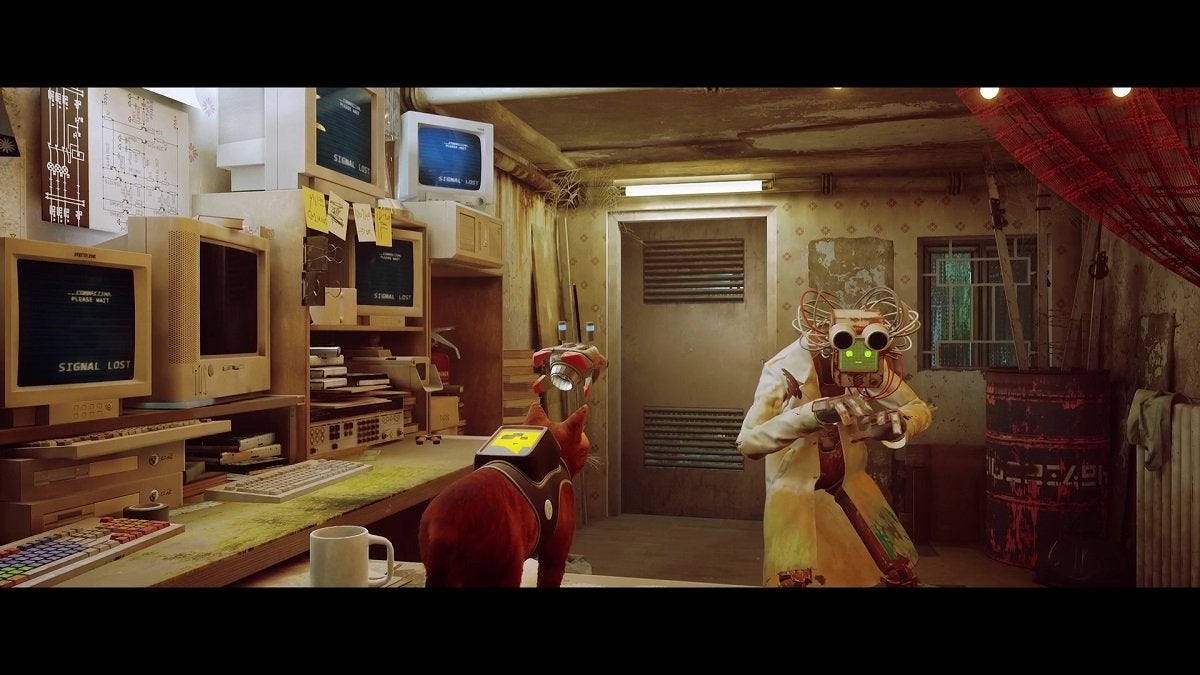
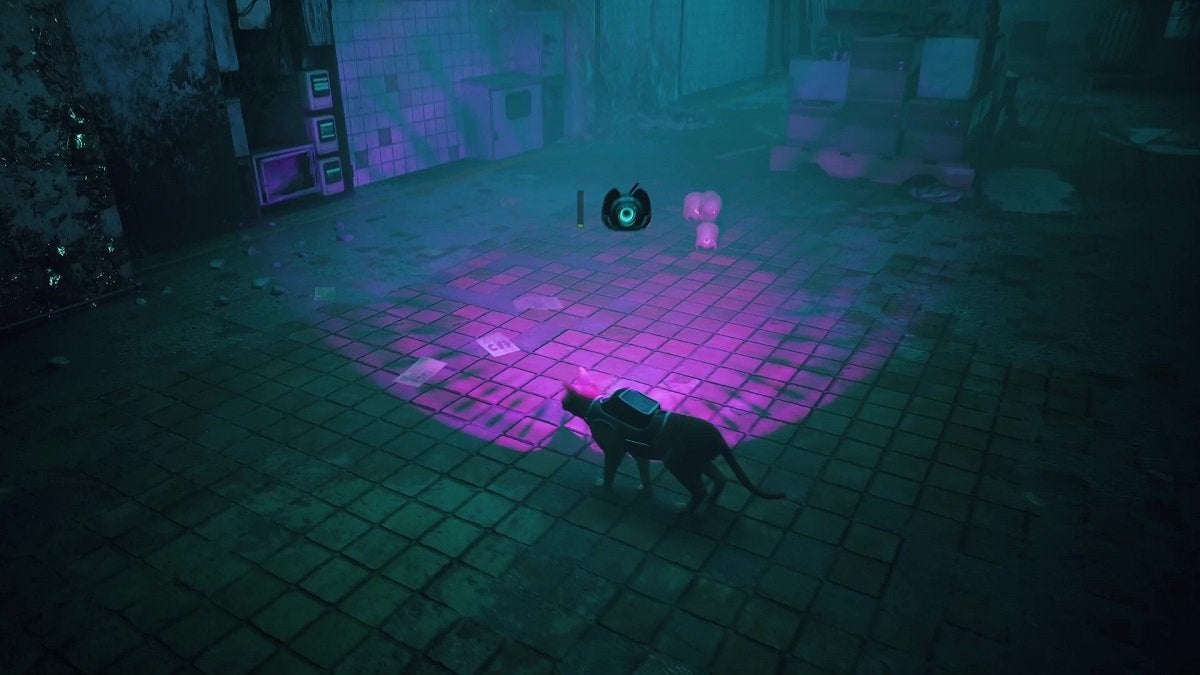
Hop onto the table to interact with Doc. After the interaction, you can approach the mannequin with a bucket head on the right to unlock a memory. After that, turn around and head to Doc’s office. Hop onto the table on the right and interact with the yellow device on the table.
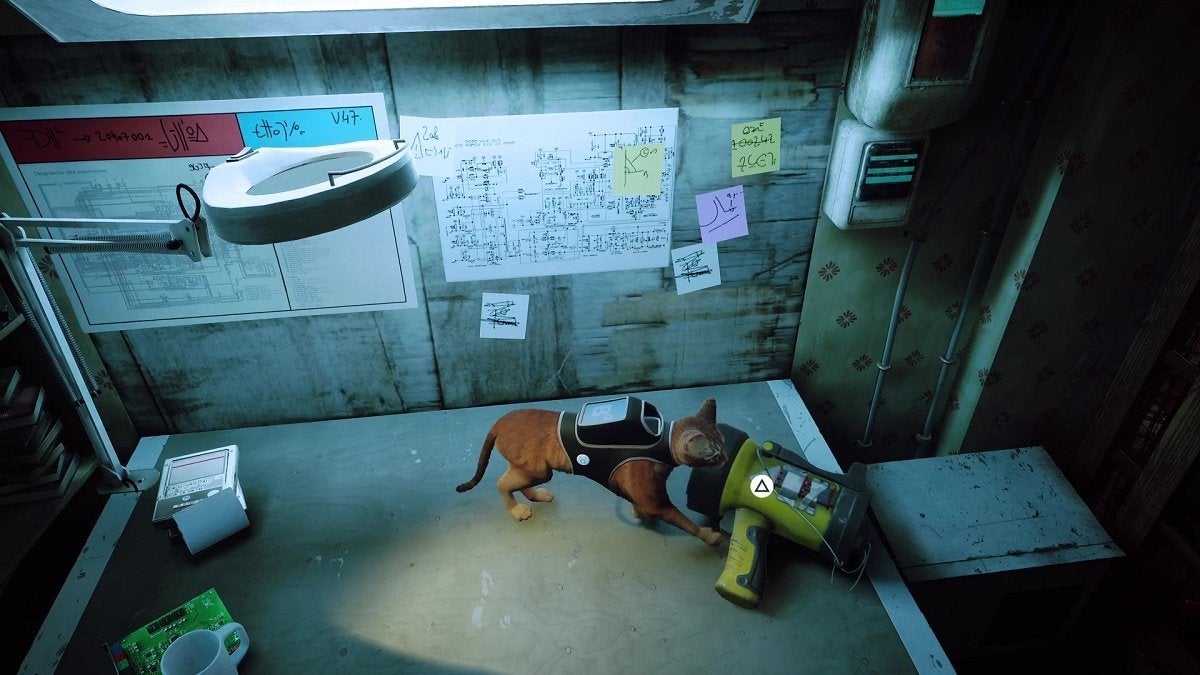
A cutscene will play out after you interact with the device. Doc will approach you and tell you all about this device. This device is the Defluxor, which is capable of killing Zurks. He’ll then tell you that you’ll have to fix the generator outside the house to make the Defluxor work. Doc will ask you to follow him. Do so and you’ll be taken upstairs.
Doc will give you a brand-new Fuse, which you can use to repair the generator outside. He’ll then open the window for you so you can leave. There’s a wire on the window that leads outside. Simply follow the wire and it will lead you straight to the generator.
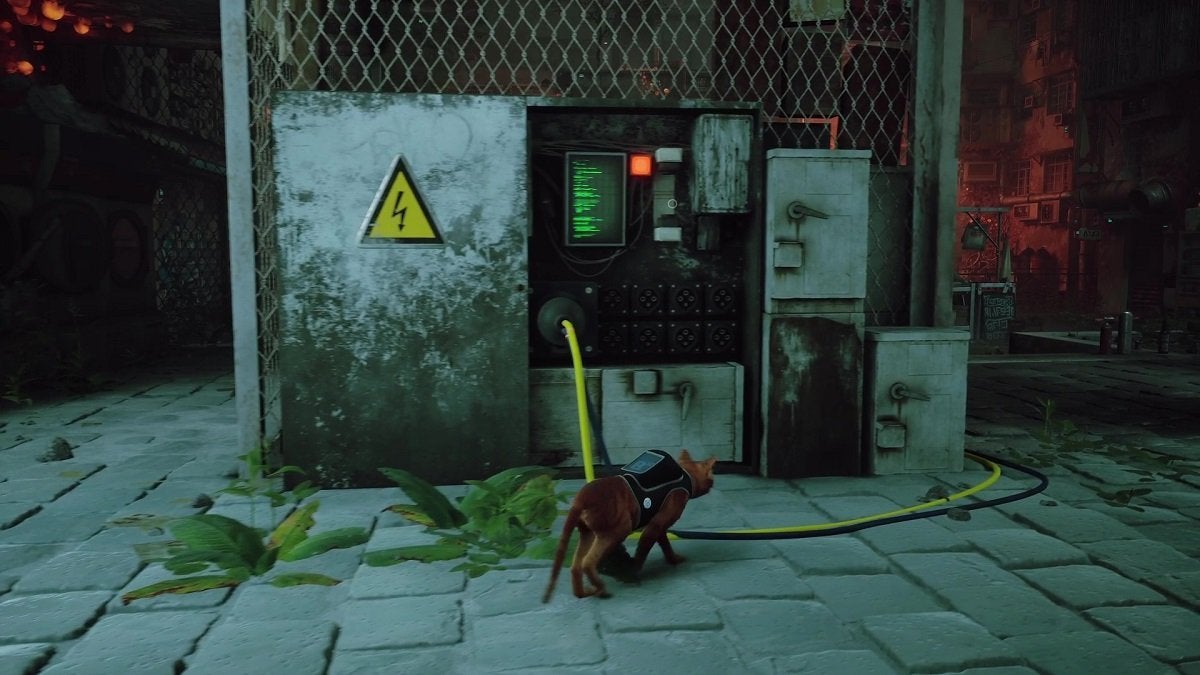
Interact with the generator and use the Fuse Doc just gave you. This will turn the generator on, but will also draw hordes of Zurks towards you. Don’t worry about them. Doc will deal with them with his Defluxor.
Make your way to Doc’s building and be sure to make use of the light from the Defluxor to deal with the Zurks. As you approach the building, be sure to take the left alley. There are Zurks on the right alley and Doc’s Defluxor won’t be able to shine its light on this area.
A cutscene will play out when you enter the building. Doc will then install a mini Defluxor on B-12. With that ready, it’s time to return back to the Slums so Doc can reunite with his son, Seamus.
Returning to the Slums
Follow Doc and leave the building through the front door. There are Zurks behind the fence ahead. You can destroy these with the Defluxor on B-12. Remember not to use the Defluxor too much or it will overheat and you’ll be unable to use it for a few seconds.
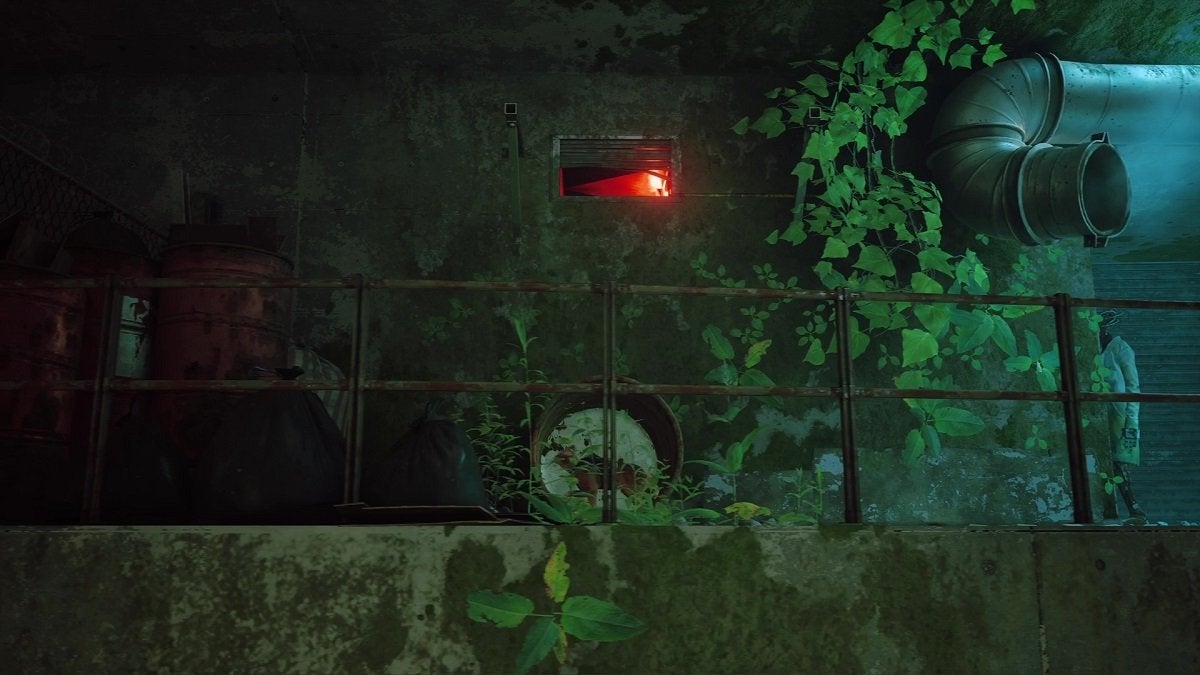
Continue following Doc to the sliding door ahead. To open this door, you’ll have to enter the building first and open it from the inside so Doc can enter. You’ll find two barrels to the area on the right. Enter the barrel on the left and have it roll forward. Once done, enter the second barrel and have it roll all the way to the left until it’s under an open vent. Exit the barrel, hop on top of it, and jump to the vent from here.
Continue heading forward until you find a lever on the right. Hop on top of the lever to flip it. Continue forward and pass through the newly opened door. Head right and you’ll find a small horde of Zurks. Deal with them by using the Defluxor.
Approach the gate once the Zurks have been eliminated. The gate will open on its own. You’ll then find Doc being overwhelmed by Zurks. Use the Defluxor to eliminate the Zurks on Doc and the ones approaching him.
Doc will then stand up and close the gate using the switch. However, a ton of Zurks will be able to make it inside before the gate closes. Be sure to deal with them by wielding your Defluxor. If the power bar goes too high, stop using it for a while and run around until you can use the Defluxor again. Keep doing this until all Zurks are finally eliminated.
With that finished, simply keep following Doc and you’ll eventually make it to the Slums.
Tying Up Loose Ends
With Doc and Seamus reunited, your task in this section of the game is over. However, before you proceed to the next area, be sure to complete anything you’ve yet to do in the Slums. Be sure to unlock any memory you’ve yet to get, find Music Sheets for Morusque, etc.
You can still do them by using the game’s Chapter Select feature, but if you’re aiming for a straightforward progression, now’s the time to tie up any loose ends in the Slums. You won’t return here anymore during this playthrough.
Stray: Chapter 6 – The Slums (Part 2)