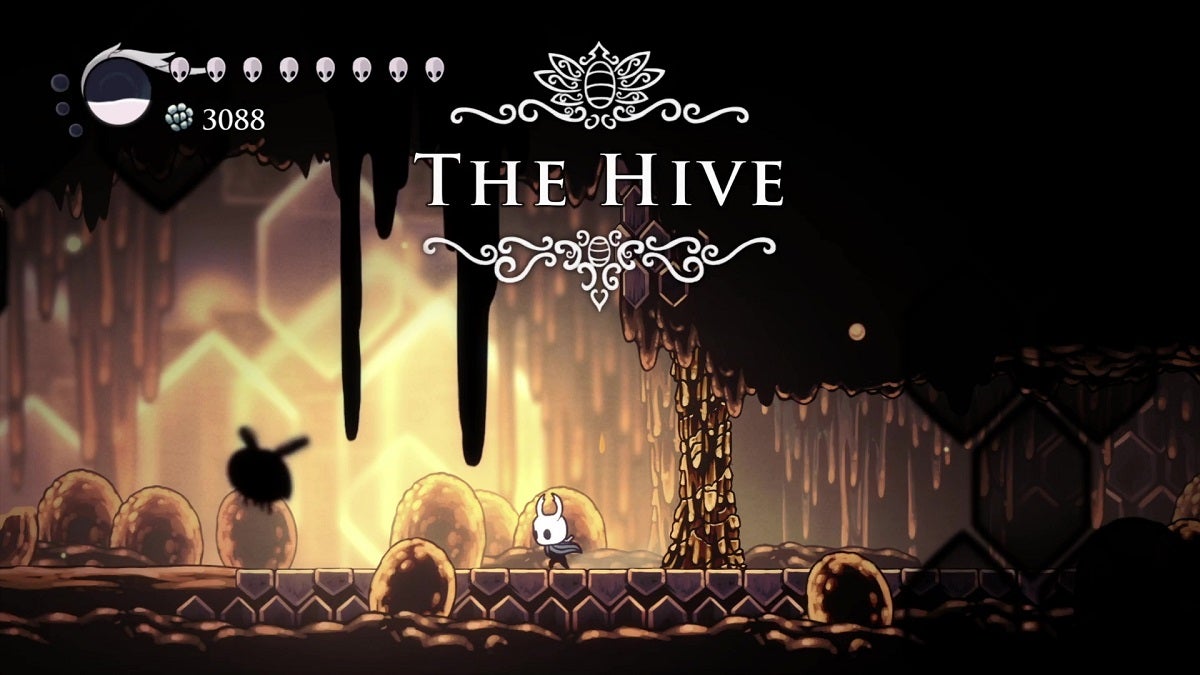
In Hollow Knight, The Hive is just an optional area. However, completionists will definitely want to explore this area as there are a handful of items here, including Grubs, a Mask Shard, and a Charm.
Table Of Contents
How to Get to The Hive
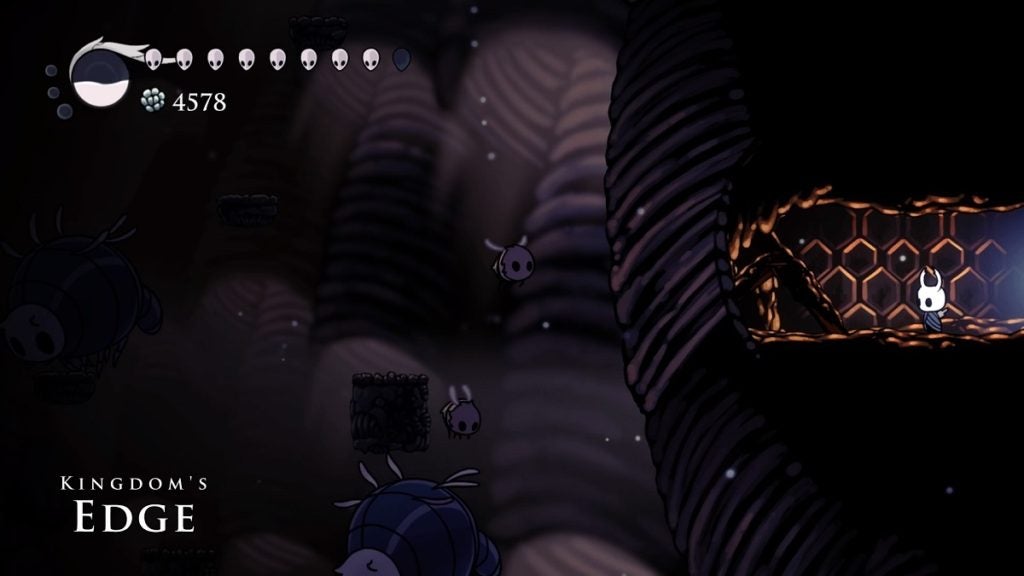
To get to The Hive, take the Stag Station to the Hidden Station. From here, immediately make your way to the Tram Station above the Ancient Basin. Enter the tram and press the glowing button on the right. This will take the tram to the southern area of Kingdom’s Edge.
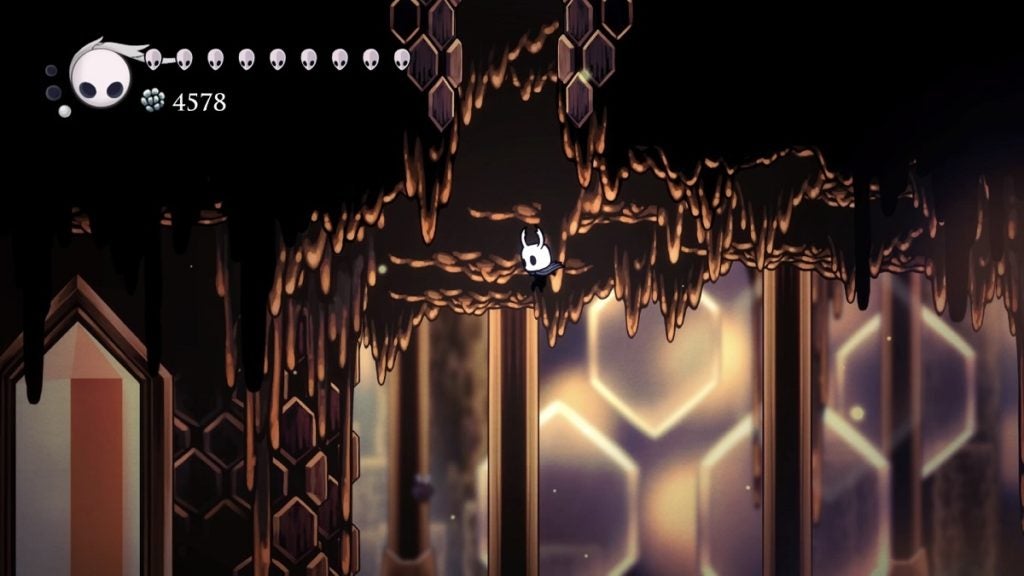
Once done, exit the tram and make your way to the right. Keep going in this direction until you’re on a platform surrounded by spike pits with two bees ahead of you. The wall to your right is breakable. Either hit it with your nail or blast a spell on it to open up the path. Jump onto it and keep heading right. You’ll then arrive at The Hive.
Finding the Bench
Keep pressing right while defeating the enemies you encounter along the way. Once you reach the next room, drop down and proceed to the left. In this room, you’ll meet a new enemy called a Hive Soldier. It will track your movements and charge towards you with its stinger. Defeat this enemy before moving forward.
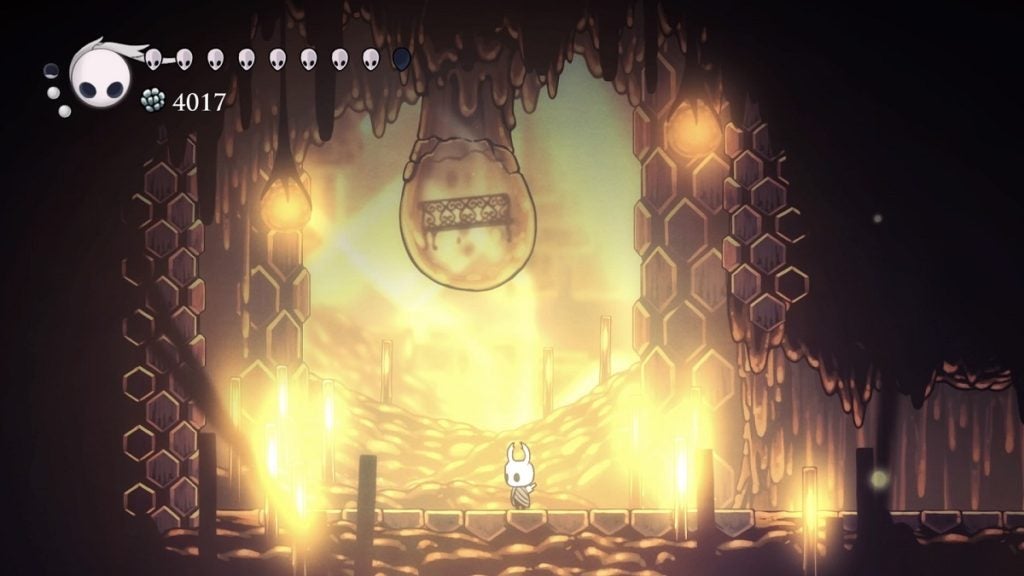
At the end of this path, you’ll see a bench above you contained in solidified honey. Break it to make the bench drop. Rest up before continuing.
Going Further
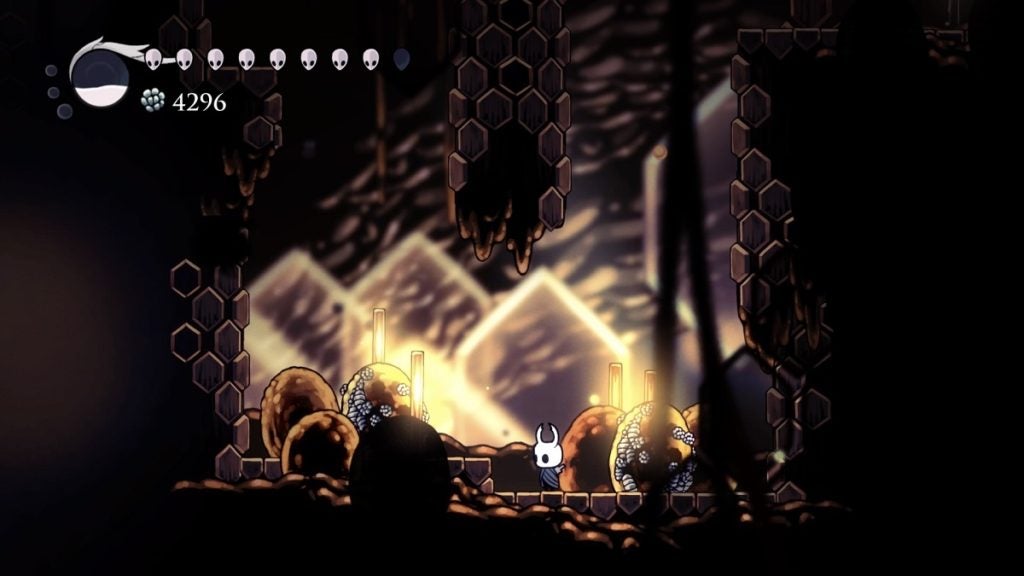
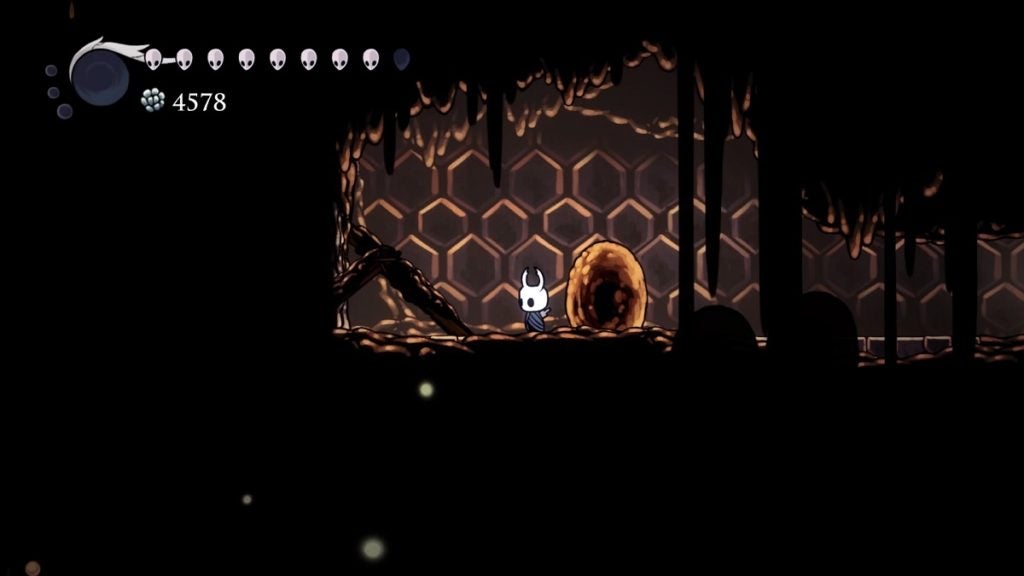
After resting, return to the section on the right. From here, continue forward until you reach the right-most area. You’ll find a Geo deposit and a Whispering Root here. Harvest its essence, the proceed upwards. Then, make your way to the left and keep going until you reach the next room.
Continue left and you will arrive at an open cavern. You’ll come across Hive Guardians here. This enemy will bounce around the room, destroying any breakable environmental obstacles and dealing two masks of damage to you. Deal with the enemies here while making your way up. There will be an opening in the ceiling in the top-left area.
Continue making your way up until you reach the topmost floor. Head to the left and you’ll see two Geo deposits here.
Once you’ve harvested these, get back up and proceed to the right. In the next area, keep moving and keep descending. You’ll also come across another Geo deposit here. Keep going until you reach the bottom. On the left side of this area, there’s a breakable wall you won’t be able to destroy yourself. That said, lure a Hive Guardian here and have it destroy the wall for you. There’s a Mask Shard waiting for you just beyond it.

After getting the Mask Shard, make your way back up and onto the area on the top right. From here, climb the wall on the right and from the very top, use Crystal Heart to make your way across. You’ll spot a shaft above you. Stop the Crystal Heart just when you’re below this shaft and jump upwards.
Once you reach the top, go all the way to the right and you’ll find a Grub here. Free it and make your way back down.
Head to the bottom area once again. Take the platforms and make your way to the right. You’ll see an opening here that’s blocked by breakable obstacles. Destroy them and head inside.
You’ll encounter more breakable obstacles here. Keep moving forward and you’ll eventually arrive at the boss area of The Hive.
The Hive Knight
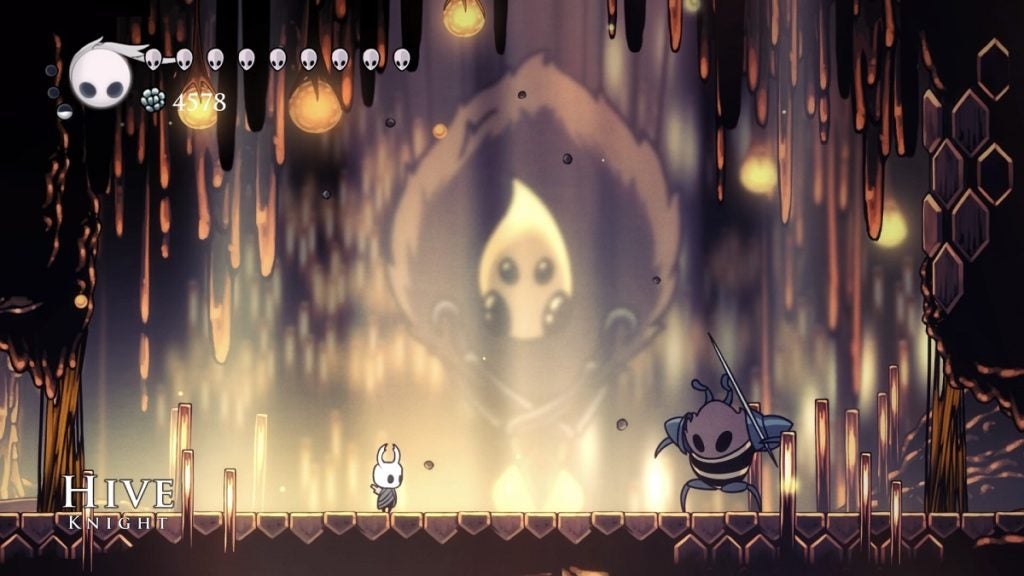
Before the fight begins, a swarm of bees will descend onto the arena. You can’t destroy these bees with your nail, but you can do so with Howling Shriek. Attacking them with your nail will only make them bounce back. The Hive Knight will then arrive shortly after.
The Hive Knight boss fight should be easy for you if you’ve already beaten enemies such as the Hornet Protector, the Soul Master, and the Hollow Knight. Regardless, you still shouldn’t underestimate the boss. The Hive Knight can be quick and some of his attacks are unpredictable.
Take a look at the attacks of this boss and how you can get around them.
- Lunge Attack – The Hive Knight will lunge forward with his weapon pointed in front of him. Jump over the Hive Knight and attack him from behind. Or, you can nail-bounce on him and attack him once again when you’re behind him.
- Slash Attack – The Hive Knight will teleport behind up and slash his weapon horizontally. This attack’s reach is fairly short. Moving away from the Hive Knight after he teleports behind you should be enough. Attack him after his attack is done.
- Bees Swarm – The Hive Knight will often expel a swarm of bees from his mouth. They will then descend onto the arena, similar to how they did before the fight began. They still can’t be destroyed with your nail here. You must use Howling Shriek if you want to get rid of them. However, it’s best to just move away from the bees and save your spells on the Hive Knight himself.
- Honey Spikes – The Hive Knight will summon three orbs of honey with spikes protruding from them. These spikes will then burst in the direction they were pointed at. This is the attack that’s most difficult to avoid. Get as far away from them as possible and try to predict the spikes’ trajectory. If it becomes too tough, use Descending Dark to become invulnerable for a few seconds.
Familiarize yourself with the Hive Knight’s attacks and you’ll find a lot of opportunities for attacking him. Make use of both melee and spells. After a few hits, the Hive Knight will become staggered, giving you the chance to heal.
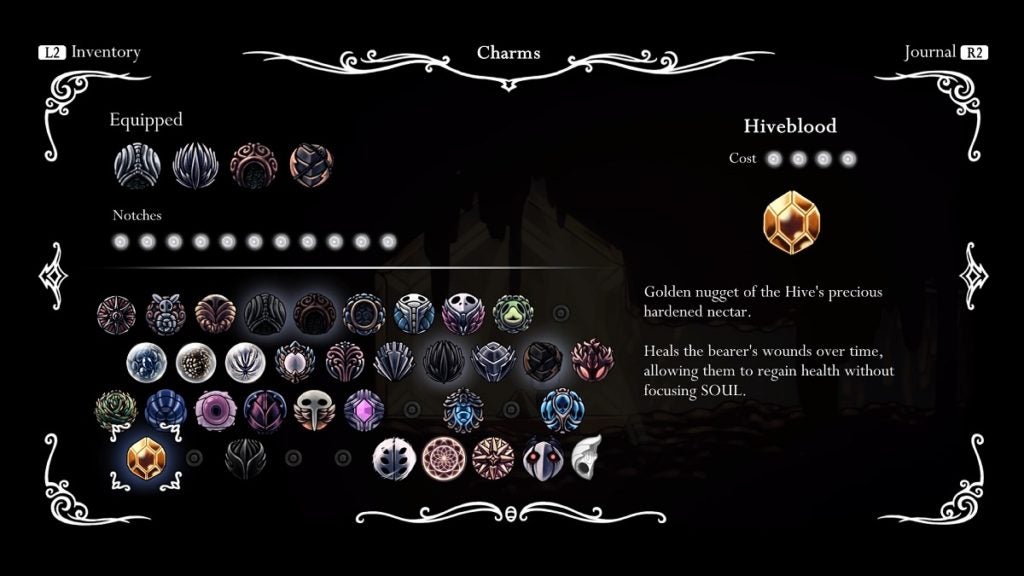
Keep at it until the boss is defeated. Once done, proceed to the right, drop down, and proceed to the left. At the end of this path, you’ll pick up the Hiveblood charm, a charm that’s very useful in exploring the White Palace because it automatically replenishes your previously broken mask without using Focus or any Soul.
When you head back up, Hive Queen Vespa will appear before the Hive Knight’s body. Interact with her before moving on.
One Last Grub
Before you conclude this level, there’s one more Grub here you must free. However, the Grub’s location in the northern section of The Hive can only be accessed from the outside. That said, make your way all the way back to the southern part of Kingdom’s Edge.
From the Hive Knight’s room, you can proceed to the left and onto the area where the Mask Shard was. From there, proceed to the left to unlock a shortcut that brings you closer to the level’s entrance.
Drop down and continue pressing on the left. Once you reach the edge, make your way up. Keep ascending until you reach a breakable obstacle. Destroy it and keep moving forward. You’ll then arrive at another breakable wall that leads directly to the southern part of Kingdom’s Edge.
From here, keep ascending until you spot an entrance on the ceiling. Jump onto it to continue. Then, climb up and start heading to the right. Keep walking until you’re facing a wooden beam and the ground beneath you shakes. Beyond that wooden beam is the massive chasm area in Kindom’s Edge. What you’ll want to do here then is to use Descending Dark to get to the area below.
From here, proceed to the left until you see the hole you can drop down on. Head down and the Grub will be on the platform to your left.

With that, you’ve done everything there is to do in The Hive and acquired everything there is to acquire here. Make your way to the nearest Stag Station and prepare for your next journey from there.