The City of Tears in Hollow Knight lies at the very center of Hallownest. This level opens up the game even more and in such a grand manner. Let’s head right into it.
Table Of Contents
Entering the City of Tears
After walking beyond the gate opened by the City Crest key, keep walking to the right and into the next room. This area contains a Belfly, a new type of enemy that clings on the ceiling and dives at you. They’ll explode upon contact and deal two masks of damage. Be sure to watch out for this enemy.
Continue walking to the right and defeat the enemies you encounter. Press on until you reach the end of the room. Drop down and proceed to the room below.
Continue descending while fending off the Husk Sentries you encounter. About halfway through, you will spot a bench with Quirrel sitting on it. Take the time to rest and interact with Quirrel. Once done, continue going further down.
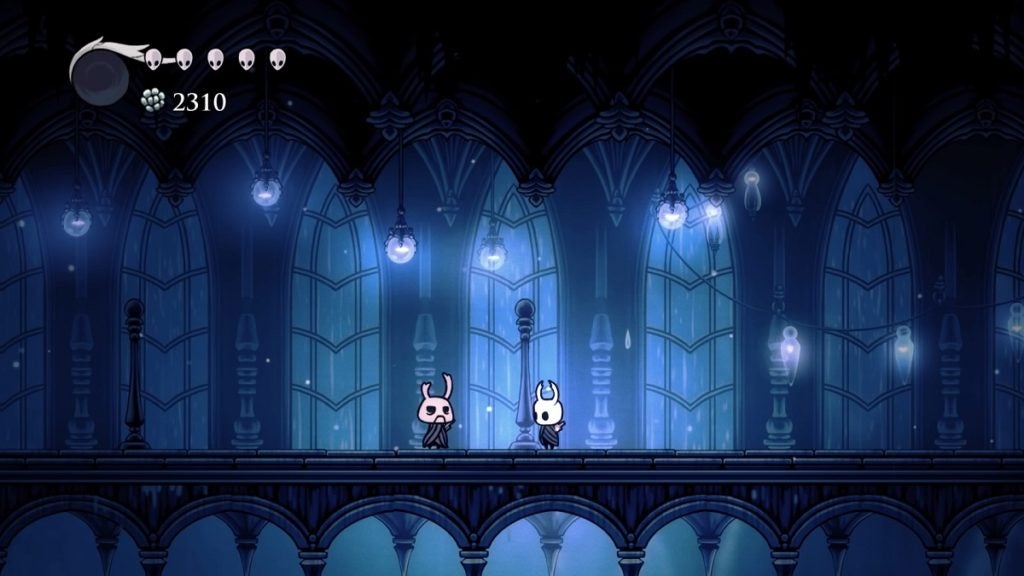
Once you reach the bottom, which will send you outdoors, head towards your left. There’s an NPC there you need to visit first.
Going to the Nailsmith
From here, proceed left. Just continue in this direction while defeating or avoiding the Husks and Vengeflies along the way. Once you reach the far end of the area, you’ll hear a metal clanking sound. Head upwards and walk to the right and you’ll spot an odd-looking hut. Enter this structure to meet the Nailsmith.
The Nailsmith is an NPC who will upgrade your melee weapon. For now, he will only ask for 250 Geos to upgrade your nail. Moving forward, however, you’ll need to find and collect Pale Ores to have your nail upgraded.
Meeting Relic Seeker Lemm
Once your nail is upgraded, exit the hut and make your way back to where you came in. From the entrance of the Nailmaster’s area, hit the lever to summon the elevator. Ride it and slash the lever above to make it go up. Just before the elevator enters the building, you should spot a platform on your right. Jump on this platform.
Head east from here while dealing with the Winged Sentries–flying variants of the Husk Sentries. A well-timed Howling Wraith should take care of them.
You can also climb higher until you reach the top-most platform to pick up a Hallownest Seal guarded by a singular Winged Sentry. You can sell this item later on.
Keep heading east and you should land on a platform that leads to an entrance. Make your way here and enter the structure.
Immediately after heading inside, you’ll come across a Heavy Sentry. Dispatch this enemy and jump into the hole in the ground behind him. Walk to your right and you will enter Relic Seeker Lemm’s shop.
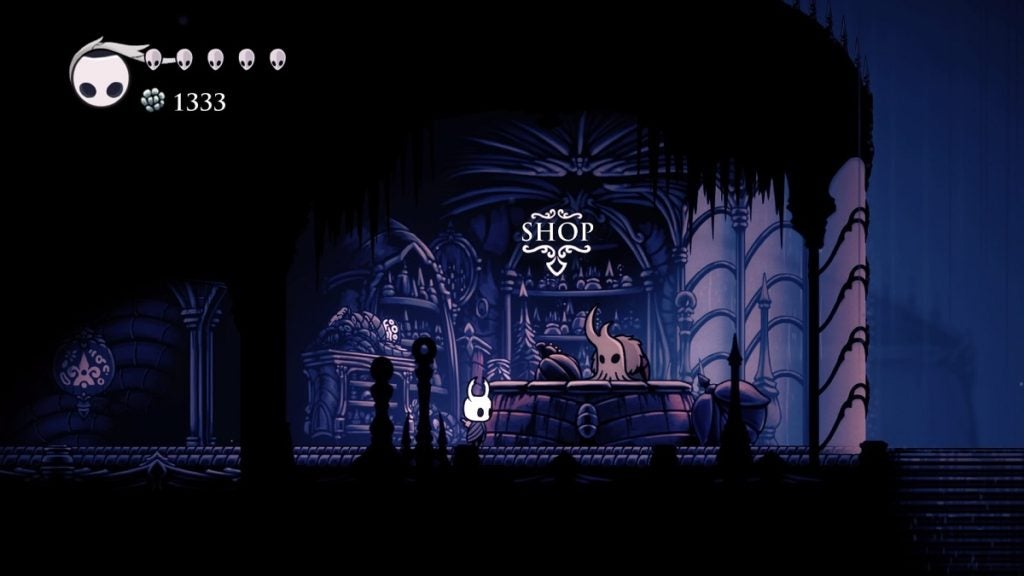
Relic Seeker Lemm will purchase Wanderer’s Journals, Hallownest Seals, King’s Idols, and Arcane Eggs from you. The amount of Geo he’ll pay is based on the rarity of the item. The items listed above go from most common to rarest.
Sell whatever items you can to Lemm. Once done, head back outside and hit the lever across you. Don’t ride the elevator down for now. Keep heading to the left and jump onto the platform above you. There’s a chest here that contains Geo.
Hollow Knight’s Memorial
Head back down and ride the elevator down. Once at the bottom, walk to the right and onto the next area. Keep going and a cutscene will play out.
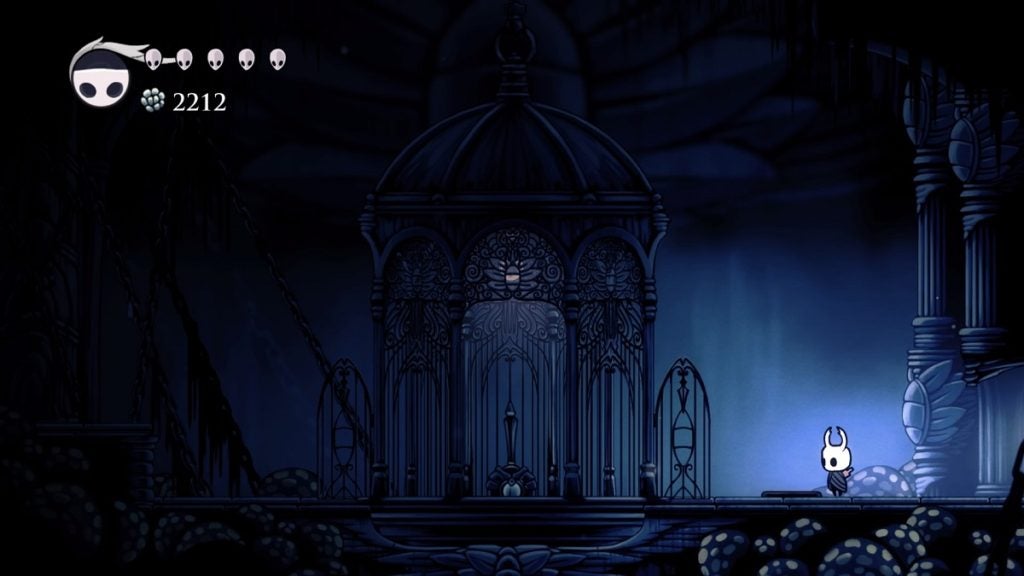
You’ll have a small conversation with Hornet after the cutscene ends. Be sure to inspect the memorial in front of you. Doing so will add the Black Egg Temple to your map, an important area in the game but one you shouldn’t worry about for now.
Finding Cornifer
Once that’s done, head back to the left and take the elevator up. Climb up to the level above and take the elevator up once there. Have the elevator climb one level only for now. Proceed to your left where you’ll find a Husk Sentry and a Heavy Sentry. Defeat them both and keep heading to the left.
Start climbing until you reach the next room above. Once here, continue up still until you reach the very top. You’ll find a lever on the top right area of this room. Hit the lever after defeating the Winged Sentry to open the door below it.
Enter this passage and jump down until you arrive at the room below. You’ll land directly next to a lever. Hit it and the three doors below you will open.
Make your way to the right beyond the elevator shaft and drop down. At the very bottom is another lever. Hit this one to open the door to the left. Once that’s done, start making your way up until you reach the top. You will see a bench signpost that points to the northwest. Follow the direction of this sign and take the elevator on the left up.
Once you stop one level up, enter the room on the right and defeat the Winged Sentry. Free the Grub the sentry was guarding. Once that’s done, return to the elevator and ascend once more.
Once you reach the top, you should see a piece of paper lying on the ground to your left. Walk towards this direction to come face-to-face with a Heavy Sentry. The gates behind and across you will close once the sentry notices your presence. After defeating the Heavy Sentry, a Winged Sentry and a Husk Sentry will spawn. Defeat both enemies to have both gates opened again.
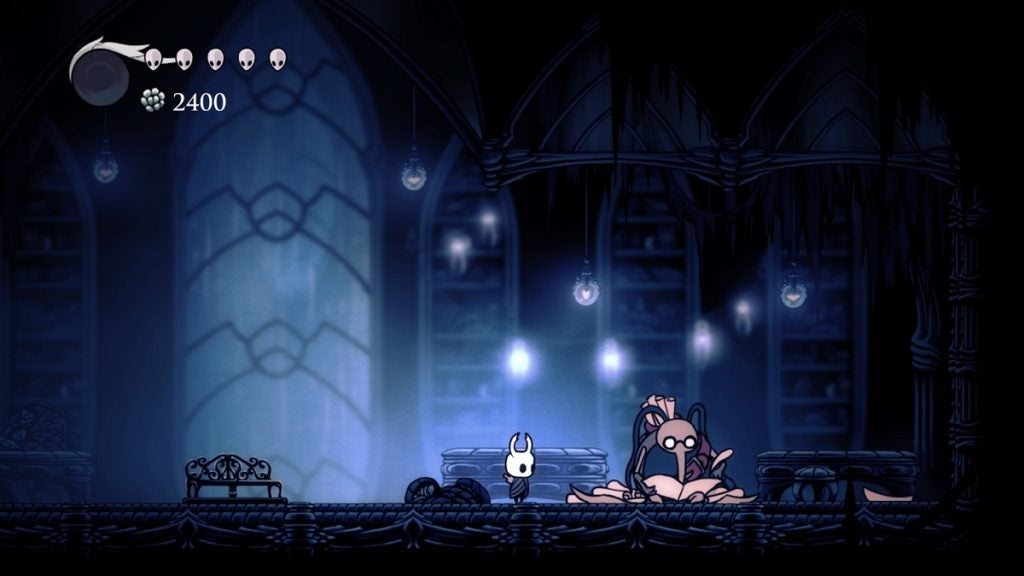
Once done, continue heading to the left and begin climbing up until you arrive at the next room above you. From here, Cornifer is just northeast of you. Beside Cornifer is a toll machine that will transform into a bench if you insert 150 Geos into it. Do this to have a place to rest. Purchase the City of Tears map from Cornifer for 90 Geos.
Unlocking an Elevator and a Stag Station
After purchasing a map and resting, walk to the left and jump on the higher platform in front of you. Proceed to the next room. Keep walking and you will come across Zote (if you freed him in Greenpath).
After interacting with Zote, keep walking to the left until you reach the next area. Continue left and you will see a lever ahead of you. Hit this lever to open the gate. This path leads to where you first entered the City of Tears. Have it opened for future use. After opening this gate, jump on the hanging platforms and start working your way up.
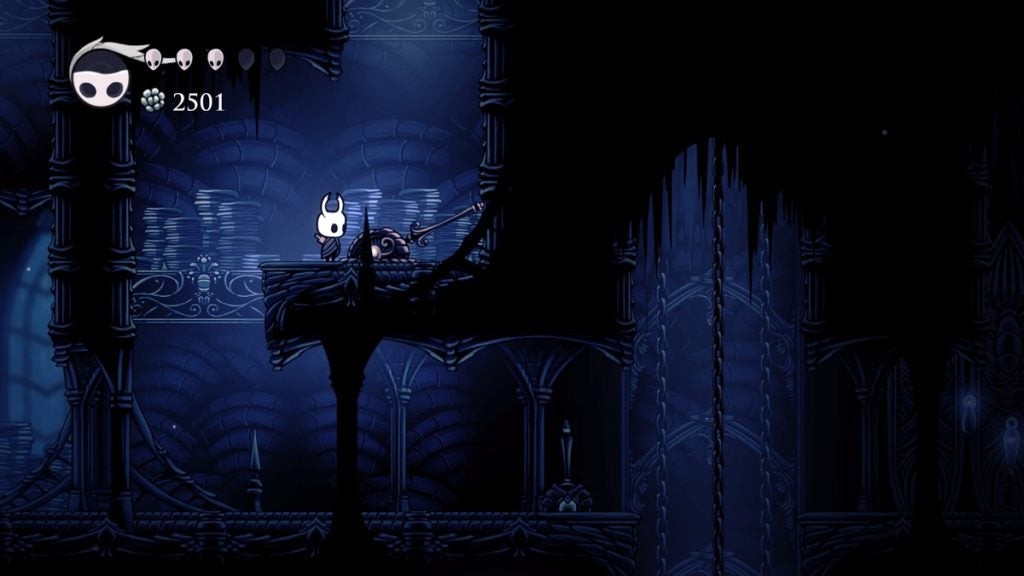
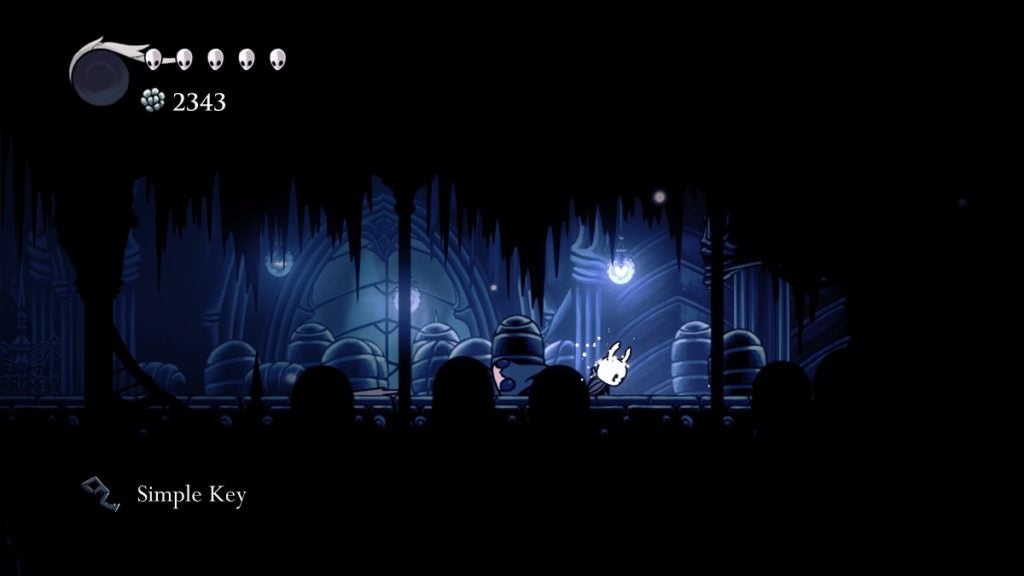
The Winged Sentries here can be a nuisance. Whether you fight them or avoid them completely is up to you, though it’s suggested you take the time to eliminate them. Keep ascending while leaning to the right. Once you reach the top right-most platform, keep walking forward to collect a Simple Key lying on the ground. Be careful of the Husk Sentry that’s waiting for you here.
Once done, proceed to the top left-most corner of this area. Once here, enter the hole in the ceiling to reach the room above. From here, start moving west. There is also a Wanderer’s Journal beyond the wall to your left. Keep heading to the left until you arrive at the next room.
In this next room, there’s a toll machine that will ask for 150 Geos. Pay to summon the elevator. This elevator will lead back to the Forgotten Crossroads. This shortcut will be useful for your exploration later so it’s advised you open this path. If you decide to do this, ride this elevator up. There’s an item you’ll need to get before resuming.
Once at the top, take the entrance to the left. Keep going until you spot a hole in the ground with spikes on both sides of its walls. Jump down and keep heading left. At the end of this path is a Vessel Fragment. Collect enough of this item and your Soul gauge will increase. Once collected, return to the right and keep walking forward until you’re back at the elevator. Ride the elevator down to return to the City of Tears.
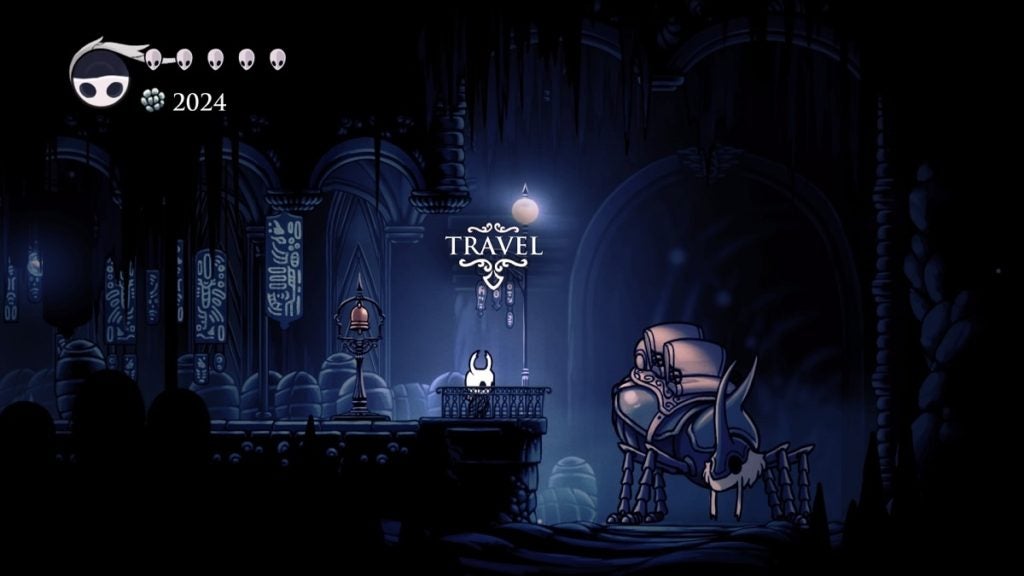
You can then head to the right once you’re back. Keep walking forward and jump on the higher platforms you come across. Continue ascending and you will see a Winged Sentry. Eliminate this enemy and continue east. The room to the right is a bench and a Stag Station. Enter it and summon the Stag by inserting 200 Geos into the toll machine.
From here, you can take the Stag to visit the shops of your choice before exploring the City of Tears further. Otherwise, keep going.
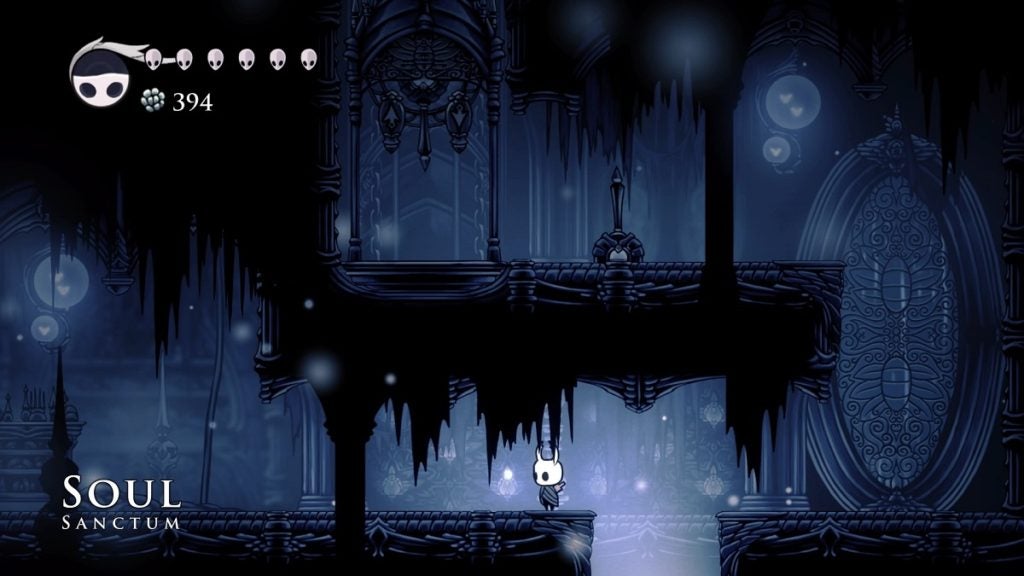
Heading to the Soul Sanctum
Head back outside. Slash down the chains that are holding the platform suspended. Once on the ground, head down and make your way back to where Cornifer was.
Once you arrive at, rest on the bench first before moving on. Head back down and descend to the area below. From here, keep walking to the right until you arrive at the next room. You’ll encounter a Soul Twister here. The gate ahead of you will remain closed until you defeat this enemy. Fire a Howling Wraiths spell at it to defeat it quickly. Once done, climb up to the next area above.
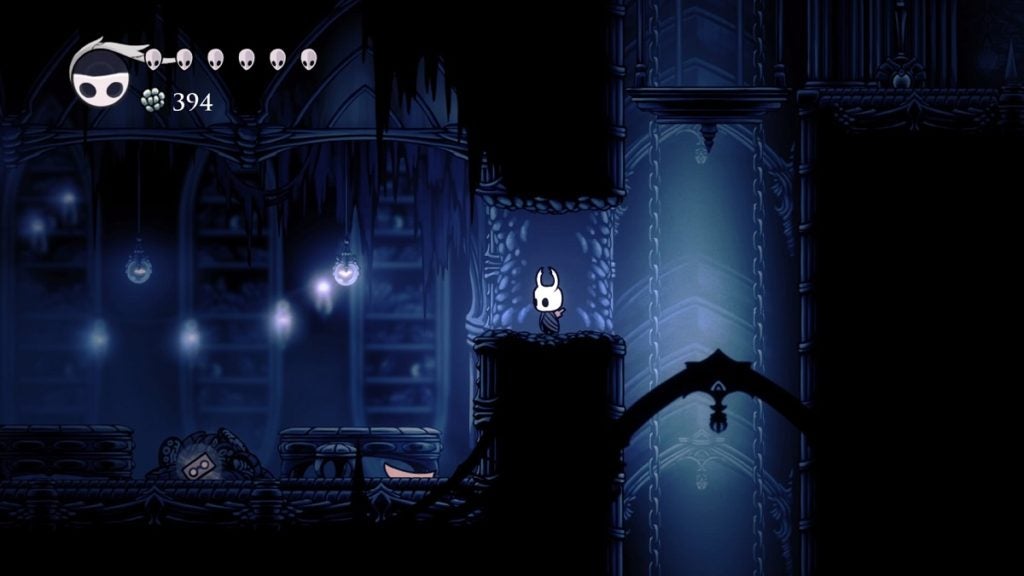
The area you’re in now is the Soul Sanctum. From here, walk to the left and onto the next room. Take the elevator up and pay attention to the western wall. You’re going to spot a breakable wall here. Destroy this area with your nail to unlock a shortcut between the bench and the Soul Sanctum.
Ride the elevator back down, or simply jump down, and head back to the eastern room. Keep walking past the hole on the ground. Climb up and ride the elevator up to the upper level. Once at the top, walk to the left and jump up on the opening on the ceiling next to the elevator. Continue heading up while fighting the enemies here.
Stick to the right side of the room and take one more level up. In the top-left corner of this room is a lever. Hit this lever to open the gate above you. Now, descend one level and head to the left to get to the elevator shaft. Climb your way up onto the newly opened gate. Head inside and prepare for a little challenge.
You’ll fight a Soul Warrior in this area. While not a boss, this guy is tougher than a standard enemy. The Soul Warrior will often teleport above you and lunge downward. Dash away and strike him when he’s on the ground. He’ll also occasionally dash towards you and cast spells at you. He’s not too fast so dealing with him should be easy.
Once the Soul Warrior is defeated, proceed to the room on the right. Enter the hole in the ground and keep descending while fighting the enemies until you reach the bottom. Hit the lever in front of you to open the door. This should open up another shortcut that will make your trip easier in case you die later on.
Start heading back up until you reach the top-most area of this tall chamber. Head to the left and drop down to the lever. Hit it before moving forward. To your bottom right is an elevator. Ride it up to continue.
Make your way up again while dealing with the enemies in the area. There will be multiple Mistakes here. Proceed to the entrance on the left once at the top.
Keep walking and drop into the hole in the ground. Walk to the right and drop once more. From here, jump onto the platforms on the top left and slowly make your way up. Once you reach the top, hit the lever to open the door.
Once done, walk to the left and notice the gap on the ceiling just before the entrance to your left. Climb this gap to reach a secret section above. Keep heading to the right. Be careful, though. Multiple Follies and Mistakes will spawn here. Get rid of them before reaching the far end of the room. You’ll pick up the Spell Twister charm here.
Once you’ve obtained the charm, return to the area below and take the entrance on the left. Be prepared. You’ll be facing a considerably tough boss in this next room.
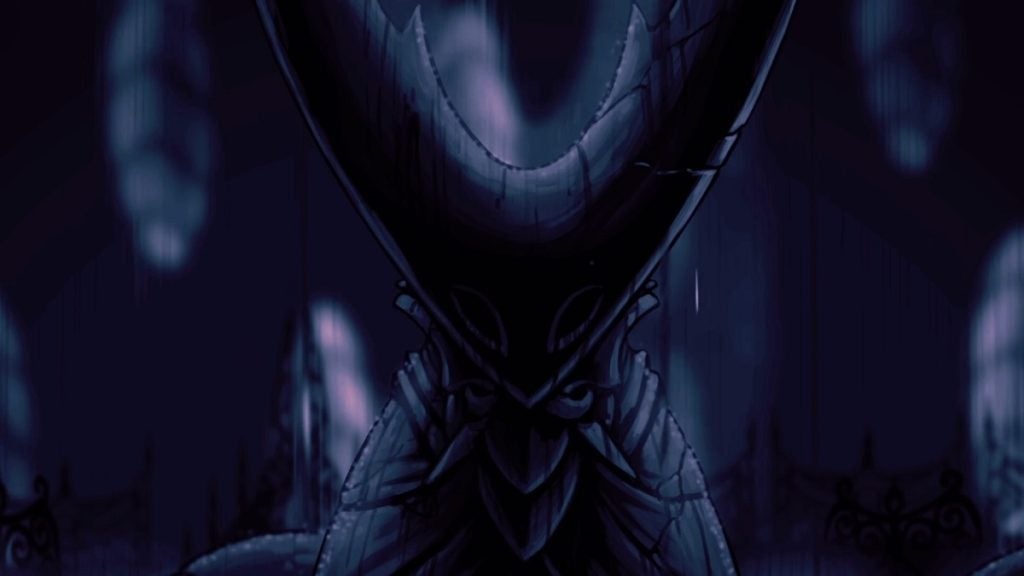
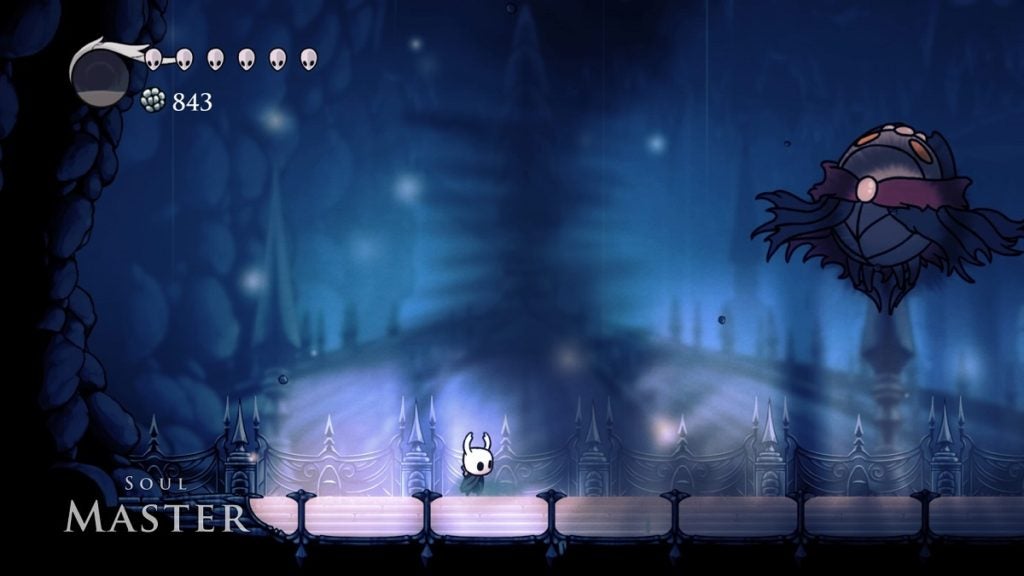
Soul Master
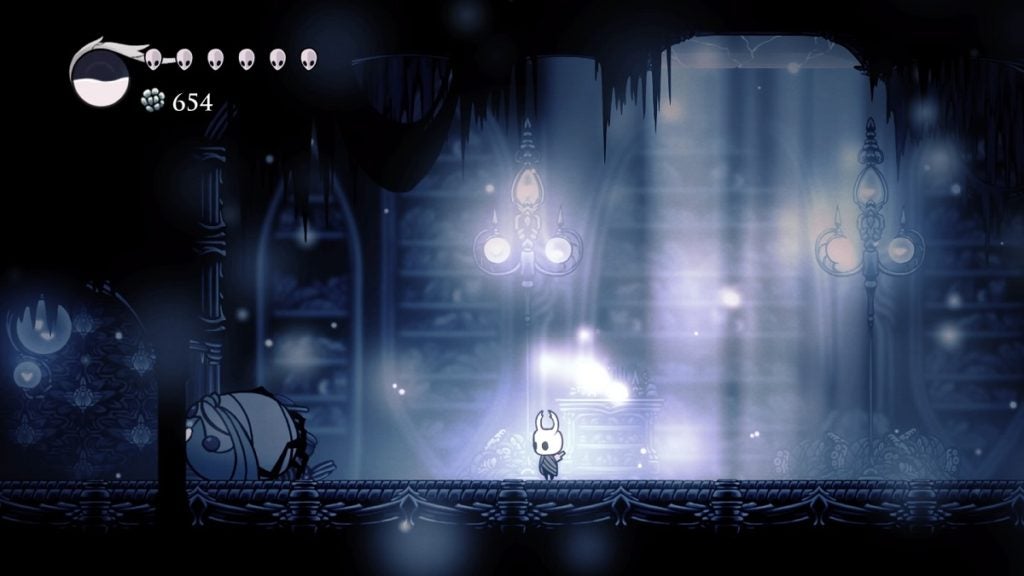
At the peak of the Soul Sanctum, you’ll come face-to-face with Soul Master. Before arriving at the boss arena, there are a couple of glass-encased Souls you can bring to acquire more souls to either heal up or simply to have enough before the start of the boss fight. Once you’re ready, head onwards to the arena and wait for Soul Master to arrive.
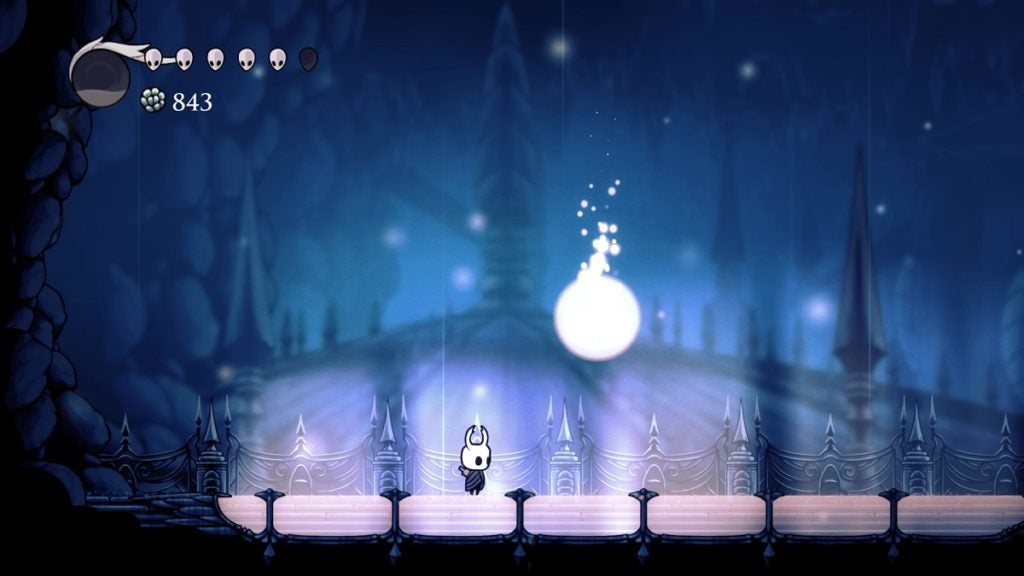
Soul Master can be very unpredictable. He’ll often teleport around the arena and even fake out an attack to throw you off guard. These are the Soul Master’s attacks and how you can sneak in attacks to damage him.
- Glide – This is the Soul Master’s simplest attack. He’ll teleport on one side of the arena and glide across the other. You can take advantage of this by jumping on him and slashing down, dashing towards his trajectory and slashing down again. If you can time this perfectly, you can hit him twice before this attack ends.
- Desolate Dive – Soul Master will teleport above you and slam onto the ground. Once he hits the ground, shockwaves will then burst in both directions. You can determine when Soul Master is about to perform this attack since his body positioning will indicate his upcoming downward motion. When he does this, dash away and jump when he lands on the ground. He will also often fake out this attack. Just when he’s about to dive, he’ll teleport once more above you and perform the Desolate Dive there. Dash away once again to avoid this.
- Orb Attack – The Soul Master will occasionally throw orbs at you. These orbs will continue to follow you until they hit a wall or the ground. Bait them to hit either one of them while dodging away.
- Rotating Orbs – The Soul Master will teleport on one side of the room while in mid-air and glide to the other side. All the while, four orbs will rotate around him. While he’s gliding to the other side of the room, you can pretty much anticipate whether the orbs will hit you or not. You can find a spot underneath Soul Master to slash him upwards or hit him with Howling Wraiths while jumping whenever the orbs get close to you. Once the Soul Master reaches the other side of the room, he’ll disappear and the orbs will fly in the other direction.
Those are the only four attacks he employs during his first phase. He’ll also teleport around the arena occasionally and just remain there before teleporting again. Move frequently so you can trace his movements and attack him when you’re close enough.
The Howling Shriek is very useful during this fight so be sure to use that frequently.
Soul Master will stagger for a few seconds after you hit him enough. This is the perfect time to heal. After staggering him a few more times, he’ll seemingly perish and the Desolate Dive will appear ripe for the taking. When you acquire it, however, Soul Master will reappear and slam the ground, sending both you and him to the level below. Be prepared for the second phase of the fight.
During this phase, he’ll bombard you with Desolate Dive, coupled with the occasional fake-outs. Constantly dash and jump away whenever he teleports above you. This attack won’t come with shockwaves anymore, but if you get too close to the ground he slams on, you can still get damaged.
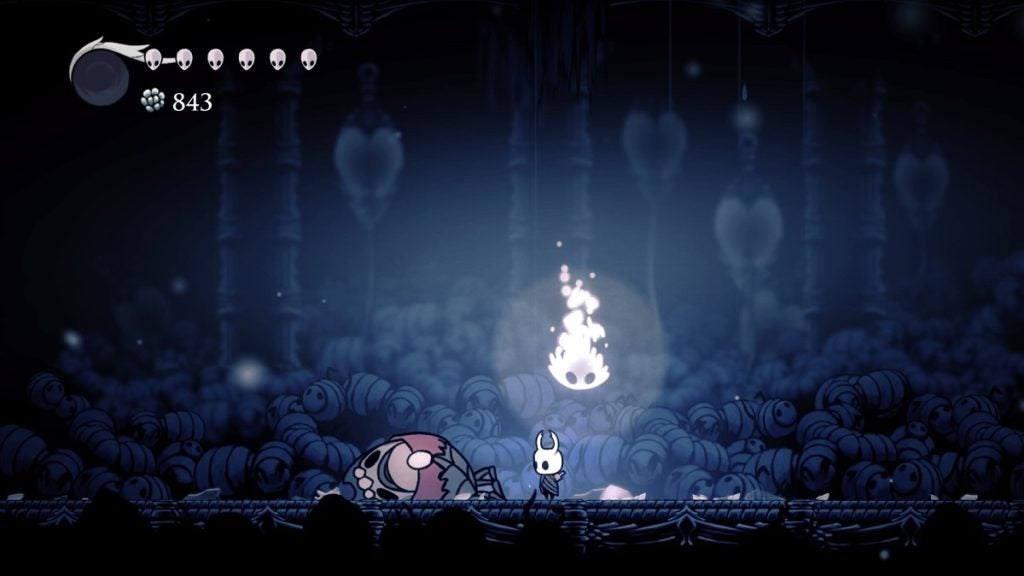
After a few seconds, he’ll stop this attack and remain on one part of the room while hovering in mid-air. During this time, he’ll conjure up orbs from random directions which will then fly towards you. This is the perfect time to land a lot of damage on him. While immobile, you can keep striking at Soul Master with your nail and your spells. Be sure to avoid the orbs while you’re at it. After a few attacks, you’ll finally defeat this arduous boss.
Leaving the Boss Room
After defeating Soul Master, you’ll acquire the Desolate Dive spell. This functions very similarly to the Soul Master’s dive attack. You can use this to damage enemies and destroy environmental obstacles.
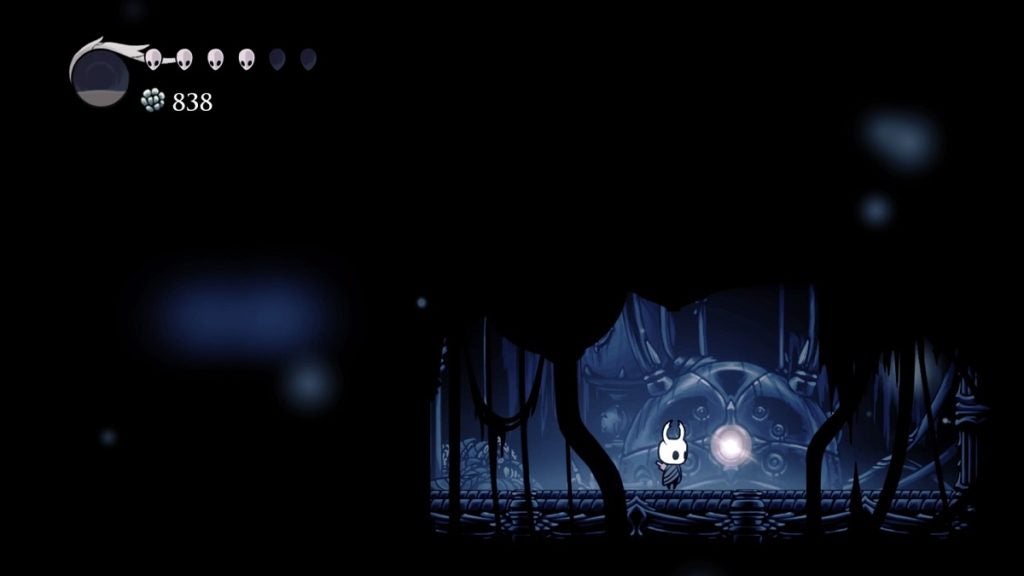
After the fight and after acquiring the spell, start walking to your left and jump onto the top-left platform to take the entrance there to the next room. Climb up and continue forward. Don’t destroy the glass floor with your new spell yet. For now, keep walking to the left and begin climbing until you reach the very top. To your left is a chest containing a substantial amount of Geo. There are also Soul reserves to your right and below you, in case you don’t have enough anymore.
Once done, return to the bottom and use Desolate Dive on the glass floor. There will be another glass floor right beside you once you reach the area below. Perform the same spell and you’ll be sent multiple levels down. From here, climb up to reach the top-right platform to acquire a Hallownest Seal.
Keep climbing until you see a massive Soul reserve on your left. Beside it is breakable ground. Use Desolate Dive here to descend to the bottom area. This area is filled with a lot of Mistakes and Follies so make sure to watch out for them. Proceed to the right side of the area and begin climbing.
You’ll eventually reach a platform with a lever on the ground. Hit the lever to open the door. You can climb up once again and slowly drop down the hole you just made to reach a Grub. Once freed, return to the newly opened door and begin ascending. Once you reach the top, take the entrance to your right.
You’re now passing directly under where you fought Soul Master during his second phase. Keep moving forward, past the Soul totem and to the next room.
Make your way up from here to reach the area to your right. Once there, use your Desolate Dive to break the glass floors. Walk to the right to find another glass floor. Descend once again to reach the bottom room.
From here, walk to the left to find an elevator you can ride down. Once you reach the bottom, walk to the right to find another elevator. Ride it down once again and you will arrive at the bottom of the Soul Sanctum. Return to the bench beside where Cornifer was.
Preparing for the Next Level
The City of Tears is a massive area and you’ve already explored a lot of it. However, you’ll be surprised to know that you’ve only explored half of this area. You can explore the other half of the City of Tears later. For now, you should make your way to the City Storeroom Stag Station to prepare for the next level.
Take the Stag Station and head to the Forgotten Crossroads. Rest at the bench for now and prepare yourself for Crystal Peaks.