Knowing how to properly use your Map in The Legend of Zelda: Link’s Awakening will be crucial for exploring. This handy tool will help you navigate, mark locations, and even keep track of important NPC messages.
Table Of Contents
Using You Map for Navigation
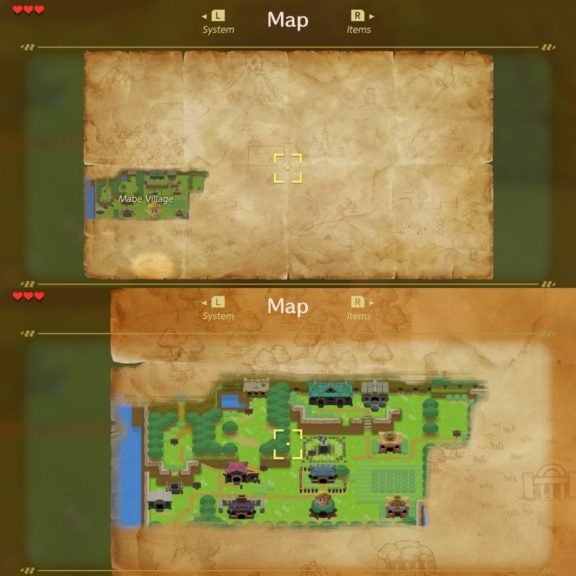
You can quickly open your Map at almost any time by pressing the “-” button (the minus button). This will initially open your Map at the widest zoom setting. On the sepia-colored background, you can see plenty of details that hint at the nature of future areas you’ll discover. Though, in the beginning, you’ll only have Mabe Village colored in. Conveniently, whenever you enter a new area, the game will fill in your Map with details about that entire section of Koholint Island.
Zoom Your Map to See More Details
In addition to the default view, you can also zoom in once by tilting the right analog stick upward. Doing so will give you a much more detailed representation of a specific area. You’ll be able to accurately see all buildings, their entrances, as well as every tree, rock, and shrub the location has.
Getting an aerial view like this can even help you find suspicious spots that are worth investigating. You can zoom out by tilting the right analog stick downward.
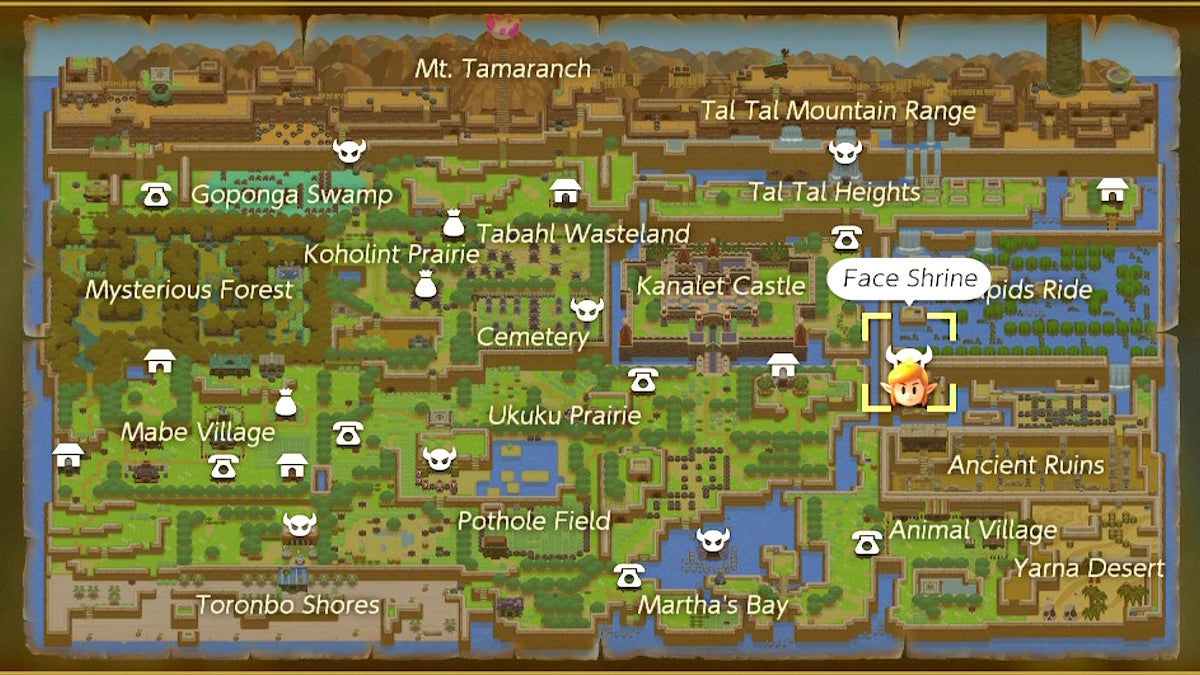
How to Mark Locations on Your Map
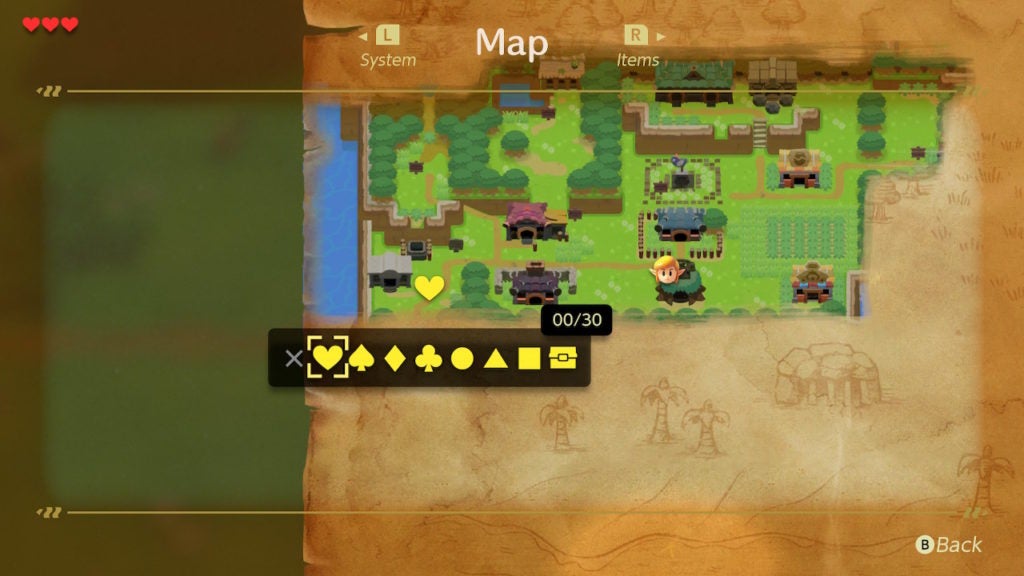
To mark a specific location, you’ll need to press the A button to open the Pin menu. When you do so, you’ll see a small horizontal menu with a bunch of yellow symbols. You can place up to 30 of these on your Map, which this little sub-menu tracks in its top-right corner.
There are enough kinds of Pin shapes that you should have an easy time keeping tabs on what you find and where. You can also hide the Pins that you place by pressing the Y button on the Map menu to “Hide Markers.”
Using Your Map to Access Memories
In your Map menu, you’ll see a few different options at the bottom beside the previously mentioned functions. The least intuitive is the “Memories” option, which you can access by pressing the X button. Doing so will bring you to a sub-menu where you can see a few important trackers.
Remembering Important NPC Dialogue
The reason that this sub-menu in your Map is called “Memories” is due to its primary function of displaying NPC dialogue that you’ve already read. However, it doesn’t track all NPC dialogue—only things important to your main objectives. As such, you’ll mostly find old hints that the Owl has given you, which can be useful to reflect upon if you get stuck.
Checking Your Collected Pieces of Hearts and Seashells
Besides remembering important lines of text, you can also see how many Pieces of Hearts and Seashells you’ve collected. Furthermore, there’s even a little map with symbols on it that shows you where you found your special loot. You can use this to seek out more treasure in places where you haven’t yet found any. As you crisscross Koholint Island multiple times during your adventure, all these trackers will be a great convenience for completionists.