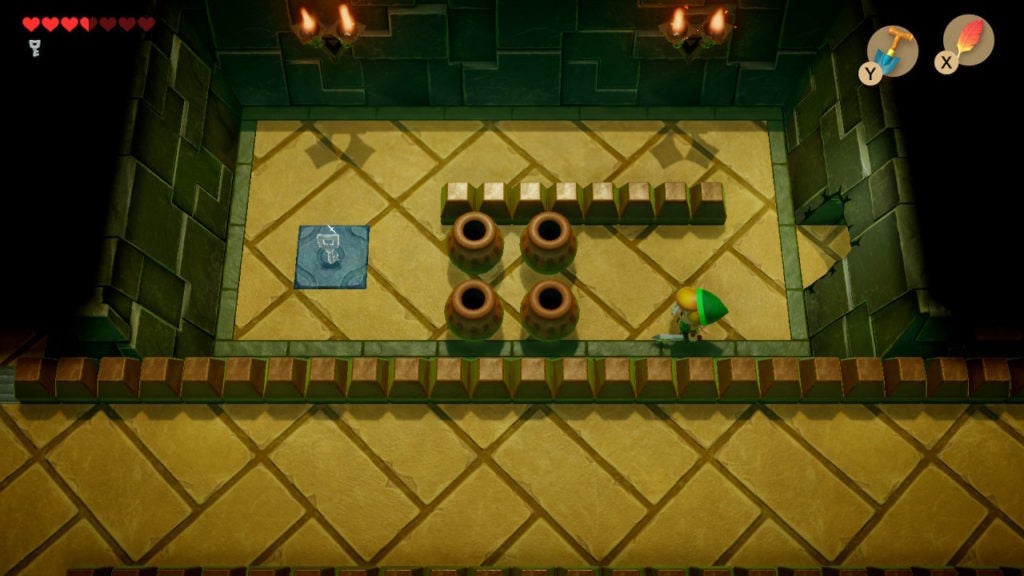
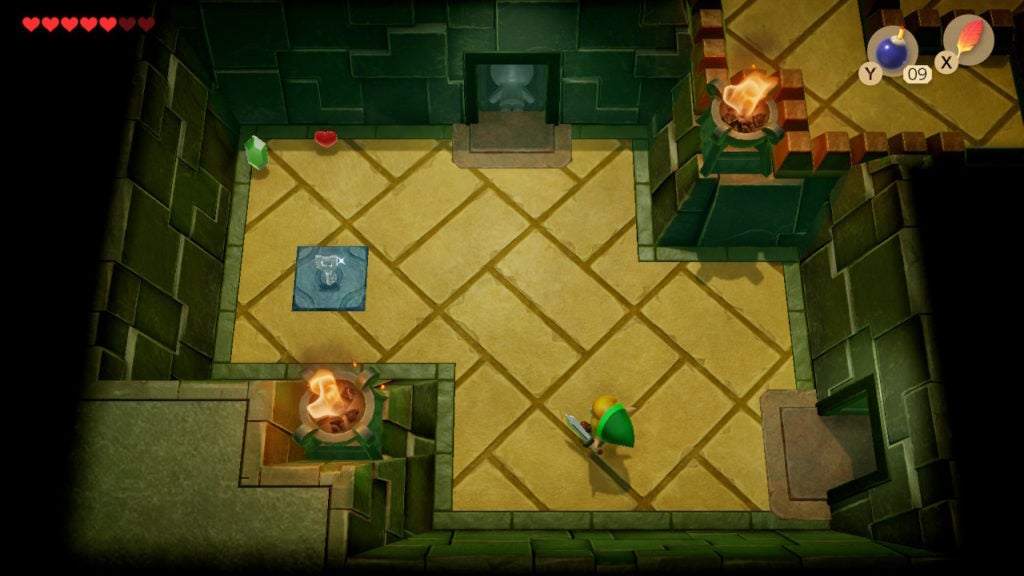
When you enter Level 3 – Key Cavern, you’ll immediately be faced with a small puzzle. However, this is one you’ve seen before: a pot door. This will set the tone for how your adventure in this dungeon unfolds.
Table Of Contents
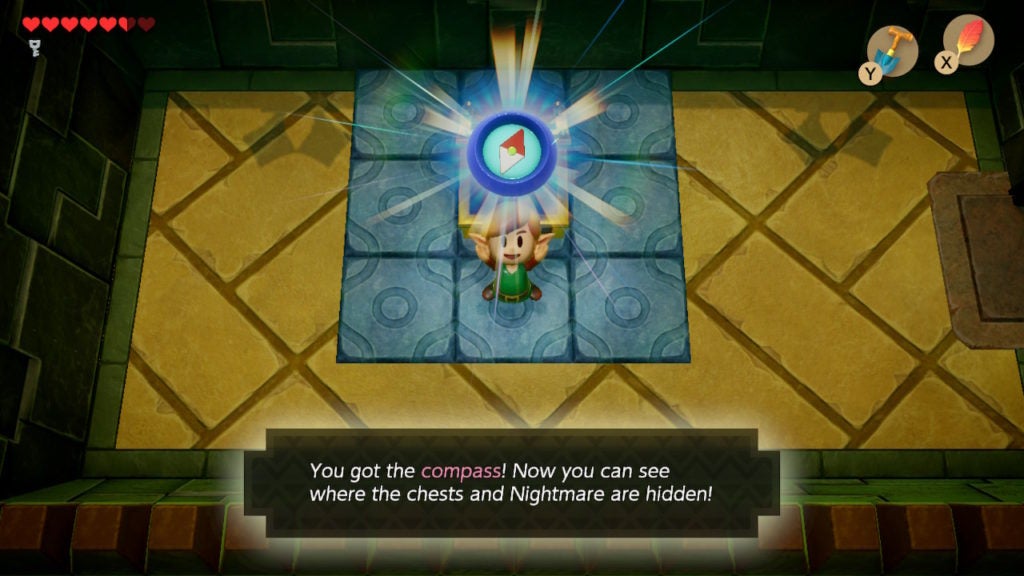
Find the Stone Beak
In this dungeon, you’ll be able to come by the Stone Beak first out of the 3 dungeon-specific items. To do so, you’ll have to traverse multiple floors and through a few locked doors. To begin, pick up a pot in the main entrance and throw it at the door with the pot symbol on the north wall.
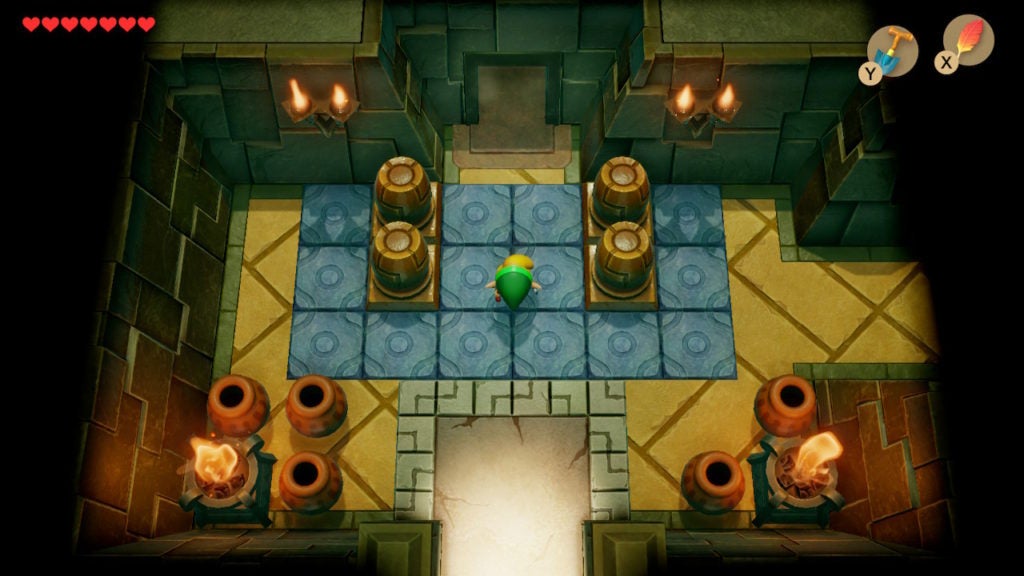
While you’re here, it’s recommended to smash the rest of the pots, as well. You’ll need Bombs for this dungeon, which can sometimes drop from the broken pots in this area. If you haven’t yet acquired the Bombs from Mabe Village’s Trendy Tool Shop, you should do so before going further into Level 3 – Key Cavern. However, if you’ve stocked up on explosives, proceed north into the next room.
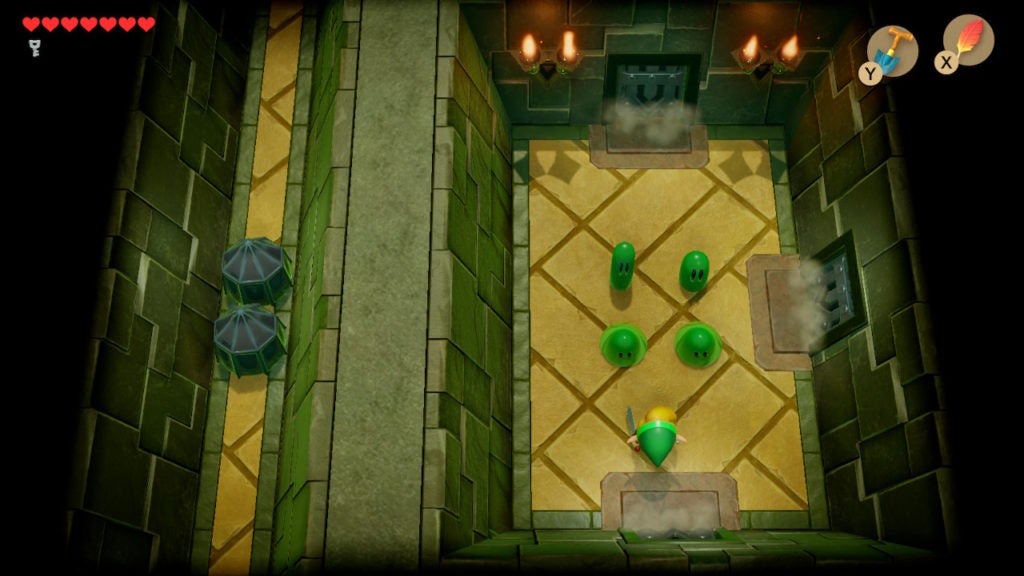
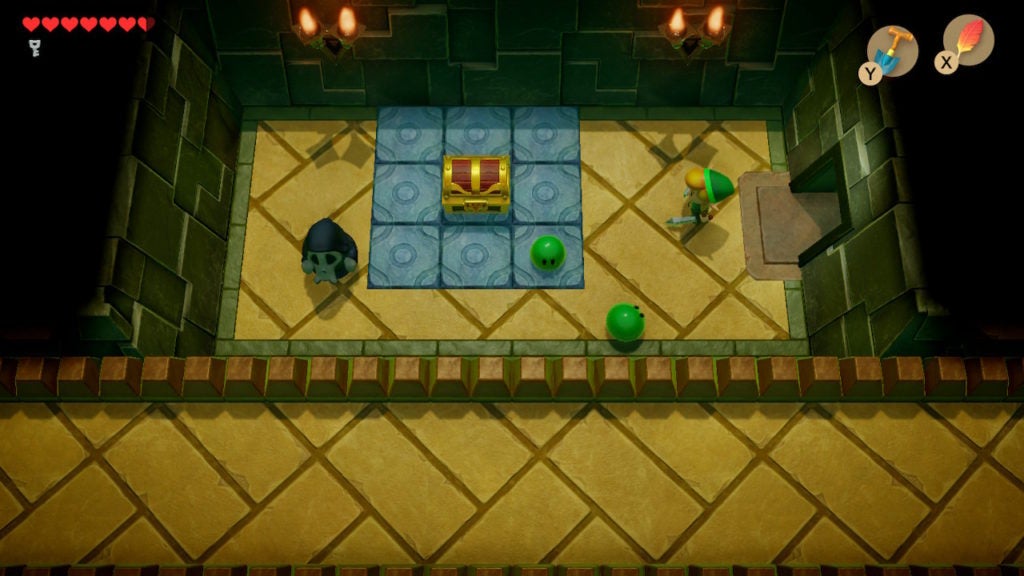
Take Out the Enemies to Make a Chest Appear
In this room, you’ll find 2 Bombites, 1 Sword Stalfos, and 1 Red Gel looking to make your day worse.
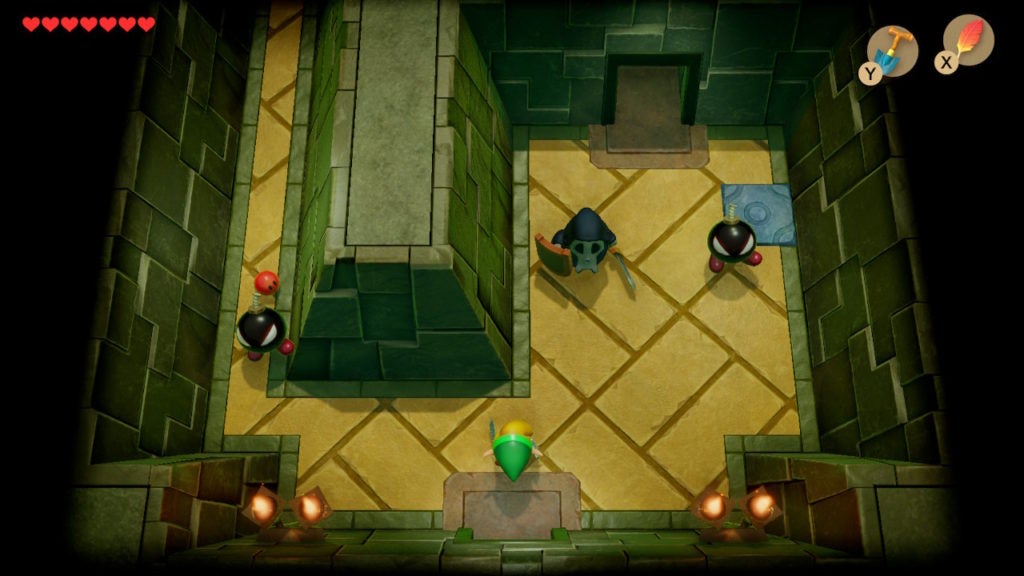
There is also a fancy blue tile in the northeast corner, which always means something will appear upon it. You need to take out the enemies to make a chest spawn. The Sword Stalfos and Red Gel will be easy for you to dispatch by now, however, the Bombites are a bit more annoying.
When you strike a Bombite, its fuse will begin to burn. They will then begin bouncing all over the place and will eventually explode. You can block them from bumping into you and dealing contact damage, however, your Shield won’t protect you when the fuse runs out and the foe explodes. A Bombite will flash before exploding, giving you some warning. But in an area this small, it will be hard to avoid them. Thankfully, you only need to take them out once for the chest to show up.
If they respawn later, you can just avoid them in their slower unlit states. It’s also worth noting that if you defeat a Bombite with a Bomb, they won’t respawn.
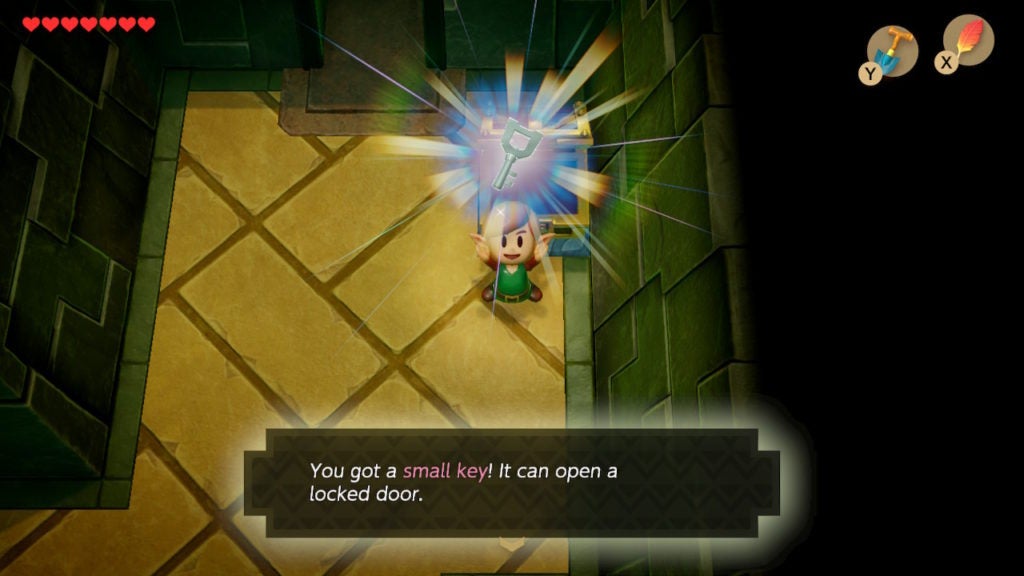
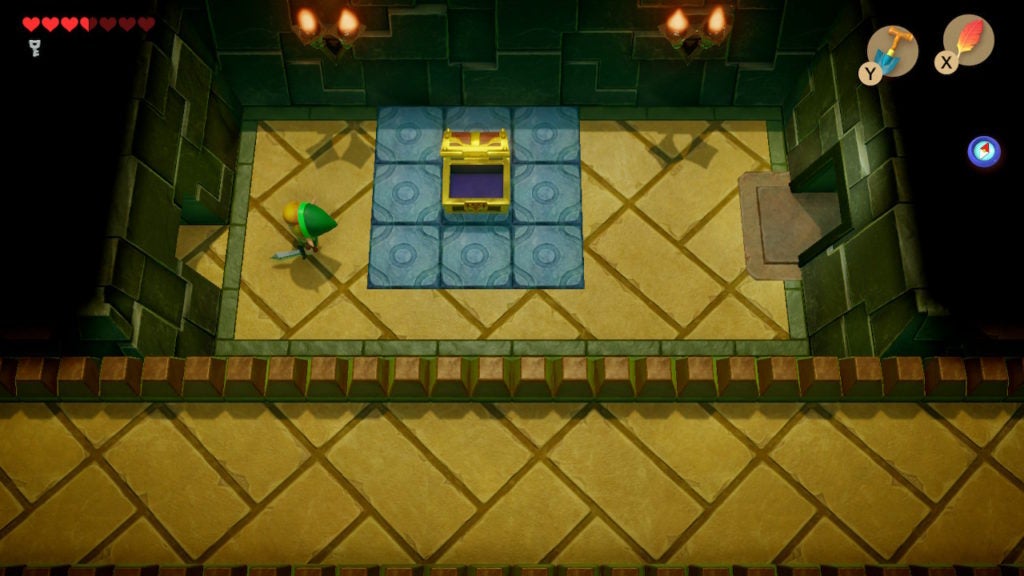
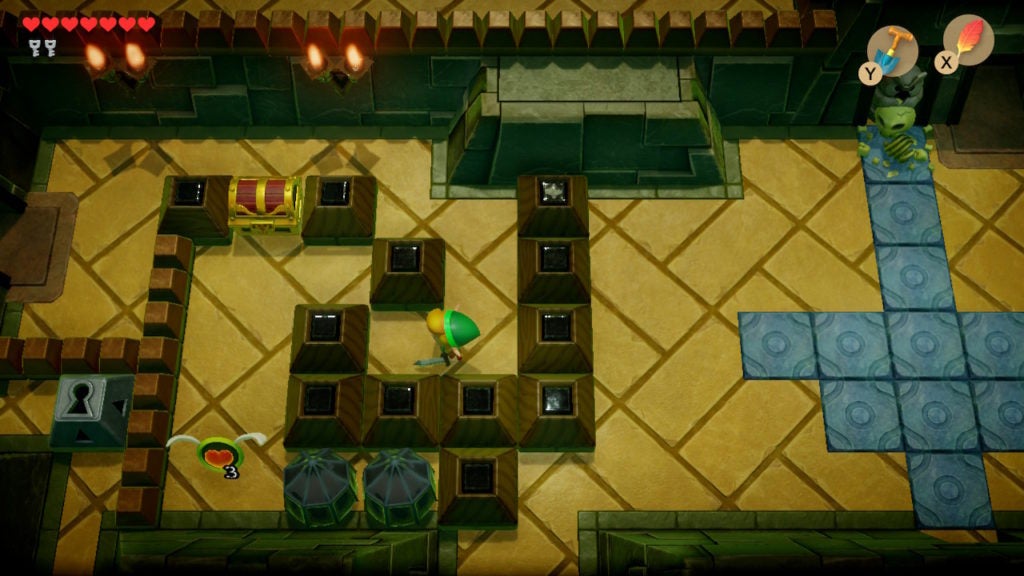
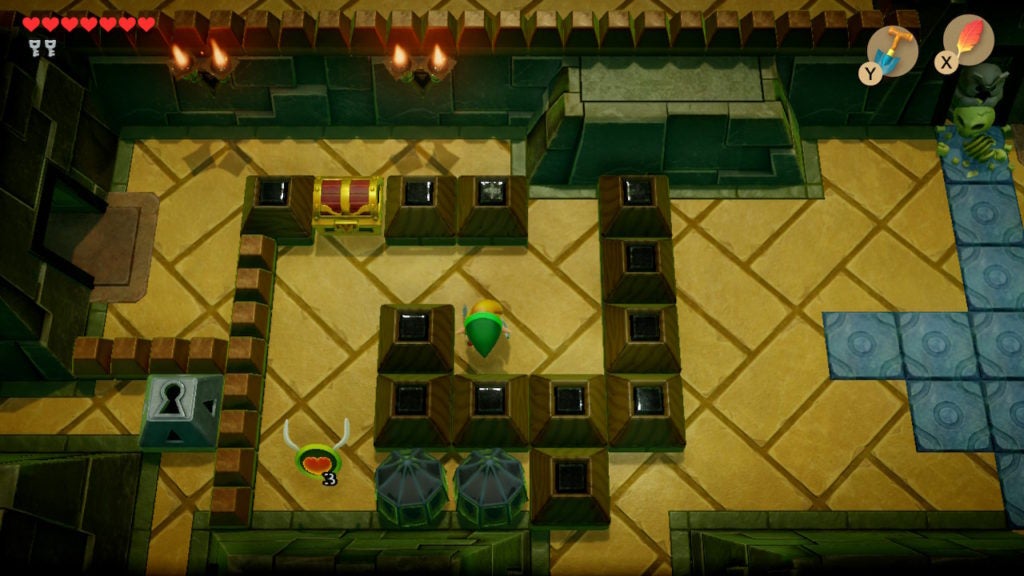
After taking down all enemies, the chest that spawns on the blue tile will give you a Small Key. Pocket the small object and then go north through the eastern path. The northwest passage is blocked a bit further ahead until you get the Pegasus Boots, but that won’t be for a while.
Beware the Trap Chest
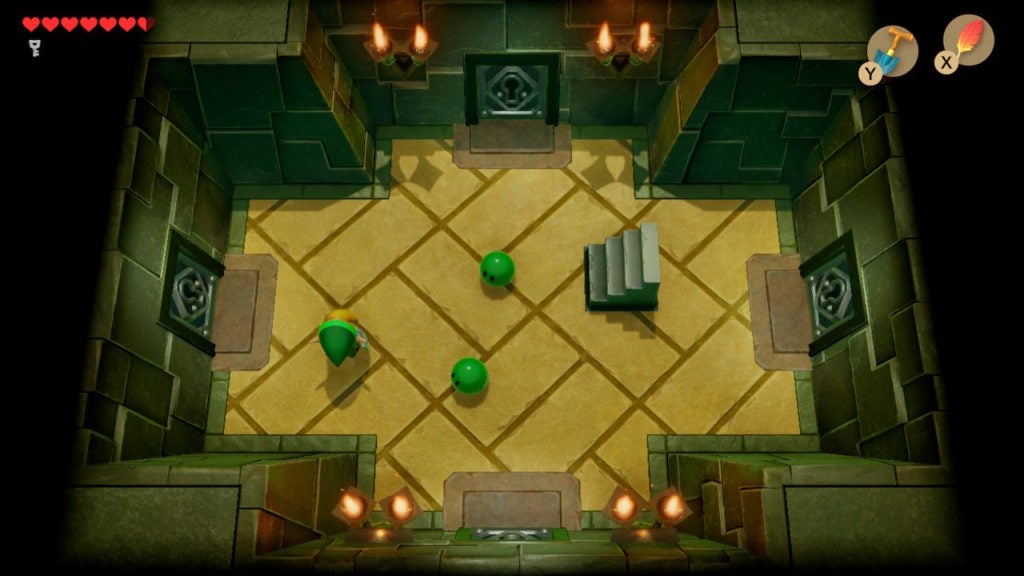
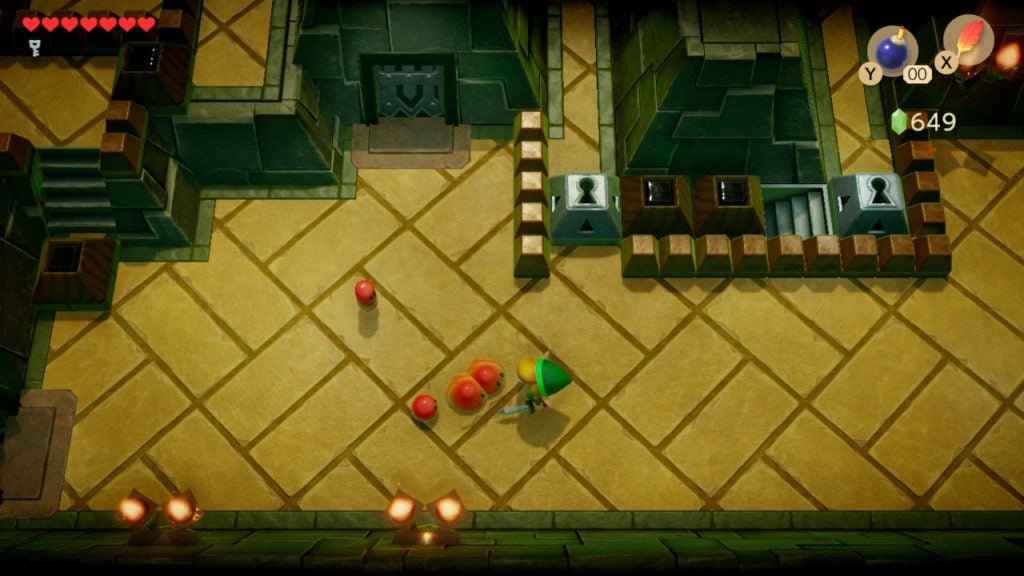
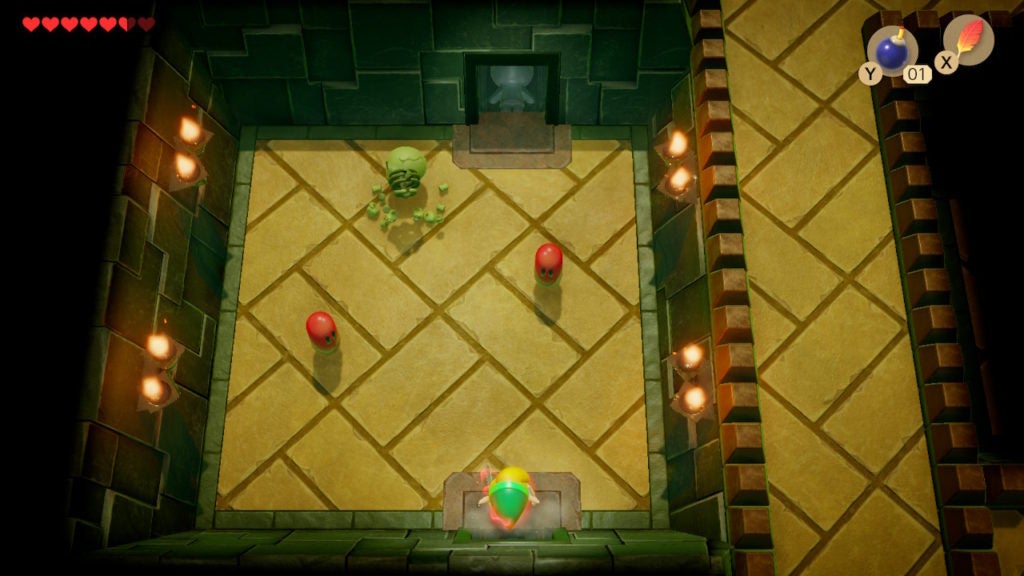
In the next room, you’ll be ambushed by 4 Green Gels as all the exits lock.
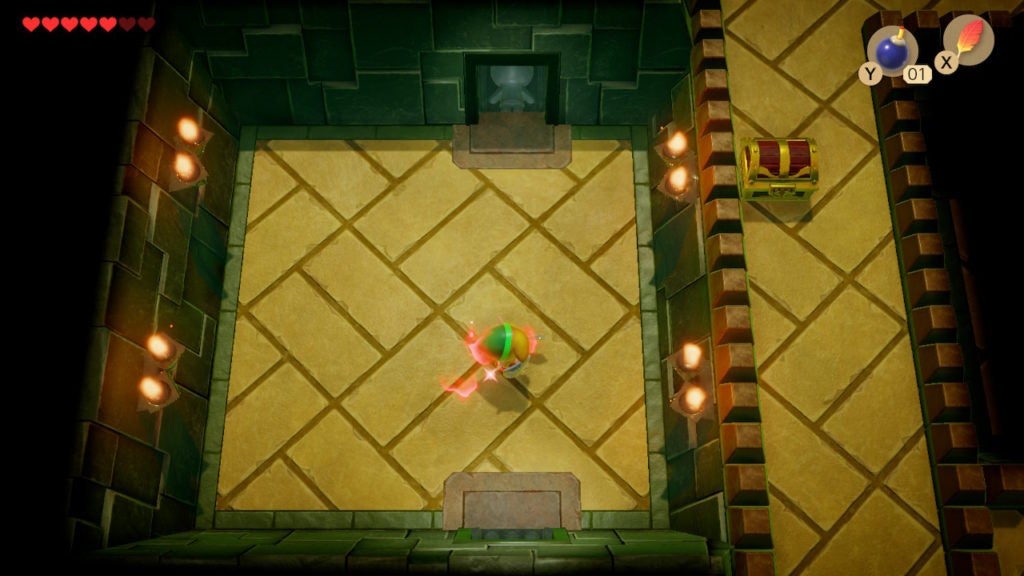
These are some of the weakest foes in the game, so even if it’s 4-on-1, you’ll be able to deal with the minor threats quickly. After slaying the Green Gels, the doors will open and a chest will appear in the northeast corner.
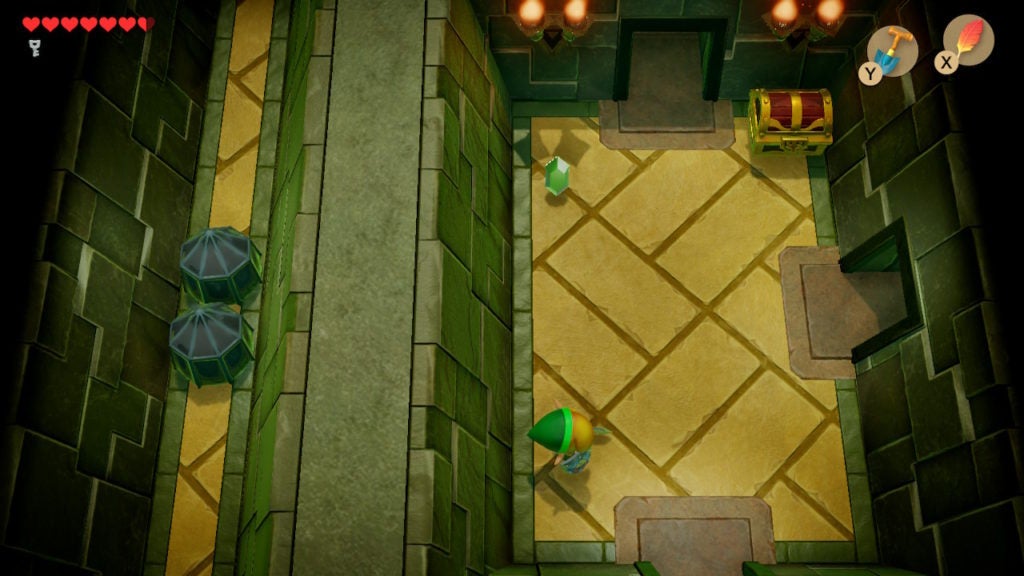
However, this is also part of the ambush. The chest that appears won’t contain treasure, but rather…
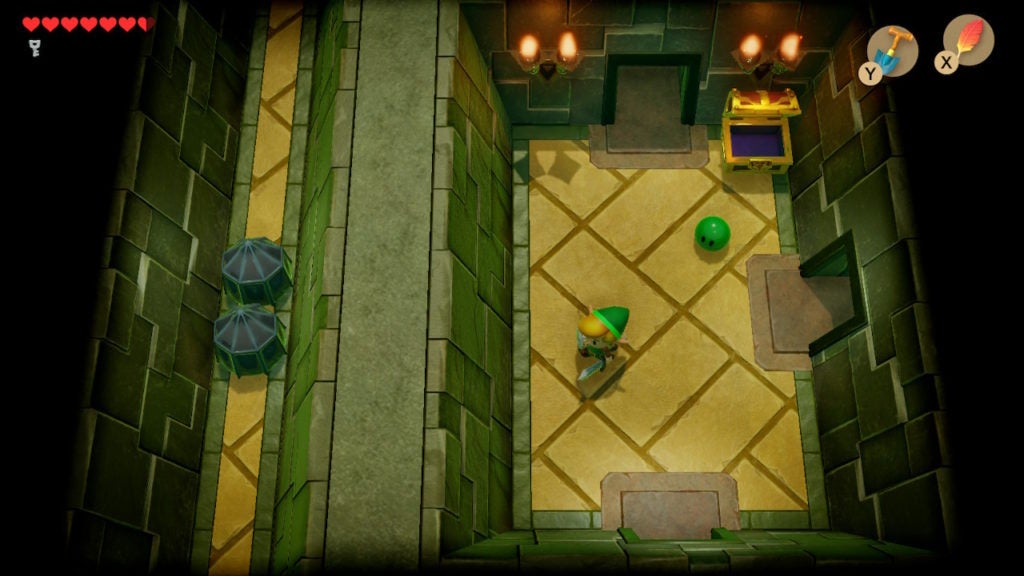
…Another Green Gel! Swiftly punish the blob-like foe for its little trick and then go north. Remember this room, though, as the Dungeon Map is located in the room east of here. You can’t get it yet, but you will be able to sometime after grabbing the Stone Beak (to put it simply).
Continue North Until You Reach the Stairs
In the following room, you’ll find 2 Stalfos and 1 Red Gel, though the latter is in the western corridor that you can’t reach yet.
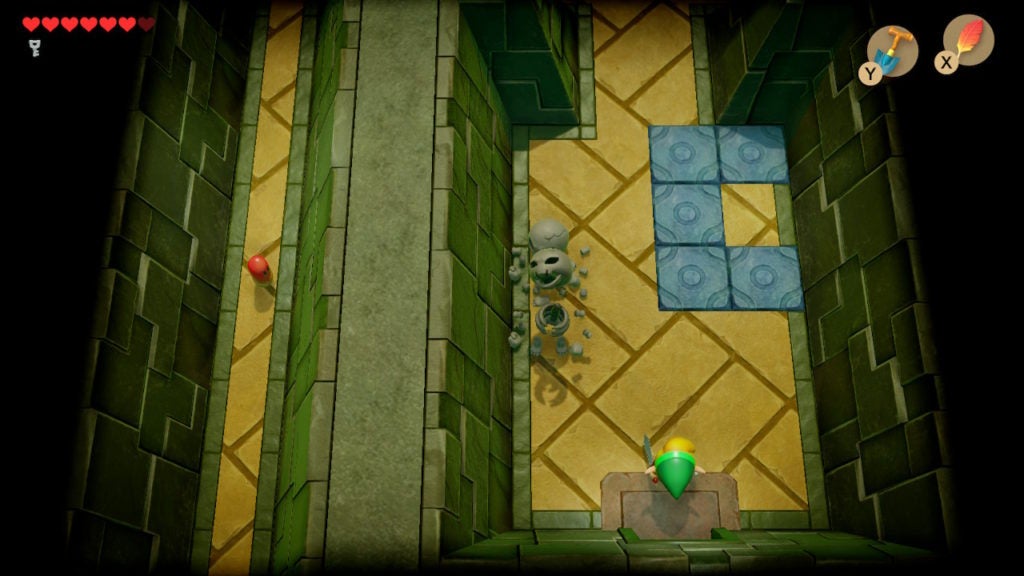
There is also a conspicuous arrangement of blue tiles in the northeast of this room, indicating that something will show up there eventually. The only things in this room are enemies, which means you need to slay all of them for the loot to spawn. However, since you can’t reach the Red Gel just yet, there’s no point in trying to solve this puzzle. As such, it would be best to dispose of the 2 Stalfos for now and then press further north.
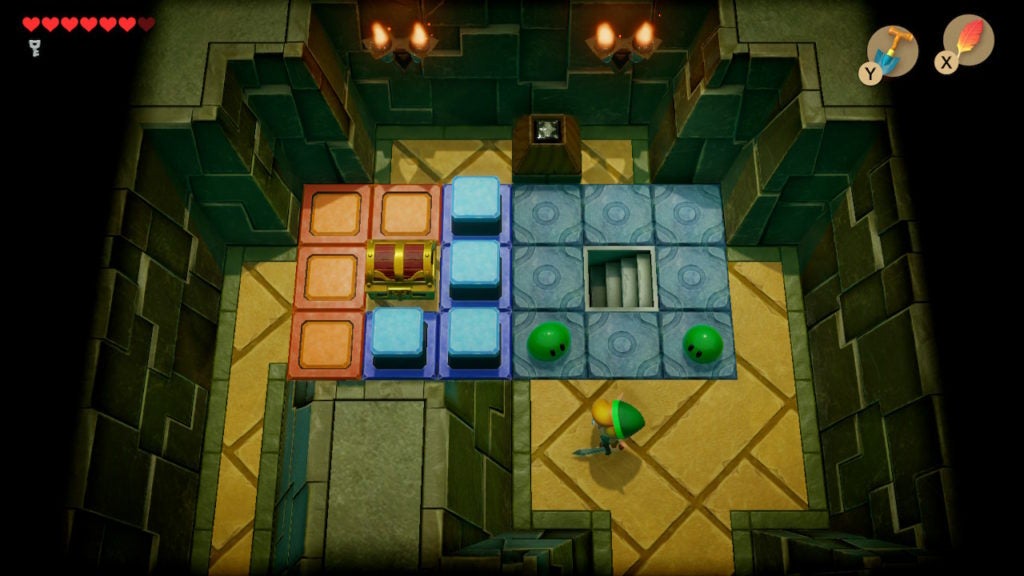
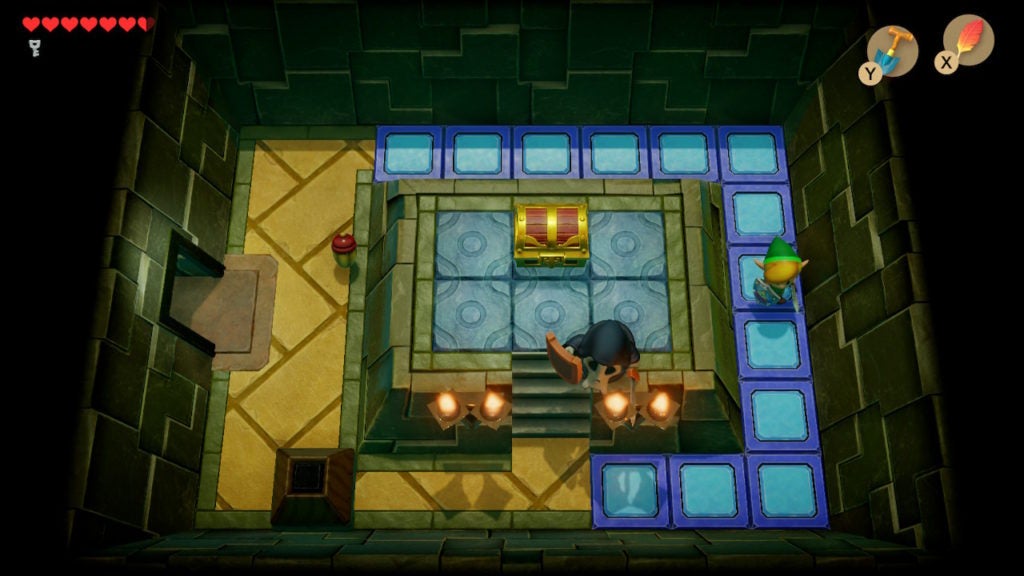
You’ve now reached the first staircase in the dungeon. There are a couple of pesky Green Gels here to deal with, though, more importantly, there’s a chest as well. This container is currently beyond your reach thanks to some raised Blue Switch Blocks. However, within this chest is the Stone Beak, which you’ll need to come back for shortly. For now, head down the stairs.
Unlock the North Door After Descending the Stairs
After going downstairs, you’ll find yourself on basement floor 1—floor B1 on your Map. You’ll be in a room with 4 locked doors that will spawn a few Green Gels as you move about the area.
Since you only have 1 Small Key you will have to make a decision about where to explore next. While you’ll find more Small Keys in any direction you choose, it’s best to unlock the northern door.
Here’s you’ll be confronted by a Green Stalfos and a Shrouded Stalfos. Dodge their attacks and take out the green foe first, as their ground-pound attacks are the most dangerous. After that, dealing with the spear-throwing enemy in the cloak should be easy. When both skeletal foes are down, a Small Key will drop onto the blue tile just west of the Owl Statue.
You’ll likely notice the blue crystal Switch and the Owl Statue in this room. While you can’t interact with the Owl Statue yet, the object simply being here is a hint on what to do first after flipping the Switch. Hit the Switch to turn it orange (which will lower Blue Switch Blocks and raise Orange Switch Blocks) before backtracking.
Open the Chest to Collect the Stone Beak
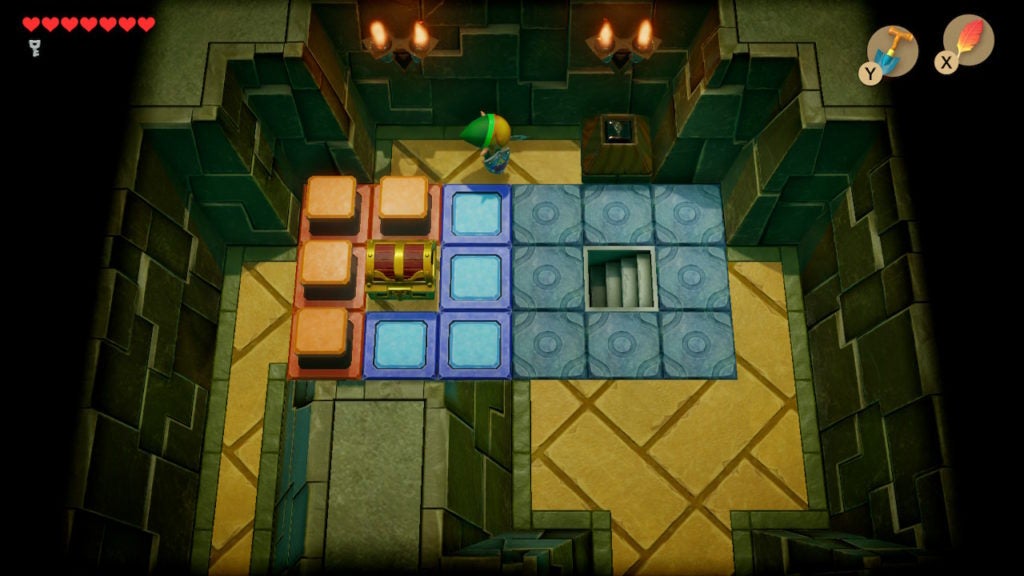
Return to the southern room with many locked doors. Then, ascend the stairs to go back to the room with the chest that was obstructed by raised Blue Switch Blocks. You’ll now find the blue obstacles are no longer in your way. Open the chest to claim the Stone Beak, which will allow you to now get hints from any Owl Statue you find in Level 3 – Key Cavern.
Next, you’ll want to get the Dungeon Map, as it’s close by.
Find the Dungeon Map
To find the room with the next dungeon-specific item, you’ll need to return to the room where you were ambushed by the Green Gel in the chest. From there, go through the eastern exit to enter a room with many lowered Blue Switch Blocks and a Sword Stalfos.
Since you flipped the Switch earlier, you can now traverse the tight corridor towards the chest in the room. There’s 1 Sword Stalfos here to dispatch, however, once the way is clear, you can open the chest. Within will be the Dungeon Map.
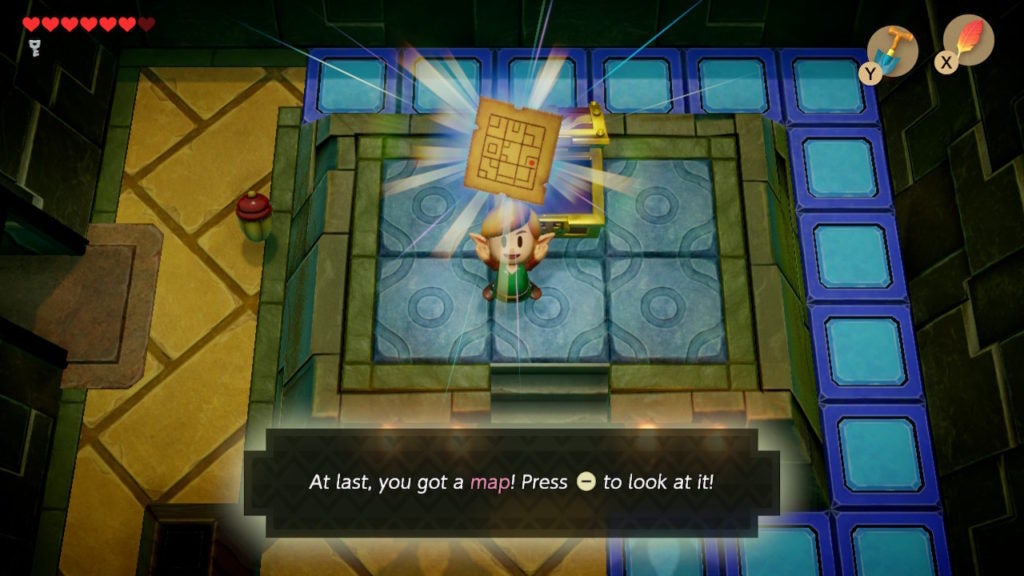
Look at the Layout of Level 3 – Key Cavern
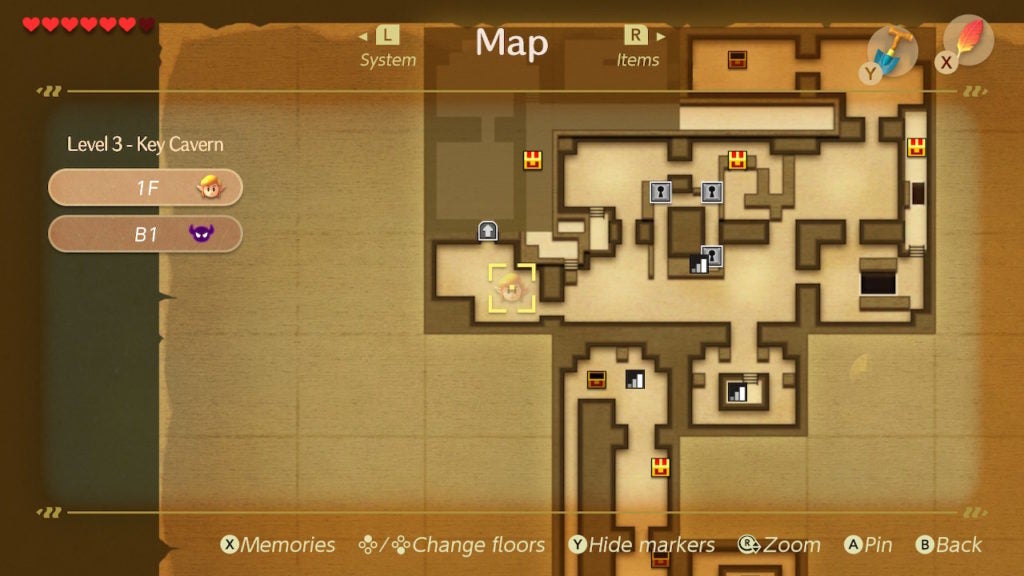
Once you have it, open your Map menu to take a look at the layout of Level 3 – Key Cavern.

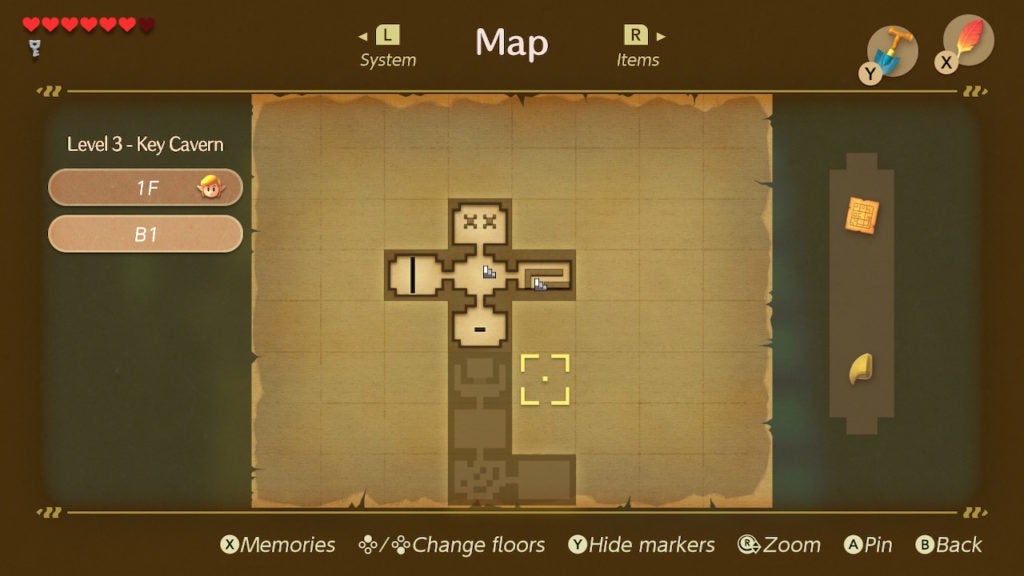
You’ll notice that 1F—floor 1—is appropriately in the shape of a key. You won’t be able to see all of the remaining chests yet, however, you’ll now have a sense of where you’ll need to explore. Furthermore, while your Map menu is open, you should use the directional buttons on your controller to look at B1 as well.
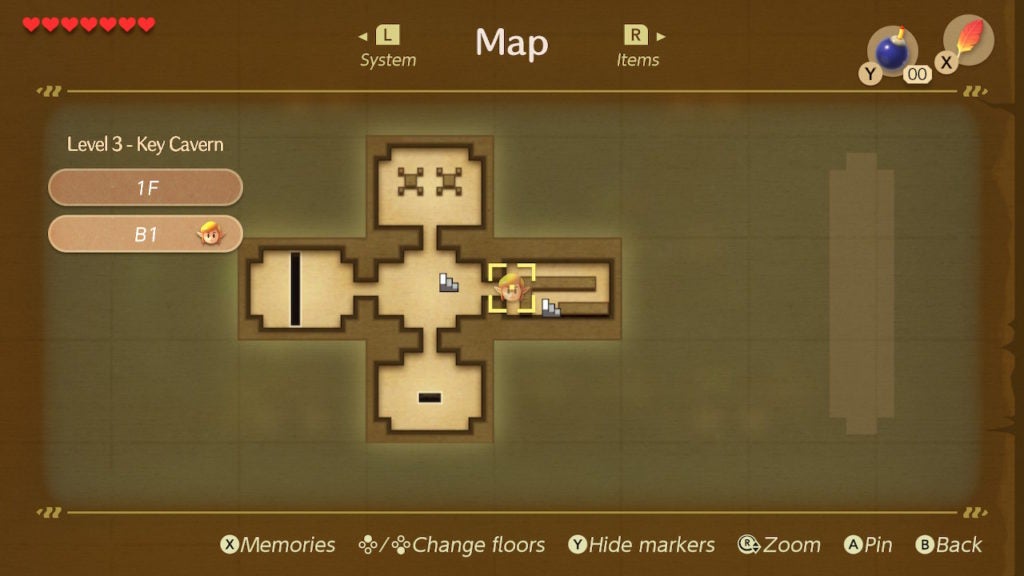
The lower floor of the dungeon will also look a bit like a key, though, more interestingly, shows you the final areas of Level 3 – Key Cavern. In addition to the cross of locked rooms that you’re already somewhat familiar with, you’ll notice a separated lower complex of rooms. The big open room in the vertical column of rooms is the Nightmare’s lair, and, above it, lies the Siren Instrument. This eliminates these areas as those you’ll have to explore, as they indicate your final destination in this dungeon.
With this in mind, it’s time to get another dungeon-specific item: the Compass.
Find the Compass
To find the Compass, you’ll first have to return to that room on floor B1 with all the locked doors. This time, however, you should go through the eastern door with the 1 Small Key that you should have from slaying the enemies in the Switch room.
Get by the Pairodd
Here, you’ll find a couple of Keese and a colorful Pairodd enemy.
These foes can make it annoying for you to get to the staircase beyond the barrier. The conveyer belt that pushes you back won’t help either. If you have the Bow and Arrow Set, you can make short work of the pesky teleporting Pairodd. However, without a ranged weapon, you’ll have to rely on Bombs if you want to take down the beaked enemy here. You’ll get an item that will make melee-takedowns of Pairodds possible later on.
However, you don’t need to kill the enemies in this room. You can still make it to the stairs without doing so, as the cowardly Pairodd will eventually teleport out of your way if you keep getting closer.
When you reach the stairs, ascend them to get back to 1F.
Grab the Small Key Once You Ascend the Stairs
In the room you emerge into, there will be a blue tile on the west side, once more hinting at some potential treasure. To get it, you’ll have to clear this room of all the Green Gels that spawn.
Make your way around the perimeter of this room to force all of the Green Gels to spawn so that you can take them out. When you do, a Small Key will appear on the fancy blue tile.
Pick the Small Key up and then go north out of this room. When you do, you’ll find yourself in a much larger room.
Explore the Large Northeastern Rooms of the Dungeon

From here, you’ll want to go northeast to stay hot on the trail of the Compass. This will bring you to another large room, though one with a visible chest and an Owl Statue.
The chest contains the Pegasus Boots, however, you can’t get them from this side of the room. To the east, you see a blue arrow made from the arrangement of colored tiles on the ground. There’s also an Owl Statue here that you can get a hint from in addition to a Green Stalfos that you should probably slay.
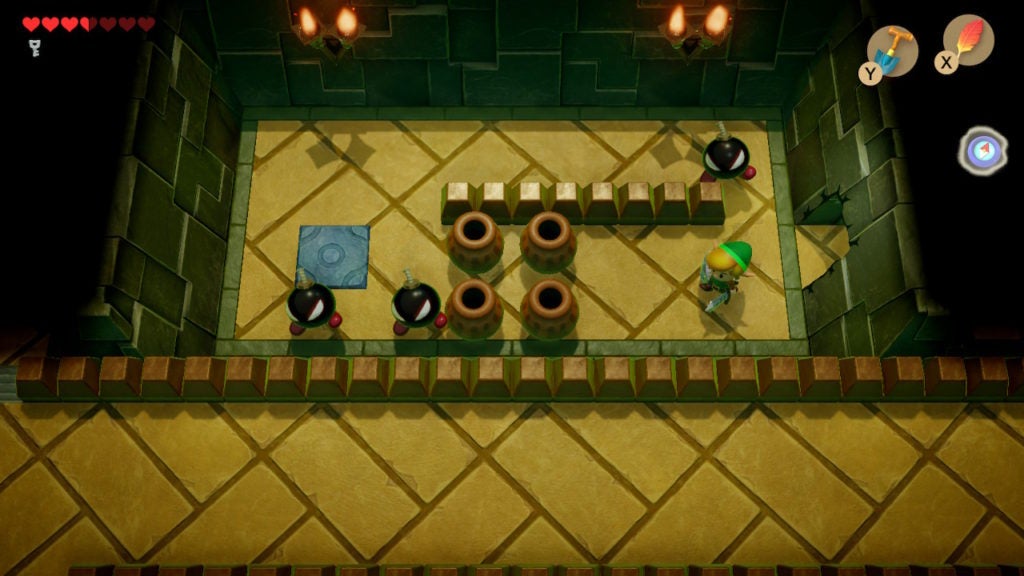
Don’t worry about the Owl Statue and the blue arrow for now. Exit the room by using the open doorway just east of the Owl Statue to go north. Beyond, you’ll encounter a variant of the annoying Bombites that you met near the dungeon’s main entrance.
There is no tangible benefit for tangling with these threats. There is no item that spawns when they are all defeated and you don’t need to take them out to open any doors. Furthermore, when you strike a green Bombite, instead of bouncing all over the place, they will charge directly at you as their fuse burns down. This is an attempt to blow you up in the ensuing explosion, which, again, you cannot block with your Shield. As such, it’s advised to give these enemies a wide berth and proceed west into the next room.
Open the Chest to Get the Compass
The room after has much less frustrating enemies within, which you should slay so that you can open the chest here in peace.
When the Green Gels and Shrouded Stalfos are gone, loot the Compass.
Get the Pegasus Boots
You’ll need the Pegasus Boots in order to reach the final dungeon-specific item: the Nightmare Key. However, along the way, make sure to grab Small Keys for later.
Get the Small Key in the Hidden Room to the West
After getting the Compass, you should plant a Bomb against the center of the west wall. There are no cracks indicating that there is a passage here, however, if you’ve been paying close attention to your Map, you’ll have spotted a hint at this tunnel.
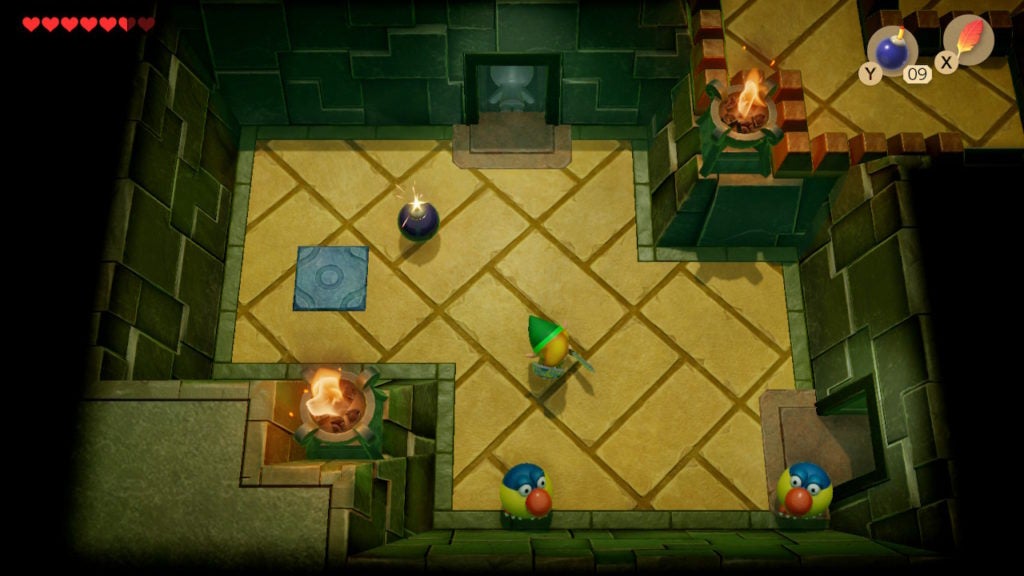
Beyond, you’ll find more Bombites. Thankfully, these are at least the red variety and there’s a bit of covered in this room.
You’ll have to take out the Bombites to get a Small Key to drop onto the blue tile on the west side of the room.
Pick up the Small Key and then proceed to the southernmost large room for your next dungeon-delving task.
Get a Small Key on the Way to the Mini-boss Hint
As you get into the western part of the room, Red Gels will appear. If you slay them, the locked door just north of where the foes spawn will open. Beyond is a mini-boss, however, you’ll need quite a few Bombs to defeat them.
If you want a hint, you can go into the room west of here and then travel all the way to the northernmost room to get some tips from an Owl Statue (and much more).
As you progress, you’ll have to go north through a couple of one-way doors. The room at the southwest will have a couple of Pairodd enemies and a Small Key to loot. Right now, you should have 2 Small Keys if you’ve been following along exactly (1 from the secret Bombite room and 1 from the staircase room ringed by Green Gels). The Small Key in this room will add your total to 3.
You will need to use Bombs and then force the Pairodds to teleport into the range of some placed explosives to destroy them. That is if you don’t have the Bow and Arrow Set. If you do, you can shoot the Pairodds to dispose of them easier. However, when both are dead, a Small Key will drop onto the blue tile within the room.
Grab the Small Key to bring your total to 3 and then move on.
Make the Secret Chest Appear as You Travel North
The chamber north will also have a few enemies and a secret chest.
To get the secret chest to spawn, you’ll have to take down the Green Stalfos and the 2 Red Gels. However, when the chest appears, you won’t be able to reach it from this side of the room.
For now, go north through another one-way door to find the northernmost room with the mini-boss hint.
Get the Hint for the Mini-boss and a Bomb Refill
This room will be quite crowded. As such, you’ll want to clear out the 2 Bombites and the Sword Stalfos here before you snag the floating Bombs and speak to the Owl Statue. When you do the latter, you’ll help some helpful information about the mini-boss nearby.
Basically, you will have to trick the fiends you face into eating some Bombs that you place. With this nugget of wisdom, it’s time to take on the mini-boss. Proceed out of the room via the stairs in the southeast.
Open the Secret Chest on Your Way to the Mini-boss
As you travel south of the room with the mini-boss hint, you’ll find yourself in the raised section of the room where you spawned the secret chest. This will place you next to the loot, so open the chest to claim the goods within!
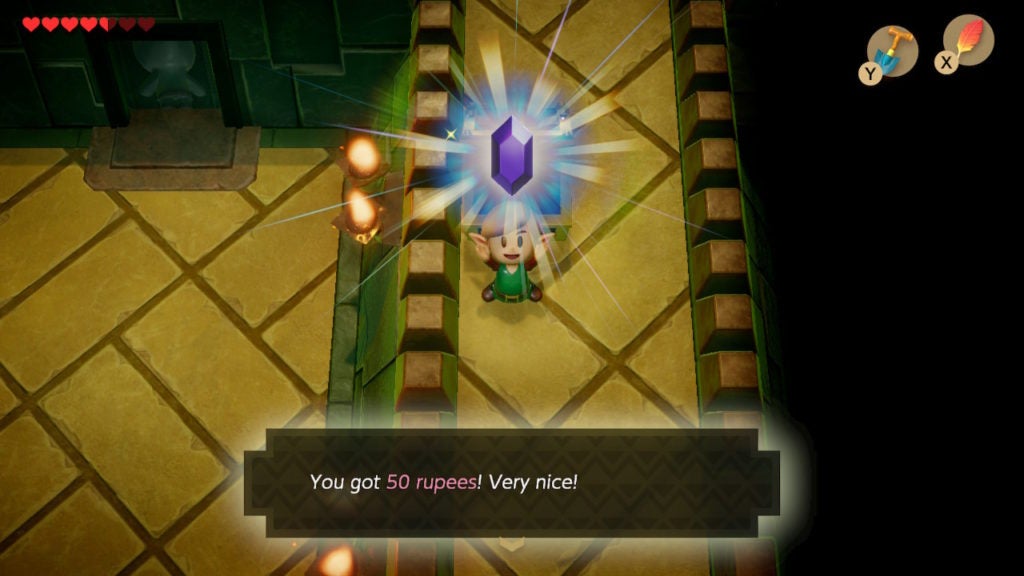
Inside, you’ll find 50 Rupees. Enjoy your treasure and then proceed south. This will bring you into the big room with the entrance to the mini-boss area. Descend the short staircase and push the block out of your way. If the Red Gels have respawned, take them out once more to open the door that leads northward. Before going into the mini-boss room, be sure to equip your Bombs, as they are vital for this fight.
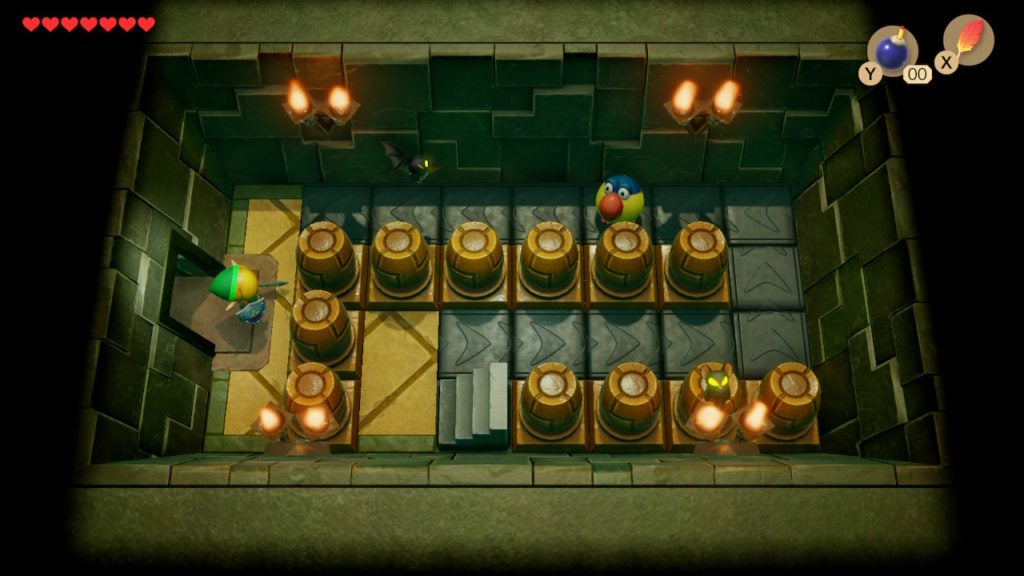
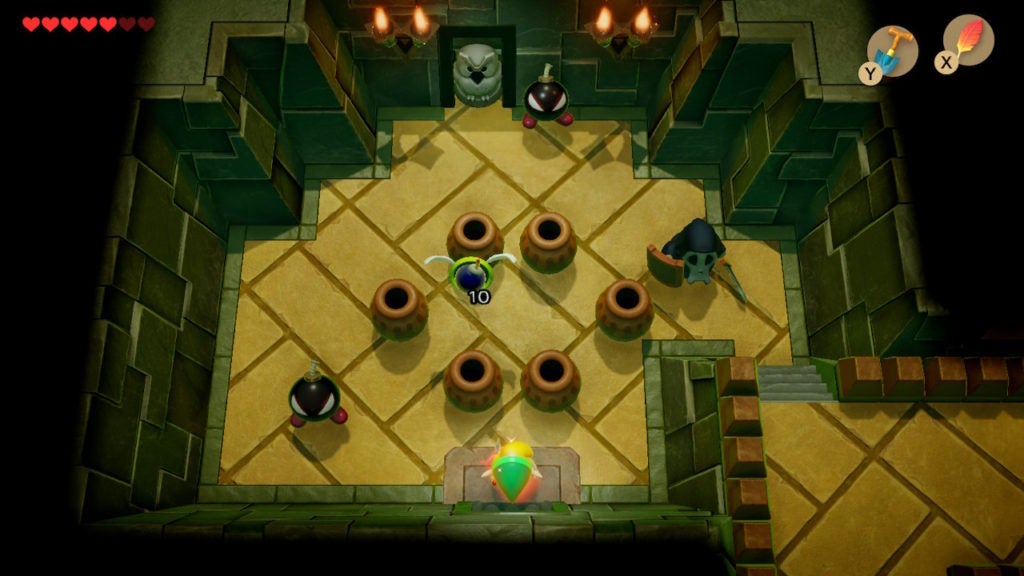
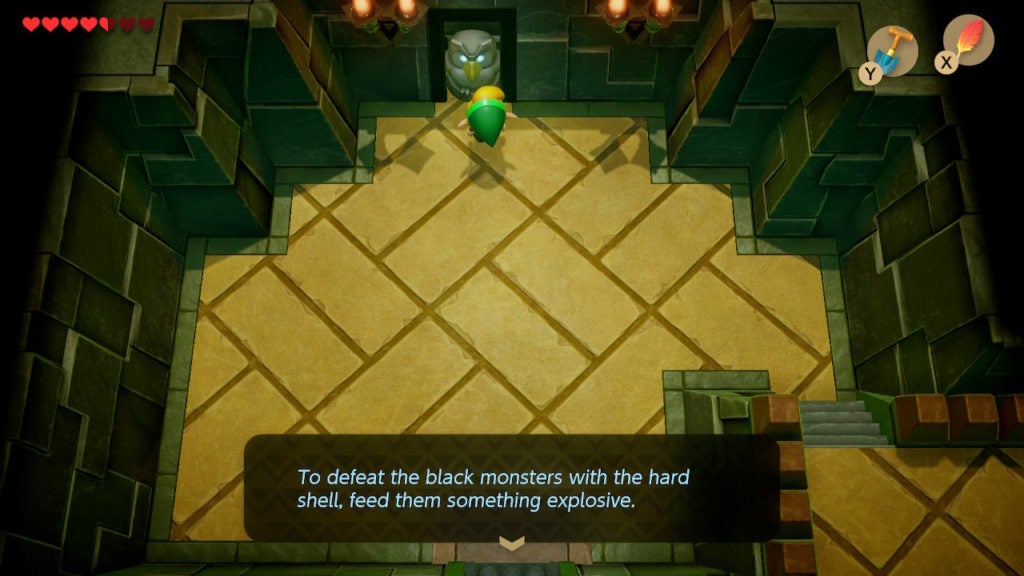
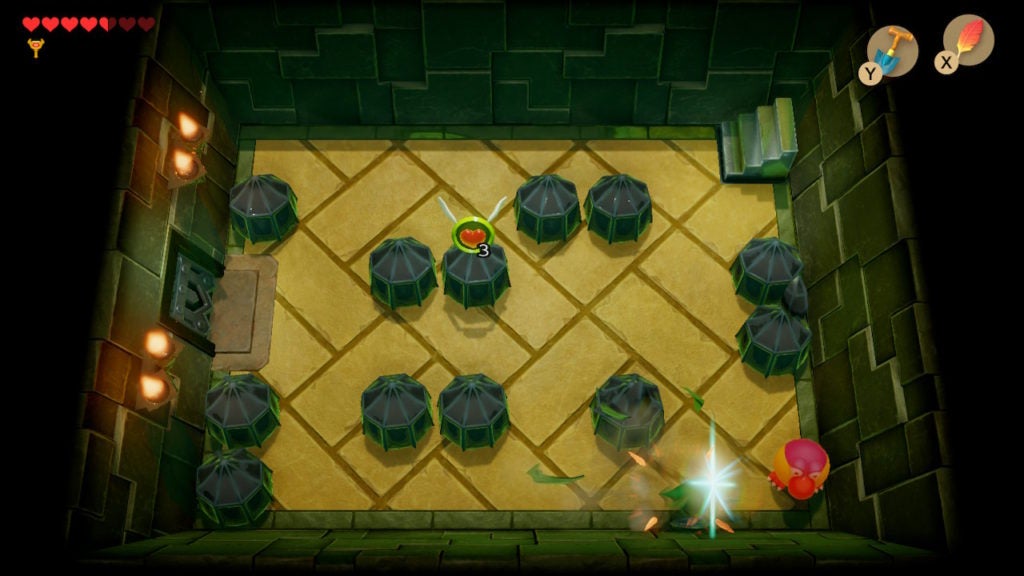
Defeat the Mini-boss (the Dodongo Snakes)
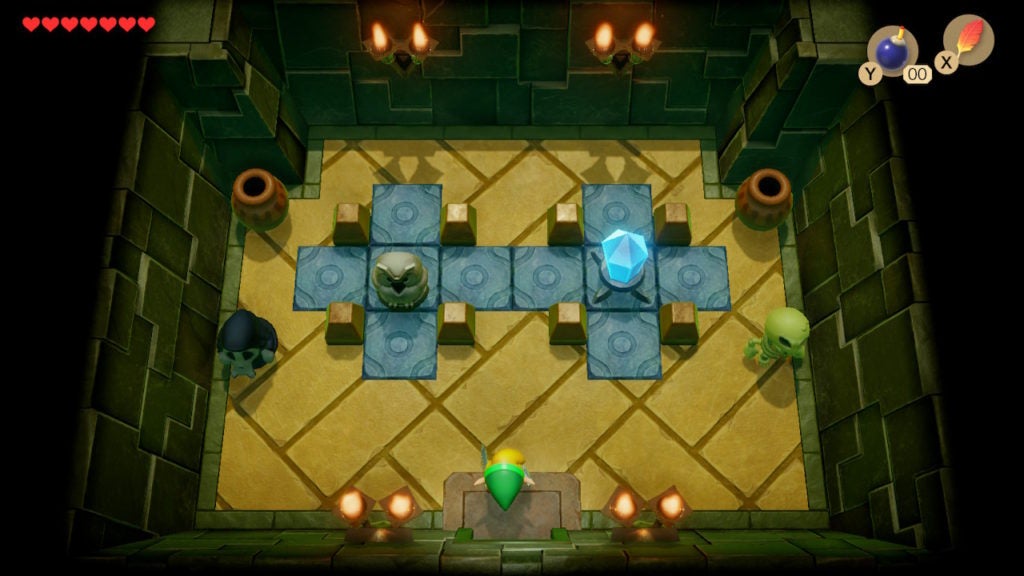
When you enter the room beyond, you’ll be faced with 2 enemies. These hard-shelled creatures are the Dodongo Snakes, and your only chance of beating them is to feed them Bombs.
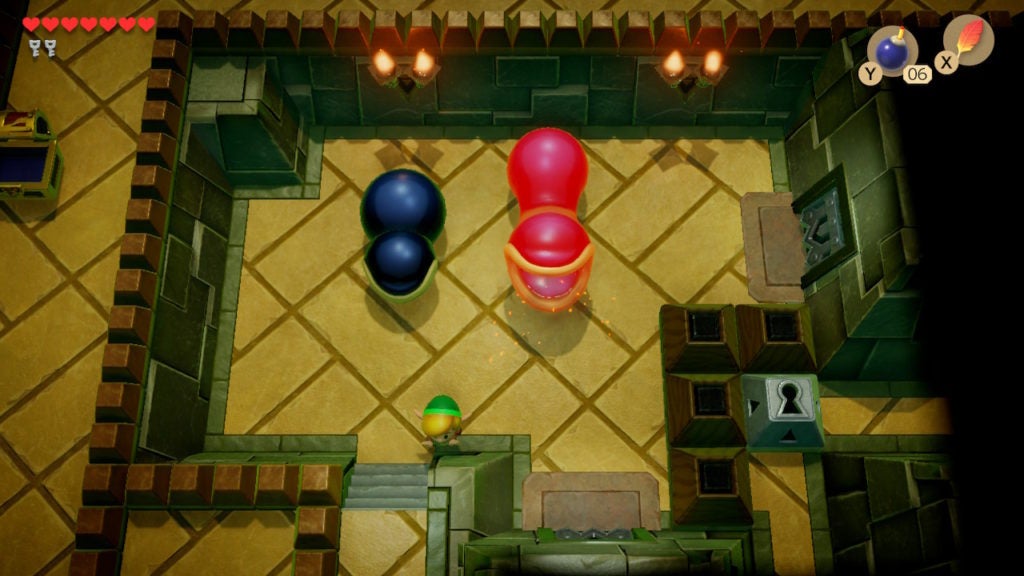
You’ll have to predict the movements of the snakes in order to get them to eat Bombs that you place. Their movement patterns are pretty predictable, so figuring out where to drop (or throw) Bombs will become obvious soon.
With that said, you can stand on a staircase southwest of the room to be completely safe from the Dodongo Snake. This will let you observe, and even throw bombs, from safety. Additionally, if you run out of Bombs, you can leave the room through the southern exit and come back later with more explosives.
Overall, you’ll need to feed each snake 3 Bombs (for a total minimum amount of Bombs required being 6). After you demolish the dark monsters, a blue warp point and a Fairy will appear in the room.
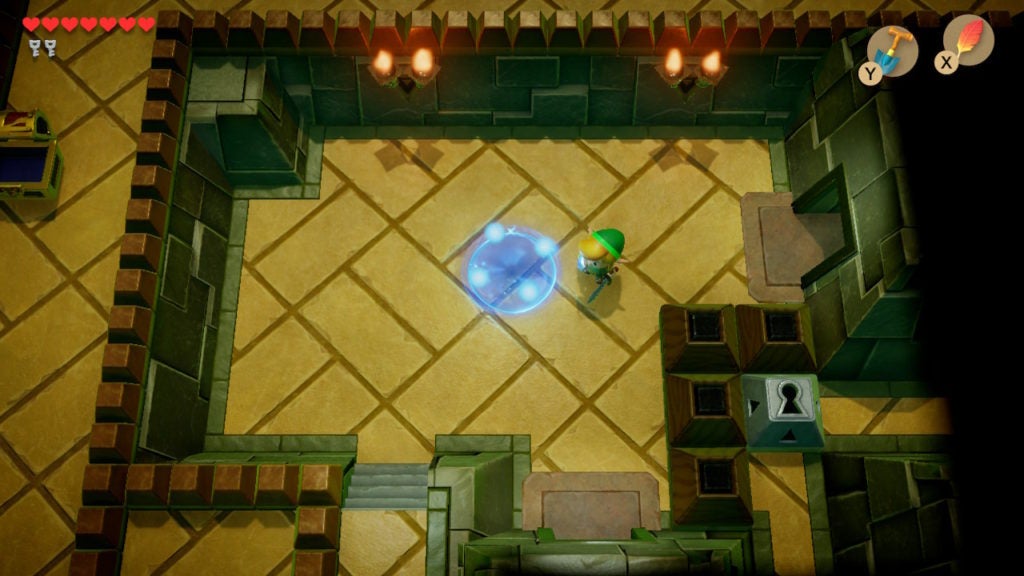
Make contact with the Fairy for a big heal that should restore all of your Hearts. If you want to head back to the main entrance before going on, you can. However, it’s recommended that you head east out of this room to grab the Pegasus Boots first.
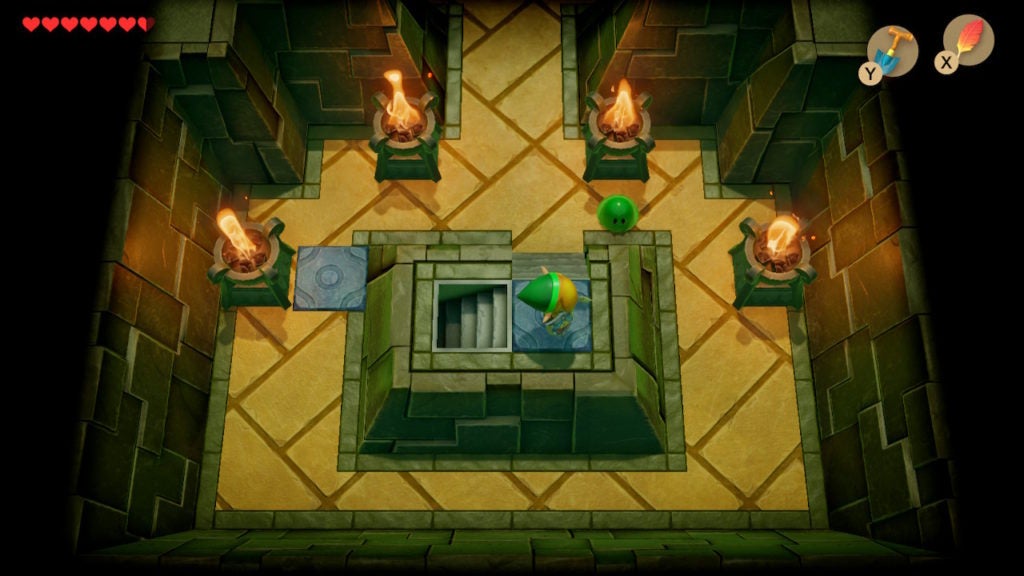
Get to the Chest Holding the Pegasus Boots
In the room east of the mini-boss lair, you’ll find yourself separated from a chest thanks to a few blocks.
To get by these obstacles, walk to the south of the only block you can get south of that lies to the east of the chest. Then, push it northward to open a path.
Now, you’ll be able to open the chest. Do so to obtain the Pegasus Boots.
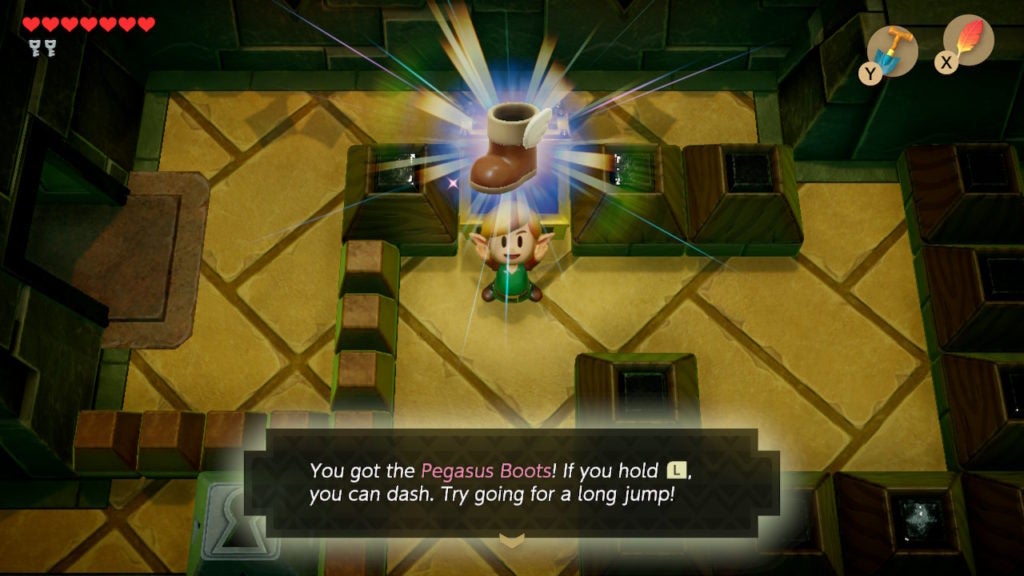
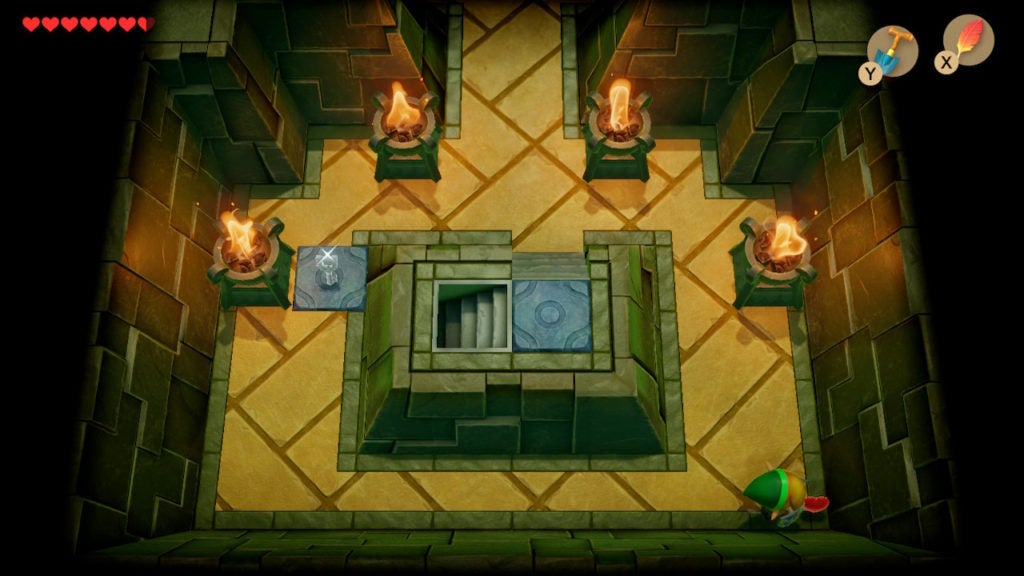
The Pegasus Boots are one of the items that are permanently equipped, so you can use them anytime you want. When you hold down the L button, you will charge up a dash before sprinting in the direction you are facing. If you jump with the Roc’s Feather while sprinting, you can do a long jump over big gaps.
Furthermore, while you’re dashing at high speeds, you can run through those rubbery black blocks you’ve seen here and there around the dungeon. In fact, you can use this trick to the south of where the chest is to pop a couple of those obstacles. That will let you push a block to get out of the area enclosed by blocks, however, you should return to the mini-boss room and head back to the entrance to easily get a fourth Small Key. You’ll need 4 Small Keys a bit later, and it’ll be quick to get 1 more now, so you might as well do so.
Find the Nightmare Key
Before you use the Pegasus Boots to get the Nightmare Key, you should head to the room east of the main entrance if you haven’t already. There’s a chest with a Small Key located beyond a Vacuum Mouth enemy.
Using your newfound ability to dash, charge up near the west of the room and make a direct line for the Vacuum Mouth enemy. Your rushing maneuver will pierce the foe and destroy them quickly. Afterward, loot the chest for 1 Small Key, which should bring your total to 4 if you’ve been following this guide.
Afterward, it’s time to get the Nightmare Key.
Get to the Nightmare Key Chest
Go back to the big room with the Owl Statue standing at the end of a blue arrow on the ground. A quick way back would be to use the warp point at the main entrance and then go east from the mini-boss room.
Here, you can interact with the Owl Statue to get a hint. However, this one will just tell you to Bomb the part of the wall where the giant blue arrow is pointing. The blue arrow is already a giveaway, though it’s nice of the Owl Statue to give you some advice anyway. After you open the passage south, you’ll find a room with a big floor gap beyond.
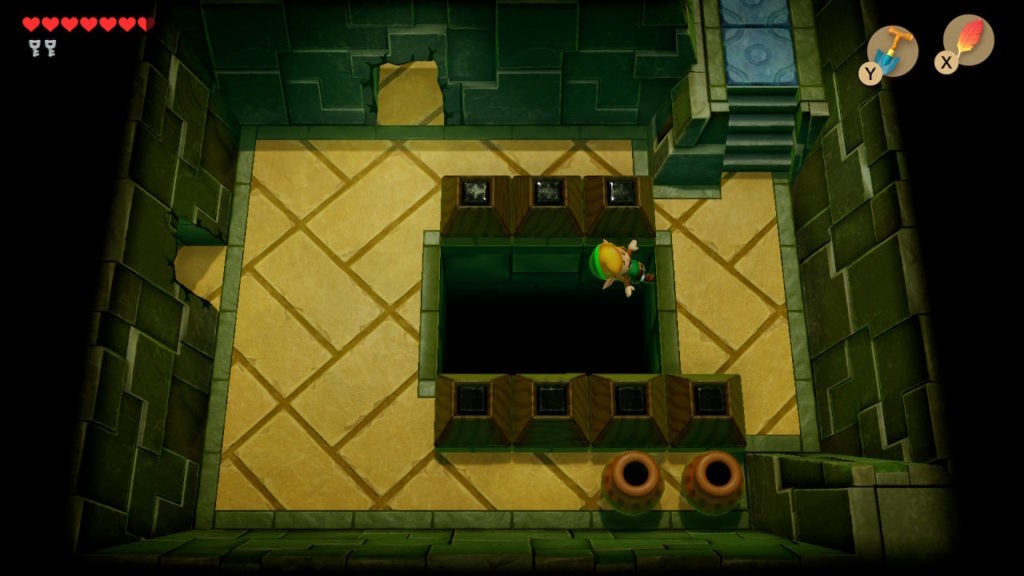
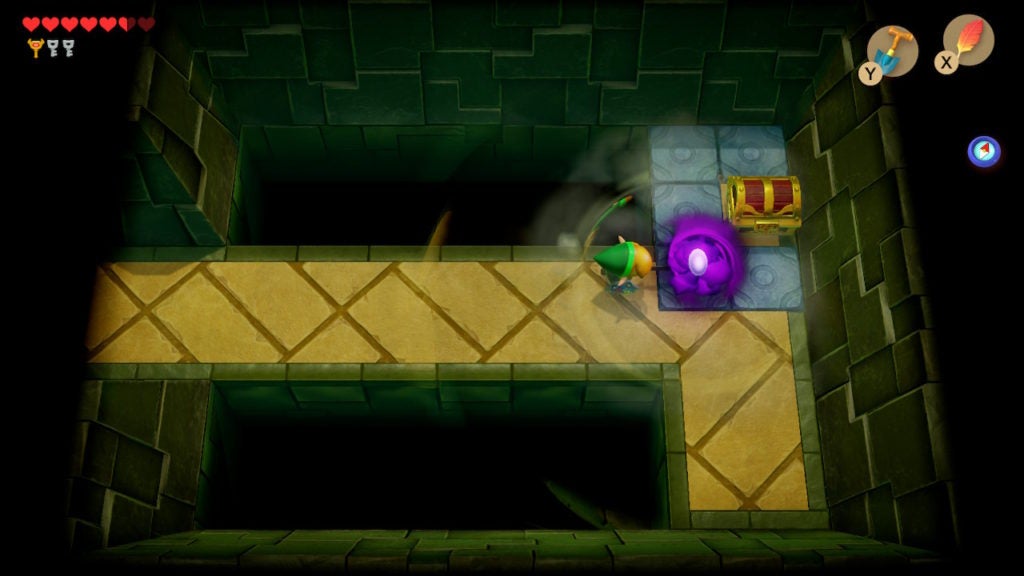
Go to the west of the room (which you can also blow open with a Bomb for a shortcut) and hold L to charge up a dash. Run to the east and leap over the big pit. When you do, make your way north and out of this room.
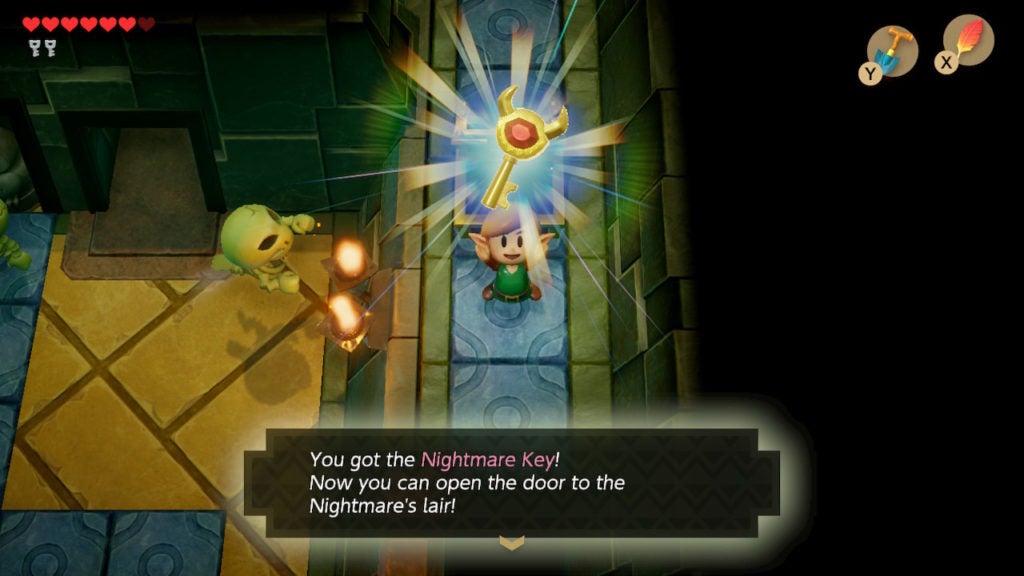
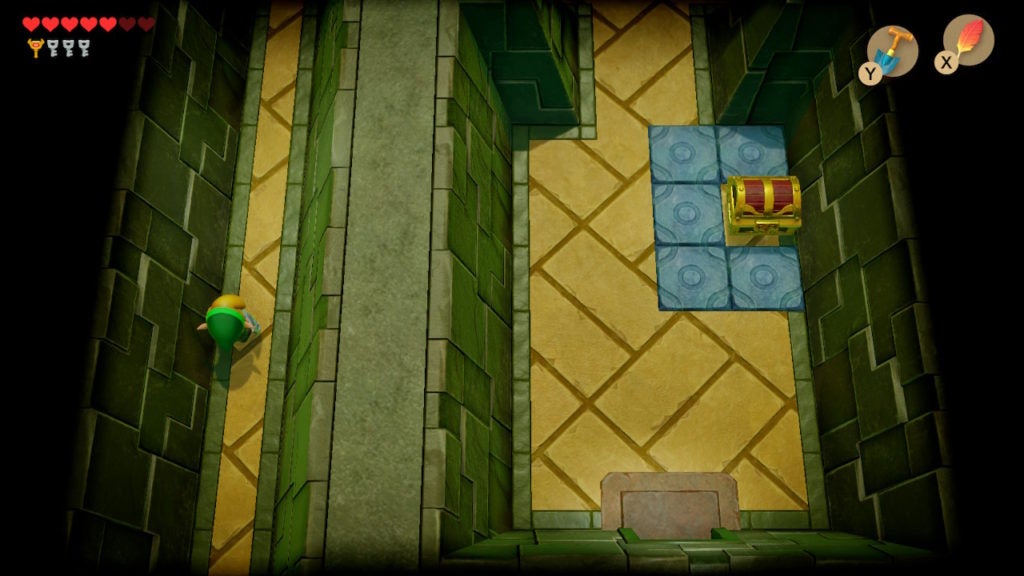
You’ll find yourself in the room with the blue arrow once more, but on the raised area on the far east. The chest here contains the Nightmare Key. When you loot it, you’ll be able to open the Nightmare’s lair when you find it. However, before you do, there’s 1 more chest you should get before taking on the boss of Level 3 – Key Cavern.
Before You Go to the Boss Room…
There’s a secret chest in one of the earlier rooms in the dungeon that contains 300 Rupees. Furthermore, that chest is the last one in the dungeon that holds something of true value. The other chests in Level 3 – Key Cavern that haven’t been mentioned so far only contain Small Keys, which you don’t need any more of if you currently have 4 in your possession from following this guide. True to its name, this dungeon pretty much throws unnecessary keys at you. Overall, you only need 6 Small Keys total to clear Level 3 – Key Cavern (the 4 you should have now and the 2 from earlier).
Find the Secret Chest That Has 300 Rupees
You’ll need to head back to the room with the 2 Stalfos and the little Red Gel in the secluded corridor on the west. To do so, head back to the main entrance and then go north and stick to the west.
After the room with the red Bombites, you’ll find yourself in a passage with a couple of rubbery obstacles. From here, you can also see the chest from which you were ambushed by a Green Gel.
To get past the rubbery blocks, you’ll have to dash through them with the Pegasus Boots by holding down the L button.
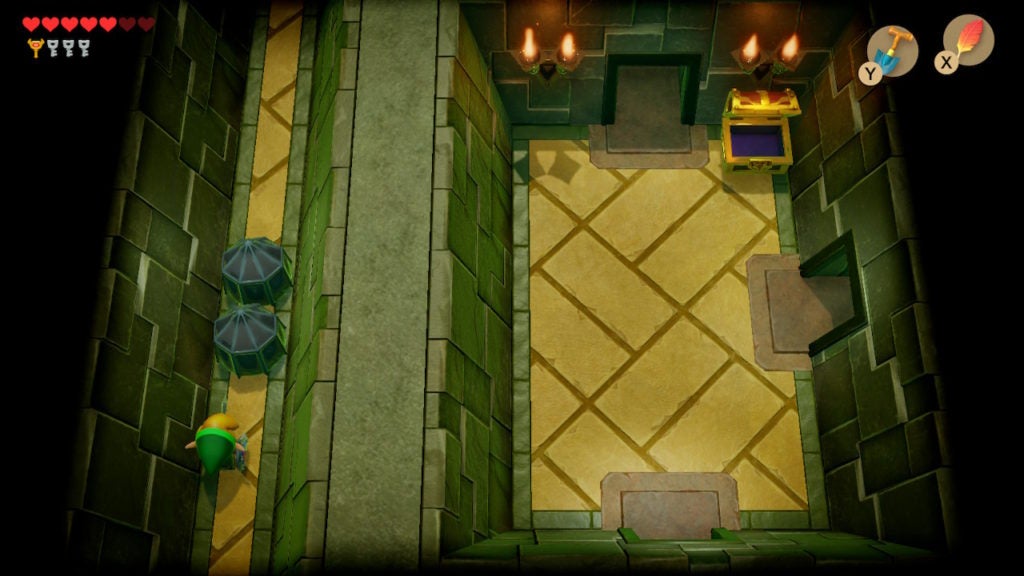
After you do, you’ll be able to make your way north into the next room. When you do, you’ll only have to dispatch 1 Red Gel. If you’ve already taken out the 2 Stalfos that were in the eastern half of this room, a chest should spawn within the blue tiles.
Now, you’ll just need to go around to open the chest. Depending on what position the Switches in this dungeon are set to, you may or may not be able to loop around to the north. However, looping around to the south is always possible, despite being a bit longer of a walk. When you do make your way over there, you’ll be greatly rewarded.
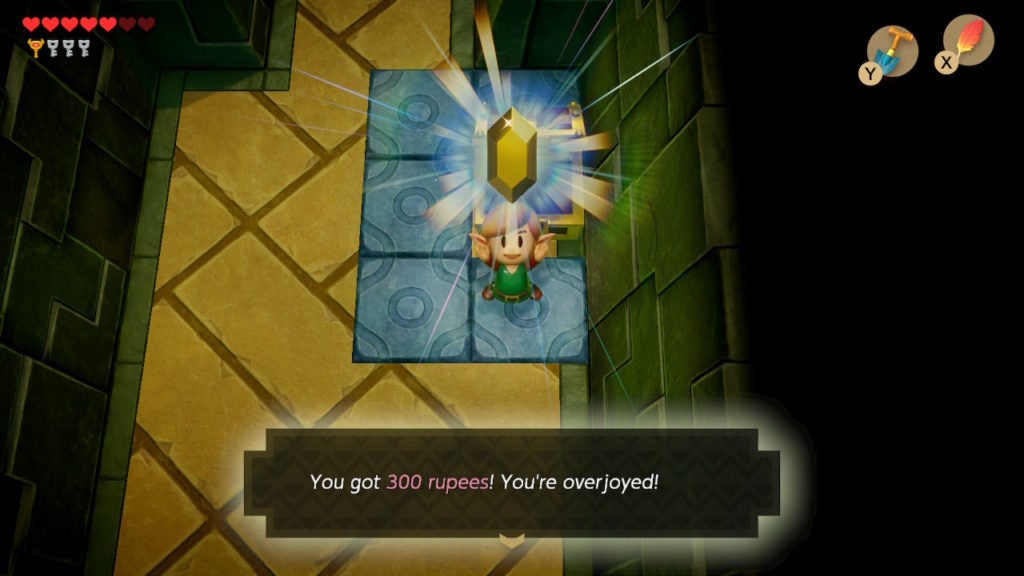
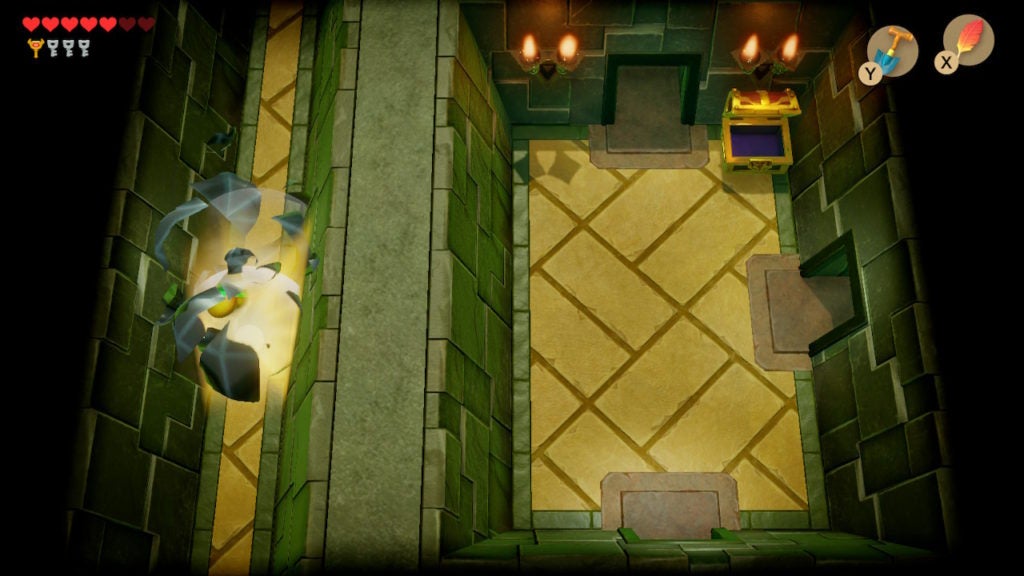
Within this chest will be 300 Rupees! This is one of the few times where you’ll be able to find so much money in a single chest, so bask in the shining glow of the Golden Rupee, for you won’t see its likes often. Afterward, it’s time to find and defeat the boss of Level 3 – Key Cavern.
Get to the Nightmare’s Lair
It’s time to put those last 4 Small Keys to work. You’ll need them to unlock the path leading to a staircase in the big room that leads into the mini-boss room. For a quick way back here, use the warp point at the main entrance and teleport up to the mini-boss room. From there, go south and into the big room. Then, start unlocking the Locked Blocks with your 4 Small Keys.
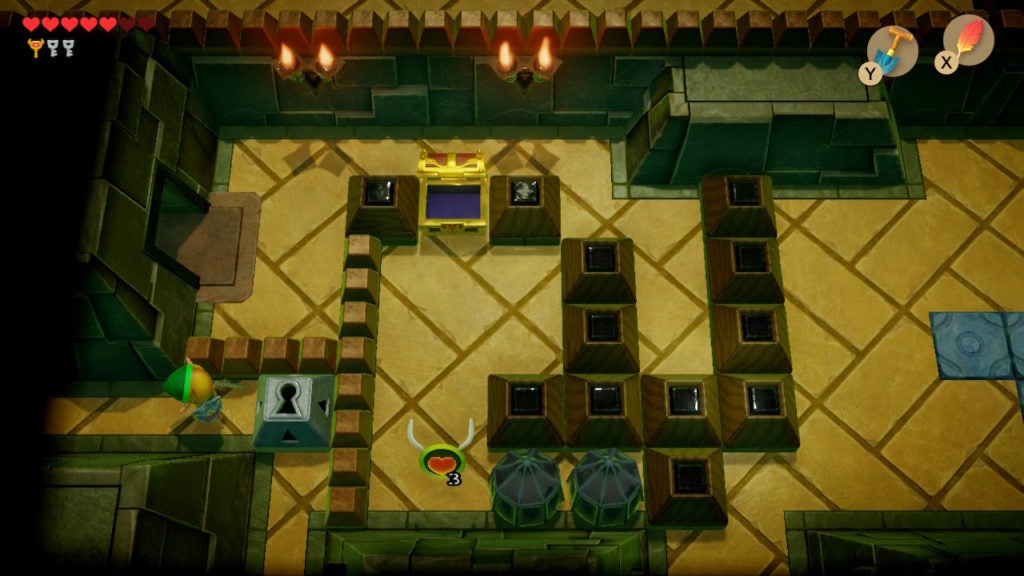
There are 4 Locked Blocks in total. After the fourth one, you’ll be able to descend the staircase you saw earlier.
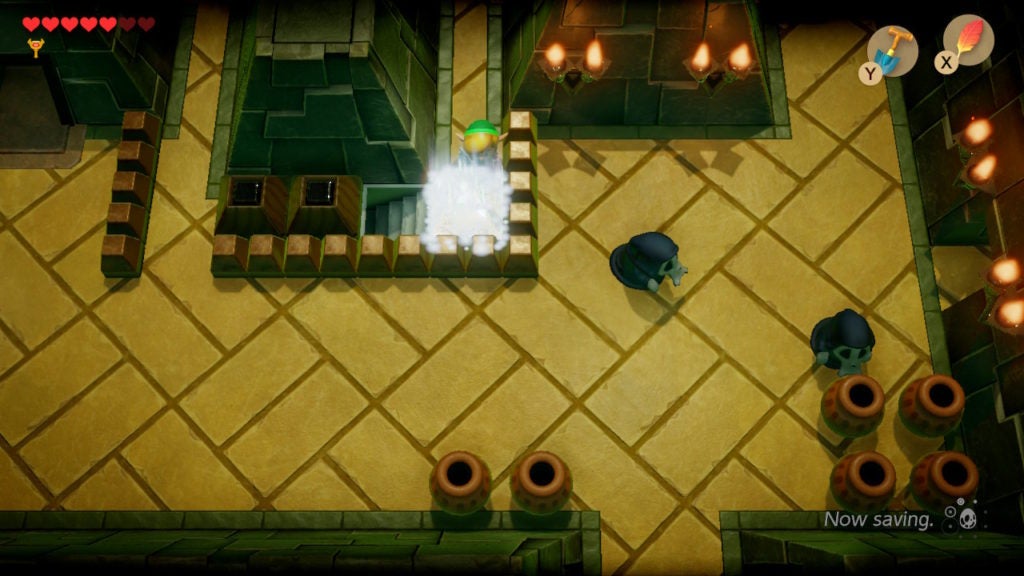
How to Get the Mega Thwomp to Move
When you descend the staircase, you’ll be in a side-view underground tunnel. Barring your path will be a stubborn Mega Thwomp, who won’t budge without some convincing.
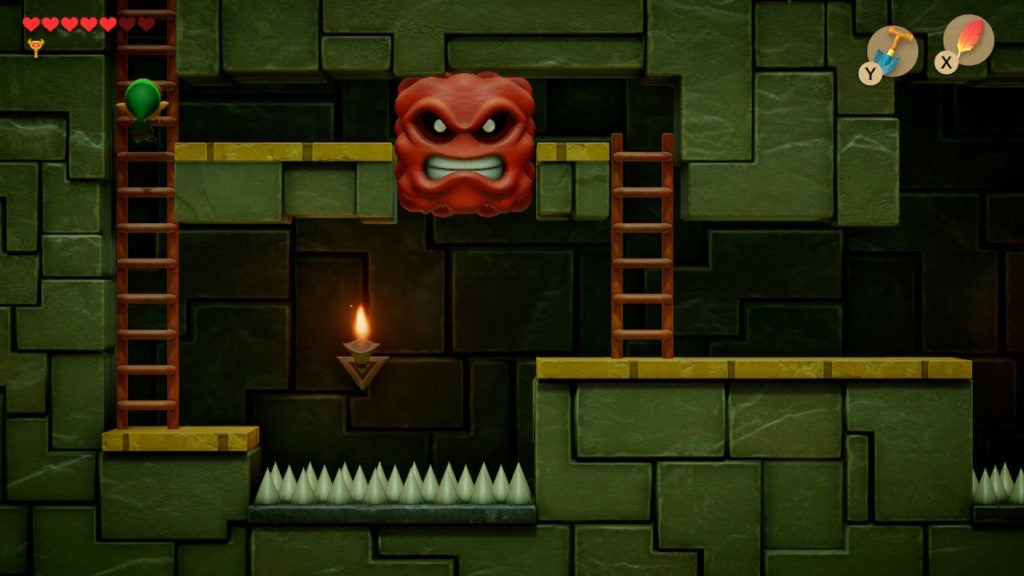
You’ll have to dash into the side of the Mega Thwomp to get them to move. After you give them a solid tackle, their resolve and their body will crack.
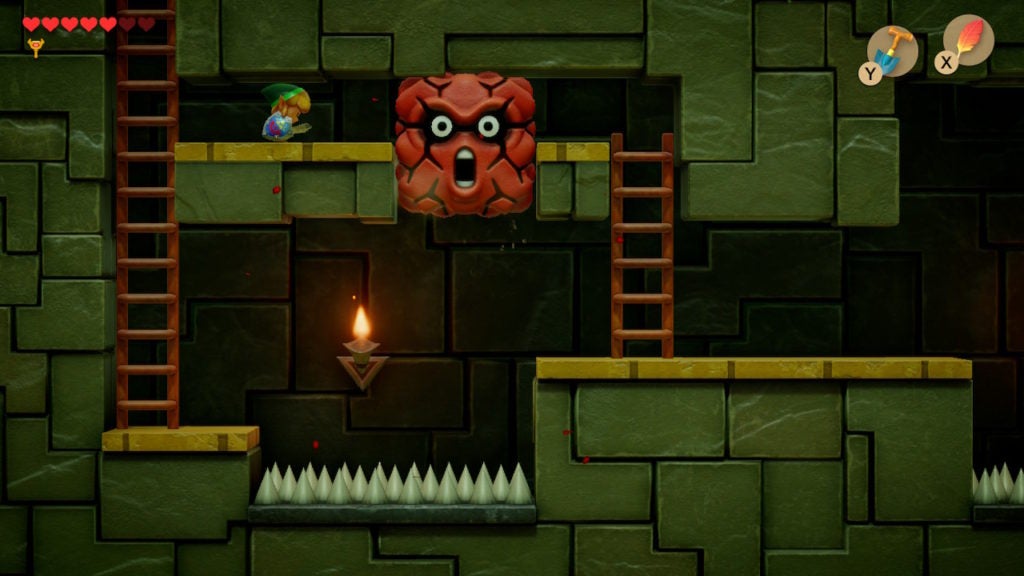
The cubic foe will then drop down, allowing you to use the top of its head as a platform. Use this fallen enemy to get across the spike gap and into the eastern part of the underground tunnel. From there, you’ll have to use the Pegasus Boots once more to long jump over the next spike pit and grab the ladder while in the air (hold up on the control stick to grab the ladder while in the air).
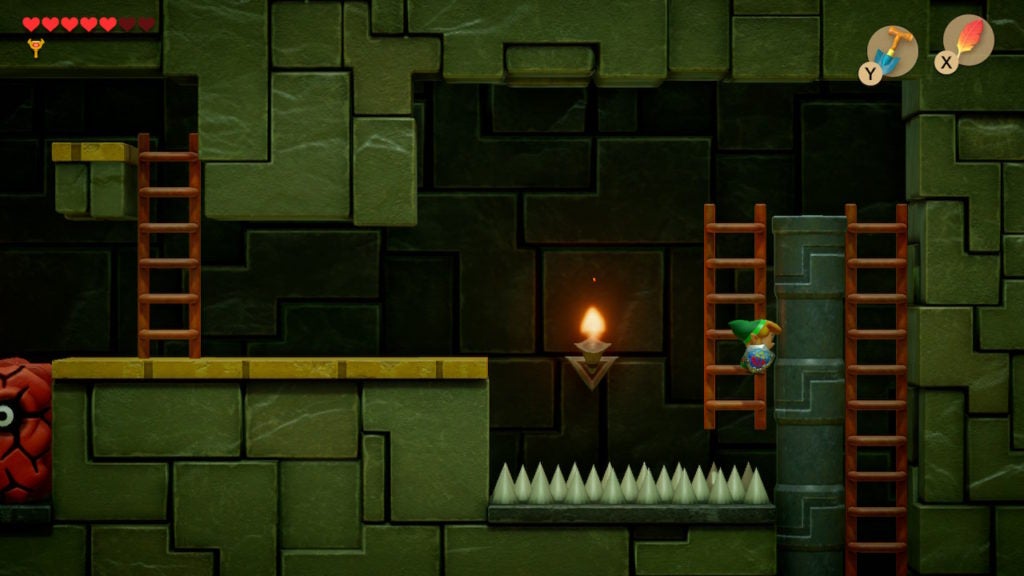
After you make the jump, climb down the eastmost ladder to enter a room on the lower floor of the dungeon (B1).
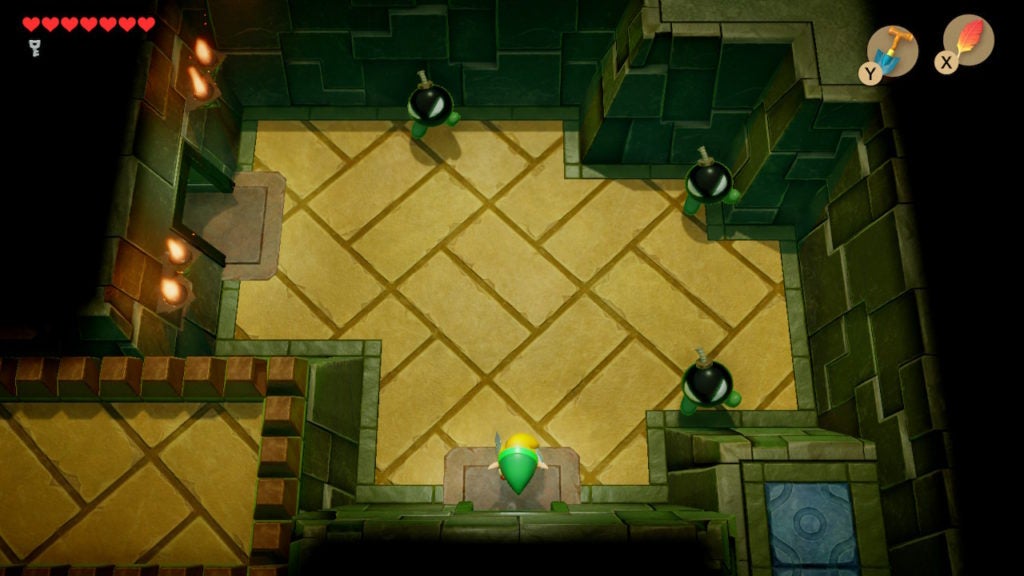
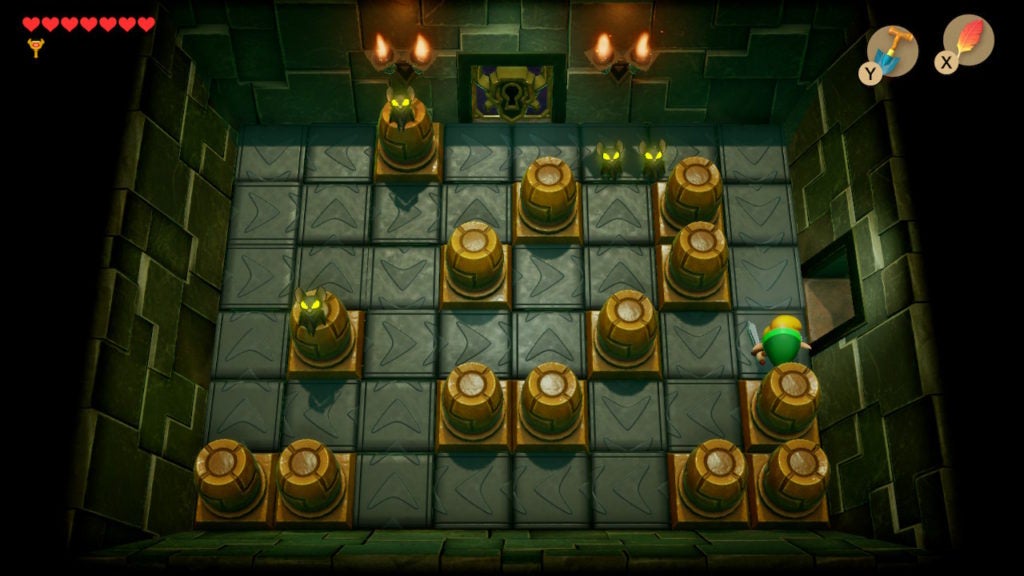
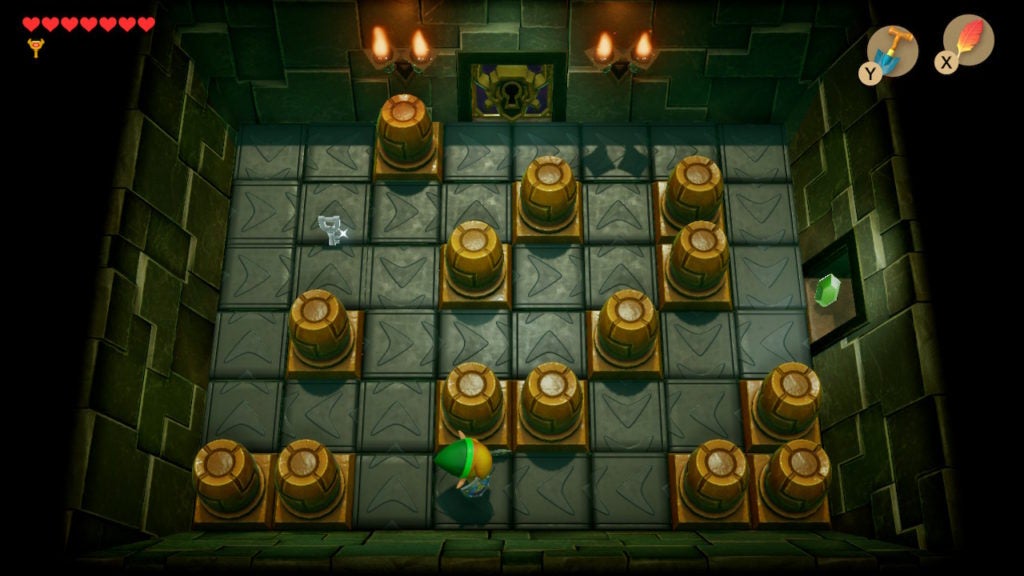
How to Take Out the Pairodds Easily
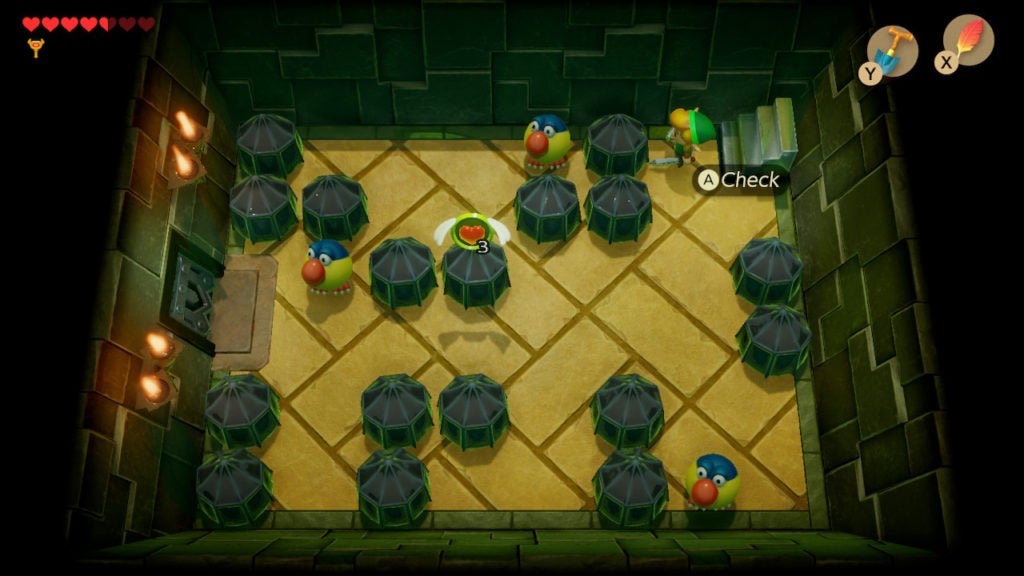
You’re likely very familiar with the 3 colorful teleporters that fill this room. However, now that you have the Pegasus Boots, you can slay them much easier than before!
You can dash to both pierce through the rubbery obstacles in the room as well as to catch the Pairodds off guard. Link’s top speed in mid-dash is too fast for the Pairodds to react to, so, with this maneuver, you’ll be able to make short work of them. After the last enemy is slain, the door in the west wall will open. On your way out, be sure to grab the floating 3 Hearts in the center of the room if you need some health.
About the Room Before the Nightmare’s Lair
When you cross into the next room, you’ll notice it’s full of conveyor belts, barriers, and 4 Keese.
You don’t actually have to do anything in this room besides unlocking the sinister door with the Nightmare Key. However, if you take out all 4 Keese…
…You’ll get a Small Key! At this point, you don’t really need it, so consider it a pat on the back from Level 3 – Key Cavern. Anyways, you should now get ready to face the boss of this dungeon. When you’ve prepared, head through the door in the north.
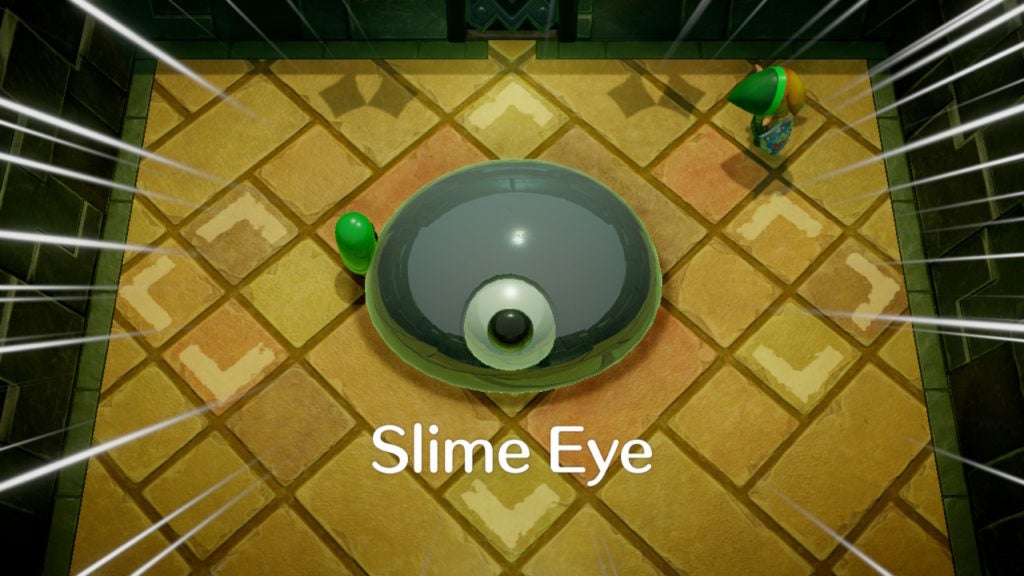
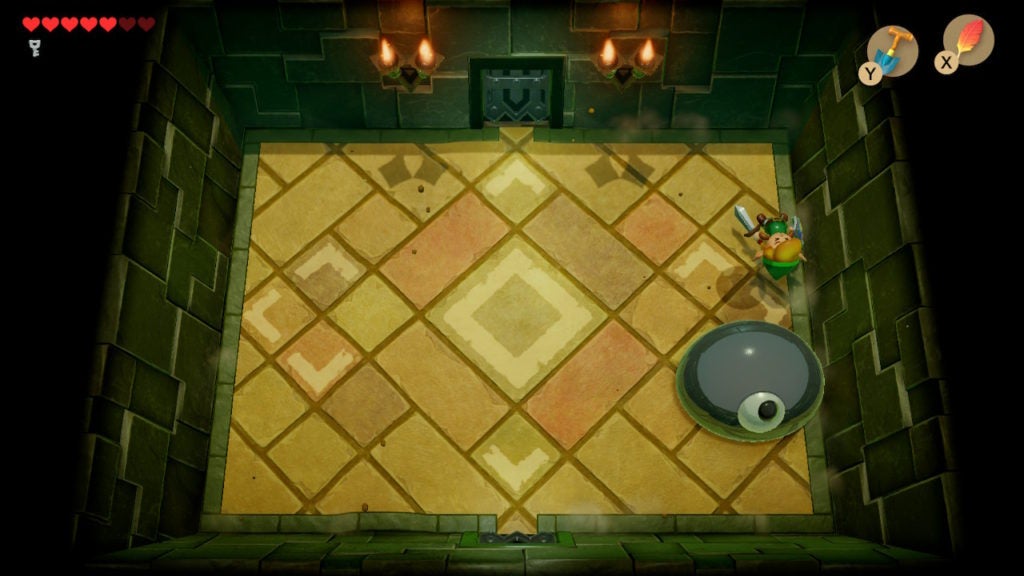
How to Defeat Slime Eye
Immediately after entering the boss room, you’ll be teased by your hidden foe. They will also spawn some Green Gels to minorly harass you.
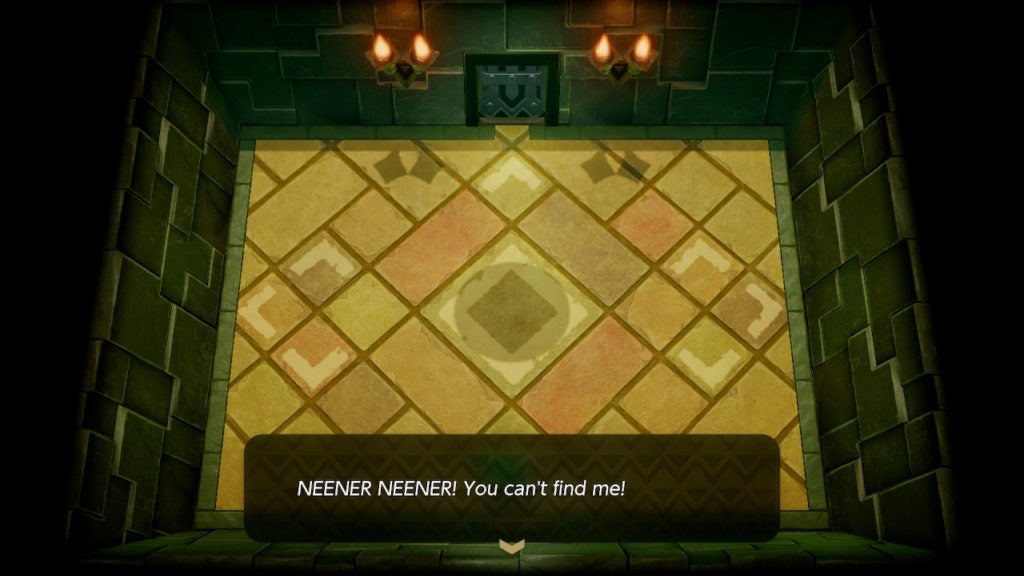
However, you can find your adversary by taking a look in the center of the room. There is a round shadow there that indicates your enemy is above you. To get them to drop down, you’ll need to run into a wall while dashing to knock them loose from their unseen perch. Afterward, Slime Eye will appear and the boss fight will truly begin.
How to Hurt Slime Eye
For this fight, you only need your trusty Sword, the dashing ability of the Pegasus Boots, and the Roc’s Feather to jump (though the latter is technically optional, albeit handy).
The first thing you need to do is hit Slime Eye in their large singular eye. At this point in the fight, the boss will only be able to hurt you via contact damage, so try not to touch them. The only position from which you can get a clear slash of their eye is from the front.
As a general tip for taking on this blob, you’ll want to stay as close to their center as possible when you can. The more you strike Slime Eye’s weak point, the more they will separate.
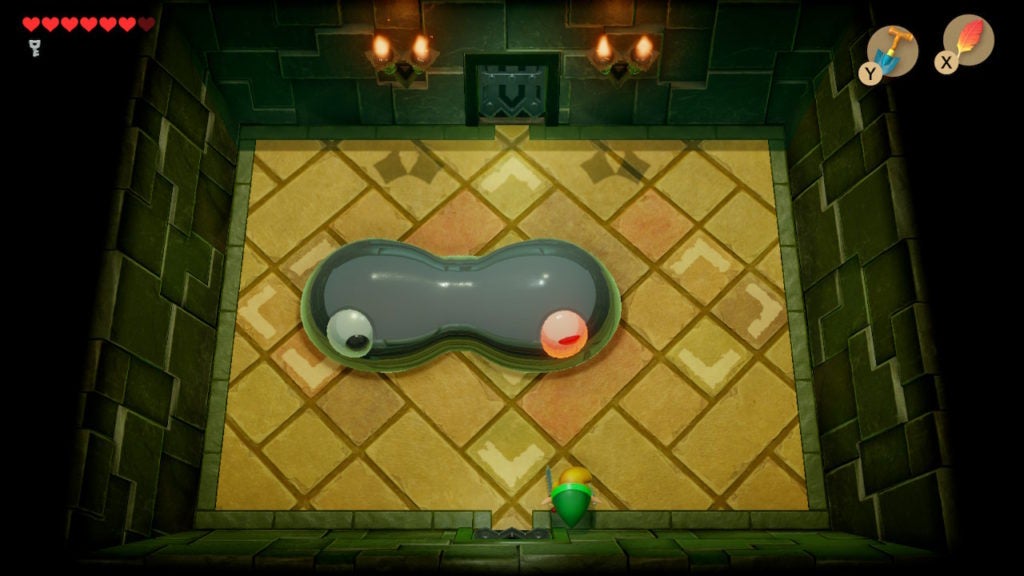
This will cause the singular eye to split into 2 separate ones, which will move laterally the more Slime Eye’s body expands horizontally. Keep hitting them in either eye to continue the separation process. Eventually, you’ll get to a point where the 2 halves are barely connected.
How to Split Slime Eye Into 2 Halves
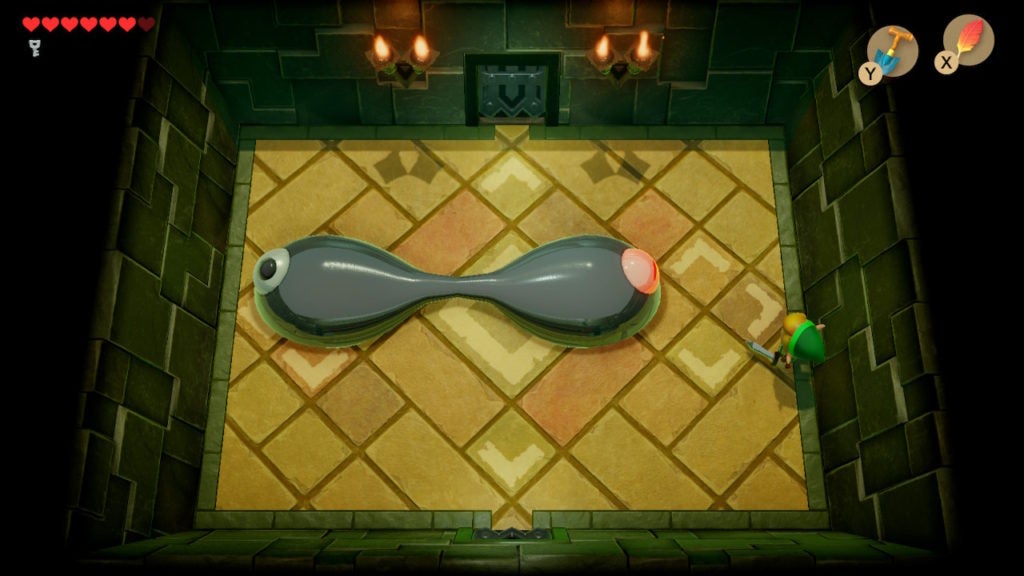
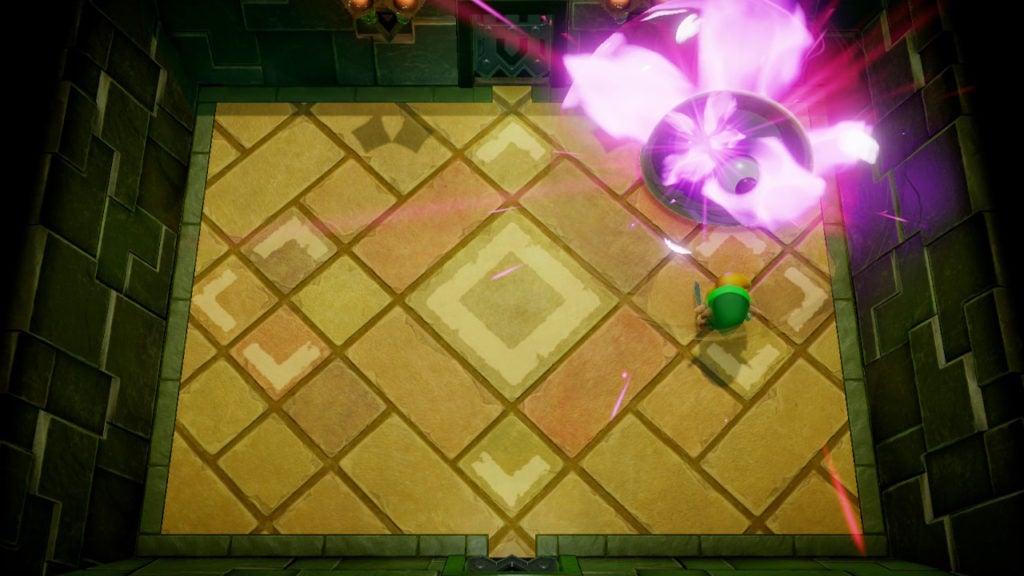
At this stage, you’ll likely be at either the west or east wall in order to strike at 1 of the 2 eyes. However, when Slime Eye gets stretched to this point, you’ll need to hurry toward their center to fully separate the boss’ body. While the boss is stretched to its limit, you’ll need to dash through their thin connective membrane to break their 2 halves apart. If you take too long, the boss’ body will reform.
When you split them, you’ll now enter phase 2 of the boss fight. In this portion, the boss’ 2 halves will actually attack you, so be careful.
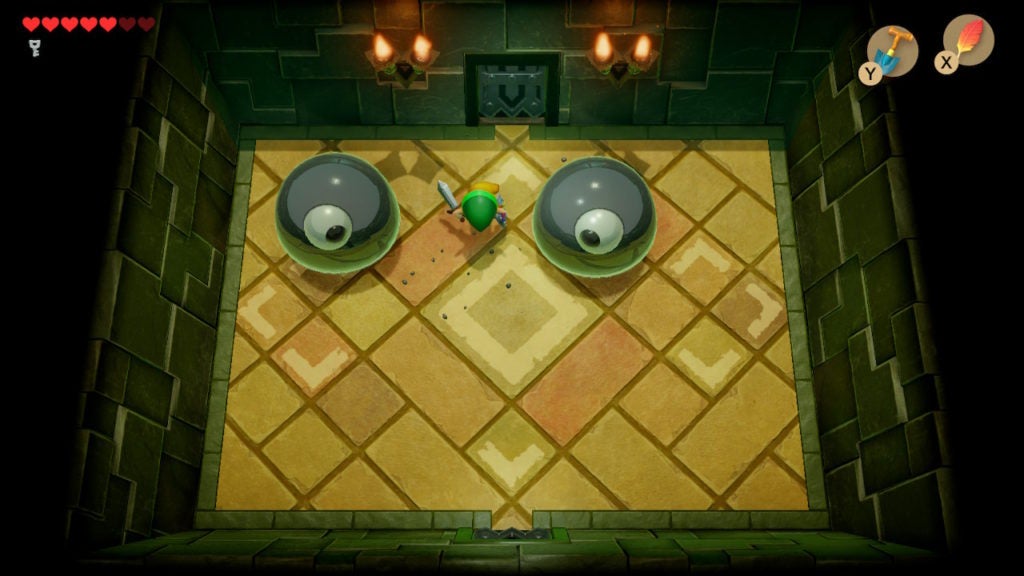
How to Take Out the 2 Halves of the Boss
The 2 slimes in the room will alternate jumping high into the air before slamming into the ground. You can track where they are in the air by their circular shadows when they jump. They will try to land on you, so it’s best to stay on the move. Dashing about the room with the Pegasus Boots can help you evade your foes. However, even if you do dodge their slamming attacks, the force of the impacts will shake the ground and stun you.
Since there are 2 of these threats, while 1 misses their attack and stuns you, the other will be able to line up a shot and hurt you with a slam since you can’t move. This can be a deadly combo attack.
You can avoid getting stunned by jumping with the Roc’s Feather. If you time your jumps correctly, you can avoid being shaken by the boss’ missed attacks.
Though, you’ll need to do more than dodge to defeat Slime Eye. Try to position yourself so that you end up in front of 1 of the blobs each time they drop. When you do, slash at their eyes with your Sword. You’ll have to hit the eye of each of the 2 halves 4 times. That’s 8 hits total across both foes. It’s advised to focus on taking 1 out at a time.
Together, these blobs are a threat, however, not when they are alone.
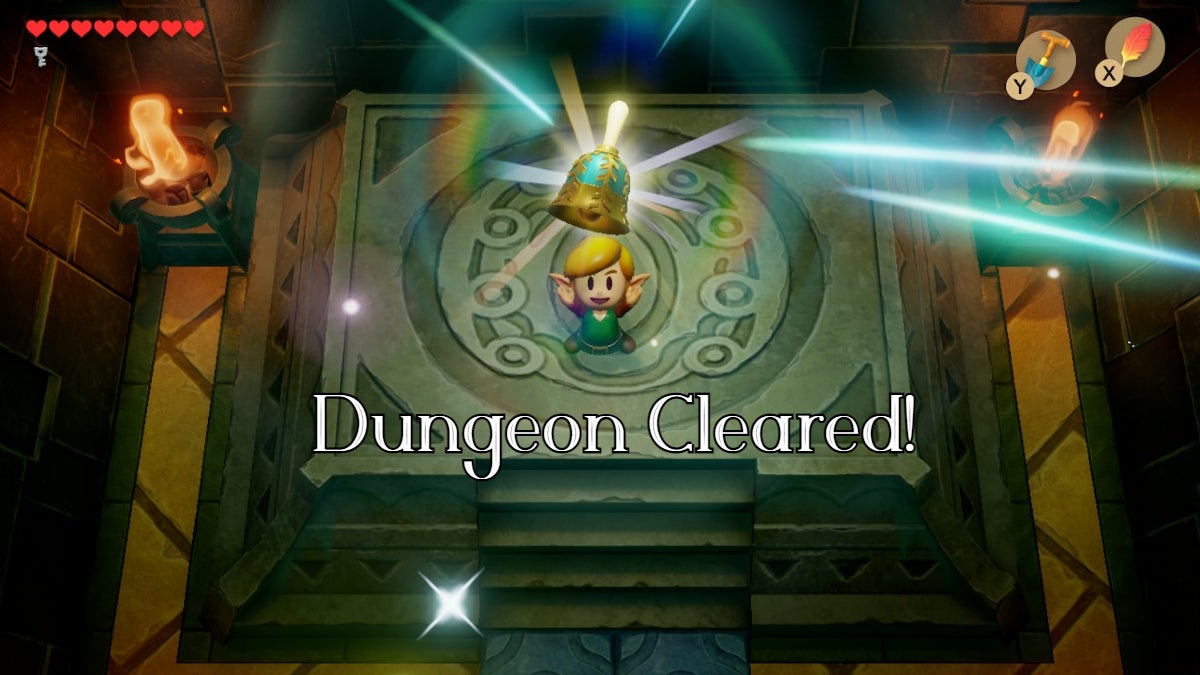
Collect the Heart Container and the Siren Instrument
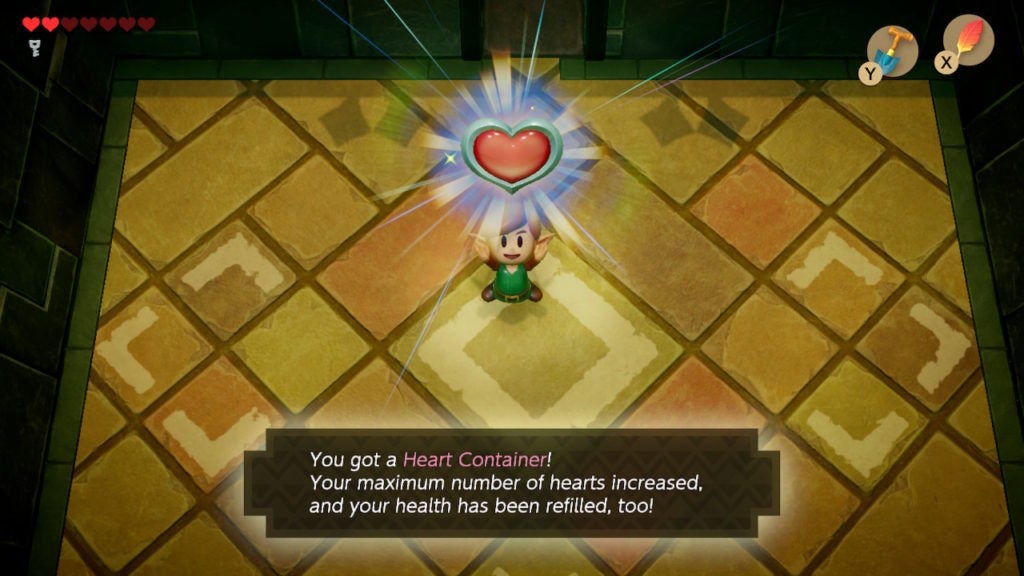
After Slime Eye is defeated, you’ll get a Heart Container and the room north will open. Pick up the Heart Container before you move on. Within the next chamber, you’ll be able to obtain the third Siren Instrument in the game: the Sea Lily’s Bell.
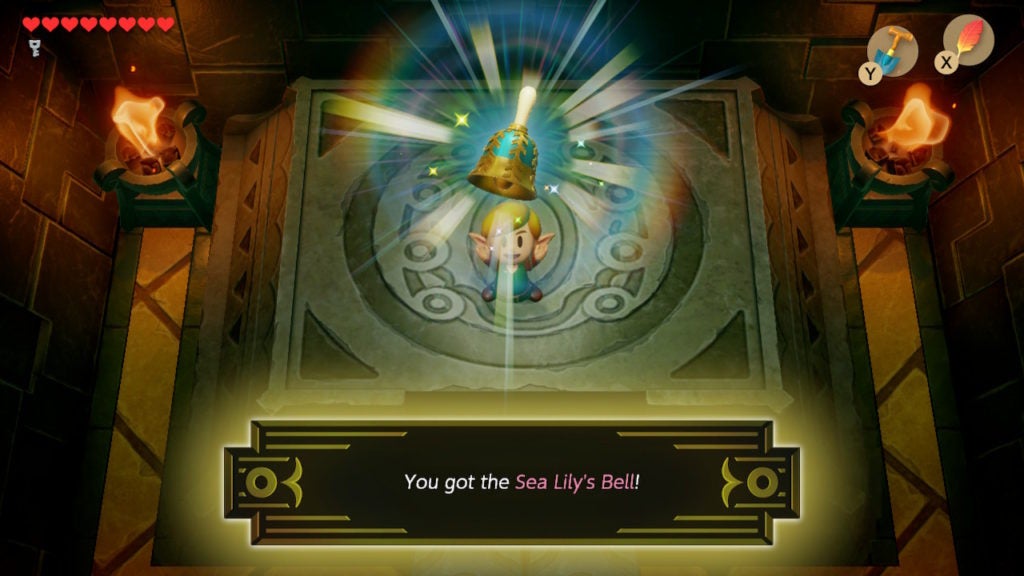
After picking up the ornate Siren Instrument, you will get a hint that you’ll need to interact with a waterfall. Though, for this, you’ll need the Angler Key. With that in mind, you’re ready to leave Level 3 – Key Cavern and its unnecessary keys behind you.
Where to Go Next
You’ll be greeted by the wise Owl again when you emerge from the dungeon. They will swoop down to tell you that you need to head to a dry area next. The dark inhabitants of the shifting sands will apparently show you the way.
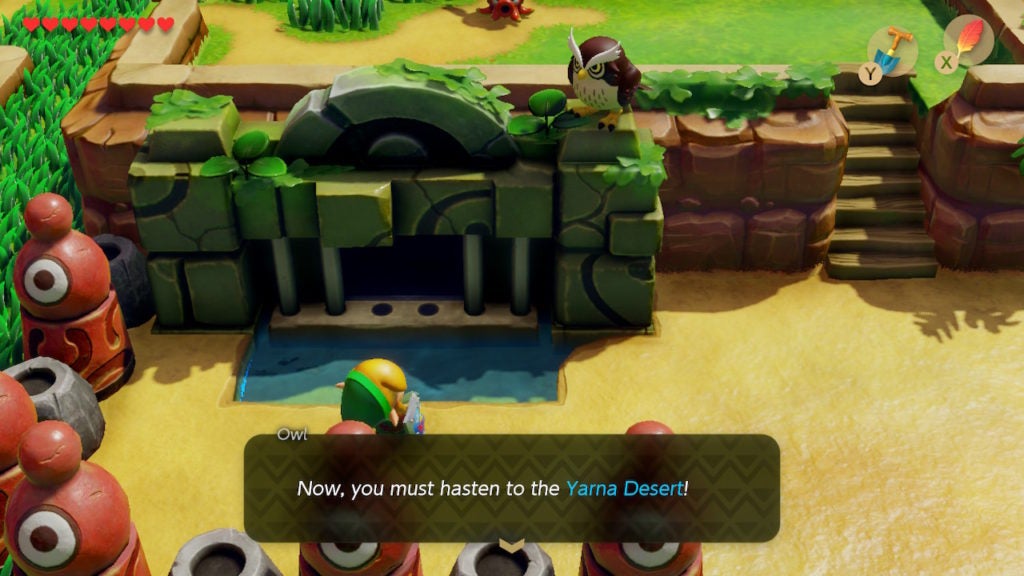
While contrary to the hint received after you picked up the Sea Lily’s Bell, the Owl is not lying. The environment of this land is quite diverse. You’ll get dry and dusty before you get wet in this part of your adventure on Koholint Island. This is a hint that you’ll need to discover the Angler Key in Yarna Desert.