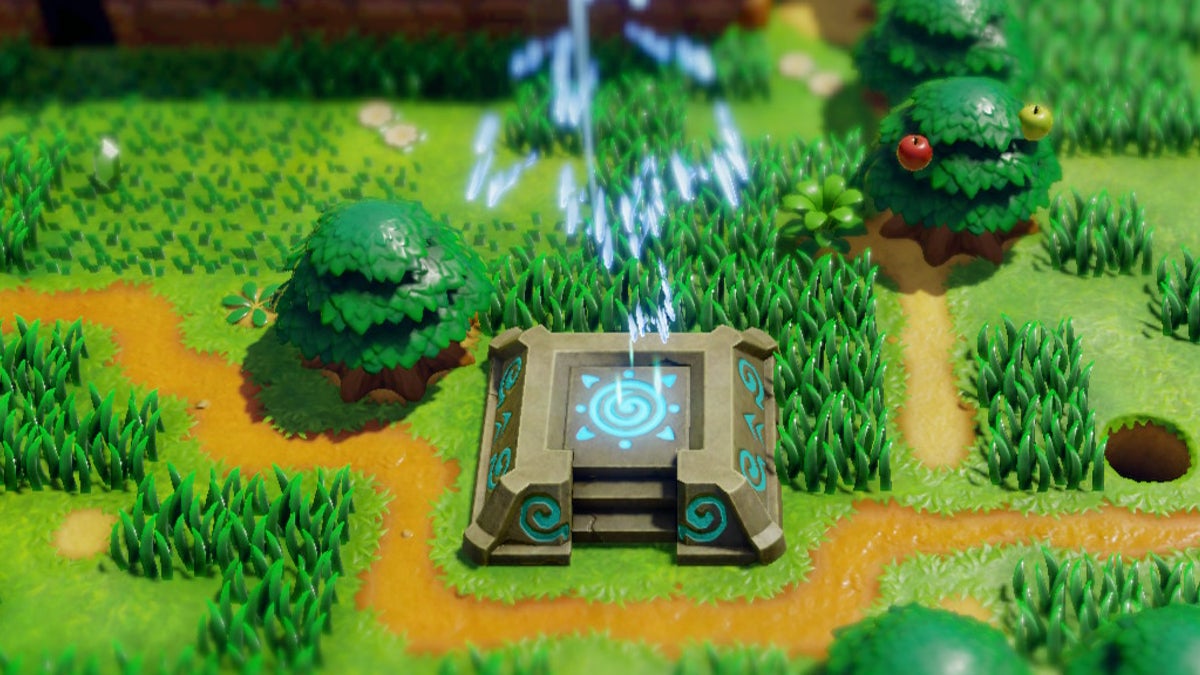
To find each of the 10 Warp Points in Link’s Awakening, you’ll need to explore the far reaches of Koholint Island. Each Warp Point has been placed in strategically ideal locations. However, some are hidden.
Table Of Contents
Map View of All Warp Points
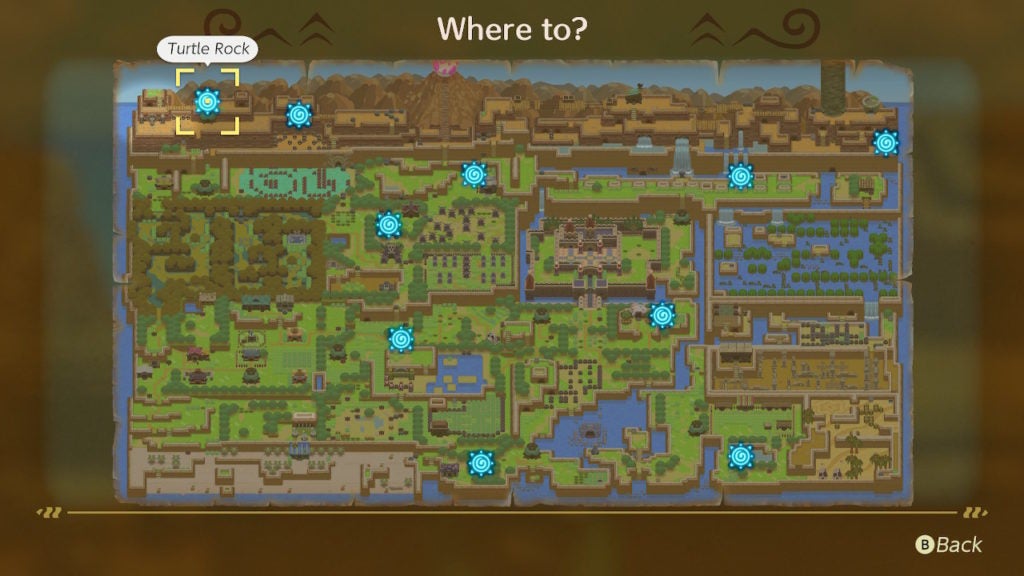
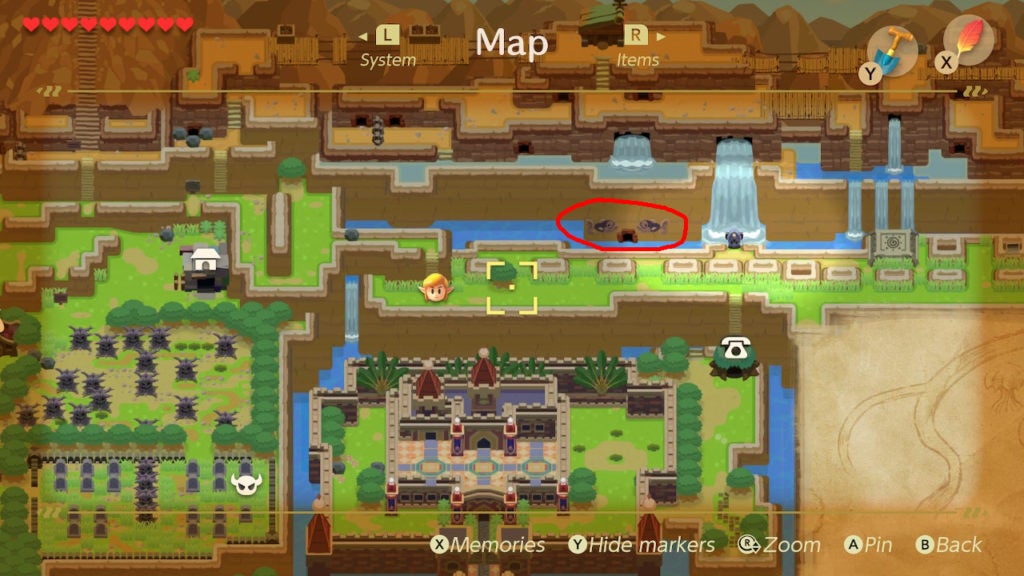
You’ll can note the exact location of every Warp Point on the map after you activate them. To get a view of all of the Warp Points at once, you’ll need to stand on one. This will bring up the map of Koholint Island with each available Warp Point highlighted in blue. From here, you can teleport to any of the Warp Points you’ve activated.
How to Activate a Warp Point
Even if you find an uncovered Warp Point, you’ll still need to stand on it to activate it. If you don’t activate a Warp Point, it will be useless, as you can only teleport to activated Warp Points. Be sure to activate them all, as this will save you a lot of time.
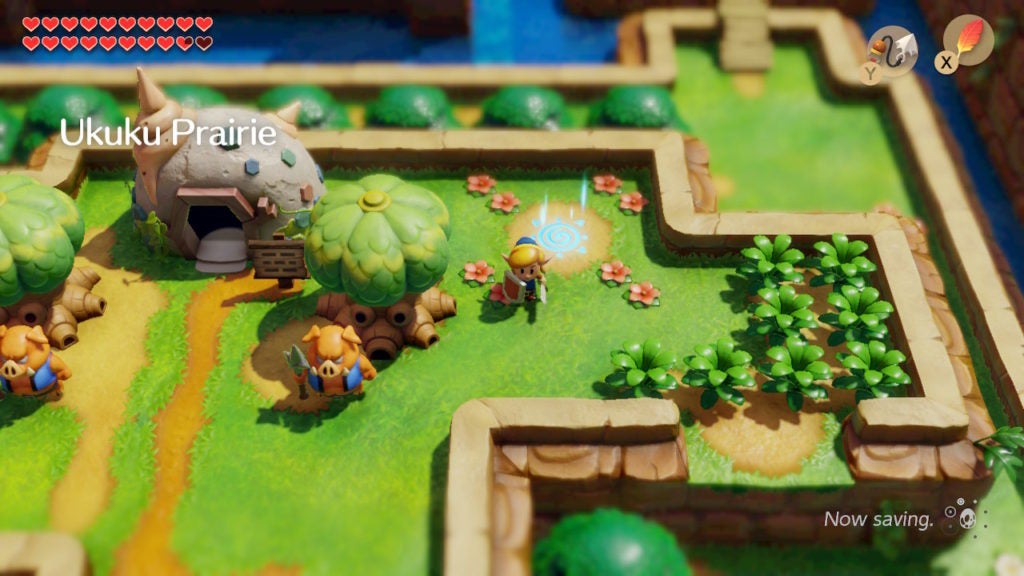
Ukuku Prairie Warp Point
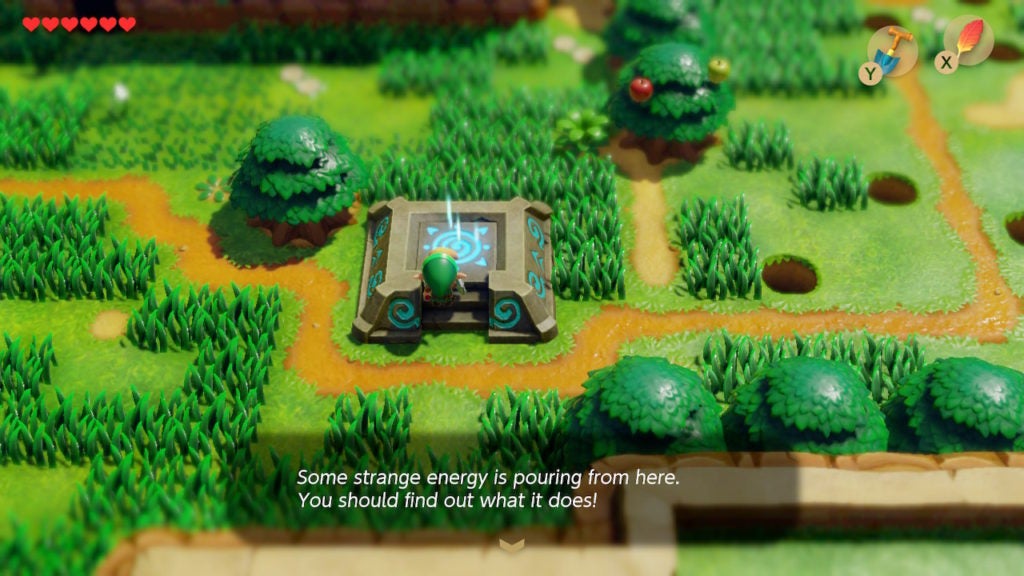
The first Warp Point you can find is the one in Ukuku Prairie. It is located east of Mabe Village. However, it’s not very useful by itself. At this point in the game, you’ll have no other Warp Points activated. Therefore, the Ukuku Prairie Warp Point won’t be helpful until you find another Warp Point.
With that said, it’s important to stand on this Warp Point to activate it. Since the Ukuku Prairie Warp Point is the closest one to Mabe Village, it’s crucial for having quick access to that location.
Warp Point Near Crazy Tracy’s House (Manbo’s Pond)
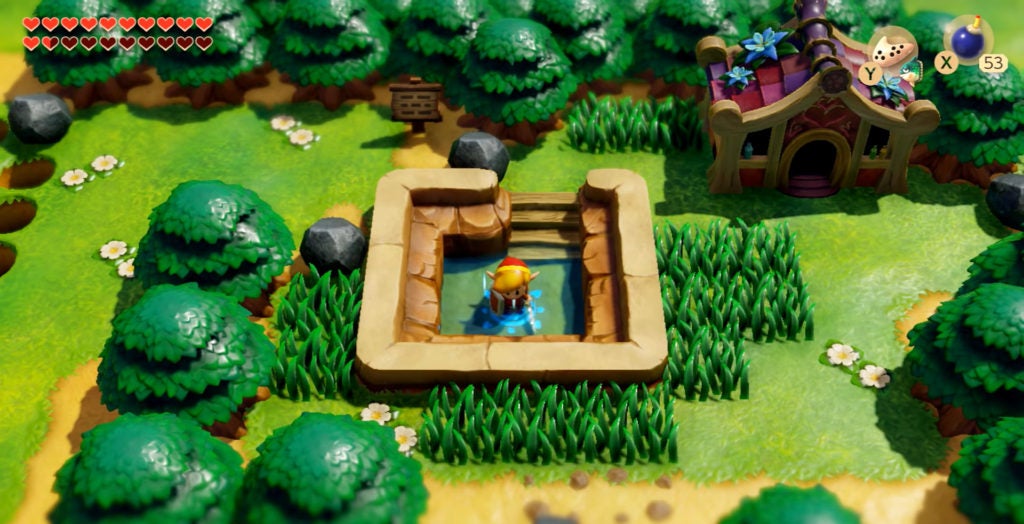
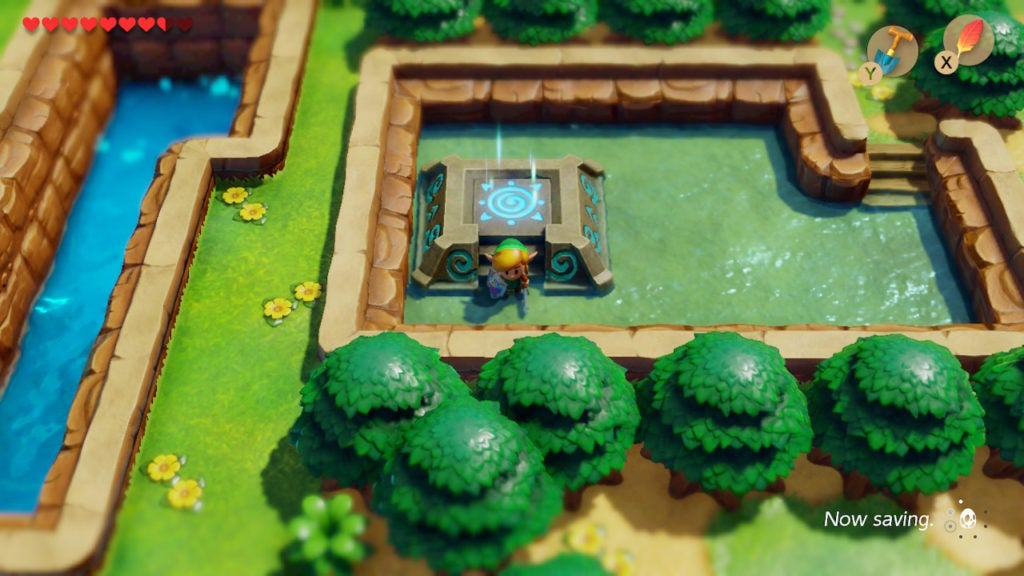
Although you can find the spot where this Warp Point spawns early on, you won’t be able to activate it by conventional means. At the beginning of the game, the little pool of water near Crazy Tracy’s house will be purely aesthetic. In order to activate this Warp Point, you’ll need to play Manbo’s Mambo on your Ocarina. Appropriately, this labels this specific Warp Point as “Manbo’s Pond”.
How to Activate the Warp Point Near Crazy Tracy’s House
Put simply, you will need to play Manbo’s Mambo on the Ocarina to activate the Warp Point near Crazy Tracy’s house. The moment you play the song, you’ll unlock the Manbo’s Pond Warp Point in Koholint Prairie. This will be clearly displayed on the map when you’re about to teleport. However, there are quite a few things that you’ll need to do before you can activate this specific Warp Point.
You’ll need the following to activate this Warp Point:
- The Ocarina (obtained from the Dream Shrine in Mabe Village)
- Manbo’s Mambo (obtained by talking to Manbo)
- The Flippers (obtained from Level 4 – Angler’s Tunnel)
- The Power Bracelet (obtained from Level 2 – Bottle Grotto)
Since you need the Flippers, you’ll have to clear Level 4 – Angler’s Tunnel before you can activate this Warp Point. After you get the Flippers, swim west from the entrance of Level 4 – Angler’s Tunnel along the thin waterway. This will bring you to a cave entrance marked by 2 fish symbols. Head inside to meet Manbo.
However, before you do, be sure to get the Ocarina from the Dream Shrine in Mabe Village. If you don’t have the Ocarina, Manbo cannot teach you their song. You’ll need the Power Bracelet from Level 2 – Bottle Grotto in order to move the rocks blocking the entrance to the Dream Shrine. The Dream Shrine is located in the northeast of Mabe Village.
After you enter Manbo’s cave, the big fish will teach you Manbo’s Mambo if you speak to them. This song is very useful, as it will let you teleport to any Warp Point from anywhere outside. Furthermore, it will let you teleport to the entrance of a dungeon if you are inside of one.
Why You Should Activate This Optional Warp Point
Since the Secret Medicine that you can buy from Crazy Tracy is the best healing item in the game, it’s highly recommended to activate this Warp Point near the lovely lady’s house. The Manbo’s Pond Warp Point will give you quick and easy access to Secret Medicine, so be sure to activate it sooner rather than later!
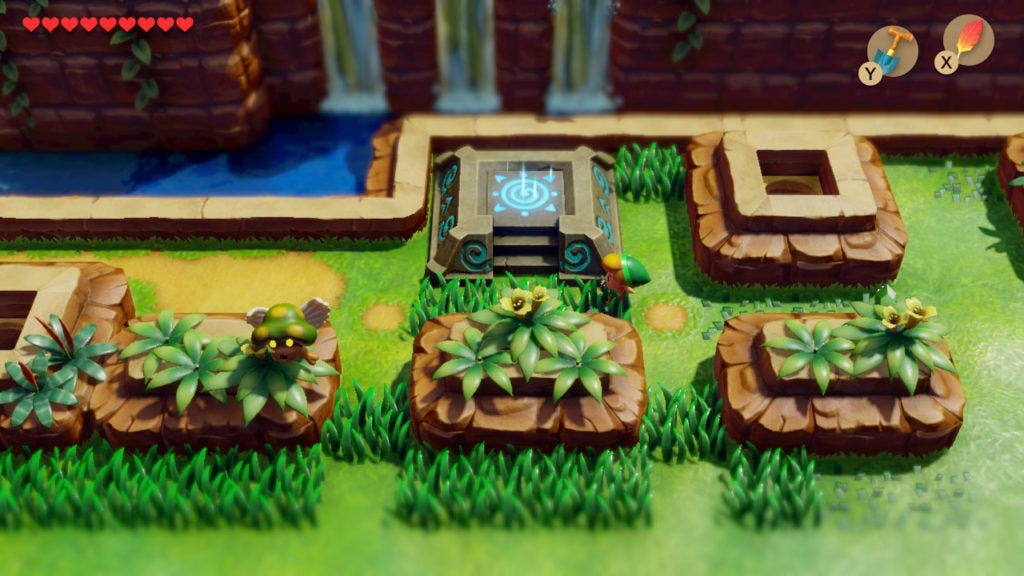
Dampé’s Shack Warp Point
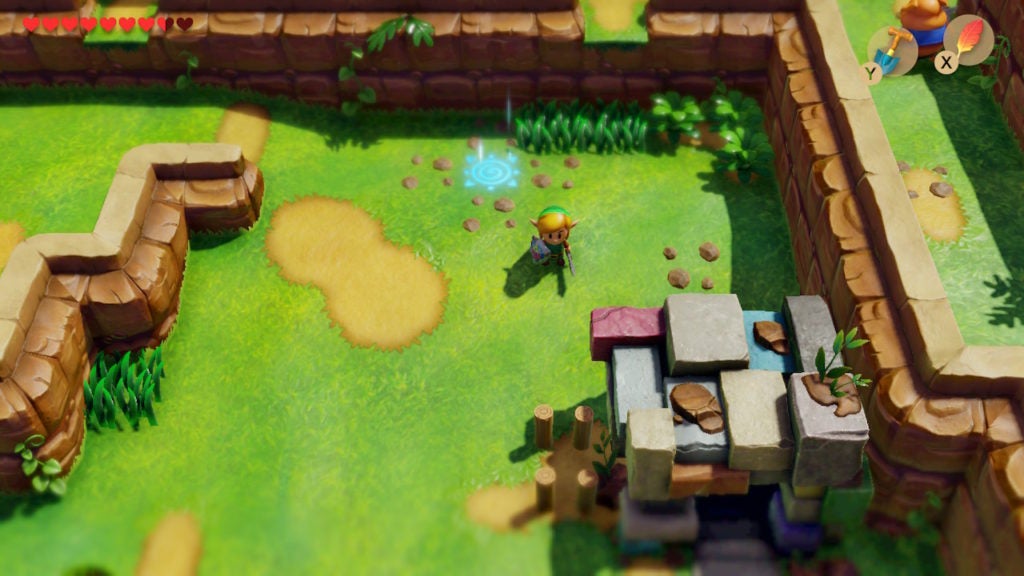
Just north of Dampé’s Shack, there is a formation of small rocks around one big one. You’ll need to lift the rock with the help of your Power Bracelet to find the hidden Warp Point here. Afterward, don’t forget to step on the Warp Point to activate it.
This Warp Point will give you quick access to the area south of Mt. Tamaranch. This area includes a way onto the Tal Tal Mountain Range, the path east to Tal Tal Heights, the trail west to Goponga Swamp, and a way south to the Tabahl Wasteland.
Additionally, if you like dungeon arranging, you’ll always be able to teleport back to Dampé’s Shack for more of this mini-game. The rewards for completing dungeon puzzles are very useful, so don’t ignore them!
Martha’s Bay Warp Point
You’ll need the Roc’s Feather from Level 1 – Tail Cave and the Pegasus Boots from Level 3 – Key Cavern to reach this Warp Point in most cases. Those items will let you head east from Toronbo Shores into Martha’s Bay. However, you can also take the long way around from the north.
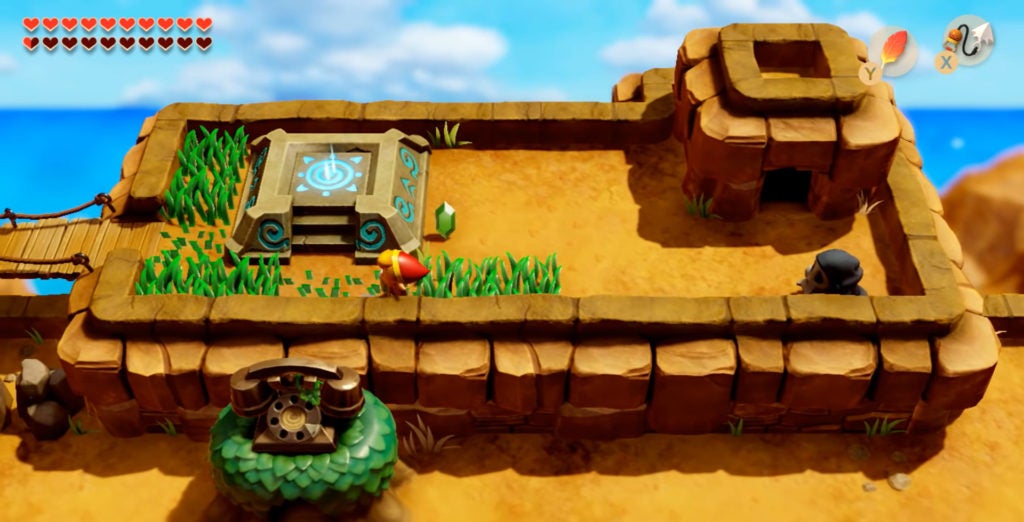
Initially, this Warp Point will be covered by a patch of grass. You’ll have to cut it down with your Sword in order to reveal the blue symbol. Afterward, step on the symbol to Activate this Warp Point.
The Martha’s Bay Warp Point will make a few side quests quicker and easier. You can use it to get to and from Animal Village easily to bring Marin to the sleeping walrus. Furthermore, it will make bringing the pink ghost to the house in Martha’s Bay simple and efficient.
Animal Village Warp Point
This Warp Point will be easy to find and activate. All you need to do is step on it! It’s obviously placed and has no activation requirements, so you can pretty much use this one right away.
Be sure to activate this Warp Point when you get to Animal Village, as it will make bringing Marin to the sleeping walrus easier. Furthermore, it provides quick access to Animal Village, Yarna Desert, and the surrounding areas. You can even use it to get to the eastern part of Martha’s Bay easier.
Seashell Mansion Warp Point
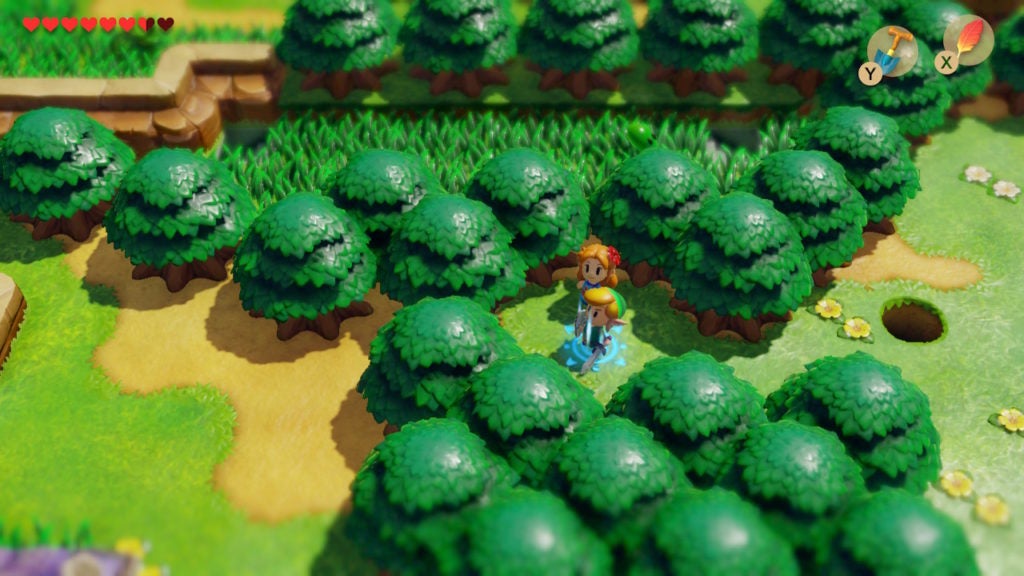
On the far east of Ukuku Prairie, you’ll find the Seashell Mansion on a hill guarded by Moblins. There is a shrub surrounded by some flowers just east of the mansion. You’ll need to cut this shrub down to reveal the Warp Point beneath it.
The main use of this particular Warp Point is to get back to the Seashell Mansion. You’ll need to come back here once in a while to get rewards for collecting Secret Seashells. As such, this Warp Point will make doing so efficient.
Tal Tal Heights Warp Point
Another easy Warp Point to activate, you’ll find this one on the eastern part of Tal Tal Heights. It is on a raised platform and only requires you to stand on it to activate it. Just be wary of the many enemies nearby.
You can find Tal Tal Heights by heading east from Dampé’s Shack. The journey to get the key for Level 4 – Angler’s Tunnel will require you to travel to the southeast of Koholint Island. As such, activating this Warp Point will allow you to return from Yarna Desert easily. Therefore, be sure to activate the Warp Point in Tal Tal Heights before seeking out the Angler Key.
Eastern Tal Tal Mountain Range Warp Point
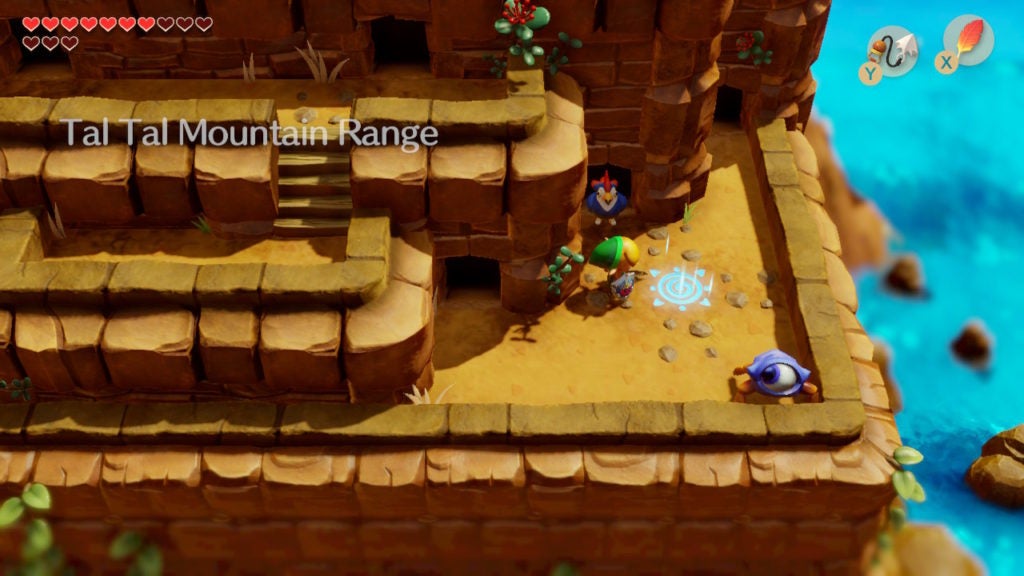
On the far east of the Tal Tal Mountain Range, you can find a hidden Warp Point on the way to Level 7 – Eagle’s Tower. Southeast of the cave that brings you to this region, you’ll find a conspicuous spot surrounded by small stones. You’ll need to use your Shovel to dig the area in between the small stones to uncover the Warp Point here.
This one is arguably the easiest Warp Point to miss, as it is hidden pretty well. However, with that said, it’s also potentially the least useful. The only reason to come back here after clearing Level 7 – Eagle’s Tower is to access the Great Fairy cave that lies through the doorway just west of this Warp Point.
Western Tal Tal Mountain Range Warp Point
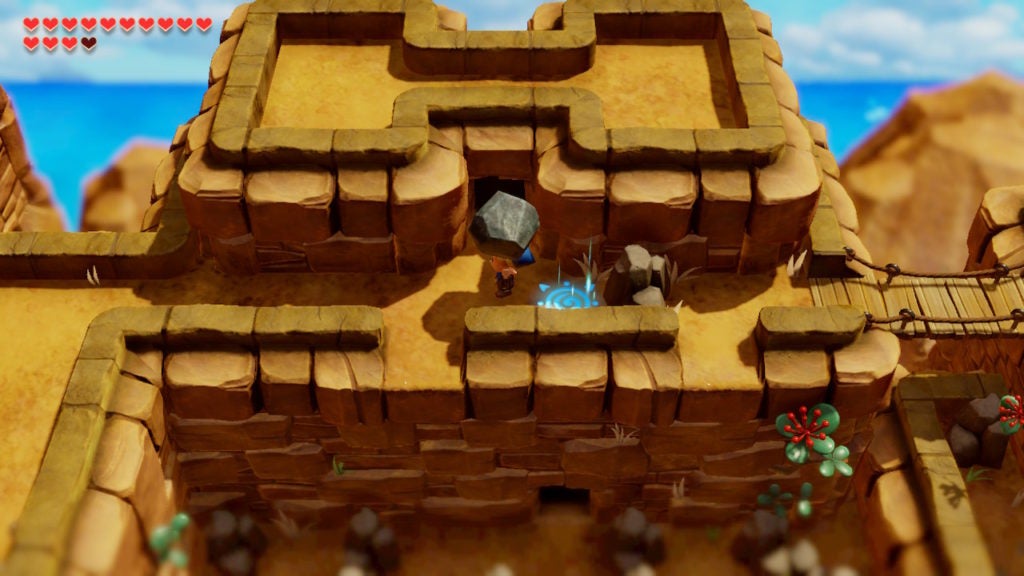
As you make your way to Level 8 – Turtle Rock, you can come across another hidden Warp Point. This one is found under a rock just outside the exit to the cave that brings you to the area east of the entrance to Level 8 – Turtle Rock.
Since Level 8 – Turtle Rock is the last dungeon, you’ll want to gather up any remaining upgrades and collectibles before heading inside. This nearby Warp Point will allow you to return to the final true dungeon’s entrance easily.
Level 8 – Turtle Rock Warp Point
The final Warp Point you can find is above Level 8 – Turtle Rock. However, this one is only accessible by going into the dungeon. The path that leads above Level 8 – Turtle Rock is crucial for fighting the Dodongo Snakes mini-boss that’s found in the dungeon.
As such, you’re guaranteed to find this clearly visible Warp Point. The reason for its existence is to let you get more Bombs if you run out. You need Bombs to slay the Dodongo Snakes, though, it’s possible to run out. Using this Warp Point, you can teleport to Mabe Village to get some Bombs and then warp back.