Like other entries in the franchise, Final Fantasy X introduces ultimate weapons for each character. These seven celestial weapons are hidden throughout Spira, and just finding them isn’t enough. You’ll need to power them up using specific key items in order to unlock their terrifying true potential.
Table Of Contents
About Celestial Weapons
The celestial weapons are the ultimate weapons of Final Fantasy X. Hidden around Spira, these optional weapons have a curious gimmick–they are useless without an accompanying sigil and crest. Sigils and crests are also hidden around the map, making this a much more lengthy scavenger hunt than in past Final Fantasy titles.
Celestial weapons ignore the enemy’s Defense, and five of them allow a corresponding Aeon to break the damage limit once the weapon is powered up using a specific crest. Though the celestial weapons themselves aren’t incredibly powerful when compared to standard weapons, enabling Aeons to break the damage limit is an excellent reason to obtain them.
Additionally, Wakka, Rikku, Yuna, and Kimahri will earn double AP when their celestial weapon is equipped.
Celestial weapons can’t be obtained until after you reach Zanarkand, though you can pick up certain sigils and quests prior to this.
About Weapon Crests and Sigils
Each celestial weapon has a corresponding crest and sigil. Once these are found, you must go to a specific spot in Macalania Woods and use the Celestial Mirror to power up your weapon.
While some of these key items will be found in treasure chests during your journey, others can only be found once you defeat specific bosses or complete certain mini-games.
Note: The names of the crests and sigils may differ depending on which version of Final Fantasy X you’re playing, but their location remains the same. The Xbox One and Nintendo Switch versions of the game use the Japanese naming conventions, as well as the Japanese International release, while the original English release uses different names for each key item.
For the purposes of this guide, we will be using the English names, as they are found in the Final Fantasy X Remaster.
The sigils and crests are named after planets in the solar system, and in the Japanese version, each character’s sigil and crest were chosen by their relation to the related element. In the English release, the focus on elements was changed to a character’s association with the Roman gods. For example, Lulu uses the Mars Crest in the Japanese version as an homage to her short temper. In the English release, she is instead associated with Venus, the goddess of love and beauty.
Refer to the chart below to see the changes between the English and Japanese versions.
| Character | English | Japanese |
|---|---|---|
| Tidus | Sun | Sun |
| Yuna | Moon | Moon |
| Wakka | Jupiter | Mercury |
| Lulu | Venus | Mars |
| Kimahri | Saturn | Jupiter |
| Auron | Mars | Saturn |
| Rikku | Mercury | Venus |
How to Get the Celestial Mirror
In order to power up your celestial weapons, you must first obtain the Celestial Mirror. Without this key item, you won’t be able to unlock your weapon’s potential–even if you collect every sigil and crest.
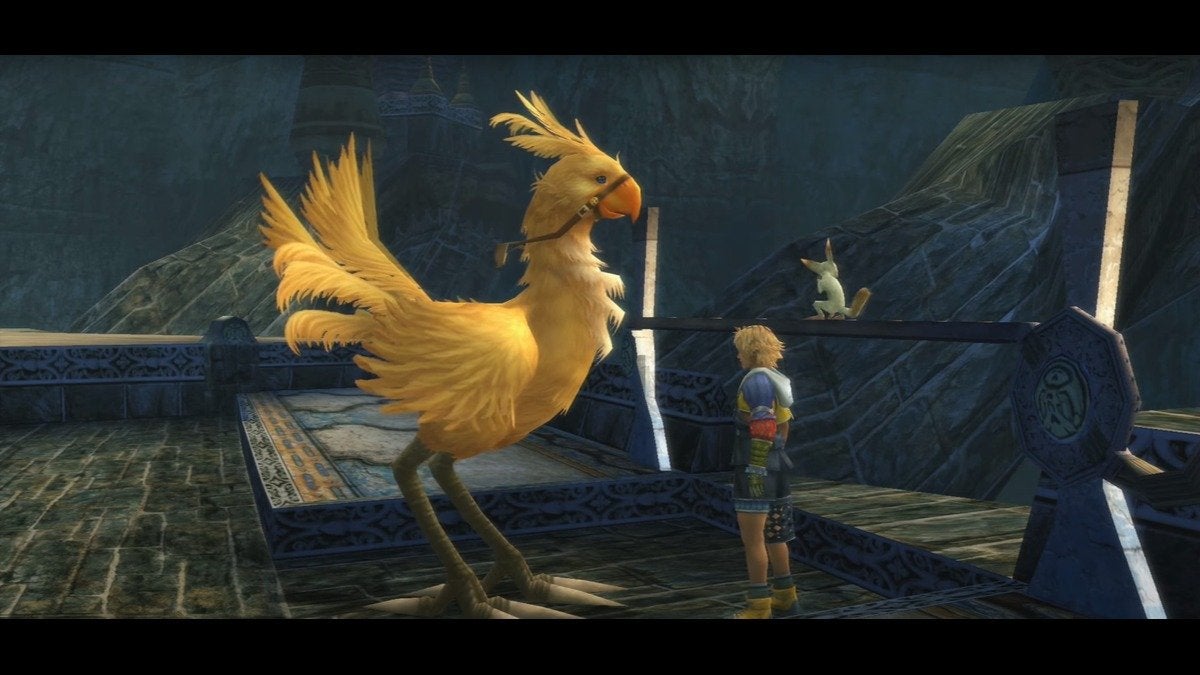
To find the Celestial Mirror, talk to the Chocobo Trainer in the northwest corner of the Calm Lands. (If she isn’t there, she may be wandering around the map.) Tell her that you’d like to ride the Chocobo and you’ll complete a brief training session that teaches you how to control everyone’s favorite bird.
Once this is done, chat with her again to hire a Chocobo and head to the southeast corner of the Calm Lands. You’ll see a feather on the ground. Interact with it to access the path to Remiem Temple.
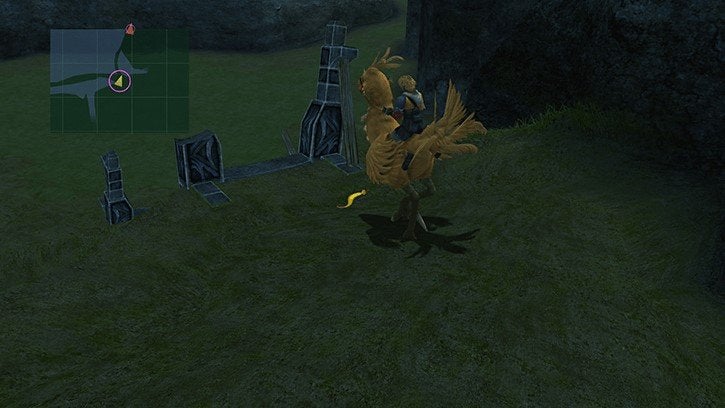
At the Save Sphere located at the entrance of the temple, take a left. Examine the sphere on the ground next to the Chocobo. This will invite you to take part in a brief racing mini-game. Run all the way to the right and choose to ride the Chocobo you find.
During the race, ignore the treasure chests and colored posts and aim to reach the center as quickly as you can. When you win, you’ll receive the Cloudy Mirror. This item will be transformed into the Celestial Mirror after finishing one more brief side quest.
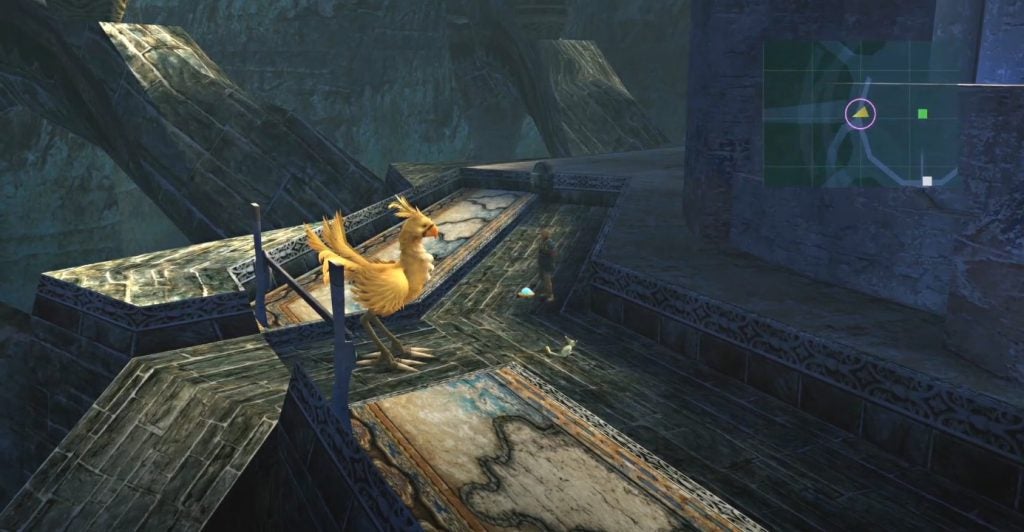
Return to the entrance of Macalania Woods where you’ll find a woman and child. Speak to her to discover that her husband has gone missing, then speak to the child. Take the pathway to the right until you reach the next screen, then go directly right one more time. Head towards the north entrance to reach the campsite where you’ll find the woman’s husband on the right. Chat with him and let him know that his family is waiting.
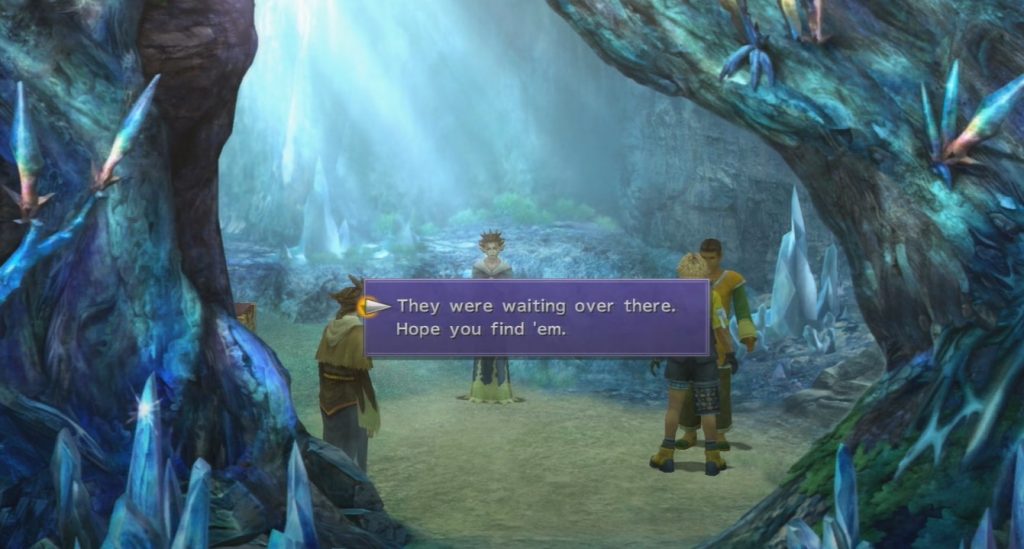
Return to the woman at the entrance and speak to her twice. She’ll tell you that her son has wandered into the woods. Take the sparkling pathway to the left of the main pathway to reach an intersection on the second screen. Heading north, you’ll quickly find the woman’s son. Speak to him and you’ll see the option to use the Cloudy Mirror. Do so, and it will be transformed into the Celestial Mirror.
How to Activate Celestial Weapons
Each time you’d like to power up a celestial weapon, you’ll need to return to the spot in Macalania Woods where you recieved the Celestial Mirror.
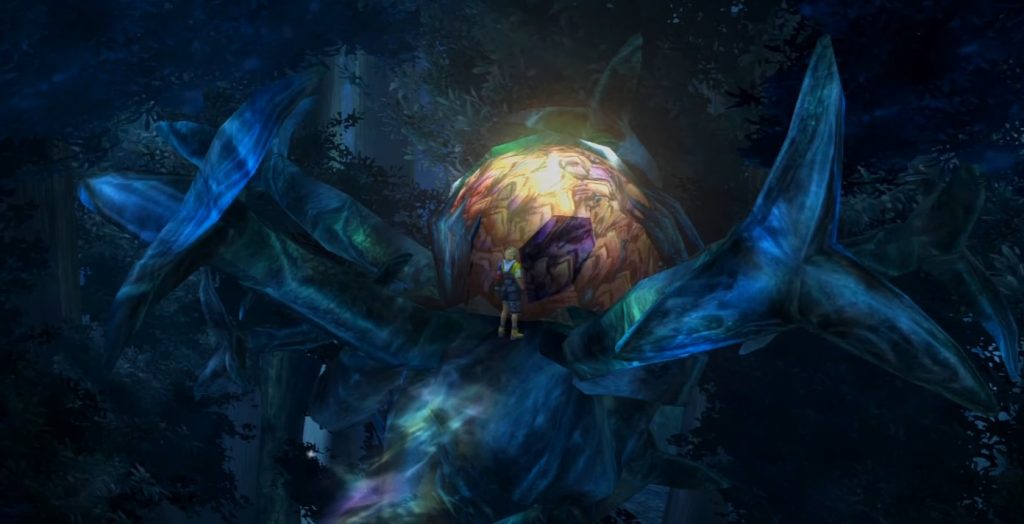
If you possess the weapon and the appropriate sigil or crest, examining the large orb will trigger a cutscene and your weapon will be enhanced.
Tidus (Caladbolg) / Sun Crest & Sigil
Caladbolg Abilities: Break Damage Limit, Triple Overdrive, Evade & Counter, Magic Counter
Caladbolg is Tidus’s celestial weapon. To power it up, you’ll need both the Sun Crest and Sun Sigil.
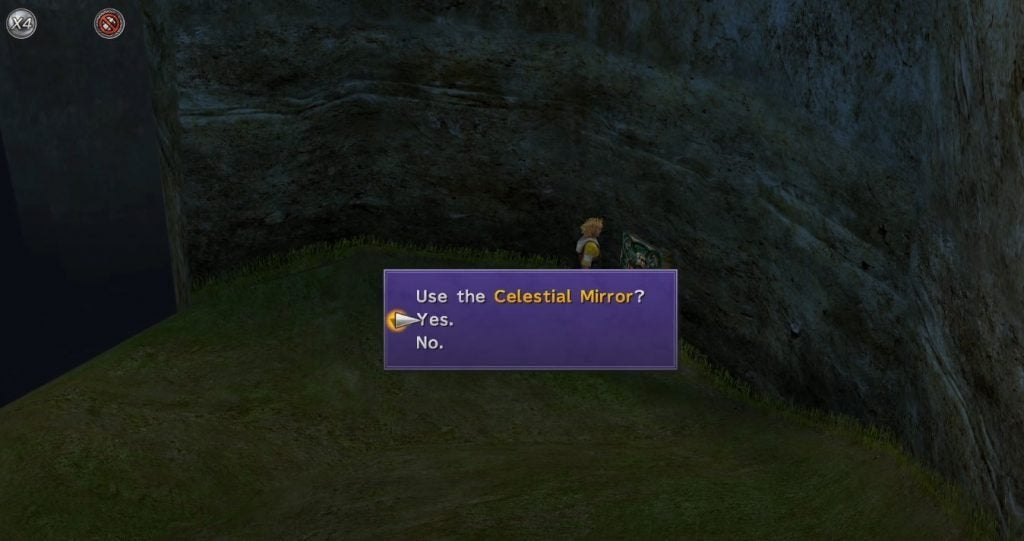
Caladbolg: Once you have the Celestial Mirror, find the Chocobo trainer in the Calm Lands. Beat them in the Catcher Chocobo race, then head to the northwestern edge of the map. Here, you’ll find a slope downwards. Touch the glyph at the bottom and use the Celestial Mirror to obtain Caladbolg.
Sun Crest: After defeating Yunalesca in the Zanarkand Ruins, return to the site of the battle. Walk down the stairs and you’ll be teleported to the opposite staircase. This will cause a treasure chest to appear at the back of the room containing the Sun Crest.
Sun Sigil: Return to the Calm Lands and challenge the Chocobo Trainer to another Chocobo Catcher race. To get the Sun Sigil, you’ll need to have a time of less than 0:00 when you reach the finish line. This can be accomplished by hitting as many balloons as possible while avoiding all of the birds.
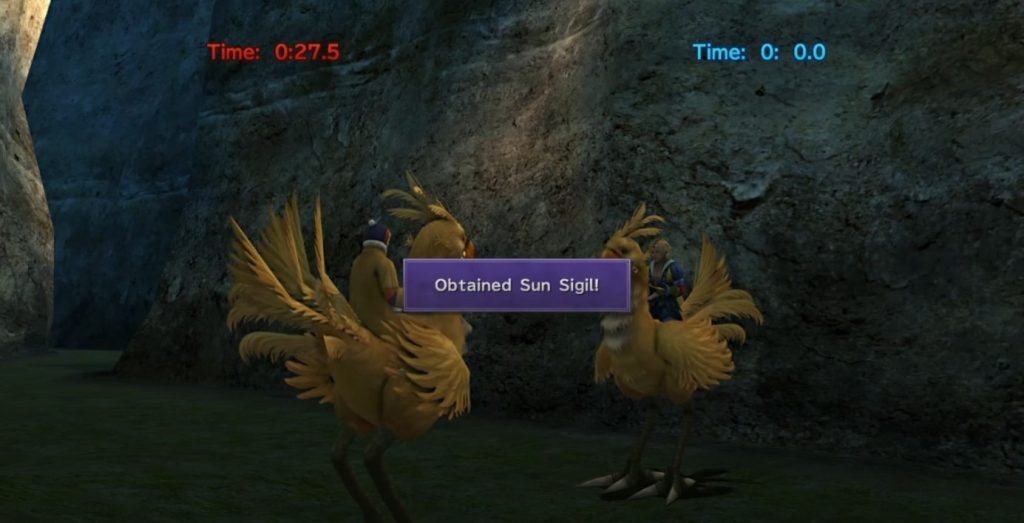
Yuna (Nirvana) / Moon Crest & Sigil
Nirvana Abilities: Break Damage Limit, Triple Overdrive, Double AP, One MP Cost
Nirvana, Yuna’s celestial weapon, requires both the Moon Crest and Moon Sigil to reach maximum power. It deals more damage the closer Yuna is to max MP. Once it’s powered up with the Moon Crest, Valefor becomes able to break the damage limit.
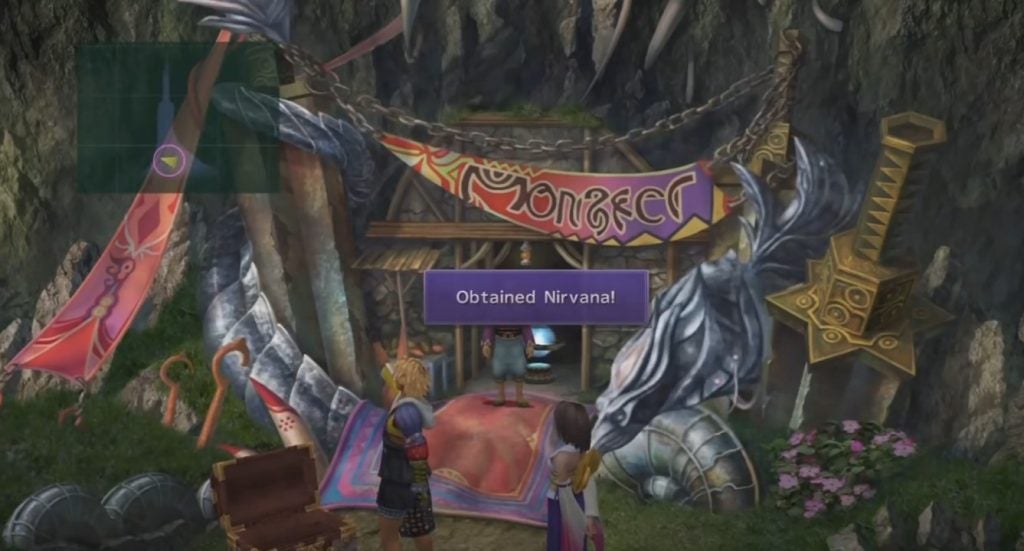
Nirvana: To obtain Yuna’s celestial weapon, you’ll need to visit the Monster Arena on the eastern side of the Calm Lands. Speak to the man in front of the tent and you’ll be tasked with capturing one of each monster in the Calm Lands using special weapons he sells to you.
To capture a monster, equip the special weapons and enter battle. The final strike on a monster must be made with one of these weapons and it must be a physical attack in order for it to be captured.
Refer to the table below to see which monsters you’ll need to catch, as well as their relative location in the Calm Lands.
| Monster | Location |
|---|---|
| Skoll | Anywhere |
| Flame Flan | Anywhere |
| Nebiros | Anywhere |
| Shred | Anywhere |
| Ogre | Northwest |
| Anacondaur | Southeast |
| Chimera Brain | Northwest |
| Coeurl | Anywhere (*Rare) |
| Malboro | Northwest |
After capturing all nine monsters, return to the man at the Monster Arena. A treasure chest will appear containing Nirvana.
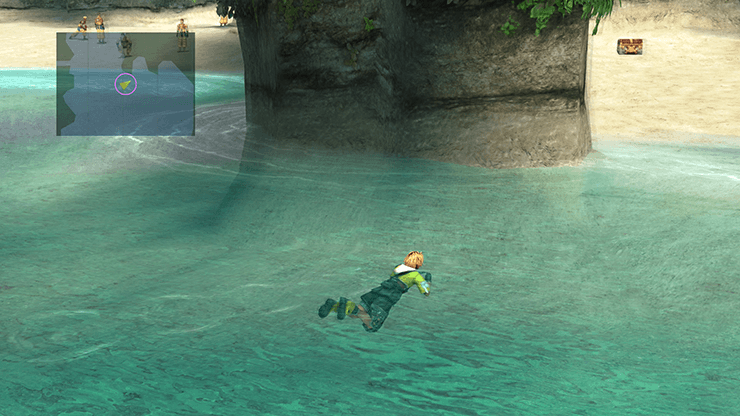
Moon Crest: Return to where Tidus first appeared in the ocean on Besaid Island. A treasure chest containing the Moon Crest can be found in a small alcove to the right.
Moon Sigil: Return to Remiem Temple in the Calm Lands. (This is where you found the Cloudy Mirror). Enter the temple and challenge Belgemine to a fight. You’ll receive the Moon Sigil after defeating all of her Aeons, including Yojimbo, Anima, and the Magus Sisters.
Wakka (World Champion) / Jupiter Crest & Sigil
World Champion Abilities: Break Damage Limit, Triple Overdrive, Double AP, Evade & Counter
Wakka’s celestial weapon must be brought to Macalania Woods along with the Jupiter Crest and Jupiter Sigil. Once powered up, it does more damage the closer Wakka is to max HP. Ifrit will break the damage limit once his World Champion is upgraded using the Jupiter Crest.
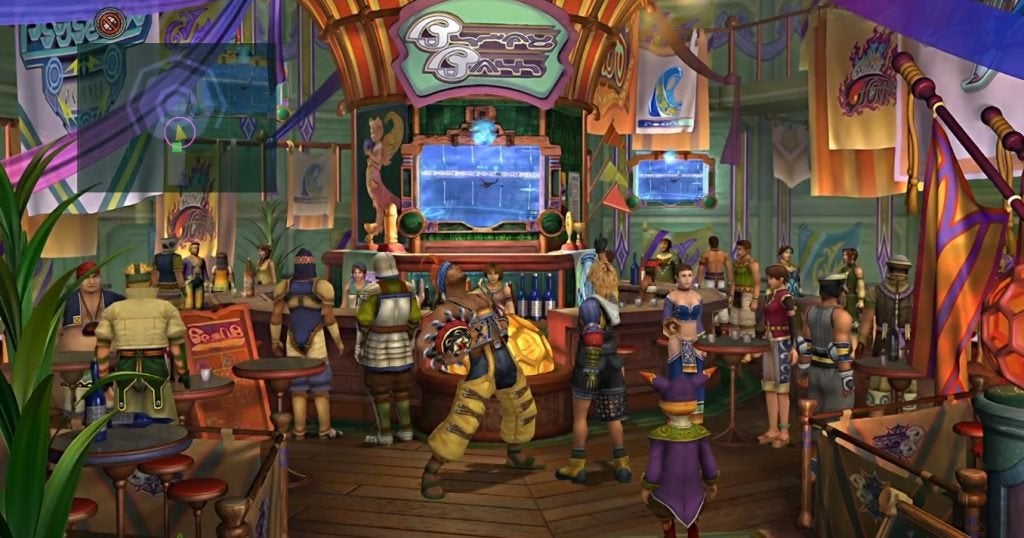
World Champion: Wakka’s ultimate weapon becomes available after your first trip to Luca. You must rank in either first, second, or third place in a blitzball tournament. After proving your skills, head to the cafe in Luca Square and speak to the owner to receive the World Champion.
Jupiter Crest: After your first Blitzball match, head to the Besaid Aurochs locker room. You can find the Jupiter Crest hidden in a locker.
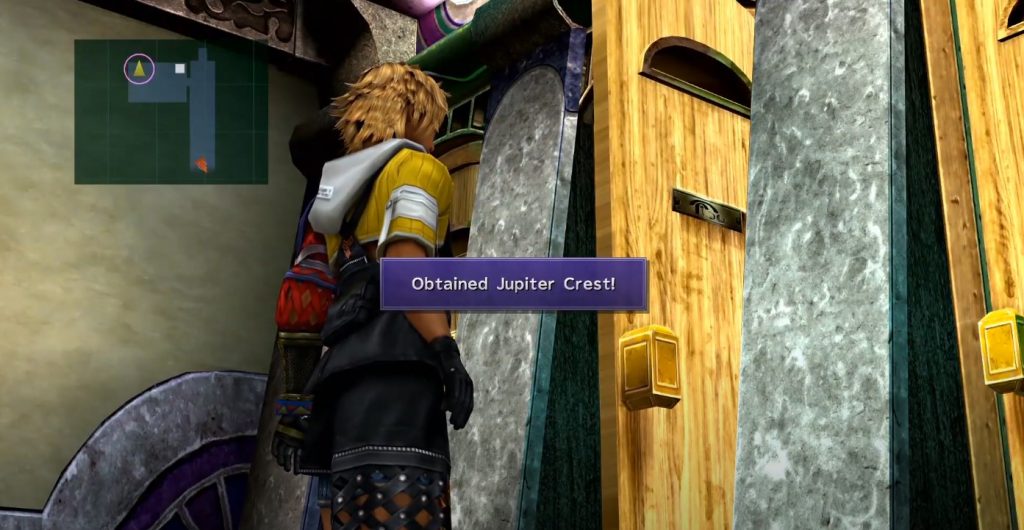
Jupiter Sigil: The Jupiter Sigil becomes available as a prize for the Blitzball League after you’ve learned all of Wakka’s Overdrives. You’ll need to play through two full tournaments and at least one League before it will appear.
Kimahri (Spirit Lance) / Saturn Crest & Sigil
Spirit Lance Abilities: Break Damage Limit, Triple Overdrive, Double AP, Evade & Counter
Along with the Spirit Lance itself, you’ll need to bring the Saturn Crest and Saturn Sigil to Macalania Woods to power up Kimahri’s best weapon. It does more damage the closer Kimahri is to max HP, and once the Spirit Lance has been enhanced with the Jupiter Crest, Ixion will be able to break the damage limit.
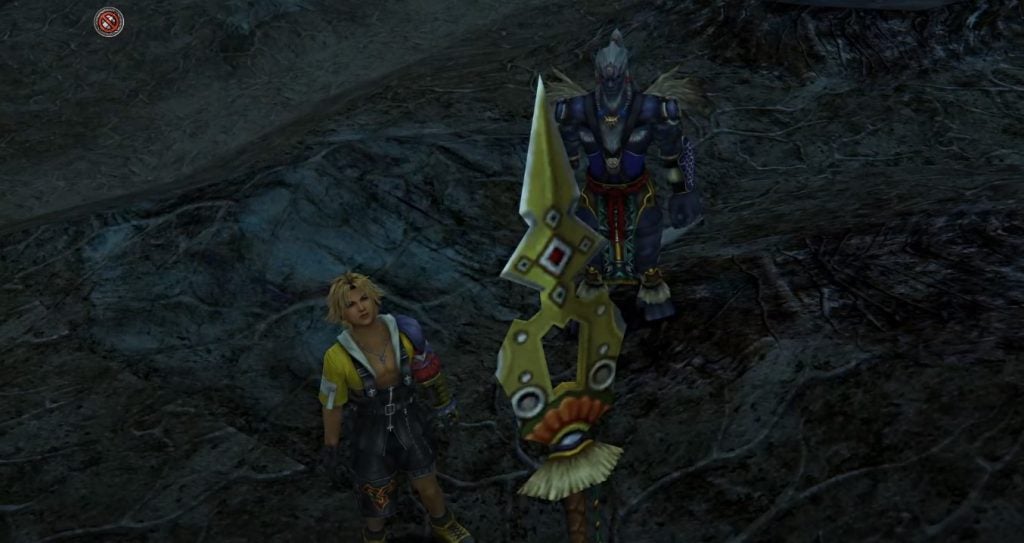
Spirit Lance: In the Thunder Plains, you’ll find a number of Qactuar Stones. You’ll need to pray in front of three of these stones while they’re glowing. After praying at the third stone, the ghost of a small Qactuar will appear. Follow it until it reaches an old tower on the right in the first area. Pray here and a treasure chest will appear containing the Spirit Lance.
Note: Prior to praying at the stones, you’ll need to read a book about the Qactuars in Rin’s Travel Agency in the middle of the Thunder Plains.
Saturn Crest: On Mount Gagazet, you’ll find the Saturn Crest in a treasure chest located behind a pedestal in the passageway leading to Zanarkand. This area opens up after defeating Seymour Flux.
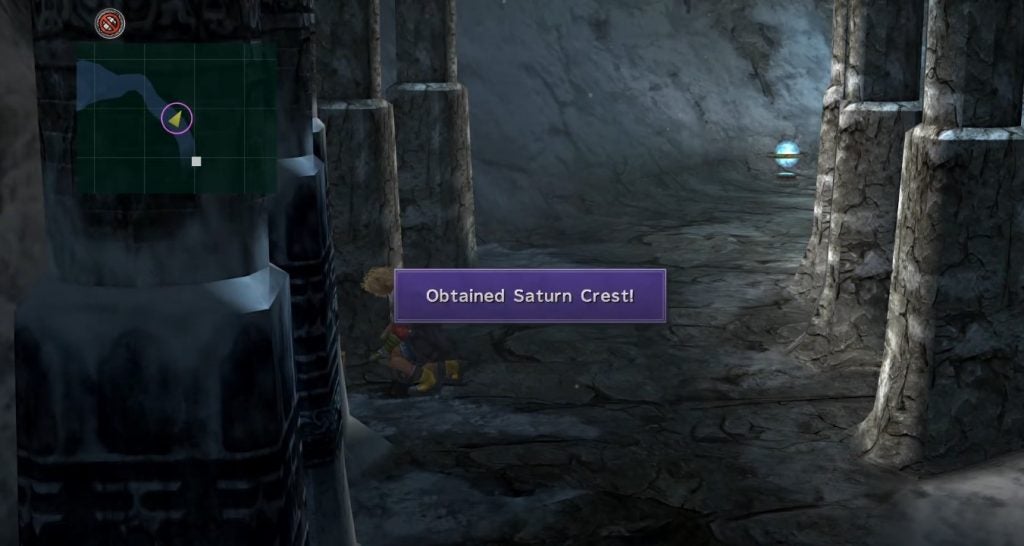
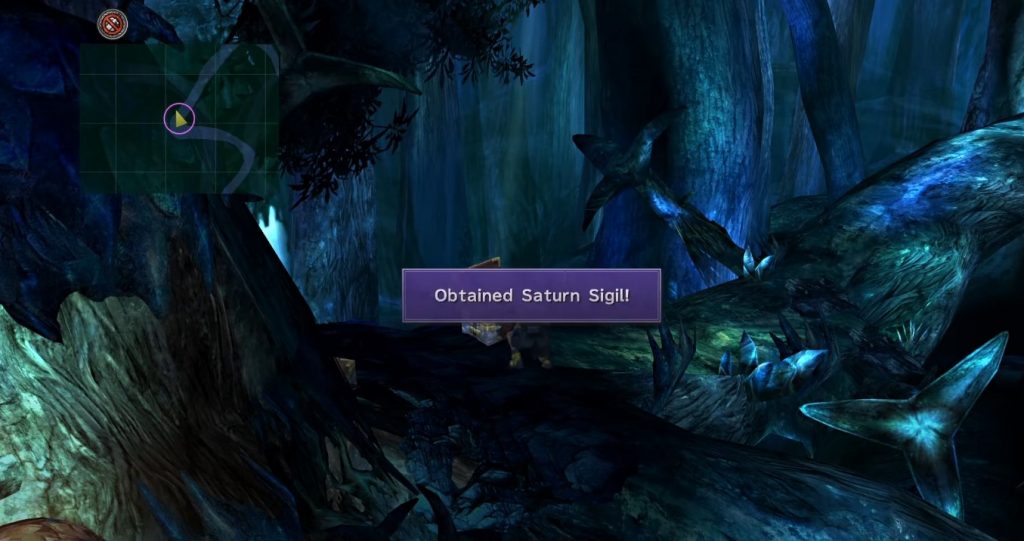
Saturn Sigil: To obtain the Saturn Sigil, you’ll need to complete the Butterfly Hunt sidequest in Macalania Woods. Catch the blue butterflies while avoiding the red ones within the time limit.
Lulu (Onion Knight) / Venus Crest & Sigil
Onion Knight Abilities: Break Damage Limit, Triple Overdrive, Magic Booster, One MP Cost
Paired with the Venus Crest and Venus Sigil, the Onion Knight is the black mage’s most powerful weapon, dealing more damage the closer Lulu is to max MP. Once upgraded with the VenusCrest, Shiva becomes able to break the damage limit.
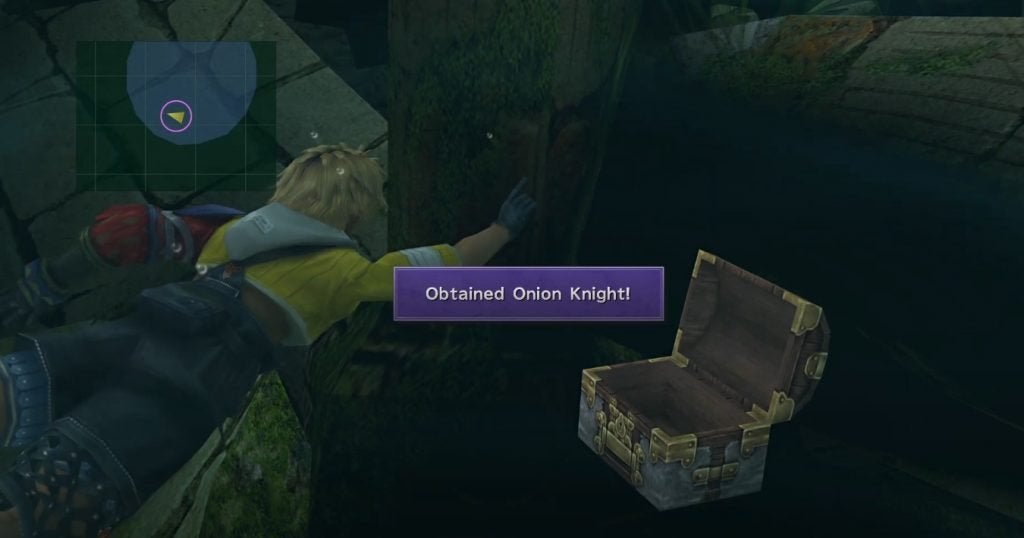
Onion Knight: Lulu’s celestial weapon happens to be located near Baaj Temple, where you can also find the optional Aeon Anima. Using the airship, search the coordinates X:11, Y:57 to locate the temple. You’ll need to defeat Geosgaeno, so ensure that Wakka, Rikku, and Tidus are equipped with armor that protects against Death and Petrify. The treasure chest containing the Onion Knight will appear in the water to the south.
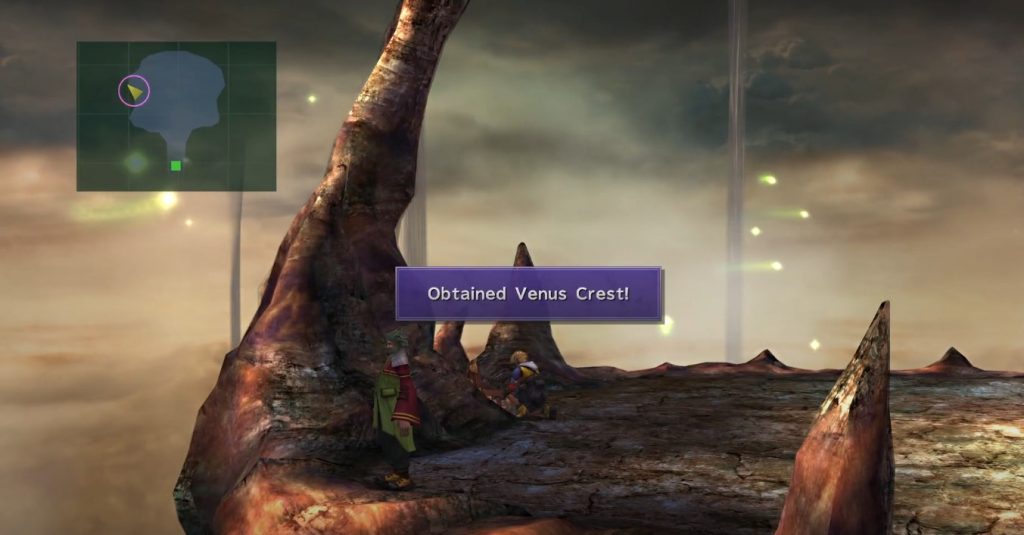
Venus Crest: After Maester Seymour leaves Guadosalam, return to the Farplane and you’ll find a treasure chest on the left containing the Venus Crest.
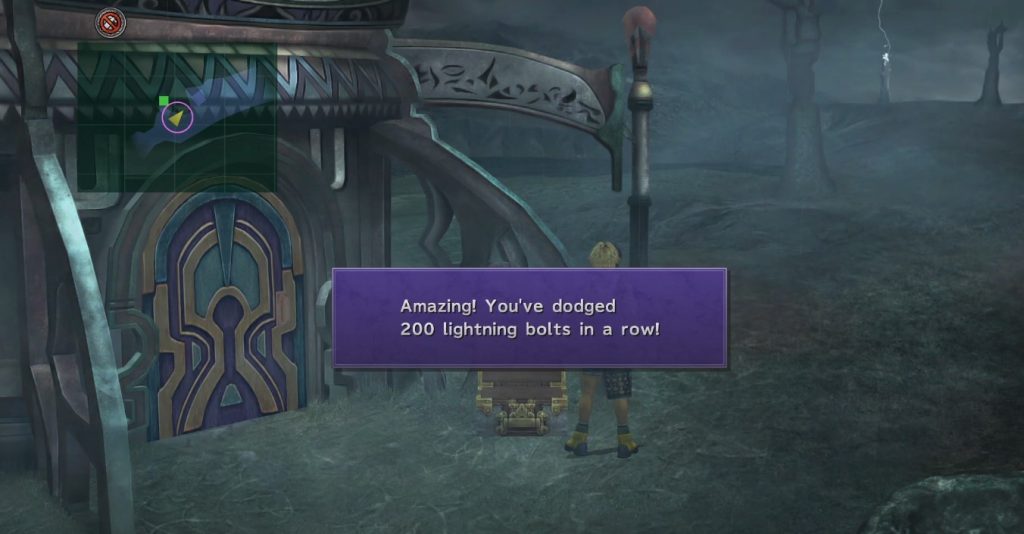
Venus Sigil: This is one of the most difficult and dreaded tasks on this list. Return to the Thunder Plains and dodge 200 lightning strikes in a row to get the Venus Sigil. It will appear in a treasure chest outside of Rin’s Travel Agency.
Auron (Masamune) / Mars Crest & Sigil
Masamune Abilities: Break Damage Limit, Triple Overdrive, First Strike, Counter-Attack
Auron’s celestial weapon must be brought to Macalania Woods along with the Mars Crest and Mars Sigil. Masamune deals more damage the lower Auron’s HP is, and the optional Aeon Yojimbo will be able to break the damage limit once the weapon is upgraded with the Mars Crest.
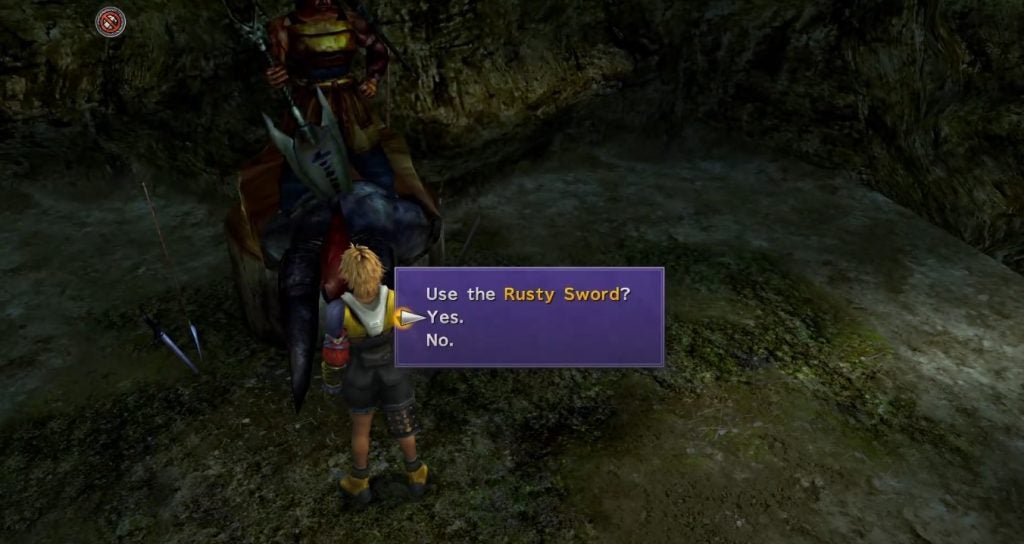
Masamune: To snag Auron’s celestial weapon, you must first find the Rusty Sword. From the Calm Lands, head north into the gorge. Instead of going straight to Mount Gagazet, take the stairs down towards the entrance to the Cavern of the Stolen Fayth. Follow the trail to the right and you’ll find the Rusty Sword at the end of the path.
Next, you’ll need to locate the Statue of Lord Mi’ihen. Return to Mushroom Rock Road. The quickest way to reach this area is to travel to the Djose Highroad, walking west until you find a stack of crates leading upwards into the ruins. Continue south on the path until you see a small area jutting out to the north. Nearby, you’ll find an elevator which will take you to the statue. Activating it will cause a glyph to appear on the far wall. Interact with it to receive the Masamune.
Mars Crest: Rent a Chocobo on the Mi’ihen Highroad and head to the North End, towards the gate leading to Mushroom Rock Road. Here, you’ll find the entrance to the Oldroad. Follow the path until you reach a dead end. You’ll find a chest containing the Mars Crest.
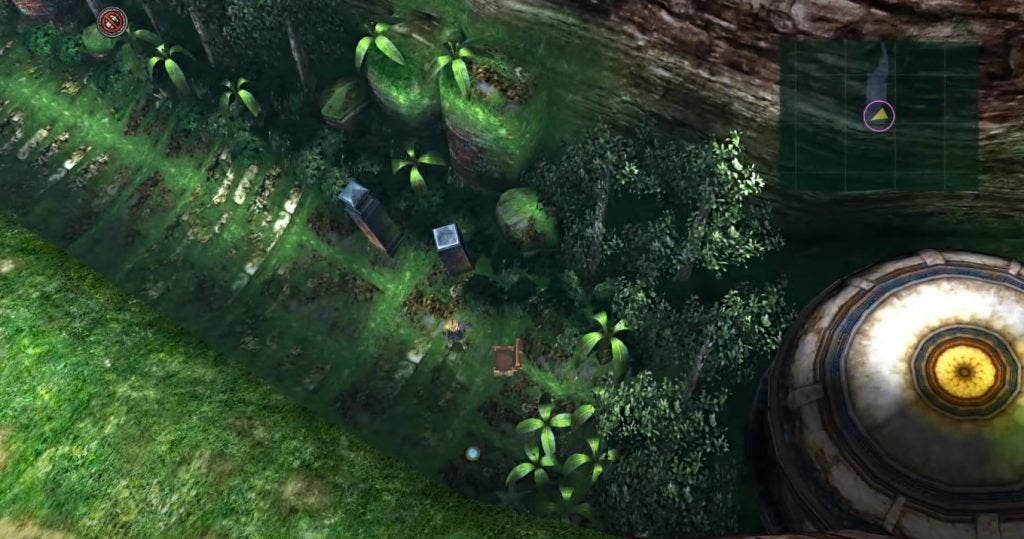
Mars Sigil: Return to the Monster Arena in the Calm Lands. To get the Mars Sigil, you must unlock a total of 10 Area Conquest or Special Conquests fiends. To unlock an Area Conquest, you must catch at least one of each type of fiend in an area. To unlock a Special Conquest, you must catch all fiends of a particular species. Refer to the tables below to see all requirements and unlockable fiends.
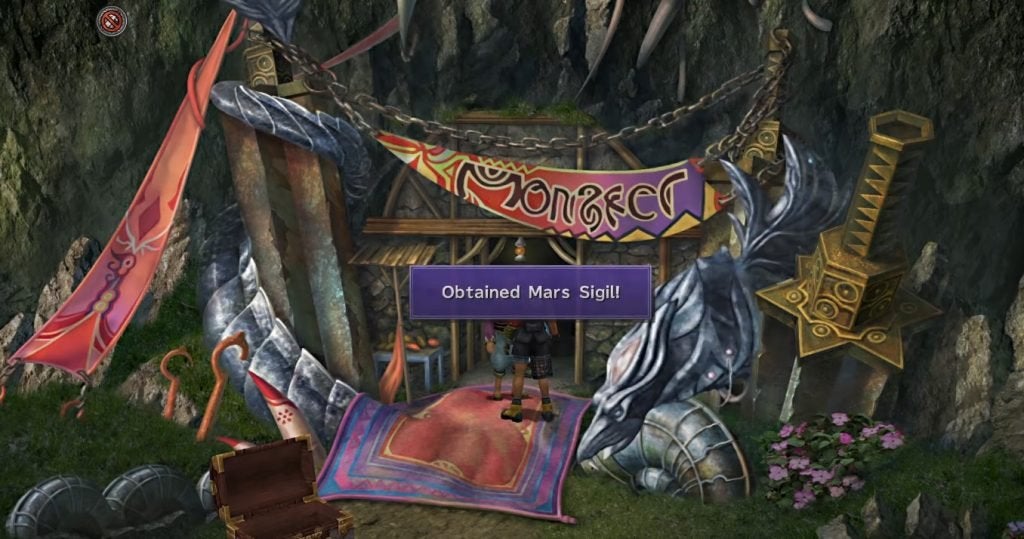
How to Unlock All Area Conquest Fiends
| Fiend | How to Unlock |
|---|---|
| Stratoavis | Capture at least one of every fiend in Besaid |
| Malboro Menace | Capture at least one of every fiend in Kilika |
| Kottos | Capture at least one of every fiend on the Mi'ihen Highroad |
| Coeurlregina | Capture at least one of every fiend on the Mushroom Rock Road |
| Jormungand | Capture at least one of every fiend on the Djose Highroad |
| Cactuar King | Capture at least one of every fiend from the Thunder Plains |
| Espada | Capture at least one of every fiend in the Macalania Woods and Lake Macalania |
| Abyss Worm | Capture at least one of every fiend in Bikanel |
| Chimerageist | Capture at least one of every fiend in the Calm Lands |
| Don Tonberry | Capture at least one of every fiend in the Cavern of the Stolen Fayth |
| Catoblepas | Capture at least one of every fiend on Mount Gagazet |
| Abaddon | Capture at least one of every fiend inside Sin |
| Vorban | Capture at least one of every fiend in the Omega Ruins |
How to Unlock All Species Conquest Fiends
| Fiend | How to Unlock |
|---|---|
| Fenrir | Capture 3 of each of the Wolf-type fiends |
| Ornitholestes | Capture 3 of each of the Reptile-type fiends |
| Pteryx | Capture 5 of each of the Bird-type fiends |
| Hornet | Capture 4 of each of the Wasp-type fiends |
| Vidatu | Capture 4 of each of the elemental Imp-type fiends |
| One-Eye | Capture 4 of each of the Eye-type fiends |
| Jumbo Flan | Capture 3 of each of the Flan-type fiends |
| Nega Elemental | Capture 3 of each of the Element-type fiends |
| Tanket | Capture 3 of each of the Helm (armored)-type fiends |
| Fafnir | Capture 4 of each of the Drake-type fiends |
| Sleep Sprout | Capture 5 of each of the Fungus-type fiends |
| Bomb King | Capture 5 of each of the Bomb-type fiends |
| Juggernaut | Capture 5 of each of the Ruminant-type fiennds |
| Ironclad | Capture 10 of each of the Iron Giant-type fiends |
Rikku (Godhand) / Mercury Crest & Sigil
Godhand Abilities: Break Damage Limit, Triple Overdrive, Double AP, Gillionaire
The Godhand, when activated using the Mercury Crest and Mercury Sigil, becomes Rikku’s best weapon in Final Fantasy X. It deals more damage the closer Rikku is to her maximum HP.
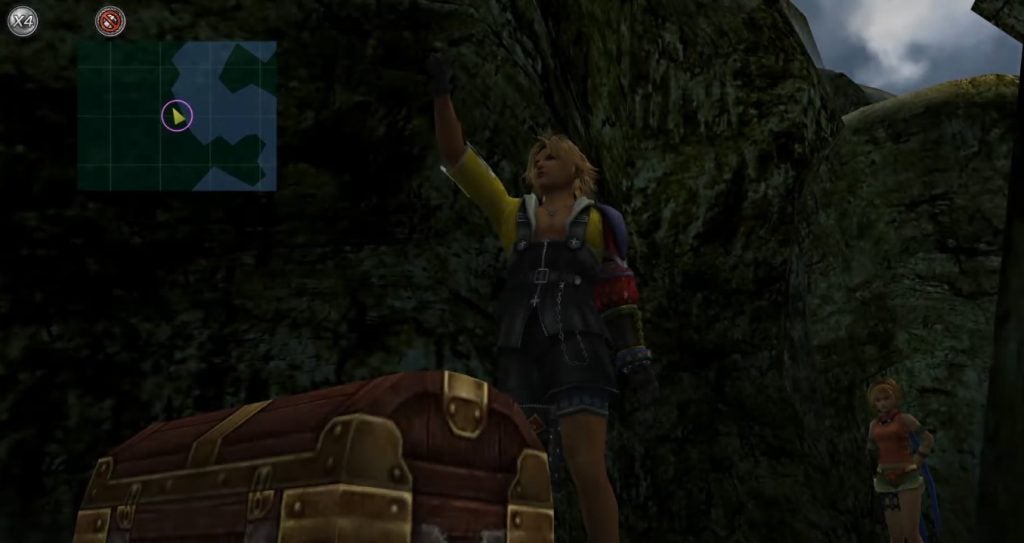
Godhand: On the Airship, open the Password Entry screen and type in GODHAND. This will transport you to a secret area of Mushroom Rock. Follow the path until you reach a treasure chest containing Rikku’s celestial weapon.
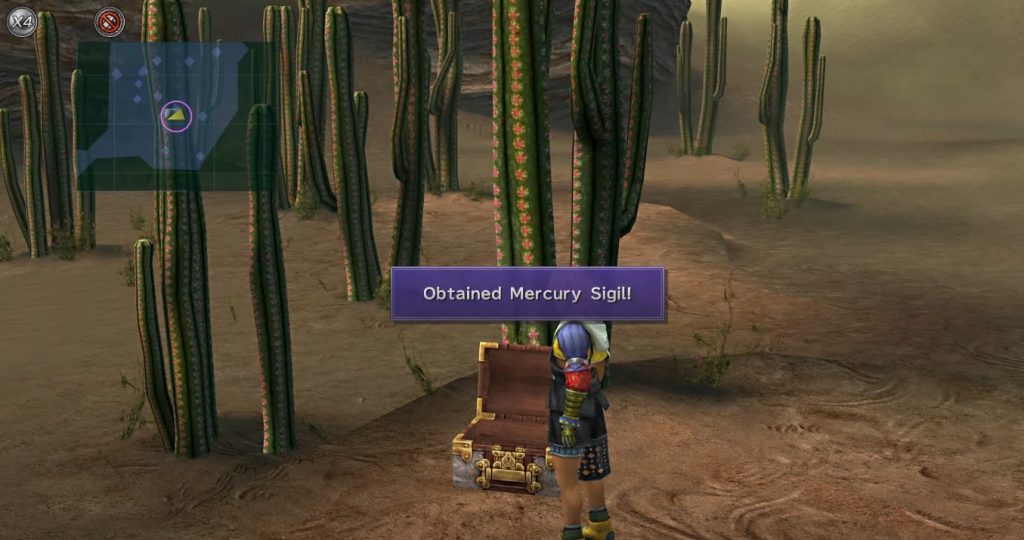
Mercury Crest: Travel to Sanubia Desert – West. A treasure chest can be found in a sandy whirlpool to the west containing the Mercury Crest.
Mercury Sigil: To get the Mercury Sigil, you must complete the Village of the Cactuars side quest. This becomes available after obtaining the airship. To start the quest, travel to Sanubia Desert – West and approach the store glyph in front of the cliff.
