The Colosseum of Fools is an arena in Hollow Knight you can participate in to test your skills. It consists of trials that challenge you to fight waves of enemies. Here’s everything you need to know about the Colosseum.
Table Of Contents
Getting to the Colosseum of Fools
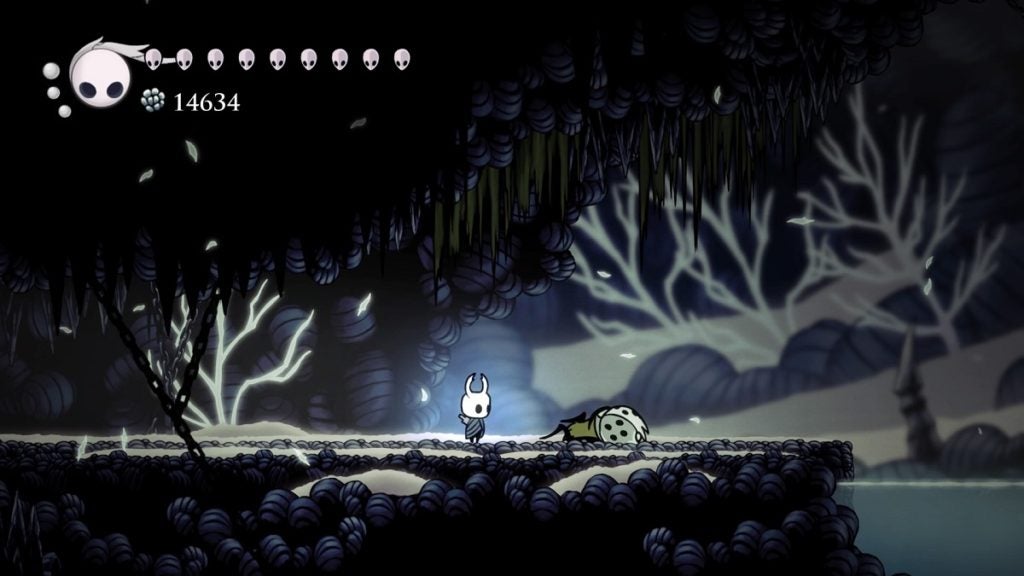
To reach the Colosseum for the first time, you’ll need to head to Kingdom’s Edge and ascend its western chasm all the way to the top. As you arrive at a darker cavern, continue making your way up until you spot an opening in the upper left ceiling.
From here, make your way up and destroy the barrier on the left. The path here leads to an elevator shaft in the City of Tears. That will make your next trip from the nearest Stag Station to the Colosseum much shorter.
Proceed to the right and you’ll arrive at the Colosseum.
The Trials
The Colosseum of Fools consists of three trials. You’ll need to pay a certain amount of Geo to unlock it. After you unlock a trial, you can then participate in it as many times as you want without a cost.
When you first arrive at the Colosseum, you’ll only be able to unlock the first trial. The second will become available after you complete the first, and the third after you complete the second.
Each trial will have you fight multiple waves of enemies. Certain waves are incorporated with a shift in the arena. This shift will either place spike pits, add floating platforms, or make the arena shorter or narrower.
Trial of the Warrior
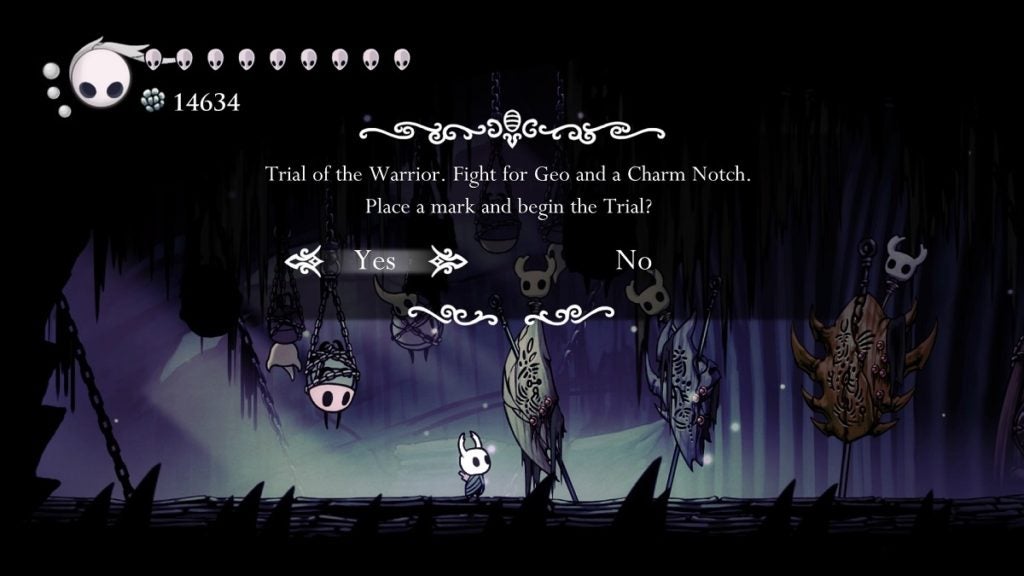
The first and the easiest trial. You’ll need to pay 100 Geos to unlock it. If you win the trial, you’ll be rewarded with a Charm Notch and 1,000 Geos. You will need to undergo over 11 waves of enemies to complete this trial, and one more if you’ve rescued Zote the Mighty in Greenpath and in Deepnest.
| Wave | Arena | Enemies |
|---|---|---|
| 1 | Original state |
|
| 2 | Five single platforms rise up | Sharp Baldurs: 4 |
| 3 | Original state | Sturdy Fools: 3 |
| 4 | Three single platforms rise up | Primal Aspids: 2 |
| 5 | Two more platforms rise up, totaling five ascended platforms, and spikes sprout from the ground | Primal Aspids: 2 |
| 6 | Platforms are replaced with two sets of double platforms on the eastern and western sides of the arena and with another set of triple platforms in the lower middle. Spiked ground persists. | Sturdy Fools: 3 |
| 7 | 3 sets of quadruple platforms create three levels of floors. Spikes on the ground remain. |
|
| 8 | A set of double platforms remain, as well as spikes on the ground |
|
| 9 | Reverts to its original state | 2 Sturdy Fools, followed by a Shielded Fool, followed by a Primal Aspid, another Shielded Fool, another Sturdy Fool, then a Primal Aspid, and finally, a Sharp Baldur |
| 10 | The ceiling drops, making the arena shorter | Sharp Baldurs: 3 |
| 11 | The ceiling rises halfway through the arena |
|
| 12 (only if you rescued Zote both times) | Reverts to its original state | Zote the Mighty |
Trial of the Conqueror
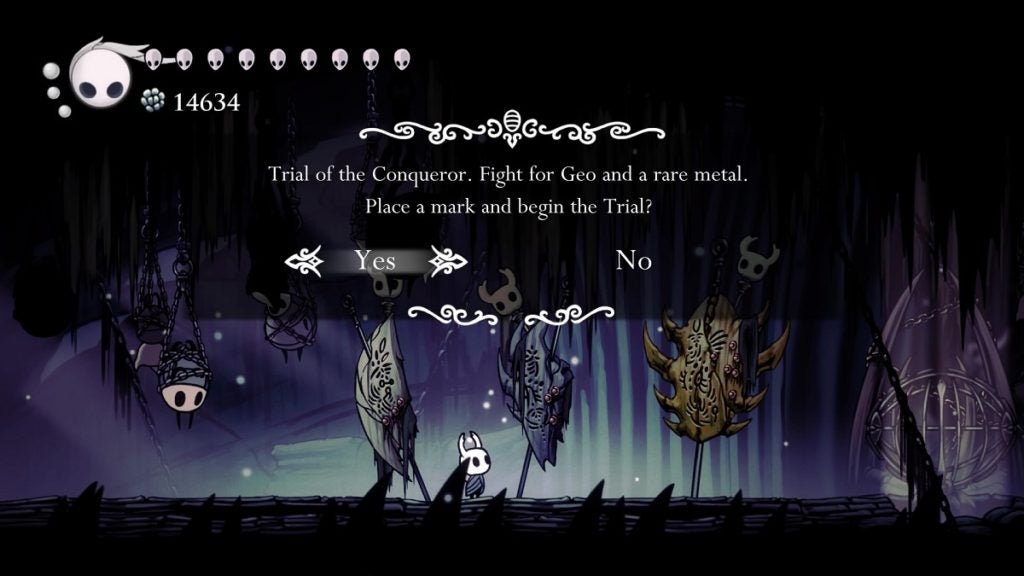
The second trial. It costs 450 Geos to unlock and rewards you with a Pale Ore and 200 Geos upon completion. This trial has a total of 17 waves.
| Wave | Arena | Enemies |
|---|---|---|
| 1 | Original state | 1 Heavy Fool, 2 Winged Fools, followed by 1 more Winged Fool and another Heavy Fool |
| 2 | Three platforms rise up | Armoured Squits: 2 |
| 3 | Platforms remain and spikes sprout from the ground | Armoured Squits: 2 |
| 4 | Two platforms drop, leaving the one in the center. Spikes remain. |
|
| 5 | Six more platforms rise, totaling seven platforms in the arena. Spikes remain | Primal Aspid, 1 Armoured Squit, followed by the same enemies, followed by 3 Volatile Gruzzers, and ending with 2 more |
| 6 | Three platforms rise up to form a single floor while the previous ones are removed. Spikes remain. |
|
| 7 | The two platforms on either side drop down, leaving the one in the middle. Spikes remain. | Belfly: 1 |
| 8 | Reverts to its original state |
|
| 9 | The walls from either side close in, narrowing the arena to about 25% of its original space | Great Hopper: 1 |
| 10 | The walls rewiden to their original place but the ceiling drops at about halfway through the arena | Grub Mimic: 1 |
| 11 | The ceiling reascends and a single platform rises up | 2 Shielded Fools, followed by 2 Winged Fools, followed by a Heavy Fool and an Armoured Squit, and ends with 1 Armored Squit |
| 12 | The walls close in, narrowing the arena to about 50% of its original space |
|
| 13 | Spikes sprout from the floor |
|
| 14 | The walls return to their place and 3 platforms rise up. Spikes descend for a few seconds before resurfacing. |
|
| 15 | The platforms descend, four rise up after a few moments. The spikes descend. They resurface after a few enemies are defeated. | Battle Obbles: 9 |
| 16 | The platforms and the spikes descend. The ceiling drops to about halfway through the arena. | Battle Obbles: 3 |
| 17 | The ceiling rises to about 75% of the arena | Oblobbles: 2 |
Trial of the Fool
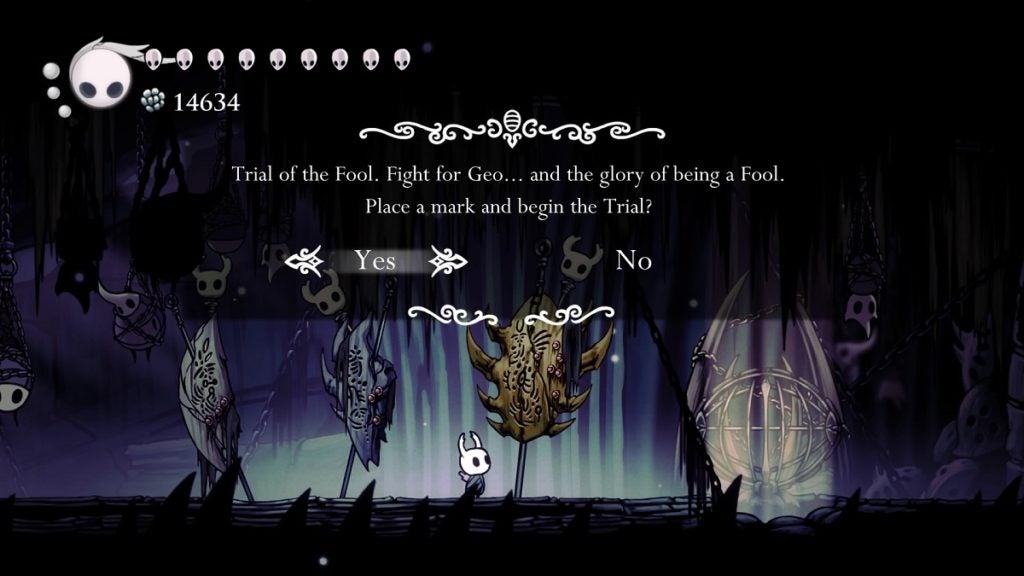
This is the final and the hardest trial in the Colosseum of Fools. You’ll need to pay 800 Geos to unlock it. After you’ve completed through 18 waves of enemies, you’ll be rewarded with 3,000 Geos.
| Wave | Arena | Enemies |
|---|---|---|
| 1 | Original State | 1 Heavy Food and 1 Sturdy Fool, followed by 2 Armoured Squits, followed by 2 Shielded Fools and a Primal Aspid, and ends with 2 Winged Fools and 2 Sharp Baldurs |
| 2 | Two platforms rise up. Spikes sprout from the ground. |
|
| 3 | Ceiling drops to about 75% of the arena. The platforms and the spikes remain. | 3 Battle Obbles and a Winged Fool, followed by 2 Furious Vengeflies |
| 4 | The platforms and the spikes drop down, the ceiling remains in place |
|
| 5 | The ceiling reascends to its original place | Death Loodles: 3 |
| 6 | Four platforms rise up | Death Loodles: 5 |
| 7 | The platforms drop down | Death Loodles: 3 |
| 8 | Four platforms rise up, forming a column. Spikes sprout from the ground. | 2 Armoured Squits, followed by 2 Primal Aspids, followed by a Primal Aspid and a Winged Fool, then 4 Garpedes fly across the arena. The wave ends with a Winged Fool and 2 Armoured Squits. |
| 9 | Reverts to its original state | The wave begins with a Shielded Fool, a Heavy Fool, and a Primal Aspid. It's followed by a Mantis Traitor, then a Mantis Petra. After, 2 Mantis Petras and a Mantis Traitor follow. Followed further by a Mantis Petra and a Heavy Fool. Followed by 2 Soul Twisters, then 3 Mistakes, and ends with a Soul Warrior and Follies. |
| 10 | Six platforms rise up and spikes sprout from the ground |
|
| 11 | Reverts to its original state |
|
| 12 | The walls close in, reducing the floor space to about 50% | 1 Winged Fool and 1 Sturdy Fool, followed by 2 Lesser Mawleks, followed by 2 more Lesser Mawleks and a Winged Fool, and ends with 1 Brooding Mawlek |
| 13 | The walls close in more, reducing the arena's floor space to about 15% | 8 Garpedes alternately descend from the ceiling |
| 14 | The walls spread further to increase the arena's size to 50% and spikes sprout from the ground | 1 Winged Fool and 2 Armoured Squits, followed by a Primal Aspid and an Armoured Squit, followed by a Mantis Petra and another Armoured Squit, followed by 4 Battle Obbles, and ends with 2 Winged Fools |
| 15 | The ceiling drops to about 50% of the arena. Walls remain in place and spikes remain on the ground. | Armoured Squits: 2 |
| 16 | The walls and ceiling return to their original place and three single platforms rise up | Death Loodles: 14 |
| 17 | Reverts to its original state | 1 Heavy Fool and 1 Sturdy Fool, 1 Mantis Traitor, 1 Winged Fool, 1 Mantis Petra and a Shielded Fool, 1 Soul Twister, another Shielded Fool, a Volt Twister and a Heavy Fool, 2 Sharp Baldurs and 2 Armoured Squits, 1 Heavy Fool, a Winged Fool, and a Shielded Fool, and ends with 1 Sturdy Fool |
| 18 | Original state | The God Tamer and the Beast. The fight ends when the Beast is defeated. |
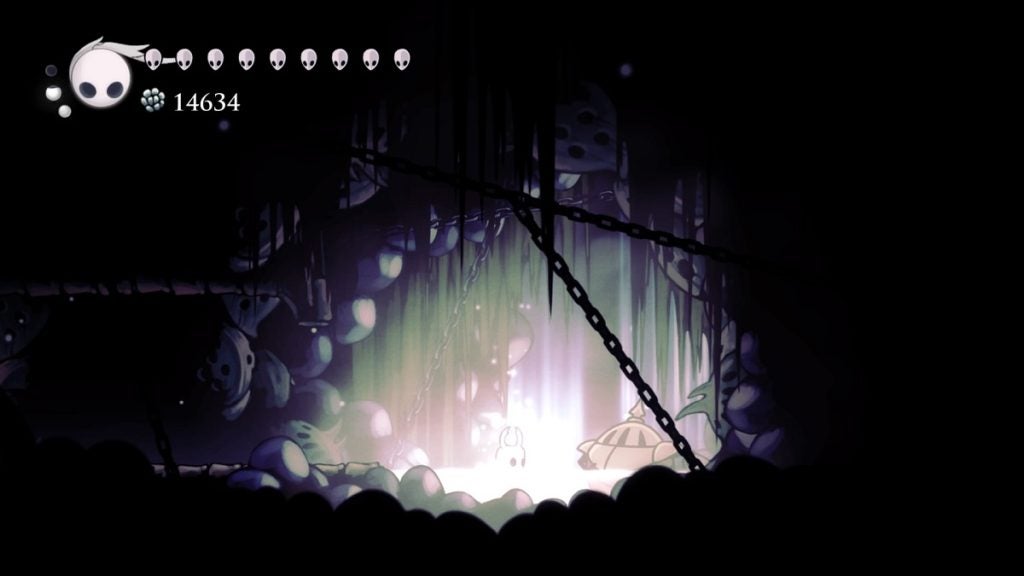
Areas of Interest
Below the arena, there’s a place you can drop down on. To your left is the place your Shade will spawn on if you ever perish in the arena.
To the right, you can find a bench to rest at. Further past that, you’ll find a hot spring.
Before the entrance to the hot spring, there’s a shaft in the ceiling you can climb on. Ascend and head to the right to find another subsection where you’ll fight the Little Fool. Defeating this enemy will reward you with one Simple Key.