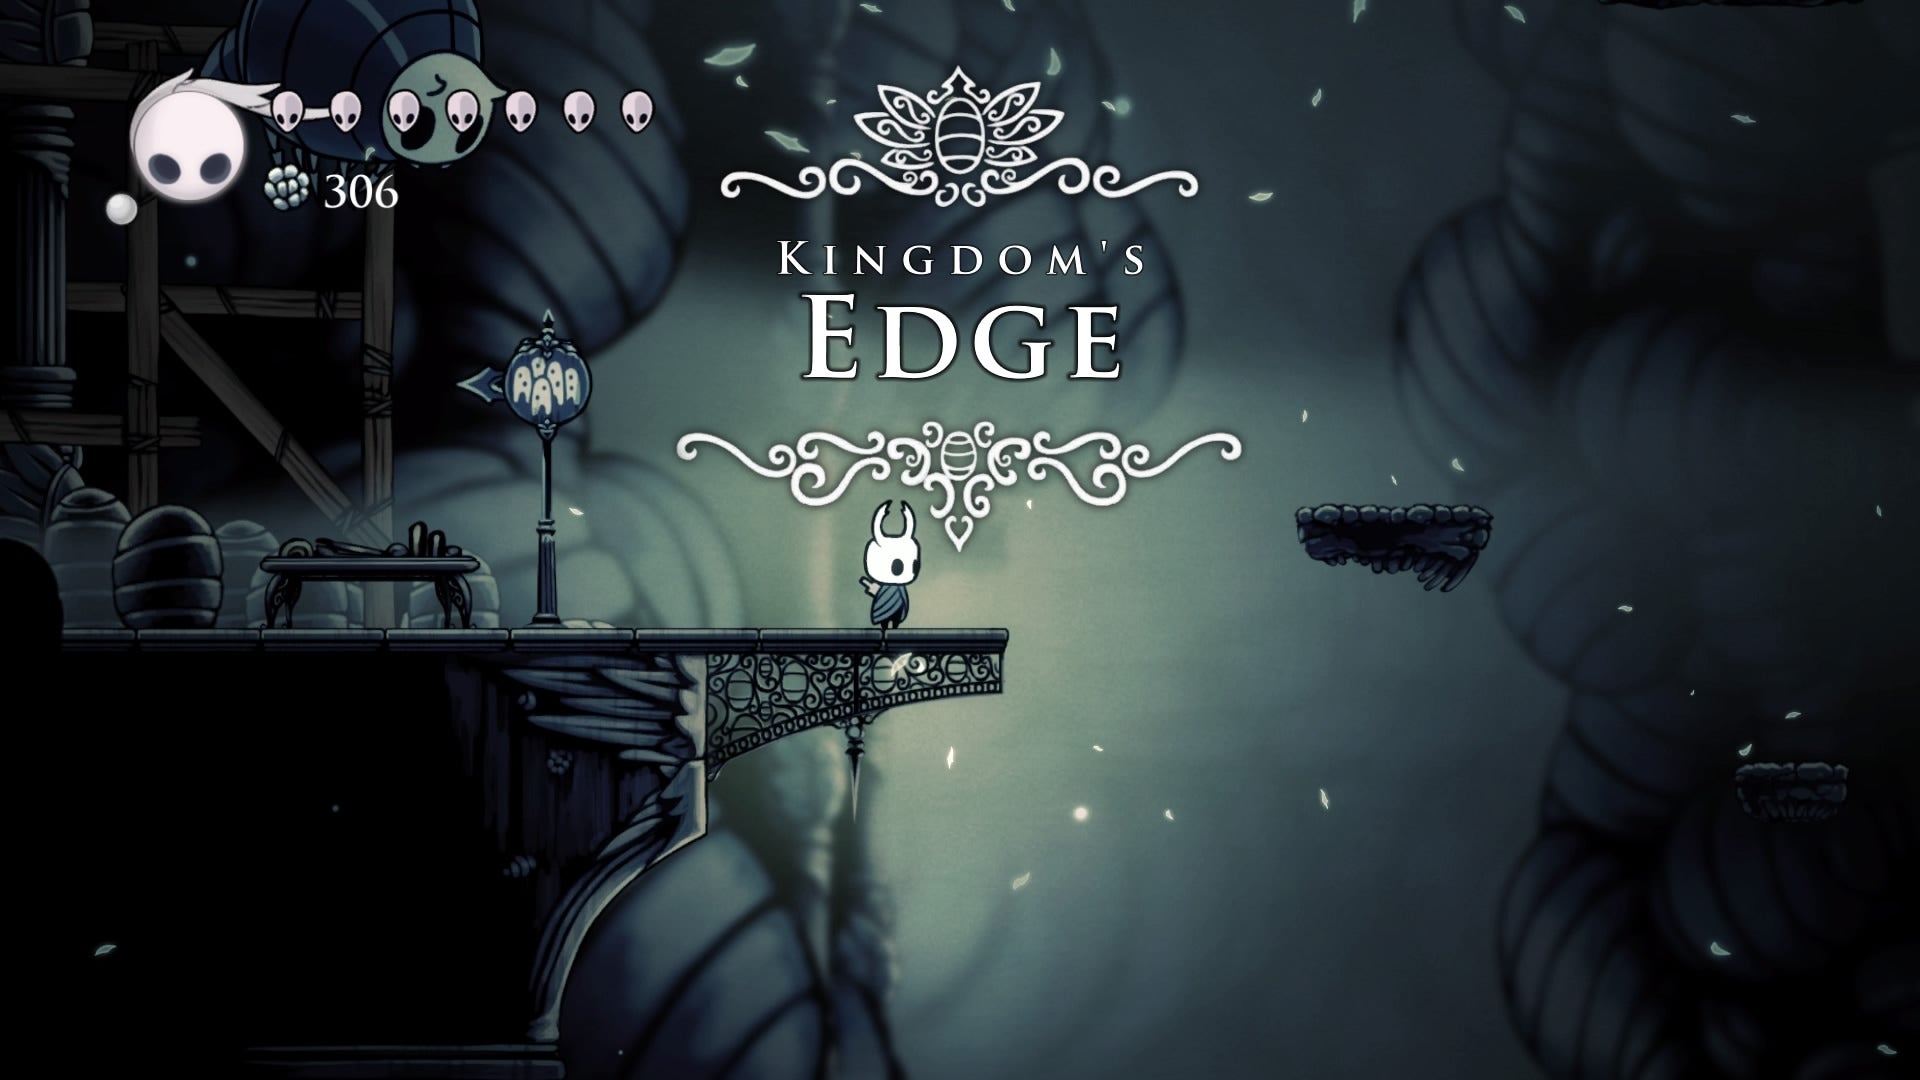
The Kingdom’s Edge is not essential in reaching Hollow Knight’s ending. Regardless, you should explore this level first so you can enter The Abyss, a place that will make the Knight much more powerful.
Table Of Contents
Heading to Kingdom’s Edge
Before you proceed, take the time to make sure your Knight is as powerful as he can be at this point. Since starting the game up to now, you should have picked up a couple of Charms, Charm Notches, Vessel Fragments, Mask Shards, and Pale Ores already. Make sure you head to the Nailmaster now to upgrade your weapon.
Once you’re ready, make your way to Kingdom’s Edge.
To start off, go to the King’s Station Stag Station. From here, exit the room and descend to the bottom. There’s an entrance to your right. Head inside to find a room that’s almost identical to the Stag Station above.
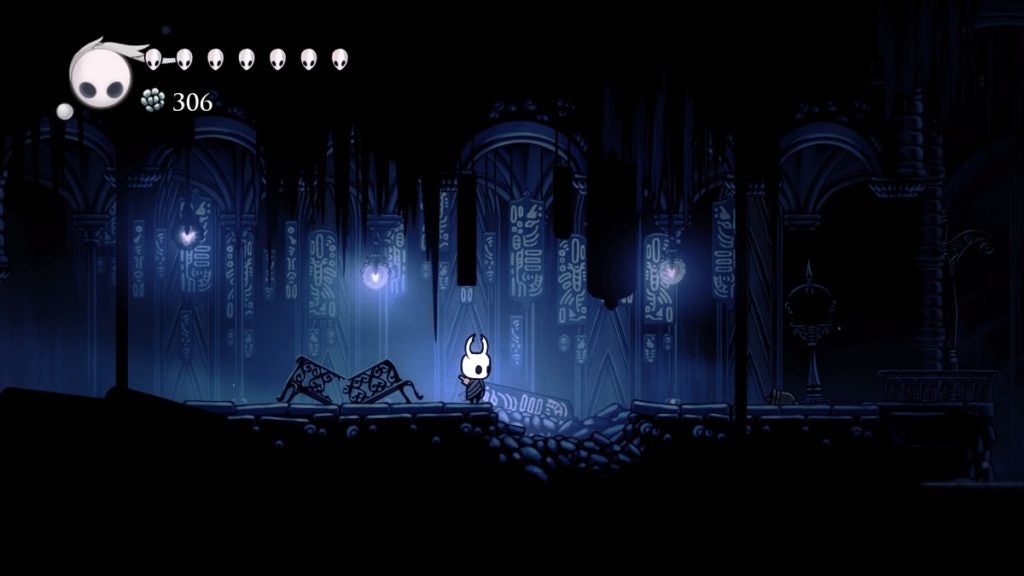
Head onwards and you’ll find two Vengeflies. Eliminate them and jump into the water below. Swim to the right and you’ll swim through a secret passage. Be careful in this area as there are Belflies waiting on the ceiling here. Lure them out and avoid them.
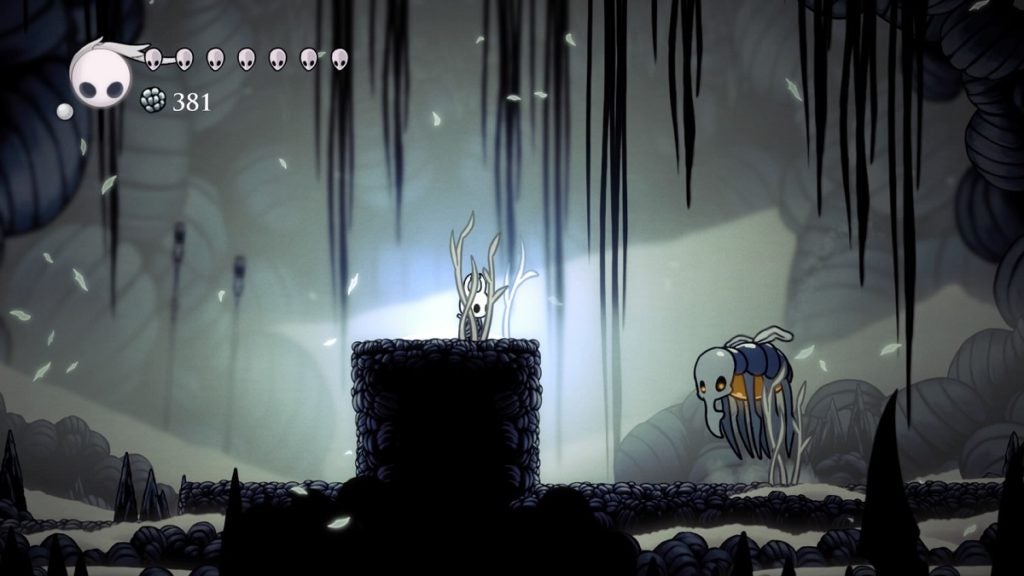
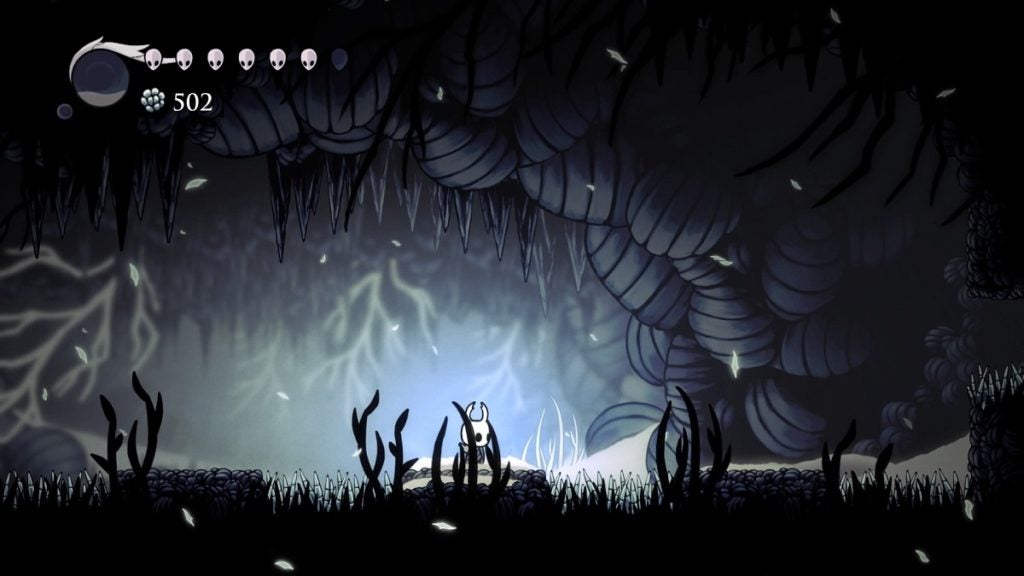
Free the Grub that’s on your right before moving on. Once that’s done, continue east. Once you step into the next area, you’ll arrive facing a massive chasm with hanging platforms and flying Booflies. You’ve officially arrived at Kingdom’s Edge.
Finding Cornifer
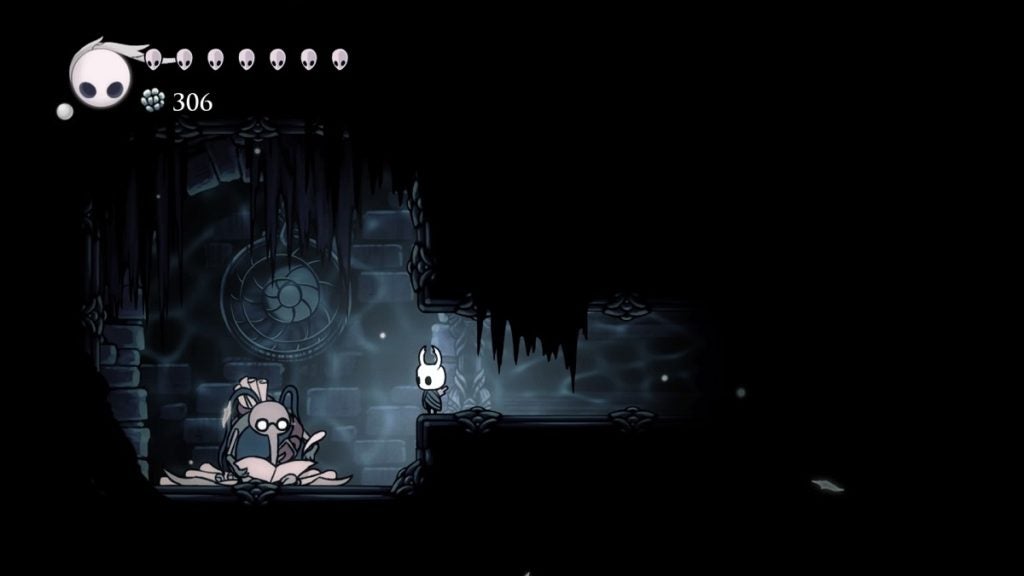
Your first order of business is finding Cornifer. From where you are, just drop down and stick to the wall on the left. You’ll land at a small platform with an opening below you. Enter this opening and Cornifer will be beyond it. Buy the map from him for 112 Geos.
Meeting Nailmaster Oro
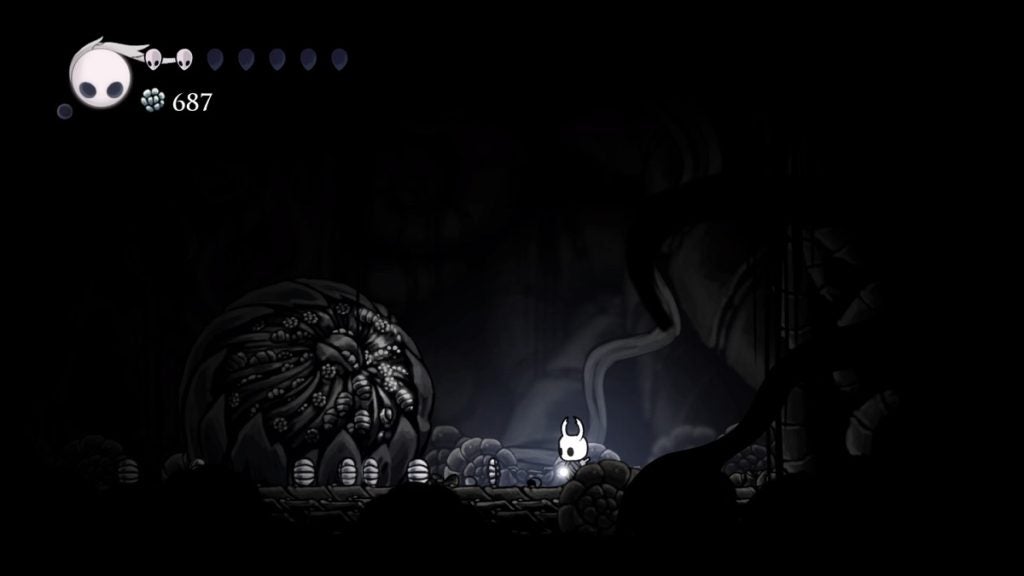
Exit Cornifer’s safe haven and make your way down to the very bottom of the chasm. As you’re dropping, make sure you move to the right side of the area. At the bottom, you’ll see an entrance to your right. Move onward from here.
Keep heading east. You’ll come across a few Hoppers and Primal Aspids here. Both of these enemy types are small but don’t underestimate them. They can wipe out all of your masks if you don’t deal with them accordingly.
As you continue east, you’ll also eventually come across Great Hoppers, a massive version of the Hoppers you just met. They’re bigger, stronger, and infinitely more annoying. Deal with them as you wish or simply avoid them and keep heading east.
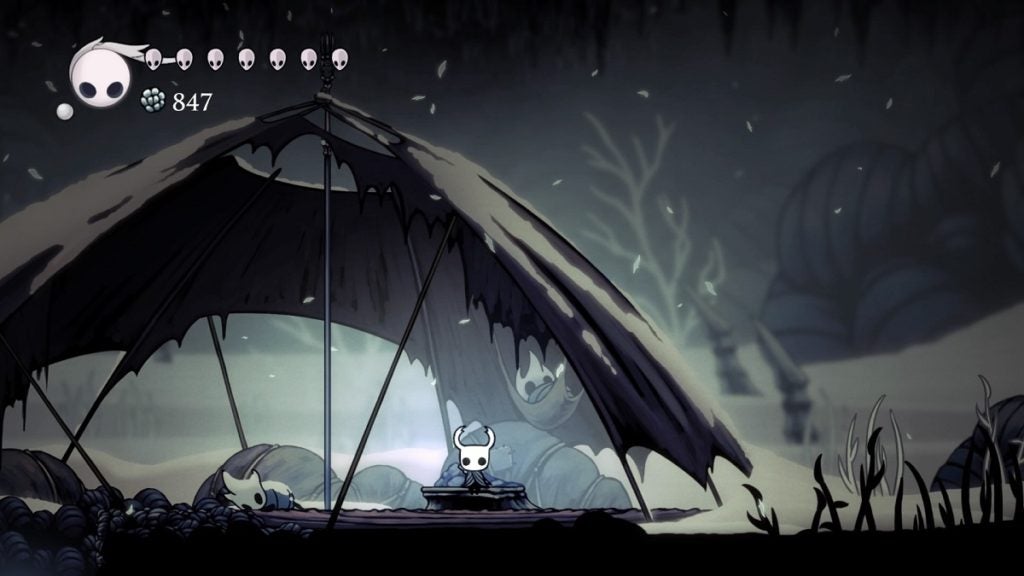
Eventually, you’ll find Nailmaster Oro’s hut and a bench right beside the entrance. Enter the hut to meet the Nailmaster. He’ll teach you the Dash Slash Nail Art in exchange for 800 Geo. If you have enough, be sure to obtain this skill as it can be very useful, especially in boss fights. If not, farm Geo for now and return later.

Exploring Kingdom’s Edge’s Hidden Section
Before heading up to get what you came here for, you should first explore a hidden section in Kingdom’s Edge. This section contains a very useful charm for melee builds and the game’s largest Geo deposit.
From Nailmaster Oro’s hut, proceed to the right and on to the next section. Beyond this room, you’ll find a Soul Totem. Make use of this if you need Souls. Head back out and you’ll find a breakable floor beneath you. Use Descending Dark here to proceed below.
Walk to your left and you’ll find another breakable floor. Use Descending Dark once again to head deeper. You’ll find a couple of Hoppers at the bottom. Deal with them and continue left. Deal with the Primal Aspid here before moving upwards.
At the top, take the left platform with the Primal Aspid and you’ll find yet another breakable floor. Use Descending Dark here to continue. You’ll land on an area filled with fragmentary spike pits on the ground. There’s also a Great Hopper here. Move immediately to your right and carefully dash through the opening.
Proceed right and climb up. Keep heading up and you’ll find a Grub at the end. Once the Grub is freed, return to the bottom. The base on the right is breakable. Destroy this area to open up a path. Proceed onwards and enter the narrow gap.
You’ll immediately step on a breakable floor as you enter. Use Descending Dark here to continue. At the bottom, walk to the left and use Descending Dark on another breakable floor. Deal with the Hopper in this bottom cavern. This is also a great way to replenish Soul if you’re starting to run out of it.
To the right is a Geo deposit. Harvest it before moving on. Return to the center of this area to find another breakable floor. Use Descending Dark once again. This sends you further down.
You’ll pass through three more breakable floors until you reach the very bottom of this area, where you’ll find the largest Geo deposit in the game. Once fully destroyed, this deposit will drop 420 Geos.
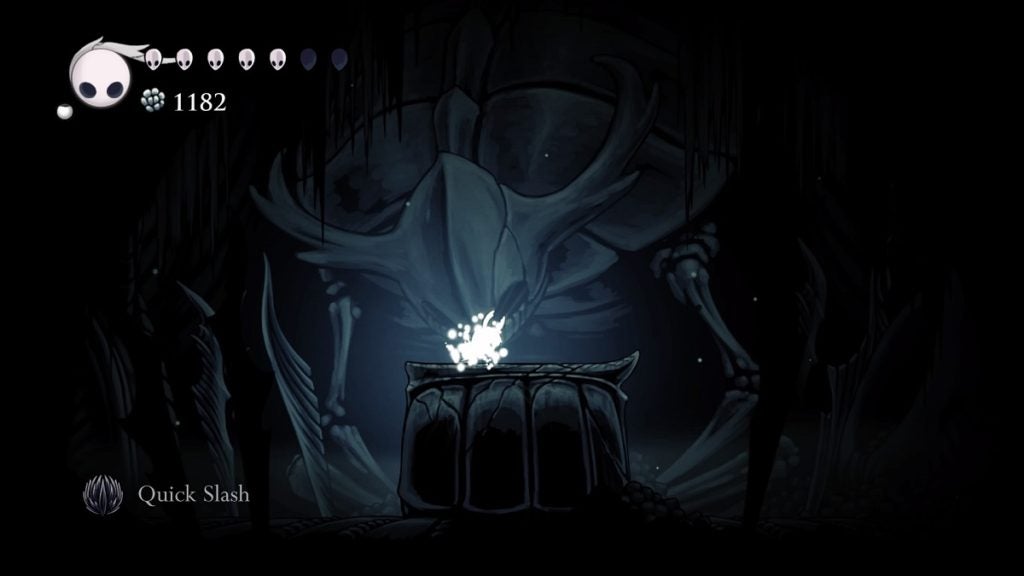
Make your way back up to the area with spike pits on the ground. From here, continue to the left. Keep walking and dispatch the enemies along the way until you reach a tall chamber with floating platforms. Keep ascending until you see an entrance to the right. Enter this room and you’ll find the Quick Slash charm atop an anvil. This charm will considerably increase your attack speed.
Head back out and continue heading upwards until you see an opening on the ceiling. Jump up and you’ll be face-to-face with a wooden beam. Destroy it to open a path. Proceed to the left and climb the tall formation ahead of you. Once at the top, jump onto the platform on your top left. From here, you can proceed to explore Kingdom’s Edge further.
Ascending Kingdom’s Edge
Walk to the left and you’ll find an entrance on the ceiling. Jump up to get to the next section. Walk then to your left and begin ascending. You’ll find another entrance on the ceiling once you reach the top.
From here, keep walking to the right until you enter a cave. Jump past the spike pit and find the breakable wall to your right. Break this wall. The moment you hit this wall, two Primal Aspids will spawn behind you. Deal with them accordingly.
Past the breakable wall, start ascending while avoiding the spikes on the wall. Head left once you’re at the top and you’ll come across a Grub. Free it, then head back down. Go left and exit the cave. Climb the floating platforms and jump onto the passage on the left.
Continue ascending and head to the right once you’re at the top. Press on and climb up until you see the bench sign that points upwards. Destroy the breakable ceiling on the top left and jump up to arrive at the section above, where the bench is. Rest up and get ready for the boss fight ahead.
Fighting Hornet Again
Head back down and move towards the east. Keep going and start descending at the end. Upon reaching the bottom, proceed to the right and you’ll enter Hornet’s boss room.
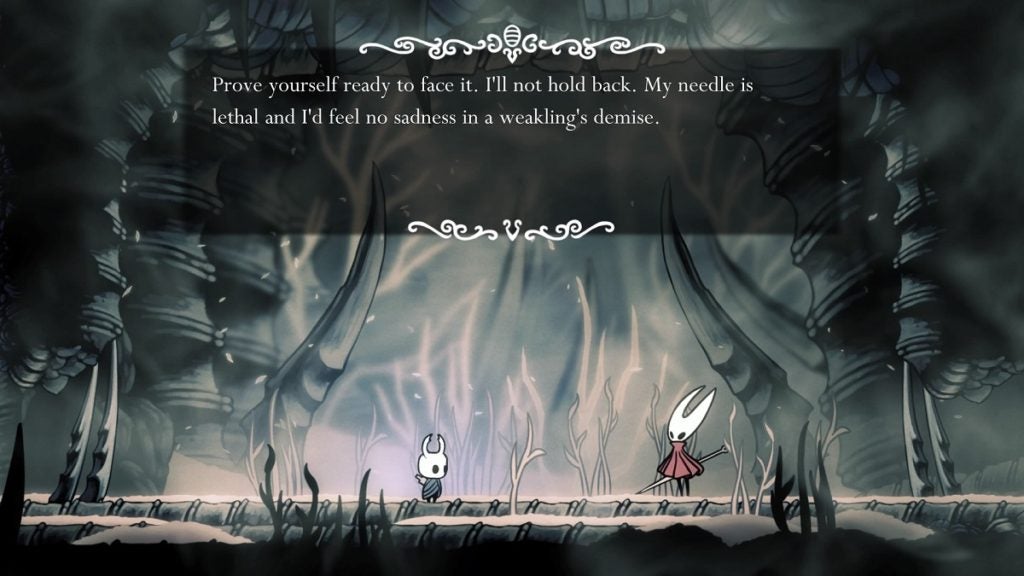
Hornet is way faster this time than she was when you first fought her. She also has two new moves. Watch out for the following:
- Parry – Hornet will take a defensive stance, placing her needle above her head. If you strike her while she’s taking this stance, she’ll hit you with a counterattack. If you ever hit her while she’s in this stance, you can dodge away before she counters.
- Balls of Spikes – Hornet will throw spiked balls and suspend them in mid-air using her threads. You can eliminate these spiked balls by hitting them with a spell or with your nail. There can be 6 spiked balls in the arena at once. Be sure to eliminate these balls as soon as she places them so your movement isn’t hindered.
Aside from these two moves, her attacks remain pretty much the same. Again, she’s faster this time around so be prepared for that. Your best time to heal is when she’s staggered, but you can also sneak one in when she throws her needle at you and you’re out of its reach.
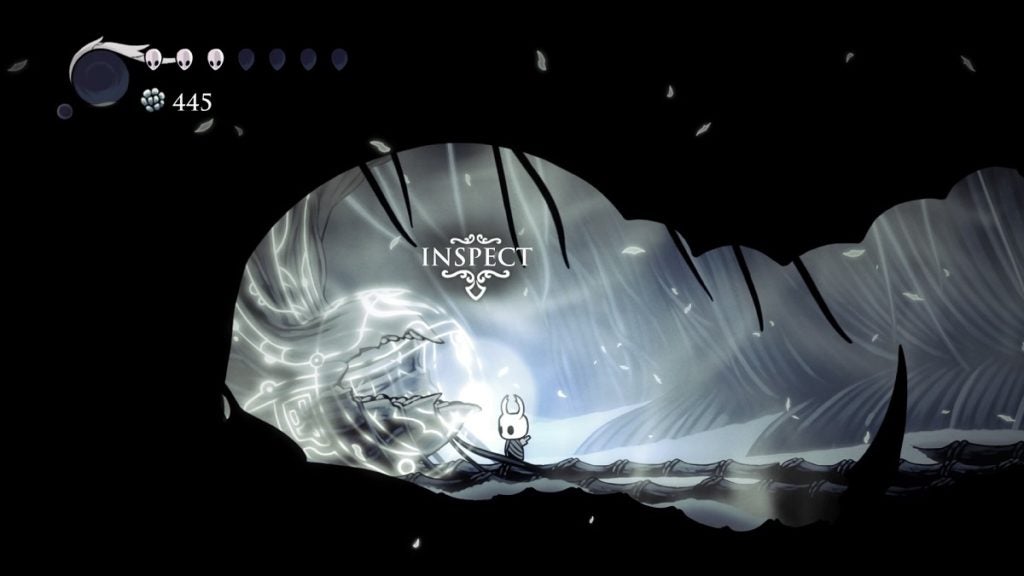
Claiming the King’s Brand and Heading to The Abyss
Once you defeat Hornet, interact with her and the gate behind her will open. Proceed through it and drop down. Walk to the left and you’ll enter the Cast-Off Shell. Keep walking and you’ll come across the King’s Brand. With this, you can access The Abyss.
Start walking right and the entire cavern will begin to collapse. Hornet will rescue you and send you back outside. From here, make your way to the bench. Rest up for now, and then head back to the Stag Station in King’s Station. You’ll make your way to The Abyss from there.