![]() Key Takeaway
Key Takeaway
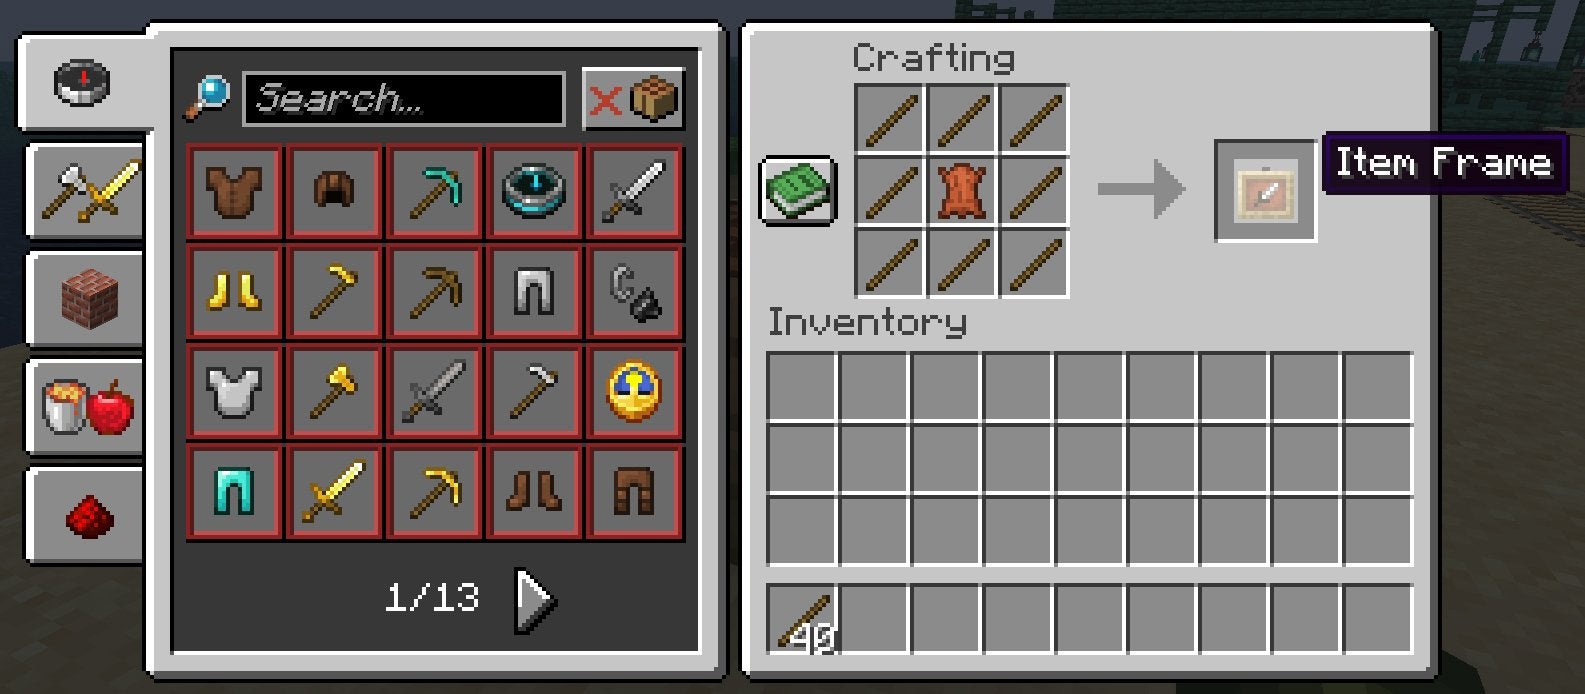
To make a Picture Frame (technically called an Item Frame) in Minecraft, you’ll need one piece of Leather and eight Sticks. Assemble these components on a Crafting Table by placing the Leather on the center slot and then surround it with Sticks.
A Picture Frame in Minecraft is—in-game—called an “Item Frame.” Now that we’ve got the nomenclature matters settled, you should be able to find the crafting recipe for Item Frames as soon as you get the two components for making them. Let’s delve into what those are!
Table Of Contents
What You Need to Make an Item Frame (Picture Frame) in Minecraft
To craft an Item Frame (Picture Frame) in Minecraft, you need one piece of Leather and eight Sticks. On a Crafting Table, place the Leather in the centermost slot. Afterward, surround the Leather with your eight Sticks. This crafting recipe gives you one Item Frame.

How to Get Leather
There are tons of ways to get Leather in Minecraft. The easiest of which is to hunt the specific mobs that drop this resource when they die. Here’s every mob that drops Leather:
- Cows
- Mooshrooms
- Horses
- Donkeys
- Mules
- Llamas
- Hoglins
Furthermore, you can combine four Rabbit Hides in a 2 x 2 shape on any crafting grid to get one Leather.
As for non-hunting methods of gathering Leather, you can get some by fishing, through Chest loot, as well as by Villager Gifts and bartering. In terms of fishing, Leather can sometimes be reeled in as a “junk” item—although one person’s trash is another person’s treasure, right? As for Chest loot, you can find Leather in the Chests of Villages and Bastion Remnants. If you defeat a Raid, Leatherworker Villagers will throw Leather at you as a thank-you for saving their home. Lastly, you can barter with (Hoglins instead of killing them) to get Leather by handing over a Gold Ingot.
How to Get Sticks
The best way to get Sticks in Minecraft is by making them. Placing Wooden Planks in a 1 x 2 shape on any crafting grid can get you loads of Sticks. For every two Wooden Planks used this way, you’ll get four Sticks.
Alternatively, you can break Leaf blocks for a small chance of getting Sticks as drops.
While looting Village Chests, there’s a high likelihood of coming across Sticks this way. As you’re exploring a Village, keep an eye out for Fletcher Villagers, as they may be selling Sticks—32 of which often cost 1 Emerald.
There’s also the potential to get Sticks as junk items while fishing.
What’s more, killing a Witch can also net you up to two Sticks at a chance of 25%.
Other Ways of Getting Item Frames
Besides making them yourself, you can also obtain Item Frames in a couple of different ways—albeit less conveniently.
If you level up a Cartographer Villager until they’re an Expert, they may start selling Item Frames for seven Emeralds each. This is horribly overpriced if you ask us.
Then there are End Ships, within which can spawn an Item Frame holding Elytra. In such situations, you’re likely going to be more interested in the Elytra than the Item Frame, but consider the reusable packaging as a bonus! How’s that for recycling?
Upgrading Your Item Frames
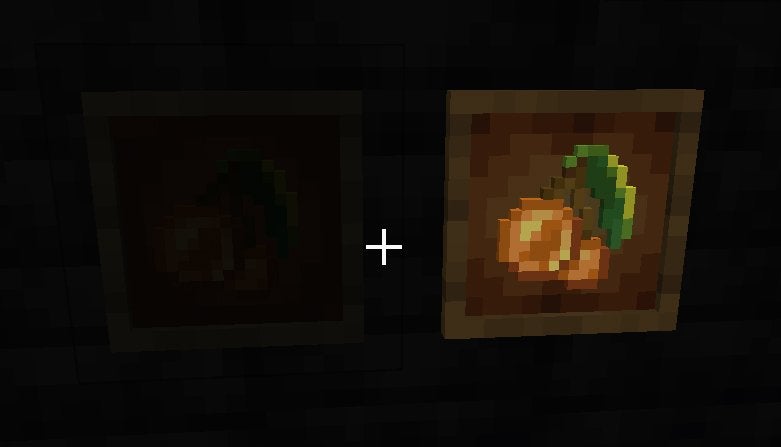
You can get your Item Frame to shine—literally! By combining an Item Frame with a Glow Ink Sac, you’ll get a Glow Item Frame. As you can guess, a Glow Item Frame constantly illuminates the item within. However, contrary to what you’d expect, Glow Item Frames do not emit any light, so they cannot be used as a light source in place of Torches or Lanterns.

To get a Glow Ink Sac, you’ll have to delve deep. The only way to get Glow Ink Sacs is to farm them from Glow Squids. These mysterious aquatic mobs spawn below layer 30 within water sources in complete darkness. When you do spot them, they’ll often be in groups from two to four in size. If slain, a Glow Squid can drop anywhere between one and three Glow Ink Sacs.
The Uses for Item Frames in Minecraft
In addition to letting you display your coolest loot, you can also use Item Frames to display Maps.
Displaying Maps in Item Frames
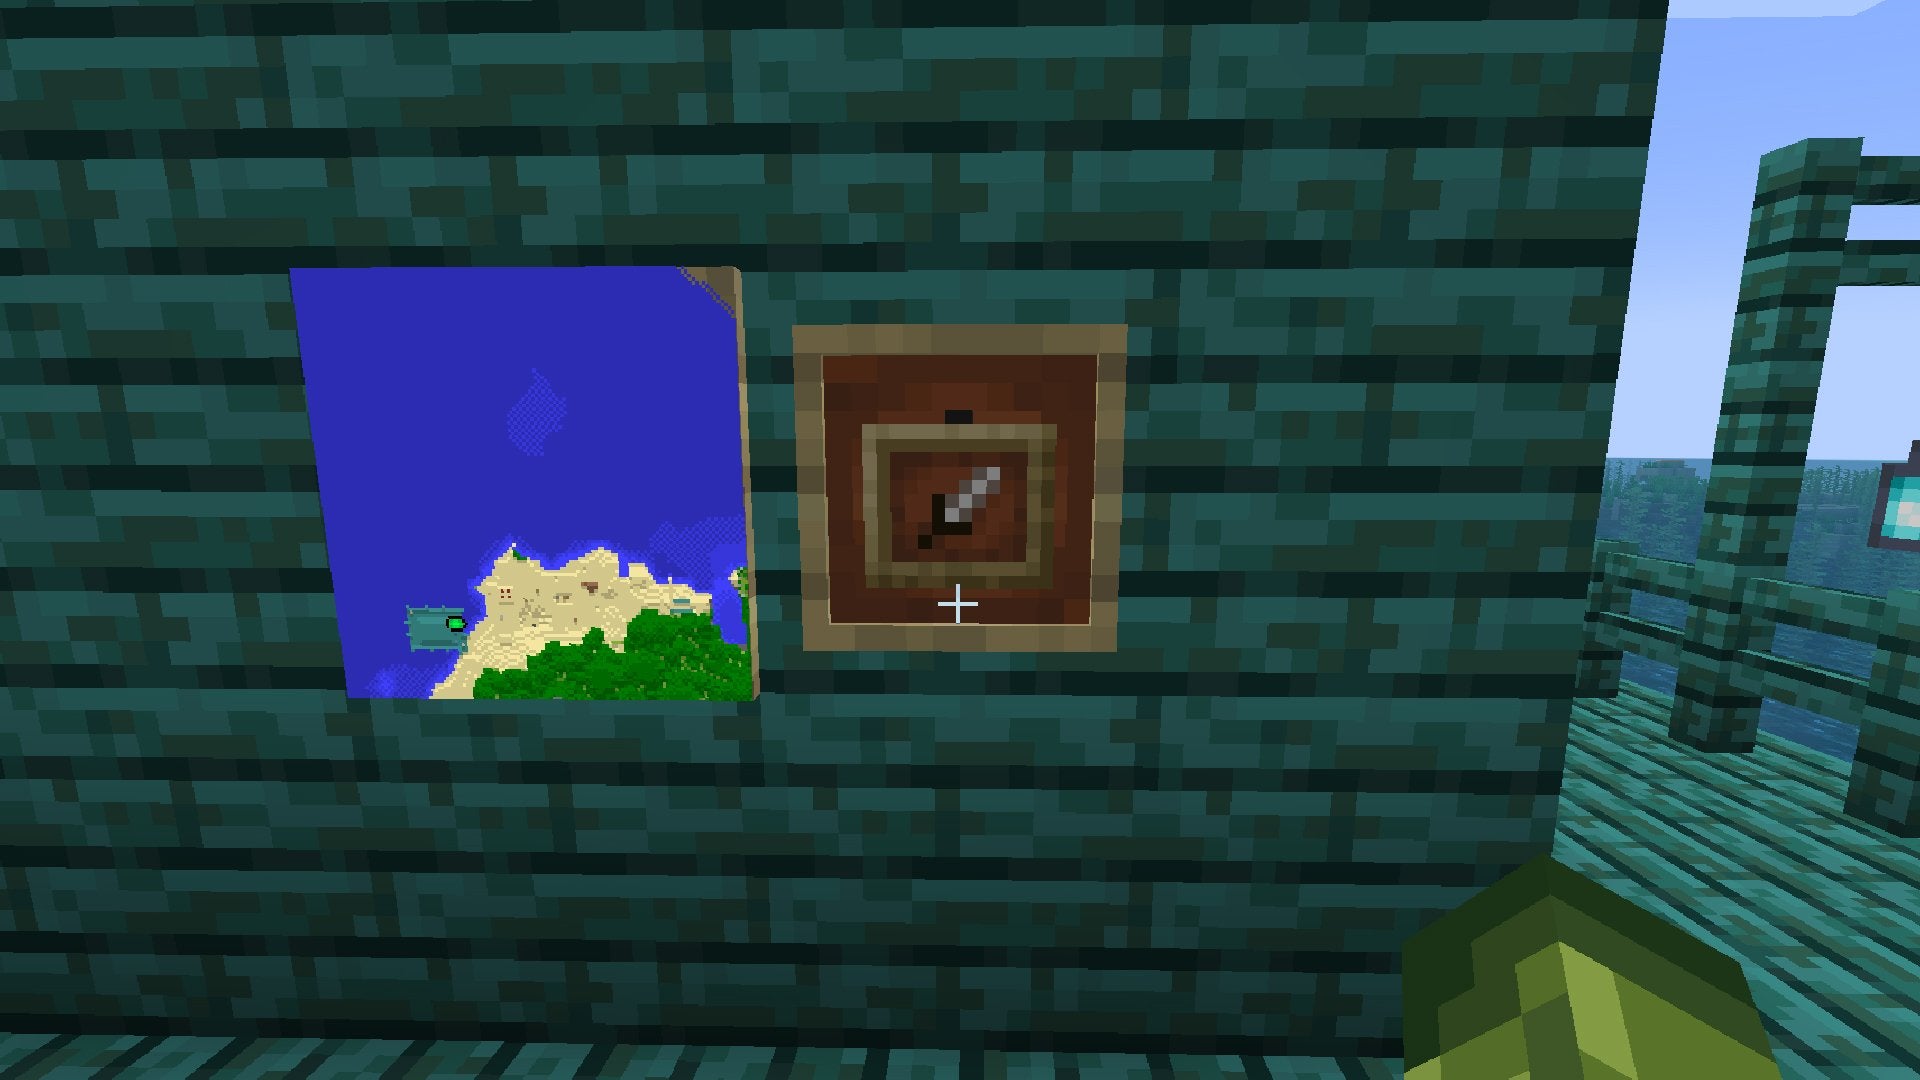
Unlike most other items, when you put a Map into an Item Frame, it shows the Maps’ contents instead of the Map as an item. By having one or more framed Maps on the wall of your home base, you can plan your nice expeditions more easily.
Moreover, this can also make for a novel decorative installation. Placing filled-out Maps of adjacent Overworld areas next to each other creates a mural that you can keep expanding as you explore. There’s arguably no better way to track how far you’ve traveled. This can easily be done by copying a filled-out Map on a Cartography Table. To do so, place a filled-out Map in the top slot and an Empty Map in the bottom slot.
Item Frames are a great way to decorate your home in Minecraft, but why stop there? If you’re thinking about stylizing your base, consider installing a TV! The sky’s the limit when it comes to customization in this blocky world.


