
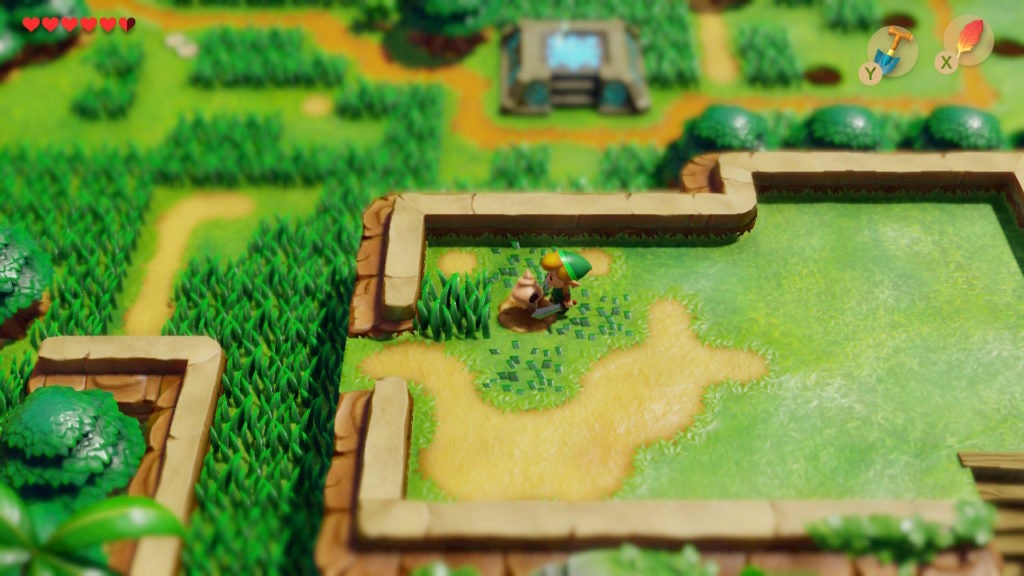
Go out of Mabe Village’s east exit, by clearing away some shrubs and stones out of the way, and you will end up in Ukuku Prairie. This is an expansive field that stretches into the eastern half of Koholint Island. You should get familiar with its layout, as you’ll be coming back here a lot. The next dungeon is located here, but you’ll need to complete a quest that basically involves raiding a fortified castle to get the key to open it.
Table Of Contents
Explore the Cave Once You Enter Ukuku Prairie
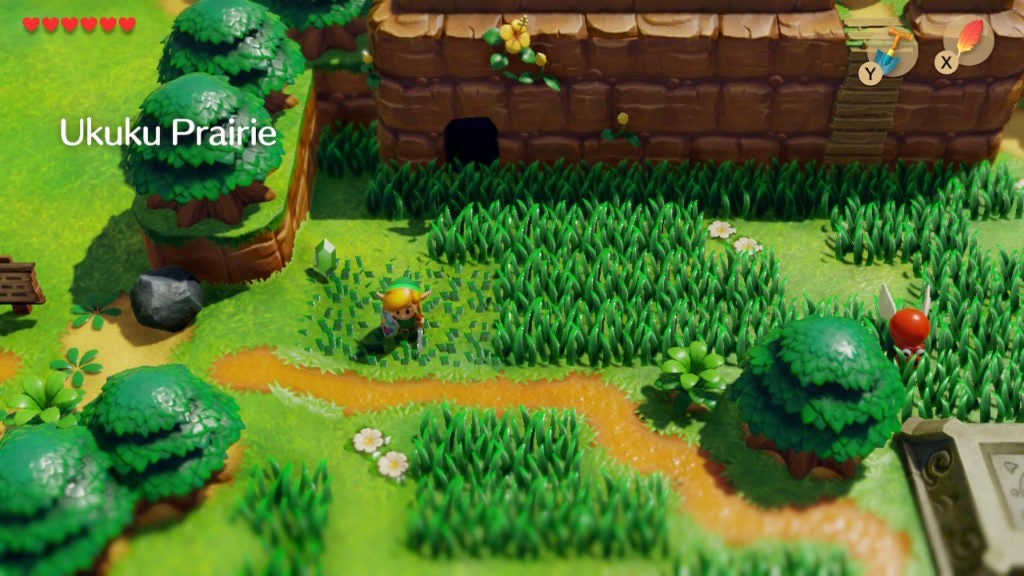
Progress lies south in Ukuku Prairie, however, be sure to look around along the way. First, check out the cave just north of your position.
How to Get the Chest in the Cave
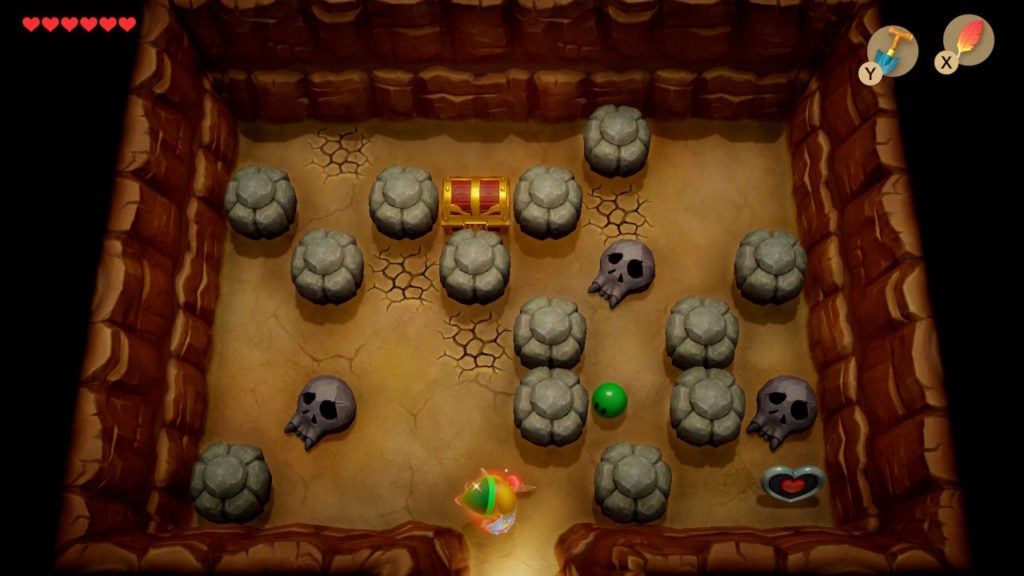
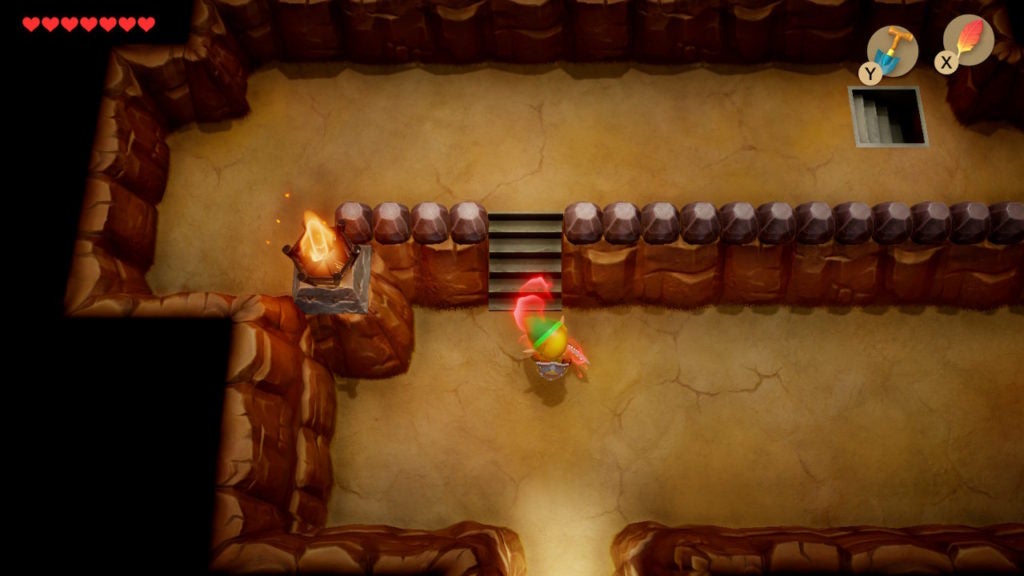
Within the cave, you’ll see a chest near the northern wall and a Heart Piece in the southeast corner. You’ll be able to push the stone blocks and pick up the skulls to clear the way to the loot. Beware the cracks in the floor, as they can break if you stand on them for too long. If you mess up, you can always leave the cave and then re-enter it to reset the obstacles.
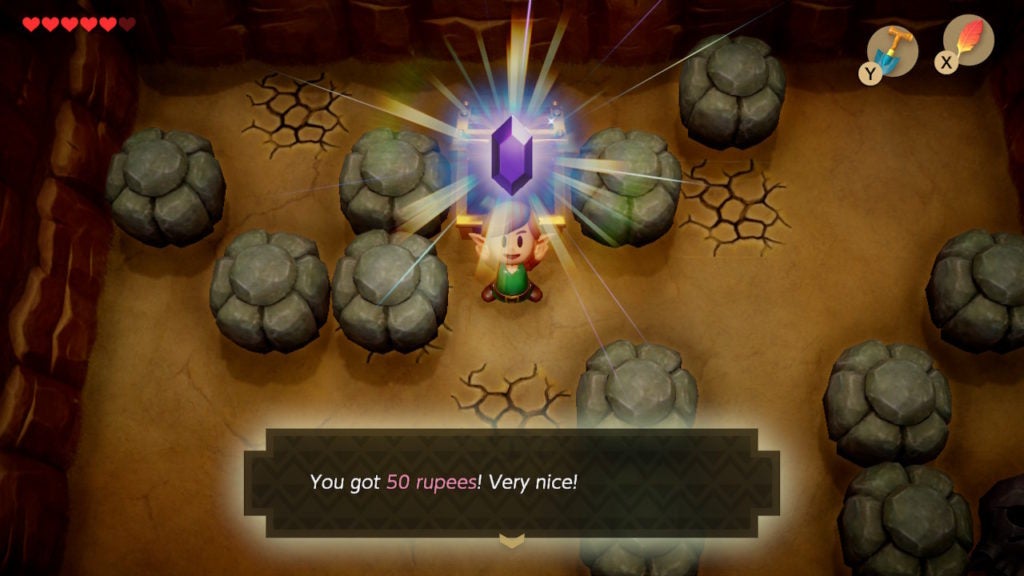
There are multiple ways to get the loot here, but the quickest way to get both is to start with the chest. Go to the west of the rock that is in front of the chest and push it to the east. This will clear the way in front of the chest, though may break the floor tile with a crack that you had to stand on. Either way, can now open the chest to claim the 50 Rupees within.
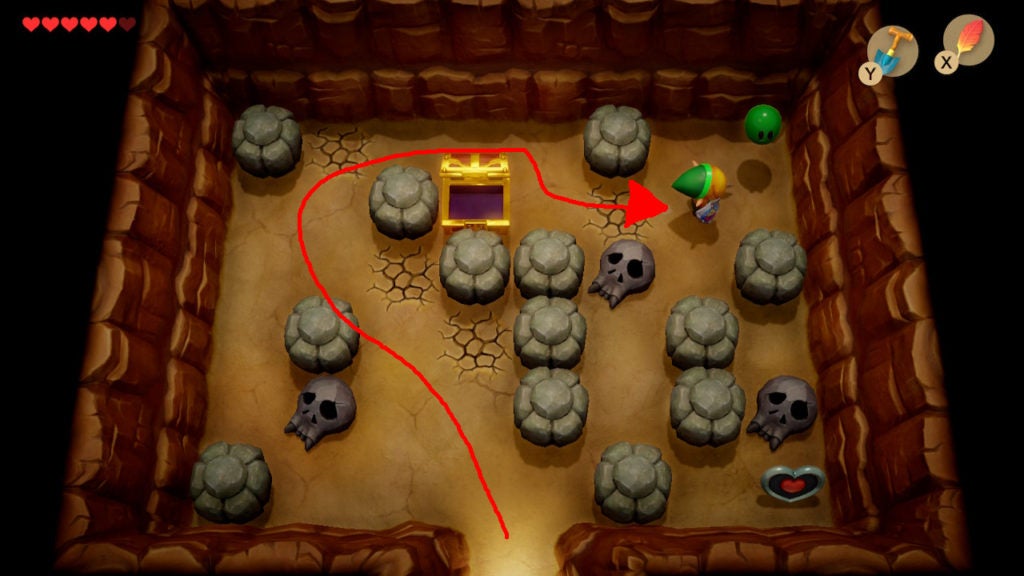
How to Get the Heart Piece in the Cave
Obtaining the Heart Piece in the cave will be more difficult. To start, you’ll want to get to the northeast corner of the cave without disturbing any of the rocks around the Heart Piece. To do so, push the rocks just west of the chest out of your way so that you can make your way around.
There are multiple ways to do so, but the easiest method is to hug the west wall and push the rock near the north further north so that it’s in the very northwest corner of the room. Then, hug the north wall and push the rock east of you further east, which will get you into the northeast part of the cave.
Next, quickly take out the Green Gel that spawns. Bonus points if you pick up the skull nearby and toss it at the slimy enemy to do so, as you needed to move that obstacle anyway.
Afterward, you’ll need to push the rock that was southeast of the skull you just tossed to the east into the little gap above another skull. Following this, push the rock that is west of the southeastern skull south.
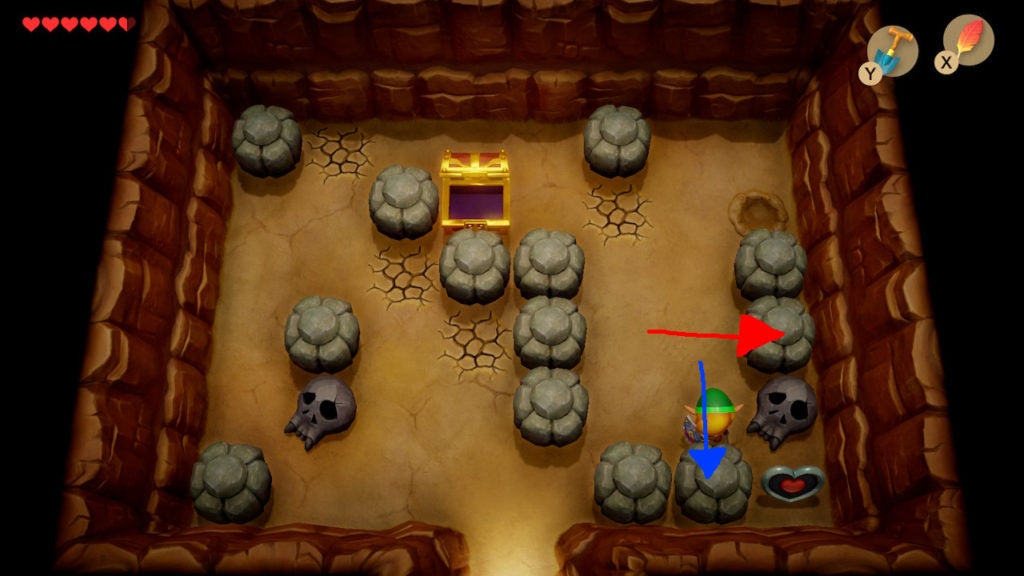
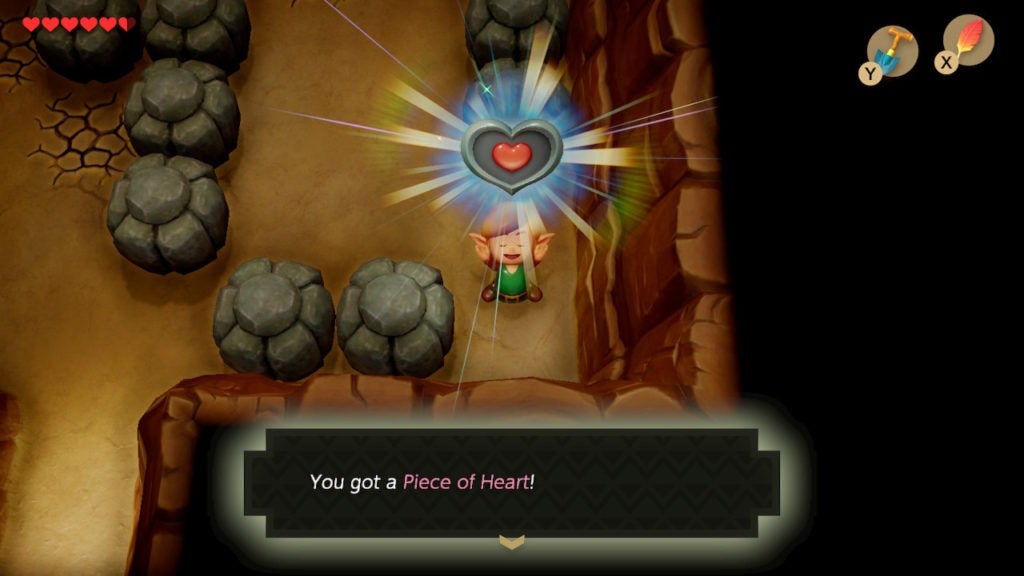
All that’s left to do is to toss the skull out of your way and triumphantly lift the Heart Piece (technically called a “Piece of Heart”) above your head.
Activate the Warp Point
Once you leave the cave and start following the path south, you’ll spot a stone platform with a symbol on it.
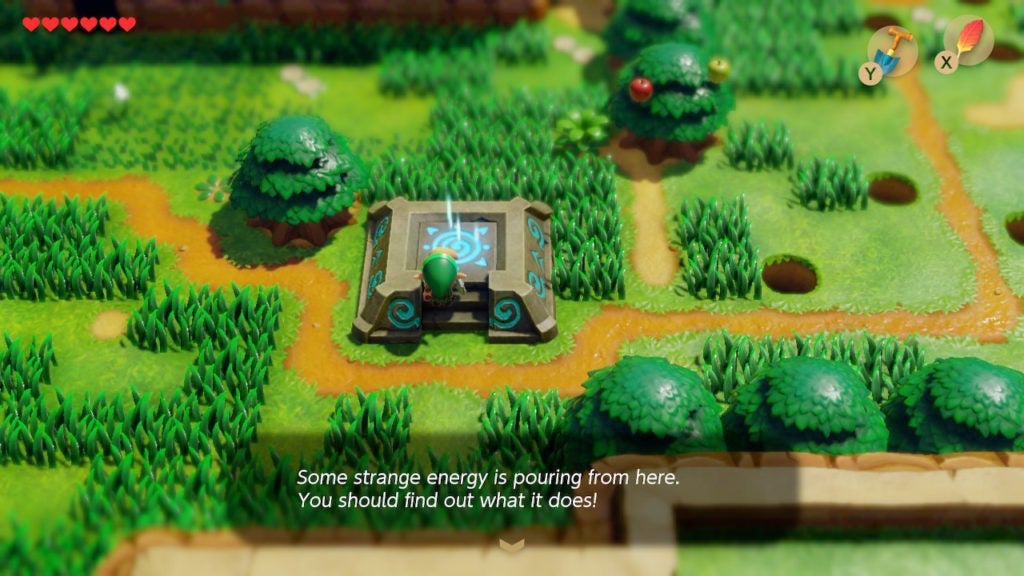
This is a Warp Point and is one of a few that you can find scattered throughout Koholint Island. You need to stand on it to activate it. After doing so, you’ll can come back to this spot anytime you use another Warp Point.
With that done, now’s the time to get off the beaten path and press further south.
Find the Entrance to the Next Dungeon
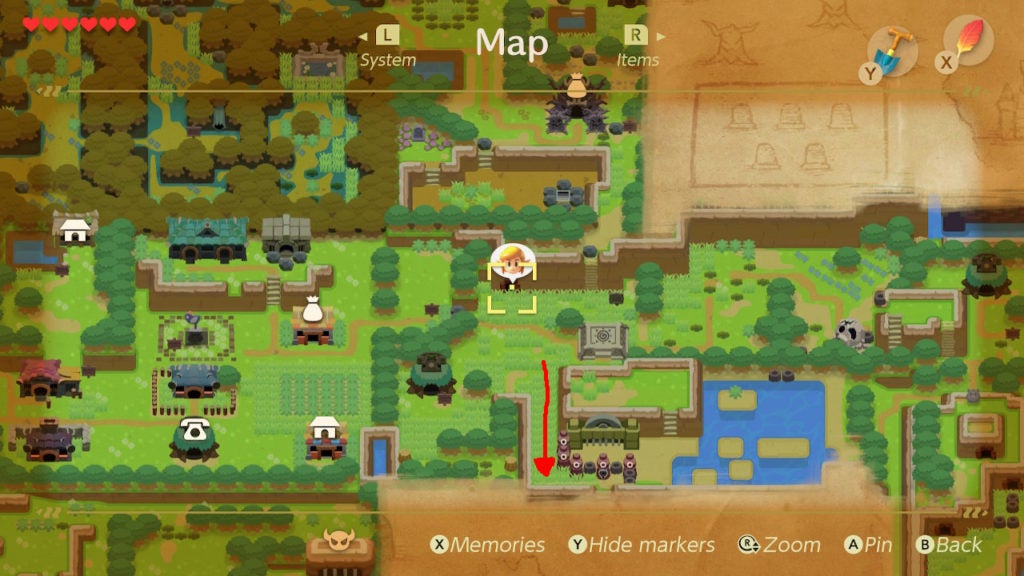
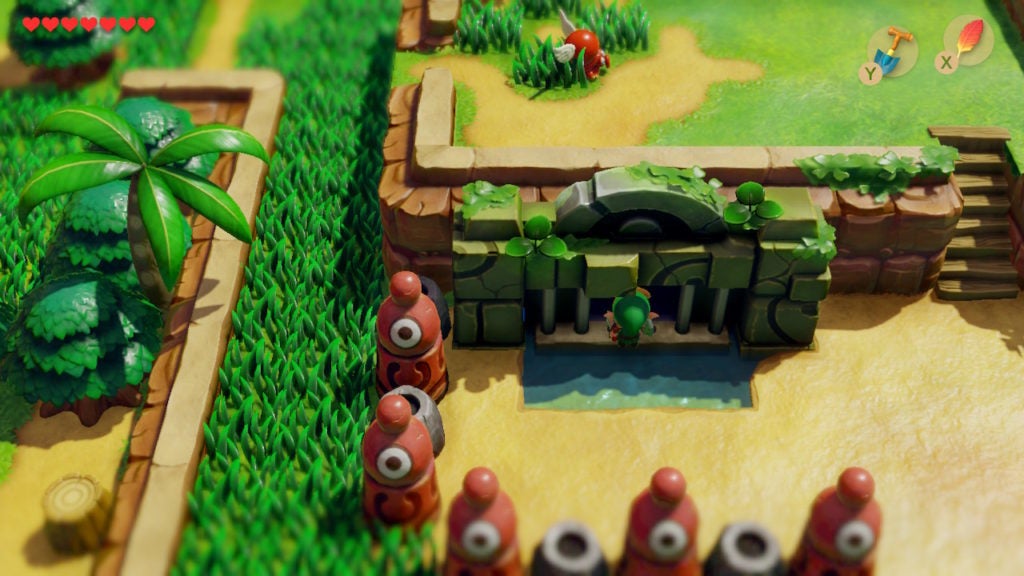
Stick to the east as you travel south and you’ll soon come to the entrance of the next dungeon, though the way is blocked.
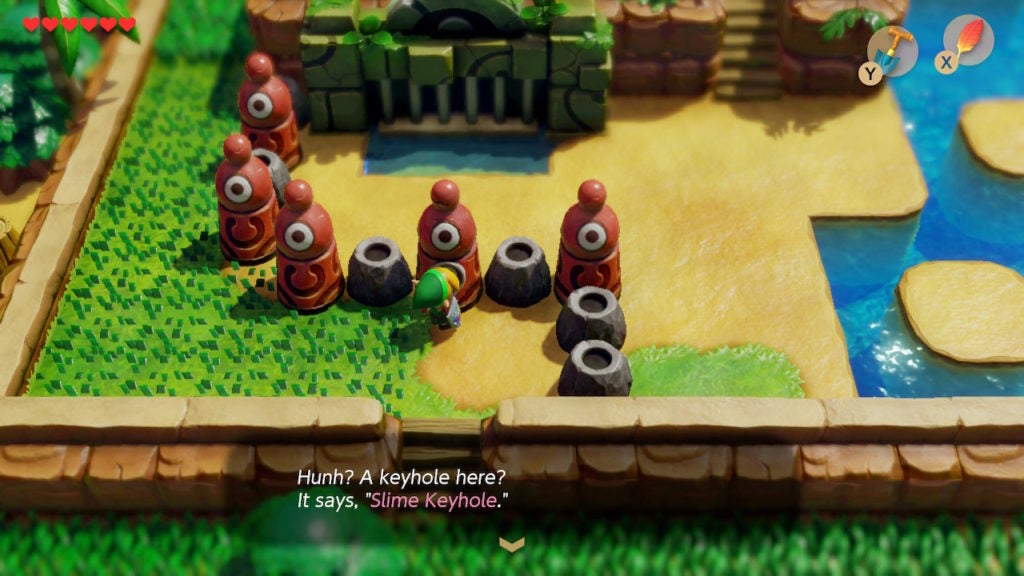
Interact with the keyhole you find to learn that you need the Slime Key to unlock the entrance. This will cause the iron bars north of the barrier to lift, allowing you to enter Level 3 – Key Cavern. To get the Slime Key, you’ll have to explore a part of Pothole Field south of here. Though, before you can access the right area to explore, you’ll need to gain permission from the landowner. But more on that last bit later. For now, keep going south.
Enter Pothole Field and Meet Richard in His Villa
When you go south, there’s only 1 path, which will lead you to Richard’s Villa.
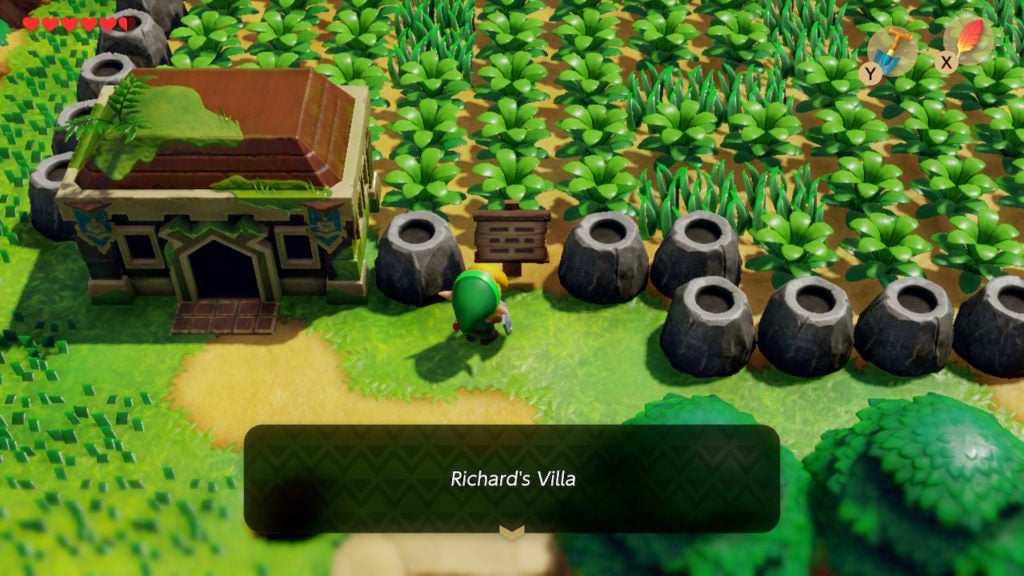
This building, and the land around it, are what make up most of Pothole Field. The house and land are owned by Richard, who you can find within his eponymous villa.
Richard’s Golden Leaf Quest
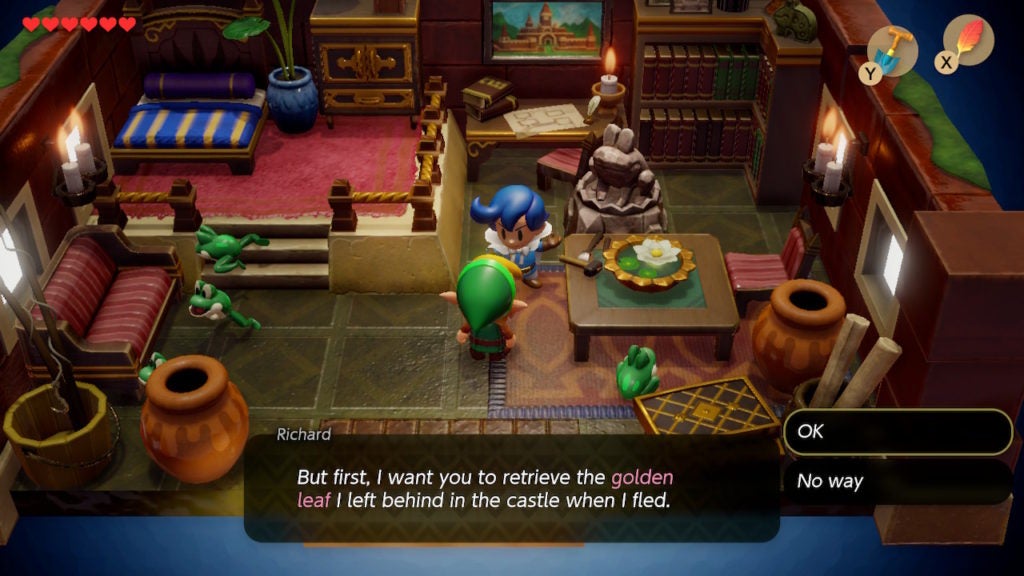
When you speak to Richard, you’ll learn that he once lived in the castle northeast of here (Kanalet Castle). He’ll then go on to explain that his servants went berserk and he had to flee to his villa.
Richard will then ask you to retrieve the 5 Golden Leaves for him, though he doesn’t say why they are important to him. In exchange, Richard hints that he’ll give you something in return. This obscure promise may seem suspicious, but, fear not. The Slime Key is actually in Richard’s enclosed yard, meaning this is the only way to get it.
What You Need to Enter Kanalet Castle
You’ll need to get into Kanalet Castle and obtain all the Golden Leaves. To do so, you’ll need some unexpected help from some friendly monkeys.
Before you make your way towards the castle, however, you should grab some Bananas for when you need to interact with the monkeys. Bananas are a trade quest item that you need Dog Food to obtain. If you haven’t already gathered some Bananas, you’ll need to exchange some Dog Food with Sale on Toronbo Shores.
If you’re heading that way, you might as well explore a bit and grab some collectibles along the way.
How to Get Bananas
As mentioned before, you’ll need Dog Food to get the Bananas, which you can find in Mabe Village.
Snag a Secret Seashell While Going Back to Mabe Village
While you make your way back to Mabe Village, you can dig up a nearby Secret Seashell along the way.
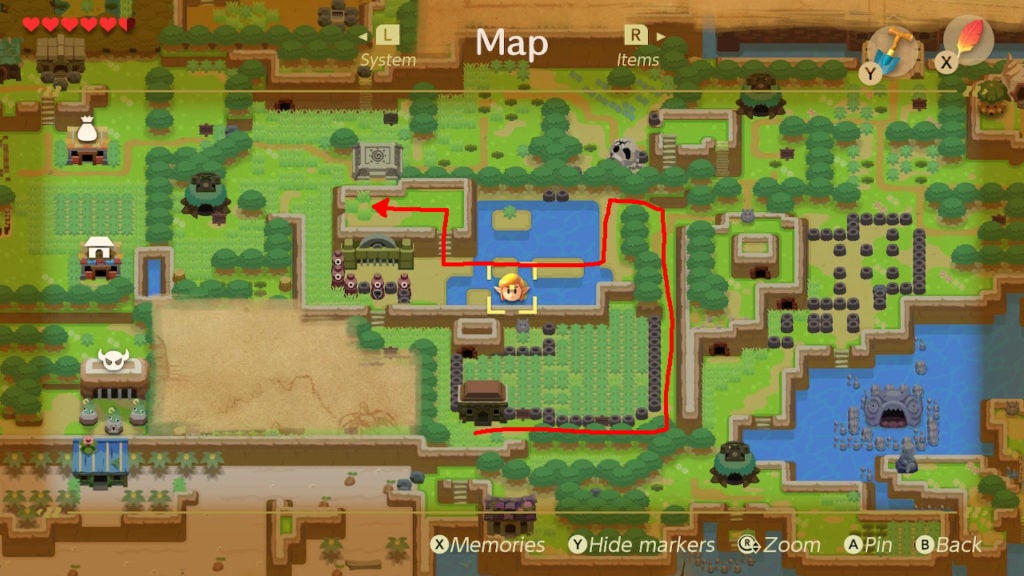
Go east and then north to get around Pothole Field. Then, with the help of the Roc’s Feather, jump across the small islands in the watery area east of the dungeon entrance. This will lead you to some stairs that you can ascend to find a conspicuous plot of grass.
There are 4 tufts of grass making a plus sign. Dig in between them with your Shovel to uncover a Secret Seashell. After grabbing it, jump down the ledge on the west for a shortcut. Go north and west back into Mabe Village.
Trade the Ribbon to CiaoCiao for Some Dog Food
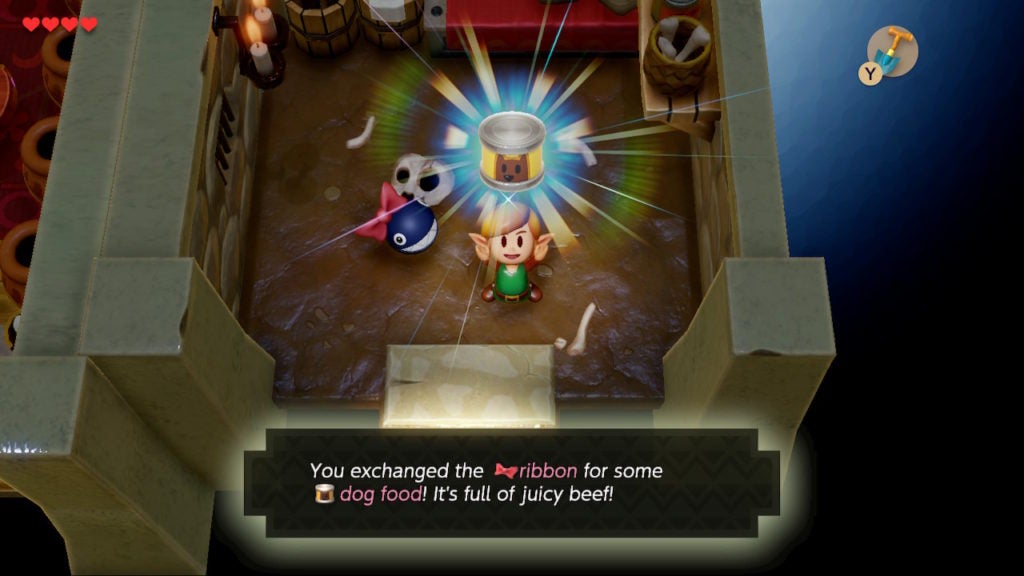
You’ll need to give the Ribbon trade quest item to CiaoCiao, a small chain chomp in the east part of Madam MeowMeow’s house. To get the Ribbon, you’ll need to give the Yoshi Doll to Mamasha in the north of Mabe Village. If you have yet to get the Yoshi Doll, you can win it from Trendy Game.
When you have the Dog Food, go south to Toronbo Shores to trade it for some Bananas.
Trade the Dog Food to Sale on Toronbo Shores
Go out of the south exit of Mabe Village and make your way to the sandy stretch below. Sale’s house is located in the middle of Toronbo Shores. It’s the only structure on the beach, so it will be hard to miss. Go inside to speak with Sale, the friendly crocodile.
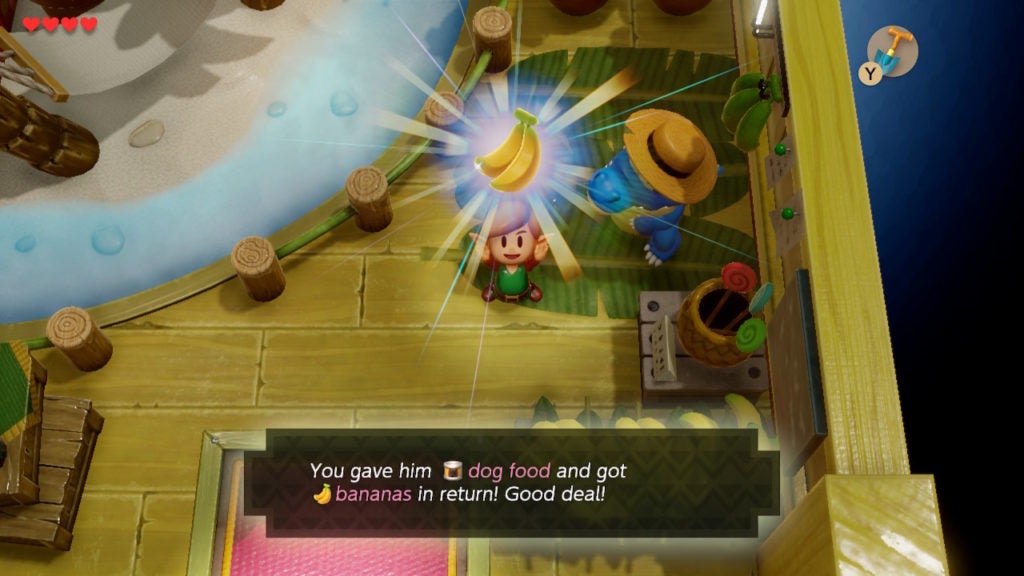
For some reason, Sale is a big fan of Dog Food. They will trade you some Bananas for the canned goods you got from CiaoCiao. Make the trade to get the yellow fruit that will help you make a deal with some monkeys.
Make Your Way to the East of Kanalet Castle’s Entrance
As you start making your way to the main gate of Kanalet Castle, you may notice that you have 2 potential paths. If you want, you can exit out of the east of Mabe Village and progress further east until you reach the castle. However, this way is full of sneaky enemies. For a relatively hassle-free time, you should take the route around Richard’s Villa.
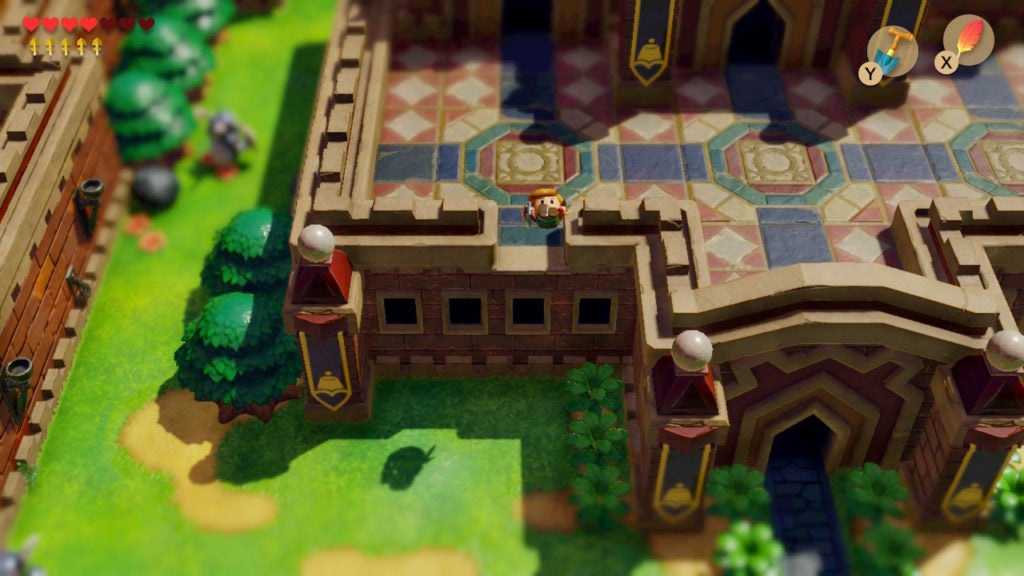
From the front of Richard’s Villa, go east and then north. When you reach the fork, go east and then north again until you’re at a Telephone Booth. Afterward, go a bit more east and then a tad north to find Kanalet Castle’s main gate.
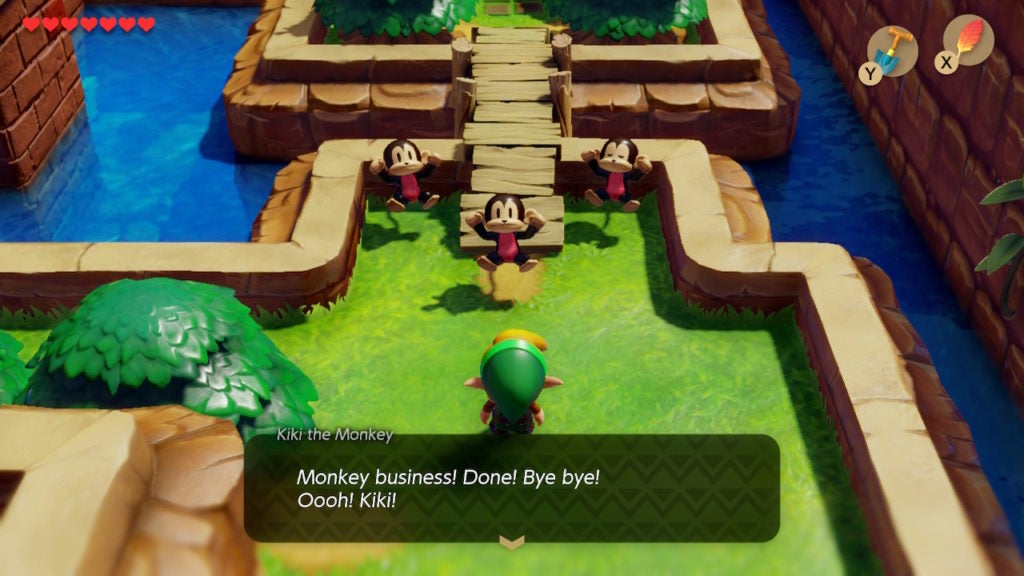
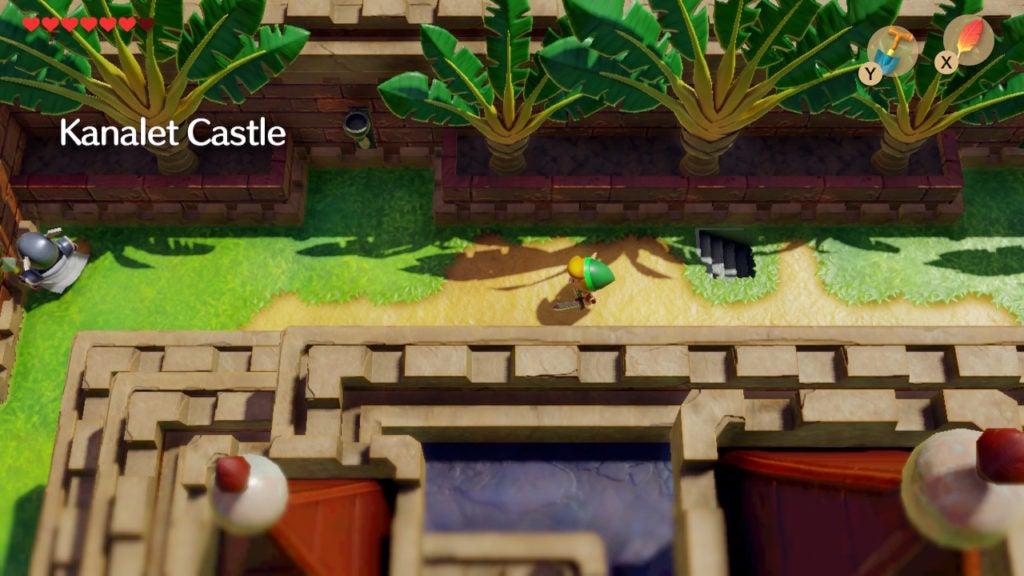
Go east of the castle’s locked entrance along a slim path until you come to a small clearing. Here, you’ll find a peaceful monkey hanging out.
Give the Monkey Some Bananas
Talk to them and you’ll learn that their name is Kiki and that they would like some Bananas.
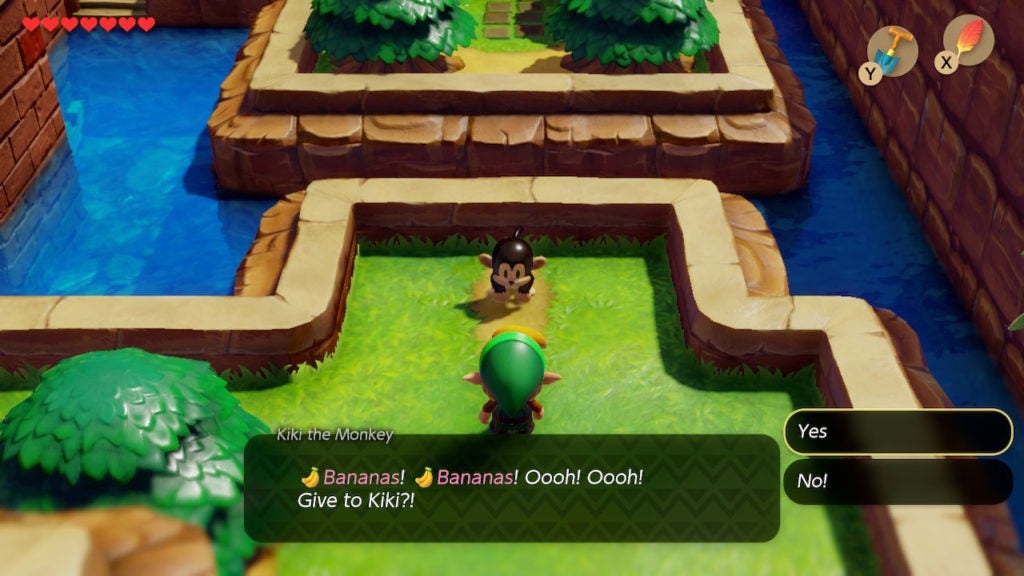
If you give Kiki the Bananas, they and their monkey friends will build you a bridge that will let you access a hidden way into Kanalet Castle.
Get the Stick Trade Quest Item
Furthermore, the amiable monkeys will even give you a trade quest item as well—what a great deal!
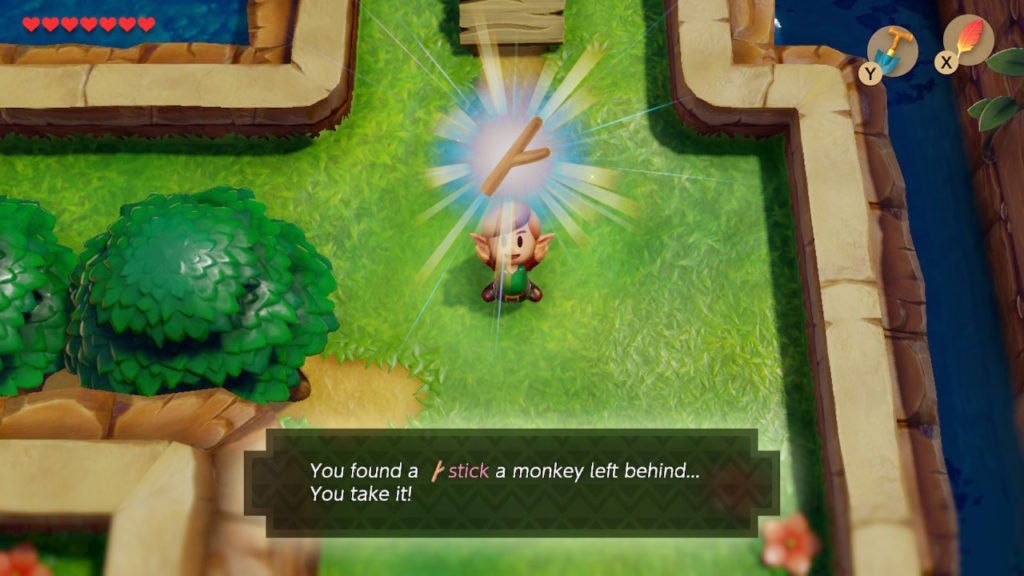
For now, stow the Stick in your bag and travel north across the newly-built bridge.
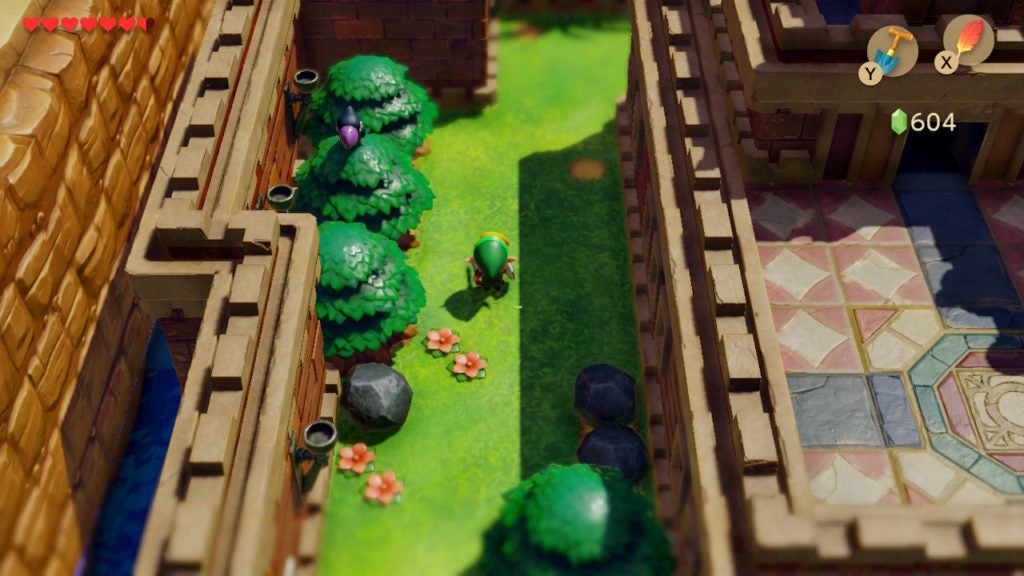
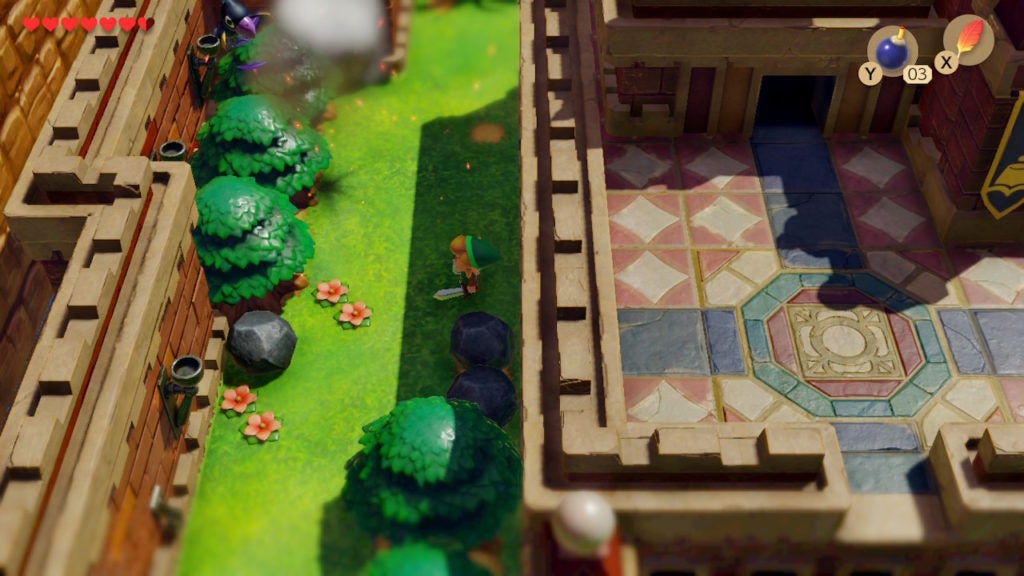
Find the Hidden Staircase to Infiltrate the Castle
Go north until you spot a Telephone Booth. West of the Telephone Booth, you’ll see a shrub surrounded by flowers. Slash this shrub with your Sword to destroy it and reveal a hidden staircase that is beneath.
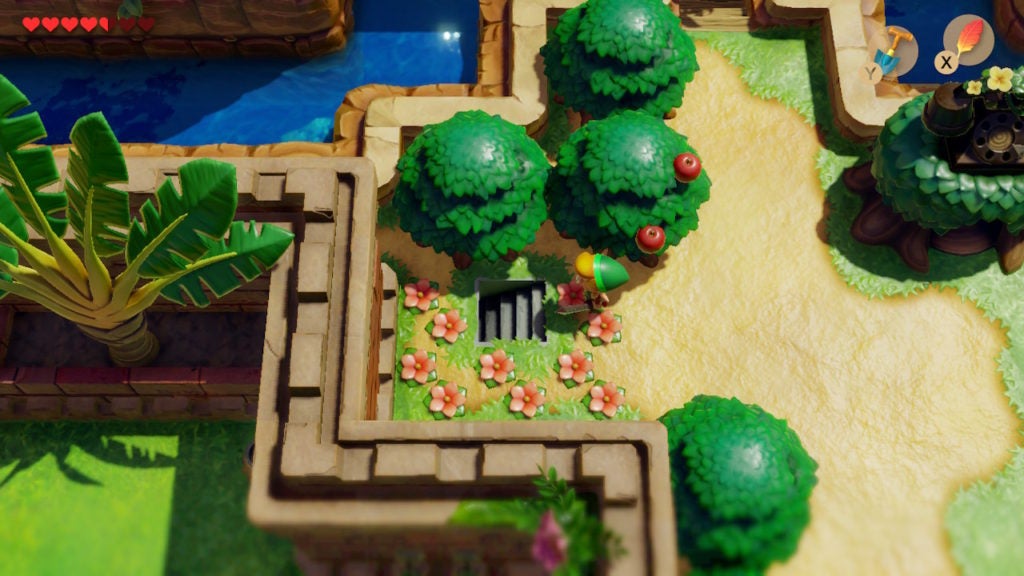
When you descend it, you’ll enter a side-view underground tunnel.
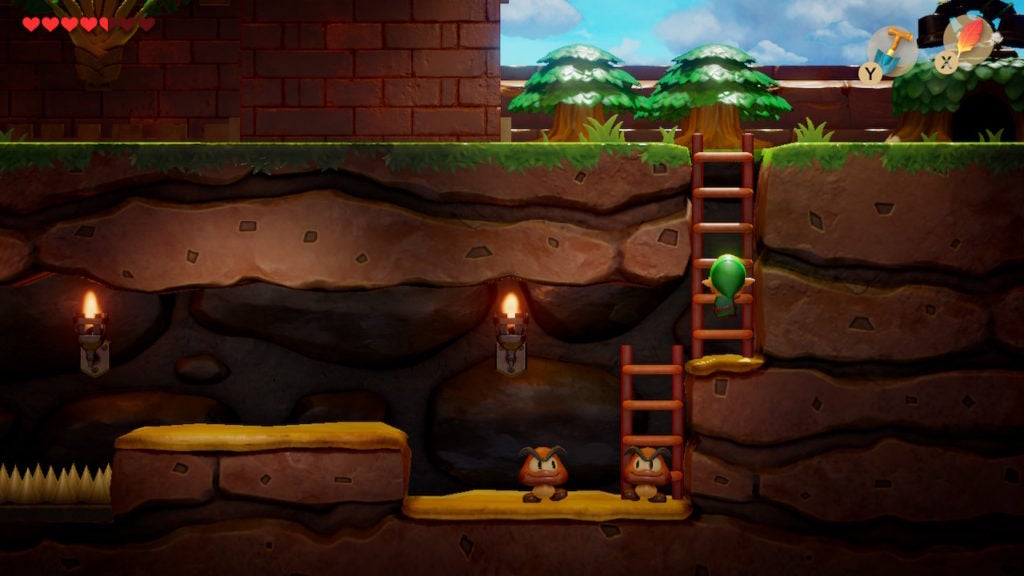
Here, you’ll have to progress to the west while avoiding the obstacles. Thankfully, the threats here are pretty minor. There are 2 Goombas in the east of the tunnel that you can dispatch with your Sword. When you go west, jump over the spike pits with the Roc’s Feather and ascend the ladder beyond.
You’re now within the walls of Kanalet Castle. It’s time to start your raid and collect the 5 Golden Leaves.
Darknut soldiers are the most common type of enemy here. They are armored knights who wield swords, shields, and sometimes spears. To defeat them, use the same tactics that you would use against similarly armed Moblins and Stalfos.
Where to Find All 5 Golden Leaves
The courtyard of the castle wraps around the keep in a large spiral. Your progress will be linear as you clear the area around the central fortress. There are 2 Golden Leaves outside the castle in the courtyard and 3 within the castle’s keep.
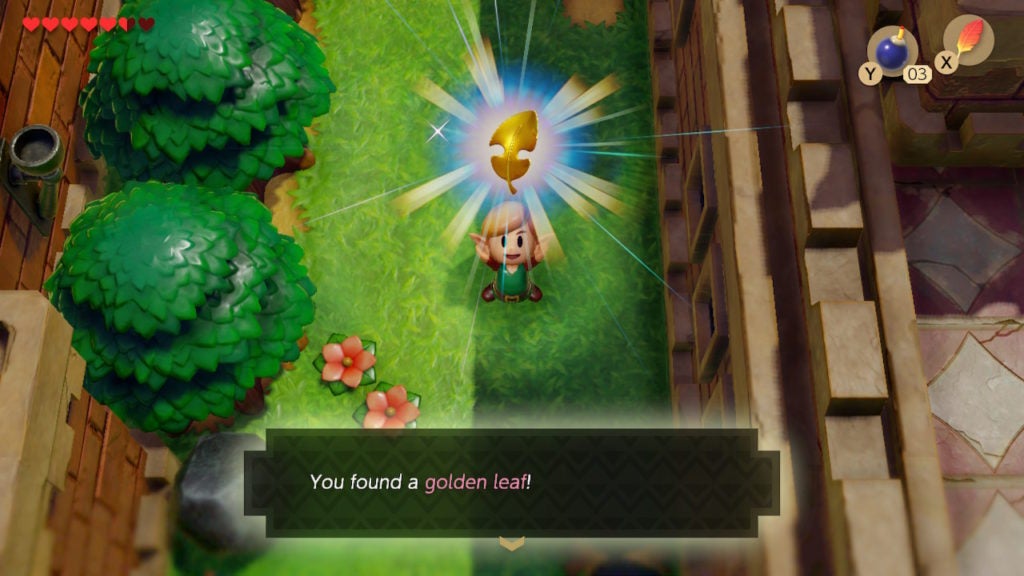
Golden Leaf #1
The first possible Golden Leaf that you can find is a short way from the stairs that led you into the courtyard. From the staircase, you’ll have to head west and then south. In the trees to the west, you’ll see a Crow.
You’ll have to defeat this Crow for the first Golden Leaf. If you want to get this enemy within the range of your Sword, you’ll have to force them out of the tree by throwing a rock or a Bomb at it.
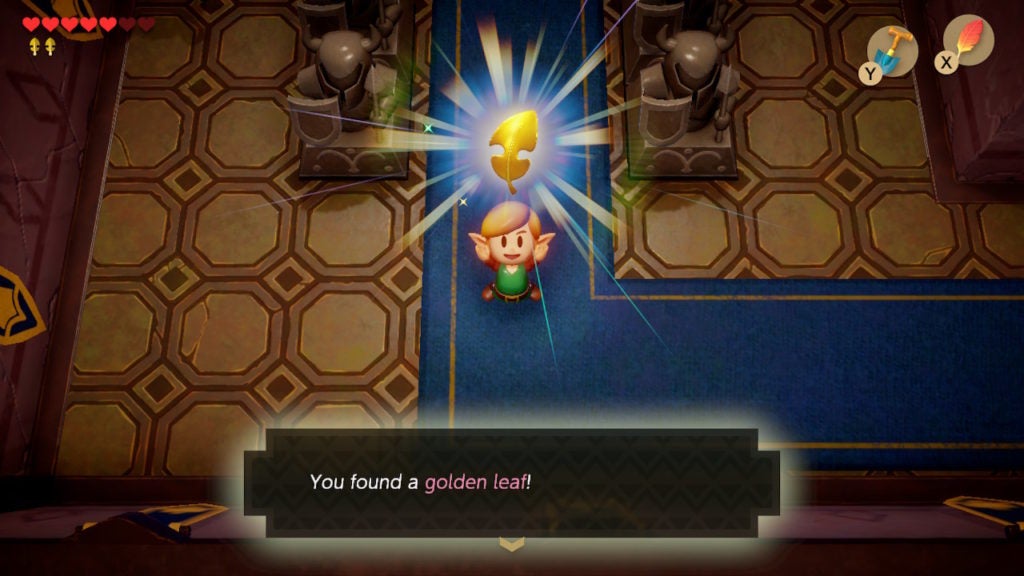
After getting the Crow to take flight, it will attack you. This is your chance to slay them with your blade. When you do, they will drop 1 Golden Leaf.
Pick it up and then proceed south. There’s only one way you can go, just be on the lookout for the Darknut armored soldiers in the area. Wrap around the courtyard to make progress.
Golden Leaf #2
You’ll have to make your way east and then north to encounter the next enemy possessing a Golden Leaf. However, they are a unique one that can be a bit challenging, so forage for some Hearts if you’re low on health before you go on.
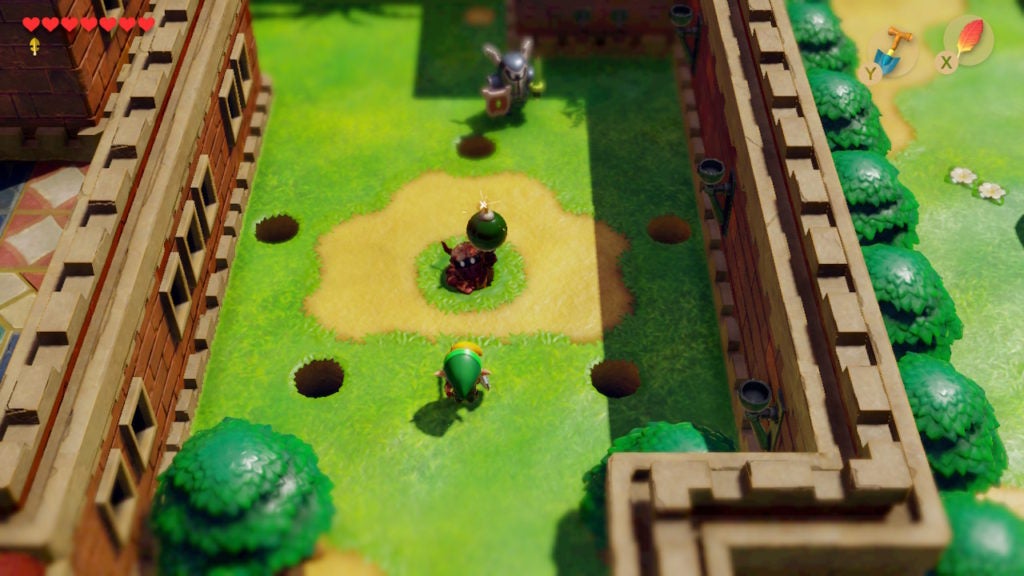
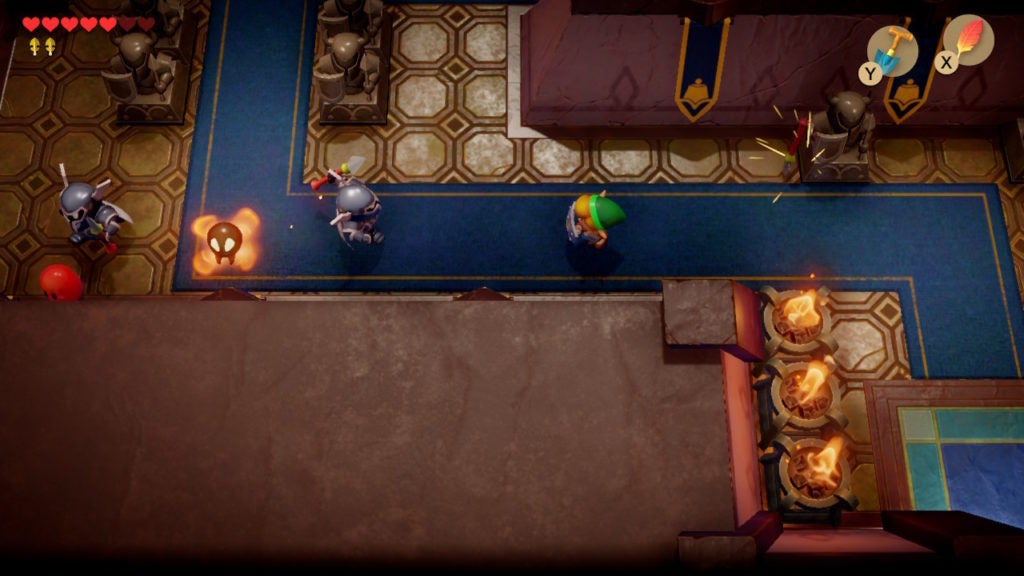
Mad Bomber will randomly appear out of 1 of the 6 holes in the area every few seconds. They will also throw bombs at you, so be sure to avoid the explosions. You’ll have to be quick, and a bit lucky, to catch Mad Bomber as they come out of a hole. There is also a Darknut soldier here to deal with, which you should defeat quickly so that you can focus on Mad Bomber.
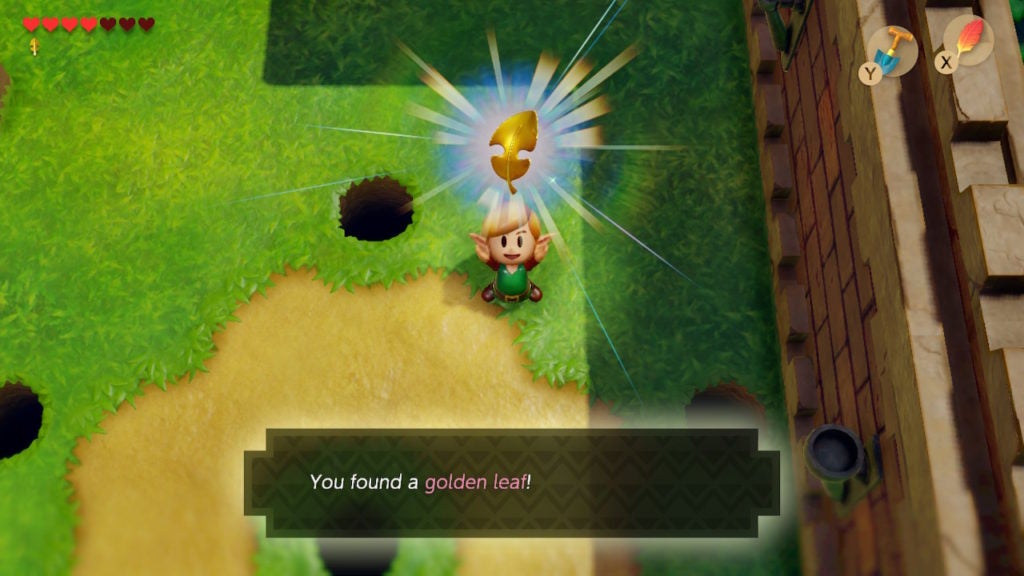
One of the best strategies is to continuously circle the yellow grassless area and take swipes at the enemy if they pop up nearby. Don’t waste your time trying to chase them if they are too far away. However, after a few hits, Mad Bomber will go down and drop 1 Golden Leaf.
After you’ve obtained the 2 Golden Leaves from the courtyard, it’s time to head into the keep.
Golden Leaf #3
You’ll now be inside Kanalet Castle’s keep.
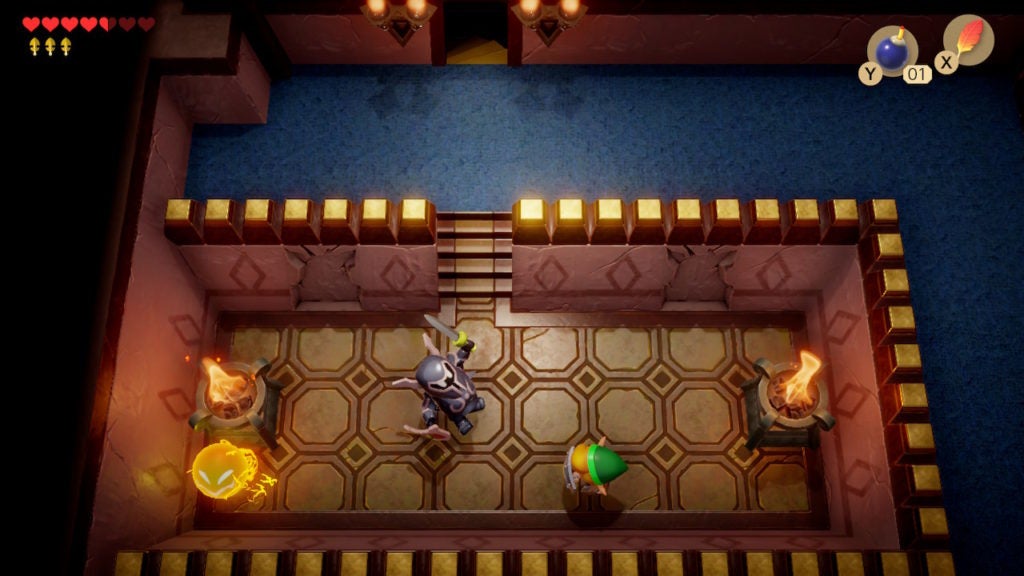
Go west to do battle with a few enemies, which will give you 1 Golden Leaf.
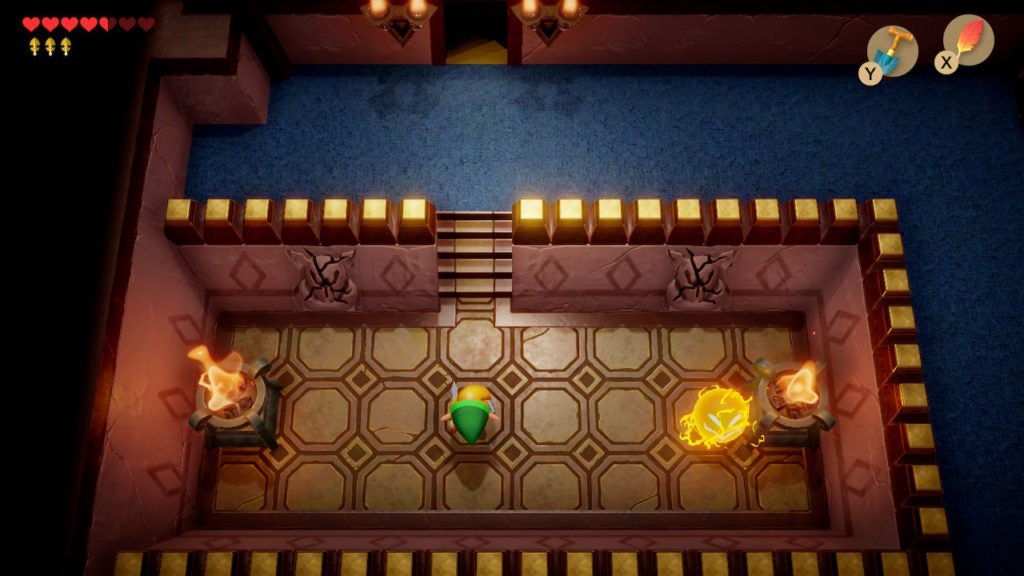
There is a squad of 4 adversaries you’ll need to deal with—1 of which is nearly indestructible by normal means. First, take out the 2 Darknuts before destroying the Red Gel. The Darknuts will be hurling spears at you, so liberal use of your Shield is recommended here. After these 3 foes are dead, a Golden Leaf will spawn nearby.
The last foe here is a Bubble, which can only be slain with Magic Powder (or the Boomerang, but it’s impossible for you to have it at this point). You don’t need to mess with them, however, so feel free to grab the Golden Leaf and proceed further into the keep.
Golden Leaf #4
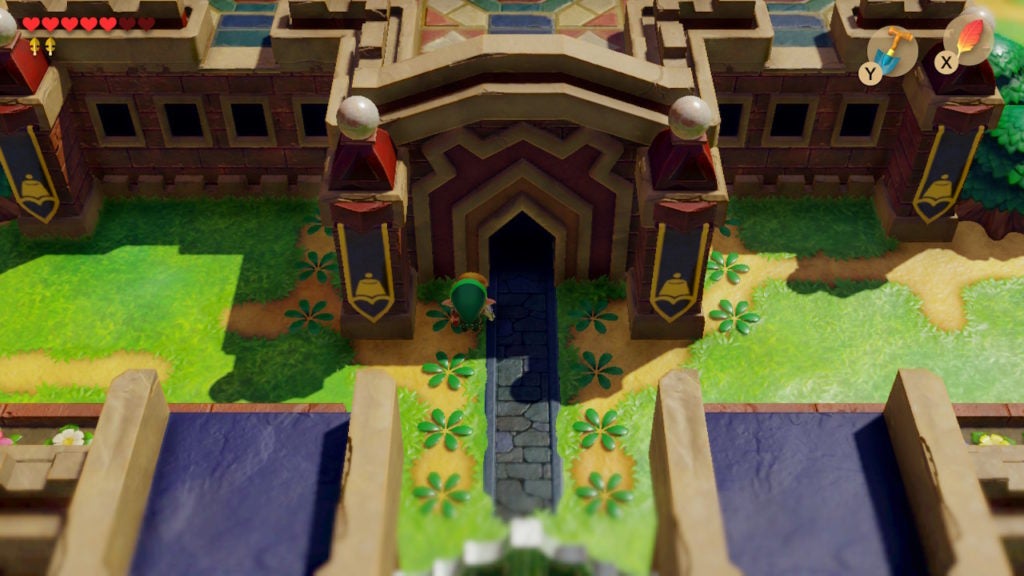
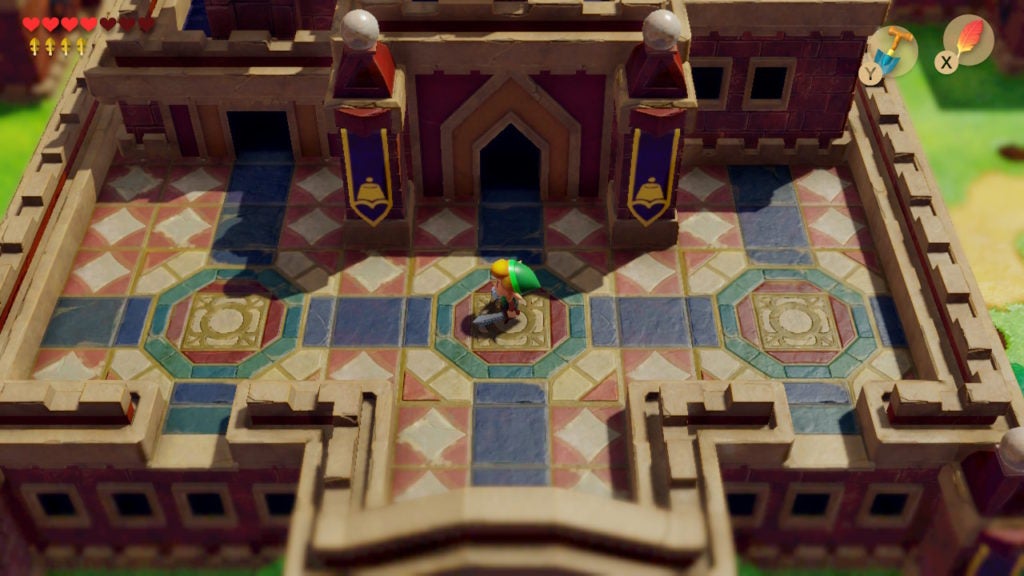
Follow the blue carpet north and then proceed east to find a button on the ground.
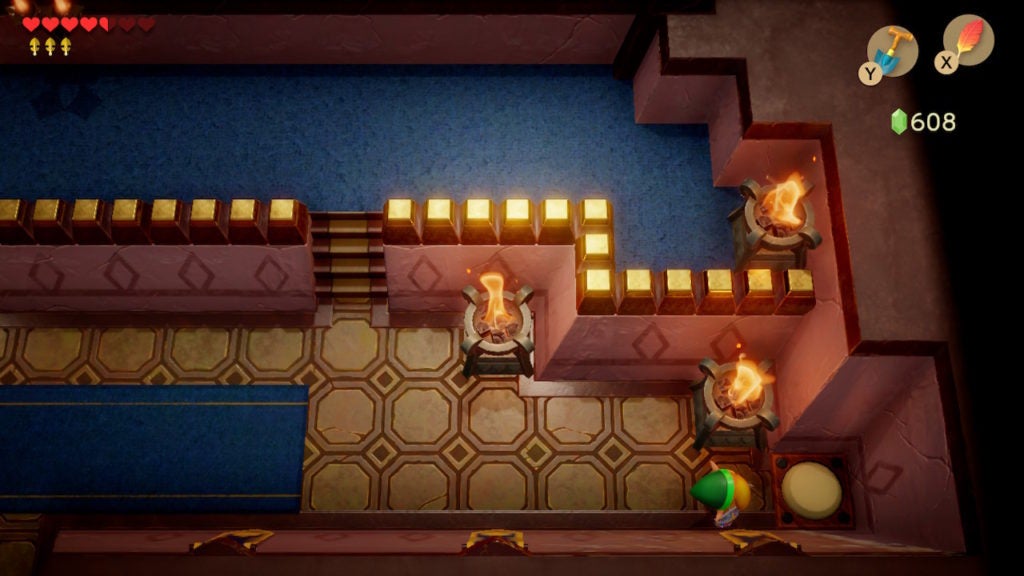
Press the button, and you’ll see a short cutscene revealing that the button has opened the main gate of Kanalet Castle. This is thankfully permanent and will grant you an easy way out after collecting all of the Golden Leaves.
Afterward, ascend the stairs and proceed west to find the way up to the second floor.
Here, you’ll find a set of stairs leading down to a small room with 1 Spark bouncing about. There are also 2 places in the walls with cracks. However, there are no hidden rooms behind these cracked walls. Instead, there are a couple of Darknut enemies within. You’ll need to take them out to get a Golden Leaf. Start by breaking them out of the walls with Bombs.
The Darknut foes that emerge from the walls are the kind that wields both a sword and a shield. It’s recommended to take them on 1 at a time. The Spark patrolling this floor will make things more dangerous, which is why it’s ideal to take care of your business within this room quickly.
After the 2 Darknuts are slain, 1 Golden Leaf will appear.
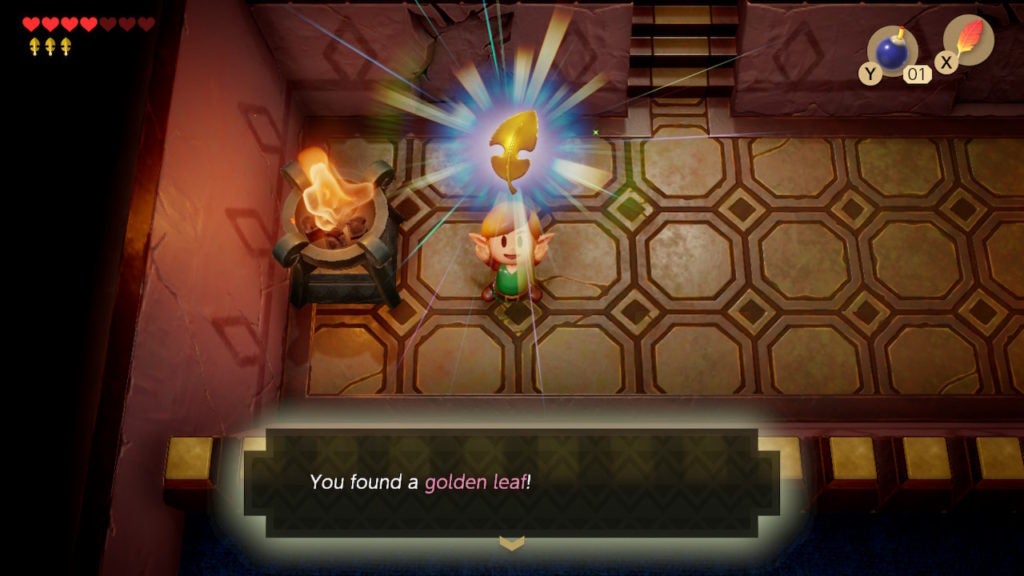
With this shining treasure in hand, you’ll now only need 1 more Golden Leaf. Get out of the tiny room and go east. Follow the linear path out while taking note of a formidable upcoming foe.
Golden Leaf #5
You’ll have to exit the keep’s upper level and re-enter it from the other possible entrance.
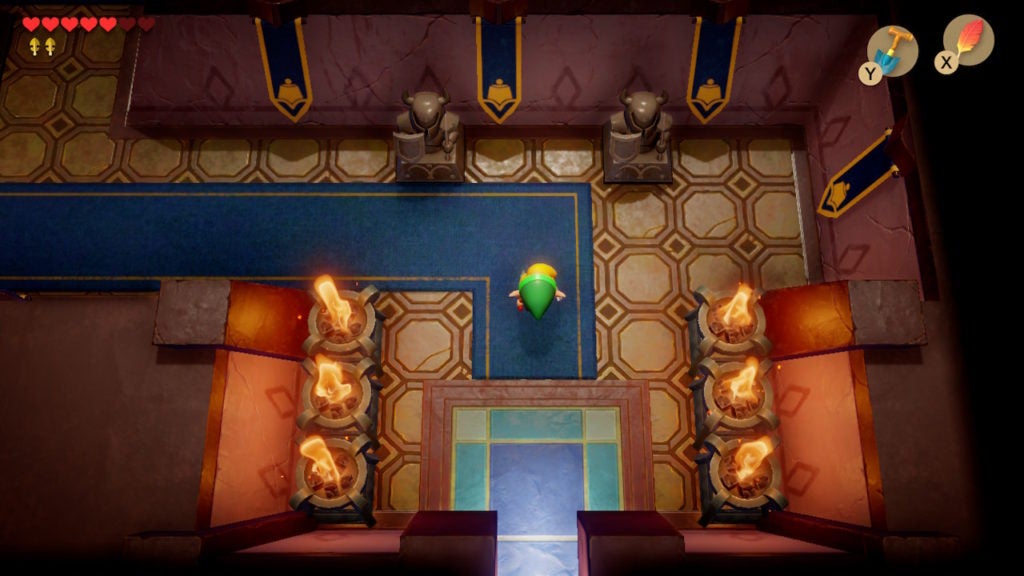
When you do, you’ll be in a room with a pot on the door.
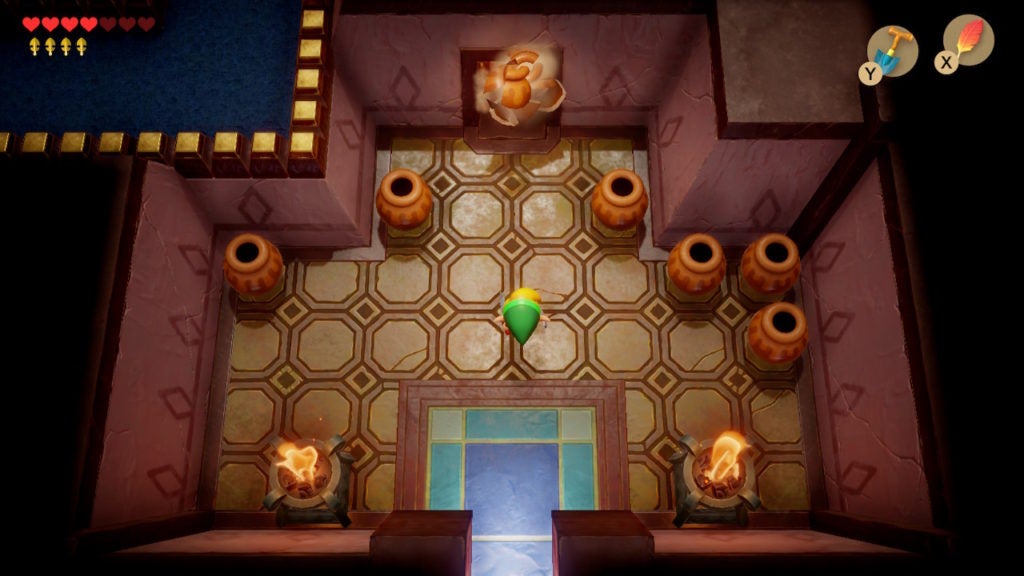
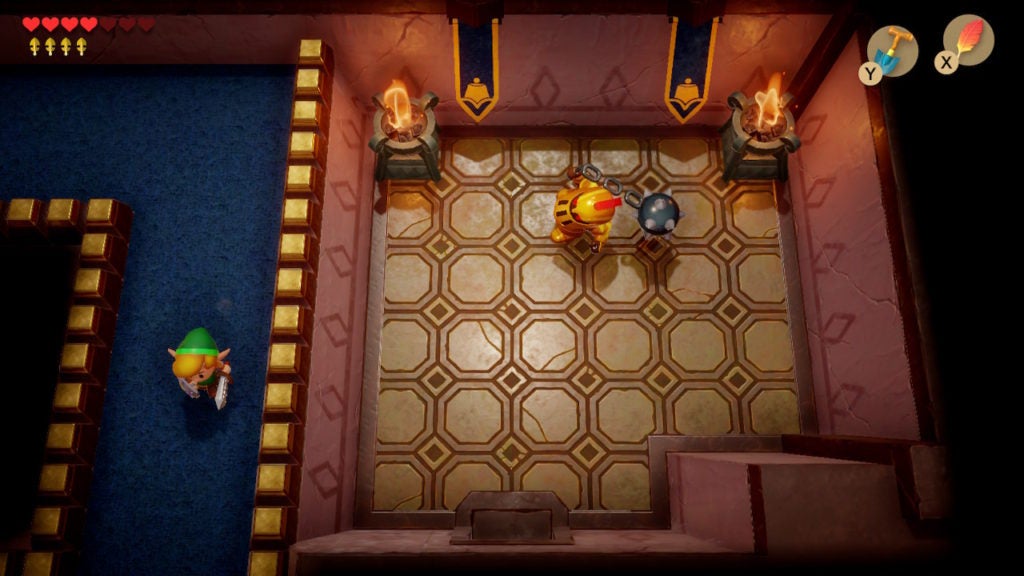
When you enter the room beyond the door that opens, you’ll have to fight the Ball and Chain Soldier you saw not long ago.
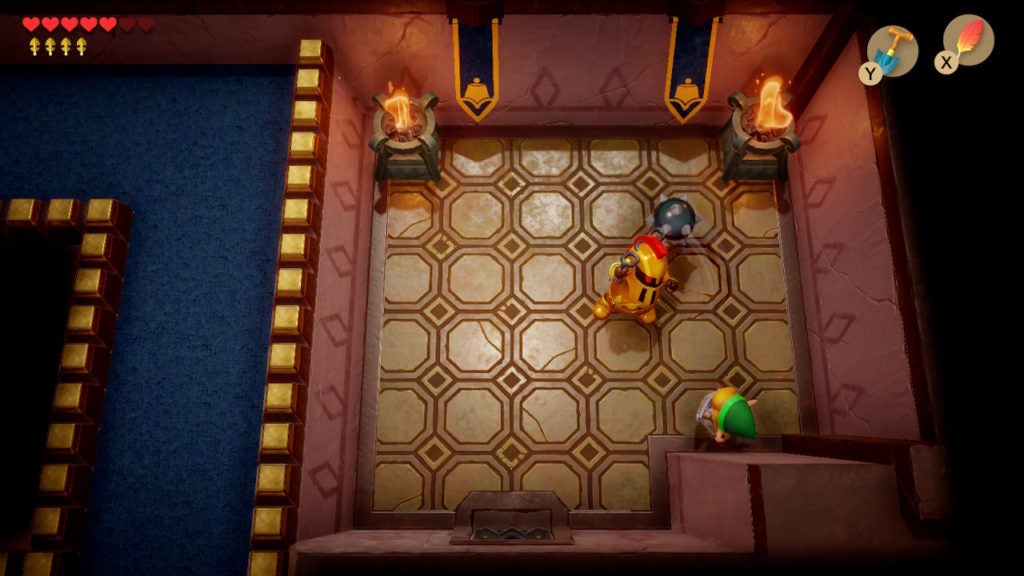
Easily the toughest foe in Kanalet Castle, the Ball and Chain Soldier will wield their massive flail aggressively. When they’re swinging their flail in a circle, all of your attacks will be deflected, so stay back and keep your Shield up. It’s worth noting that the Ball and Chain Soldier’s attacks will take away 1 full Heart of health instead of the half a Heart most normal enemy attacks do.
The only time this armored soldier is vulnerable is when they attack. Once in a while, they will launch their spiked ball at you in a powerful linear strike. It can be hard to dodge this assault due to the room’s small size. However, to defeat this knight, you must sidestep their attacks and hit them with your Sword before they can get their flail swinging again.
You’ll have to repeat this process a few times to take down the resilient enemy. After you’ve bested them in your epic duel, the Ball and Chain Soldier will drop the final Golden Leaf.
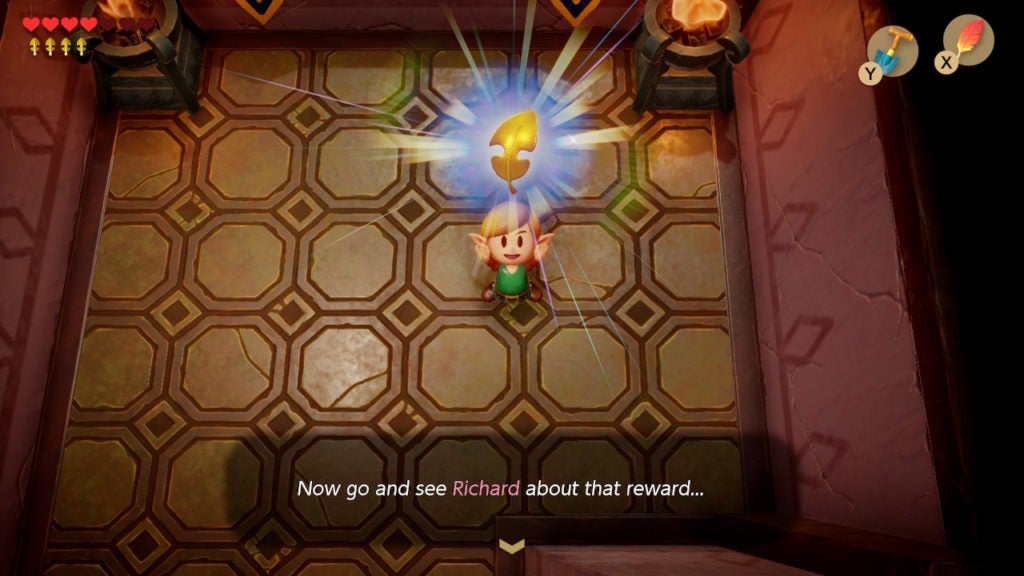
Go Back to Richard After Collecting All 5 Golden Leaves
With the 5 Golden Leaves all accounted for, it’s time to return to Richard for your reward. Make your way onto the upper area of the keep and leap off for a quick way out.
After that, proceed through the now-open main gate and head back to Richard’s Villa. Within, speak with Richard and he will open up a passage into his backyard.
Explore the Underground Tunnel for a Secret Seashell
After descending the staircase that Richard revealed to you, you’ll find yourself in an underground tunnel.
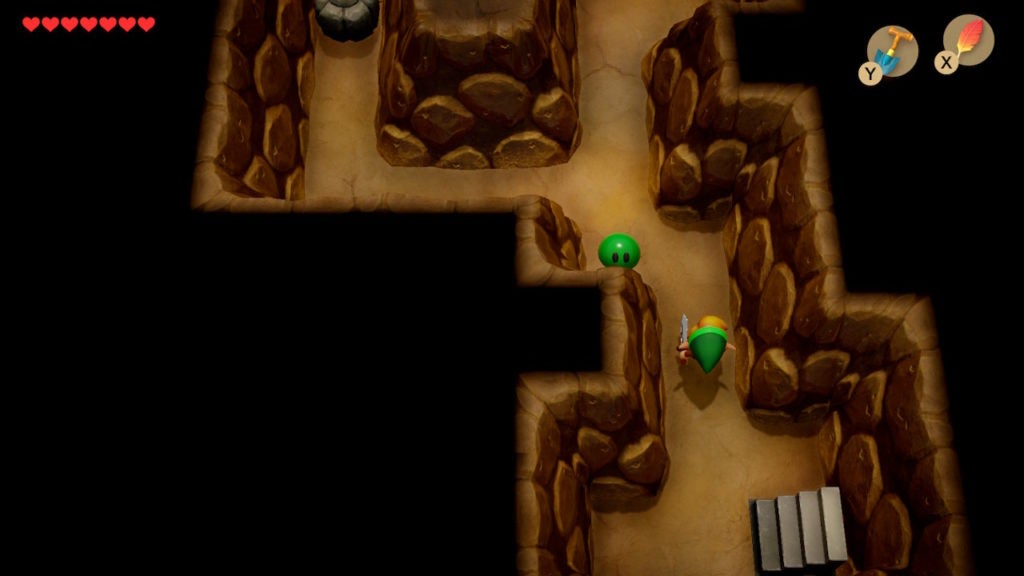
There are a few Green Gel enemies here, though, more importantly, there’s a chest with some loot close by. Take the left fork of the tunnel to find a rock.
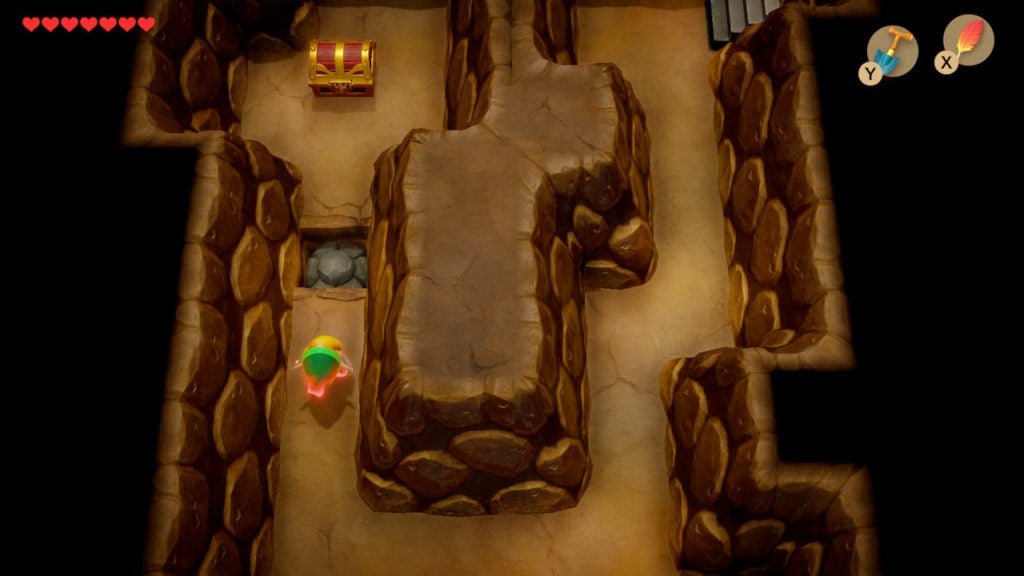
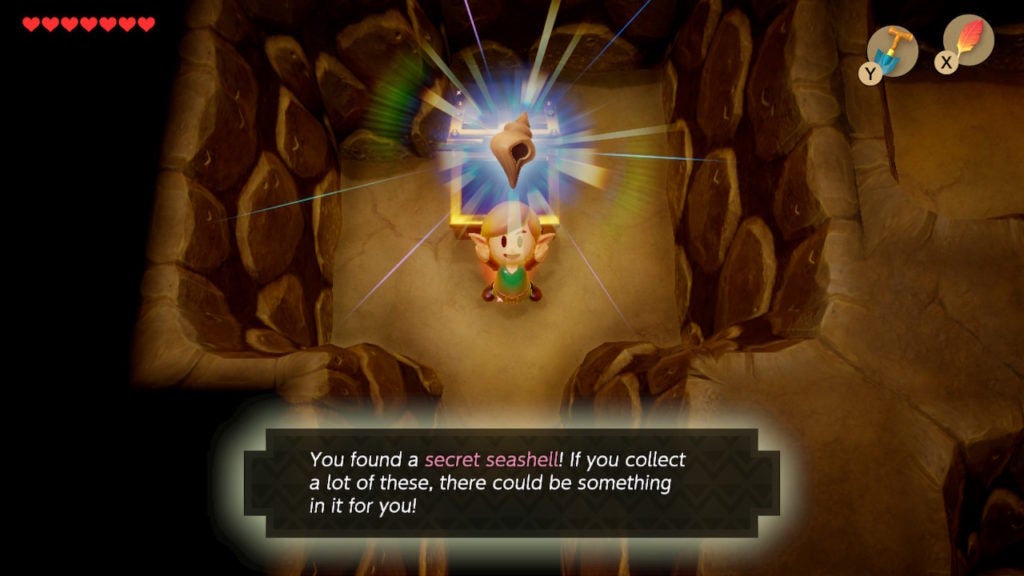
Push the rock into the hole north of it and cross over to access the chest. Within, you’ll find a Secret Seashell.
After grabbing this collectible, retrace your steps a bit and then take the right fork, which leads to a set of stairs.
Ascending the stairs will bring you to a room with a southern exit. Leave that way to get out of this underground area.
Search Richard’s Yard for the Slime Key
When you’re back in the open, you’ll be in Richard’s large yard.
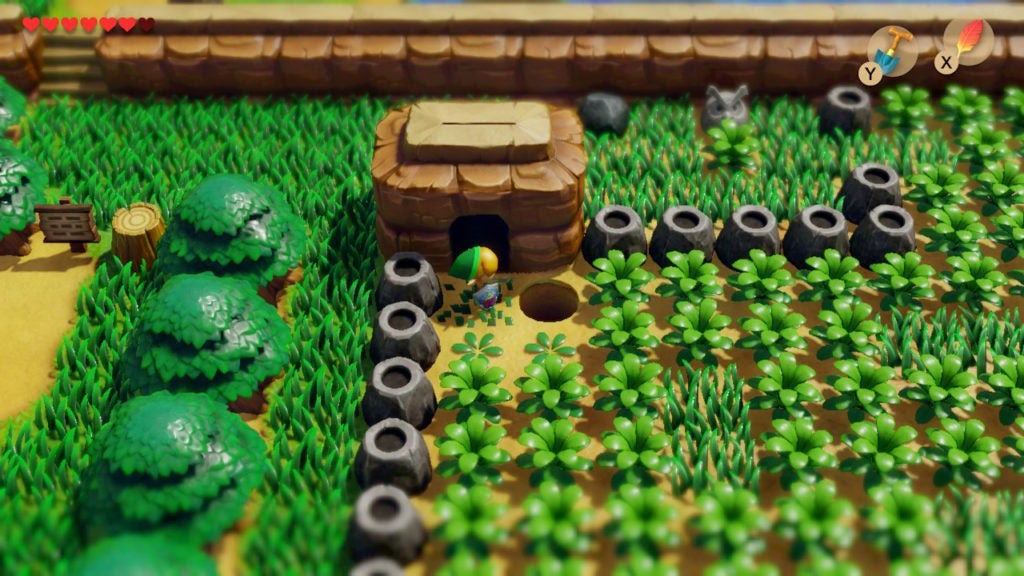
Be warned that this dangerous yard is why the area is known as “Pothole Field”. To make your way through it, you must cut through the shrubbery to advance while being careful of the many holes under the vegetation that you can fall into.
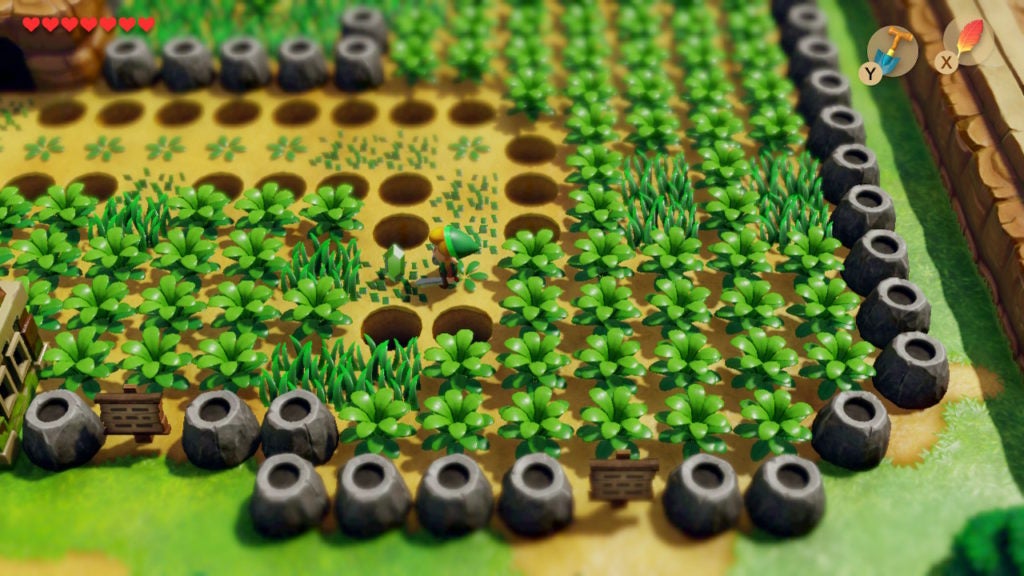
You’ll have to slowly make your way east and then south while progressively uncovering the correct path. There’s no easy trick here, you just have to use the trial-and-error method.
Eventually, you’ll need to go northward. Though, when you do, you’ll spot some treasure.
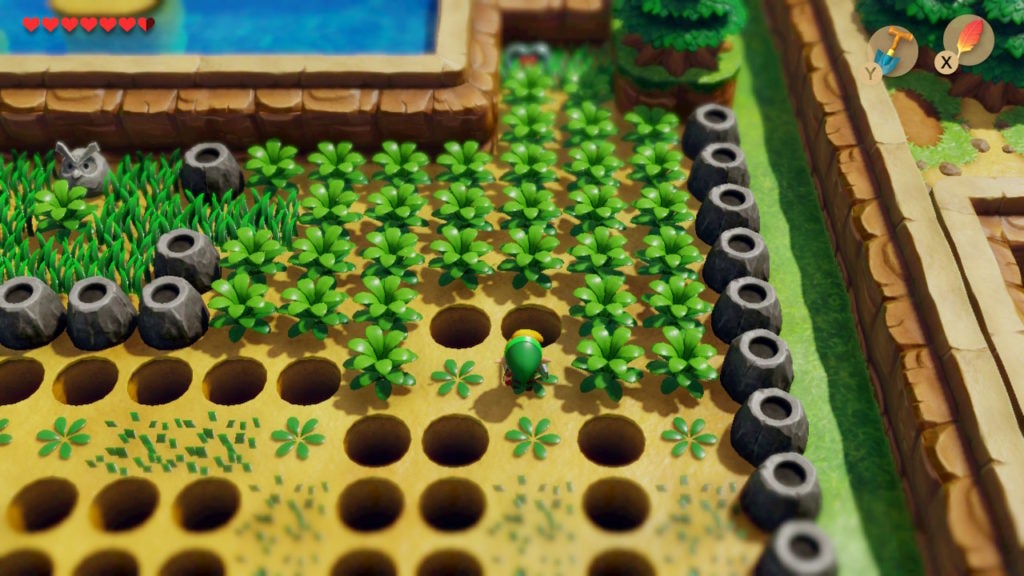
Get the Heart Piece in the North of Pothole Field
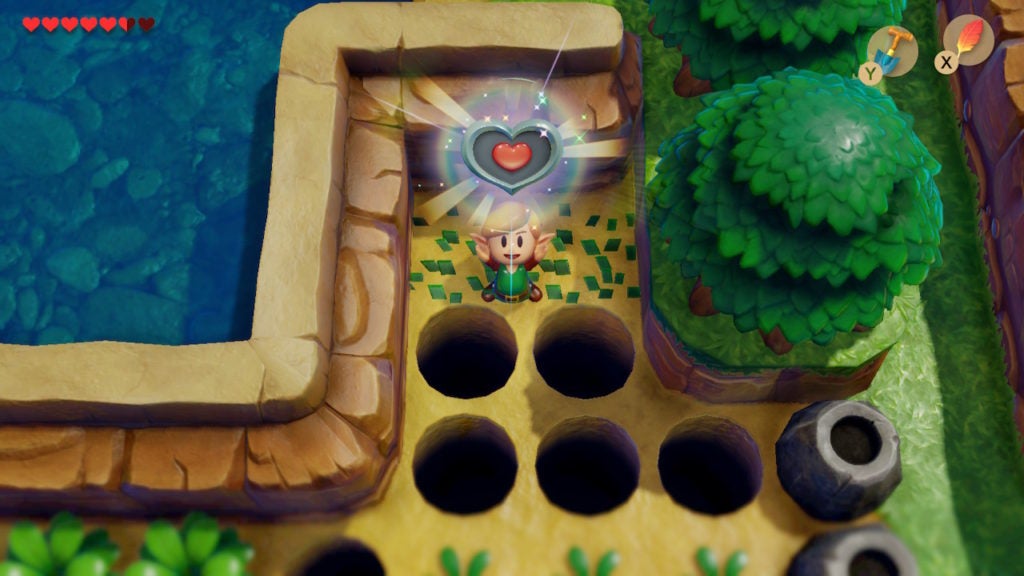
Cut your way north until you reveal the 2×2 gap of holes separating you from the Heart Piece. While the jump is tricky, you can definitely make it with just the Roc’s Feather. To make a 2-space jump, you have to come to the very edge of the hole before leaping. The easiest way to do this for a 2×2 gap is to approach the holes from the center (between the closest 2 holes).
Speak to the Owl Statue
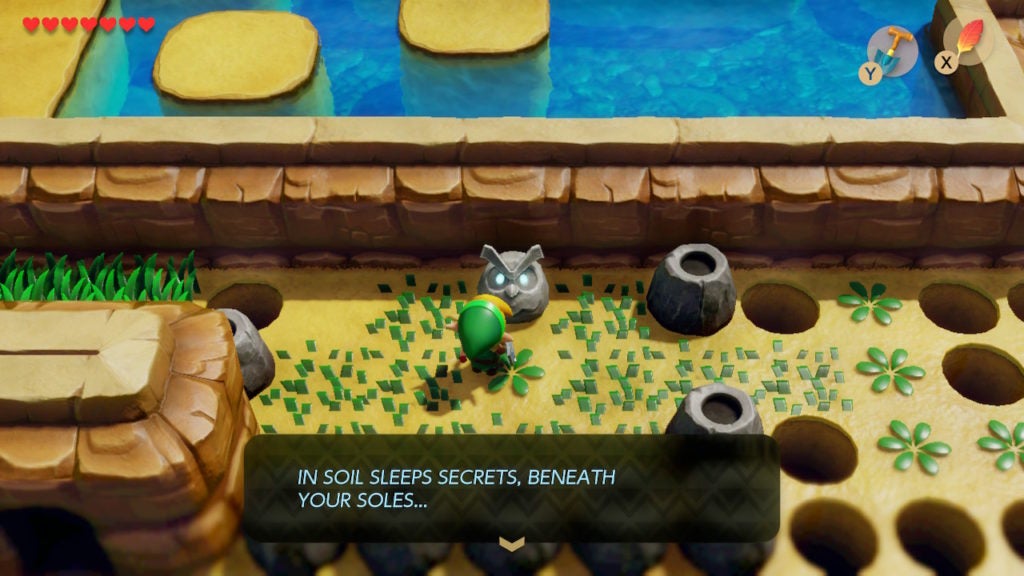
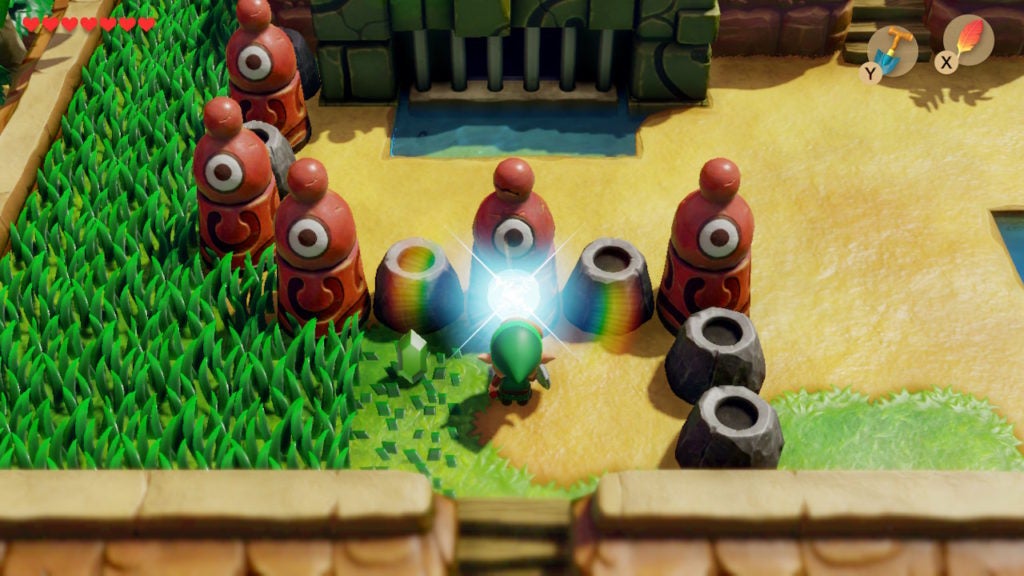
After grabbing the Heart Piece, proceed to the west of Pothole Field to reach an Owl Statue. Speaking to it will give you a hint about digging in the area with your Shovel.
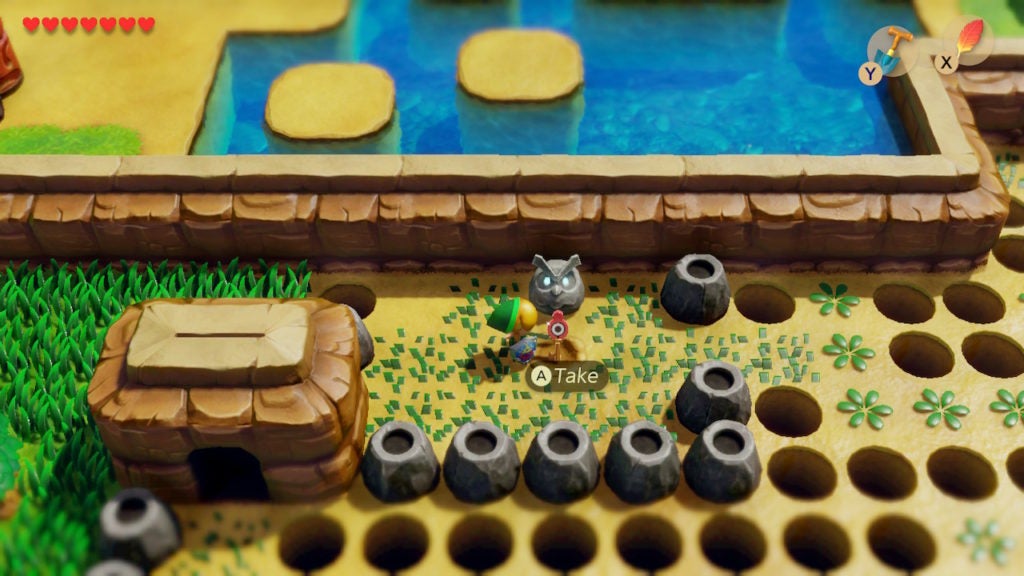
Dig the soil in front of the Owl Statue to find the Slime Key, which you can take and hold above your head triumphantly.
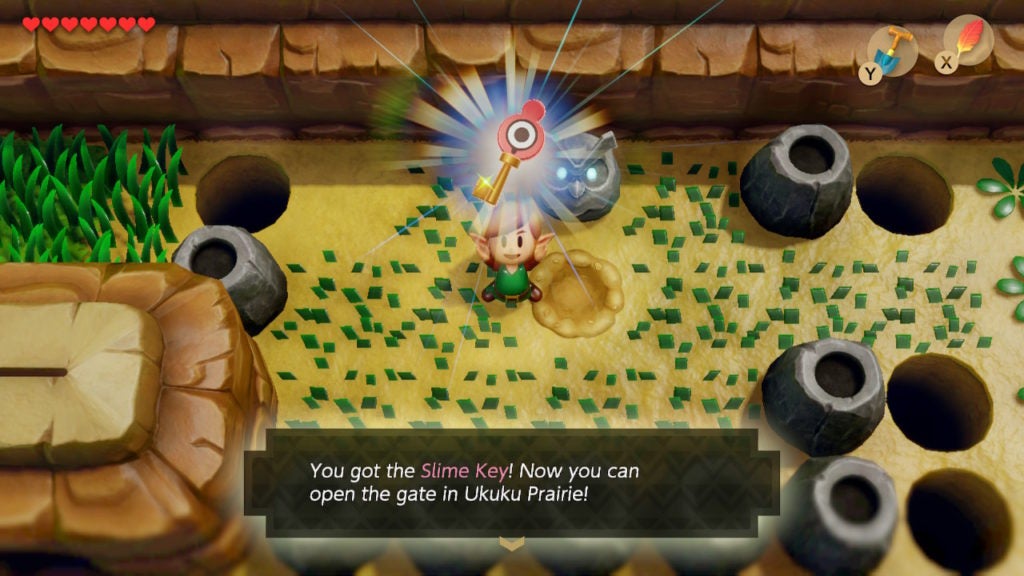
With the key in hand, you can now head to the Slime Keyhole in front of the next dungeon to unlock it.
How to Enter Level 3 – Key Cavern
You can jump over a small hole to the west of the Owl Statue for a faster way to the Slime Keyhole. When you reach it, interact with it to insert the Slime Key.
This will cause the iron bars on the north side of the Slime Keyhole barrier to disappear, allowing passage. However, you must go all the way around Pothole Field now to enter it.
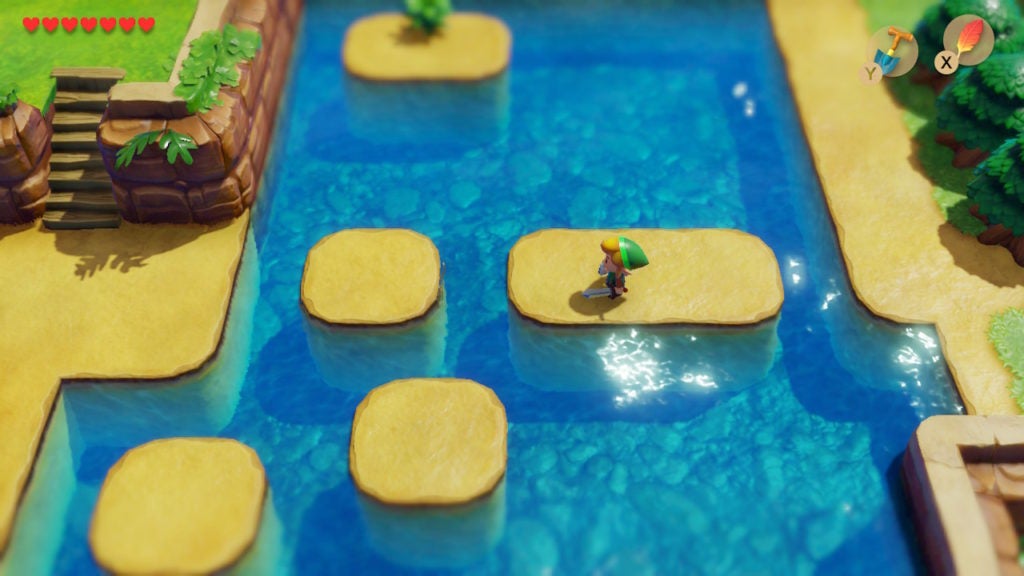
You should be familiar with this area by now after grabbing the Secret Seashell from above the dungeon entrance. However, this time, you can cross the small islands with the intent to go dungeon-delving.
Now that the iron bars are no longer in your way, it’s time to conquer Level 3 – Key Cavern.