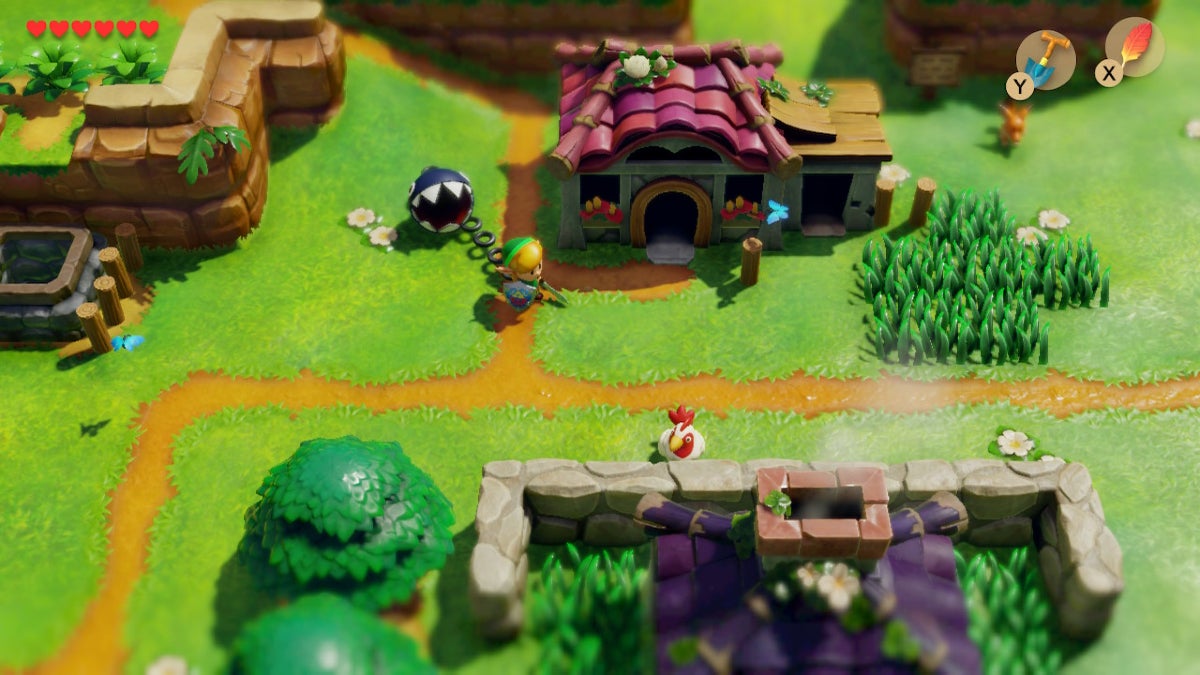
After getting some tips that you should go north to Goponga Swamp, you should make your way through Mabe Village to head in that direction.
Table Of Contents
Discover the Problem
As you pass through the southern entrance of Mabe Village, Joonya and Kidoh, 2 children from the big family house, will tell you about something terrible that just happened.
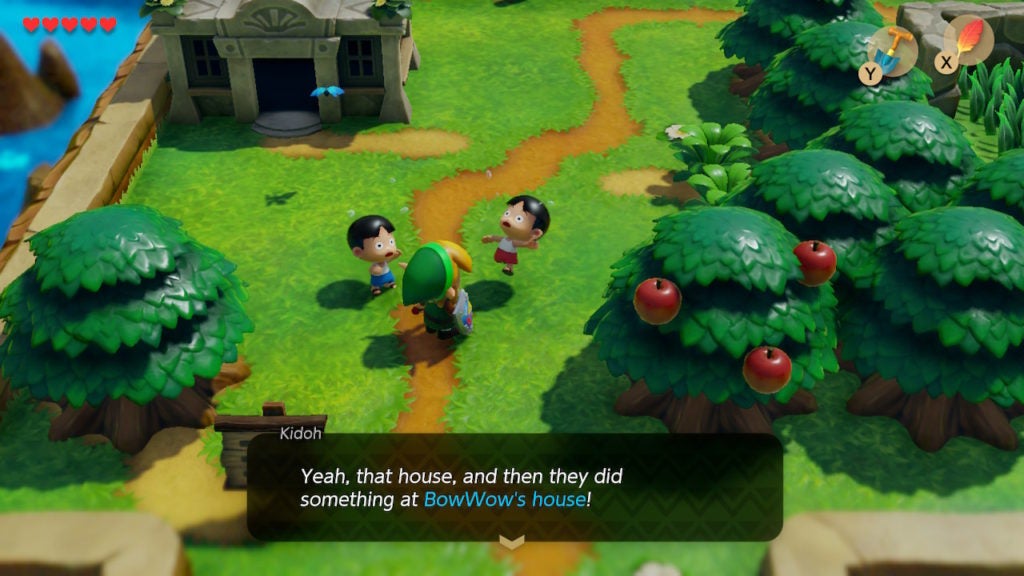
Apparently, some Moblins made their way into town and did something at the house with BowWow out front. When you go there yourself, you’ll be able to learn more.
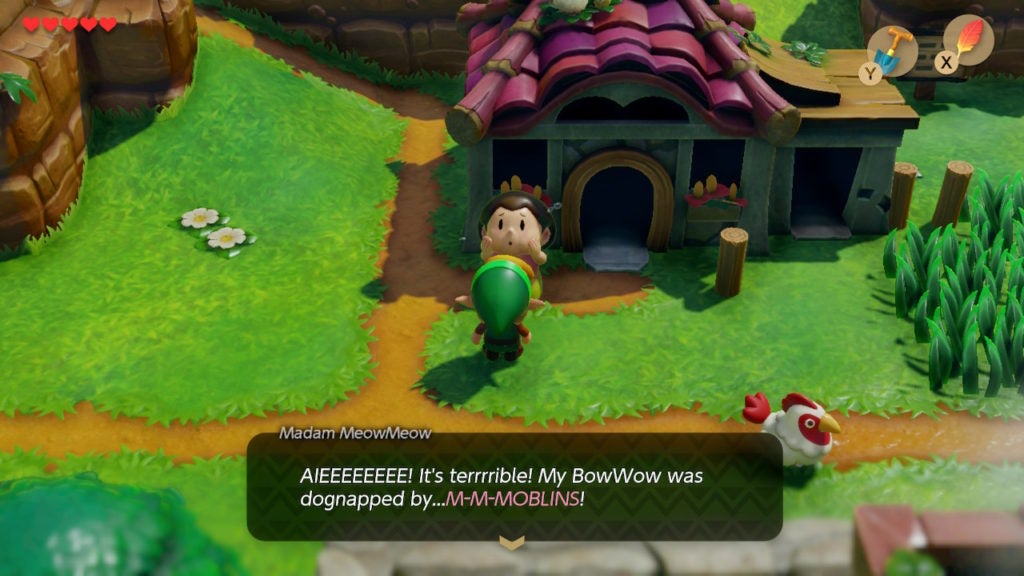
Speak to Madam MeowMeow outside of her house to learn that Moblins have dognapped (chompnapped?) the beloved BowWow. There will also be a subtle hint that the Moblin’s lair is located north and by Goponga Swamp, though, this isn’t very specific.
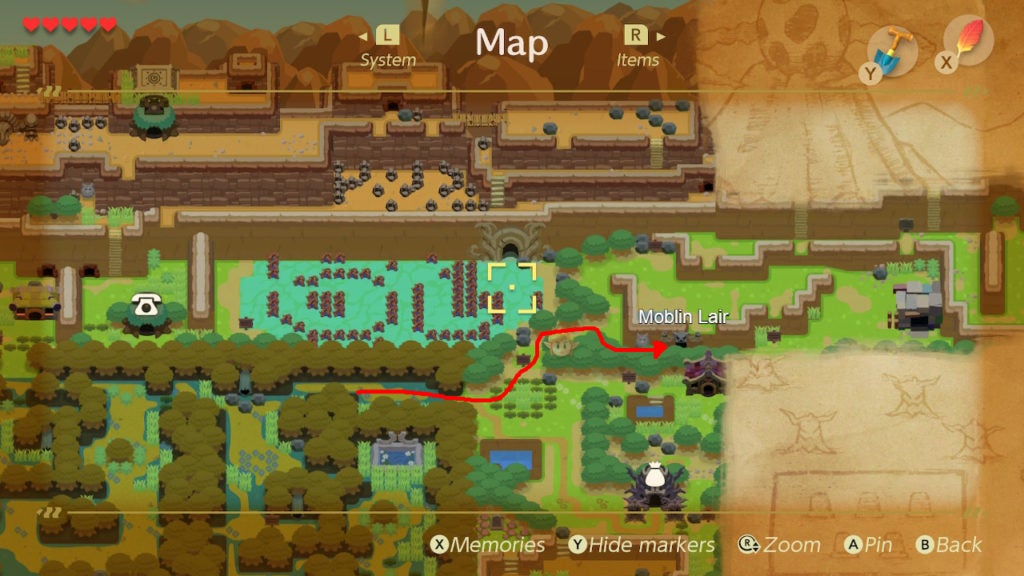
After you learn of BowWow’s abduction, don’t go into Goponga Swamp! You will need to go east of it to find the Moblin Cave. Since Goponga Swamp is surrounded by rocks that you can’t move yet on its east and south sides, you can’t make progress that way. The best route to take is through the Mysterious Forest and Koholint Prairie.
How to Find the Moblins Who Abducted BowWow
First, you’ll want to head to the northeast part of the Mysterious Forest. From there, you’ll need to enter Koholint Prairie, but instead of going south to see the witch, you’ll need to go north.
You will have to equip the Roc’s Feather and leap over some holes in the ground at the northwest corner of Koholint Prairie. If you haven’t already, be sure to grab the Heart Piece that’s in the grassy patch surrounded by the holes.
Afterward, travel east and stick to the south. Soon, you’ll spot an owl statue and a sinister-looking entrance adorned with a skull.
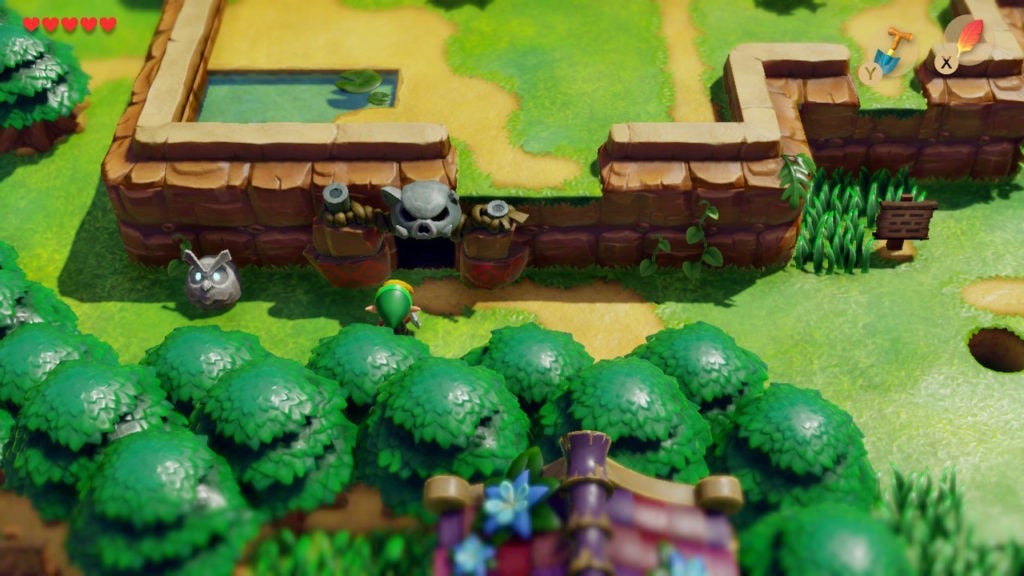
Before you head into the Moblin’s lair, make sure you have full health. There are 3 rooms in the Moblin Cave, and all of them will have combat challenges. When you’re ready, step through the entrance to begin the rescue operation.
How to Clear the Moblin Cave
The moment you enter this location, a voice will speak and order all of the Moblin’s within the cave to attack you. Thankfully, the first room is pretty easy.
Clearing the First Room

There will only be a single Moblin with a shield and a sword in the first room. If you’ve dealt with these kinds of enemies in the Mysterious Forest, you’ll have no problem dispatching this foe.
To best this beast, hold your Shield up so that their sword strikes it. This will cause the Moblin’s blade to be deflected and will stun them briefly. This is your opening to turn the tables and attack them with your Sword. Just be wary of the cracked floor tiles in the southeastern corner and you’ll win this fight easily. Standing on a cracked floor tile too long will cause it to break and you will fall through.
Clearing the Second Room
After clearing the first room, the door to the next one will open. When you enter it, you’ll be ambushed by 4 spear-throwing Moblins, so be quick to raise your Shield.
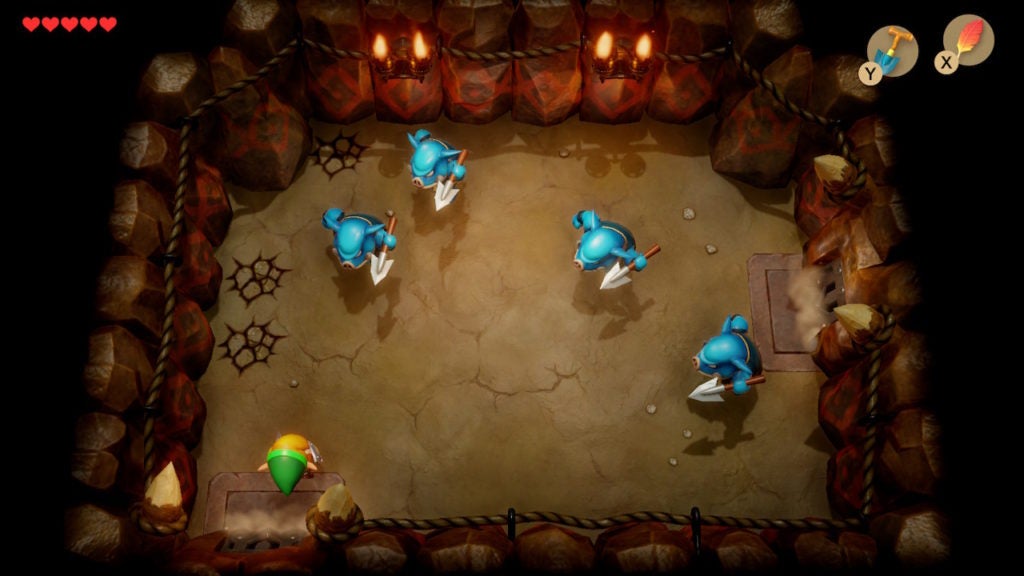
The safest position to be in is against the southern wall with your Shield raised and facing north. This will make all the linearly-attacking Moblins throw their spears at you from the same direction. This means there is no way for the Moblins to hurt you with your Shield up unless one of them flanks you. While it’s possible to get flanked, the Moblins’ AI isn’t sophisticated enough to do this on purpose, so the odds are low.
As for taking the Moblins down, you’ll want to focus on attacking the ones closest to you. Use your Sword to slash at the Moblins one by one until they are all defeated. Patience is key here, as you want to attack when there isn’t a spear being thrown at you. At first, this will be tricky, but after slaying the first Moblin, there will be more windows for attacking.
You’ll want to retain as many Hearts as possible, as the room after this one contains a tough unique enemy: the Moblin Chief.
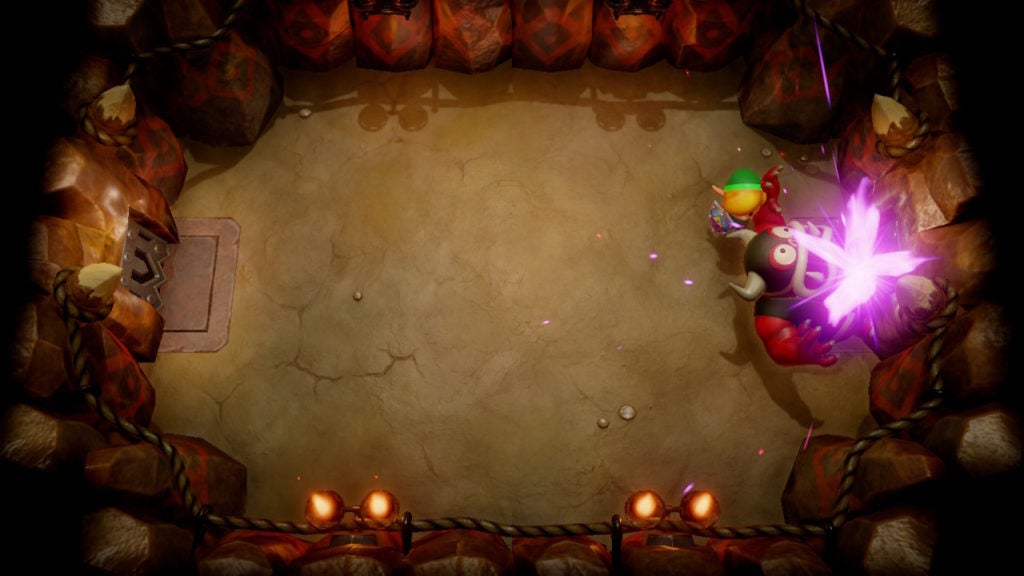
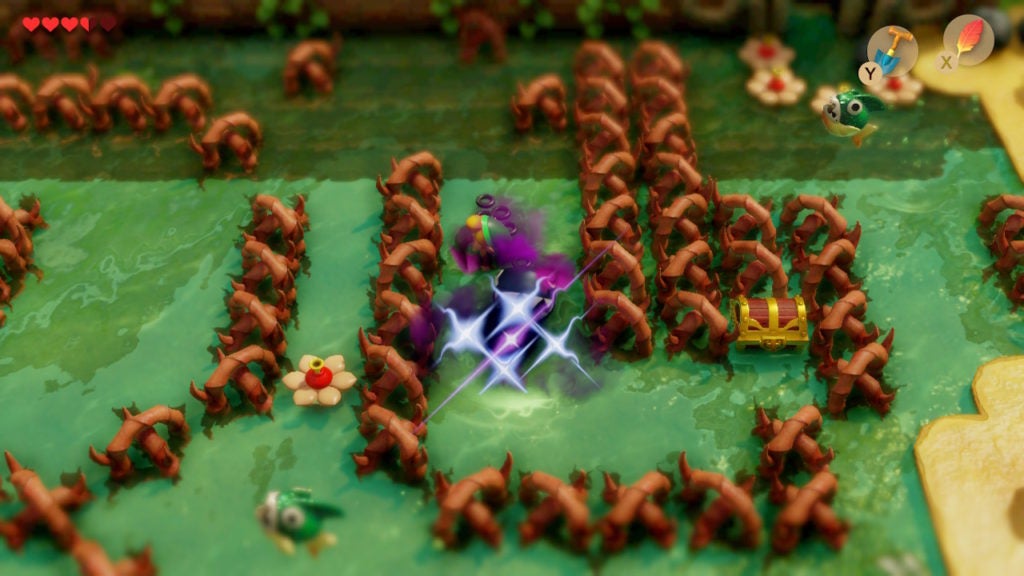
Clearing the Last Room and Beating the Moblin Chief
When the 4 spear-throwing Moblins are dealt with, the room beyond will be unlocked. If you proceed, you will initiate the fight against the leader of the Moblin Cave.
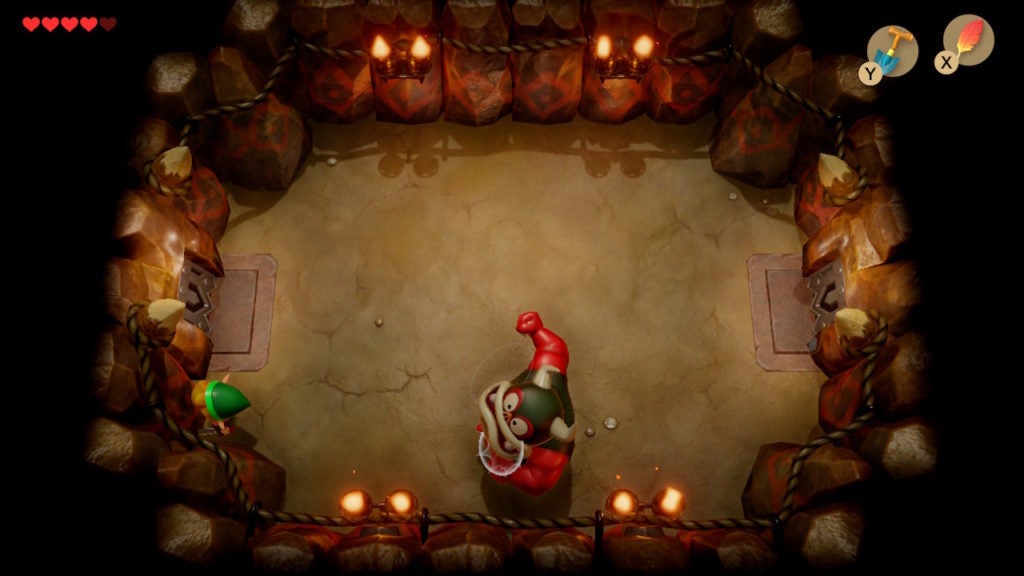
Unlike the previous 2 rooms, evasion will be more important than defense. The Moblin Chief has 2 attacks: a ranged attack and a charging melee attack.
Like the spear-throwing enemies in the previous room, the Moblin Chief will throw projectiles at you, though, he can only do so horizontally. As such, if you stay on the opposite side of the room from him, you can easily walk north or south to sidestep the spears being thrown your way. Furthermore, staying on the opposite side of the room from the Moblin Chief will trigger his charge attack.
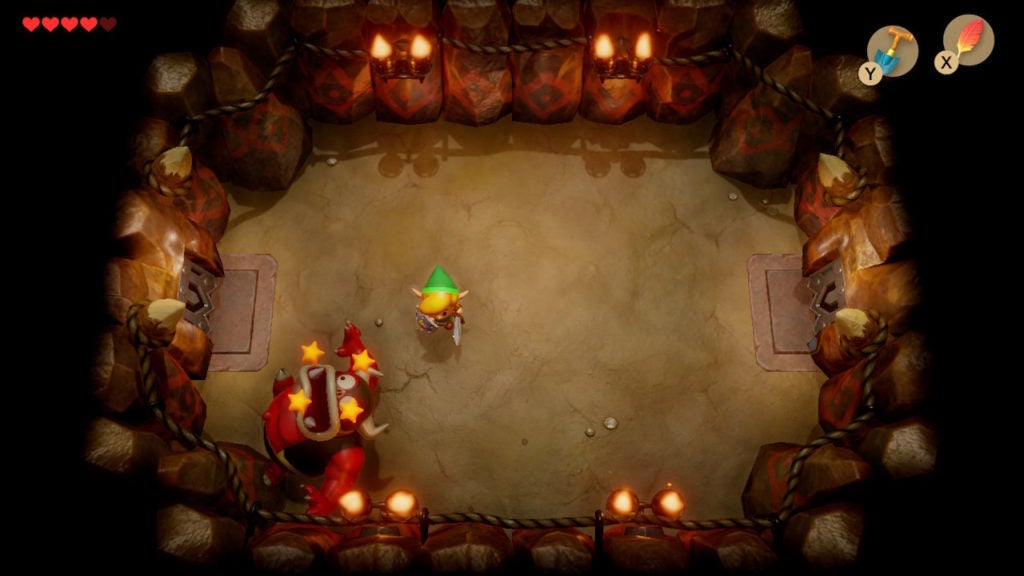
The Moblin Chief will beat his chest before he does his charge attack, which gives you a clear signal to get ready for it. When you see this, be ready to sidestep his bullrush. The Moblin Chief will run at you in a straight line, but only horizontally. If you are far enough from him, you should be able to move out of his path in time. If the foe misses his attack and runs into a wall, he will get stunned for a few seconds. This is your chance to attack.
When you see stars above the Moblin Chief’s head, you have a couple of seconds to get some strikes in. The only way to hurt him is to hit him with your Sword while he is stunned. If you try to attack him with your Sword any other time, he will block with his beefy arms.
Although the Moblin Chief has a lot of health, you’ll be able to defeat him if you focus on avoiding his attacks.
Save BowWow
Your last strike on the Moblin Chief will cause them to explode dramatically but will also open up the room to the east. Before you progress, be sure to grab the Fairy that spawns after the chief’s demise.
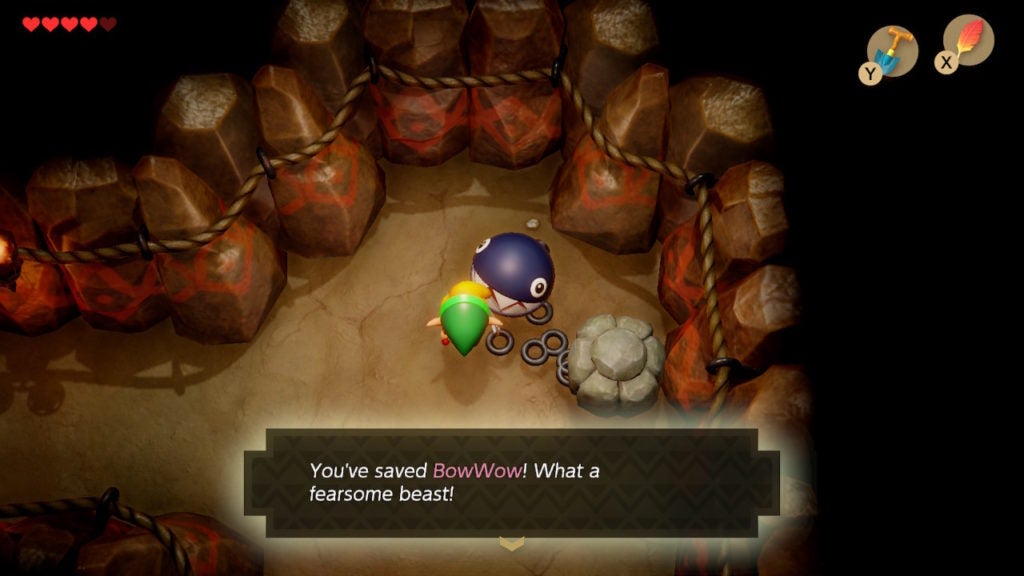
In the last room of the Moblin Cave, you’ll find BowWow unharmed but chained to a rock. You don’t need to move the rock, as walking up to BowWow will attach their chain to your hand.
With the fearsome beast accounted for, you can now leave the Moblin Cave.
What to Do After Saving BowWow From the Moblins
After you leave the Moblin Cave, the wise Owl will immediately swoop down to remind you of your next destination.
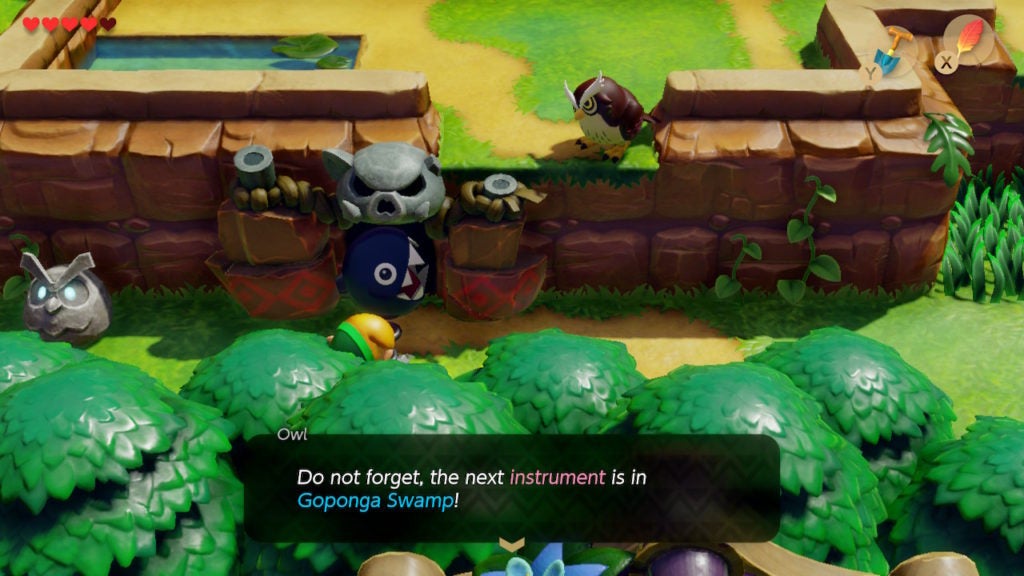
However, before heading straight there, you can do a bit of exploring with BowWow. This is the only time in the game you’ll be able to be accompanied by a chain chomp, so be sure to make use of it! BowWow can do a few things that make them handy to adventure alongside.
What BowWow Does
- Will kill and eat any regular enemy nearby in 1 hit
- Can smell nearby Secret Seashells
- Can eat the Goponga Flowers and Giant Goponga Flowers in Goponga Swamp
Where You Should Explore With BowWow
If you want to go on a pleasant stroll without fearing enemies, you can wander around with BowWow in tow to let them deal with foes. While this won’t result in much progress, it’s surprisingly satisfying to watch BowWow one-shot Moblins and Like Likes.
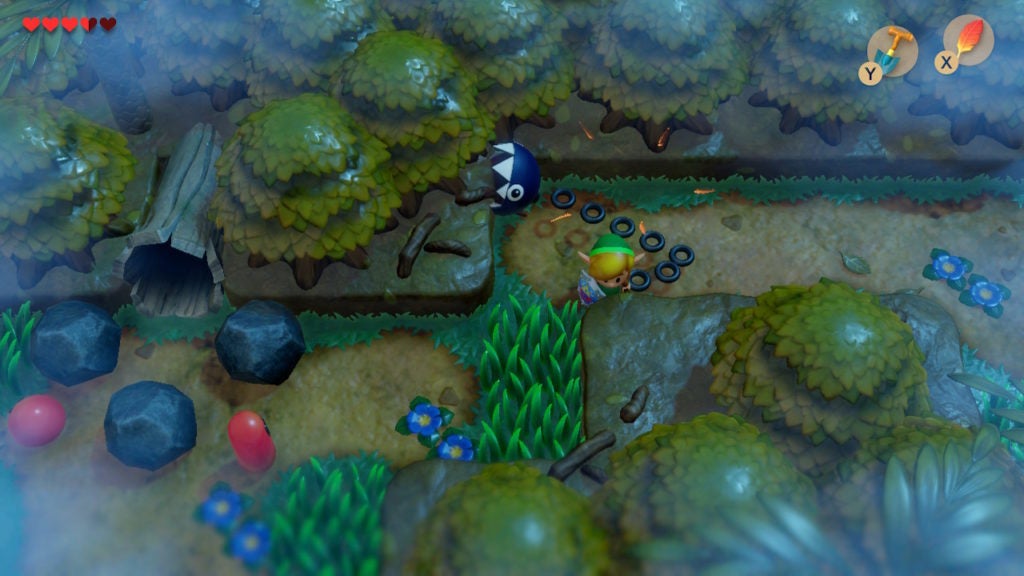
With that said, since BowWow will tell you about nearby Secret Seashells, you can use them to seek out these rare collectibles. You won’t be able to travel too far yet, as you lack many important items for traversing Koholint Island’s landscape.
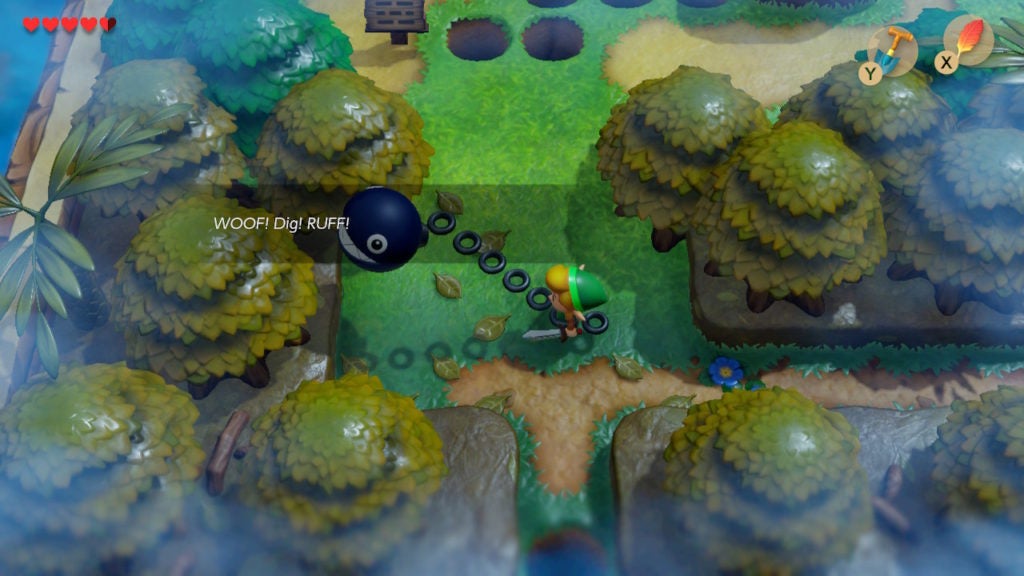
However, you can scour a few locations nearby. This is handy to do now, as the next time you’ll be able to get a Secret Seashell detector (the Seashell Sensor) is after you find 15 Secret Seashells and visit the Seashell Mansion for a reward. Since that won’t be for a while, you might as well search some early-game locations with BowWow at your side. When you’re close to a Secret Seashell, BowWow will bark and tell you where to dig. Make sure you have the Shovel handy in order to reach some Secret Seashells.
Where You Can Explore With BowWow to Find Secret Seashells
- North of the Moblin Cave entrance, there is 1 Secret Seashell
- In Tabahl Wasteland, BowWow can sniff out 1 Secret Seashell on the eastern side
- You can find the 1 Secret Seashell in the field north of Trendy Game in Mabe Village
- Your new friend will help you find the 2 Secret Seashells on Toronbo Shores (1 on the west side and 1 on the east side)
- You can find 2 out of the 3 Secret Seashells in the Mysterious Forest (you need the Power Bracelet from Level 2 – Bottle Grotto to get the 3rd Secret Seashell)
- North of the Telephone Booth that is north of the Mysterious Forest, you can find 1 Secret Seashell
Use BowWow to Enter Level 2 – Bottle Grotto
With BowWow’s aid, you’ll be able to traverse Goponga Swamp easily. Start from the west end of the swamp and make your way toward the east. On the way to the dungeon entrance, be sure to grab the 1 chest that’s by a Giant Goponga Flower.
This secluded chest holds 50 Rupees, so be sure to grab it now while you have a way to destroy the Giant Goponga Flowers. Otherwise, you’ll have to wait until you get a more powerful weapon to dispatch the dangerous flora. Even though it will be satisfying to clear out the hostile plants, remember that they respawn when you leave the area, so don’t get carried away trying to exterminate them all permanently.
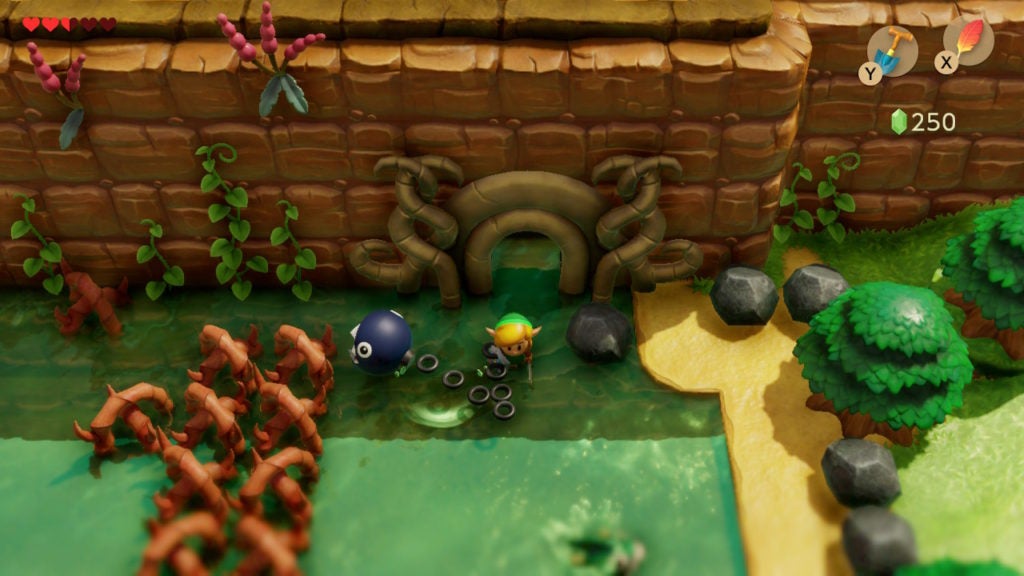
After you loot the sole chest in the swamp, make your way to the northeast to reach the dungeon’s entrance. BowWow will clear away the Goponga Flowers barring your path. However, the fearsome chain chomp will not be able to accompany you on your adventures within the next Nightmare’s lair. Don’t worry, though, as BowWow will wait for you just outside the dungeon’s entrance. You’ll be able to take them home to Mabe Village afterward.
It’s now time to beat Level 2 – Bottle Grotto.