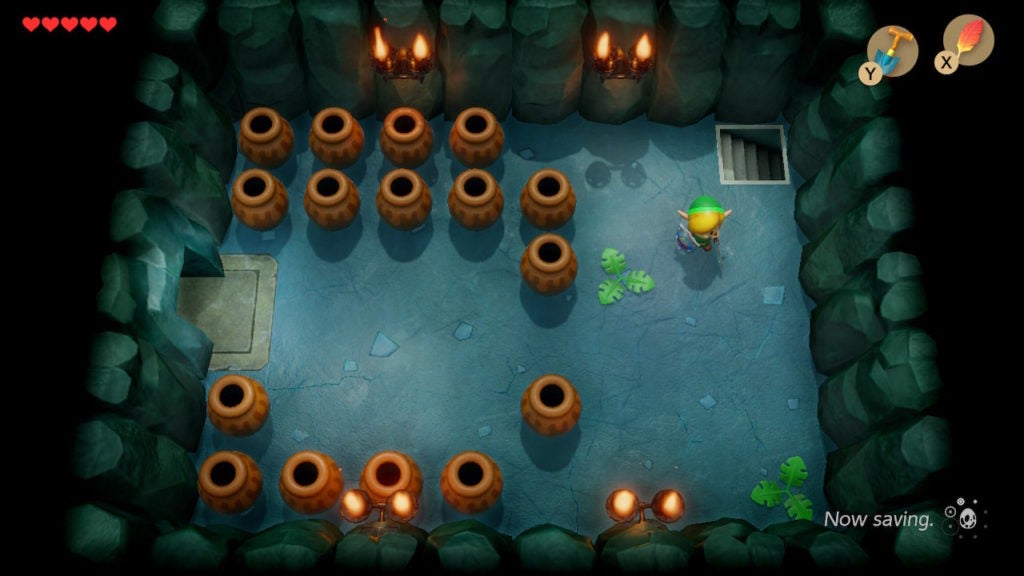
After making your way to the entrance in the face of a rocky wall within Goponga Swamp, you’ll have to leave BowWow outside before venturing forth into the dungeon. There’s no need to worry about the friendly chain chomp–it will be there when you return. Now, get ready to smash a lot of pots.
Table Of Contents
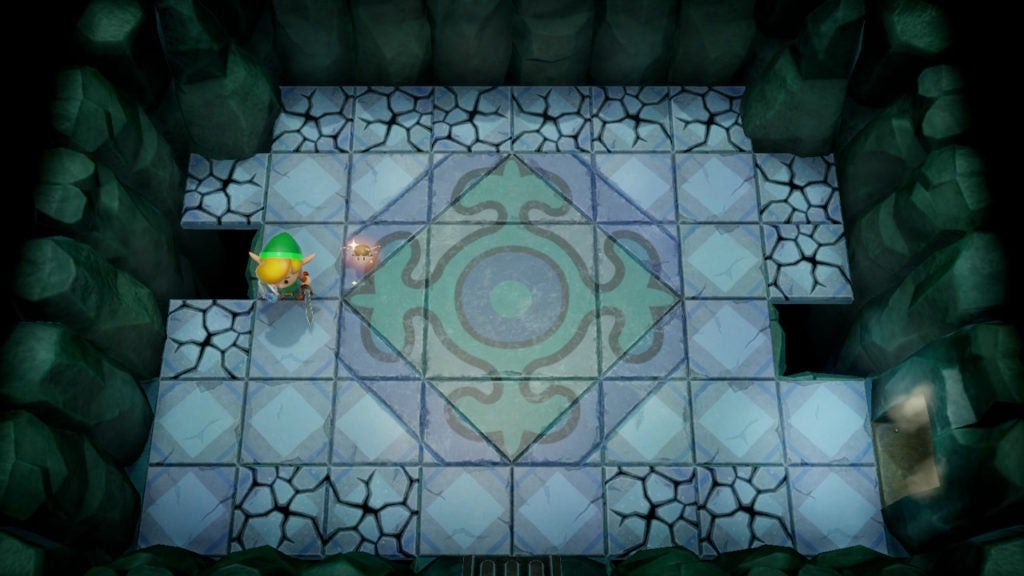
Note the Chest in the Main Entrance
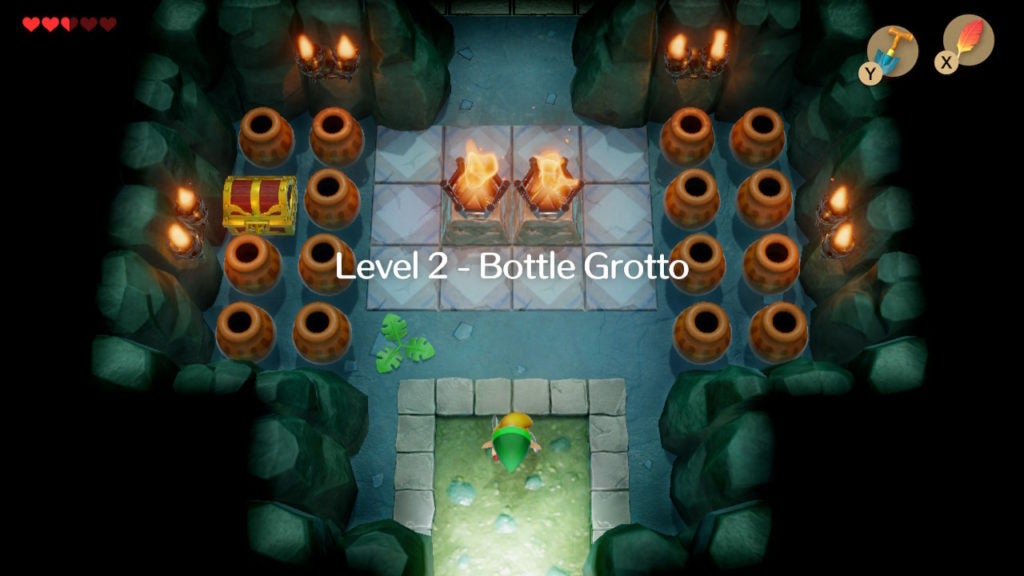
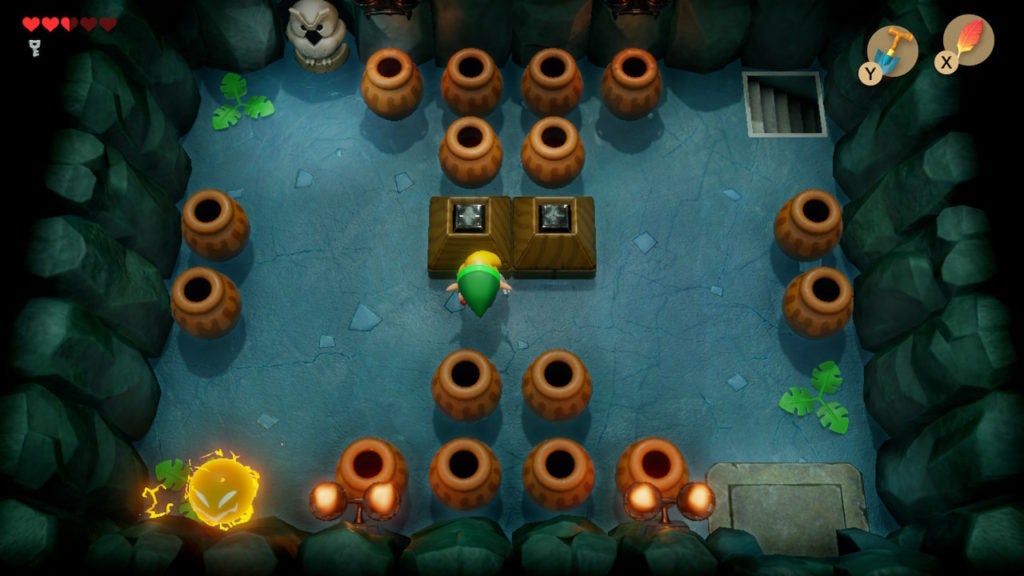
Right away, you’ll see something that you won’t be able to get until later. The chest in Level 2 – Bottle Grotto’s main entrance will tease you, however, it doesn’t contain anything vital. It holds 50 Rupees, which you should definitely grab at some point, but you’ll need the Power Bracelet to pick up and throw the pots blocking it.
Like with all dungeons, you will eventually unlock a warp point that connects the main entrance to the mini-boss room. Though, since you won’t get the Power Bracelet until late into this dungeon adventure, it would be best to grab it after clearing the rest of Level 2 – Bottle Grotto.
For now, all you can do is head north, so go that way when ready.
Find the Compass
The first of the main dungeon items that you’ll want to get in Level 2 – Bottle Grotto is the Compass. It’s conveniently located close by—just a bit to the east. However, you’ll have to make your way north and go around. When you enter the room north of the main entrance, you’ll walk into a dark chamber with only 1 Spark enemy to dimly illuminate it.
Get Through the Dark Room
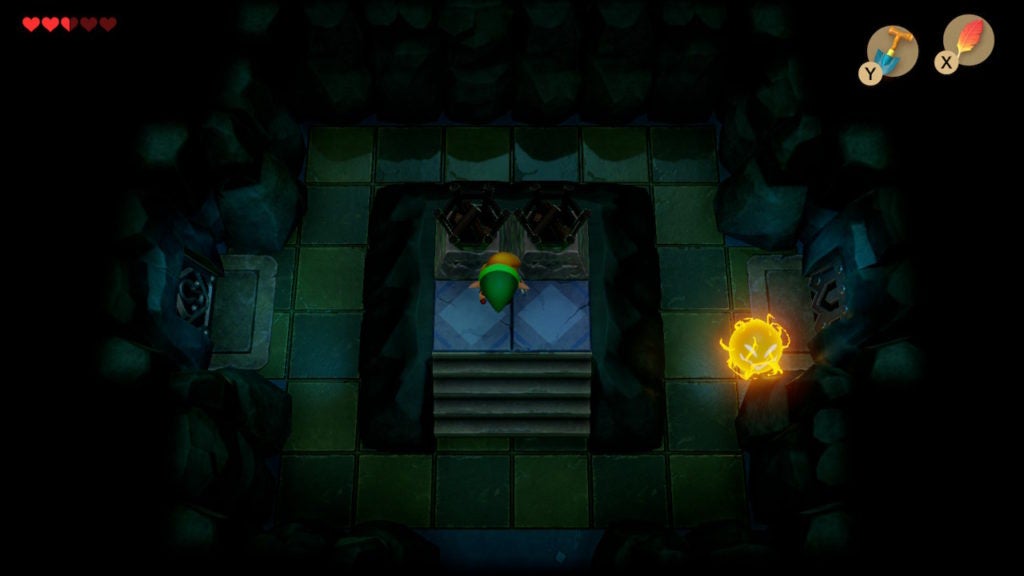
In the center of the room, you’ll just be able to make out a pair of unlit torches. To open the door on the east, you’ll need to light both torches with Magic Powder. Go into your Items menu to equip the Magic Powder and then use the assigned button (X or Y) while standing in front of a torch to light it. This mechanic gets used in the future, so be sure to keep a healthy stock of Magic Powder.
After lighting both torches, you’ll be able to proceed to the east. The western door needs a Small Key to be unlocked, but you’ll find a few of those soon enough.
Defeat the 2 Stalfos for 1 Small Key
When you enter the next room, you’ll be confronted by 2 Stalfos; 1 regular and 1 green. The normal Stalfos will use their usual evasion tactics. However, the green one will try to ground-pound you! Be sure to avoid the aggressive skeleton’s attacks and take it out first.
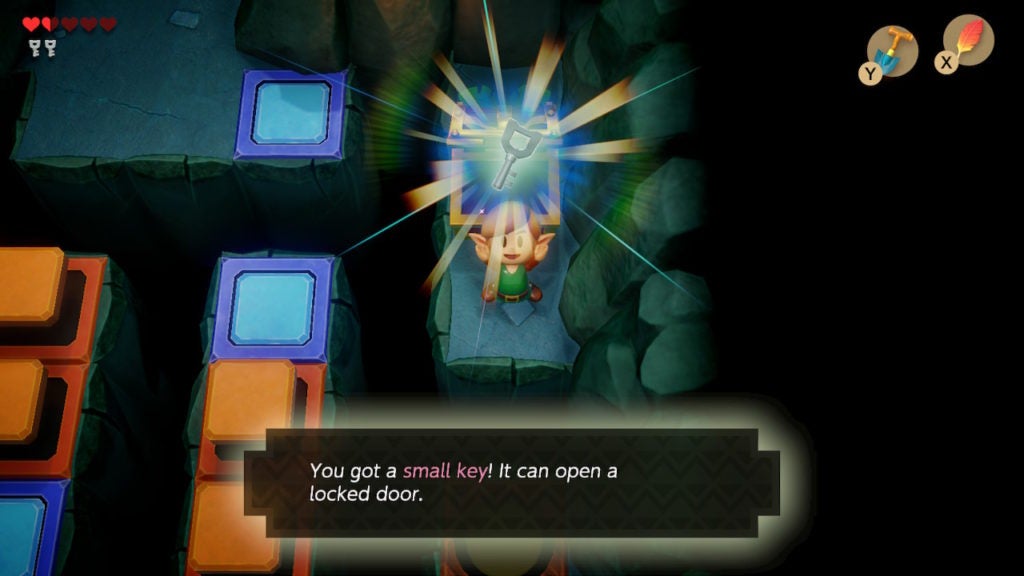
After both foes have been slain, 1 Small Key will appear on the ornate tile on the west side of the room. Grab it and then proceed south through the locked door. This will immediately use up your first Small Key, but fear not, there are a couple more nearby. Before gathering more, you’ll want to snag the Compass from the room south of the one with the 2 Stalfos.
Slay the Shy Guy to Reveal the Hidden Chest
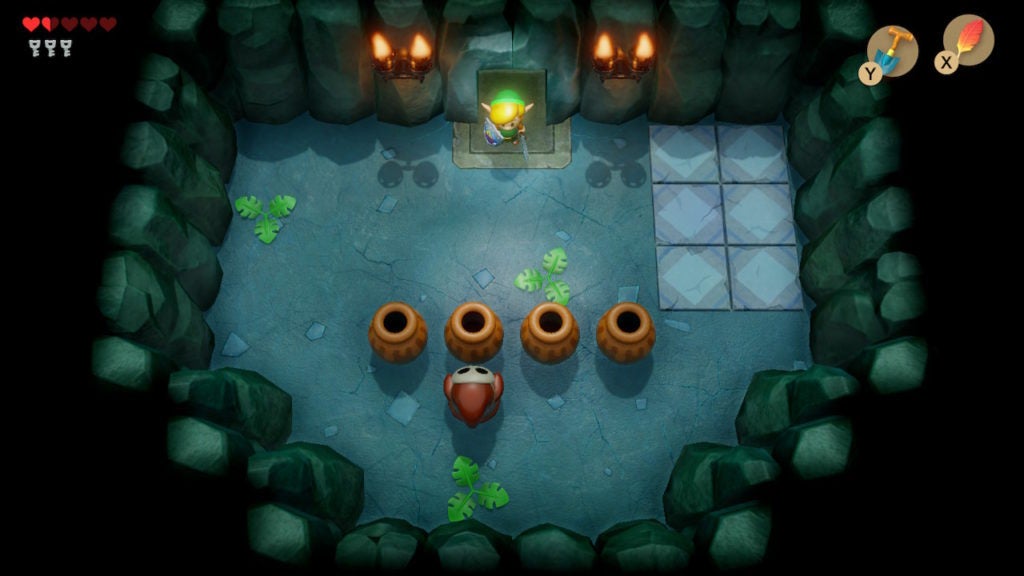
In this room, you’ll come face to face (sort of) with a Shy Guy. These creepy little fellows are immune to Sword attacks from the front due to their hard masks. Furthermore, they will mirror your movements, so you’ll have a hard time taking them down the conventional way.
With that said, this is a great time to bust out your spin attack, as Shy Guys have no attacks of their own. This means you can line up your swing without worrying about taking damage (as long as you don’t touch the Shy Guy and take contact damage). Though, you’ll have to aim for the back of the Shy Guy to actually hurt them.
To defeat the Shy Guy, position yourself so that you’re back to back with your enemy. Then, charge a spin attack by holding down the B button. When you release the B button, you’ll twirl around swiftly and slash the unprotected back of the Shy Guy, which will destroy them. Afterward, a chest will spawn in the northeast of the room.
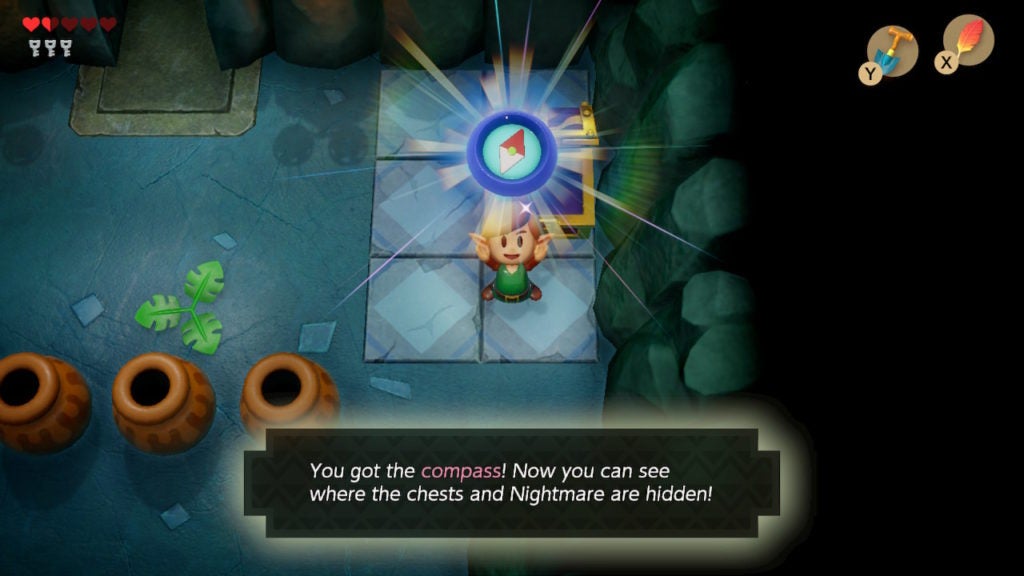
Opening the chest will give you the Compass. It would now be a good idea to take a look at your Map to see where the other chests and the boss room are located.
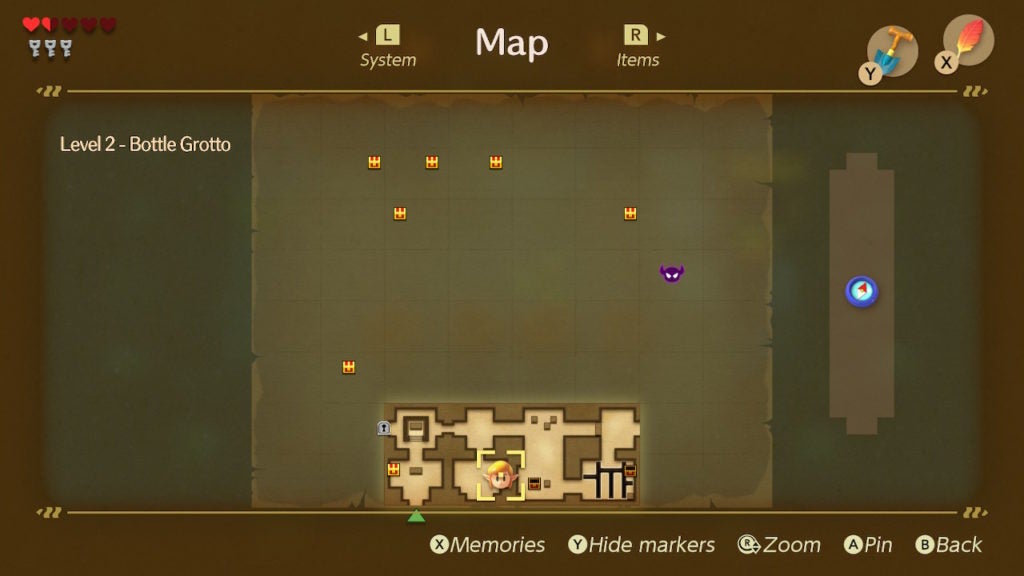
From here, if you haven’t adventured to the east yet, you’ll see 2 chests nearby. These each contain a Small Key, so it’s recommended to head that way and grab them before proceeding elsewhere. There’s also another Small Key in that area, though getting that third one requires you to defeat an enemy instead of opening a chest.
Find the Stone Beak
Unlike in Level 1 – Tail Cave, the Stone Beak in this dungeon will actually be fairly useful as the Owl Statues here offer better hints. It is also the next closest main dungeon item, which you can find in the chest located in the southwestern section of the dungeon. Though before proceeding to it, you’ll want to grab the 3 Small Keys from around the southeastern section of Level 2 – Bottle Grotto.
Get the Small Key From the Chest Surrounded by Orange Switch Blocks
If you go north back into the room where you slew the 2 Stalfos and then go east into the next room, you’ll find a Switch and Blue Switch Blocks barring progress to the south. Additionally, there is an Owl Statue here, although you can’t interact with it yet. There is an eastern way out of this room, which you will need to get the third key in this area, but, for now, focus on obtaining the first.
To lower the Blue Switch Blocks preventing you from going south, hit the Switch with your Sword. Every Switch Block in the dungeon, whether it is Blue or Orange, will be affected by this and every other Switch you find. Everything is connected, to put it simply.
After you flip the switch, it will become orange. Now is when you should go south since the way is clear.

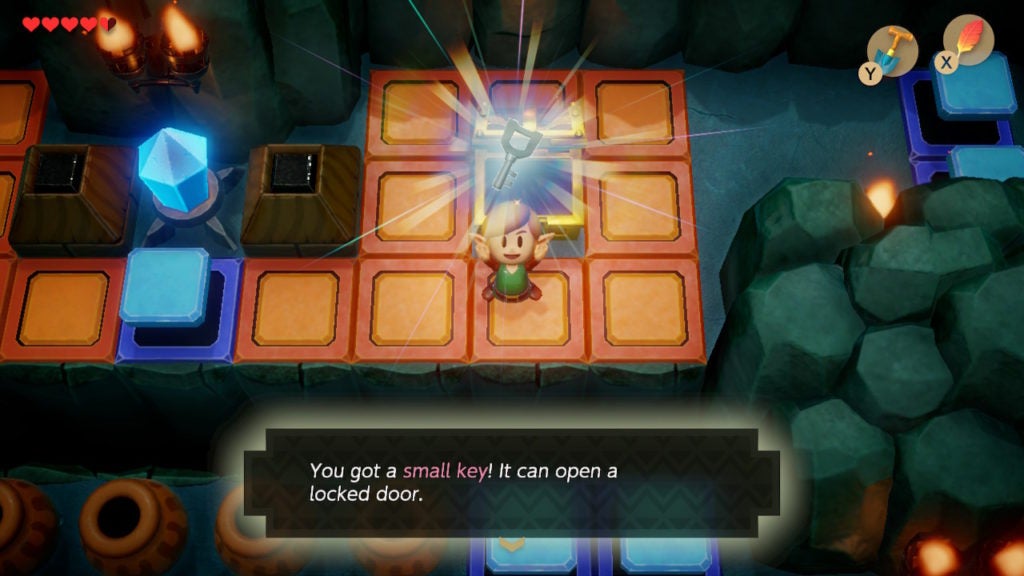
Here, you’ll see a bunch of Orange Switch Blocks clogging up the room. Within the ring in the center of this room will be another Switch as well as a chest (which contains 1 Small Key). Thankfully, you can still hit the Switch beyond the Orange Switch Blocks if you stand diagonally to it.
When you hit the Switch in this room, you’ll lower the Orange Switch Blocks. This will let you open the chest for a Small Key. With it in hand, it’s time to proceed to the east.
Get the Small Key From the Room With Lots of Switch Blocks and Floor Gaps
If you left the Switch in the previous room in the mode where it lowers Orange Switch Blocks—good. That’s the configuration you’ll need here. As you’ll glean from seeing the many gaps in the floor, you’ll need to equip the Roc’s Feather to jump across them.
First, you’ll want to go to the southeastern corner where you’ll see yet another Switch and a round button within the floor. Flip the Switch and step on the beige button. The Switch will cause the Orange Switch Blocks to rise and the blue ones to lower. The beige button being pressed will spawn a chest in the northeast corner of the room.
This chest will contain the second key in the southeastern section of Level 2 – Bottle Grotto. You now have just one more to find before you should grab the Stone Beak. For the last Small Key, jump to the northern exit of this room and proceed that way.
Get the Small Key for Defeating Another Shy Guy
You’ll have to take down another Shy Guy here. However, now that you know the trick for doing so, felling this foe will be a simple task. When the Shy Guy goes down, the Small Key that spawns as a reward will initially be out of reach. The Small Key will drop onto the ornate tile just west beyond a couple of immovable blocks.
To get it, you’ll have to go back to the room with the Owl Statue and the first Switch before going out of its eastern exit. When you do, you’ll appear in the closed-off hallway portion of the room where you recently took out the dungeon’s second Shy Guy. Pick up the Small Key and then go west.
Head back to the dark chamber north of the main entrance and use a Small Key to unlock the western door.
Get to the Chest With the Stone Beak
When you head through that western door, be careful! There are Blade Traps waiting just on the other side. You’ll have to stand in the doorway or jump over them to avoid taking damage.
However, when you get to the center of the room, you’ll have other threats to deal with (albeit minor ones). There are 2 Keese here that you will have to defeat in order to unlock the northern exit. You don’t need to do anything with the unlit torches, there are actually no secrets in this room. They’re only there to ignite if you have a hard time seeing.
When the 2 Keese are slain, you should go north into yet another dimly lit room.
Once more, you’ll find a couple of unlit torches here that you don’t need to light unless you need to see things more clearly. Not lighting them will save on Magic Powder, though, if the darkness is causing you to strain your eyes, there’s no harm in lighting the torches.
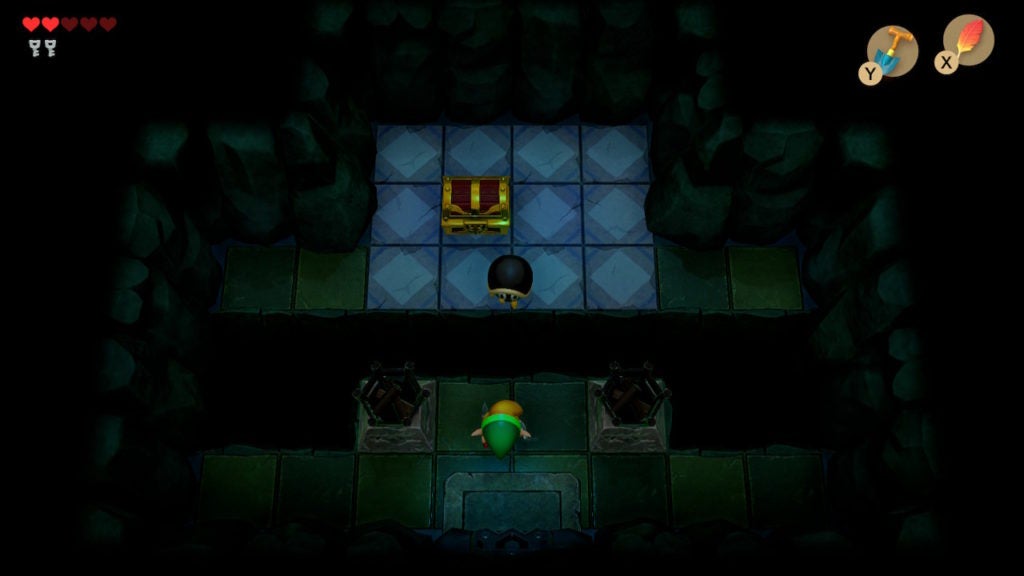
In this room will be a gap between the southern entrance and the chest containing the Stone Beak. Leap across the small chasm with help from the Roc’s Feather and then dispose of the Hardhat Beetle by knocking them into the void. Now, you’ll be free to open the chest for your desired loot.
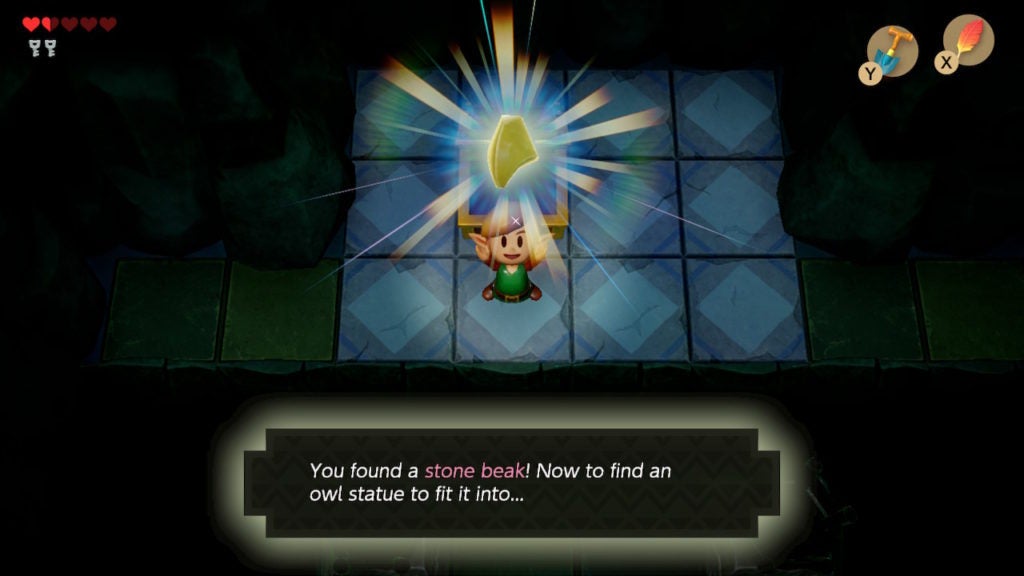
The Stone Beak will let you interact with any Owl Statues you find for some helpful hints. With this item, you now have gathered everything in the southern part of Level 2 – Bottle Grotto except the chest with the Rupees by the main entrance. At this point, you should head all the way to the east—just east of the room where you defeated the second Shy Guy.
Find and Defeat the Mini-Boss, Hinox
In the room east of the one with the second Shy Guy, you’ll find 2 Spiked Beetle enemies. Raise your Shield by holding down the R button and then bump into the spiny threats to flip them over. This will expose their softer side, which you can slash to destroy your enemies. You don’t need to defeat the Spiked Beetles to progress, but getting them out of the way will make things less annoying.
When you’re ready, use a Small Key on the locked door in the northeastern corner and head through it.
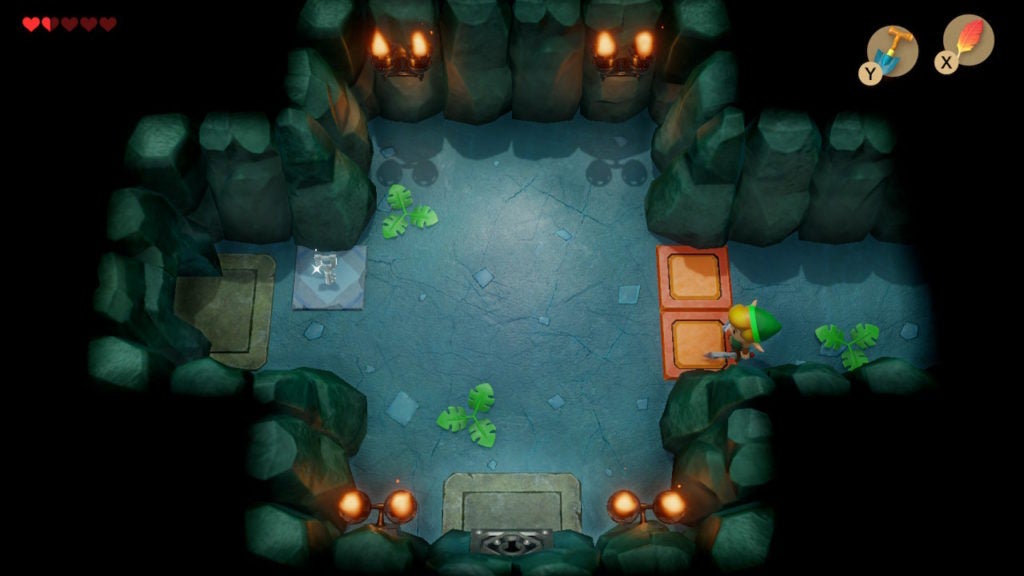
Solve the Puzzle With the 2 Blocks
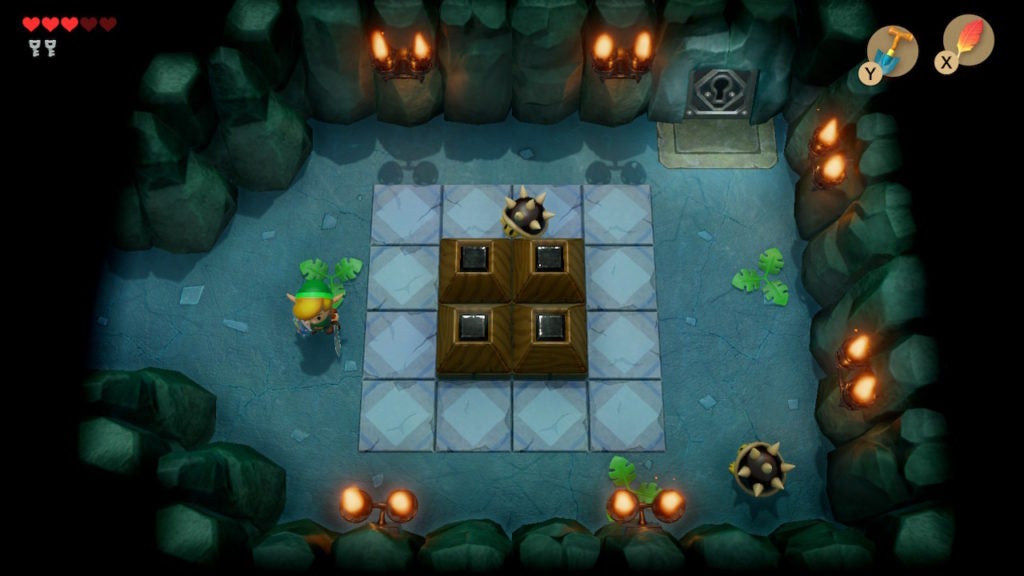
In the next room, you won’t initially see a way to progress. This is because there is a little puzzle that you need to solve in order to reveal the way forward.
This room will be a bit crowded, so it’s recommended to take out the 2 Keese flying around before doing anything else. There’s also 1 Spark patrolling the room, which will be a bit of a pain. At the center of the room are 2 ornate tiles flanked by 2 blocks. There’s also an Owl Statue in the northwest corner if you need a hint, though, the puzzle here is pretty simple.
All you need to do to solve it is push the 2 blocks onto the 2 ornate tiles.
Afterward, a staircase will appear in the northeastern corner of the room. You need to head down it to progress. When you do, it will change your perspective to the side.
Get to the Mini-Boss Room
Underground, you’ll have to make your way to the west by using the moving platforms. Jumping with the Roc’s Feather is also highly recommended here.
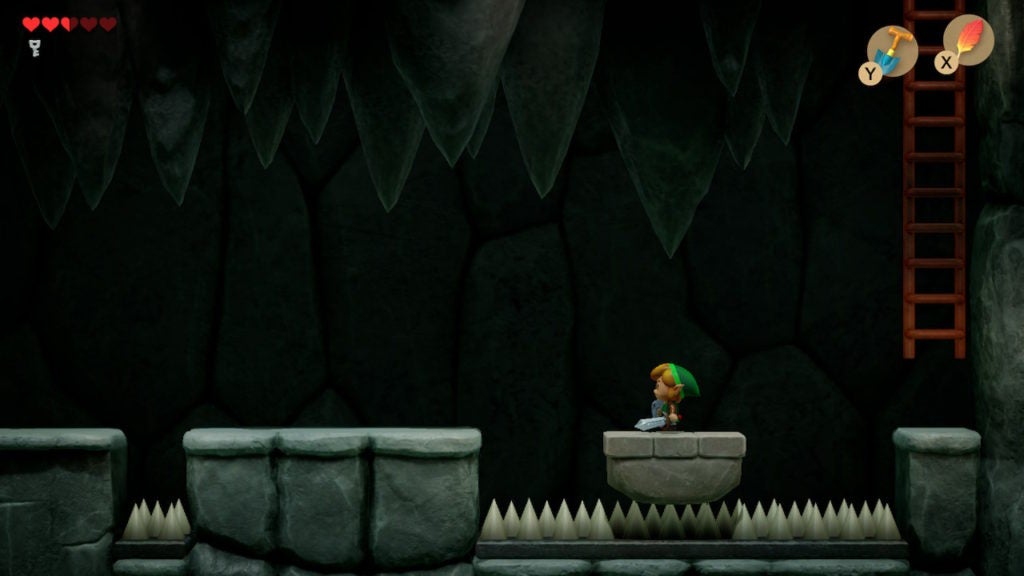
Be sure to time your jumps well so that you don’t land on the spikes below and take damage. When you make it to the other side, climb up the ladder to enter a dark room above.
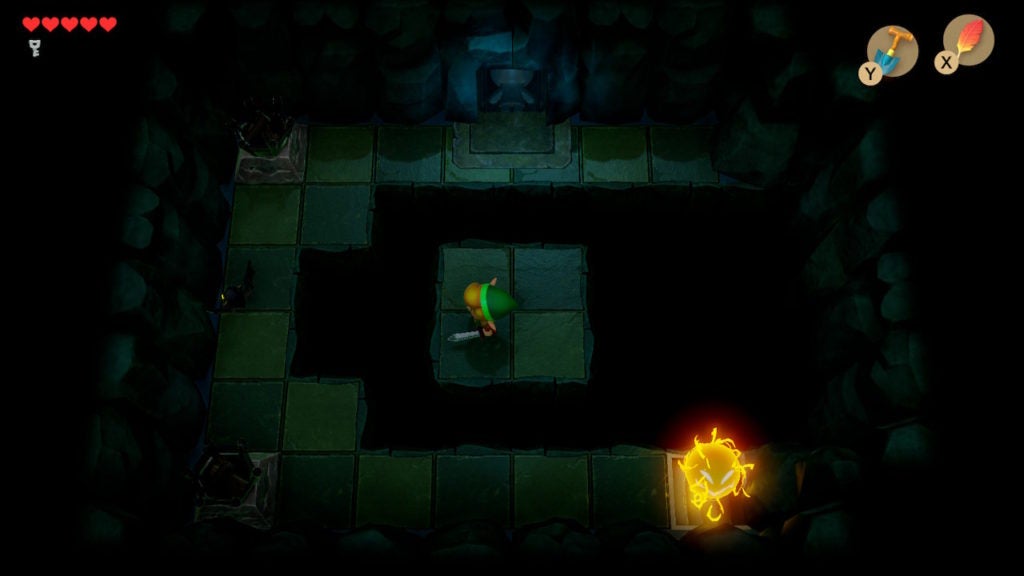
Here, you’ll want to move quickly to jump onto the 2×2 square surrounded by void. There is a Spark patrolling the area and they’ll already be coming towards the stairs you emerge from when you enter this room. When you’re safely on the central island, you’ll notice some unnecessary unlit torches and Keese. You can ignore them, as they do nothing, and proceed through the one-way door in the north of this room. Be prepared, however, as the chamber beyond contained Hinox, the mini-boss of Level 2 – Bottle Grotto.
How to Defeat Hinox
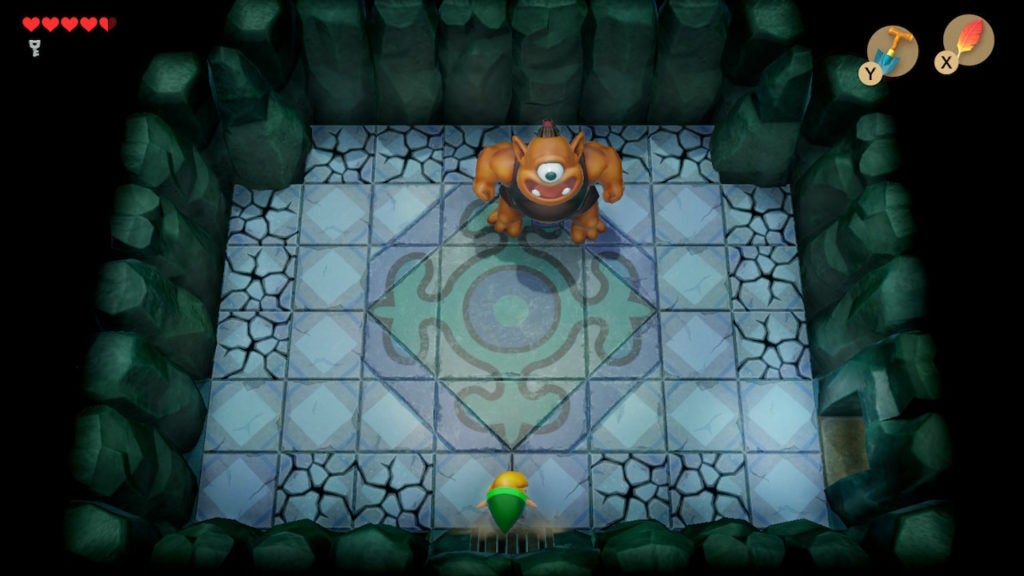
This foe is much more offensive than defensive. As such, you’ll be able to hurt Hinox with your Sword easily, but you can also take a lot of damage from the cyclops’ attacks.
When you’re standing far away, Hinox will try to throw bombs at you. These can be avoided by staying away from the bombs when they are sitting on the ground.
Hinox’s other attack is that he’ll charge at you before grabbing you and lifting you up. The beast will then throw you against a wall, which will cause you to take damage and will stun you for a couple of seconds. This will also make it more likely for you to land on and break one of the cracked floor tiles around the room’s edges. Keep moving in order to dodge Hinox’s charge and avoid getting grabbed.
You need to focus on dodging in order to survive the battle. But, to defeat the mini-boss, you’ll also have to land attacks of your own. In between Hinox’s attacks, you will need to strike him on occasion to whittle his health down. Thankfully, the brute doesn’t have much health and will go down after a few well-placed slashes.
Like all mini-bosses, Hinox will drop a Fairy upon defeat and a blue warp point will spawn in the center of the mini-boss room. If you have an empty Fairy Bottle, now would be a great time to use it and capture the Fairy. You can release them later for a life-saving heal.
When you’re ready for the next leg of your dungeon-delving, go through the door in the southeast.
Find the Dungeon Map
The room beyond will technically have 2 exits, however, 1 of them is behind a ring of pots and blocks.
As such, you’ll need to head through the northeastern exit for now. There are gaps that you need to jump across to reach the other side. If you’re low on Hearts, you can take the southern route to grab 3 floating Hearts over a pit. Just beware of the 2 Keese in this room.
Hint for the Puzzle That Spawns the Nightmare Key Chest
Since you have the Stone Beak, you can interact with the Owl Statue at the north of the room to get a vital hint.
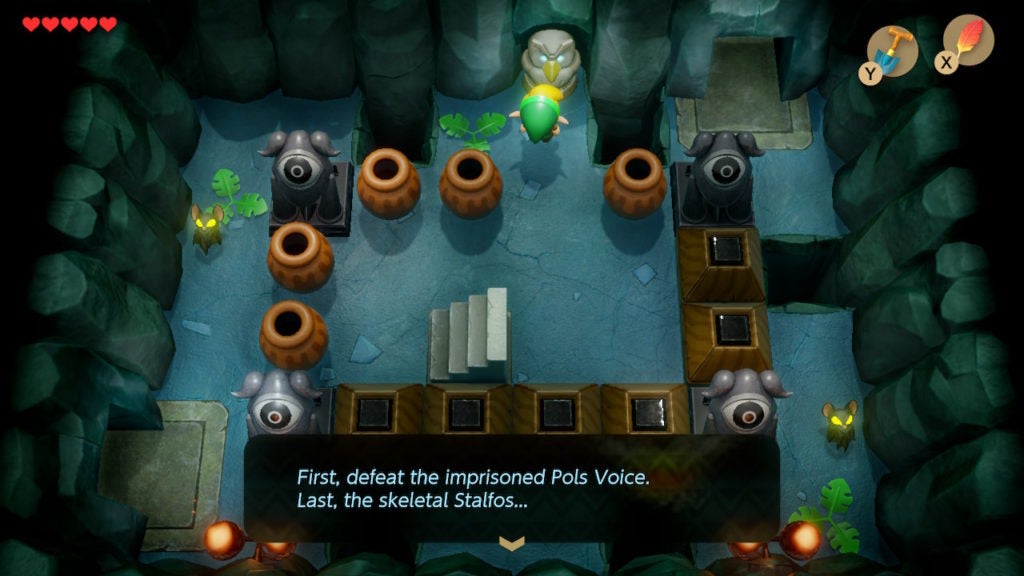
This statue will tell you the sequence in which you need to kill 3 enemies to get the Nightmare Key. However, the room with that enemy-slaying puzzle is a bit further into the dungeon. For now, just take note of what the Owl Statue mentions:
- Defeat the Pols Voice first (the rabbit-like enemy)
- Defeat the Stalfos last (the skeletal enemy)
Afterward, you should just head north into the next room. That chamber is the one containing the Dungeon Map.
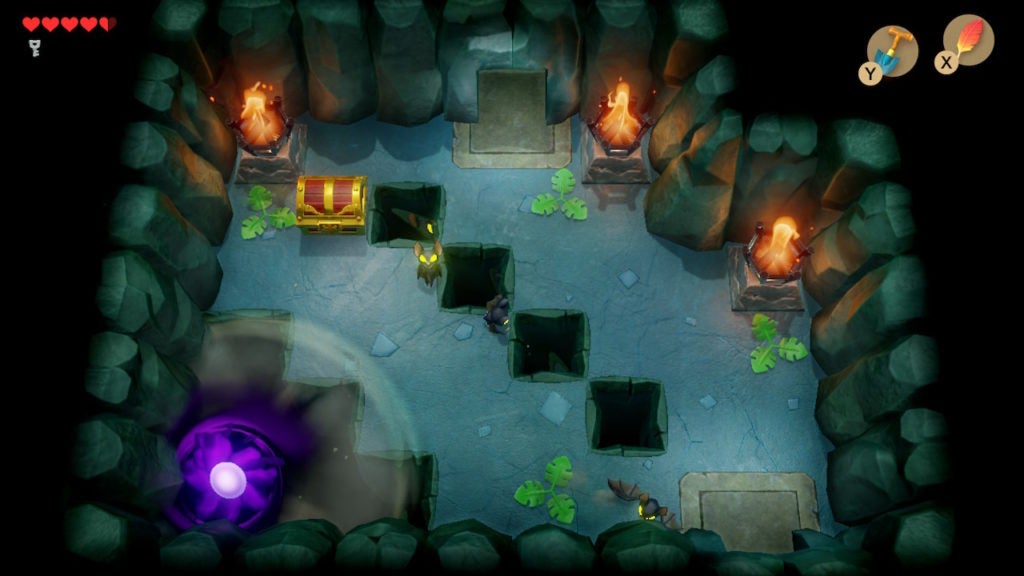
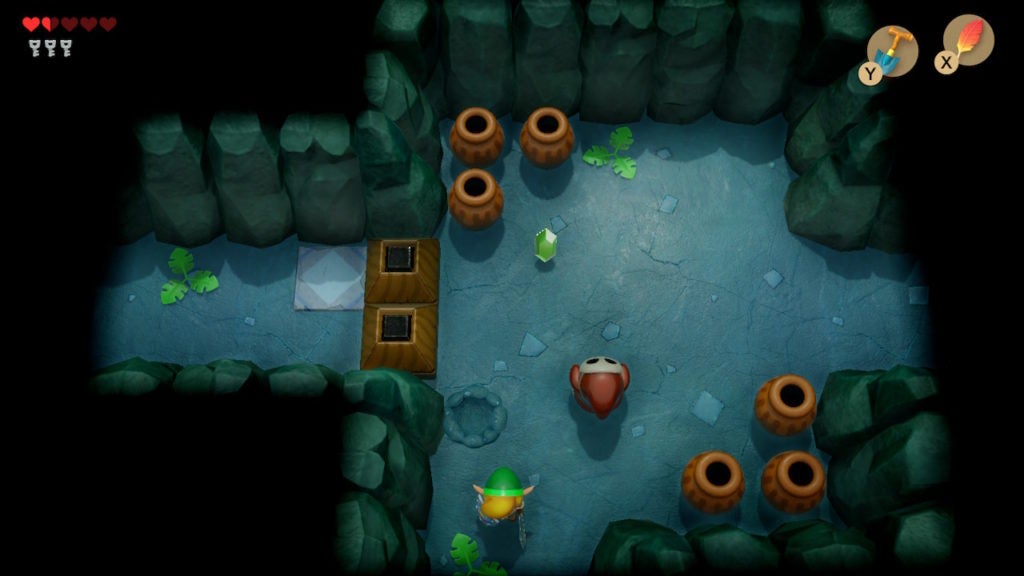
Here, you’ll meet one of the more annoying traps in the game (even more annoying than Blade Traps). A Vacuum Mouth will be sitting in the southwest corner and will almost constantly be harassing you. They will pull you in with an unseen force, which can make you fall into one of the many floor holes within the room. Furthermore, there are a bunch of Keese that can fly into you.
To get the chest, your best bet is to take out the Keese first while staying away from the holes. The Vacuum Mouth thankfully pauses once in a while, which will let you walk up to and open the chest after clearing out the Keese.

Take a Look at the Dungeon Map
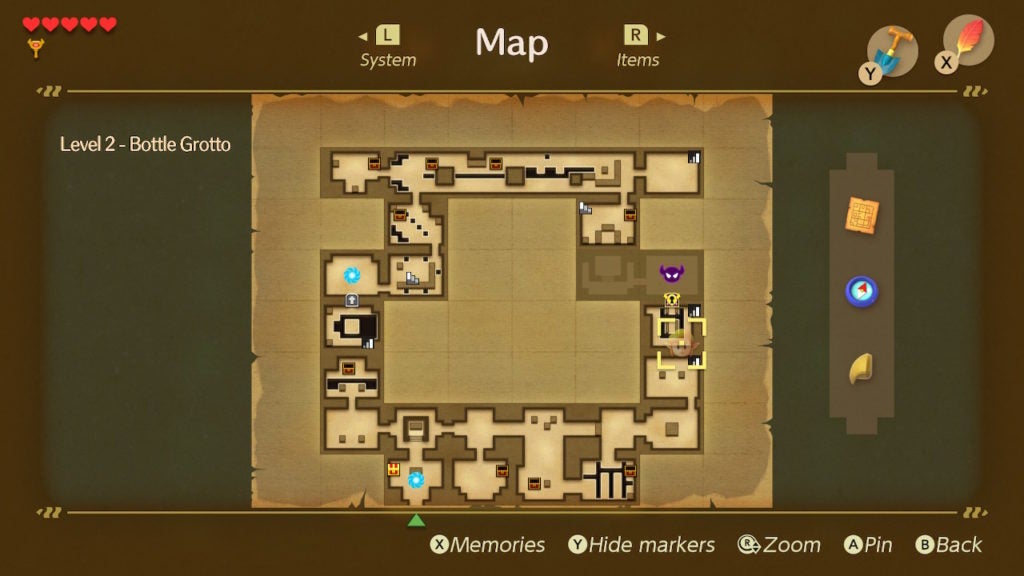
Now that you’ve got the Dungeon Map, open your Map menu to take a look at Level 2 – Bottle Grotto’s layout.
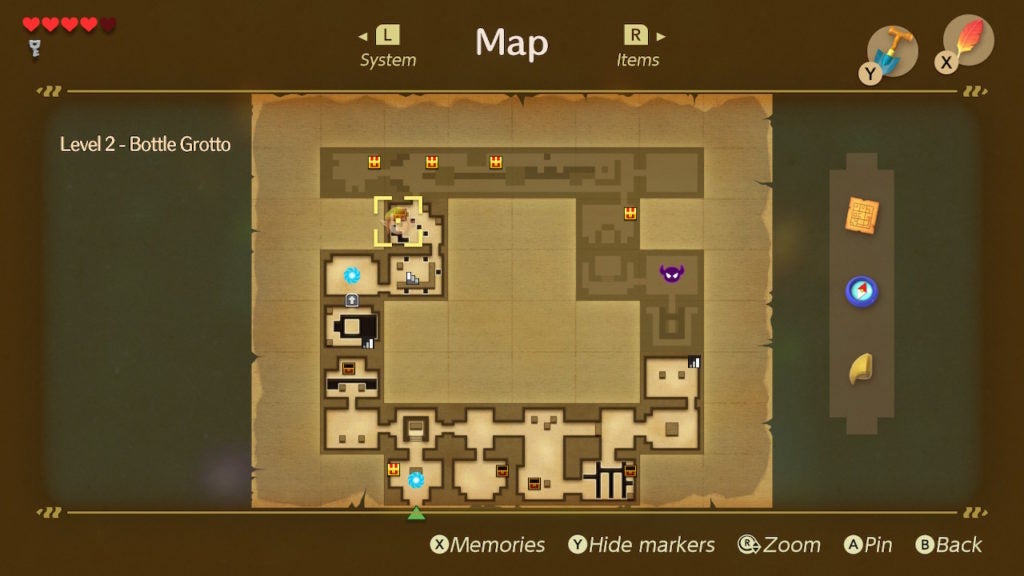
Appropriately, you’ll notice that this grotto’s layout is in the shape of a literal bottle. One that you are in the northwest of—for now. However, after you gauge your surroundings, you should head north and out of the current room.
Beyond, you’ll enter a room with another chest and a locked door on the left.
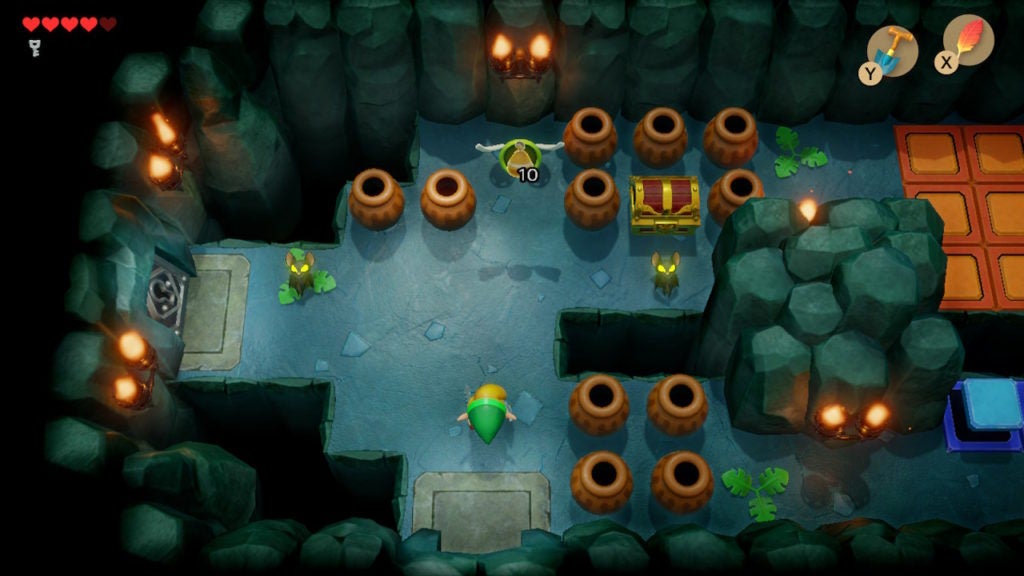
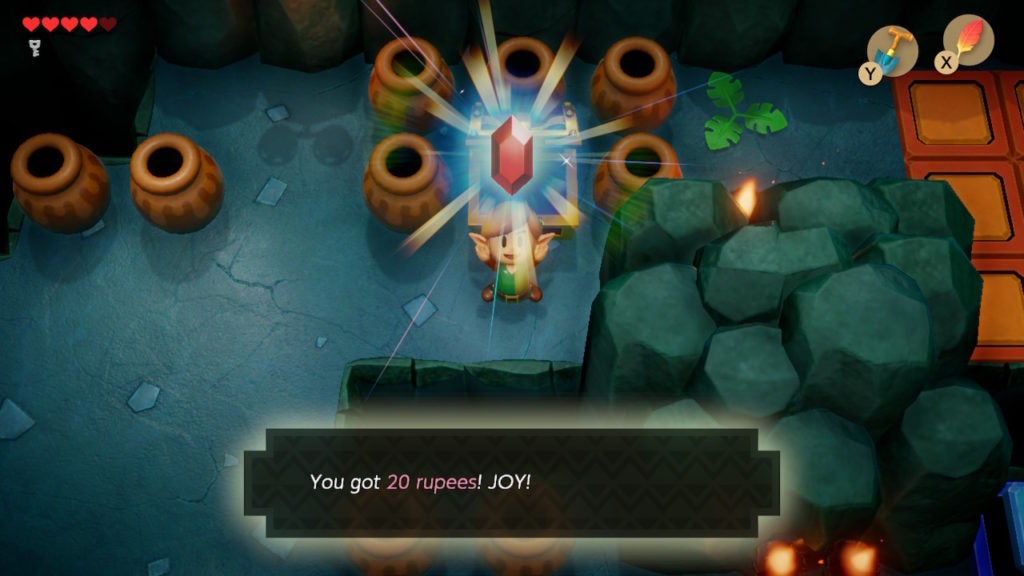
The only real threat in here besides the holes in the floor is a pair of Keese. Whether you dispatch them or not is up to you. However, also in the air, you’ll notice a floating sack of Magic Powder that will restore 10 uses to the item. After you grab it with a leap, be sure to open the chest nearby. There’s nothing crucial inside of it, but it holds 20 shiny Rupees.
You can’t go east, as the way is blocked by pots. After you loot the chest, you should head west through the locked door. If you’ve grabbed all the Small Keys from the southeast section of the dungeon, you should have 1 left.
Find the Power Bracelet
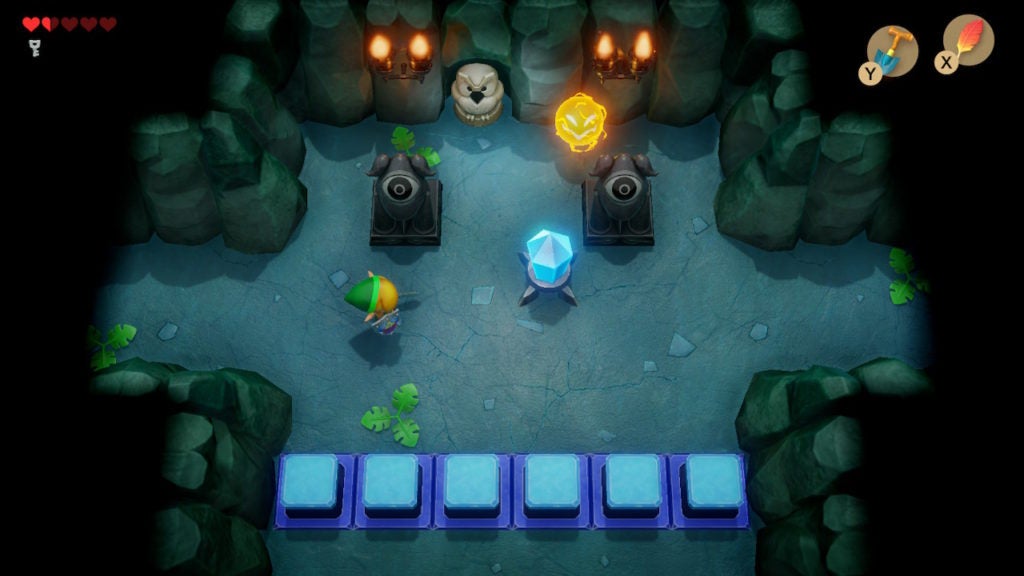
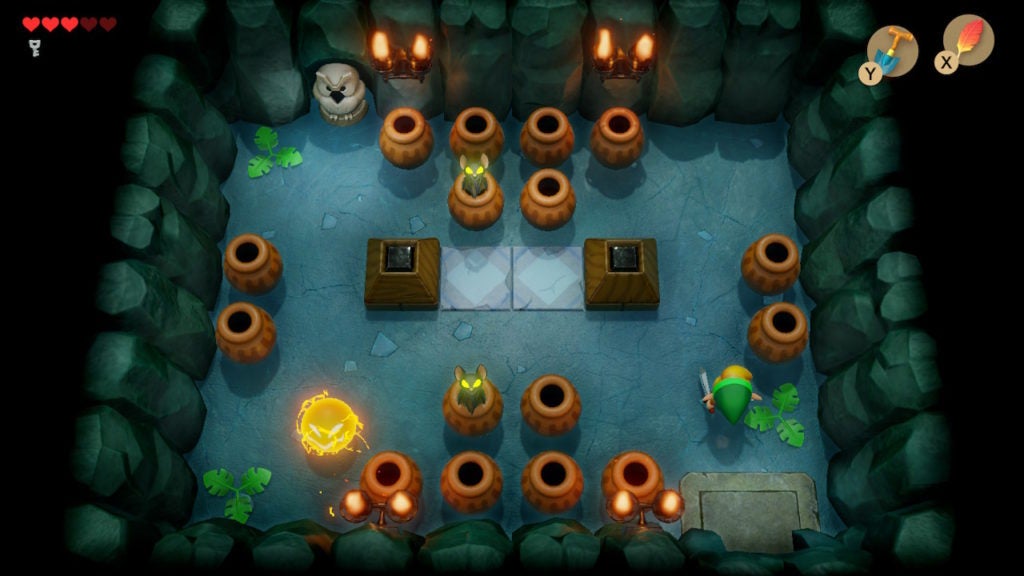
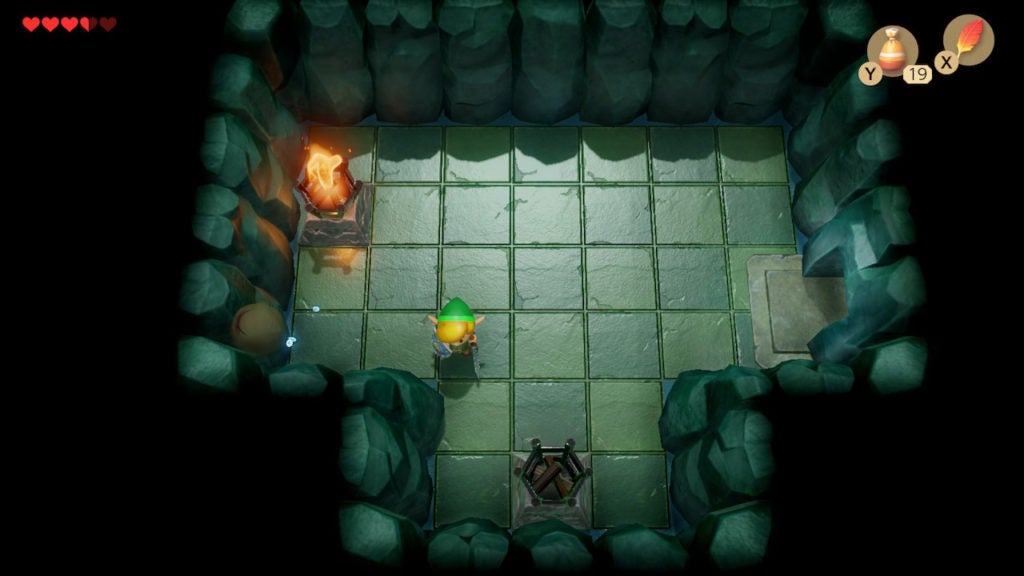
When you cross into the room to the west, you will be doused in darkness once more. However, this time, you won’t be alone…
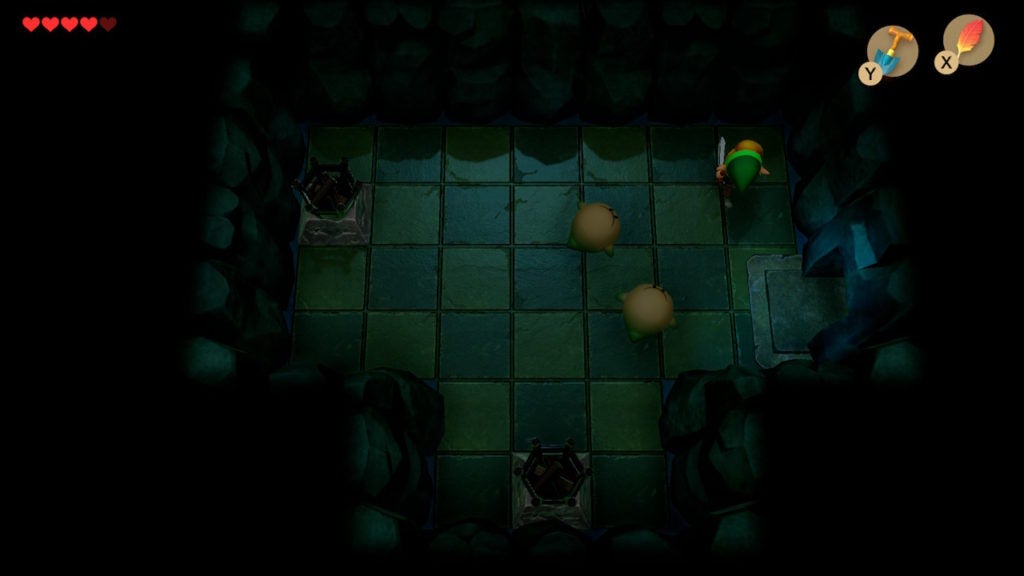
In this room are 2 ghostly Boos! They will drift menacingly towards you and will hurt you on contact (like most enemies). You can stun them with your Sword, but not truly kill them. To defeat these spectral foes, you’ll have to light the 2 unlit torches in this room with Magic Powder.
After you light the torches, the Boos will darken and become vulnerable. Now’s your time to strike—hit them with your Sword to slay them. Afterward, a chest will spawn in the northeast of the room.
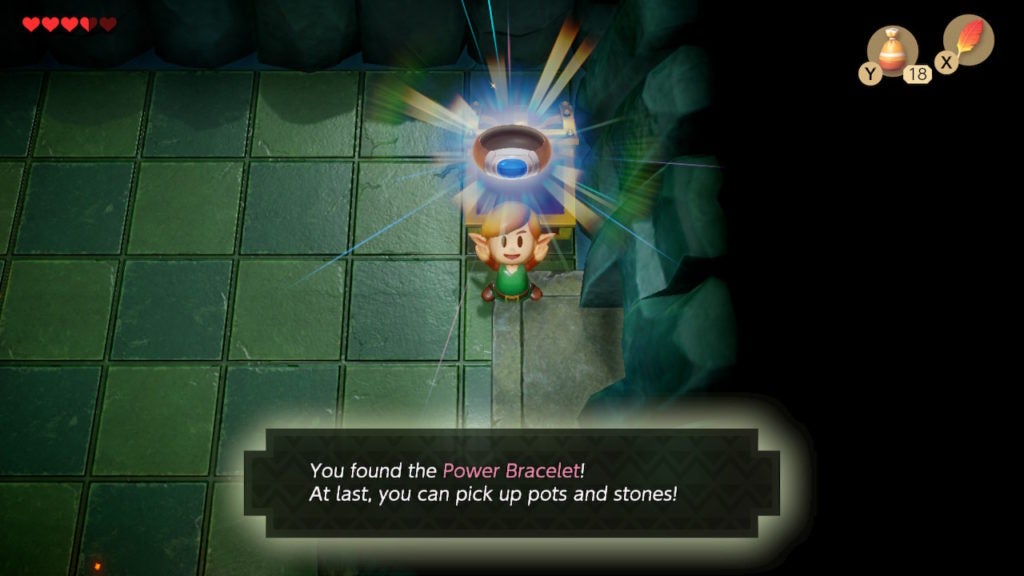
Within this chest is the Power Bracelet, which will give you the power to pick up pots and stones. Thankfully, it’s one of the items that are permanently equipped—like your Sword. As such, the effects it grants you are passive and can be used at any time.
Test Out the Power Bracelet
Smashing pots is highly recommended in Link’s Awakening as well as in many other Legend of Zelda games. Pots can sometimes contain Hearts, Rupees, and more, so a good habit to get into is to smash tons of pots everywhere you go. It’s also very satisfying.
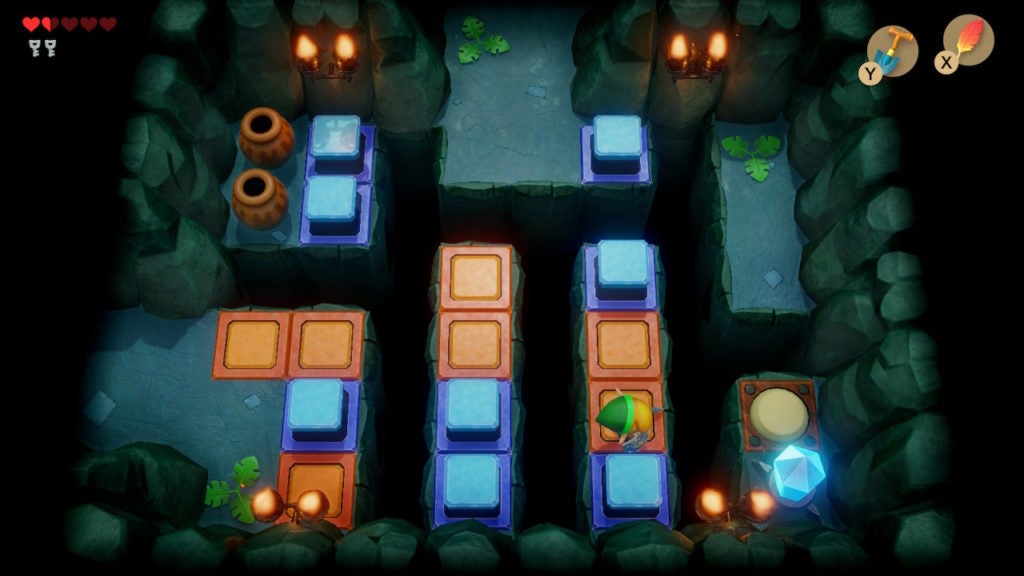
You’ll need to smash at least a few to get into the eastern part of the long horizontal room. To head towards your next objective, the Nightmare Key, you’ll have to grab the Small Key surrounded by Switch Blocks.
Find the Nightmare Key
In the center of the long horizontal room, you’ll see a chest. That’s where the Small Key you need is located. However, to get to the chest, you’ll have to fiddle with a nearby Switch.
How to Get the Small Key in the Middle of the Long Horizontal Room
To get to the chest, start at the north area just to the west of the Orange Switch Blocks. The Orange Switch Blocks should be down at this point. Walk as close to the Switch as you can and give it a whack with your Sword. This will raise the Orange Switch Blocks and will lower the Blue Switch Blocks.
While you’re elevated from standing on the Orange Switch Block closest to the Switch, you can jump over to the lowered Blue Switch Block to land on the raised Orange Switch Block just to the east of the Switch. At this point, hit the Switch again to lower the Orange Switch Blocks. You can now loot the chest for the Small Key.
With the Small Key in hand, you should now hit the Switch crystal one more time to raise the Orange Switch Blocks and lower the Blue Switch Blocks. This will allow you to progress east into the last section of the long horizontal room.
Besides another Switch to prevent you from getting stuck, the only other points of interest here are the exits. To the east is a locked door, which you can open with your Small Key if you want. However, before that, you should head through the southern exit to get to the room holding the Nightmare Key.
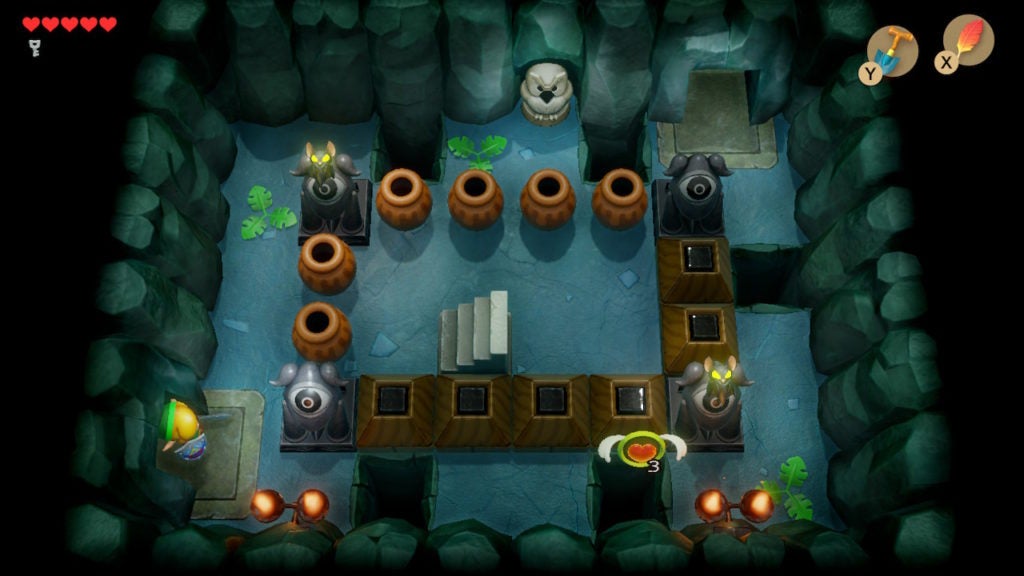
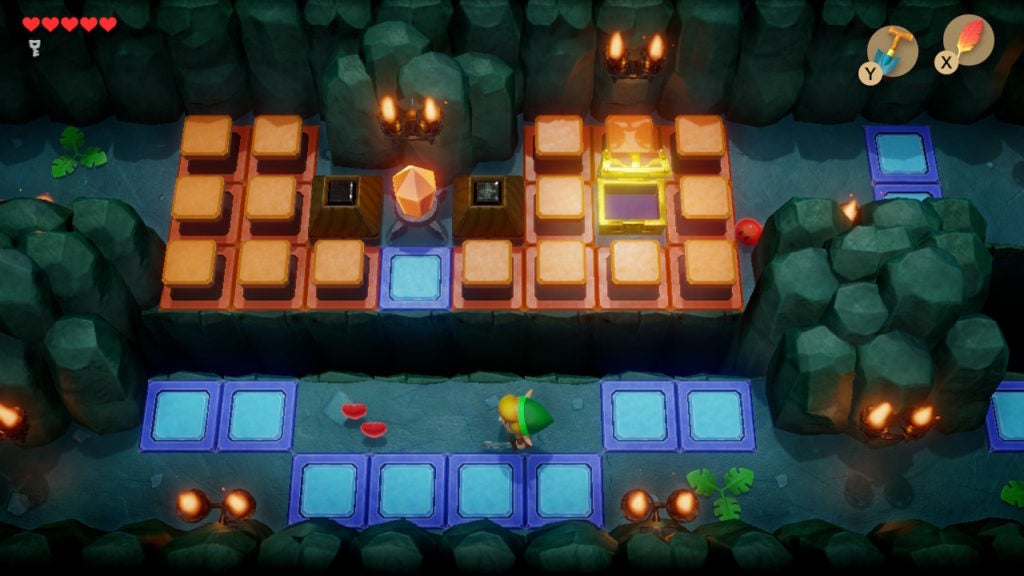
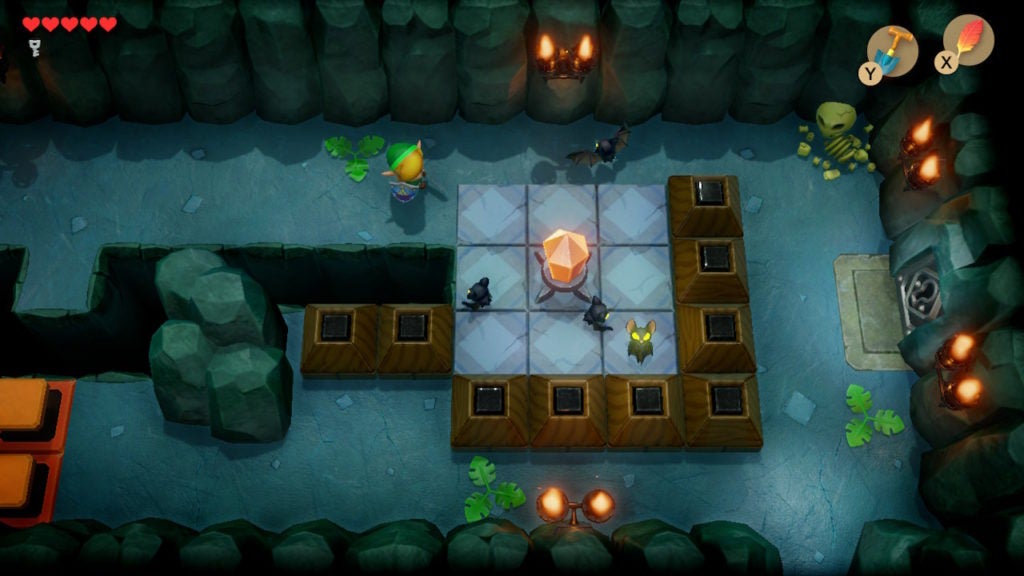
Solve the Puzzle to Make the Nightmare Key Chest Appear

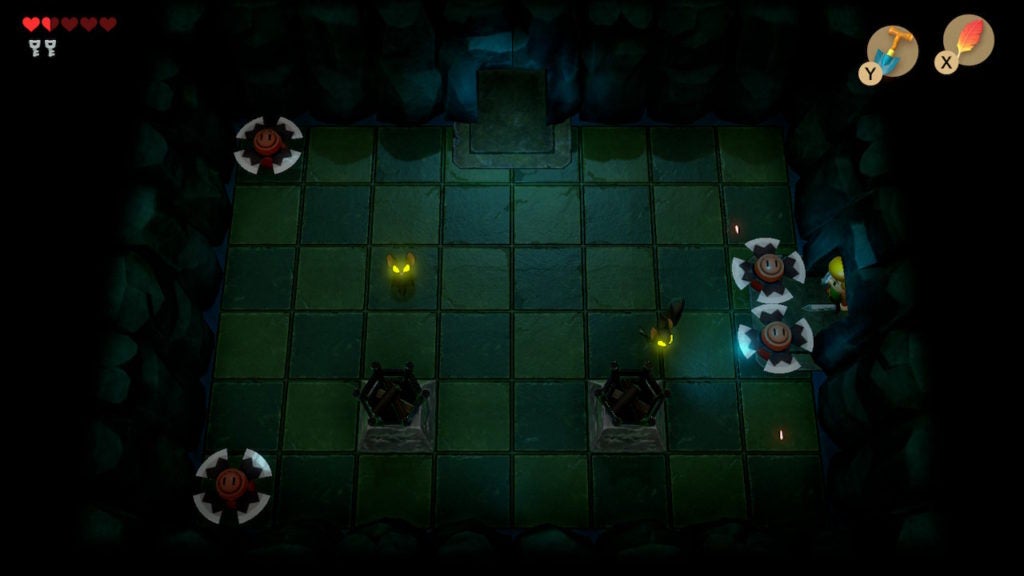
If you remembered the hint from the Owl Statue that you encountered in the room with the blocked stairs (just prior to the room with the Dungeon Map chest), now’s the time to act on that tip. The statue mentioned that you should slay the Pols Voice first and the Stalfos last but neglected to mention the Keese in the room. As such, the order for solving the puzzle to get the chest in this room to appear is as follows:
- First, defeat the Pols Voice
- Next, defeat the Keese
- Lastly, defeat the Stalfos
This is easier said than done, as the robed Stalfos will throw spears at you the whole time you’re in the room. Try to stay on the east side and keep moving vertically, as the Stalfos can only throw their projectile horizontally.
There are 2 blocks just north of the trapped Pols Voice that you can move. Out of these 2, push the eastmost block south and then push the westmost block further west. This will give you access to the Pols Voice, but you can’t harm them with your Sword—even with a spin attack.
You can take the rabbit-like enemy out with a Bomb, however, throwing a pot at them is much more efficient. After they are defeated, take out the Keese and then the Stalfos for the chest to appear in the northeast part of the room.
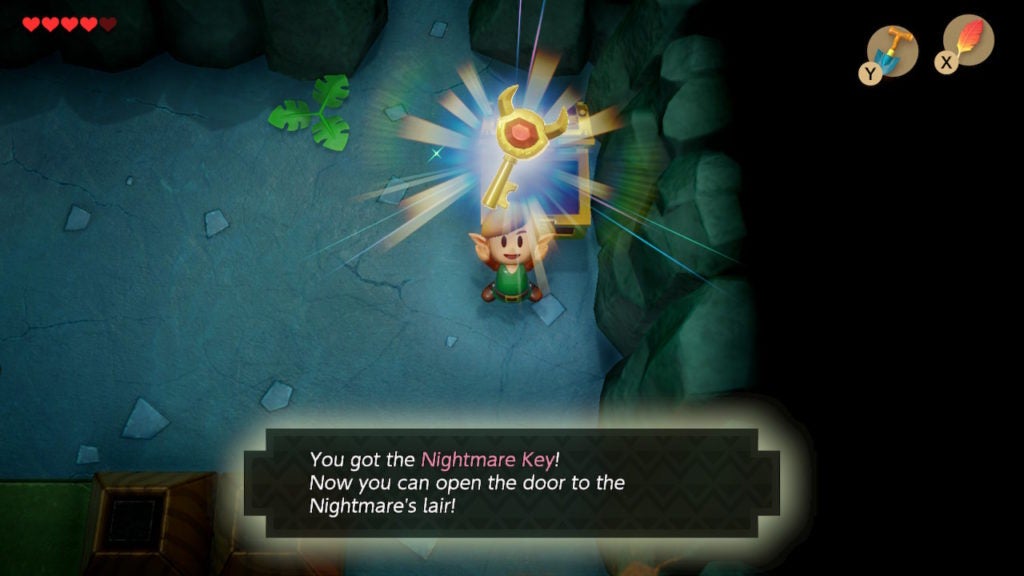
Get to the Boss Room
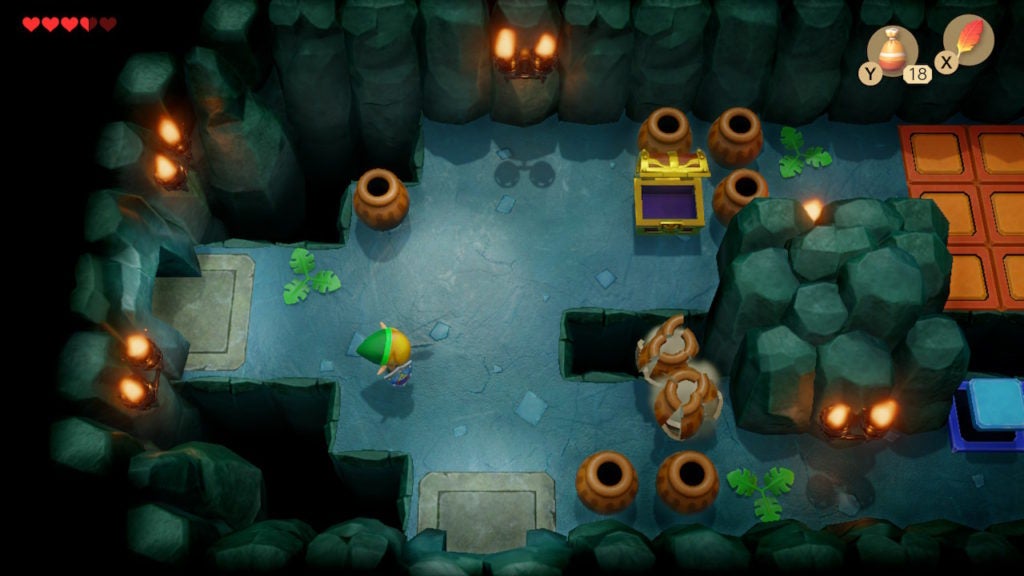
After snagging the Nightmare Key, you can begin making your way to the Nightmare’s lair. Go north, back into the long horizontal room, and then unlock the eastern door with the Small Key. In the room beyond will be another little puzzle involving Pols Voices.

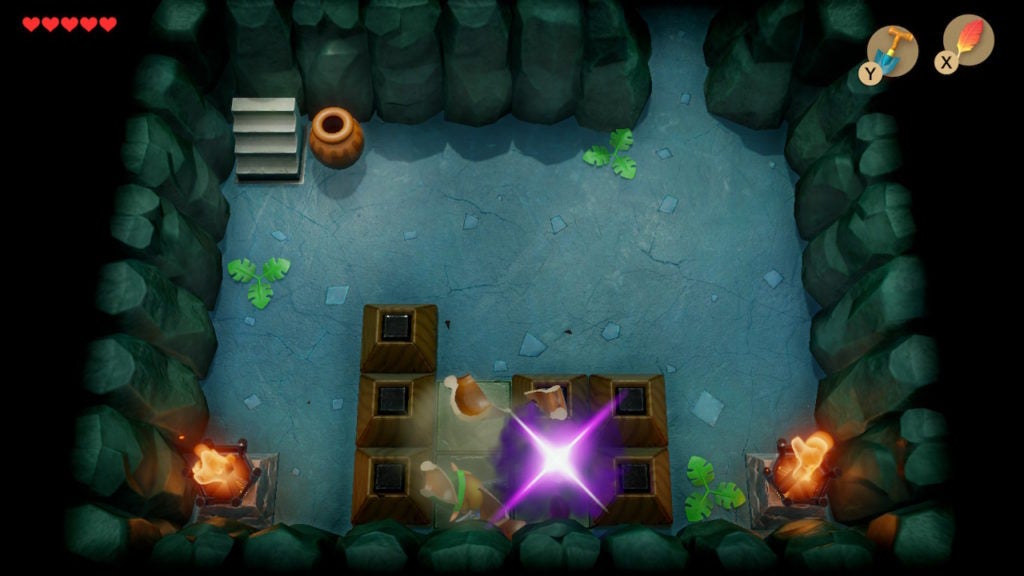
Compared to the last one, this puzzle is pretty simple. Use the available pots to take out the Pols Voices in this room. After you dispatch them and the Red Gel in the room, a staircase will appear in the northeast corner.
Heading down this staircase will take you to another side-view underground tunnel.
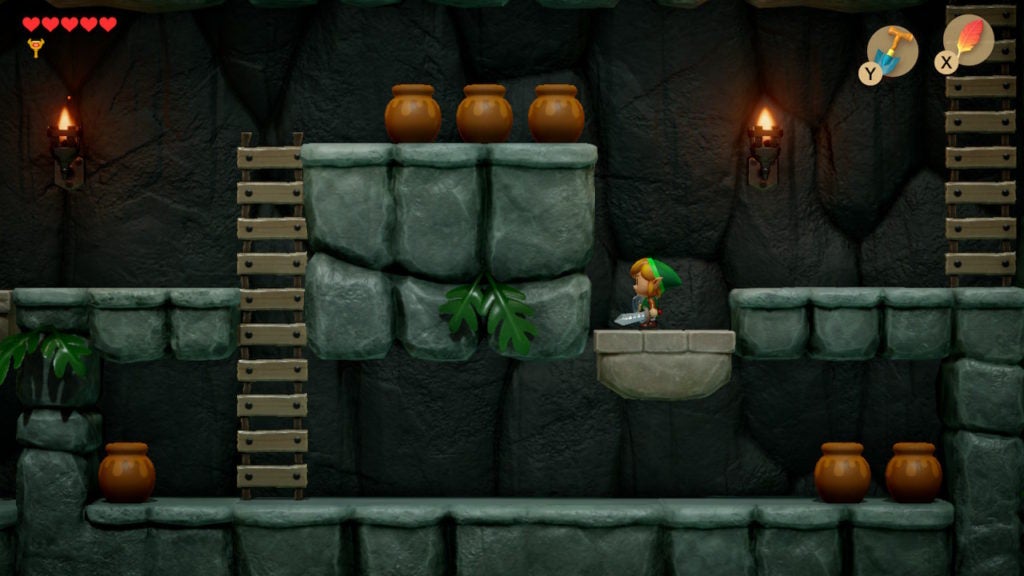
Make your way west, but, you’ll soon find a problem. The platform on the west side will refuse to lower when you stand on it as the previous one did. What you need to do is pick up one of the pots to the east of the central ladder and stand on the western platform with it in your hands.
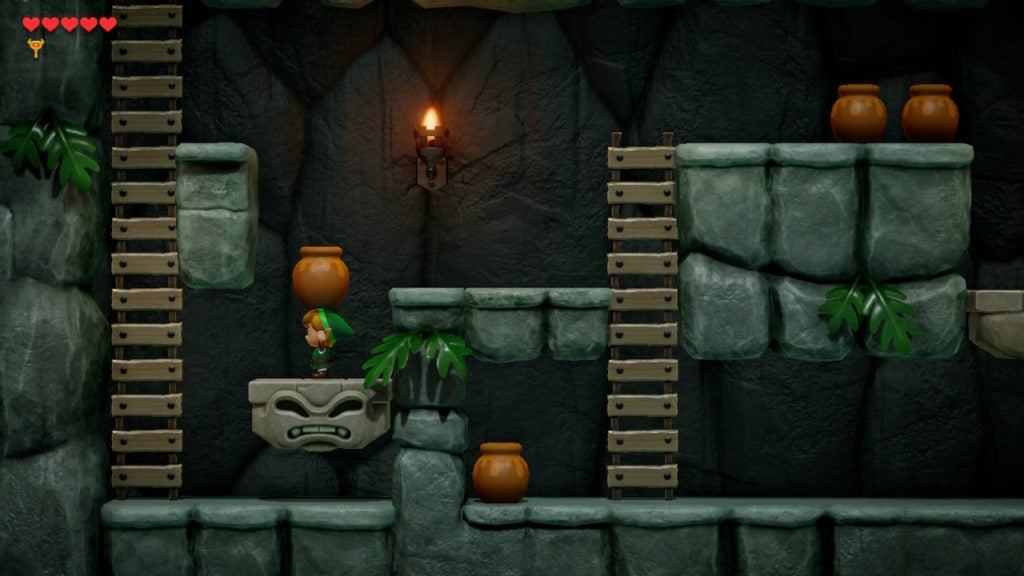
This will cause the stubborn platform to descend. When it gets low enough, toss the pot and jump on the western ladder to exit the underground tunnel.
When you ascend, you’ll be in the room just south of the Nightmare’s lair. Hop up the central pathway with the Roc’s Feather and unlock the boss room with the Nightmare Key. Now, it’s time to smash one last bottle.
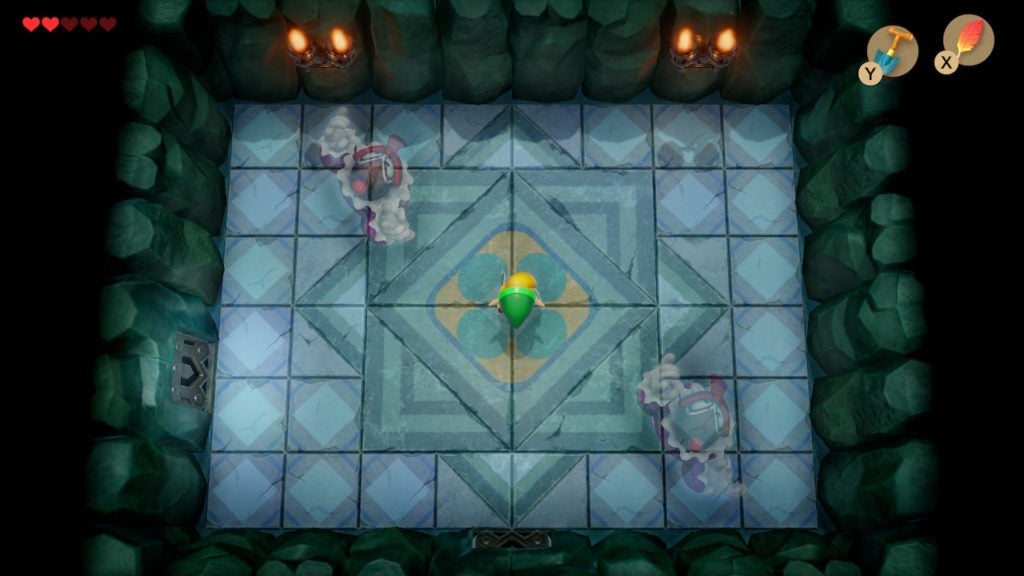
Defeat Genie
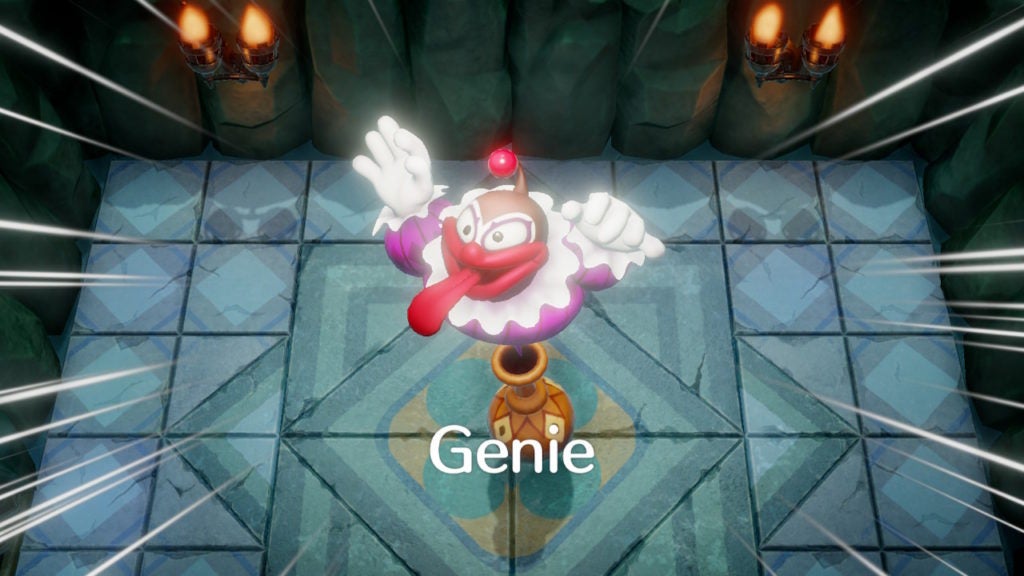
When you enter the boss room, you’ll meet Genie, the Nightmare of Level 2 – Bottle Grotto. This clown-like adversary will test your wits and your newfound strength. Thankfully, since the Power Bracelet and Sword are always equipped, you don’t need to worry about your equipment much for this fight.
Dodge the Fireball Attacks
After the introduction, the fiend will start juggling fireballs while throwing them at you.
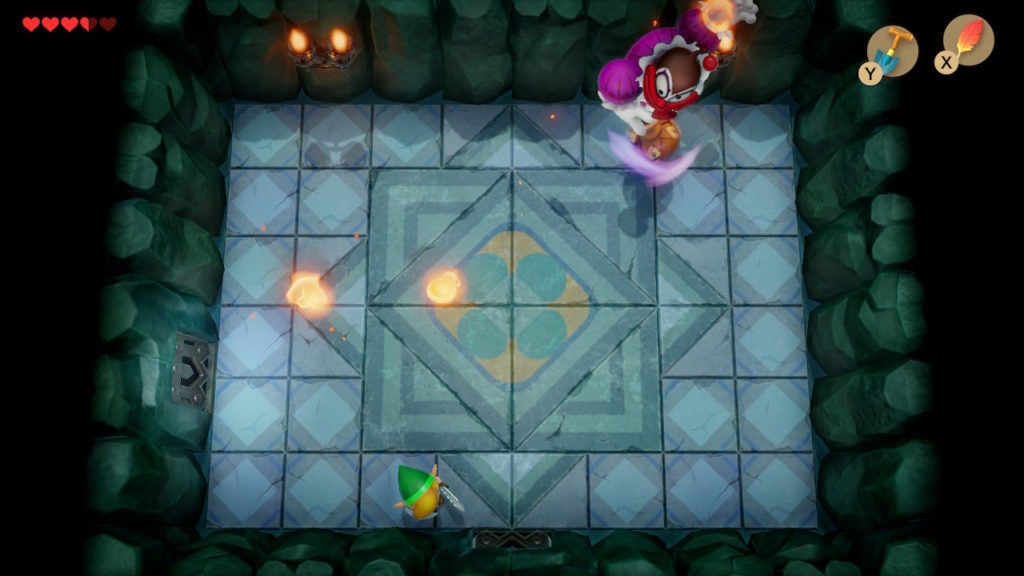
They will pick a wall to hover against, so you should go anywhere else. The farther you are, the more time you’ll have to see and dodge the fireballs. Furthermore, a good tactic to throw off the boss’ aim is to keep moving. Genie isn’t a good enough marksman to lead his shots, so use this to your advantage. Genie will be immune to damage in this mode, so focus on dodging. Your chance to go on the offensive will come soon.
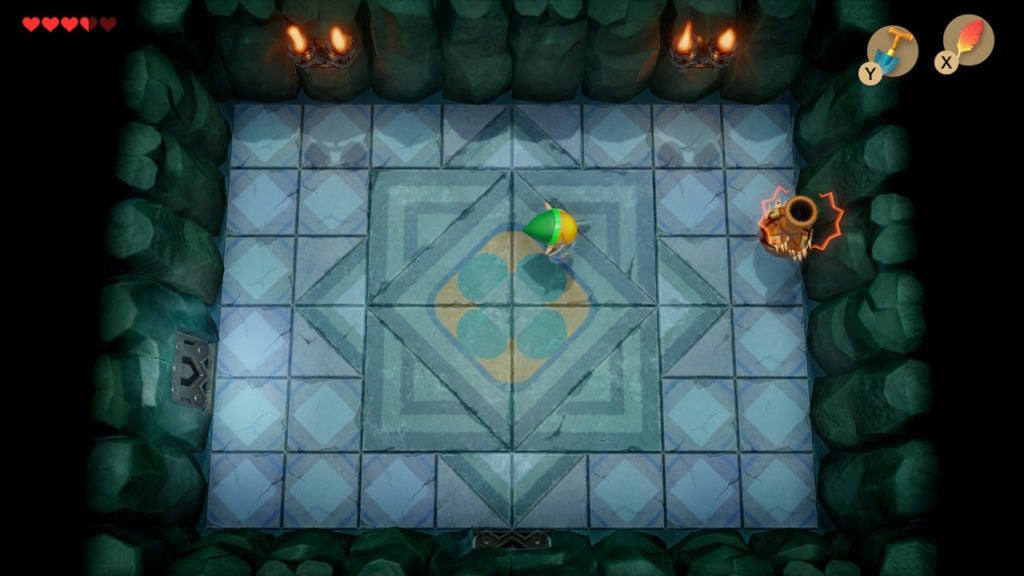
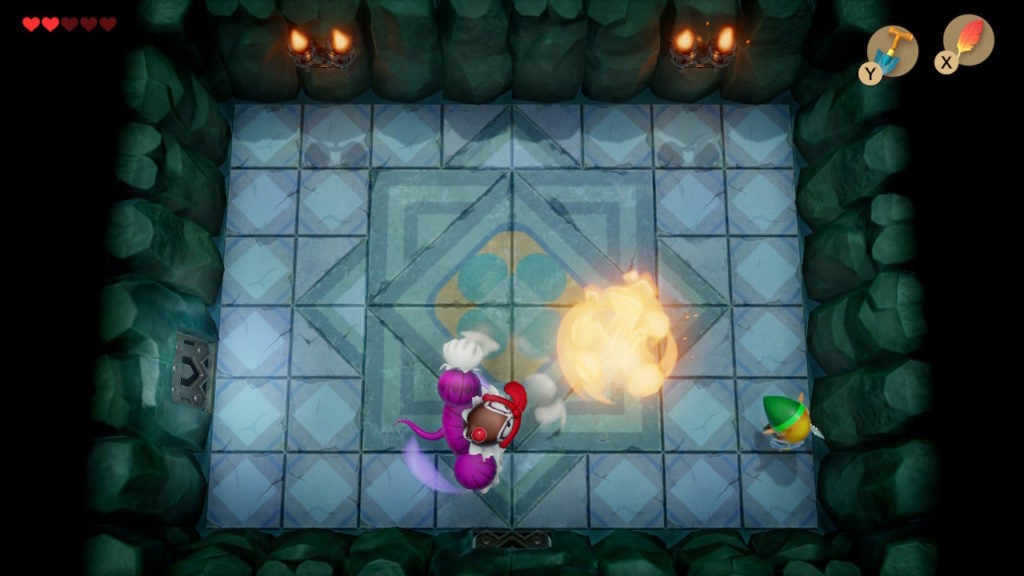
Stun the Bottle With Your Sword
When Genie runs out of fireballs, they’ll temporarily retreat into their bottle. In this mode, they will hop around annoyingly. However, you can now give them a solid smack with your Sword. This will cause the bottle to topple over, though, won’t damage it. The vase-like bottle will now be stationary and harmless.
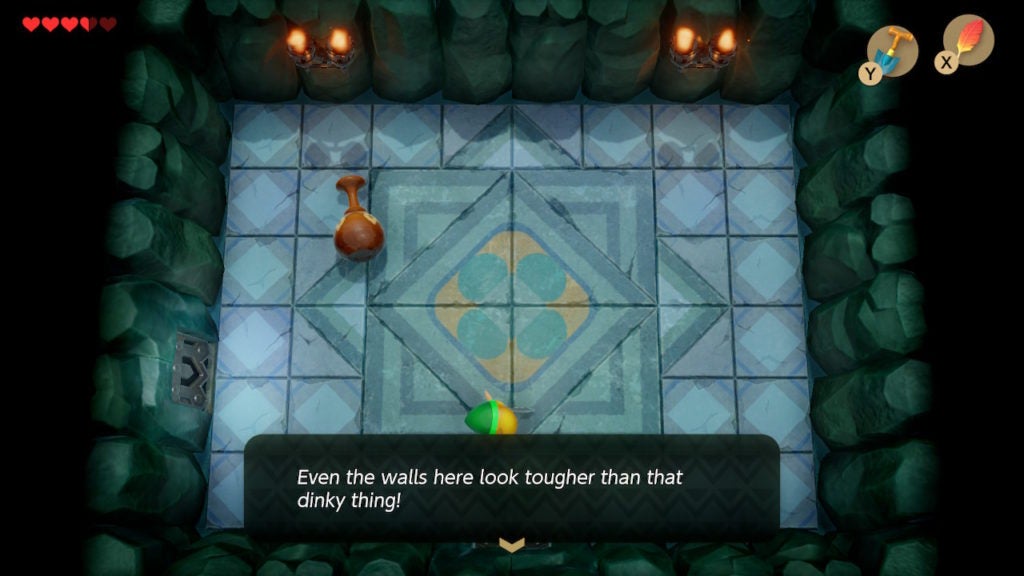
Throw the Boss’ Bottle Against the Wall While It’s Knocked Over
The Nightmare will then say that even the walls of the boss room look stronger than Link’s blade. While demeaning, this actually hints that you need to use the walls to damage the bottle. What you need to do is pick up the boss’ bottle using the strength you now have thanks to the Power Bracelet and throw the fiendish container at any wall.
This will crack the bottle and will cause Genie to emerge from it once more. When they do, they’ll have more fireballs to throw at you and will become temporarily immune to damage once more.
You’ll have to throw Genie’s bottle against the wall a total of 3 times. After the third time, the bottle will shatter and cause the boss to enter phase 2.
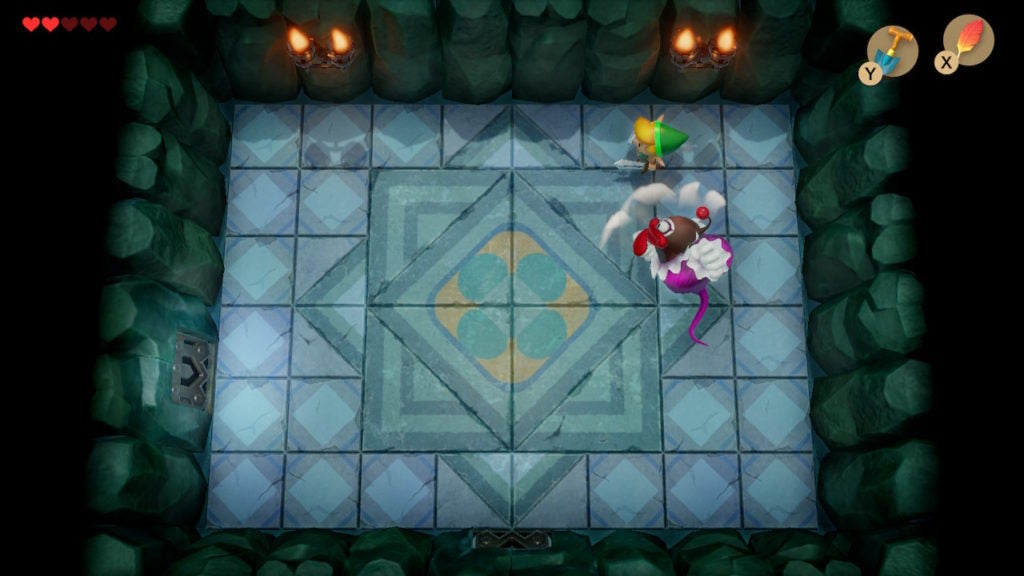
Genie, Phase 2
When Genie enters phase 2, they will be more aggressive and evasive as opposed to defensive. They have 3 main moves in this phase that you’ll need to look out for.
Illusion Clones
The boss will sometimes seemingly split themselves into 2 illusionary halves. These transparent forms will quickly fly around you and cannot be hurt. After a few seconds of this, Genie will return to a solid and singular body. When they do, they’ll unleash an attack, though will also be vulnerable to attacks themselves.
Big Fireball Attack
Sometimes after doing their illusion maneuver, the boss will launch a large fireball at you. This projectile is large but slow, so you should be able to dodge it if you’re constantly on the move.
While Genie is performing this attack, you should counterattack with your Sword. Run around their fireball and give them a solid slash! When struck, Genie will perform their illusion trick again.
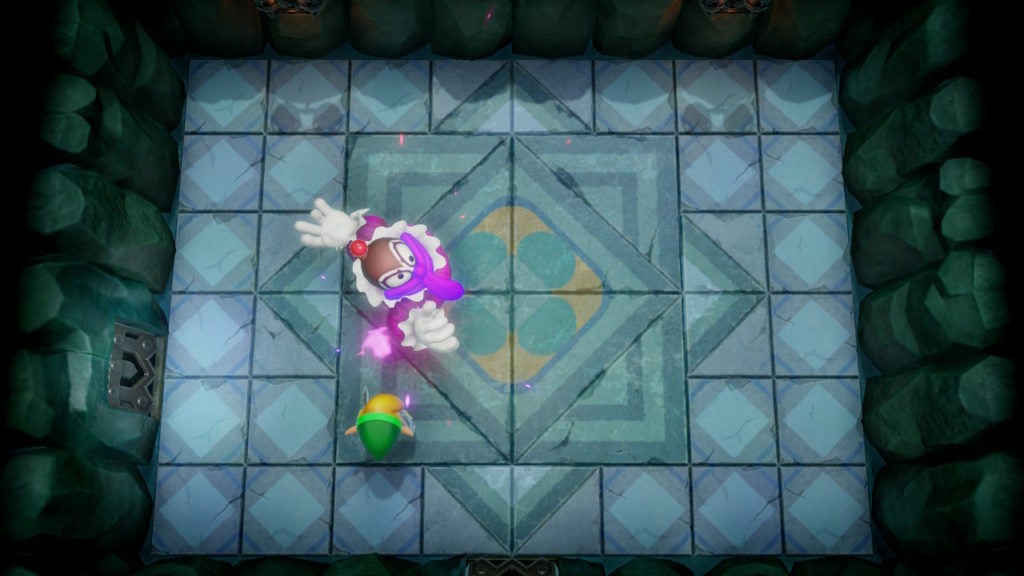
Melee Attack
On occasion, Genie will also get up close and personal. Instead of doing a fireball attack, they’ll fly towards you while swinging their fists furiously.
While Genie is vulnerable to Sword attacks during this assault, the reach of their fist and your Sword is about the same. So, if you go head to head with them, you’ll end up trading damage. If you have a lot of Hearts (4 or more), it’s recommended to perform this damage-trade, as Genie has less health than you do.
Overall, you’ll need to hit Genie with your Sword 3 times in phase 2 to beat them for good.
Grab the Heart Container and the Siren Instrument
After Genie explodes in a shower of purple flames, the door to the west will open up and a Heart Container will spawn in the center of the room—like when defeating all Nightmares.
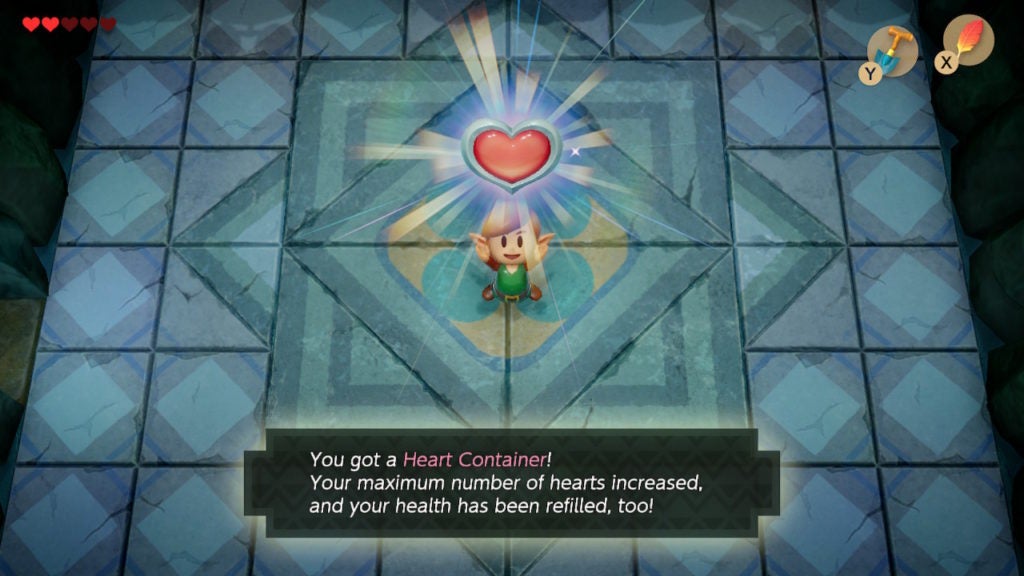
You’ll get a convenient full-heal from picking up a Heart Container as well as having your maximum number of Hearts increased by 1. Next, you should proceed into the final room, as that’s where the Siren Instrument of this dungeon lies.
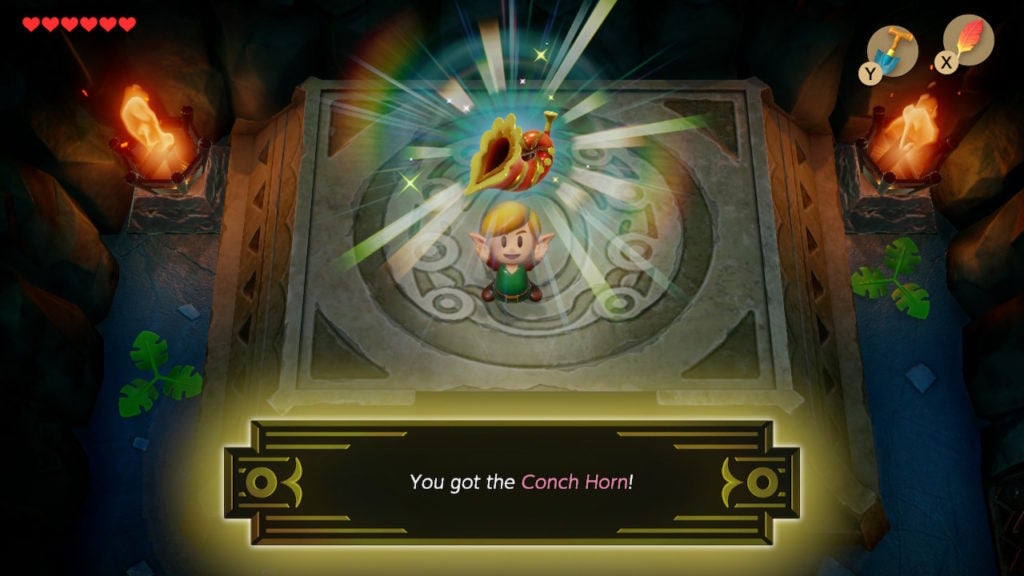
After you claim the Conch Horn, you will get a hint about where to go next. A white screen and some text will indicate that you must now go to a prairie in search of the next Siren Instrument.
However, before you leave Level 2 – Bottle Grotto forever, be sure to open that chest with 50 Rupees in the dungeon’s main entrance if you haven’t already. When you’ve looted the treasure, you’ll be able to move on knowing that you’ve collected everything.
Where to Go Next
While there are a couple of prairies on Koholint Island, the one the hint refers to is Ukuku Prairie. This vast field is located east of Mabe Village. To reach it, you need to go back to Mabe Village and clear some shrubs and stones just east of the Town Tool Shop. Now that you have the Power Bracelet, stones will no longer be an obstacle to you. While you’re in Mabe Village, it would a good idea to look around and see if anything has changed.
When you reach Ukuku Prairie, to get the key to the next dungeon, you will have to gather the 5 golden leaves by storming Kanalet Castle.