
![]() Key Takeaway
Key Takeaway
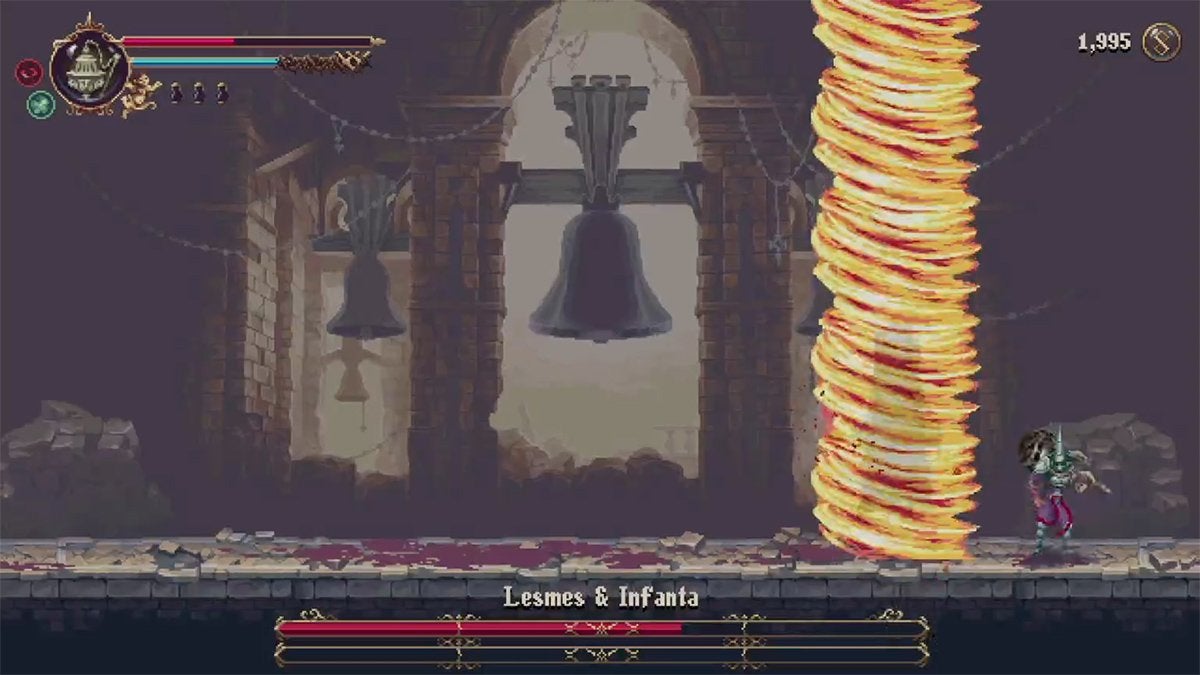
During Phase 1, be wary of Lesmes’s fire columns and charge attack. Attack in between these assaults.
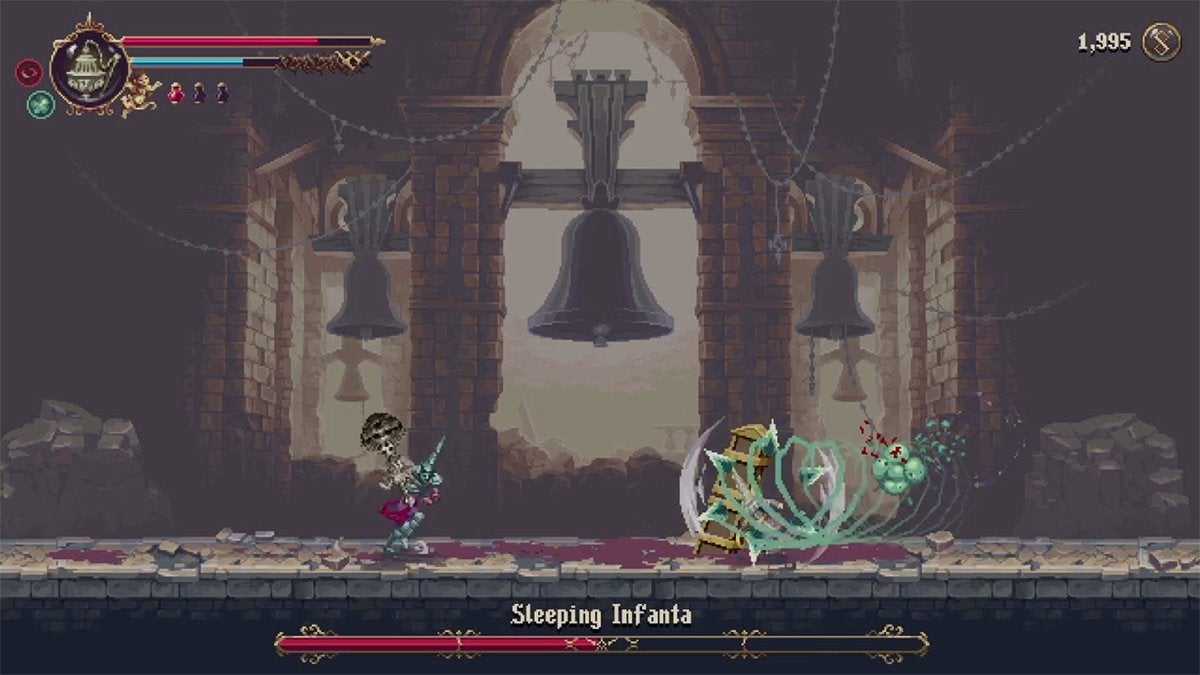
Next, as soon as Lesmes goes down, attack his fallen club to take out most of Infanta’s health before they spawn. This makes Phase 2 quick and potentially very easy.
Lastly, in Phase 3, focus on dodging and taking out Infanta before Lesmes. Infanta doesn’t have much health, so you can defeat them relatively swiftly and rid yourself of an annoying foe.
To get further in Blasphemous 2, you’ll need to beat Lesmes & Infanta. This mandatory boss has three Phases—the last of which makes you fight two strong enemies at once. You’ll need to get good to defeat this duo…or use some cheap tricks.
Table Of Contents
Tips for Beating Lesmes, Incorrupt Sacristan (Phase 1)
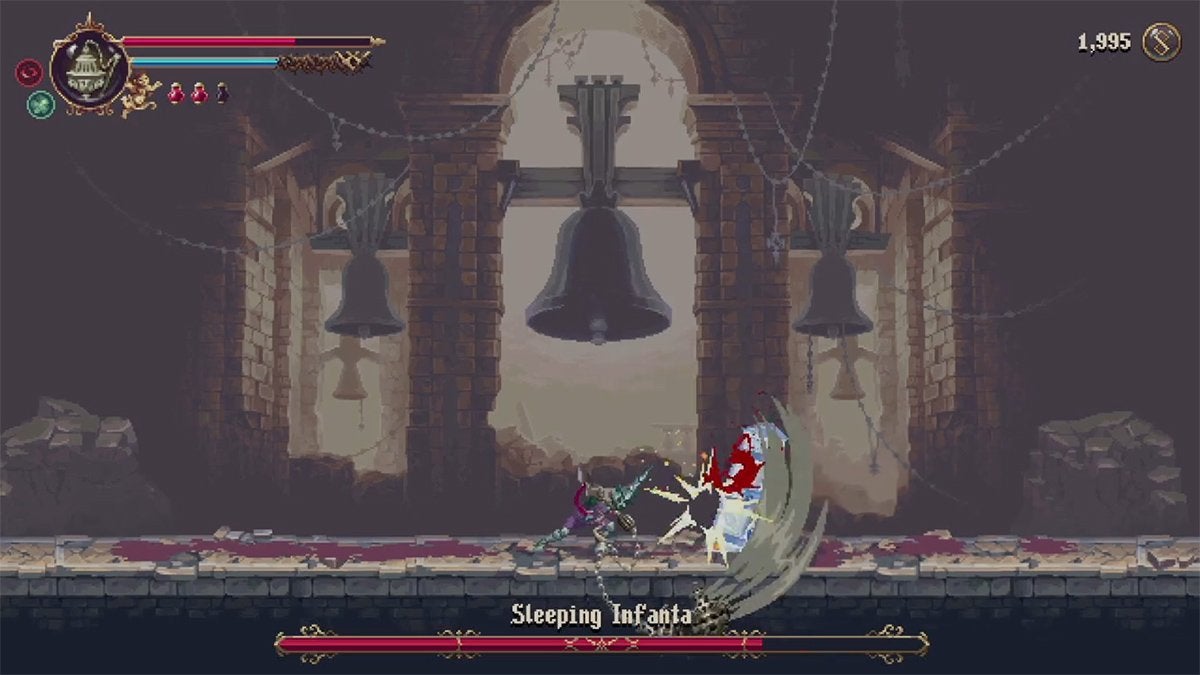
The first Phase of this fight forces you to go one-on-one with Lesmes. He’s a pretty slow opponent, so his attacks are easy to see coming. With that said, we’ll still go into how to dodge all of them.
Fire Column Slam
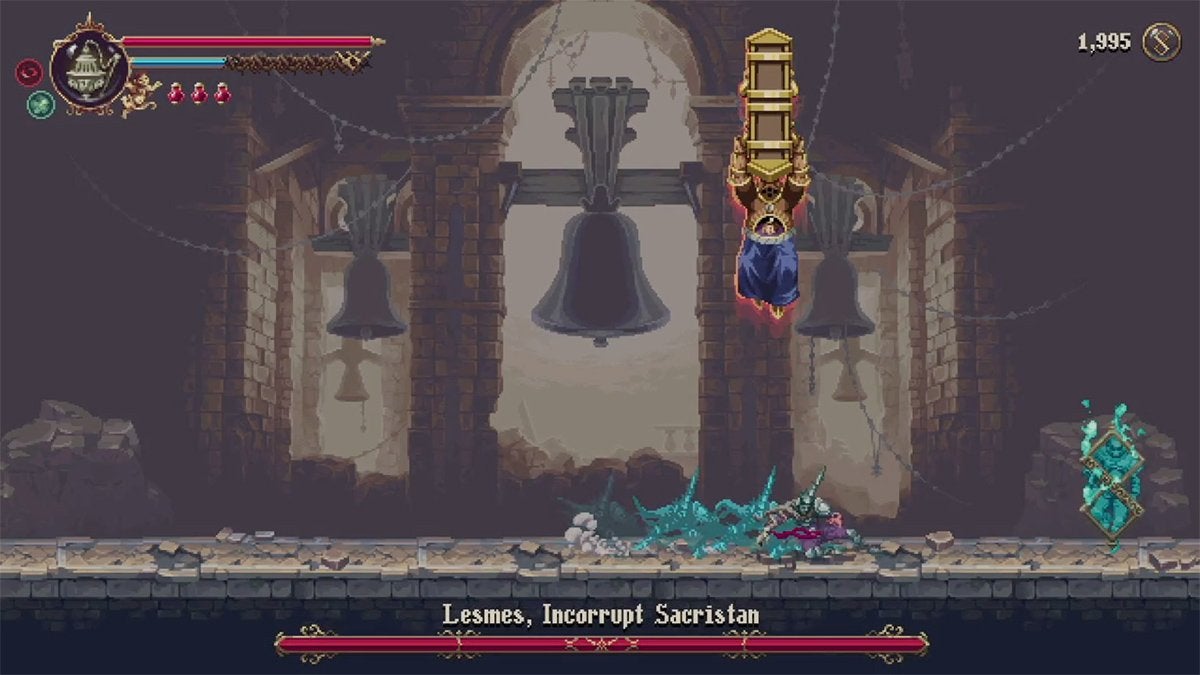
Lesmes’s most common attack is when he floats around in the air before slamming the ground. Every time he touches down, he’ll create a column of fire that lasts for a few seconds.
The boss tracks your movements for a few moments but always pauses in the air before coming down. Alternate between moving and standing still until he pauses in the air, and then try to dodge either to the left or right to avoid this attack.
Your bulky adversary usually does this attack three or four times in a row. After each fire column is created, you can hit Lesmes at least once before he takes off into the air once more.
Fire Column Summoning
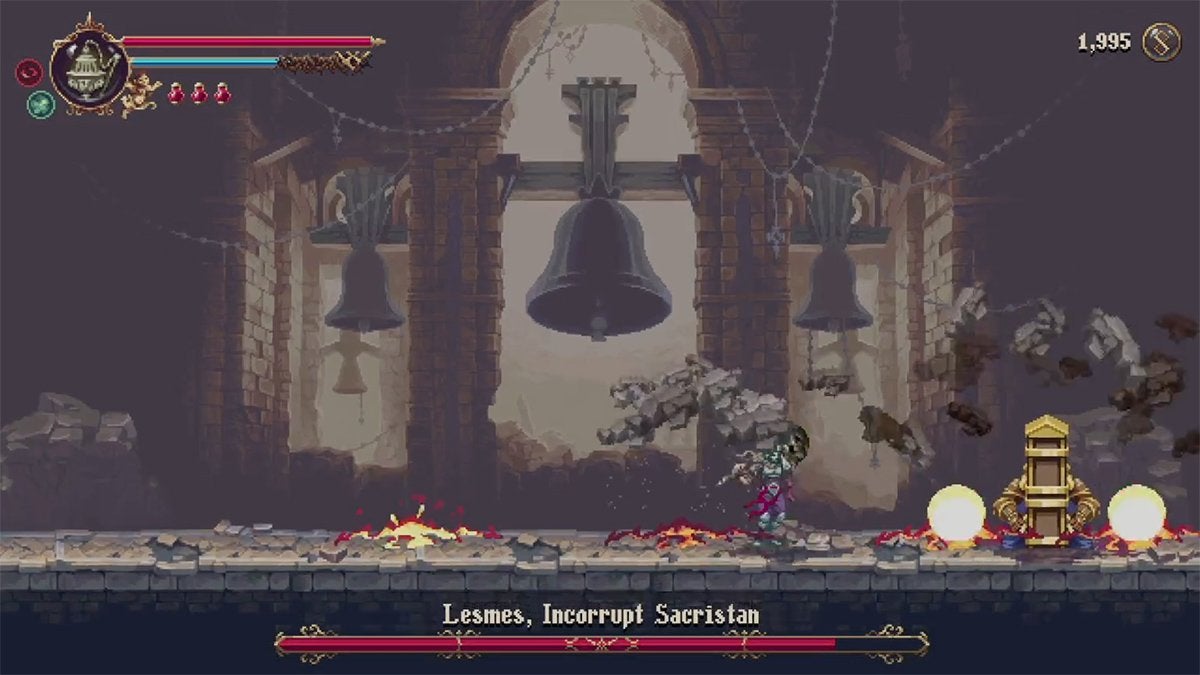
Once in a while, Lesmes heads to either the left or right side of the boss room and pounds the ground. This causes multiple fiery fissures to appear, which foreshadow the coming of multiple fire columns. Stay away from the fissures to avoid the pillars of flame that rise.
Like with Lesmes’s other fire column attack, the flaming pillars last for a few seconds before fading. During this time, it would be efficient to launch a few Prayers towards Lesmes.
Charge Attack
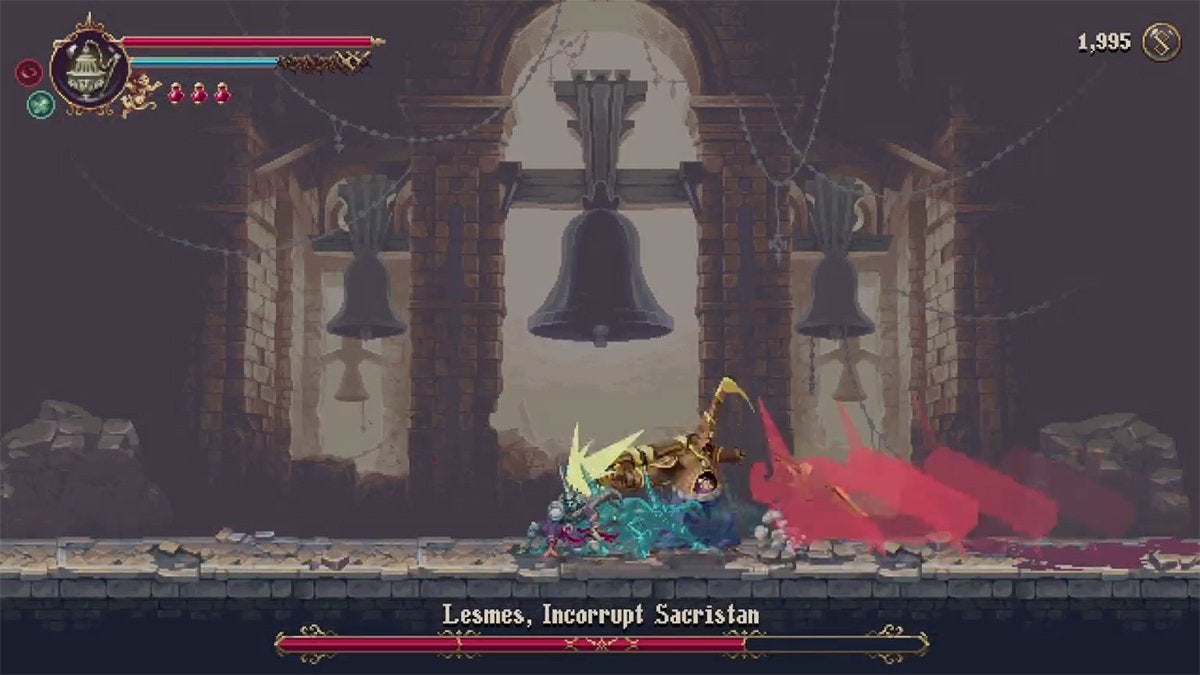
Arguably the hardest of Lesmes’s attacks to dodge is his charge. He’ll sometimes use this attack which there are fire columns around you, which makes it tough to avoid. However, you can evade the charge attack by either jumping over Lesmes or dodging through him. You’ll see it coming when Lesmes winds up his weapon-wielding arm.
Form Change
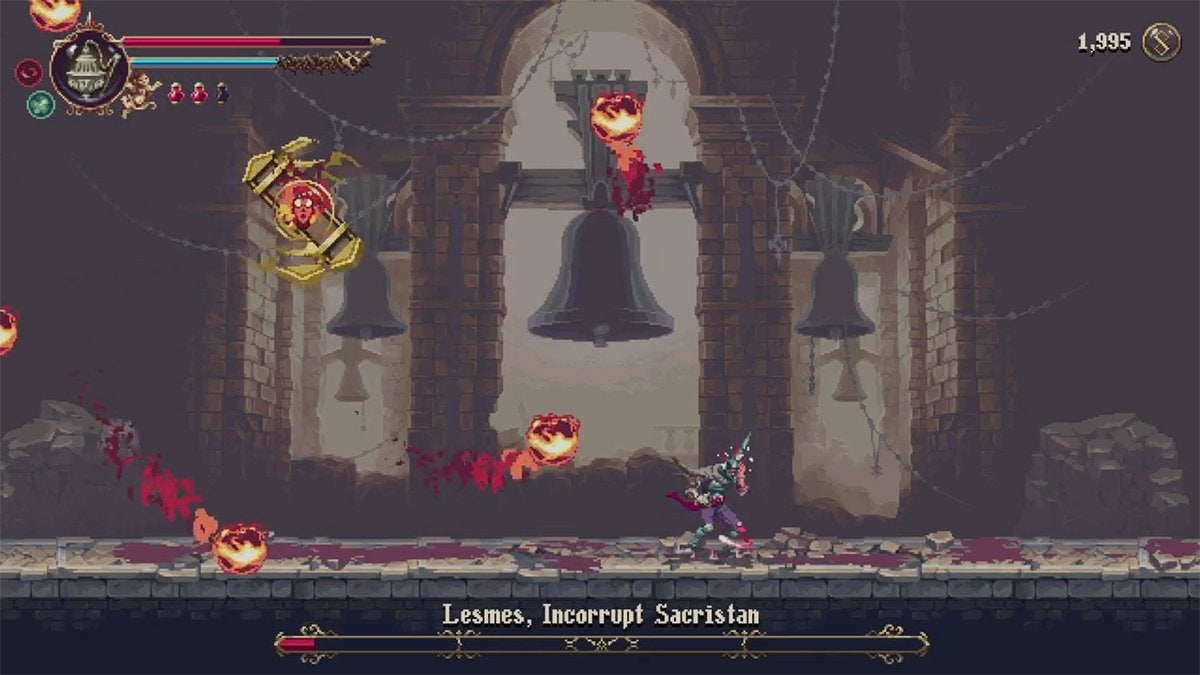
Lesmes sometimes changes into a floating fireball that’s surrounded by lesser fireballs. In this form, he’ll fly around and allow his fireball minions to bump into you. You can jump over the lesser fireballs as they rotate around their master.
After a few seconds, Lesmes calls the surrounding fireballs back to himself and returns to his humanoid form.
Tips for Beating Sleeping Infanta (Phase 2)
When Lesmes, Incorrupt Sacristan goes down, Sleeping Infanta pops up for Phase 2 of this fight. They’ve only got two attacks and have way less health than Lesmes. With that said, their ranged attack is hard to completely avoid.
Although, since Infanta’s health is so low, you can cheese them pretty easily. The second Lesmes is defeated, his club-like weapon hits the ground. A few seconds later, Infanta climbs out of it. However, immediately after Lesmes is defeated, Infanta’s hitbox becomes active—even before they appear.
During our fight with this boss, we were able to take out 95% of Infanta’s health before they got out of Lesmes’s club—which made Phase 2 of this fight trivially easy.
We’ll still cover Sleeping Infanta’s attacks and how to dodge them, as you’ll need to know about them to do better in Phase 3.
Miasma Arrows
The most frequent (and annoying) of Infanta’s two attacks is their Miasma Arrows. The small enemy surrounds themselves with these green projectiles before shooting them at you in random intervals and amounts. These are very hard to completely evade, regardless if you choose to jump over or dodge through them.
Thankfully, these projectiles don’t do much damage individually.
Poisonous Pinwheel
On occasion, Infanta charges at you while their Miasma Arrows rotate around themself. This attack can be evaded via a simple jump. Due to the speed of this attack, it’s easier to clear than slower charges from enemies such as those that carry giant bells around themselves.
Tips for Beating Lesmes & Infanta (Phase 3)
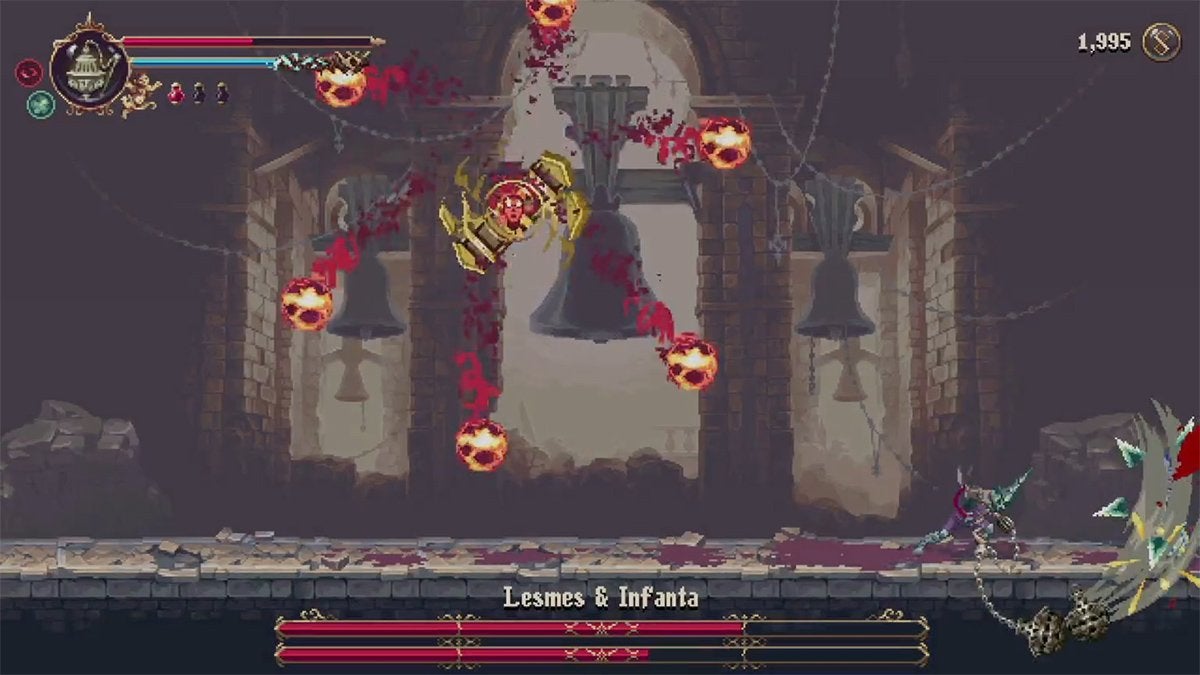
To beat Lesmes & Infanta in Phase 3, you’ll need to use techniques you’ve developed in the previous two Phases to avoid attacks. Despite the previous Phases being relatively straightforward, taking on two foes at once is always difficult.
With that in mind, we recommend focusing on taking out Infanta first due to their health pool being much smaller than that of Lesmes. When one foe goes down, the other is much easier to face in battle.
Prioritize dodging and launching ranged Prayers when there’s an opening to do so. Also, focus on evading Lesmes’s attacks more than Infanta’s, as the former’s attacks do much more damage.
When Infanta goes down, the fight descends into an echo of Phase 1.
Without the pesky poison projectiles, taking on a lonely Lesmes should be a task you can accomplish while avoiding most (if not all) incoming damage.
Once you beat Lesmes & Infanta, you’ll be another step closer to the second half of Blasphemous 2. If you’ve defeated Great Preceptor Radamés and Orospina, Lady Embroiderer, head back to the City of Blessed Name. It’s time to ascend into the sky.