![]() Key Takeaway
Key Takeaway
Prioritize evasion! A great window within which to counterattack is when Great Preceptor Radamés is stuck to the wall following his charge attacks. At such moments, you should unleash a ton of Prayers and melee attacks before he frees himself.
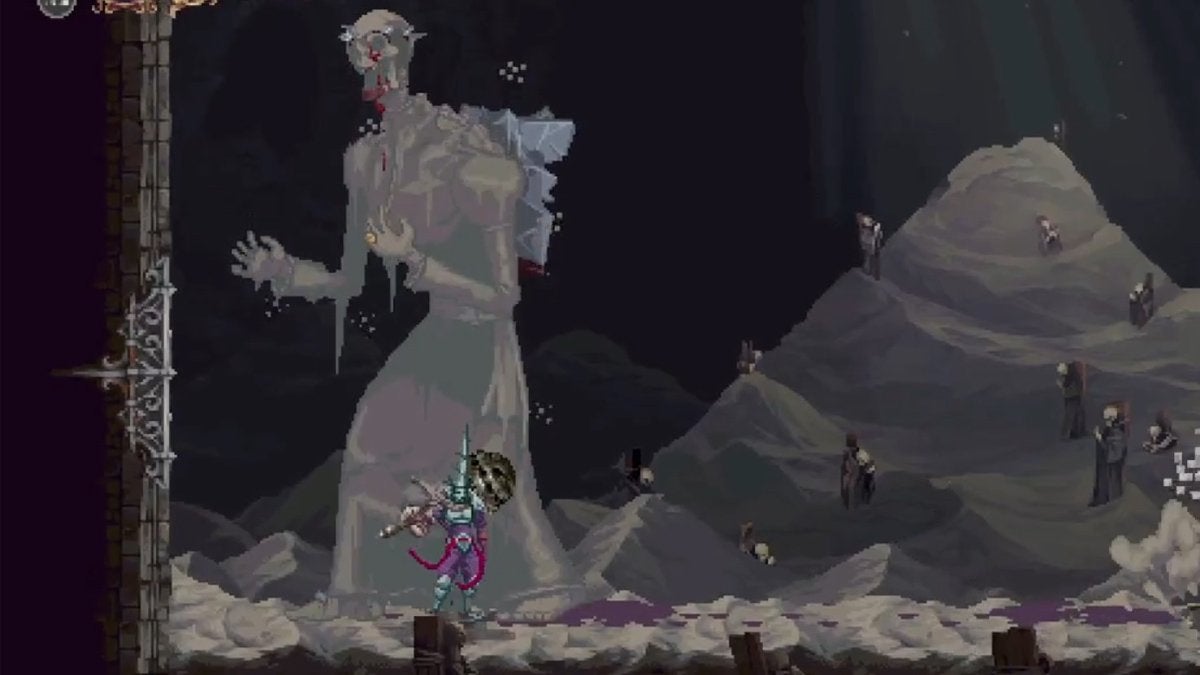
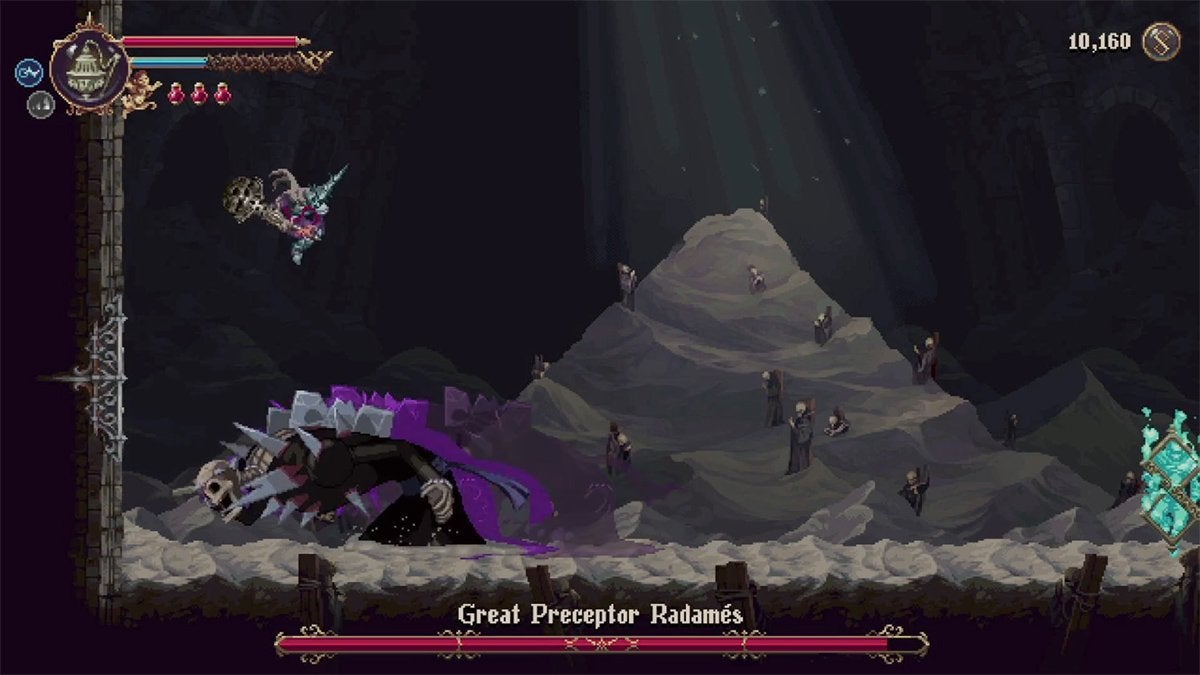
Within the depths of the Sacred Entombments area, you’ll find one of the major bosses of this game. Before you can get closer to the Miracle, you must beat Great Preceptor Radamés in Blasphemous 2. It’s time to put this overgrown corpse to rest.
Table Of Contents
Tips for Beating Great Preceptor Radamés During Phase 1
This greater foe doesn’t have too many attacks, so you should be able to learn them fairly quickly. After doing so, it’ll become easier and easier to dodge the boss’s assaults.
Club Swing
One of Radamés’s most common attacks is when he swings his huge club at you. When you see him wind up for such a strike, dodge away from the big skeleton or jump. The boss swings his club along the ground, so, if you jump, you can him hit in the air with a well-timed attack while dodging the club.
Heavy Club Swing
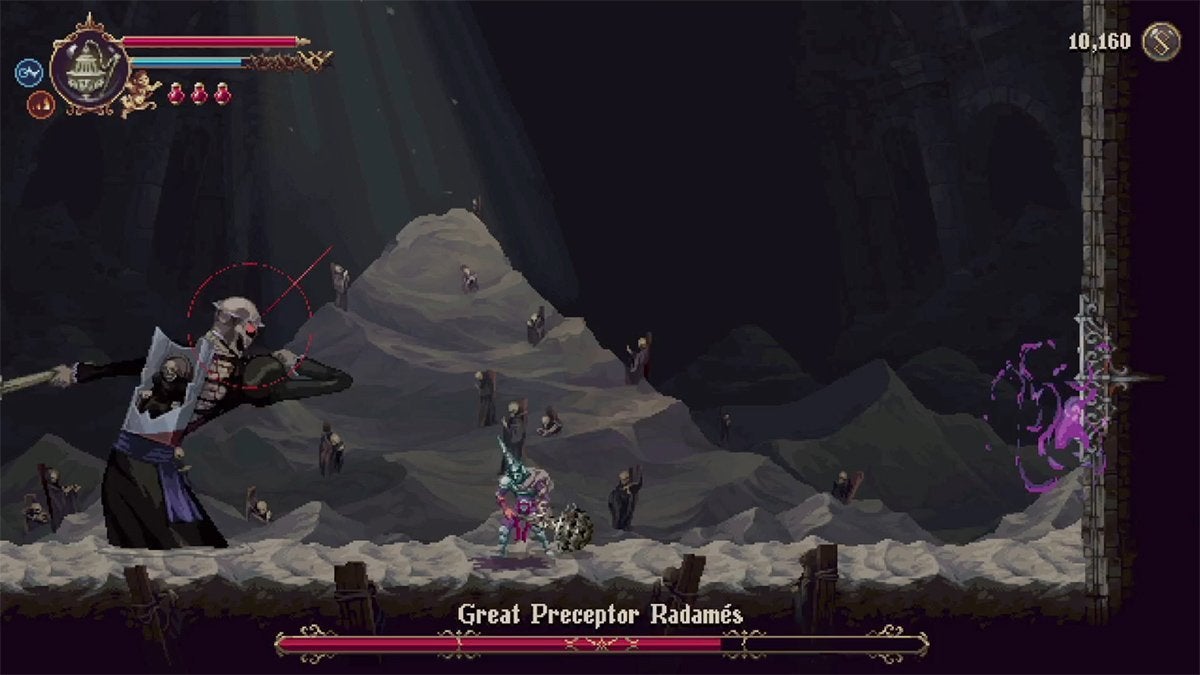
This one is similar to the Club Attack; however, Great Preceptor Radamés slams their weapon down on you from above. On top of that, the range of this assault is greater than the regular Club Swing. To avoid this attack, dodge twice in the opposite direction of the boss as soon as you see the red ring appear around Radamés’s head.
Purple Fireballs
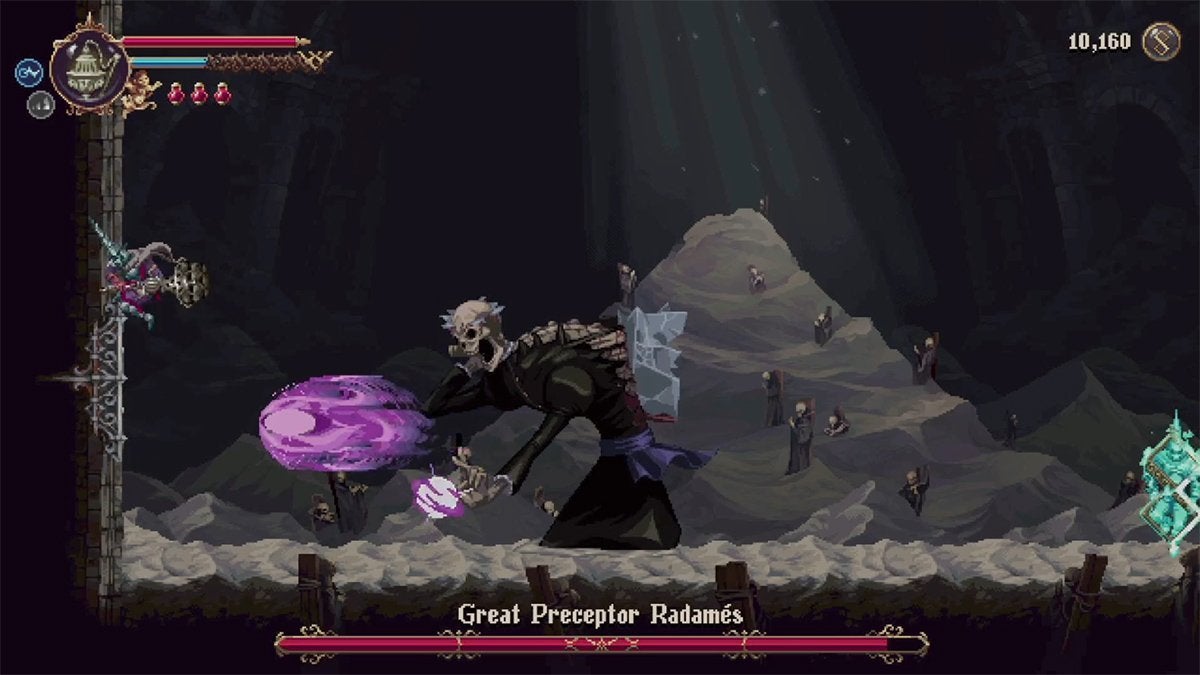
Great Preceptor Radamés occasionally shoots large purple fireballs at you in a series of three. Usually, they alternate between flying in the air and along the ground. To avoid the ones in the air, you must crouch by holding down on the control stick or the d-pad. Then, to avoid the fireballs along the ground, you must jump over them.
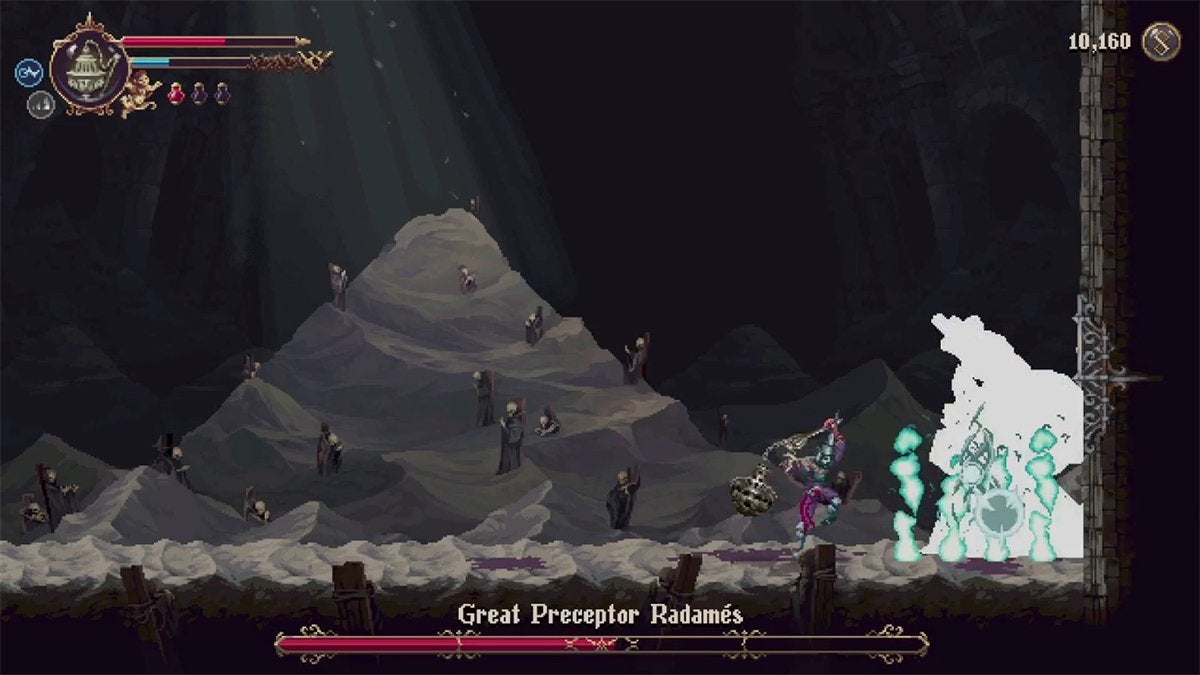
Charge Attack (Phase 1)
Arguably, the trickiest move to avoid during Phase 1 of this boss fight is Radamés’s charge attack. You need to be close to either of the boss room’s walls to dodge the charge.
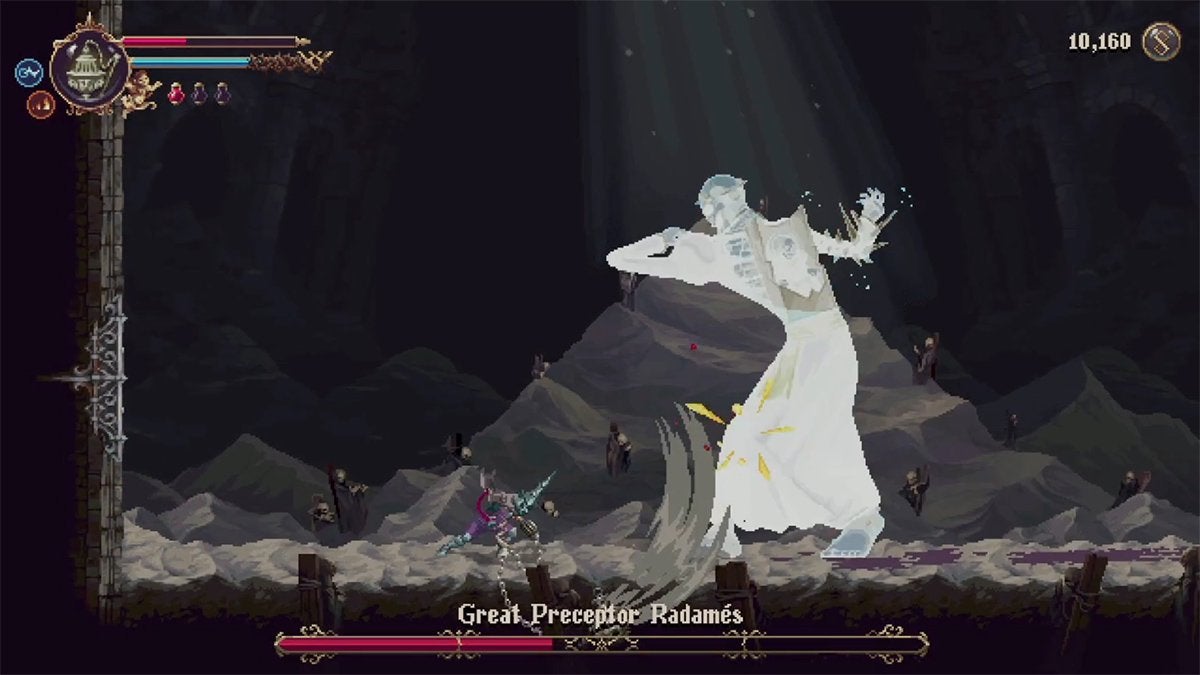
Great Preceptor Radamés forces glass out of his body before rushing at you. To evade, hold onto one of the boss room’s walls (with help from the Ivy of Ascension) and then leap over Radamés’s body as he gets close.
The boss gets stuck to the wall for a bit after slamming into it. This would be a great time to unleash some Prayers upon your foe in addition to a flurry of melee attacks.
While Galera of the Living Briar is great to use throughout the Radamés fight due to being quick to cast, the only time you should use Peteneras to the Burial of the Lights is when your foe is stuck to the wall since the latter Prayer takes longer to unleash.
With that said, since the boss gets stuck to one spot for a few seconds, Peteneras to the Burial of the Lights deals a ton of damage to Great Preceptor Radamés with its lingering flames.
Entering Phase 2
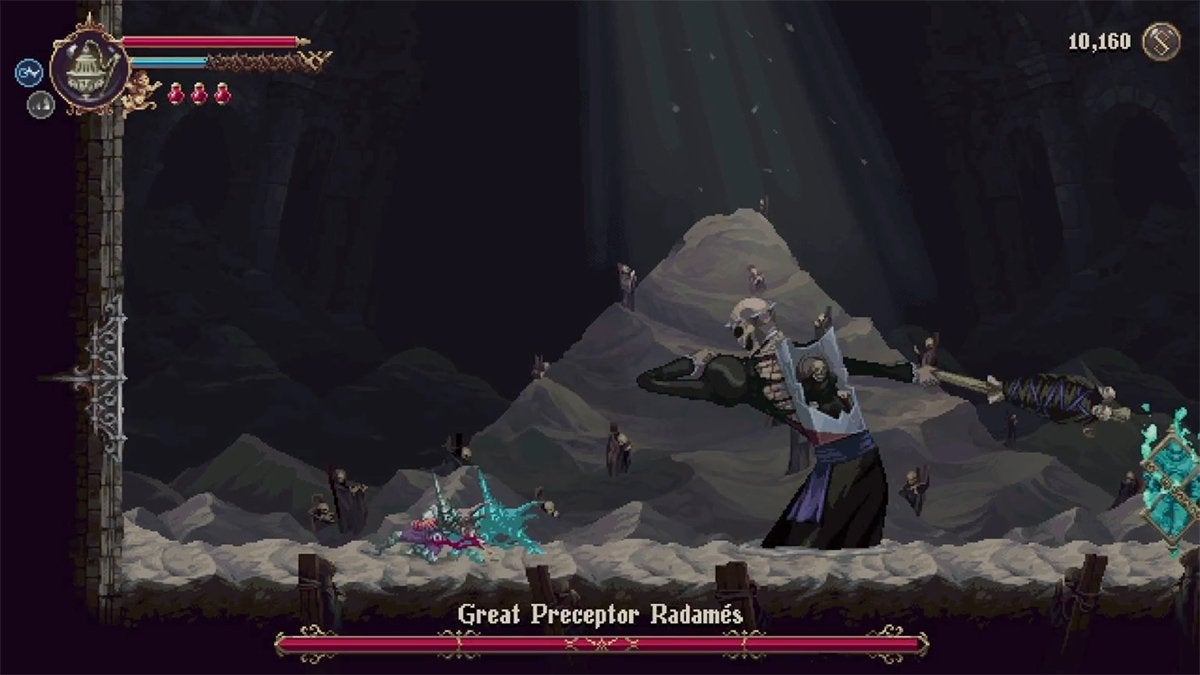
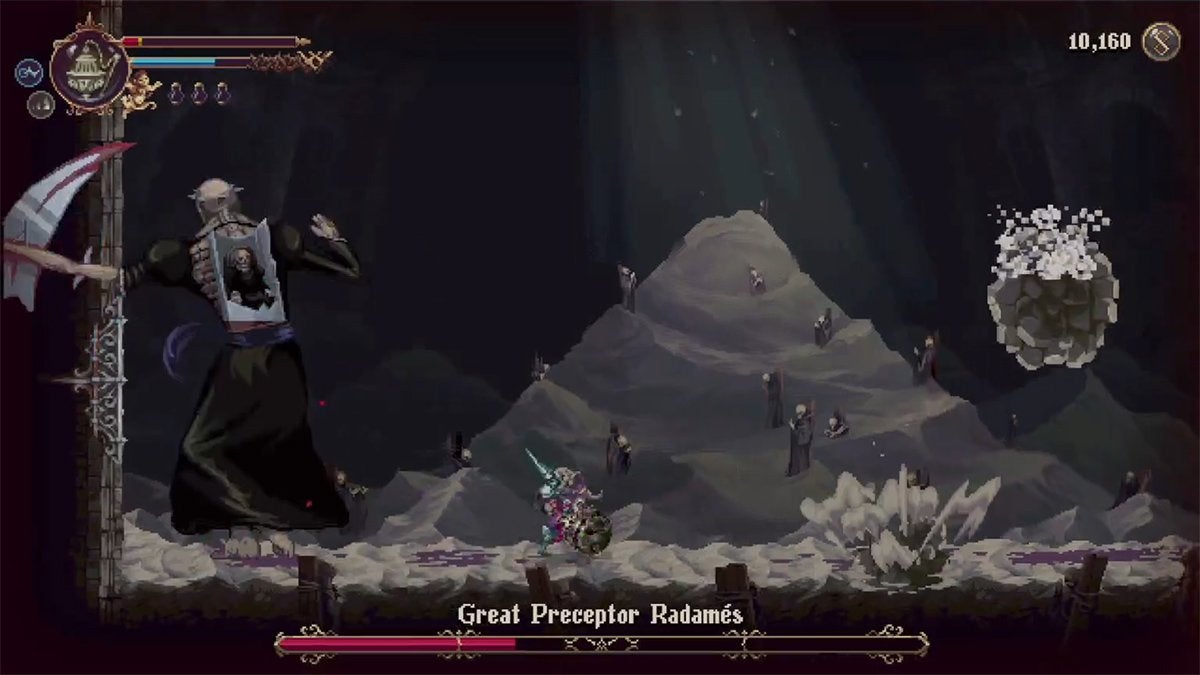
When Great Preceptor Radamés loses around 50% of his health, he enters Phase 2. You’ll see this when the great skeleton starts pulling his legs out of the dusty ground.
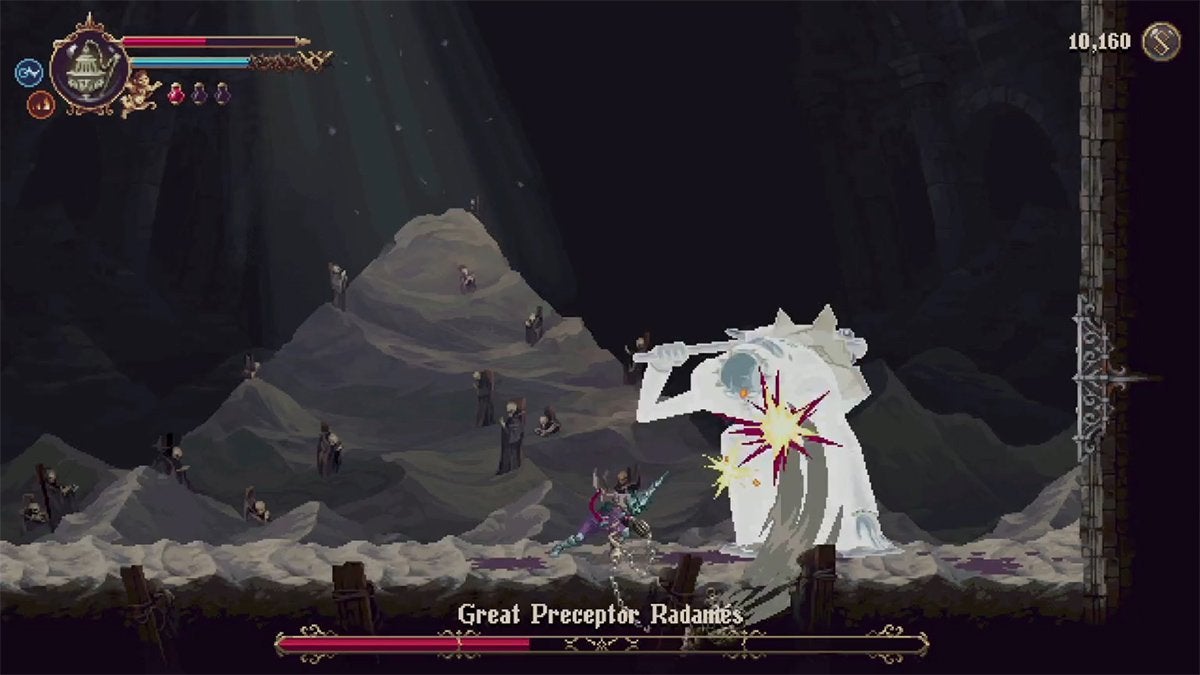
Before he begins attacking you once more, Radamés eats his club and regains a bit of health while boulders begin falling here and there.
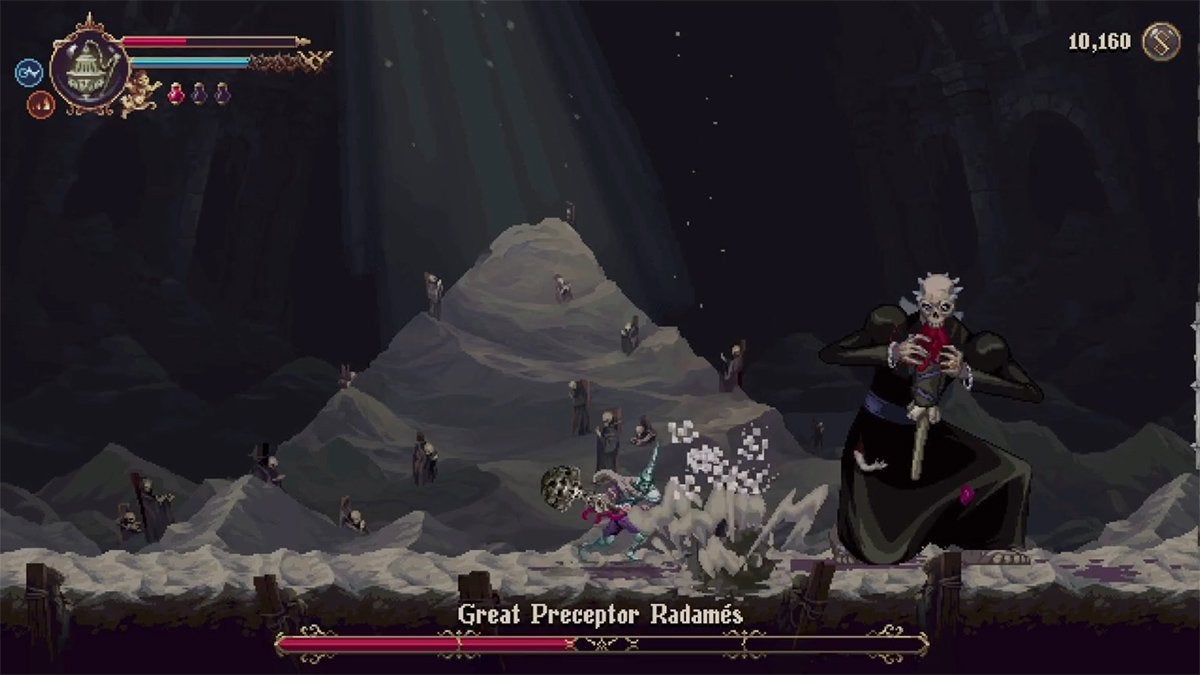
Tips for Beating Great Preceptor Radamés During Phase 2
Don’t celebrate upon reaching Phase 2, as you’ll need to bring your best moves to beat Great Preceptor Radamés in Blasphemous 2.
During Phase 2, Radamés no longer uses his club since he ate it after Phase 1. However, he’ll still use the Purple Fireball attack as well as a variant of his charging maneuver and a few other tricks.
Glass Waves

As Radamés takes up his spellcasting pose, he’ll sometimes summon waves of glass along the ground instead of fireballs. These Glass Waves come in three volleys—all of which you can only avoid by jumping over them.
Glass Shard Blast
During Phase 2, if you see Radamés pull one of his arms back while glass shards come out of that arm, he’s preparing a shotgun-like blast. This ranged attack is launched at the area directly in front of the boss’s feet. If you dodge away from your adversary once, that’s more than enough to avoid this explosion of glass.
Charge Attack (Phase 2)
Much like in Phase 1, Radamés charges at you after covering his body in glass shards. You can evade this the same way you avoided the Charge Attacks in Phase 1: by using the walls to leap over the boss. The only difference is that you’ll need to be higher up on the wall to do so, as the skeletal enemy is now much taller.
Arm Scythe
Once in a while—usually after a Charge Attack during Phase 2—Radamés creates a scythe from his arm and a huge chunk of glass. When you see this, dodge away from the boss, as he’s about to swing this makeshift scythe your way while turning around.
After you deplete the boss’s health bar, you win! There’s no surprise Phase 3 or anything. If you’re having trouble while trying to beat Great Preceptor Radamés in Blasphemous 2, try to get more Bile Flasks in order to heal more times and get rid of your Guilt so that you can use more Prayers. With a bit of practice, you’ll have no problem burying this dusty demon’s decrepit bones.