![]() Key Takeaway
Key Takeaway
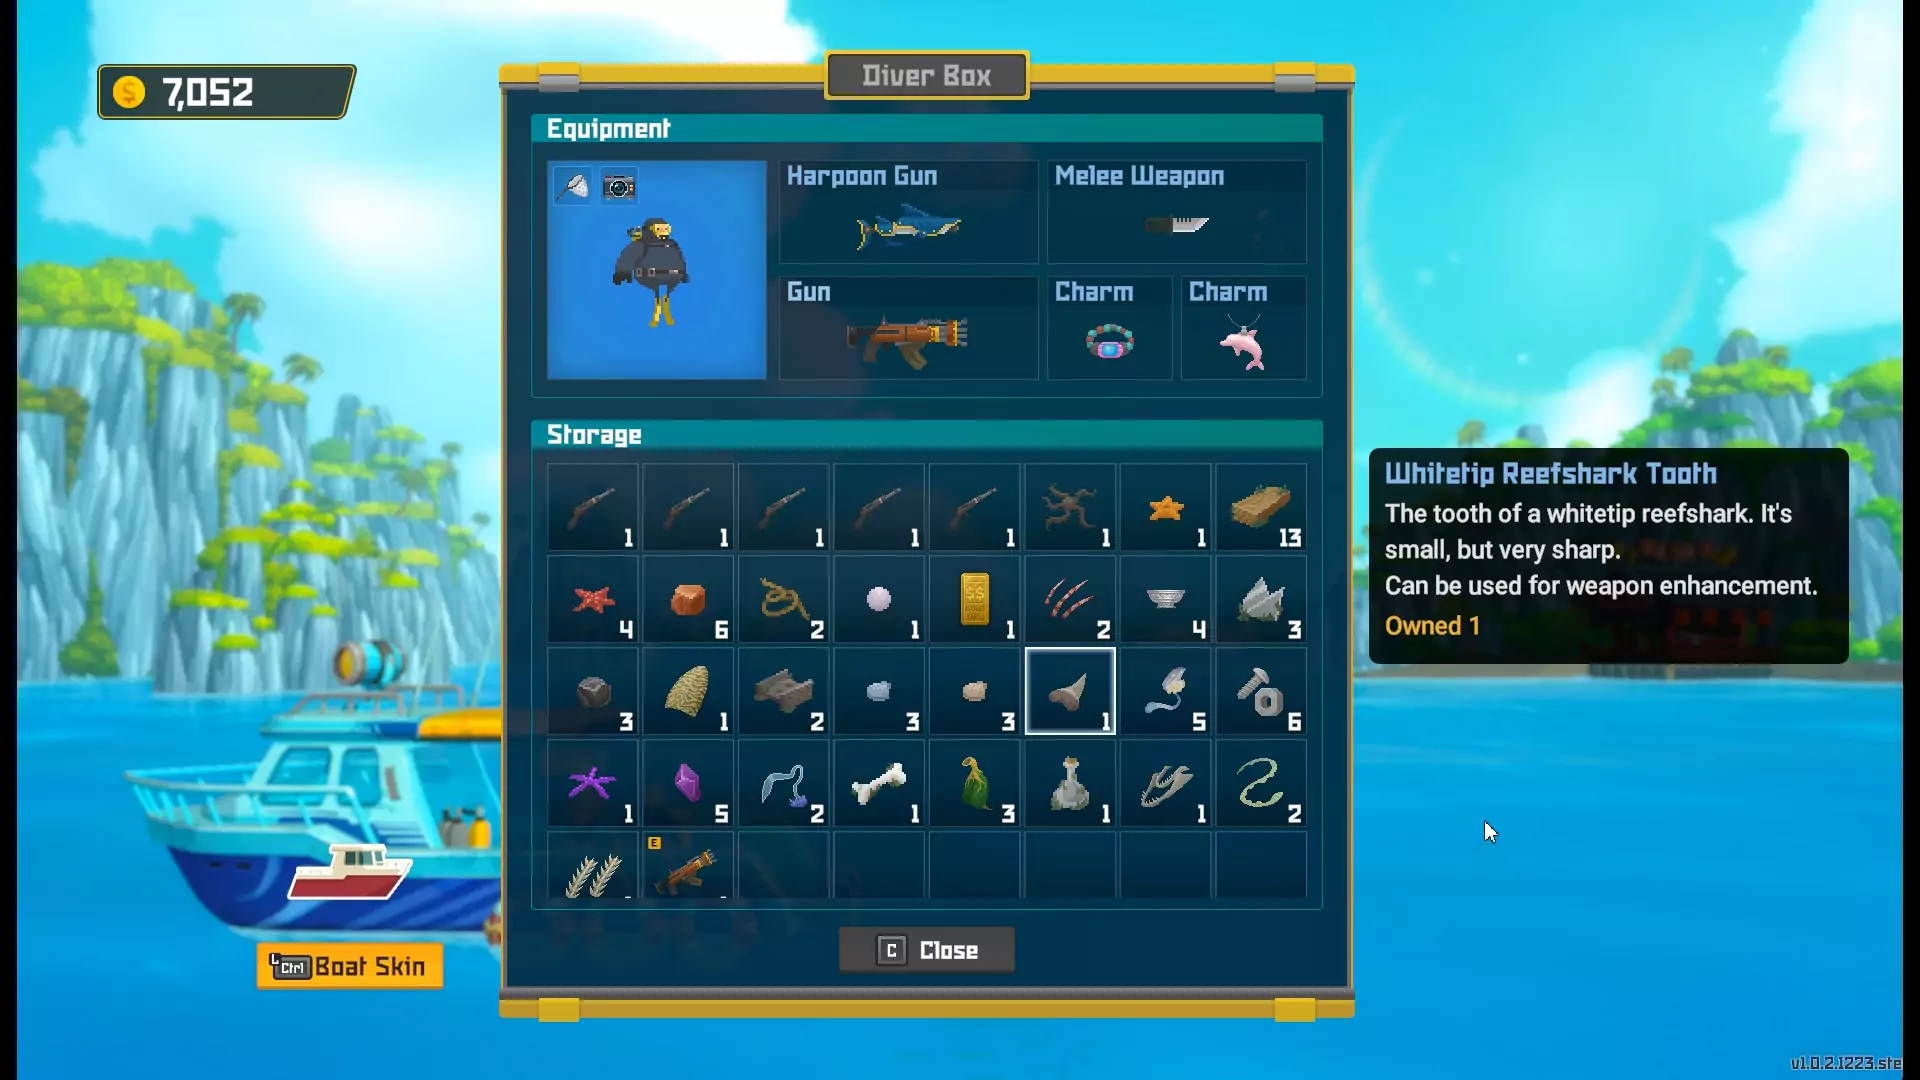
To get Shark Teeth, you can hunt and kill sharks. After each successful kill, you’ll have a small chance of getting one of that particular shark’s teeth as a drop. You need to harvest the meat from a dead shark for a chance to get Shark Teeth—just like how you collect the shark’s flesh for sushi.
Getting Shark Teeth in Dave the Diver is pretty risky. You need to pluck them directly out of a shark’s mouth; you can’t pick these items up off the sandy sea floor. As such, you’ll need to arm yourself to the teeth and prepare for underwater combat!
Table Of Contents
Getting Shark Teeth From Sharks in Dave the Diver

Every time you kill a shark in Dave the Diver, there’s a small chance that they’ll drop one of their teeth. Harvest their meat for a chance of getting some Shark Teeth.
However, that’s easier said than done! On top of that, the drop rates are fairly low across most shark species. With this in mind, you’ll need to hunt multiple sharks to get even a small number of teeth.
Tips for Killing Sharks
Besides bosses, sharks are the strongest foes you’ll face in Dave the Diver. They can do serious damage to you and they have lots of health. You’ll need patience, proper positioning, and a solid weapon to take out the fiercest sharks in the game.
Wait for the Best Time to Strike
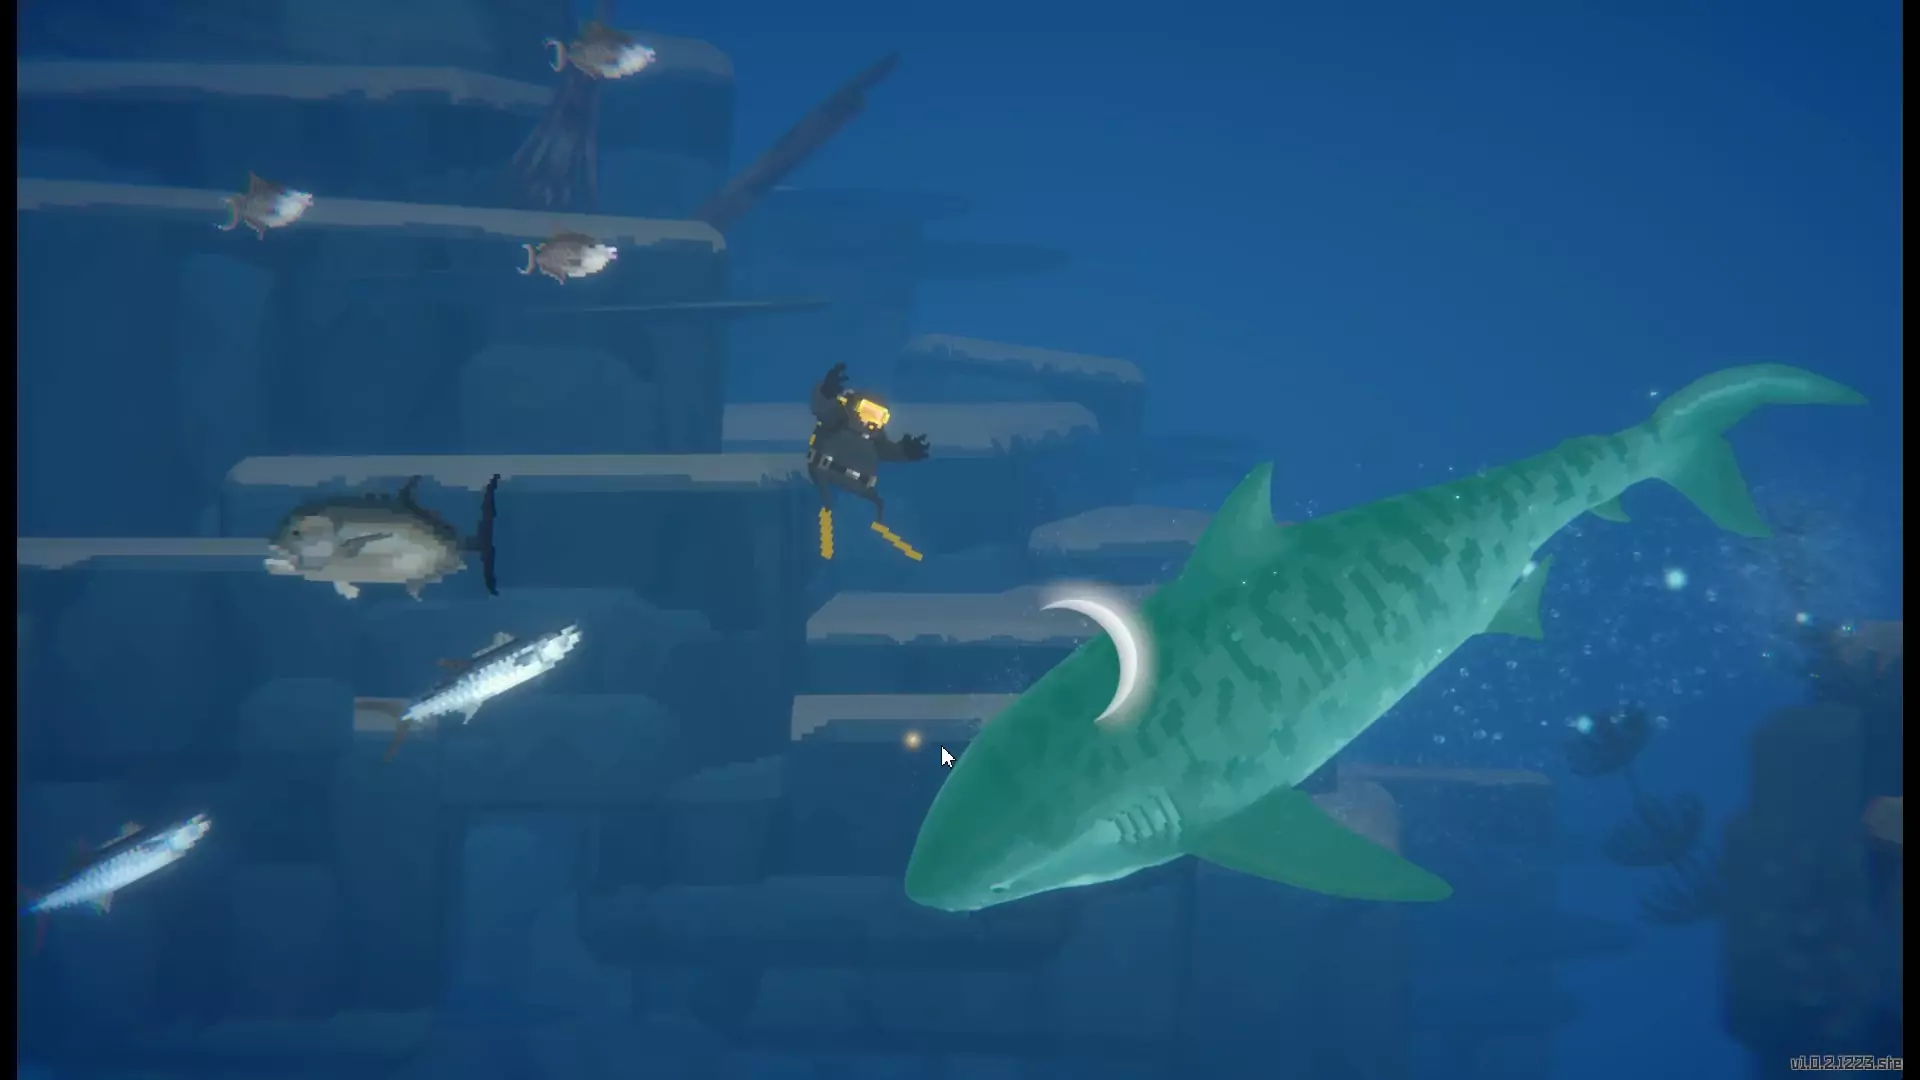
Every type of shark has a lunge attack that leaves them vulnerable afterward. When you see a shark pause and open their mouth, prepare to dodge by swimming perpendicular to them. For example, if a shark is aiming in a straight line to the right and you’re in front of it, swim up or down in a straight line.
If swimming at normal speed isn’t enough to dodge a shark’s lunge attack, use your ability to swim faster to propel yourself out of harm’s way quicker.
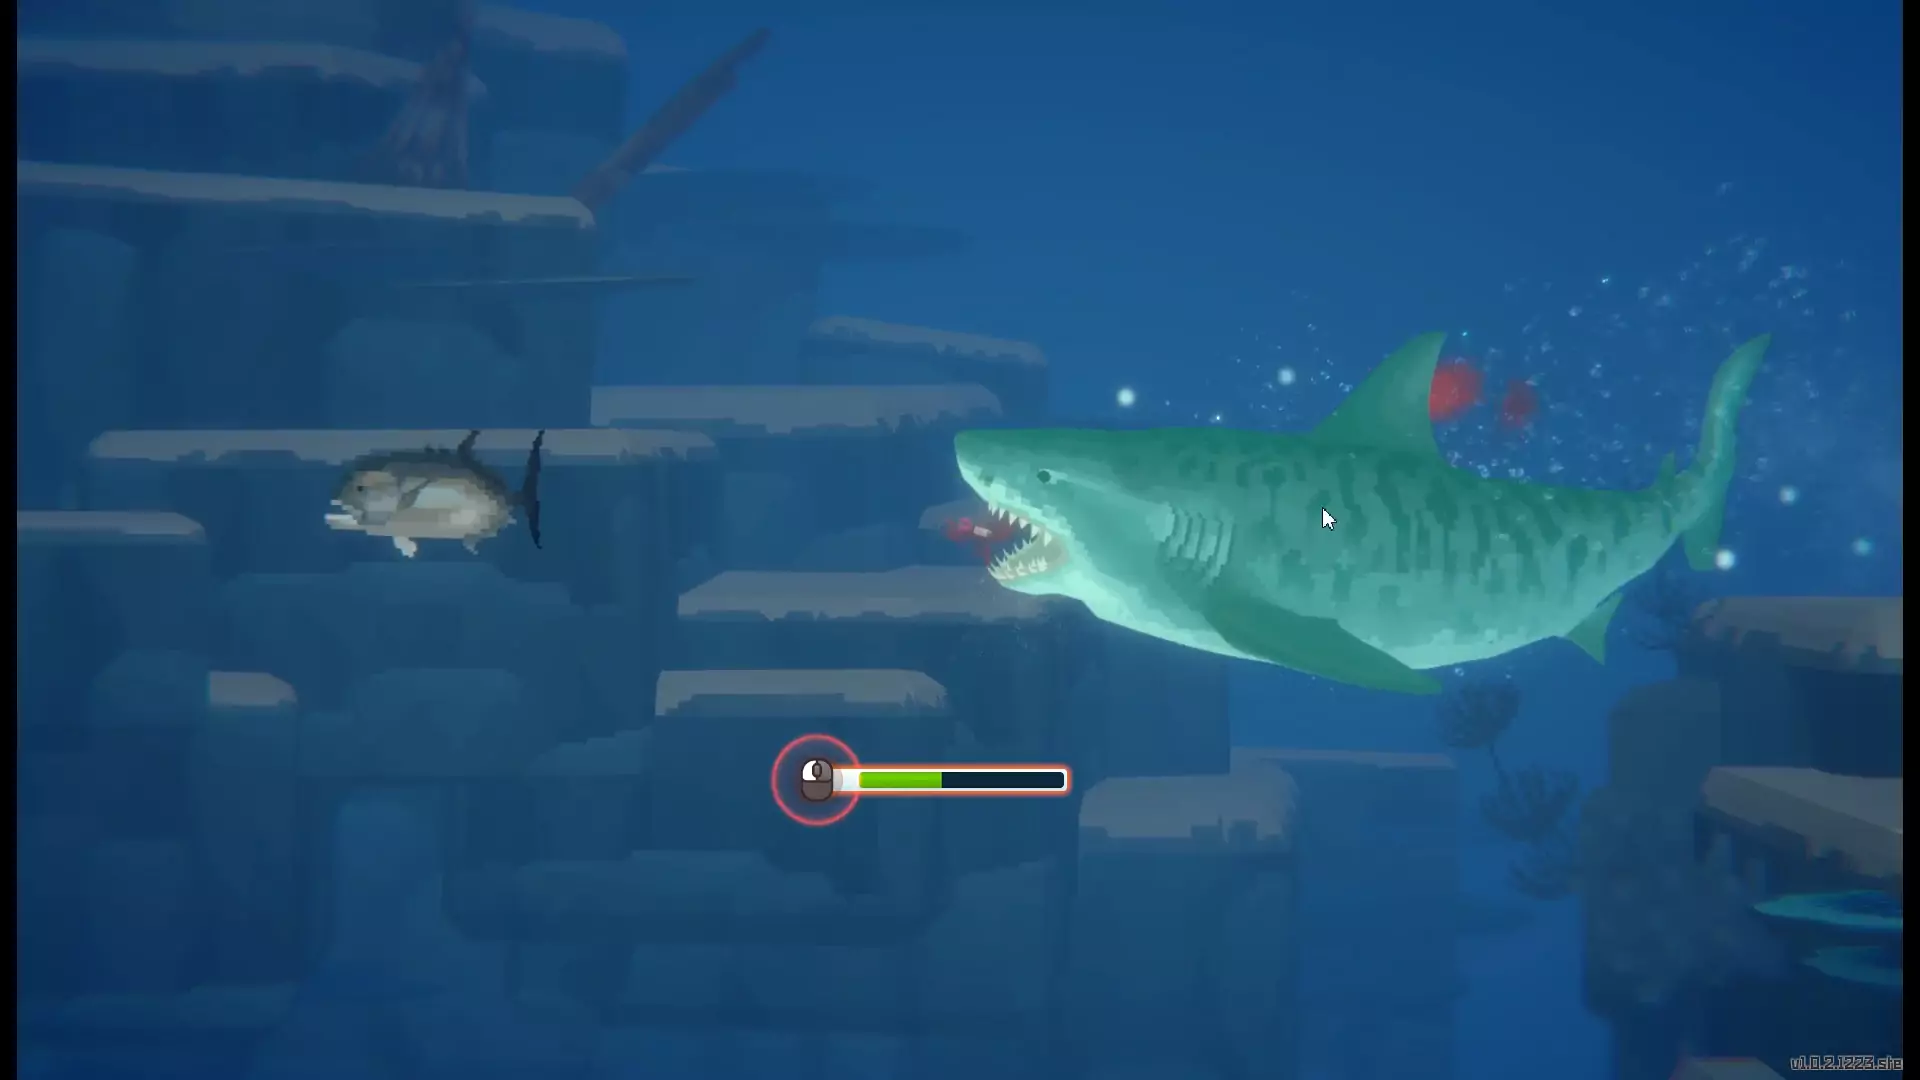
After you evade the shark’s toothy tackle, aim with your weapon and fire away! If you don’t have any ammo for your gun, use your harpoon.
On top of that, if you successfully beat the quick-time event that happens when a shark tries to bite you, you’ll have a chance to counterattack for some bonus damage.
Stay Out of Melee Range
A shark’s lunging strike is always followed by the best time to attack. Don’t try to fight a shark in melee range unless you’re sure it’s almost dead. Sharks deal damage to you on contact and can rotate on a dime when they aren’t charging in a straight line. You’re always better off fighting a shark when you’re out of melee range.
Sharks have a regular bite attack that they can do without any telegraphing. You’ll almost always take a lot of damage from these—even if you have the fastest reflexes possible.
If you’re having trouble getting out of melee range, swim around a nearby piece of coral or a rock to break the line of sight. Doing so causes the shark to get confused and stop chasing you once you get far enough away. At that point, find a way to restore your oxygen level and resupply on ammo before resuming the fight.
You should also consider how much loot you have on you. If you don’t want to lose a lot of high-quality fish meat, you’re better off fleeing from a shark if your oxygen levels are low. You can always come back to hunt sharks later—there are plenty of fish in the sea!
Upgrade Your Best Gun Before Hunting a Shark
Before going after some Shark Teeth in Dave the Diver, we highly recommend upgrading your gun in the Weapon Shop first. To do so, begin by collecting Fragments and fish parts as well as saving up a bit of Gold. Next, open the Weapon Shop app on Dave’s phone to get to the Upgrade menu.

If you need a suggestion for a great early-game weapon, try the Quattro Axel I—which is one of the first upgrades for the Triple Axel. Each of the four rounds let loose from this gun’s barrel in every shot does 14 damage. That’s 56 damage total if each of the four rounds hits your target.
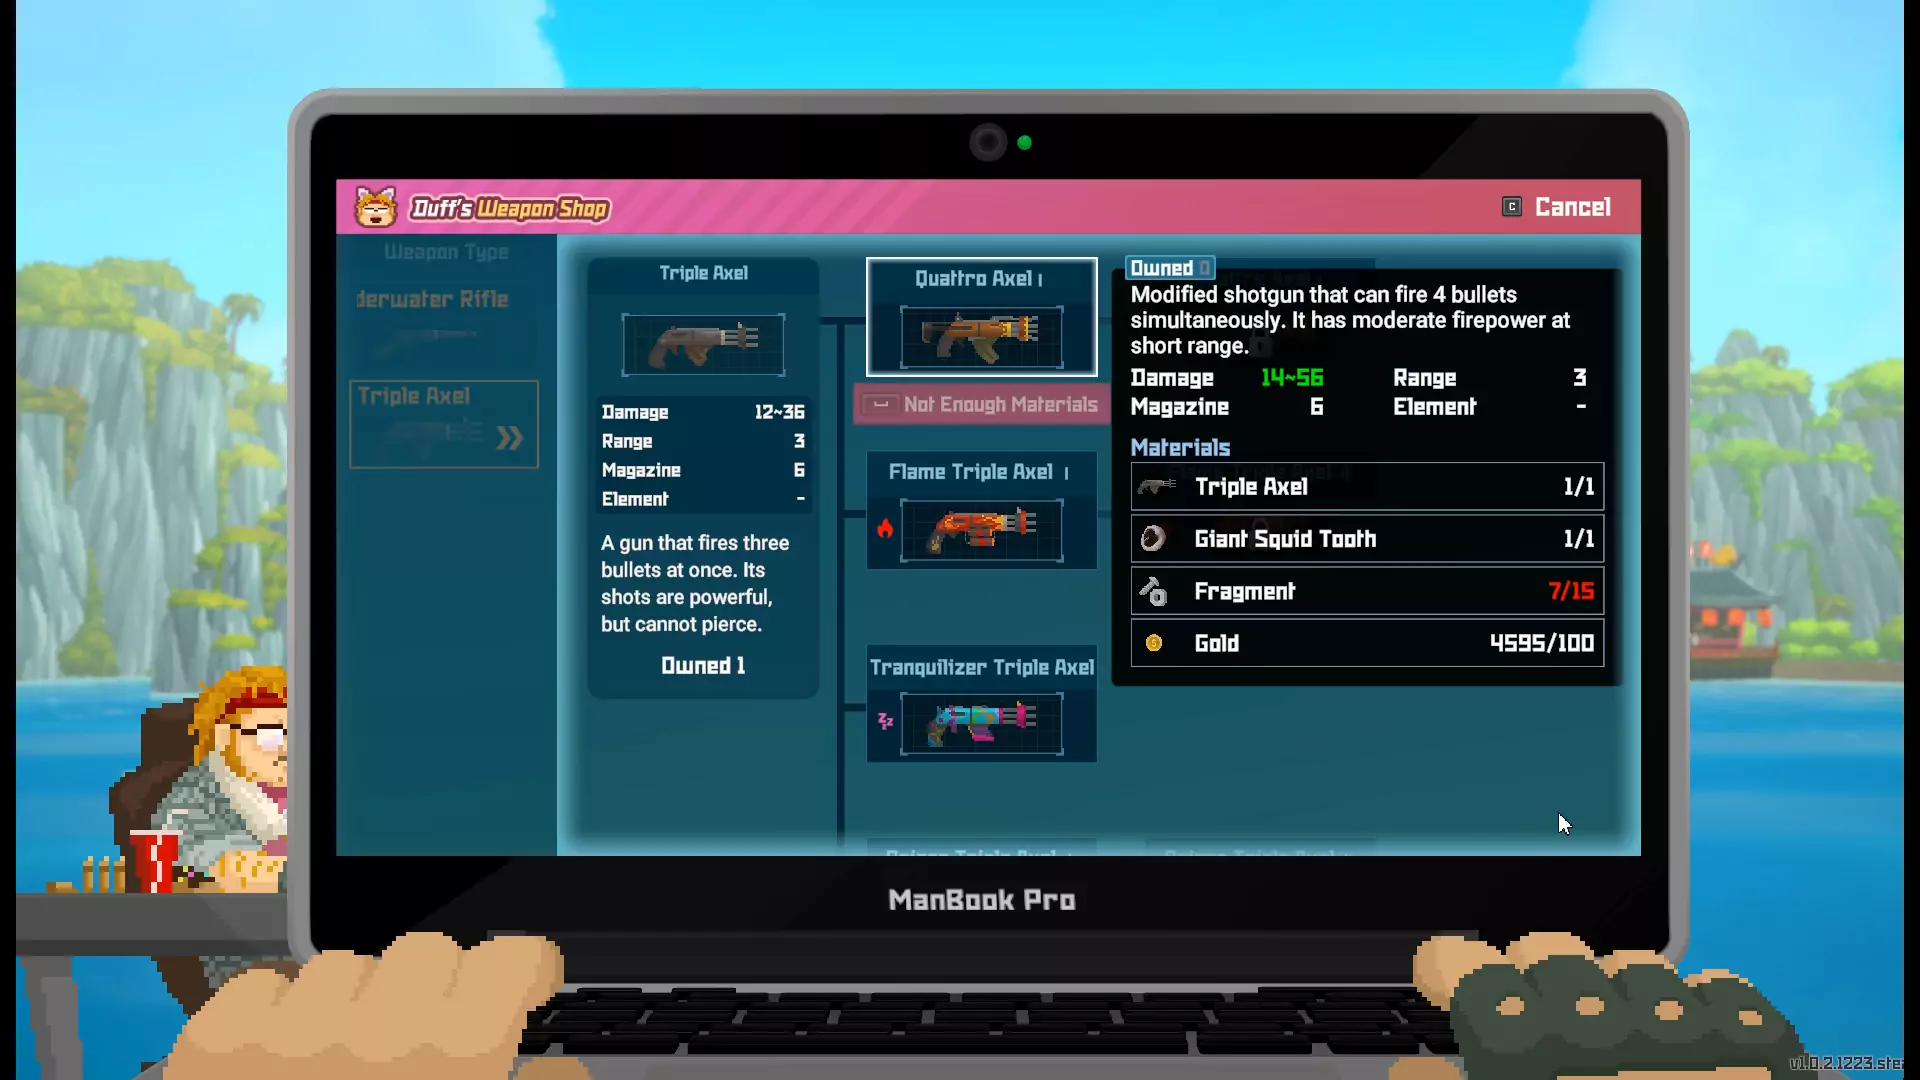
Since most sharks are quite large, you can usually land three or found rounds on them per shot from the Quattro Axel I. What’s more, the range is decent at 3 and the magazine size lets you fire 6 shots before you need to restock on ammo.
To upgrade the Triple Axel to the Quattro Axel I, you’ll need:
- Triple Axel [1]
- Giant Squid Tooth [1]
- Fragments [15]
- Gold [100]
Don’t forget to pick up the temporary underwater upgrades for your gun as well! They help a lot when fighting fierce foes.
Use Status Conditions to Make Fights Easier
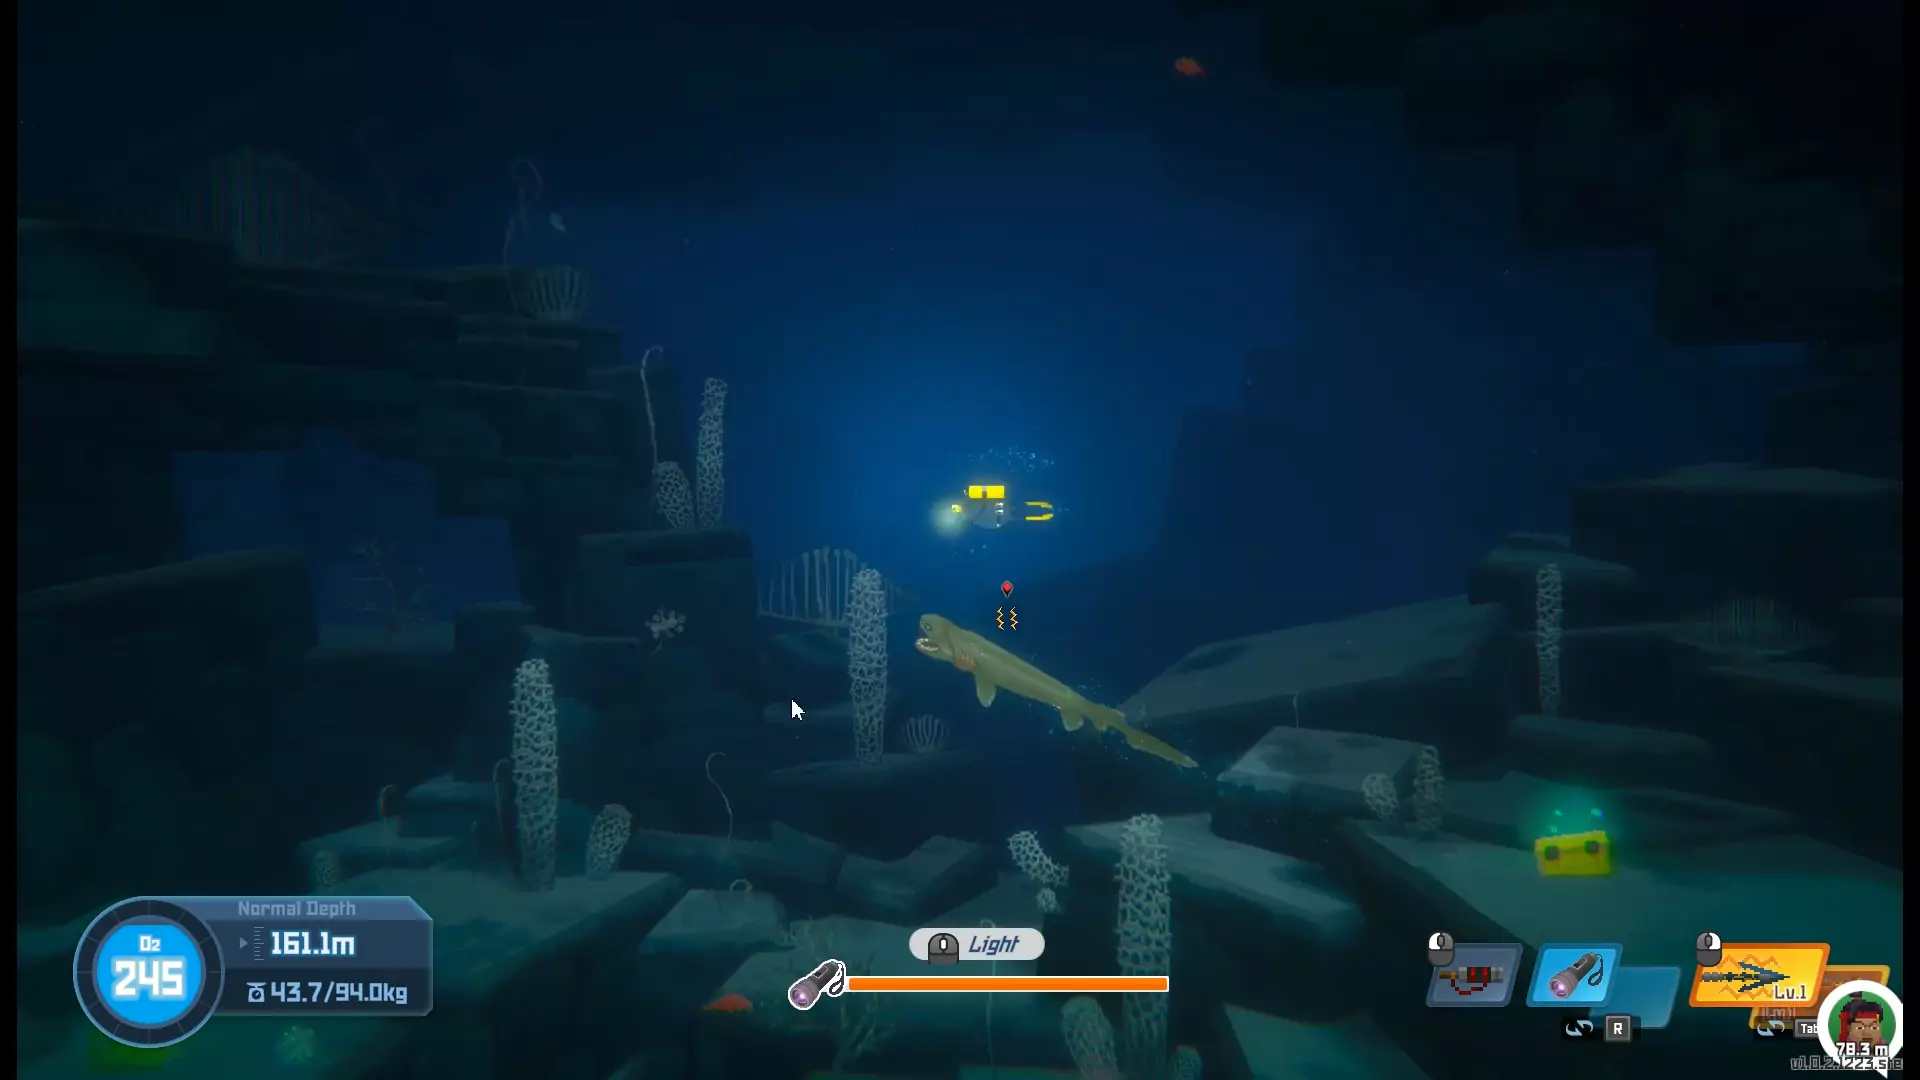
There are lots of status conditions in Dave the Diver that can make hunting easier. Our personal favorite is the Shock status (two lightning bolts). This makes fish of all kinds—including sharks—move slower. As such, you’ll be able to dodge a shark’s lunges much easier.
With that said, here are some other status conditions that make hunting large prey easier:
- Tranquilized (Green “Z’s”): Makes the target move slower if semi-tranquilized (Green Bubbles appear instead of Green “Z’s”) and stop moving if fully tranquilized.
- Poisoned (Green Skull and Bones): Does a small amount of damage over time to the target.
- Burned (Orange Fire): Does a small amount of damage over time to the target.
Keep in mind that only one status condition can be applied to a target at a time. Pick your favorite and then start shooting! It’s worth noting that underwater upgrades (the kind you get from weapon crates) are some of the easiest ways to temporarily get status conditions on your harpoon.
Now that you know where to look and how to hunt in Dave the Diver, you’ll get a ton of Shark Teeth in no time! If you want another awesome fishing game to try, we recommend checking out DREDGE. We’ve got many guides for it, like how to help you catch every fish in the game. Stay safe at sea, fellow anglers!