![]() Key Takeaway
Key Takeaway
To get the Frenzied Flame Seal, you’ll need to follow Hyetta’s questline until she makes her way to the Frenzied Flame Proscription. Become the Lord of Chaos and interact with her to receive the seal.
The Frenzied Flame Seal in Elden Ring is an item you can use to cast Incantations. It’s especially useful for Frenzied Flame Incantations, hence its name. Here are the things you’ll need to do to get this seal.
Table Of Contents
Complete Hyetta’s Questline
To get the Frenzied Flame Seal, you’ll need to complete Hyetta’s questline.
You first meet this NPC when you get to the Lake Facing-Cliffs Site of Grace. You can easily get to this place by getting to Liurnia from Godrick’s throne room in Stormveil Castle.
Before you get to Hyetta, though, first pick up the Shabriri Grape in the room just before the exit to Liurnia. The item in question is right beside a kneeling spirit, making it easy to spot.
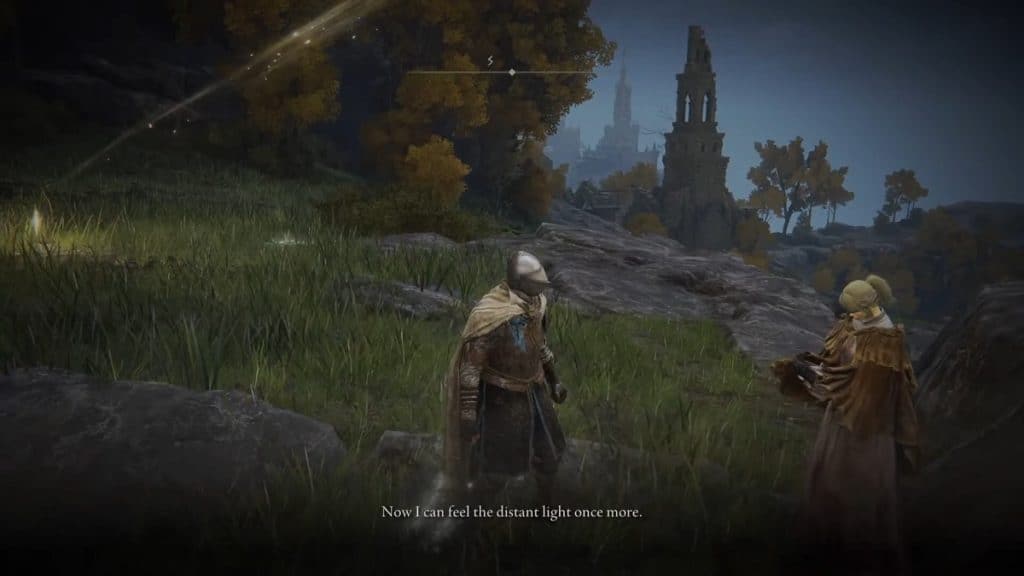
Speak to Hyetta and give her the Shabriri Grape you just acquired. Exhaust her dialogue and she’ll move to another location.
Hyetta will move three times before arriving at the final location, and the place we want her to be. Here are Hyetta’s next locations, listed in the order in which she spawns at them.
West of Purified Ruins
She’ll be next to the smaller structure west of the Purified Ruins. You’ll find her standing below a ledge, facing the lake.
Gate Town Bridge
Hyetta’s third position is north of the Gate Town Bridge Site of Grace. You’ll spot her right away once you look north while standing next to the grace site.
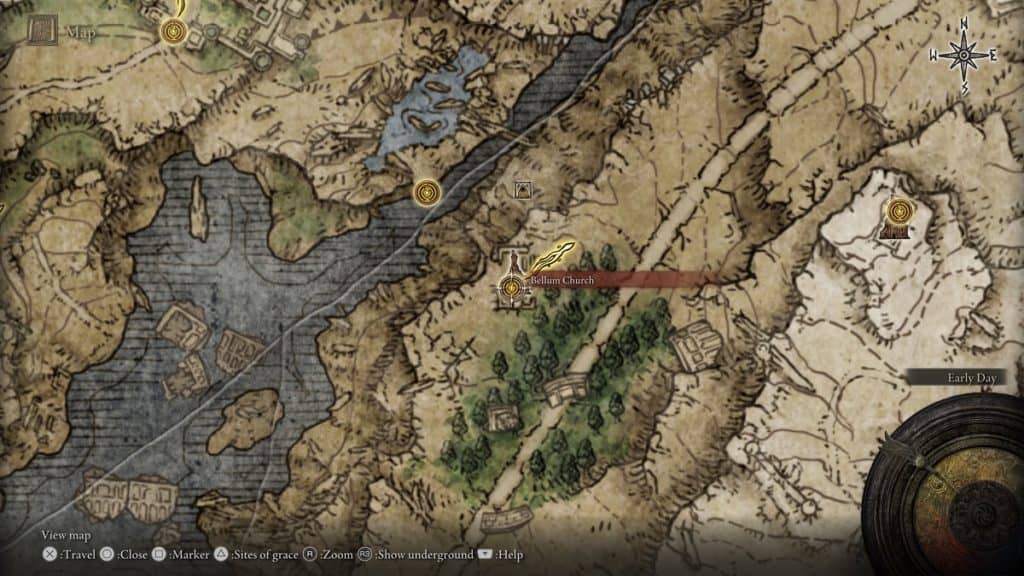
Bellum Church
Hyetta’s fourth location is at Bellum Church. She’ll be inside the structure, standing next to the Site of Grace. At this point, where she’ll ask for a Fingerprint Grape instead of a Shabriri Grape.
At every location listed above except for Bellum Church, Hyetta will ask for a Shabriri Grape. This is something you’ll need to do to advance her questline. Aside from the Shabriri Grape you can pick up in Godrick’s throne room, there are two more of this item in the game. Since Hyetta asks for three in total, you’ll need to obtain every Shabriri Grape in the game to complete her questline.
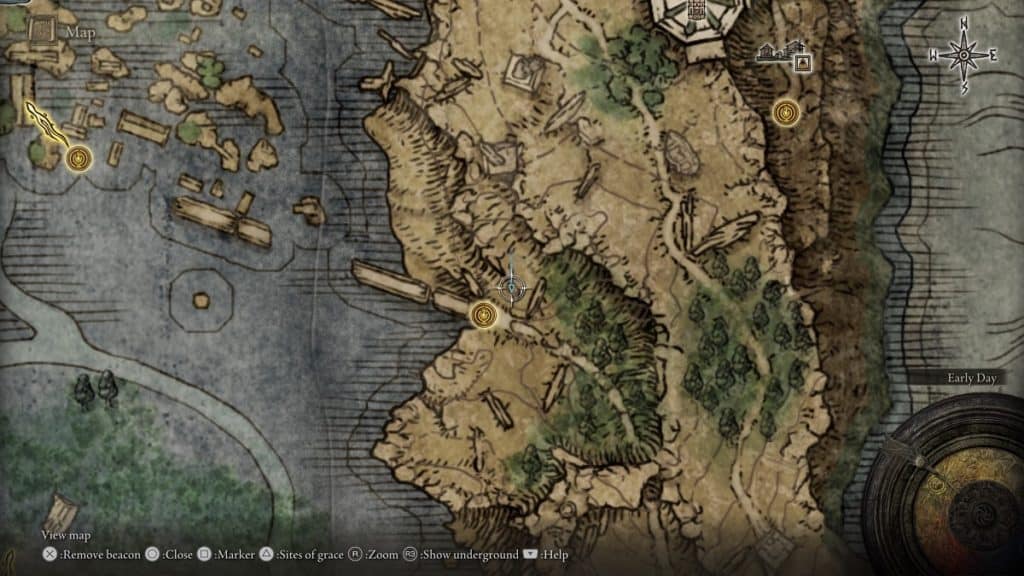
Here is the location of the other two Shabriri Grapes, as well as the Fingerprint Grape she asks for in Bellum Church.
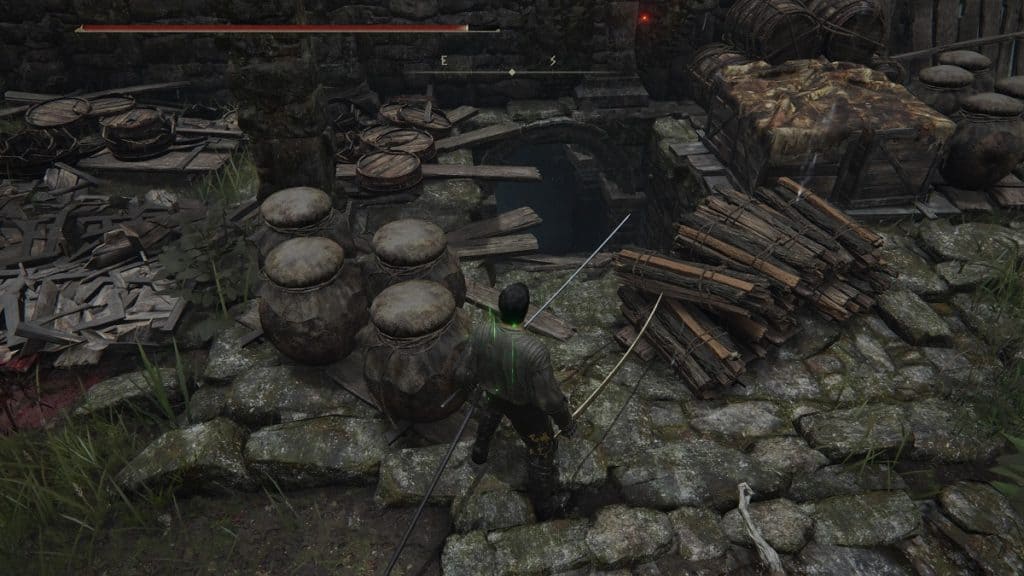
Shabriri Grape in Purified Ruins
A Shabriri Grape can be found in the underground room in the Purified Ruins. You’ll find the entrance to said underground at the main structure of the ruins, hidden by wooden planks. Destroy the obstructions and you’ll find the path you’ll need to take. Head under and you’ll find the Shabriri Grape.
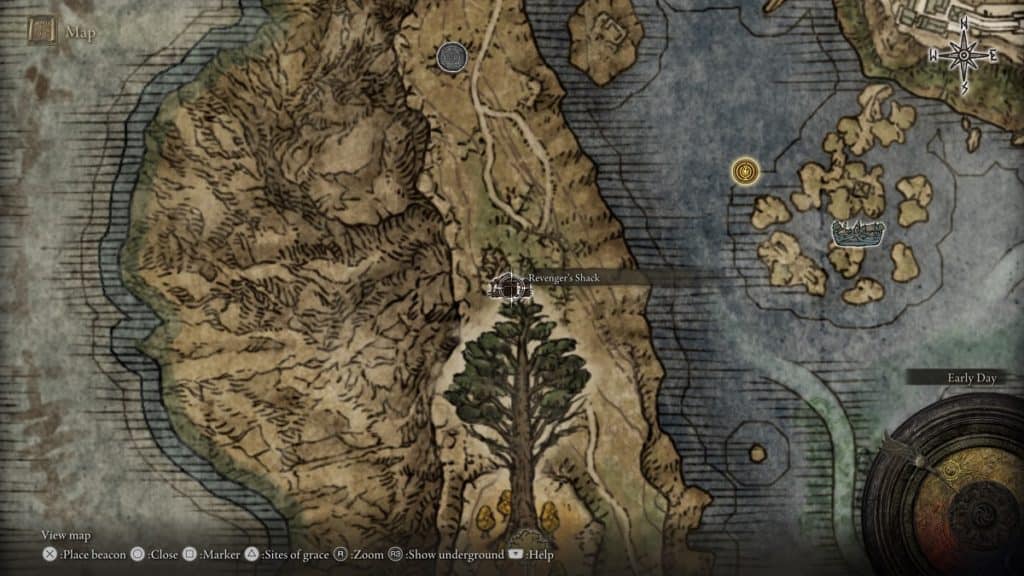
Shabriri Grape from Edgar
You can obtain another Shabriri Grape from Edgar. This NPC is first located at the top of a castle tower in Castle Morne. You can kill him there or at Irina’s location when he goes there in hopes of reuniting with her.
However, you can also leave him be and allow his questline to progress. He will then invade you when you get to the Revenger’s Shack in Liurnia. Defeat him there to get a Shabriri Grape.
If you’re unaware of how to progress Irina’s questline to make Edgar invade you, refer to this guide: Elden Ring: Irina Side Quest Guide
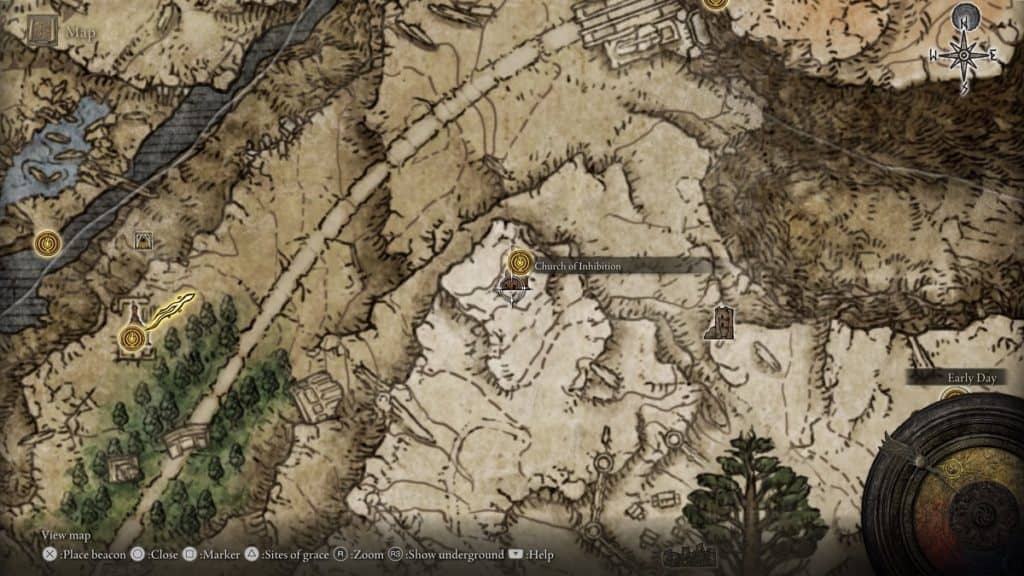
Where To Find The Fingerprint Grape
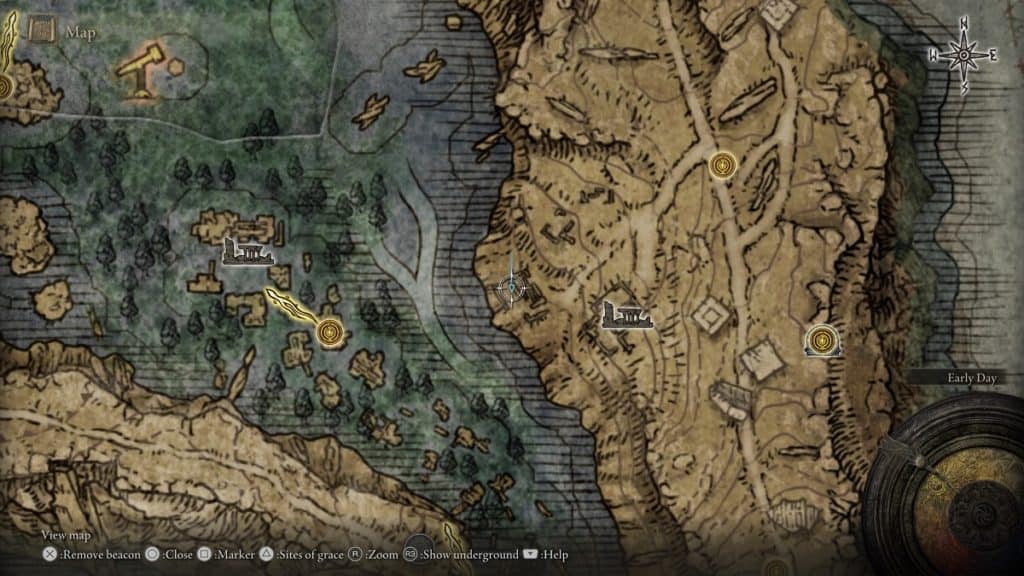
To get the only Fingerprint Grape in Elden Ring, you’ll need to make your way to the Church of Inhibition and defeat Festering Fingerprint Vyke. To get to this area, you’ll need to travel here from the north. Start from the Grand Lift of Dectus and make your way to the area marked on the map below.
Getting To The Frenzied Flame Proscription
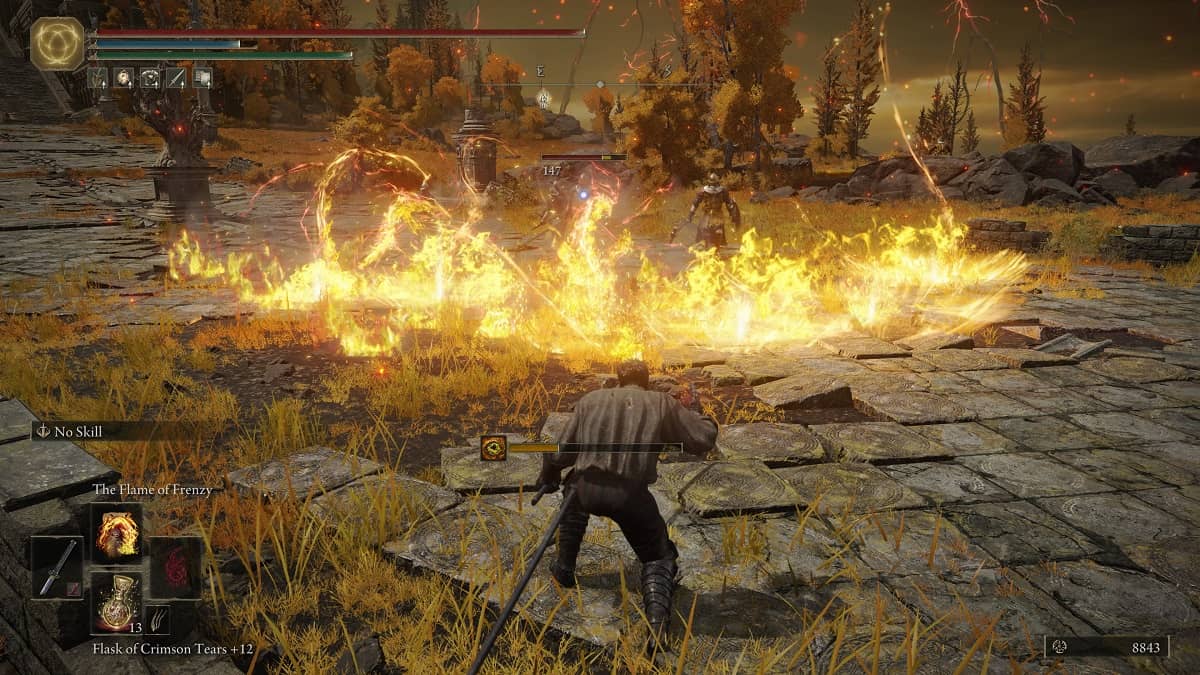
The Frenzied Flame Proscription is located underneath Leyndell. It is Hyetta’s final location and it’s here where she’ll give you the Frenzied Flame Seal. It is also the place where you meet the Three Fingers and become the Lord of Chaos.
Take note, though, that becoming the Lord of Chaos is a prerequisite to getting the Frenzied Flame Seal. This locks you out of the other endings of the game but the Lord of Frenzied Flame ending. The only way to get out of this is to obtain an item called Miquella’s Needle and use it while you’re in Dragonlord Placidusax’s boss room in Crumbling Farum Azula.
With that out of the way, here’s how you can get to the Frenzied Flame Proscription.
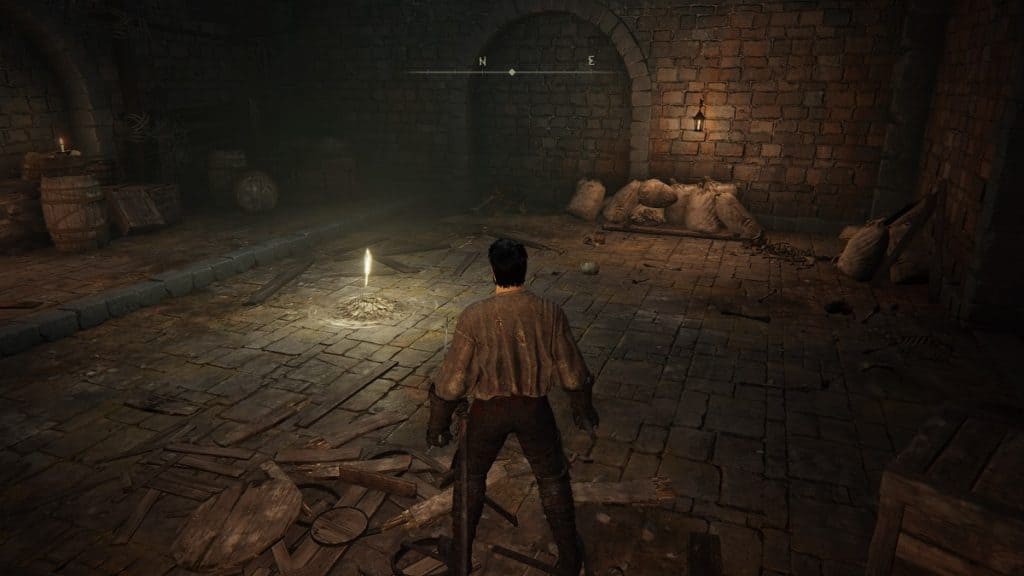
Start from the Avenue Balcony Site of Grace in Leyndell. Head down the stairs and stick close to the left once you get to the open courtyard. Look over the balcony until you see a well. Once seen, drop down and head inside it.
Move onwards from here until you reach the Subterannean Shunning Grounds. There’s a Site of Grace in a room to the left of the hallway that’s littered with Omen enemies. Be sure to rest up before moving on.
From the Site of Grace room, head back to the hallway and head to the left. Stay on the left side of the hallway and you’ll find an opening on the ground where a grate should be. Drop down, turn left, and proceed onwards.
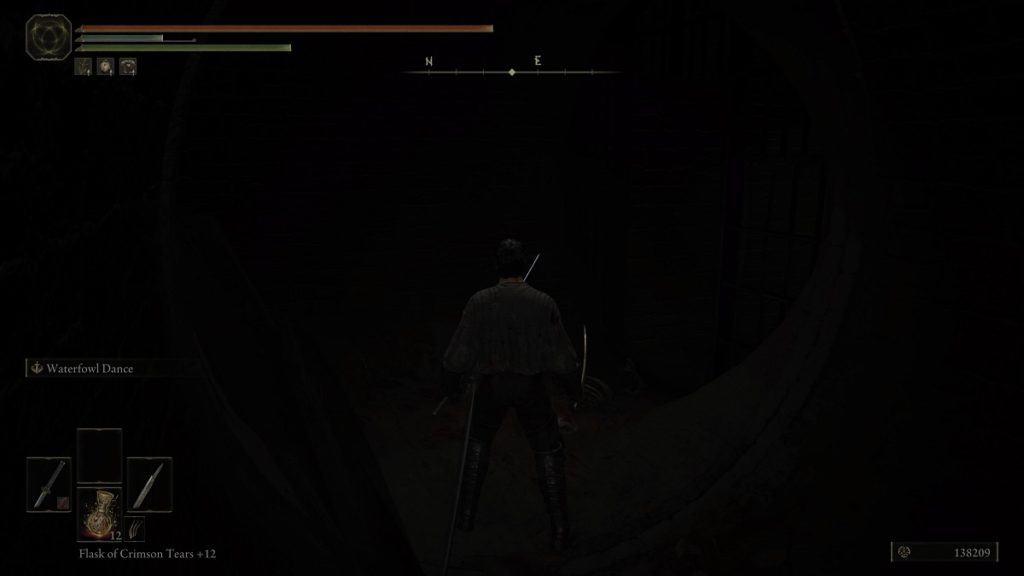
Stick to the right side of the sewers until you can spot a hole on the wall you can get into. Follow the path from here. Be mindful of the holes you might fall into while walking on this sewer line. It’s best if you carry a torch or light your lantern while traversing this area.
Stick to the main path until you arrive at a three-way junction with an open door to your right.
Head right from here and you’ll arrive at an open space with an Omen waiting for you from a higher ledge.
Either defeat the Omen or run past him and climb the ladder behind where he lands. When you get to the top, head to the right and flip the lever to open a shortcut between where you are now and the Site of Grace.
Once done, turn back and onto the door that’s directly across the top of the ladder. Move onwards and look down to your left once you’re facing the chasm. You’ll find another flight of stairs underneath the one you’re on you can drop onto.
Drop down and begin descending. At the bottom of the stairs is a door to your right. Proceed onwards until you arrive at a flight of stairs. After descending the short flight of stairs, make a hard right to find another open door. Head in and keep following the main sewer line to find yet another open space with an Omen waiting for you and a ladder right beside him.
Once again, defeat the Omen or run past him.
Once you’re at the top, proceed and open the door at the end of the wooden bridge to unlock another shortcut to the Site of Grace. Then, turn back and you’ll find a sewer line to the right. Jump on top of it and proceed onwards from there.
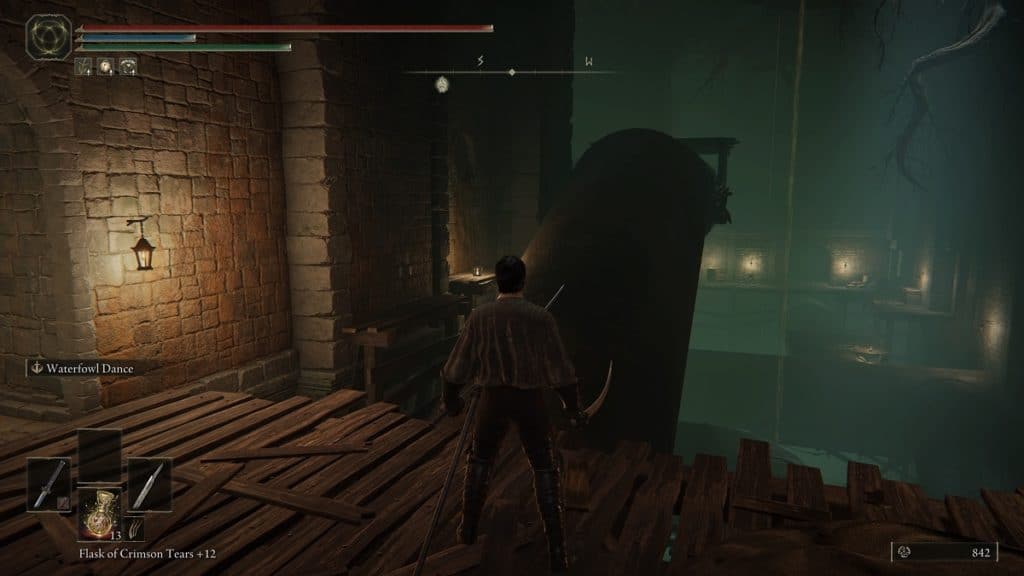
When you reach the end of the sewer line, drop to either side, run to the left, and jump onto the higher ledge. Proceed and enter the door on the right. At the end of this path, you’ll spot another sewer line below you with a hole at the top. Jump onto the sewer line and into the hole.
Simply follow the main sewer line until you come across a giant rat. Once you’ve dealt with it or run past it, look to the ground and fall into the next hole you see.
Move onward from here until you can find a ladder to climb down on. The next area contains multiple jar enemies and an elevator on the right. Ride the elevator down and you’ll find a Site of Grace. Continue onwards and you’ll find Mohg, the Omen. Defeat the boss and rest up.
Descending Further
After defeating the boss, strike the altar behind the chest to reveal a hidden path. The path from here is very straightforward already, but it’s also incredibly difficult to get through.
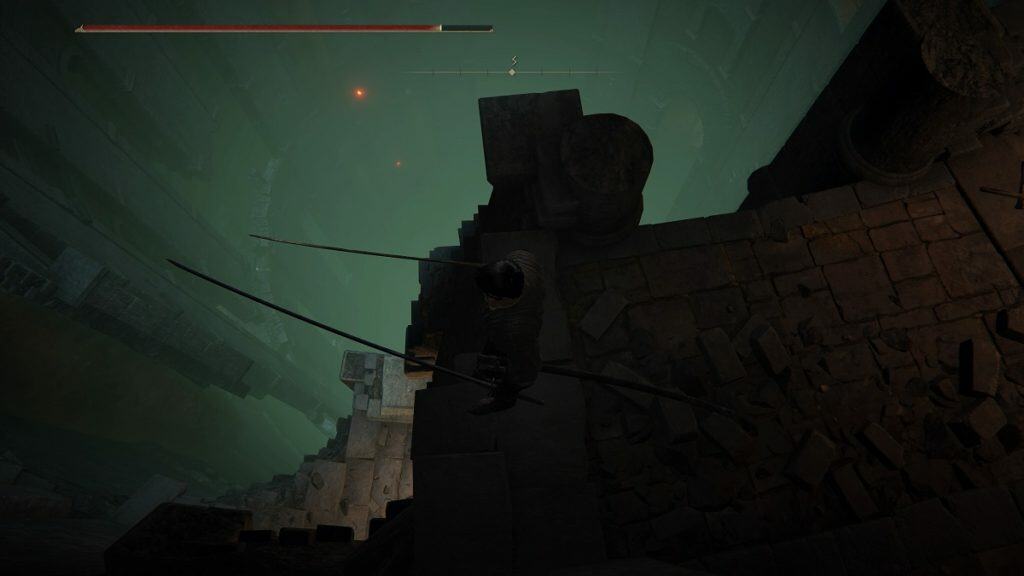
Once you arrive at the area with the deep pit and wooden planks, you’ll need to slowly and carefully jump from one platform to another to get to the bottom of the pit.
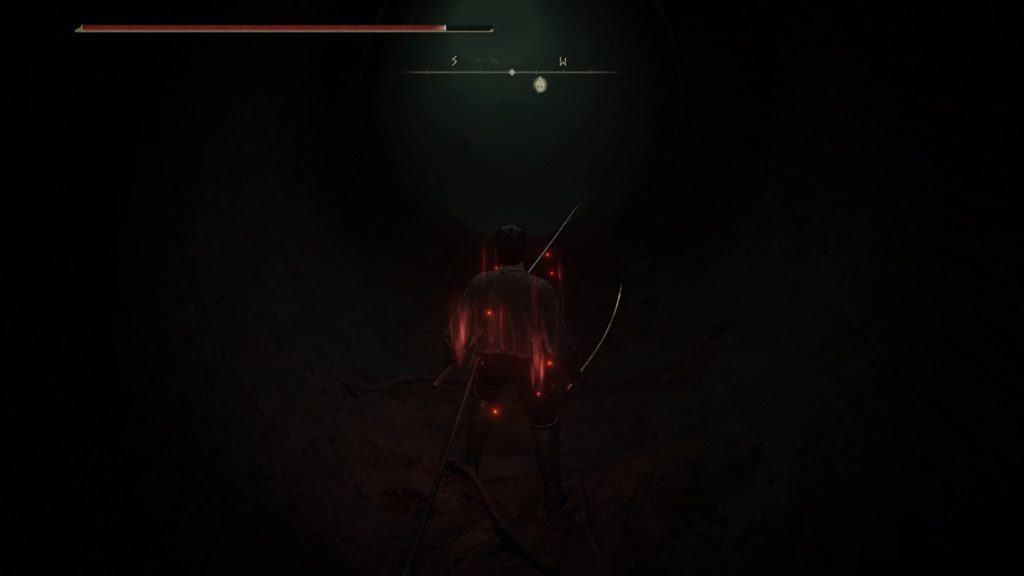
Once you get close enough to the ground, you can drop down to it and the floor beneath you will collapse. You will then land at the Frenzied Flame Proscription.
Upon landing, you’ll see a Site of Grace to your left, Hyetta on your right, and a peculiar-looking door ahead of you. Rest up if needed. Then, speak to Hyetta and she’ll tell you to “divest yourself of your possessions,” which means to unequip all weapons and armor you have on.
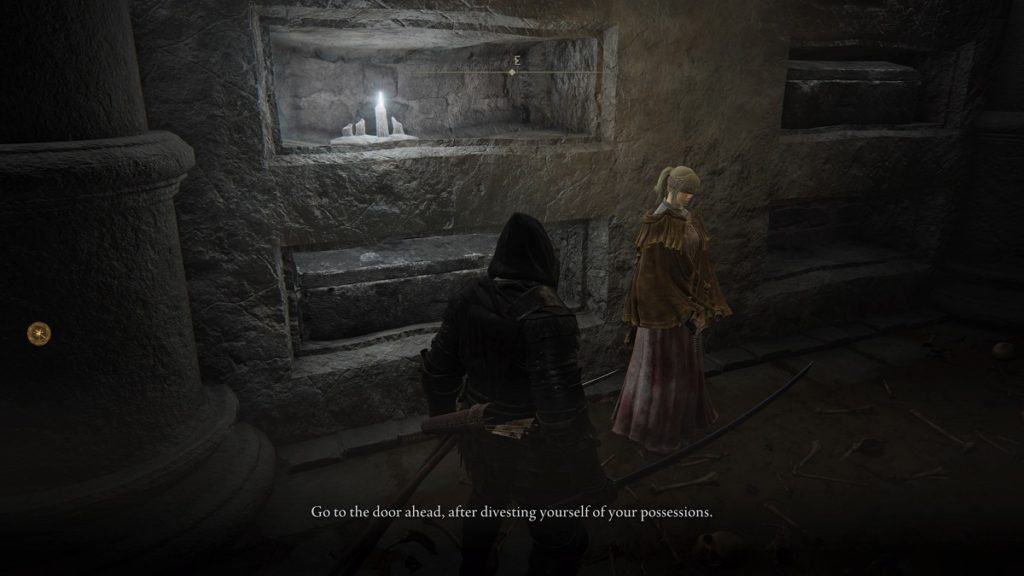
Once stripped, head inside the door and a cutscene will play out. You’ll then officially become the Lord of Chaos.
After this, return to Hyetta and exhaust her dialogue. You’ll receive the Frenzied Flame Seal then.