Yarna Desert lies on the eastern side of Koholint Island. You must find a staircase hidden under a shrub in order to reach the section of the island it’s located. To find this shrub, and start the next leg of your adventure, you must travel to the eastern part of Ukuku Prairie. But first…
Table Of Contents
Get the Ocarina Before Seeking Out Yarna Desert
For this part of the game (and onward), having the Ocarina will be useful. You’ll have to head to the Dream Shrine in Mabe Village to get it. You can get it pretty easily with the Pegasus Boots.
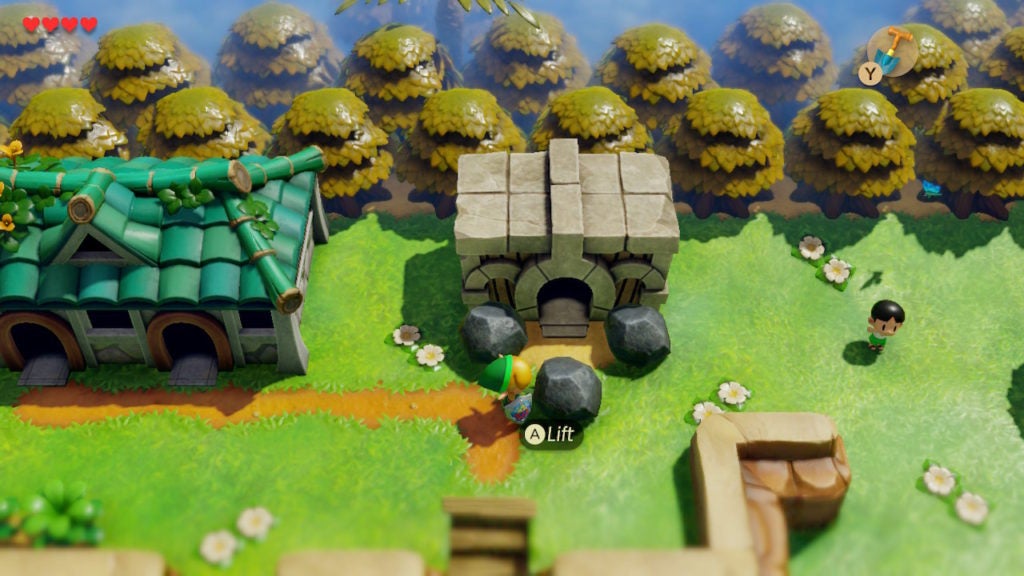
In the north of Mabe Village, you’ll find the entrance to the Dream Shrine blocked by rocks. Pick 1 of them up and toss them out of your way to gain entry. Within, you’ll find a bed that you must sleep in to get into the real Dream Shrine.

When you go to sleep, you’ll be transported to a linear dungeon with only a few enemies and obstacles.
i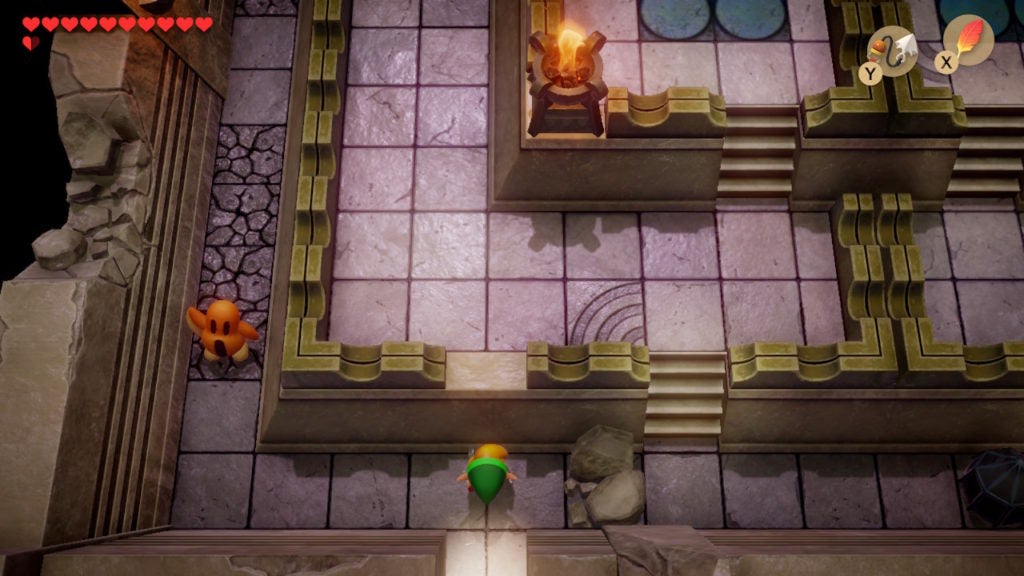
Defeat the Dream Shrine…Or Let It Defeat You
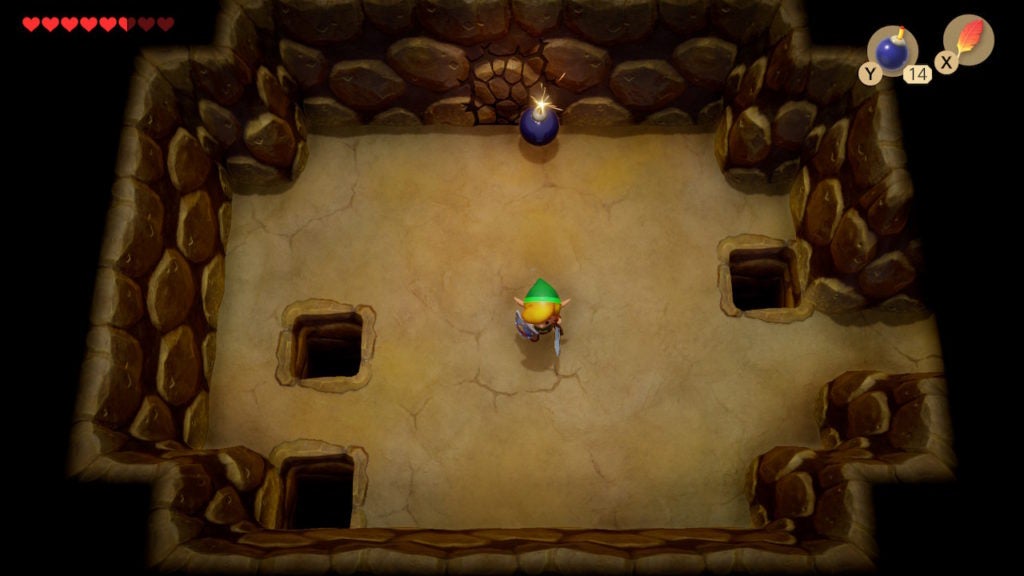
The main threats here are the cracks in the floor and the annoying Arm-Mimic enemies. If you stand on the cracked floor tiles too long, they’ll break and you’ll fall through. Furthermore, since there are so many of them in a row, it’s possible for you to make it impossible to progress if you break too many. Thankfully, you can reset the tiles by leaving the Dream Shrine. Though, if you get trapped, you may have to die or even load an older save slot in order to get out.
Use the Pegasus Boots In the Dream Shrine
There are many ways to take out the Arm-Mimics while being careful not to break floor tiles. You can use spin attacks, the Bow and Arrow Set, or even Bombs. However, the best method is to use the Pegasus Boots liberally here. Since each passage of the Dream Shrine is linear, you can charge through the simple pseudo-dungeon swiftly.
Dashing down each hallway with the Pegasus Boots will allow you to slay any and all Arm-Mimics in your way, as well as let you travel quickly enough to not break any floor tiles. Make your way around the Dream Shrine in a clockwise manner until you reach the southeastern corner.
Collect 100 Rupees From the Chest
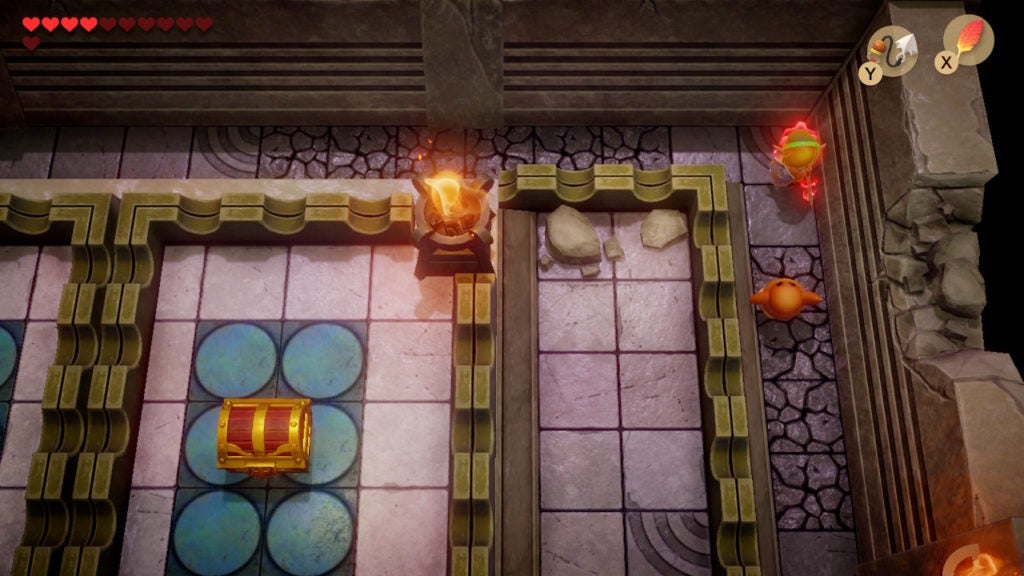
At the south of the Dream Shrine, you’ll see 1 of those rubbery black blocks that you can only break by dashing through them. Close to it, there are 2 sets of stairs: 1 before and 1 beyond the rubbery block.
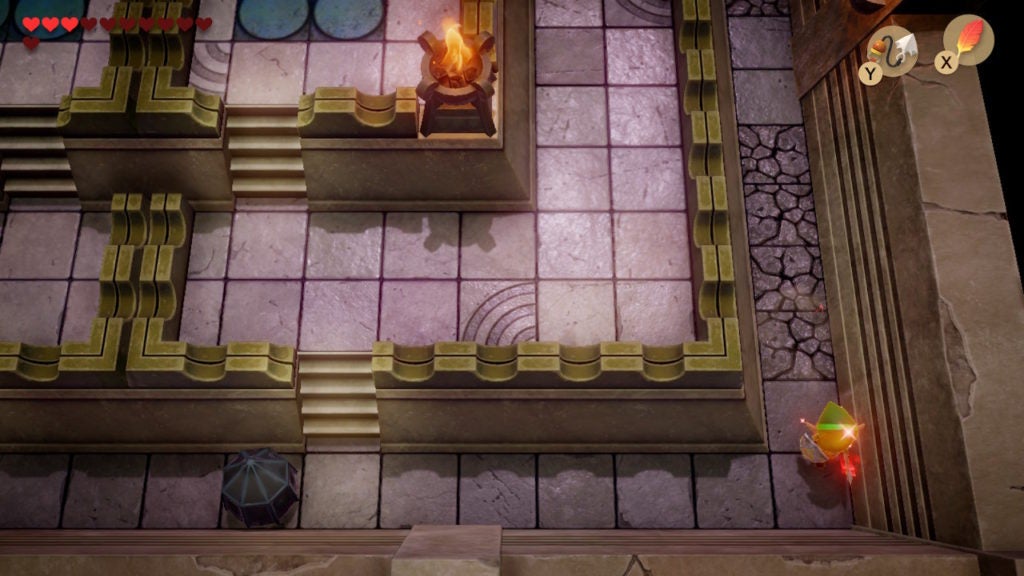
You can easily pierce this blockade, however, ascend the stairs before it first to claim some treasure.
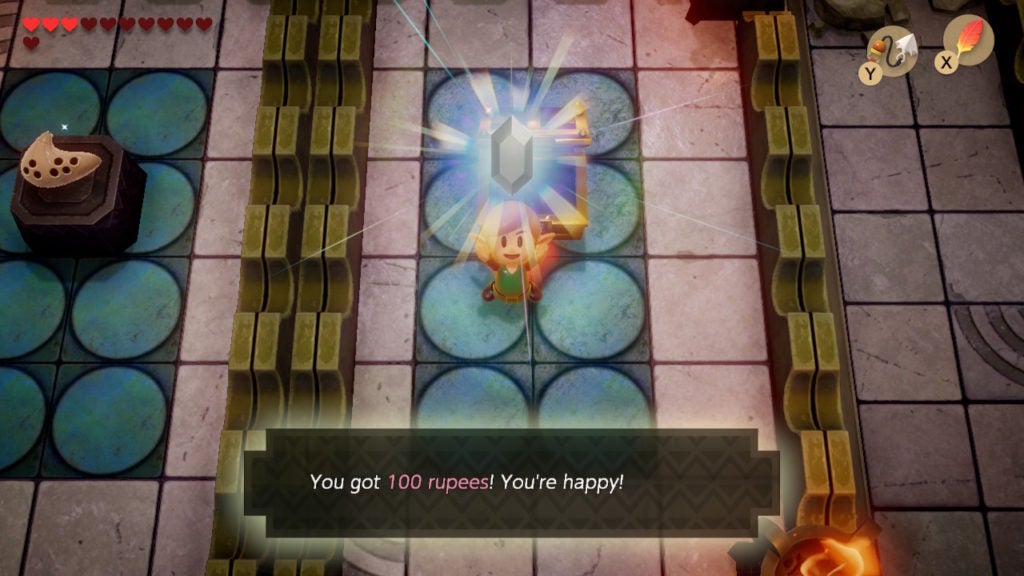
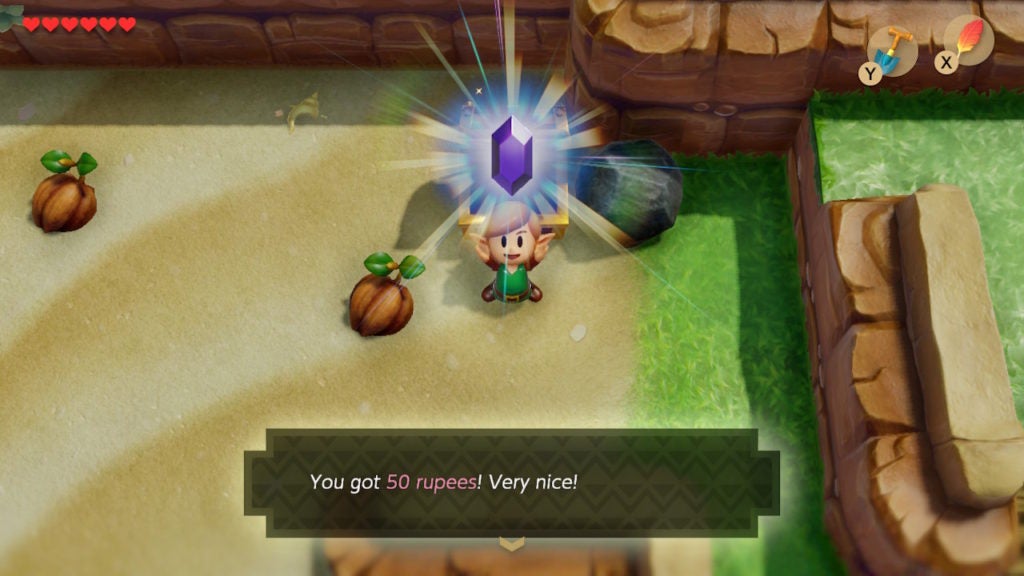
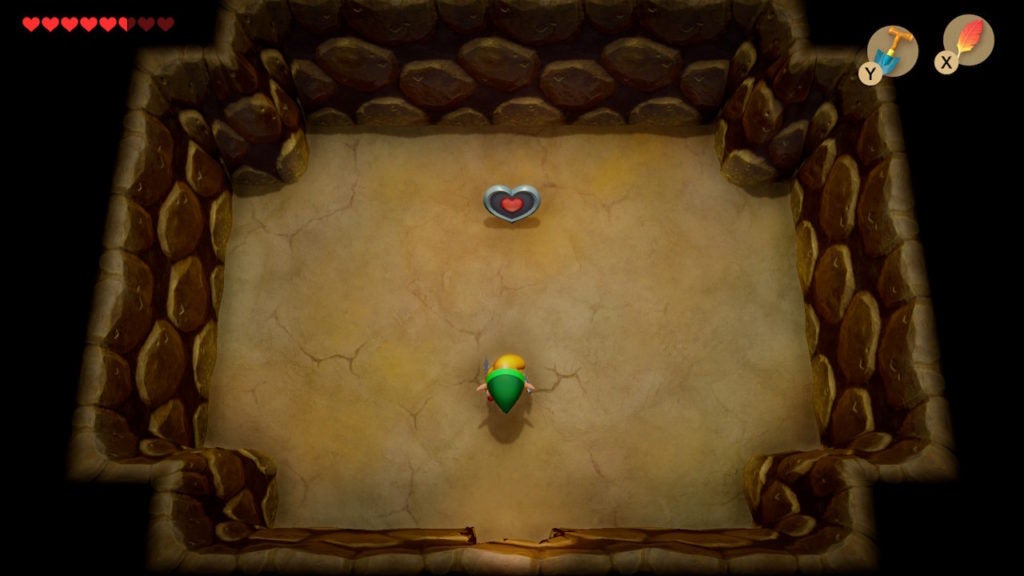
In the chest at the top, you’ll find 100 Rupees! You’ll also get a better view of the Ocarina to the west.
Get the Ocarina
Now is the time to obtain the instrument. Descend the stairs, break through the rubbery block, and then ascend the stairs on the other side to claim the Ocarina.
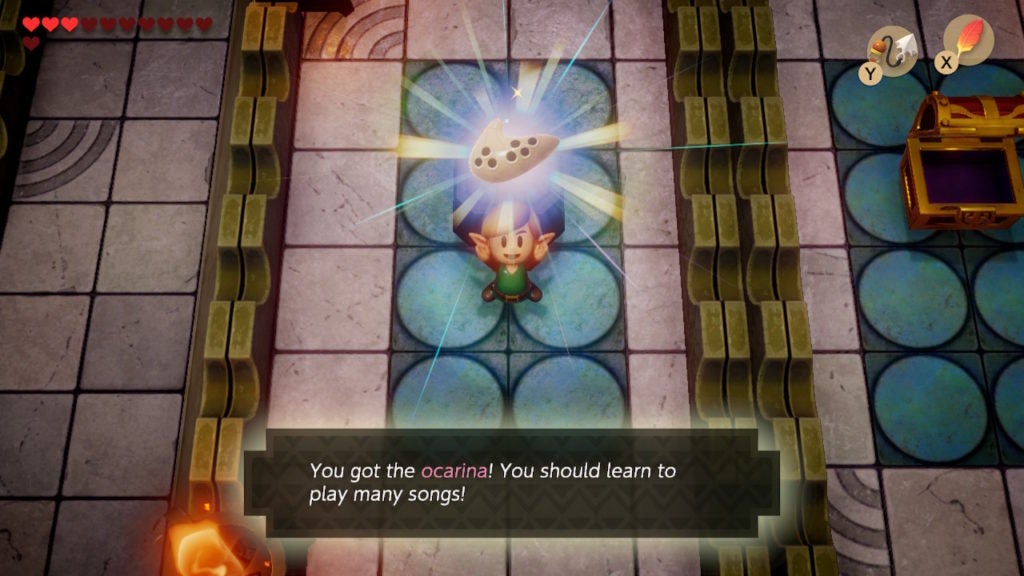
This item will allow you to learn to play a few songs. There are 3 songs you can find in Link’s Awakening, and 2 of them are needed to progress through the game. The reason it’s important to get the Ocarina now is so that you can learn the first of the 3 possible songs sooner. With the instrument in hand, you’re now ready to find the path to the eastern part of Koholint Island.
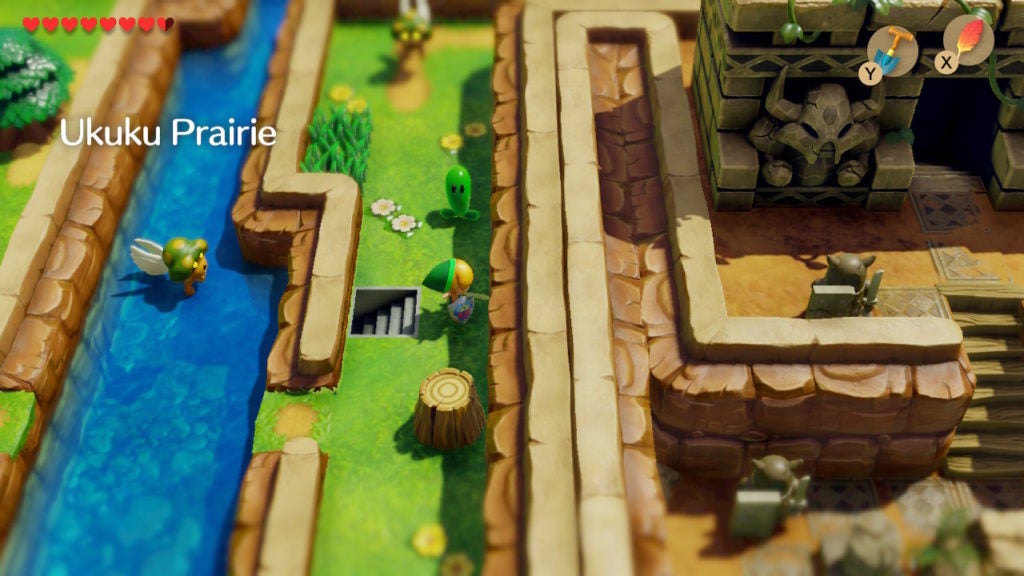
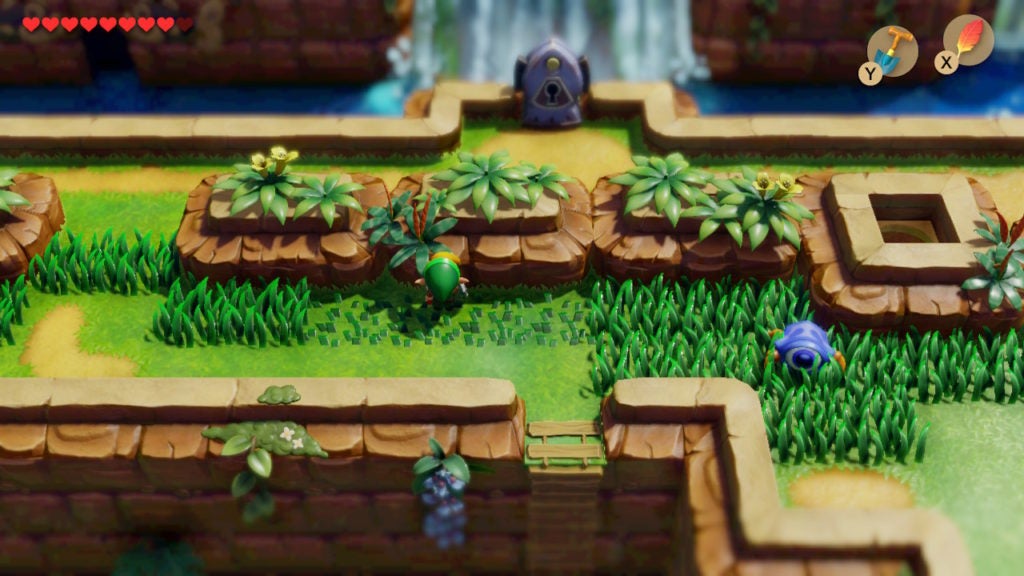
Go to the Eastern Part of Ukuku Prairie
To get to the area with the special shrub that obscures the hidden staircase, you can travel in a couple of different paths. However, to get the next trading quest item, you’ll want to cross Ukuku Prairie in a longer yet more direct way.
Get Some Honeycomb With the Stick
You’ll have a Stick from giving the Bananas trade quest item to some monkeys earlier. Now is when you can use that Stick. After you leave Mabe Village and head east, you’ll get midway through Ukuku Prairie. When you do, you’ll come across Tarin trying to get some honey from a beehive in a tree. Tarin will ask you if he can borrow your Stick, to which you should say yes.
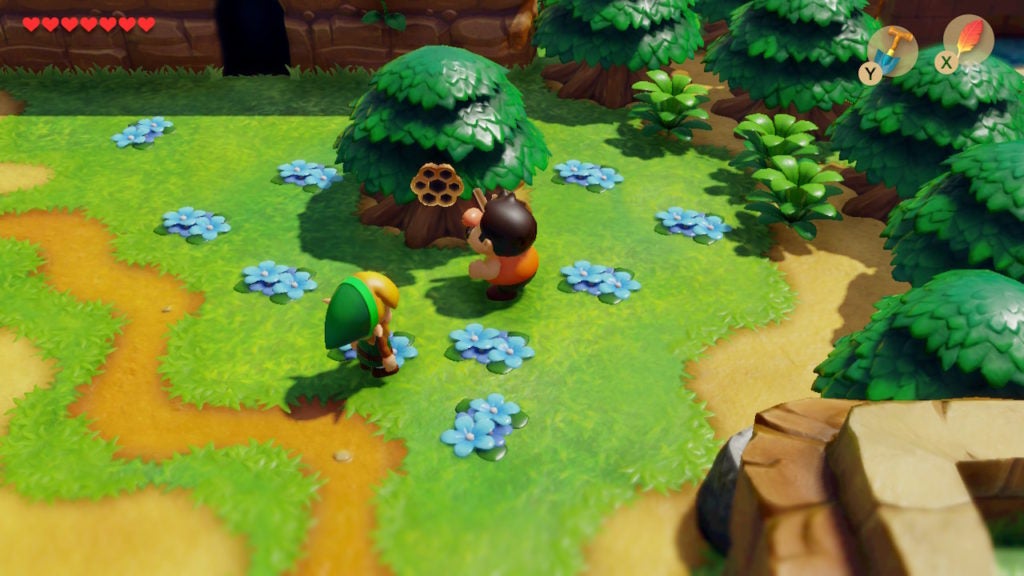
After prodding the beehive in the tree, bees will rush out and chase Tarin away, and some Honeycomb will drop to the ground.
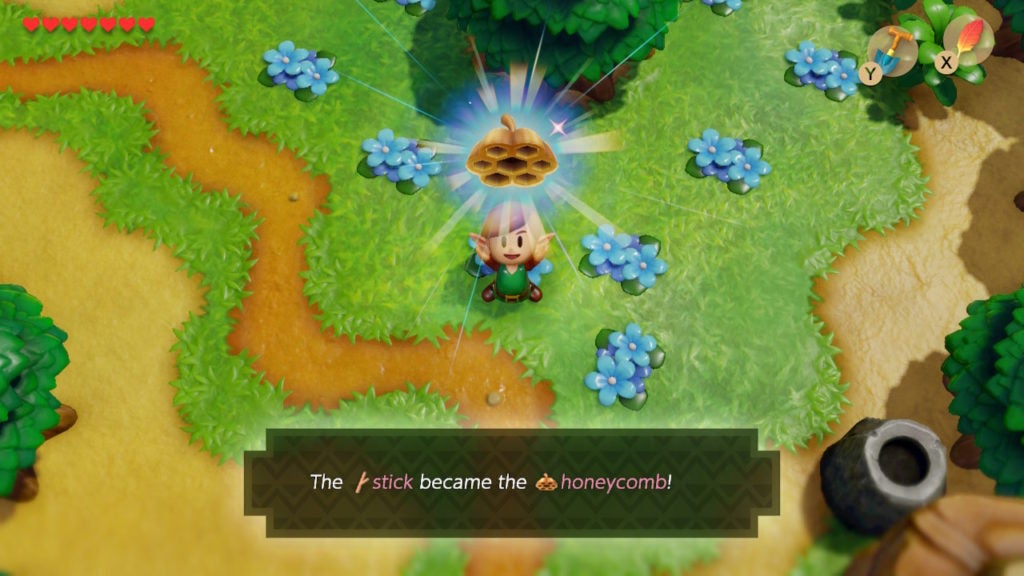
Pick up the Honeycomb and then continue further east. The Honeycomb will come into play a bit later once you reach the east of Koholint Island. You’ll now need to find the shrub that is blocking your hidden destination.
Find the Shrub
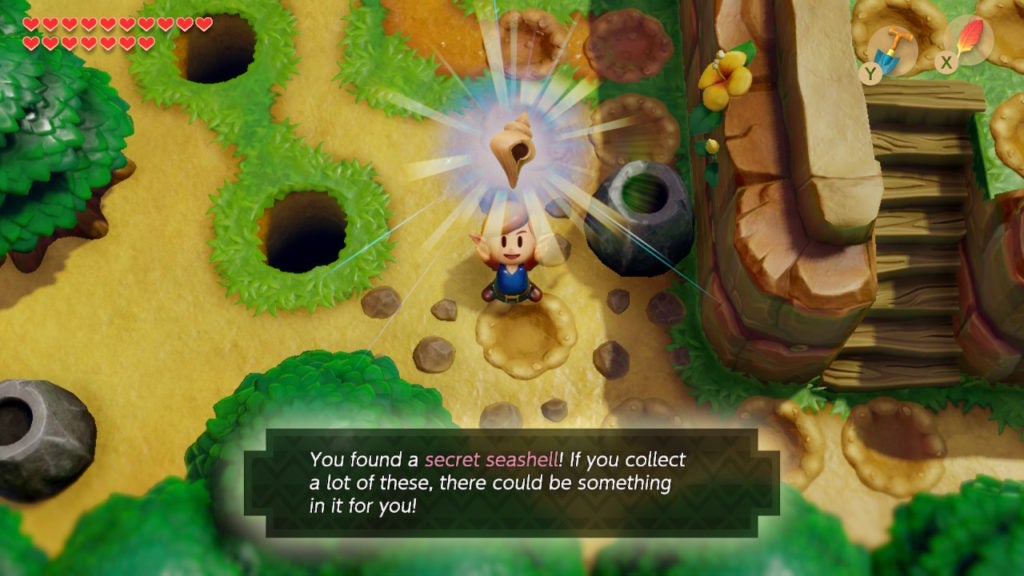
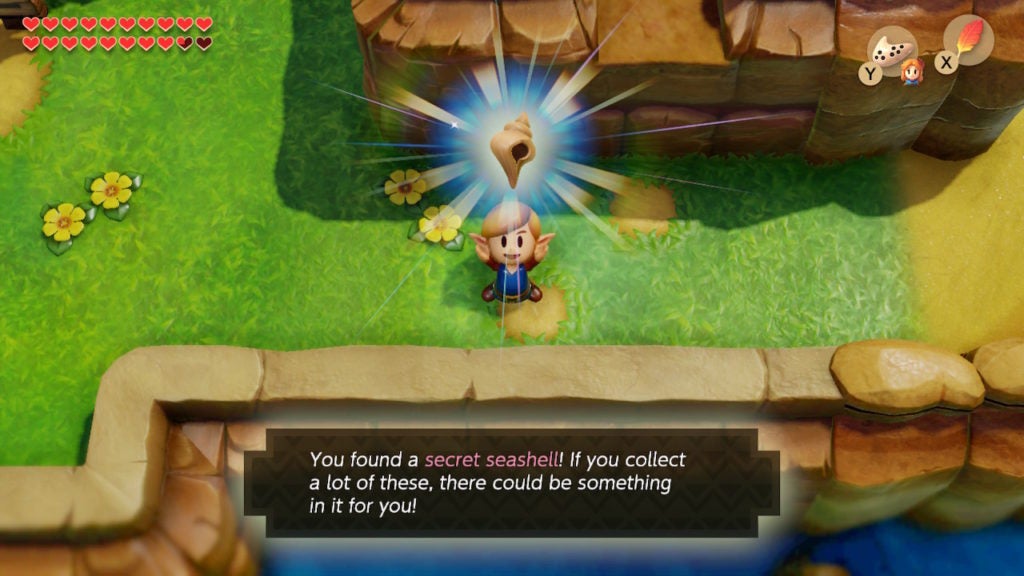
From the tree that held the Honeycomb, go south and blow up a large skull that is blocking your path with a Bomb. Nearby, there is also a Secret Seashell that you can dig up as well.
From there, keep going east as if you were heading to Kanalet Castle. As you get to the crossroads of footpaths before the main gate of the castle, turn south.
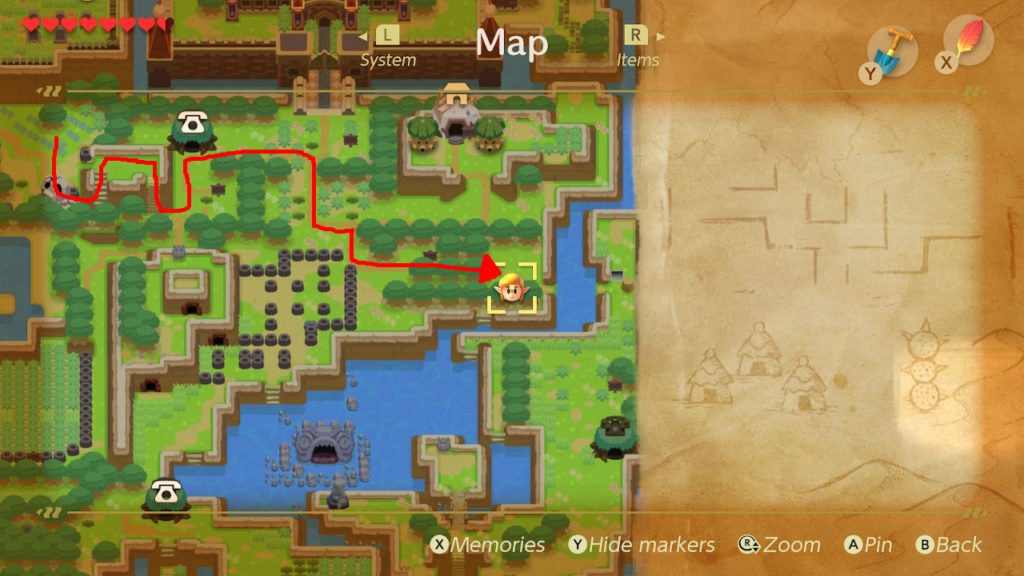
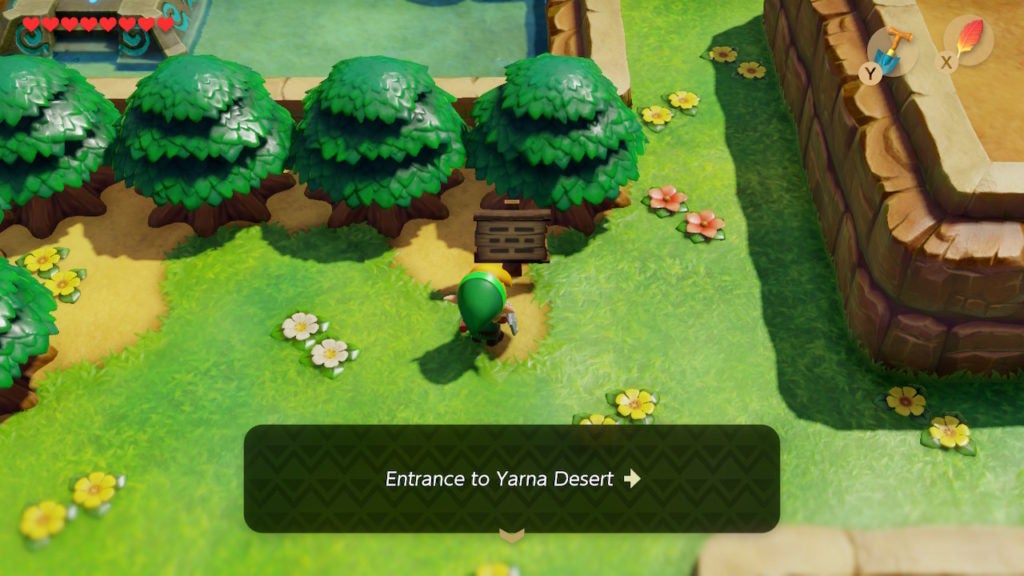
Following this path that leads southeast will bring you to the shrub you need to clear. Cut it down with your Sword to reveal a hidden staircase.
As a side note, there isn’t any clear indication that you need to find this shrub or cut it down to progress through the game. So, if you’re baffled by how you were expected to find this vital passage to the east of Koholint Island, you’re not alone. Link’s Awakening does a great job at hiding this hidden staircase, so failure to initially find it isn’t only understandable, but it’s normal for most people who play this game.
There are those who have gotten so stuck in this game that they cut down literally every shrub on the island’s western half out of desperation and happened to find this hidden staircase by dumb luck.
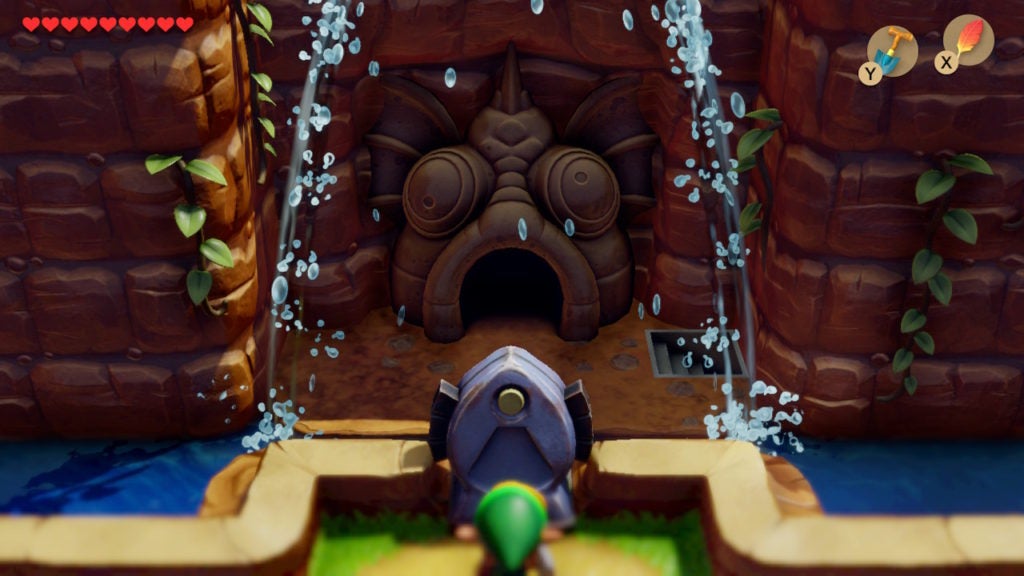
Go Through the Underground Passage and Head to Animal Village
When you descend the stairs, you’ll have to progress to the east. Beware of the Piranhas swimming in the water. You can take them out when they jump out of the waves, however, it’s often easier to just walk around them.

You’ll also have to be careful of the different water levels. The light blue water is shallow enough for you to walk through. Stay out of the dark blue water, for now, otherwise, you’ll drown. Falling into dark blue water at this point will result in the same thing as falling into a hole: you lose some health and Link’s position resets to the last tile of stable land.
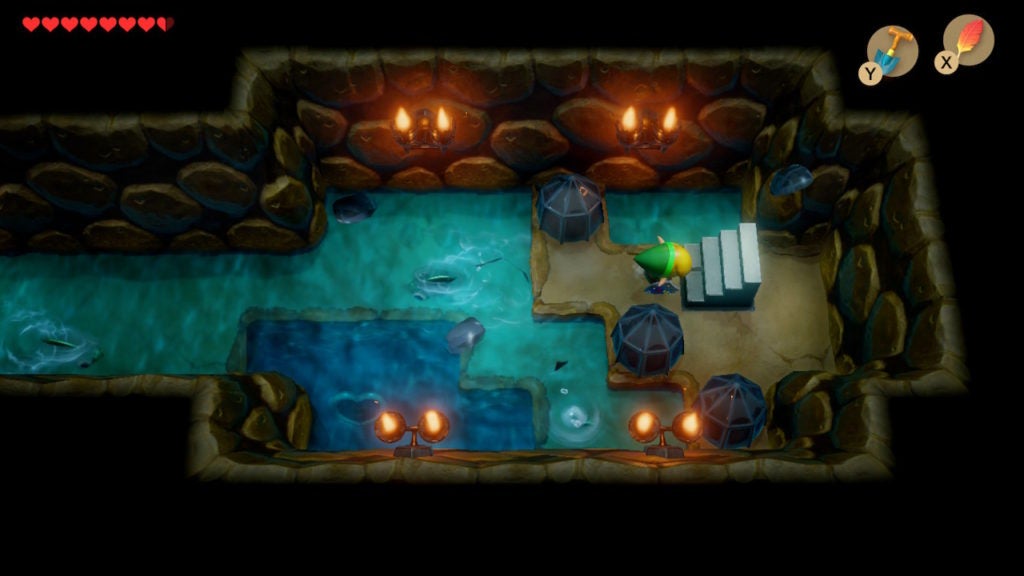
Make your way east while avoiding the Piranhas and piercing any obstacles you find. It’s also worth mentioning that there’s a Heart Piece in the dark blue water here, however, you won’t be able to get it until after you obtain the Flippers from the next dungeon. For now, mark this area on your Map to return to later and ascend the staircase to the east.
When you exit the tunnel, you’ll be on the eastern section of Koholint Island. From here, go south to Animal Village.
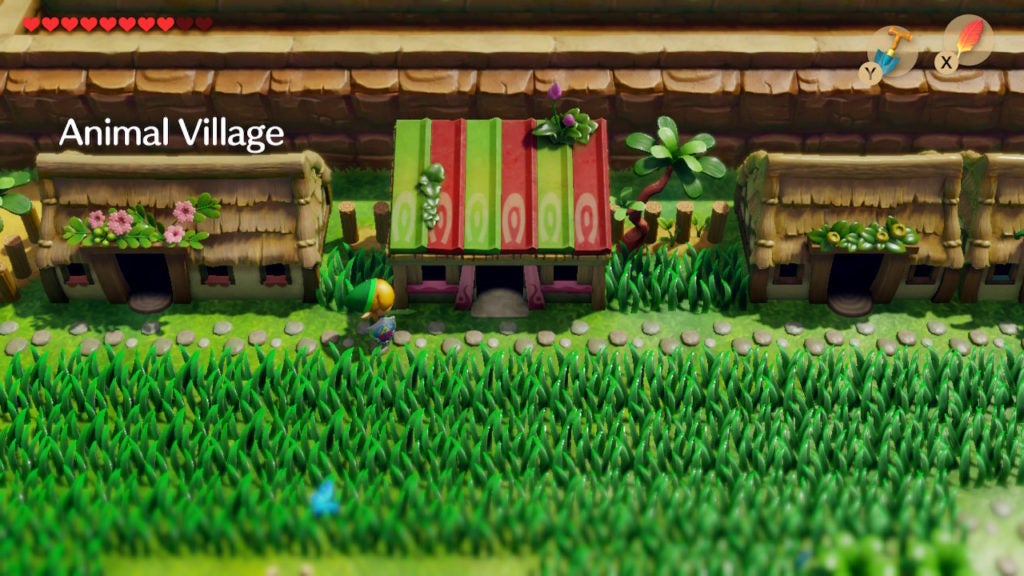
Explore Animal Village
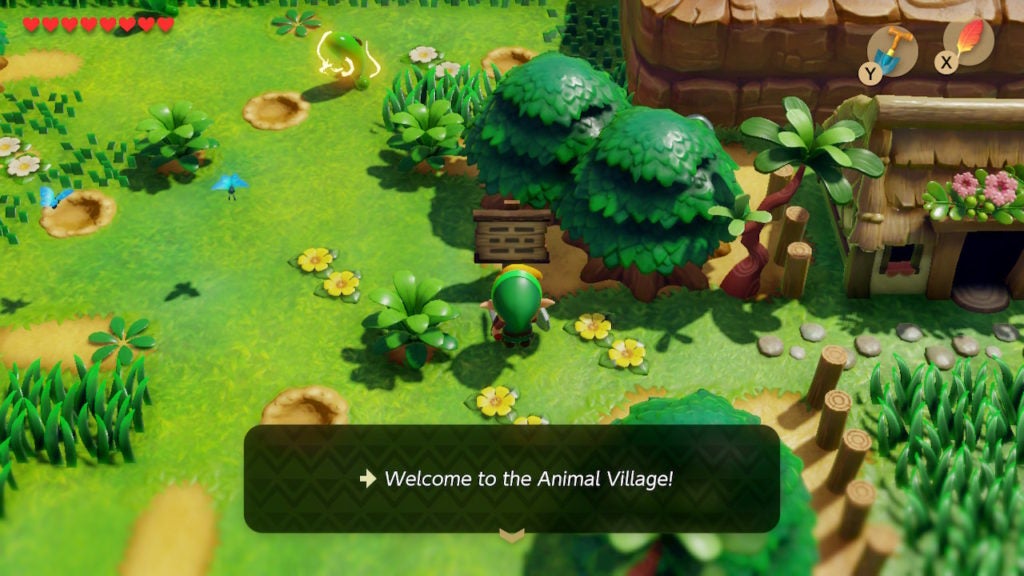
When you enter Animal Village, you’ll likely notice that it’s appropriately populated by non-humans. Thankfully, everyone can speak the same language as you. There are 5 houses in Animal Village, all of which you should check out at some point.
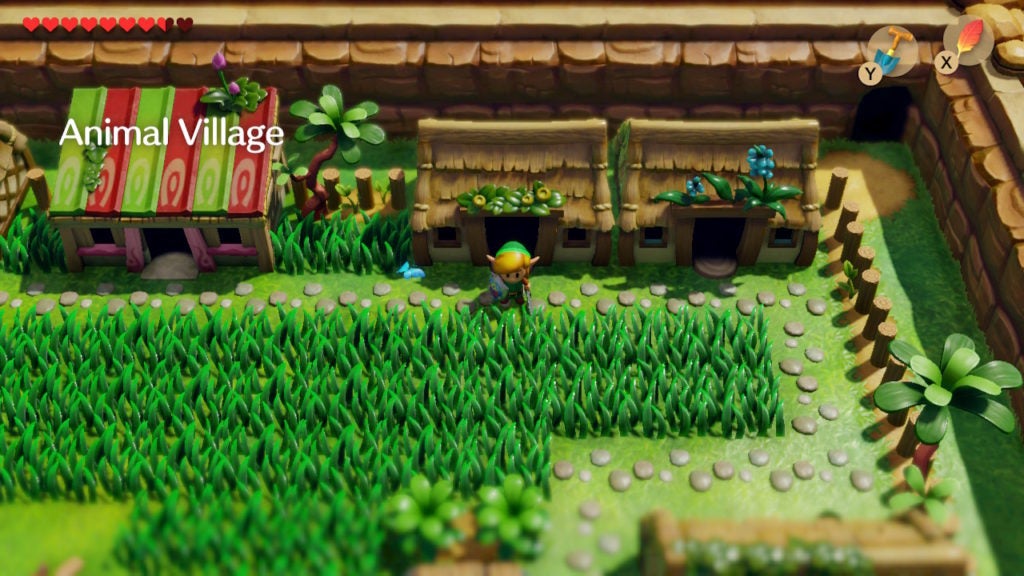
Get a Hint From the Northwestern House
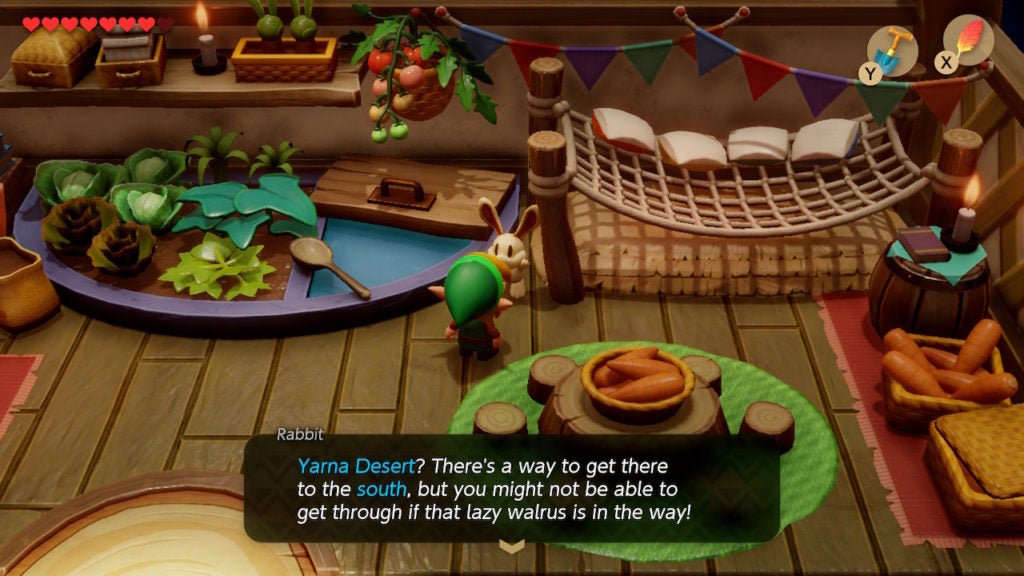
The first house in the northwest corner of the village contains a Rabbit who will give you a tip about what you’ll need to do to progress. However, this information could have been gathered by exploring, so the Rabbit’s dialogue isn’t the most useful.
Meet Schule Donavitch in the Colorful House
The next house over is easily the most vibrant in Animal Village. This dwelling belongs to Schule Donavitch, a crocodile who loves to paint.
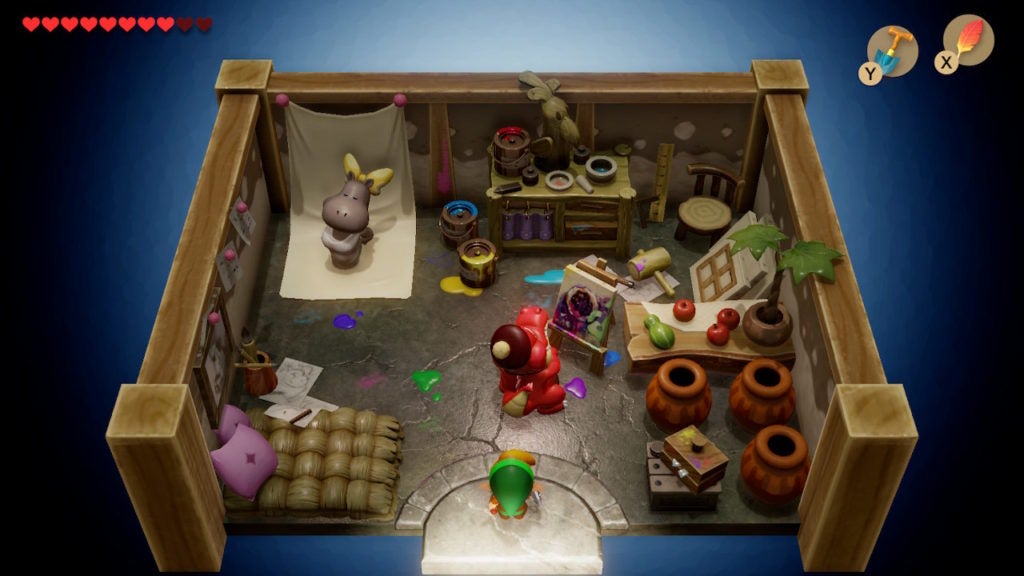
Schule will be important later for the trading quest. This red crocodile is the one who will give you the tip on what to do with the Mermaid Scale after you get it, but that won’t be for a while.
Meet Christine the Goat in the House East of Schule’s Home
Just east of Schule’s colorful abode, you’ll find the house of Christine the goat. Enter it to meet another friendly member of Animal Village.
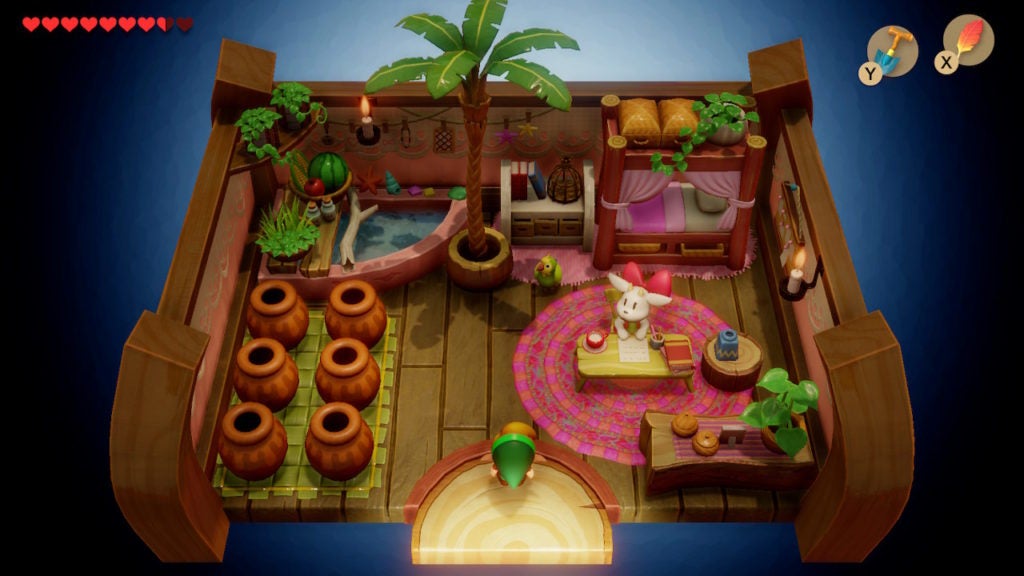
Similar to Schule, Christine will be important for the trading quest, as she’ll give you a Goat’s Letter in exchange for a Hibiscus. Though, again, this won’t come into play until later. Just keep Christine in mind for when you get the pink flower she’s after.
Meet No One When You Enter the House in the Northeast
When you go into the northeast house of Animal Village, you’ll find nothing of interest. That’s because the inhabitant is actually invisible. You’ll need the Magnifying Lens to spot them. When you’re finally able to discover them, they’ll give you a Secret Seashell, so completionists will want to mark this house on their Map for later.
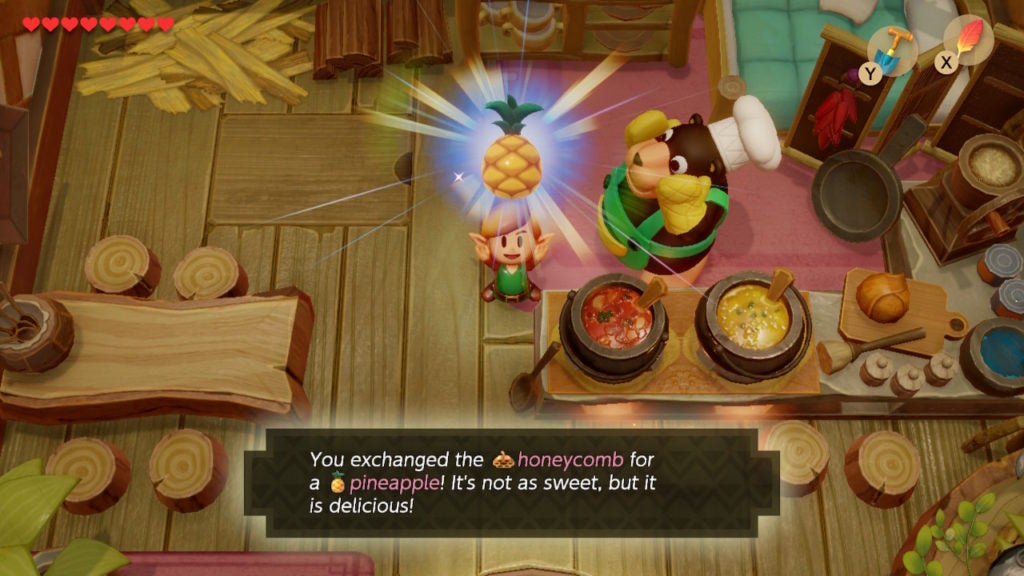
Meet Chef Bear in the Southeastern House
In the final house of Animal Village, the one in the southeast, you’ll find Chef Bear. If you have some Honeycomb on you, he will offer to trade you a Pineapple for it.
Chef Bear will also go on to give you a useful hint about how to move the walrus that you’ll meet soon. They’ll mention that Marin can wake up the walrus with her singing.
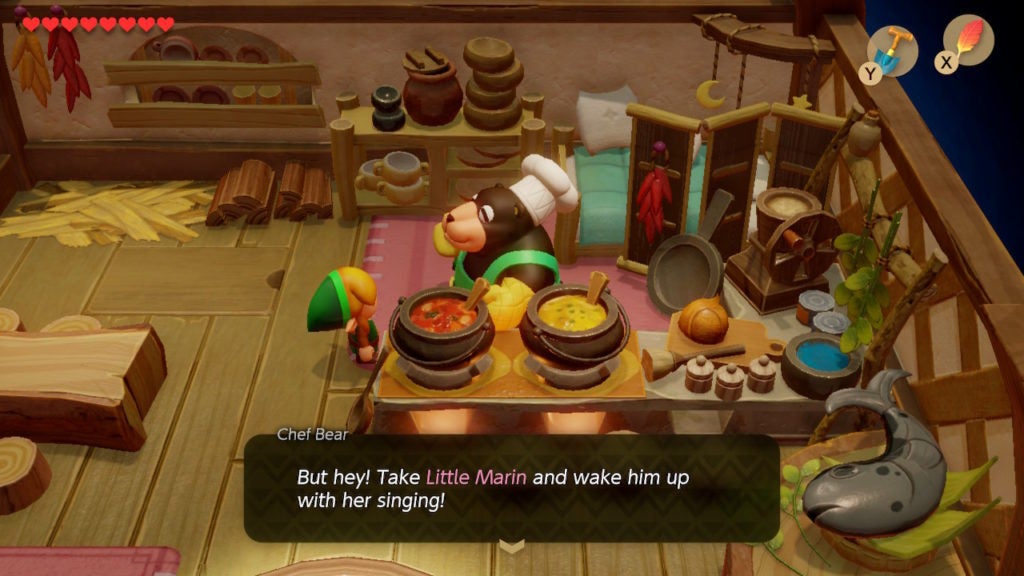
After speaking to the culinary expert, make your way out of their home kitchen to find one last important location in Animal Village.
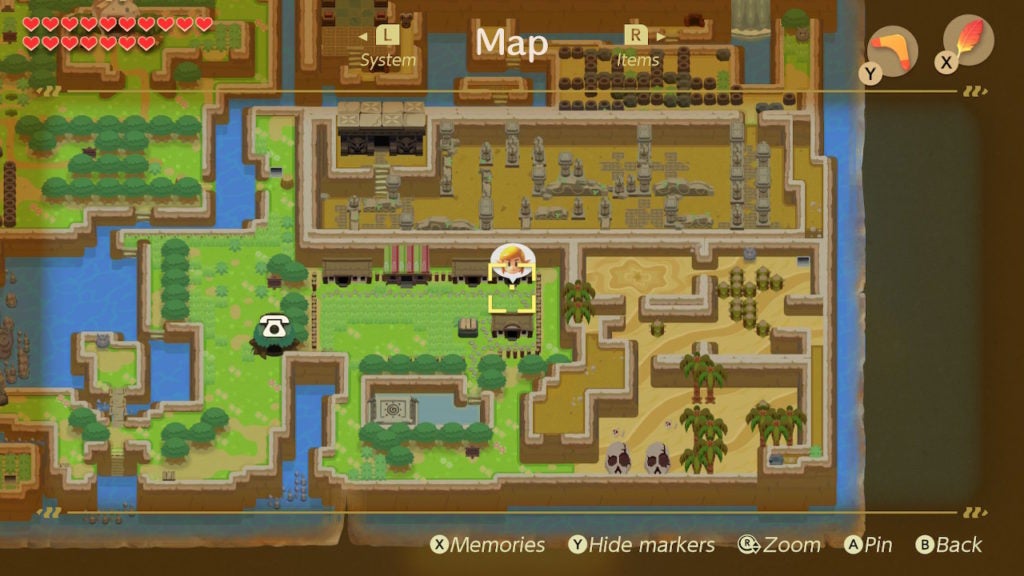
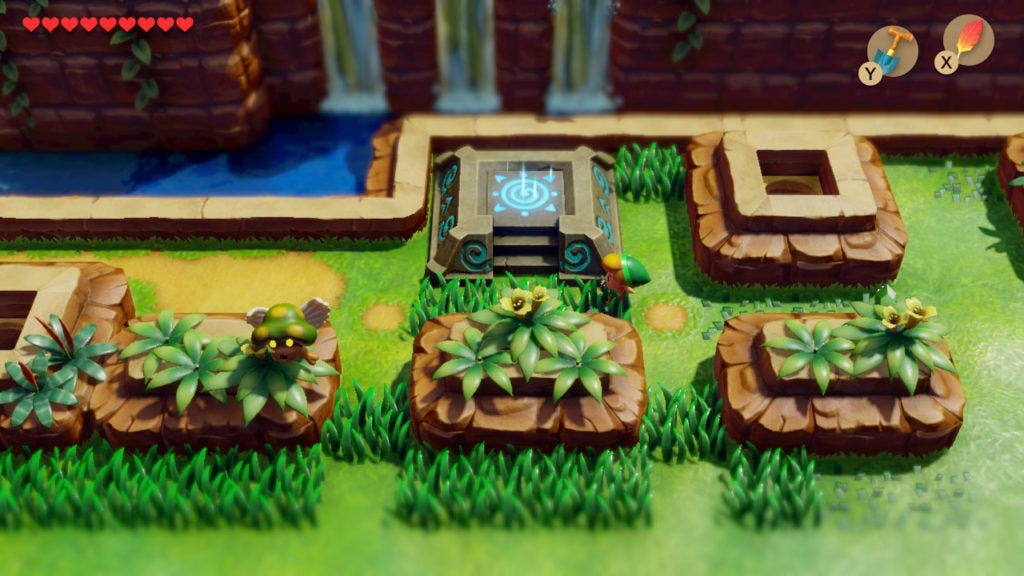
Activate the Warp Point
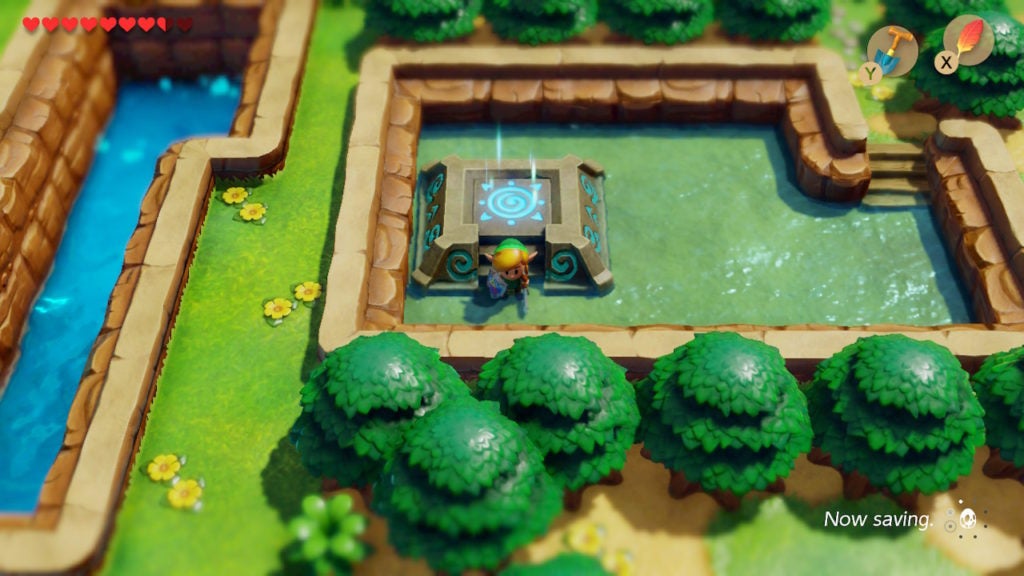
Just south of Chef Bear’s house, you’ll find a shallow pool that holds a Warp Point. Step on it to activate it before backtracking to the village. From there, go to the southwestern corner and head south down a thin stretch of grass.
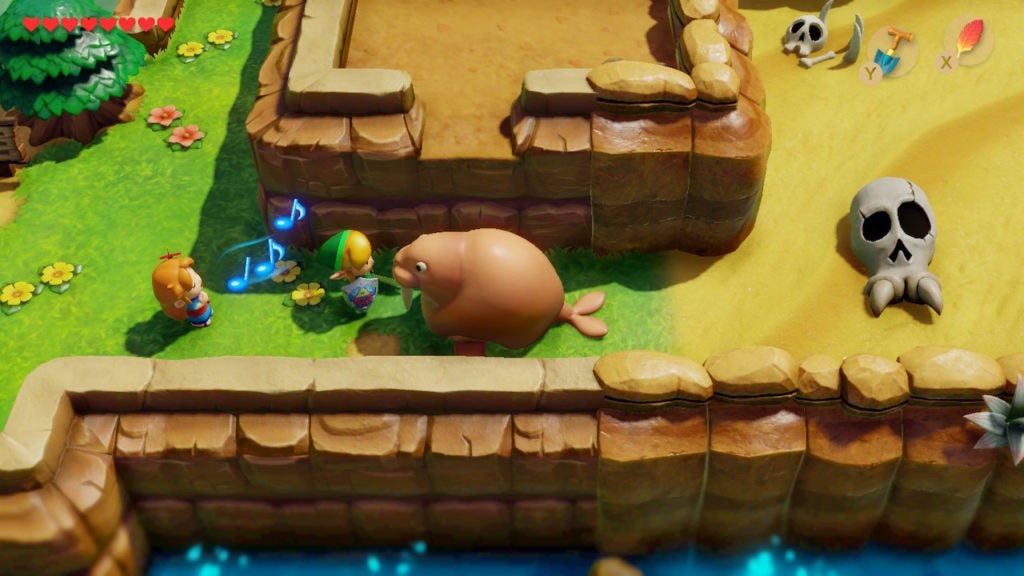
Meet the Walrus
When you go as south as possible, you’ll then only be able to proceed to the east. You’ll find a sign here that tells you that you’re on the right path.
However, as you travel east, you’ll see the walrus that the residents of Animal Village have mentioned.
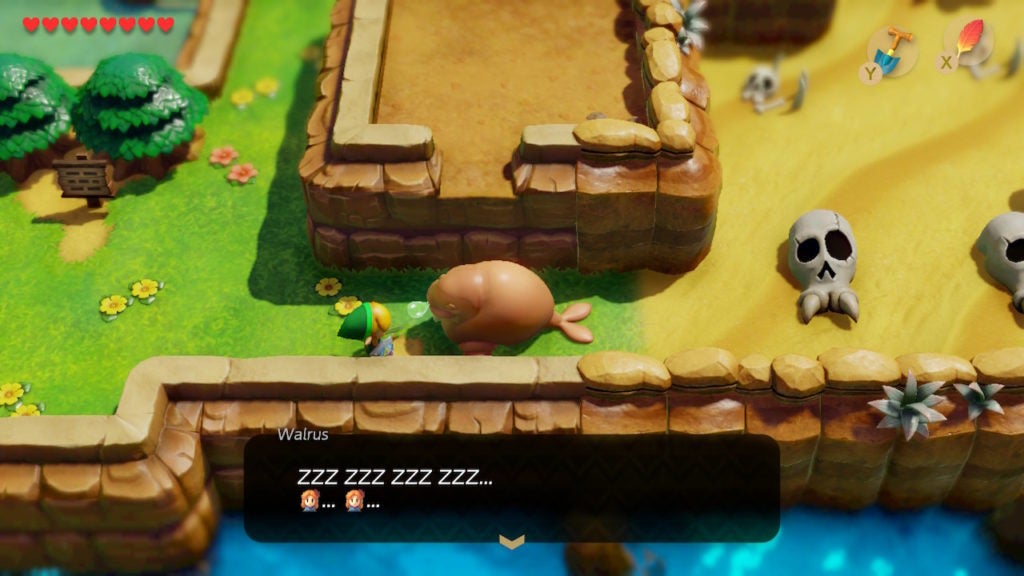
When you try to speak to the walrus, you’ll find that they are fast asleep. Furthermore, they seem to be dreaming of Marin, which is another hint that you’ll need her help. This means it’s time to head back to Mabe Village to seek out the singer. Use the Warp Point south of Animal Village to teleport to the Warp Point in the eastern part of Ukuku Prairie for a quick way back to Mabe Village.
Where to Find Marin When She’s Not in Mabe Village
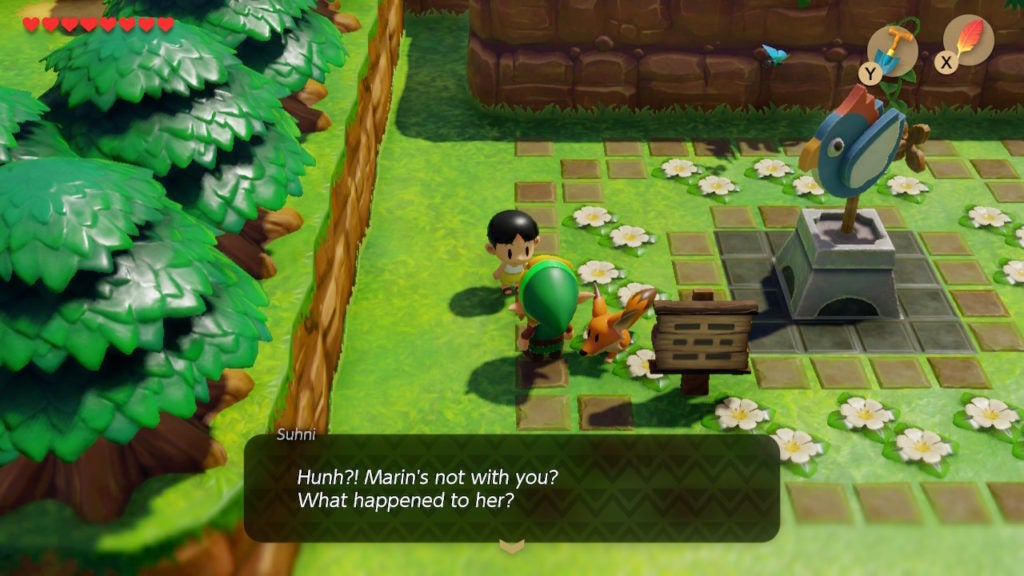
After returning to Mabe Village, you’ll find that Marin isn’t at her usual spot by the Rooster Statue.
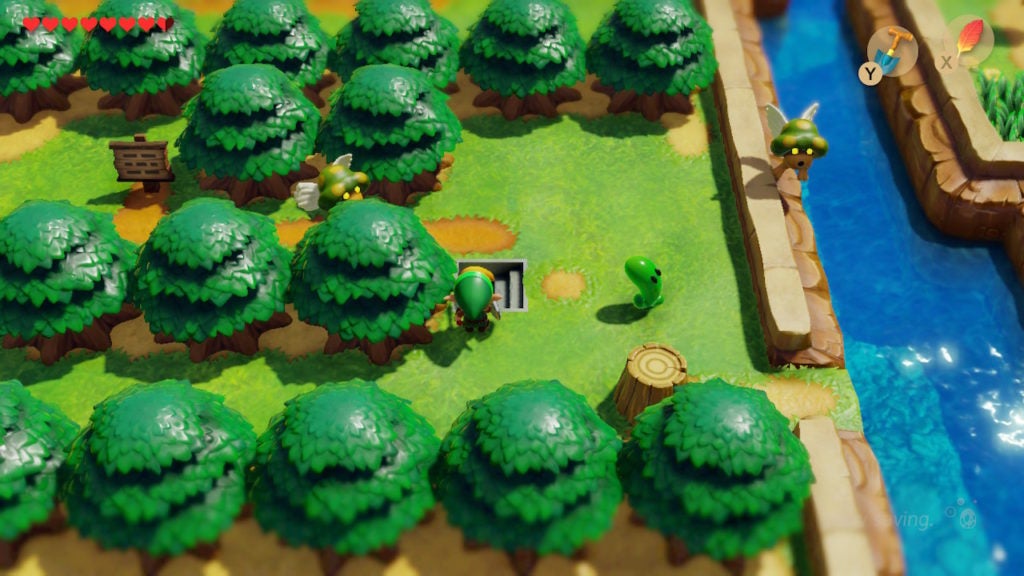
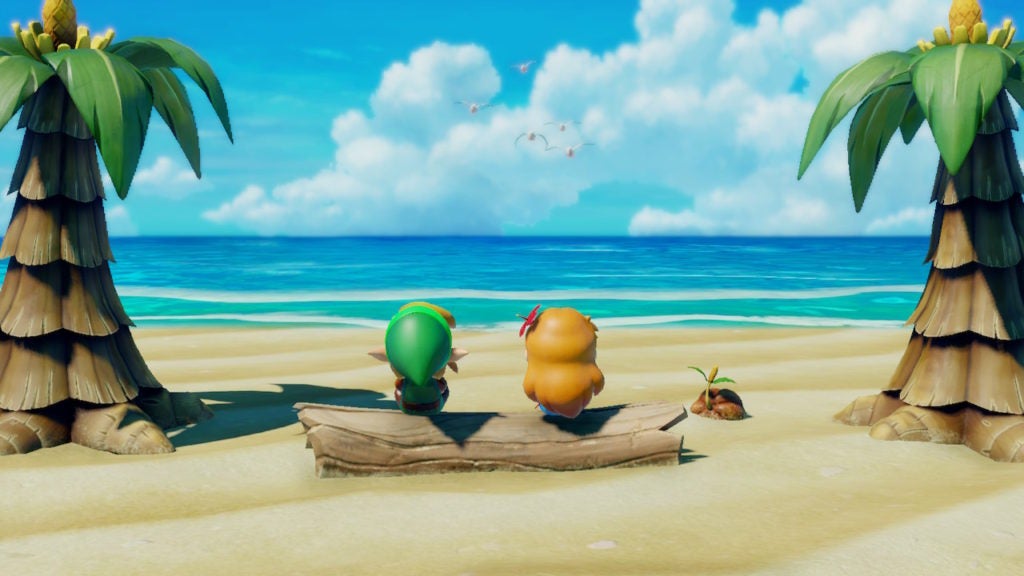
To find Marin, you’ll have to head to the eastern part of Toronbo Shores.
Marin can be found by a log and between 2 trees. She will be gazing out to sea, though you can talk to her. She’ll ask you if you want to hang out, which will lead to a cutscene where Marin shares her thoughts about recent events and life in general.
Afterward, Marin will agree to accompany you.
Bring Marin to the Walrus
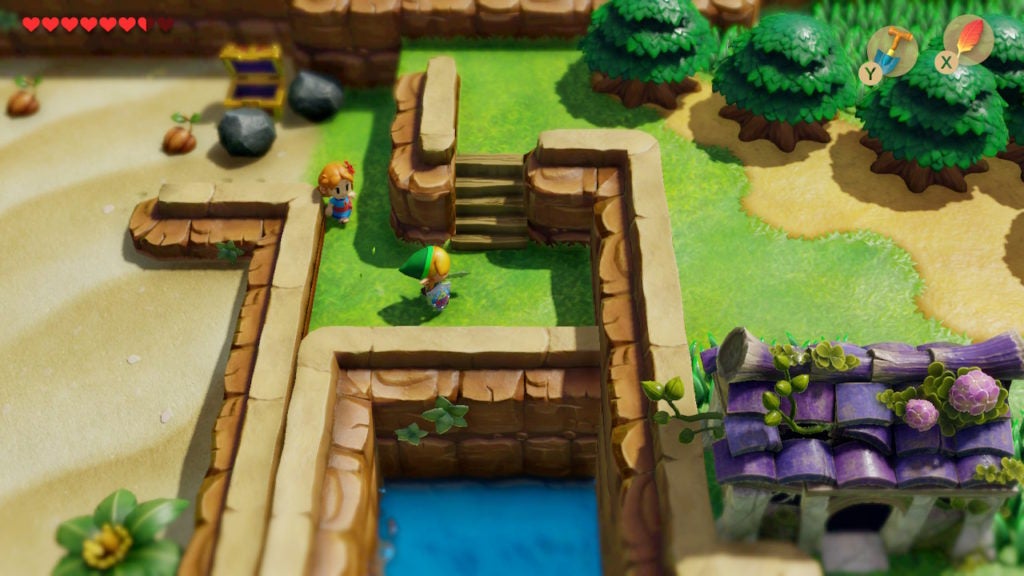
The quickest way back to the walrus’ location lies east, through Martha’s Bay. Just north of where you had a chat with Marin, you’ll see 3 rocks near a chest. You can throw them out of your way with the strength gained from the Power Bracelet. When you loot the chest, you’ll find 50 Rupees.
Afterward, keep pressing east with Marin behind you.
Eventually, you will come to a large pit that you will need to long jump to cross. Don’t worry about Marin, as she apparently doesn’t need a pair of Pegasus Boots to keep up with you.
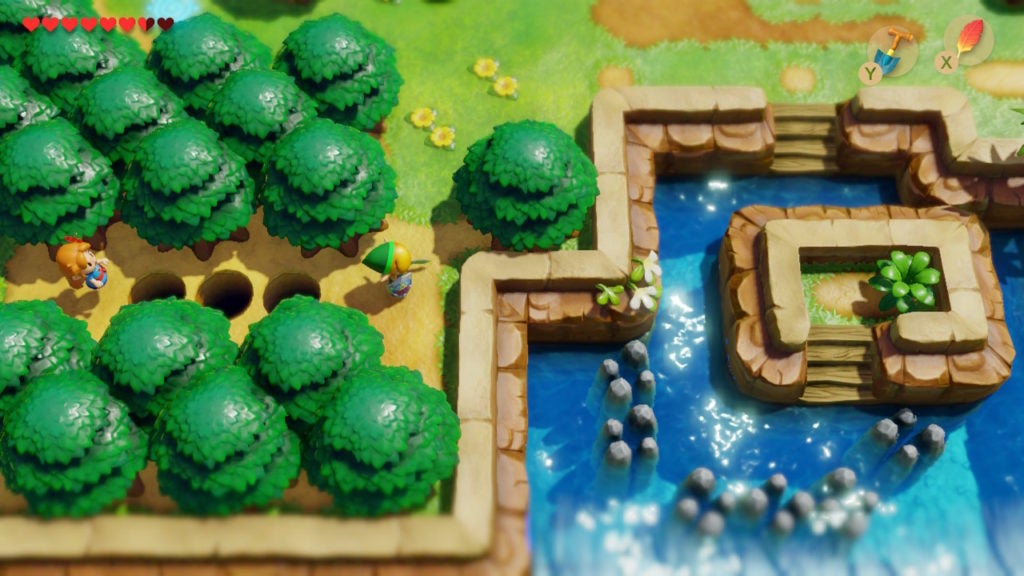
From there, you’ll want to go a tiny bit north and then west into a small clearing. Here, you can find another Warp Point. If you don’t see one here, try digging the ground with your Shovel. From this teleporting location, you can be transported back to Animal Village in a flash.
When you return to Animal Village, head back to the walrus’ spot to awaken them.
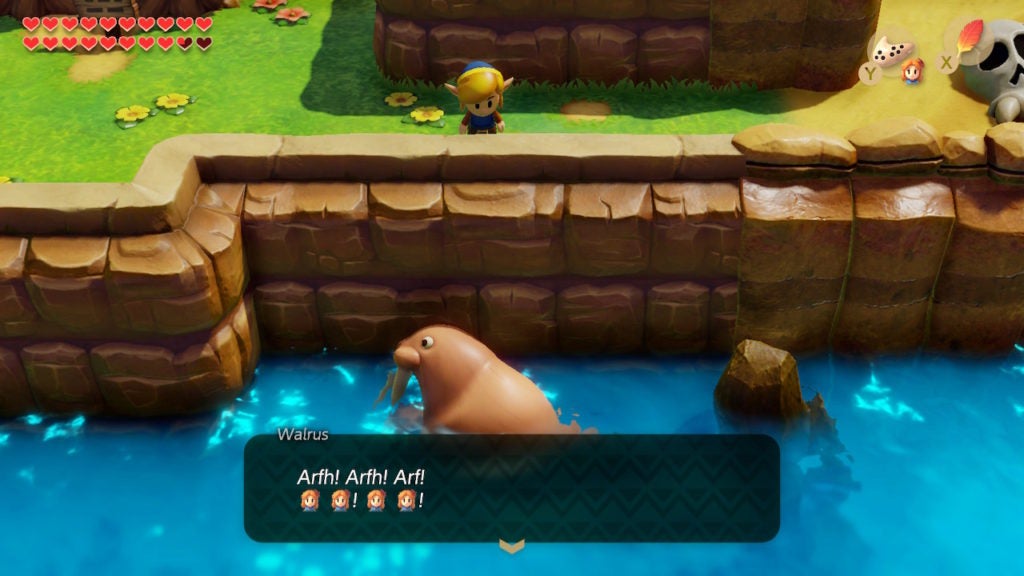
Wake Up the Walrus
If you interact with the walrus when Marin is with you, she’ll begin to sing after a bit of dialogue.
This will wake up the walrus, who will then jump into the water to the south.

With that, your way into Yarna Desert will now be open! After the walrus leaves, a Rabbit from Animal Village will show up and ask Marin if she could come to town and sing for everyone. She’ll agree, and you can even head to Animal Village to enjoy the performance as well.
Learn the Ballad of the Wind Fish
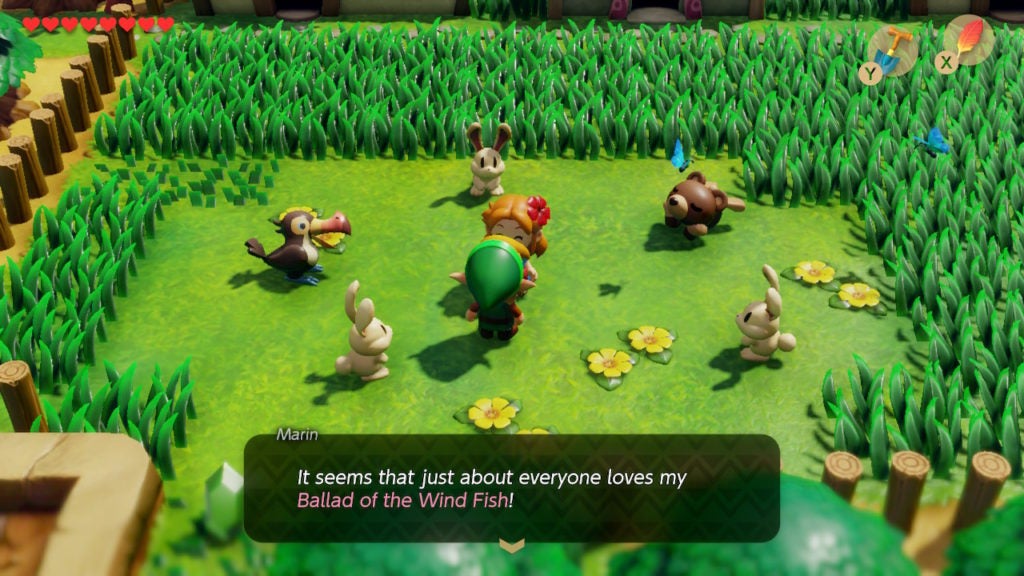
If you have the Ocarina and you speak to Marin in Animal Village, she will teach you the Ballad of the Wind Fish. Not only is this song important in the context of the story, but it will also be needed to enter the final area.
Find the Heart Piece North of Animal Village
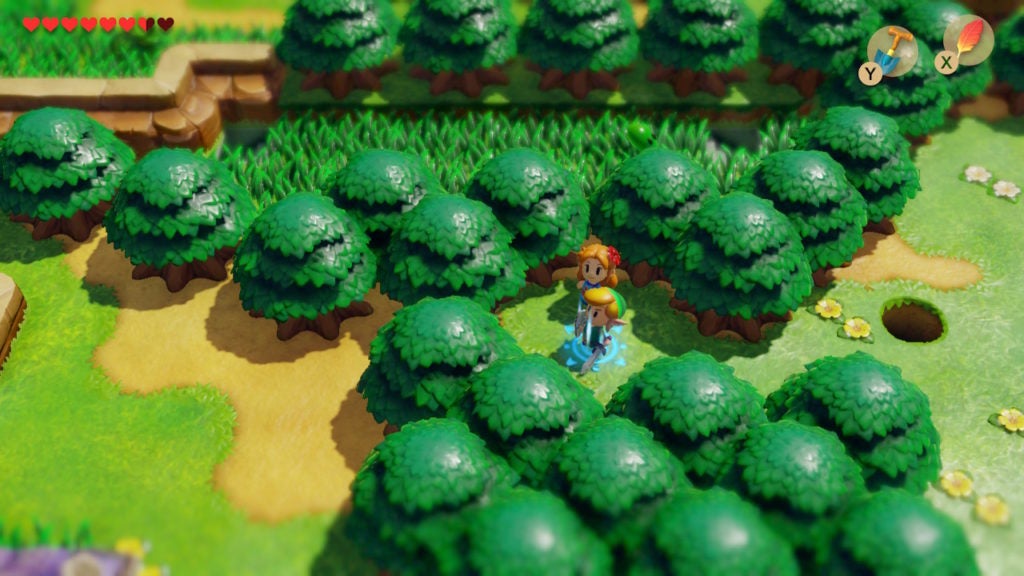
After you learn the Ballad of the Wind Fish from Marin, you can also make a small detour north of Animal Village to find a Heart Piece. You’ll have to go to the area where the walrus was resting and then head north before turning west. This will lead you down a slim passage with a Heart Piece at the end.
In the northeast corner of this same small pass, you’ll also find a cave that holds another Heart Piece. However, you’ll need the Hookshot to get it, which you won’t get for 2 dungeons. As such, mark the cave on your Map and then go south.
Get the Secret Seashell From the Walrus
In the area that was recently blocked by the walrus, you can pick up a Secret Seashell now that you know how to play the Ballad of the Wind Fish on your Ocarina. Play the tune in the spot where the walrus was sleeping and the large creature will return.
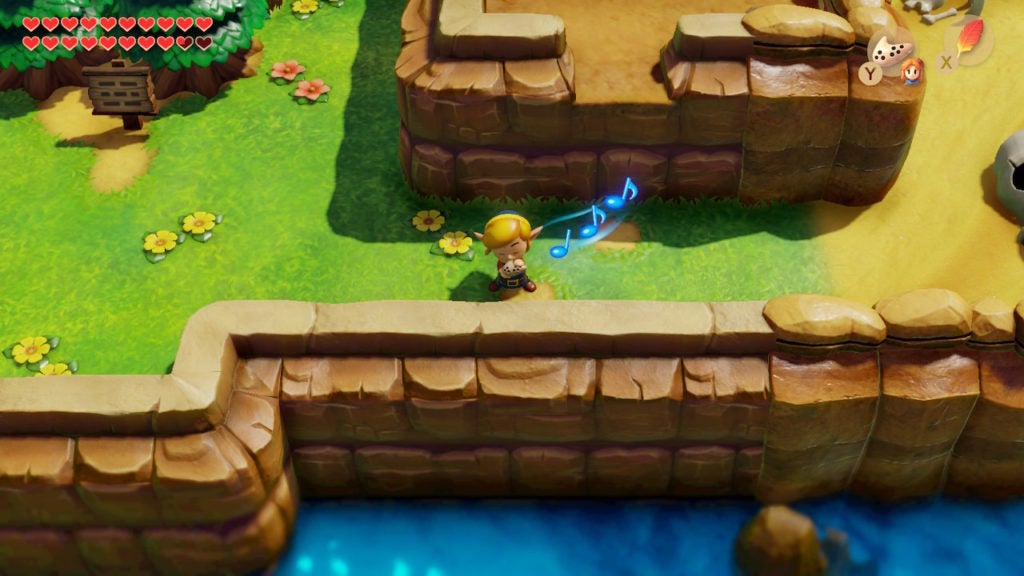
Thankfully, the aquatic beast won’t return to napping in the pass. They will show up because they initially think that your rendition of the Ballad of the Wind Fish is Marin’s singing.
As the walrus leaves, they will give you a Secret Seashell.
Turns out, the walrus can be helpful instead of being a hindrance. With that, you’re now ready to finally enter Yarna Desert. Proceed east to reach the scorching sands.
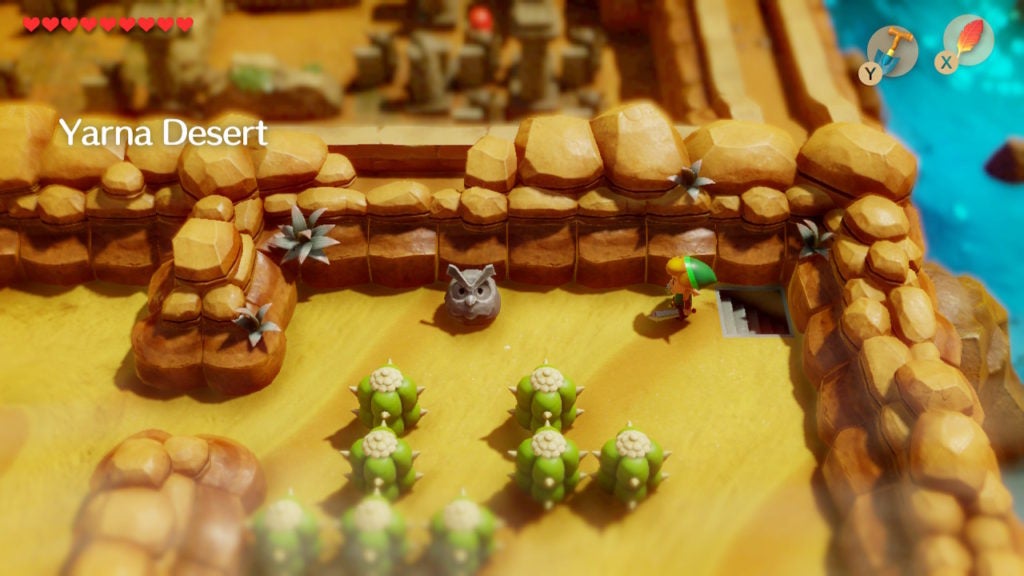
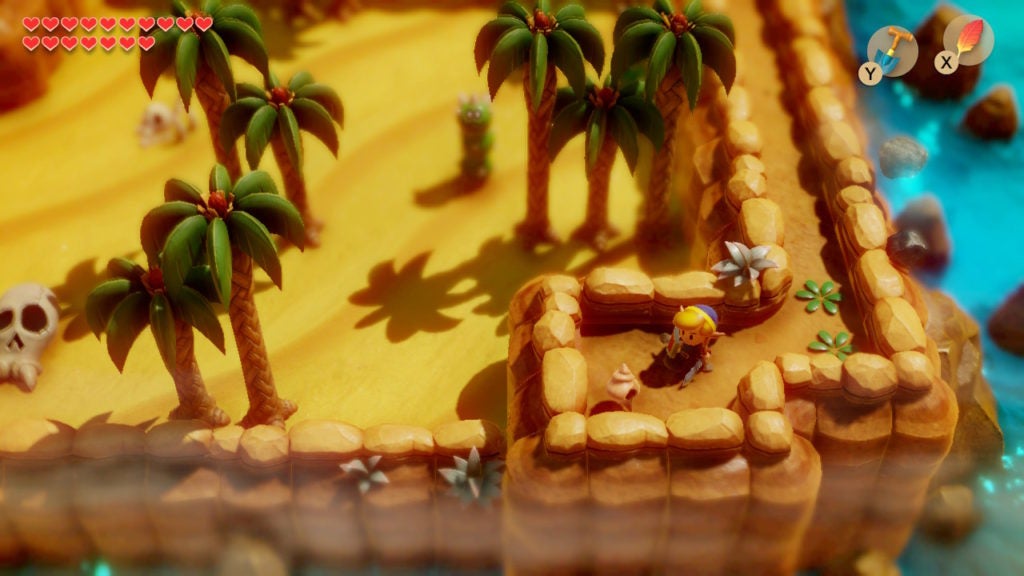
Explore Yarna Desert
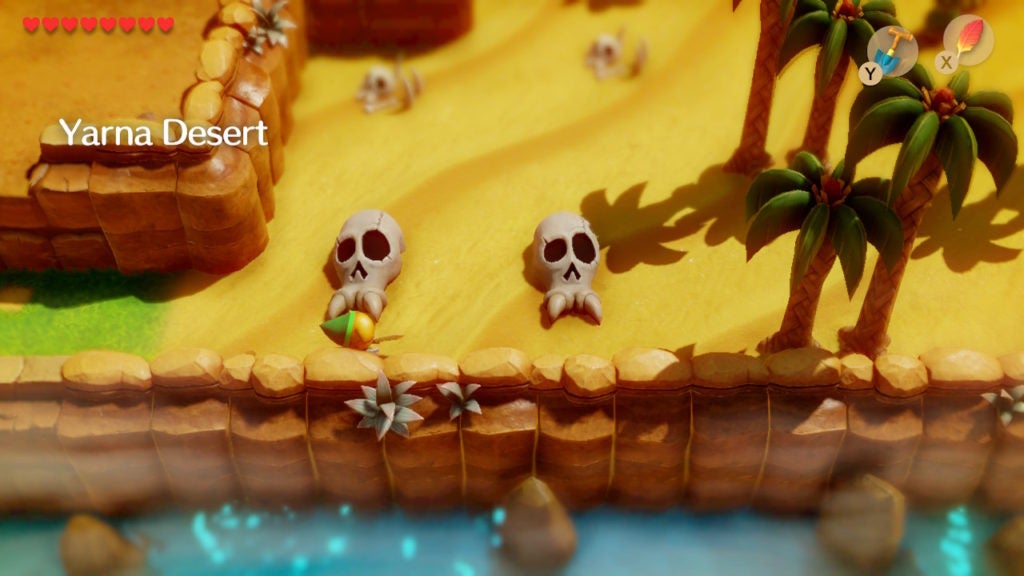
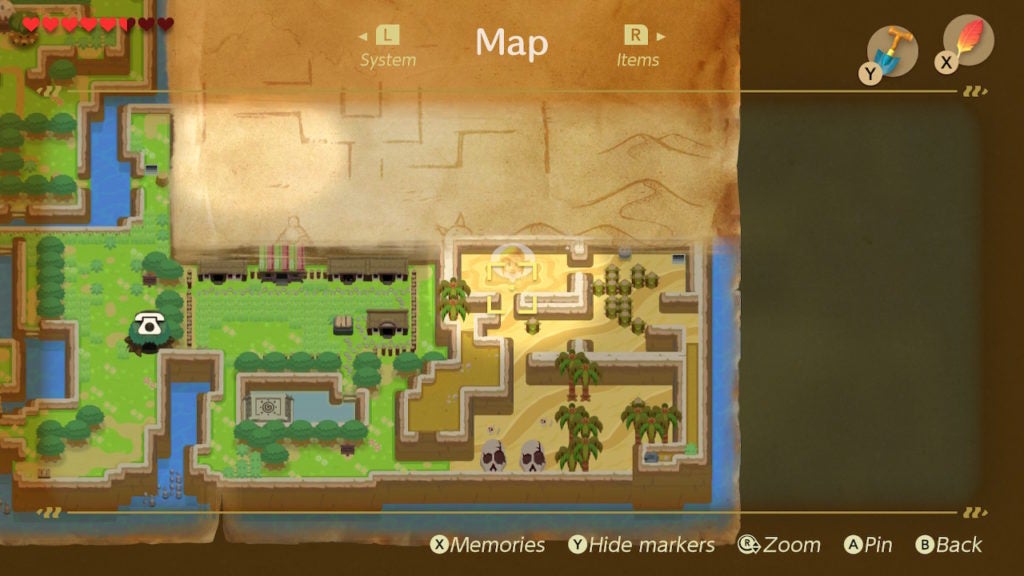
When you enter Yarna Desert, the first things you’ll likely notice are all the skulls and bones. This is an ominous sign but is meant to foreshadow the vibe of the area. There are parts of Yarna Desert where you’ll get ambushed by enemies that appear out of the sandy ground at inopportune moments. Take a minute to pop open your Map and survey the desert.
Check the Layout of Yarna Desert

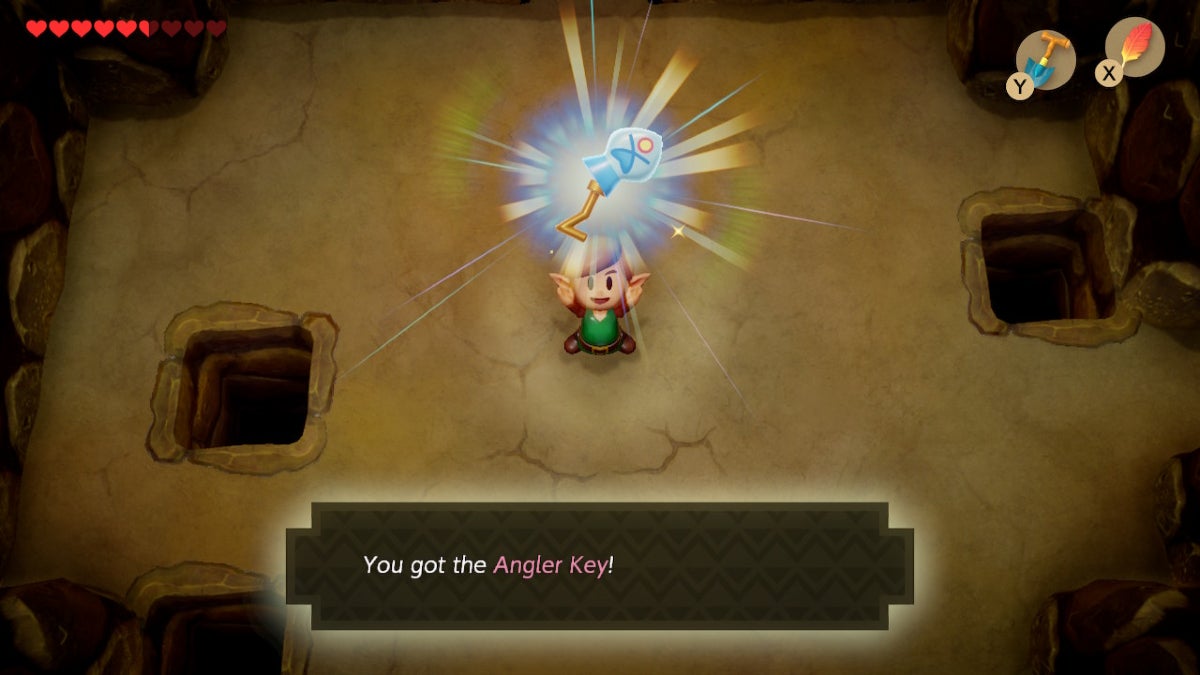
You’ll see here that Yarna Desert is hardly bigger than Animal Village, though it contains a few secrets that completionists will be interested in finding. However, the first thing you should do in these treacherous wastes is to locate the Angler Key. The foe that possesses it is easy to find, though getting the key from them won’t be as easy.
Defeat Lanmola for the Angler Key
From the entrance by the 2 huge skulls, head in almost a straight line north to enter the semi-enclosed area full of quicksand.
This is actually a boss arena within which you will have to do battle with a huge centipede-like enemy! When you enter the quicksand pit, you’ll be called out by Lanmola.
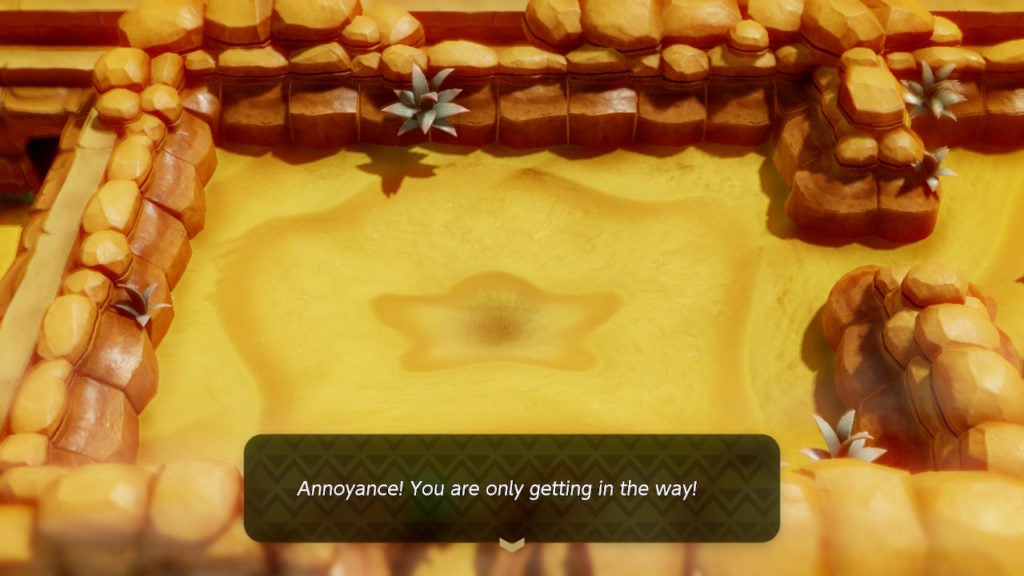
Lanmola will not be happy with you for having defeated 3 of the Nightmares on Koholint Island. After a brief insult, the fiend will attack!
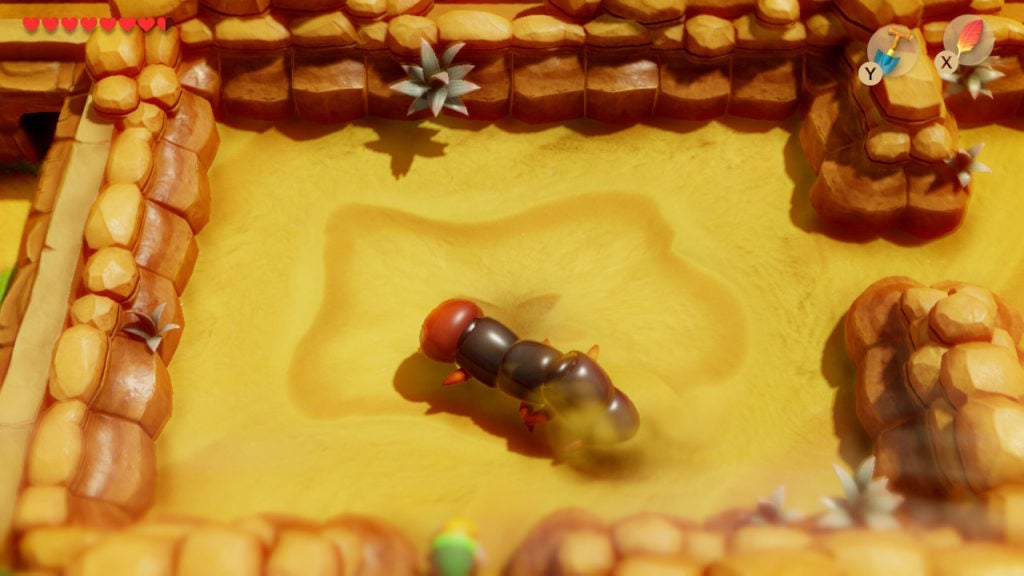
How to Hurt Lanmola
You can deal damage to this powerful enemy by striking them in the head. Your Sword will do a great job of this. Alternatively, you can use the Bow and Arrow Set to snipe Lanmola’s head from either the south or east entrances to the quicksand pit. The ranged approach is the safest, however, can be time-consuming due to clear shots at the boss’ head being rare. As such, the melee approach is more efficient.
If you take the melee approach, getting into the ideal position to hit Lanmola’s head can still be tricky. Not only will the quicksand pit be constantly sucking you towards the hole at its center but Lanmola will continuously be moving above and underground. Thankfully, the centipede will give a clear sign of when they are surfacing. When the foe’s visage is about to appear, a small mound of sand will rise to foreshadow the emergence.
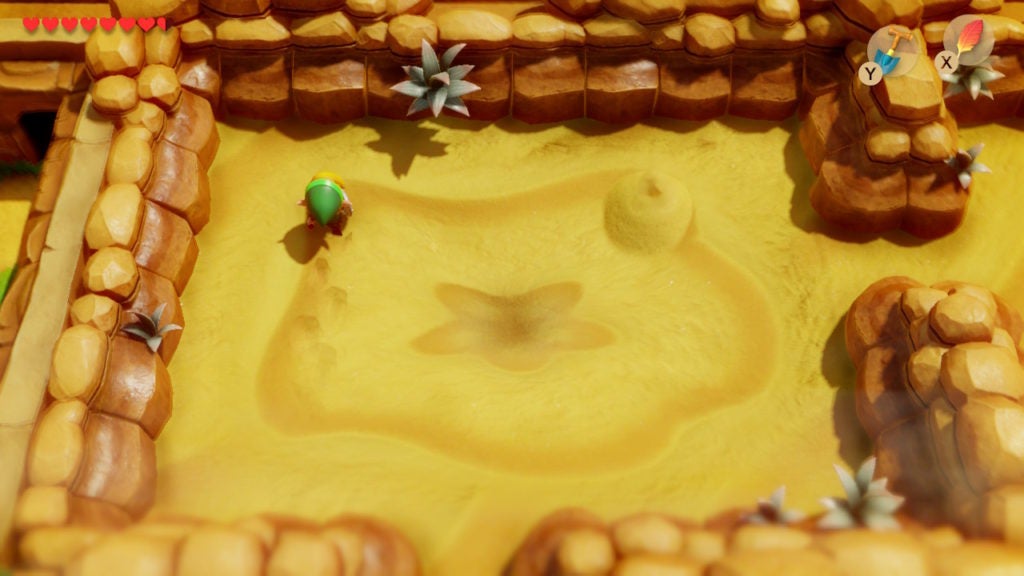
Seeing this mound of sand is your cue to head for that area. As Lanmola emerges, you can land a few slashes upon its head.
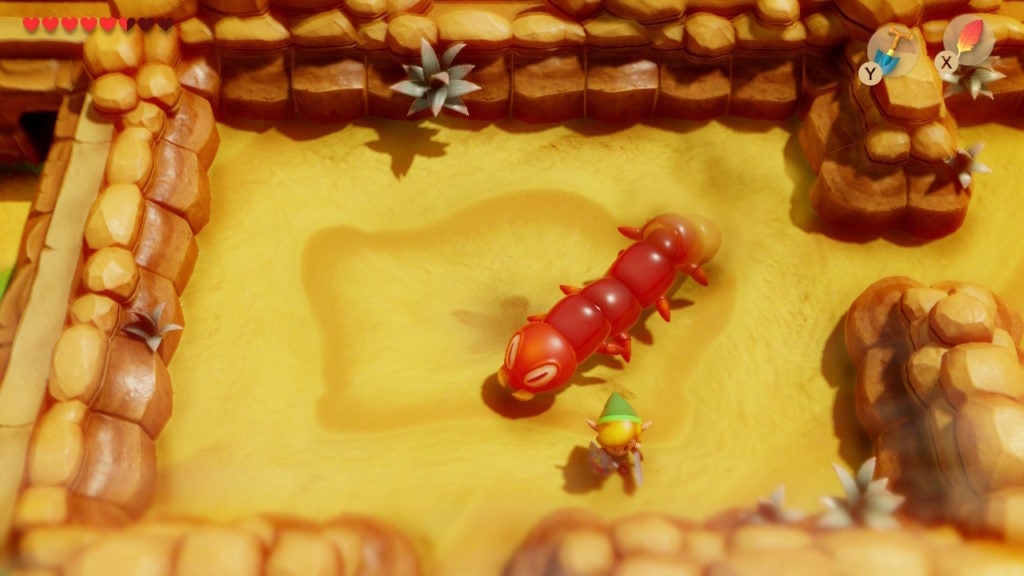
Evading Lanmola’s Attacks
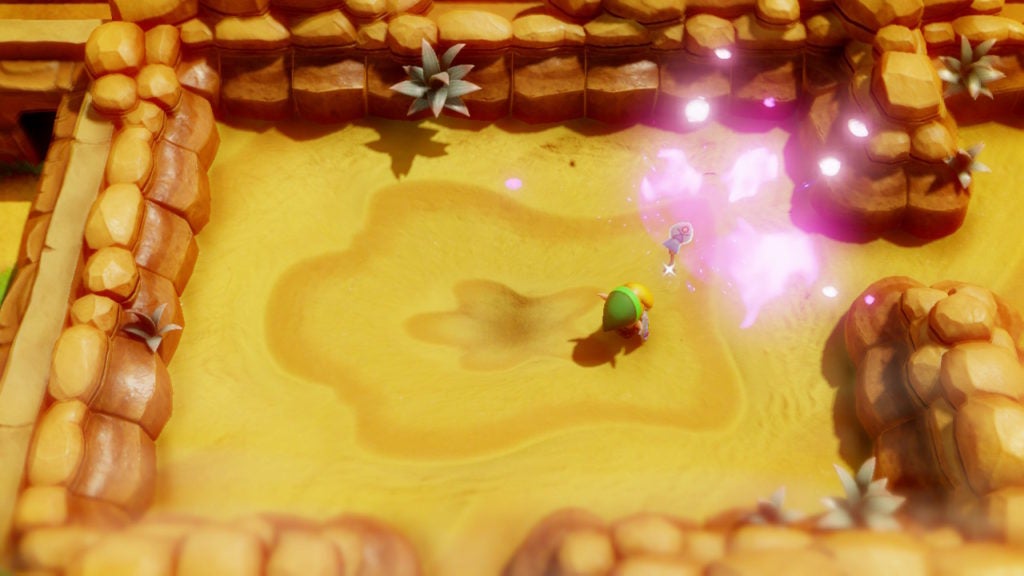
Just be careful not to stand in Lanmola’s path, as this will result in them hurting you as they barrel through the boss arena. For evasion, jumping with the Roc’s Feather is recommended. You can maneuver around the quicksand pit a lot easier through the air. While you won’t take damage for falling into the hole at the center of the quicksand pit, leaving the boss area will cause Lanmola to go back to full health—you should avoid this. Keep dodging attacks and hitting Lanmola in the head until they are dead. Afterward, the fiend will drop the Angler Key.
Explore Under the Quicksand Pit for 1 Heart Piece
If you (or the Angler Key) end up falling into the hole within the center of the quicksand pit after Lanmola’s defeat, it’s actually good. You’ll need to get under the boss arena to uncover a Heart Piece.
In the north wall, you’ll notice some cracks. Blow open the passage hidden there with a Bomb. In the room beyond, you’ll find a Heart Piece.
Grab the Heart Piece and then head south into the previous room. From there, head east into another room, though this one will have a staircase leading upwards. Ascend it to find yourself in the northeastern corner of Yarna Desert.
With the Angler Key obtained, you can head to the entrance of the next dungeon. However, there are a couple of Secret Seashells in the desert that you can collect before leaving the sweltering sands behind.
Get the 2 Secret Seashells in Yarna Desert
The first of the Secret Seashells in this location will be very close by if you’re near the Owl Statue. While the statue itself won’t give you any useful hints (only a cryptic message), you can find 1 Secret Seashell a few tiles in front of it.
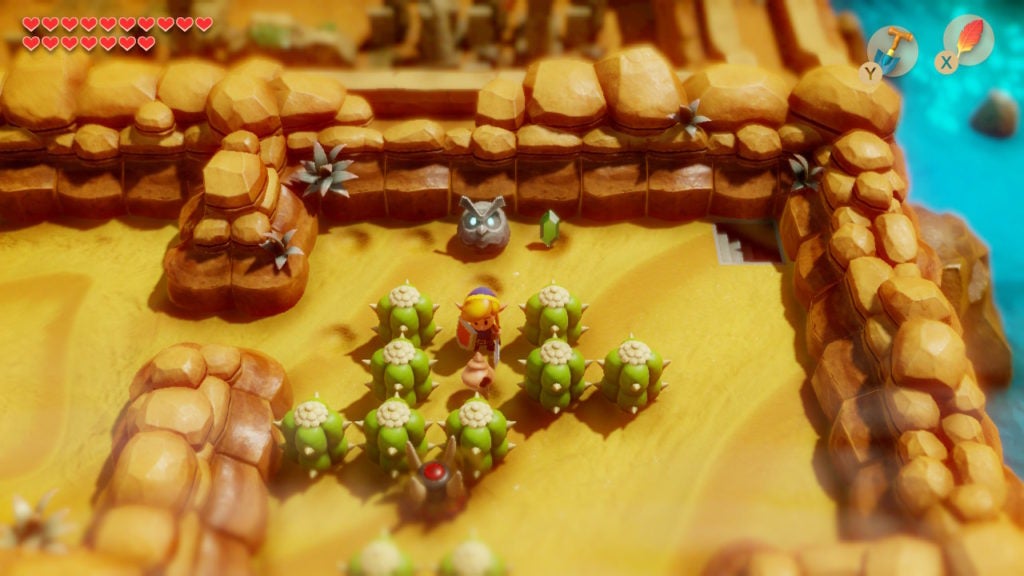
You’ll have to use your Shovel to dig up the ground 3 tiles south of the Owl Statue. After that, you’ll need to head to the southeast corner of Yarna Desert to find the next Secret Seashell. As you proceed south, stick to the east as much as you can until you reach an area where the sand turns into dirt. Follow the dirt path until you’re at the end of it and dig around the area for 1 Secret Seashell.
Afterward, you’ll have nothing left to do in Yarna Desert, so you can now proceed to Tal Tal Heights to unlock the next dungeon.
Where to Find the Entrance to the Next Dungeon
You’ll have to head to Tal Tal Heights now to unlock the next dungeon with the Angler Key. The quickest way there is to use the Warp Point in the south of Animal Village to teleport to the Warp Point in Ukuku Prairie and then go north from there. You’ll have to head through Koholint Prairie and by Goponga Swamp.
Go to Tal Tal Heights
Go east of the Moblin Cave from which you rescued BowWow and you’ll find Dampé’s shack. Just northwest of Dampé’s shack will be a rock which you should pick up, as under it is a Warp Point. Step on the Warp Point to activate it, but don’t teleport anywhere.
Afterward, you’ll want to go west until you reach some rocks around a sign. Move the rocks out of your way, go north through the new passage, and then loop back towards the east.
Keep going east until you find a big wall. Go around the wall either to the north or south and then keep going east. This will eventually bring you to a set of stairs that will lead you down and into Tal Tal Heights.
Find the Keyhole in Tal Tal Heights
Tal Tal Heights will be swarming with armed Boarblins and jumping Blue Tektites. However, since Tal Tal Heights is very linear, you can use the Pegasus Boots liberally here to both clear through enemies easily as well as travel quickly. As you make your way east, you’ll find the keyhole that you can insert the Angler Key into.
However, before opening it, make a quick detour to the east to find another Warp Point.
Step on the Warp Point to activate it before heading to the keyhole and using the Angler Key. When you do, a cutscene will play to show you that the waterfall to the north of the keyhole’s location will be parting. After the waterfall disappears, the entrance to Level 4 – Angler’s Tunnel will be revealed.
However, you won’t be able to enter the dungeon from Tal Tal Heights. For that, you’ll have to travel west and then north to the Tal Tal Mountain Range before making your way back east. After you reach the entrance, it will be time to traverse Level 4 – Angler’s Tunnel.