Well done on revealing the entrance to the fourth dungeon. However, you’ll now need to reach it.
Table Of Contents
How to Get to the Entrance of Level 4 – Angler’s Tunnel Through the Tal Tal Moutain Range
Although this will be yet another detour before actually getting into the next dungeon, this step of your journey won’t be too tedious. If you’ve activated the Warp Point by Dampé’s shack, using the Warp Point in Tal Tal Heights to go there can be a quick option to begin this leg of your adventure.
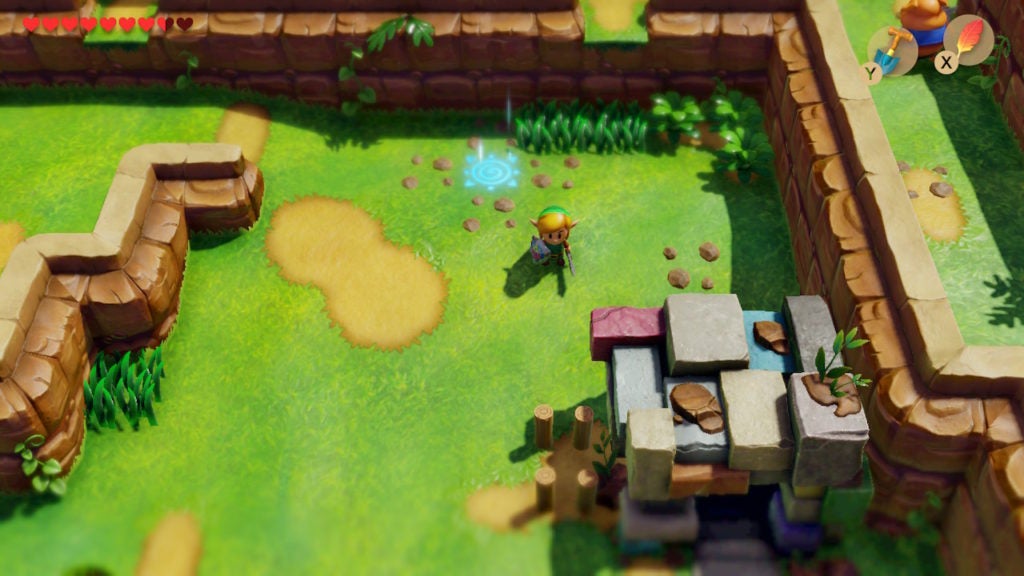
From this point, you’ll have to go west and move some rocks by a sign before going north ad coming back a bit east. Though, when you get north of Dampé’s shack on the ridge nearby, you’ll want to ascend a ladder. This will bring you to a cave entrance surrounded by 3 rocks and a set of stairs to the north.
There are no secrets in the little area to the northeast, despite the stretch of blank land seeming suspicious. That’s actually just a way back from a later part in your adventure, so don’t worry about it. What you want to do now is move the rocks blocking the cave entrance and go inside.
Within, you’ll want to head east. When you do, you’ll see a little puzzle with a Heart Piece in the southeast corner.
Grab the Heart Piece Before Moving On
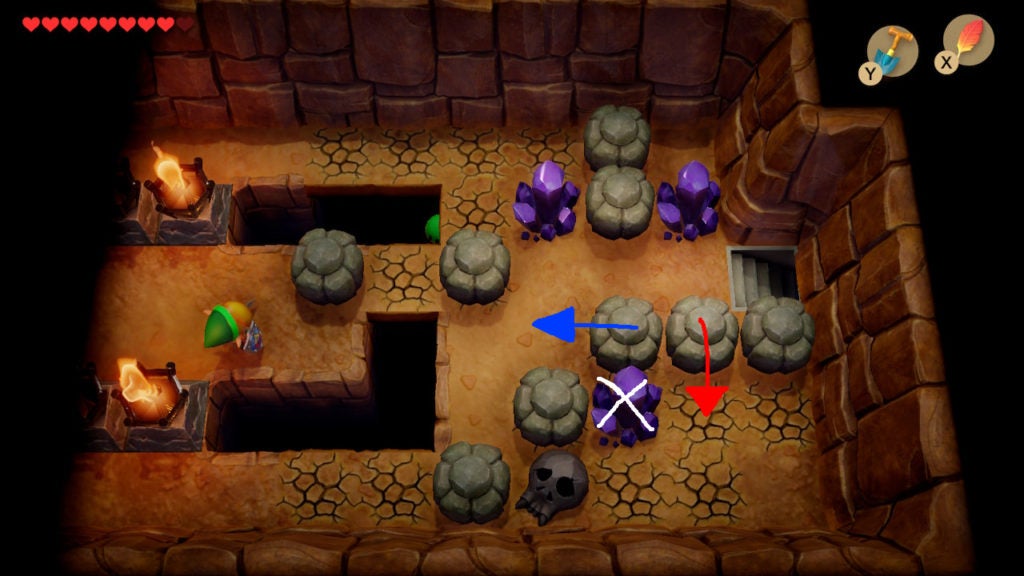
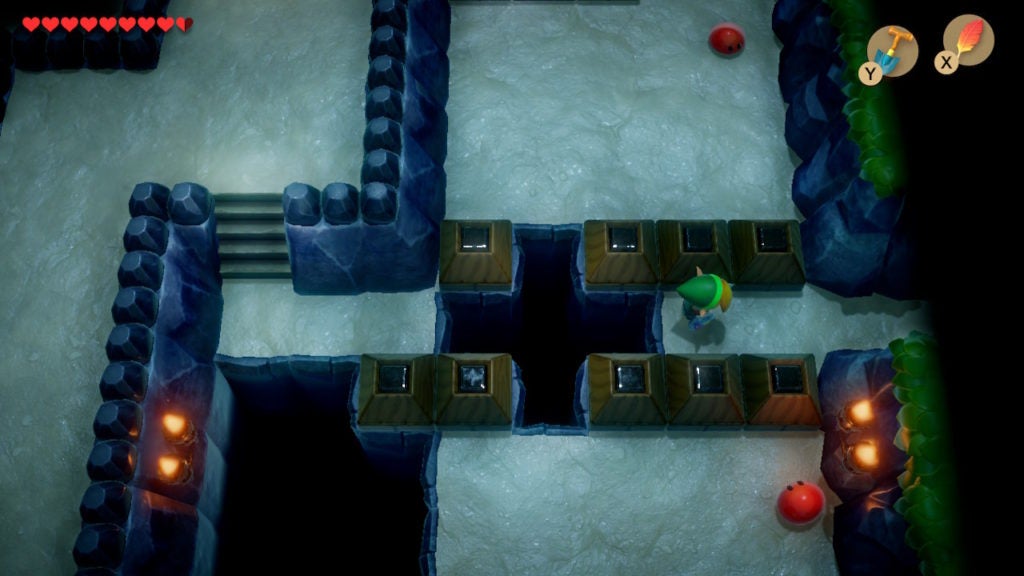
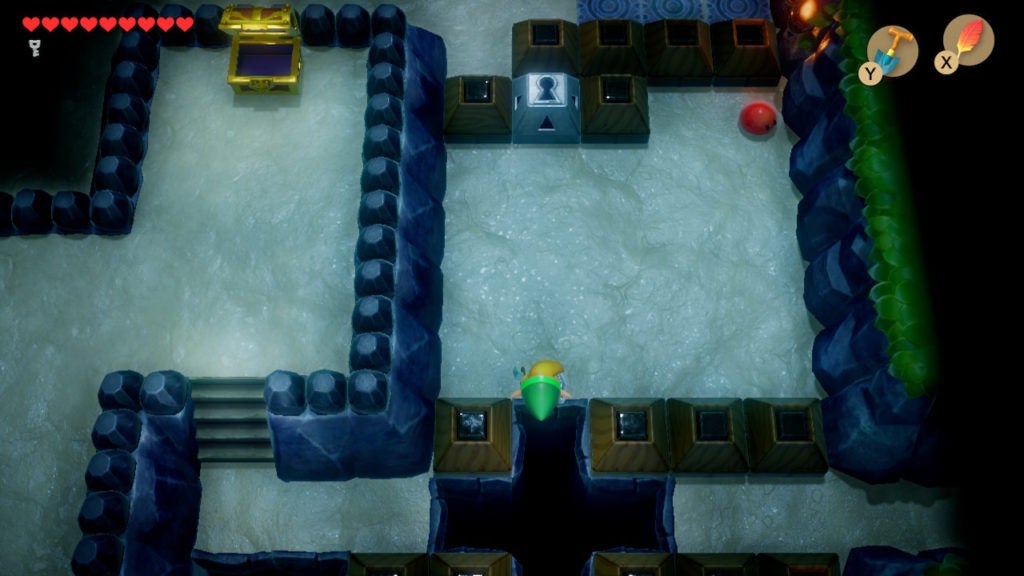
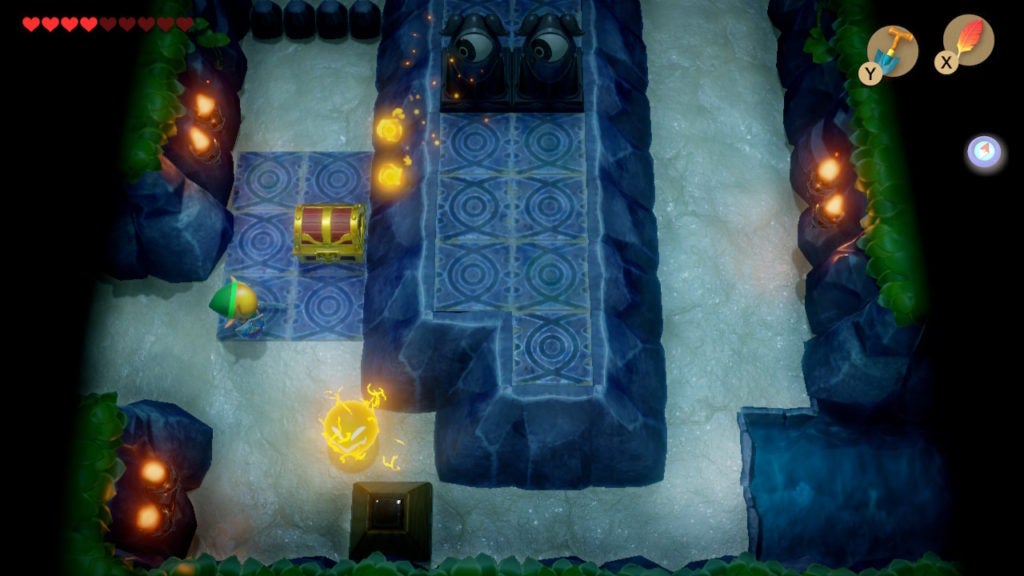
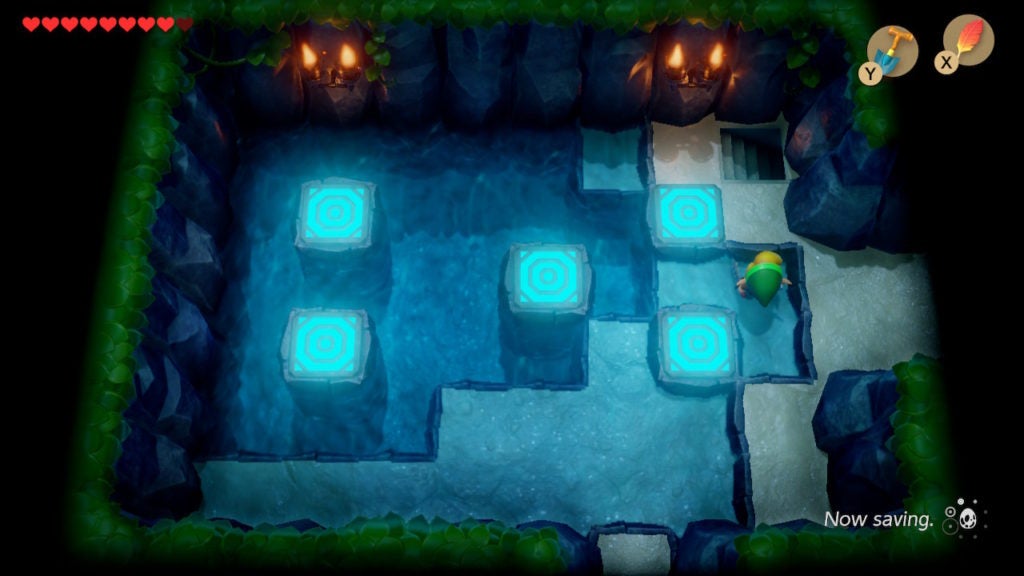
The easiest way to solve the puzzle and get the Heart Piece that normally lies in the southeast corner is to go down the stairs in the east of this tunnel and then come back to reset everything.
Push the rock southwest of the stairs south and then push the rock that was west of that rock further west. Afterward, smash the purple crystal with your Sword to cross the cracked floor tiles and pick up the Heart Piece. When you’ve done that, you can progress to the east knowing that you’ve snagged another helpful collectible.
Take Note of Another Heart Piece to Get Later
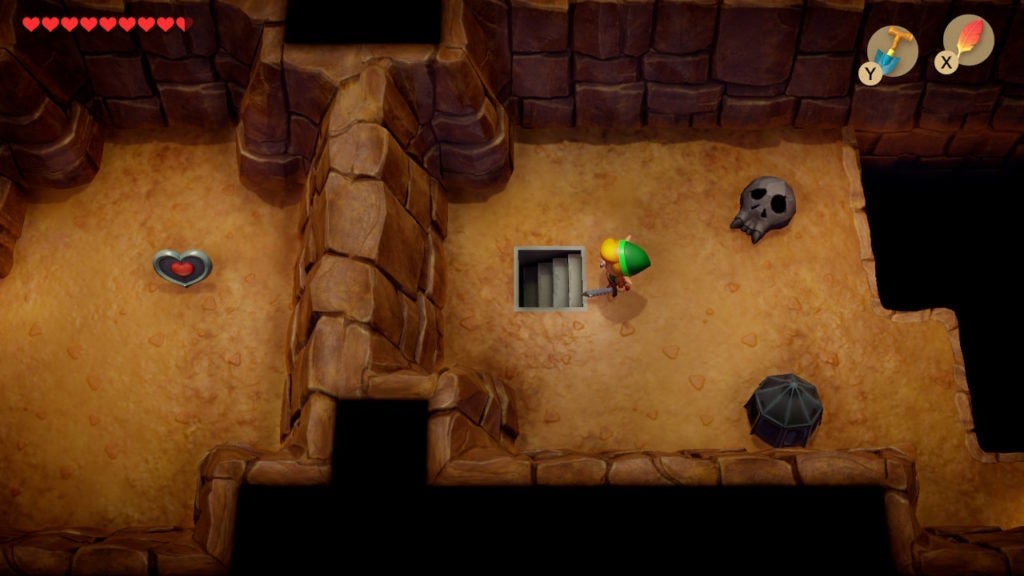
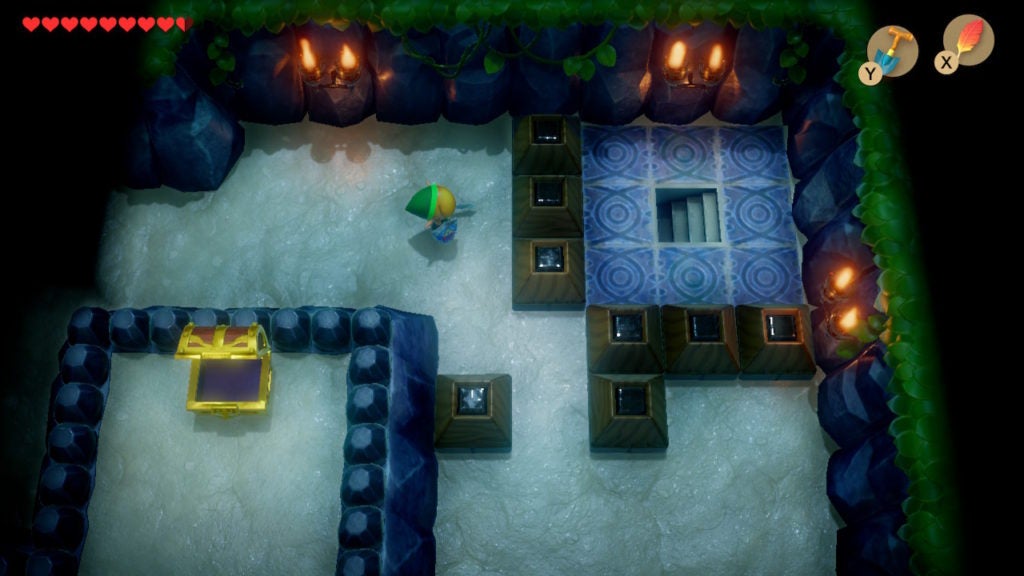
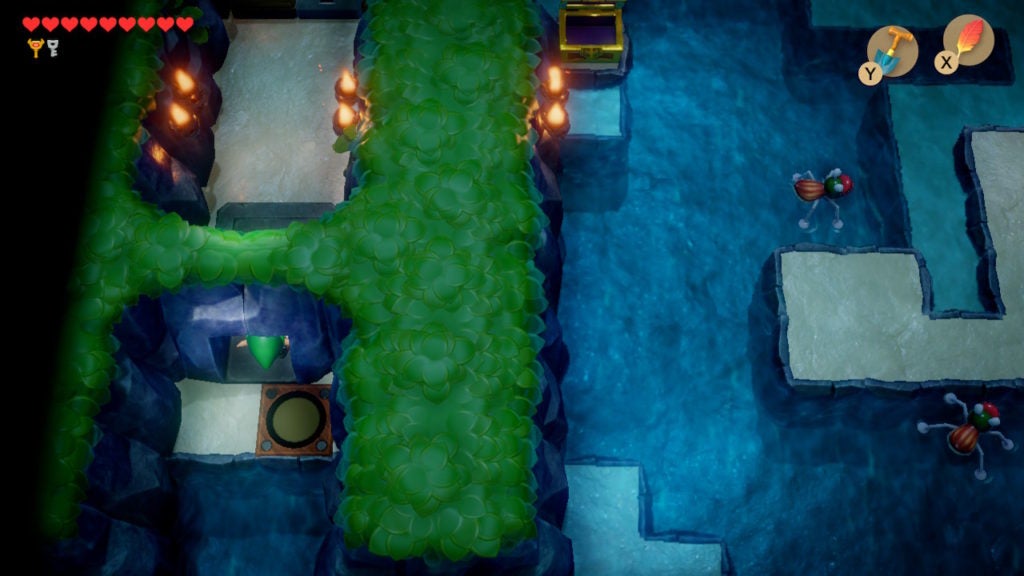
When you head through the stairs, you’ll likely notice another Heart Piece in this new section of the cavern. Unfortunately, you can’t get this one yet. You’ll have to get it after you obtain the Hookshot, and the best time to do so is after you’ve cleared the 7th dungeon. For now, mark it on your map and go east.

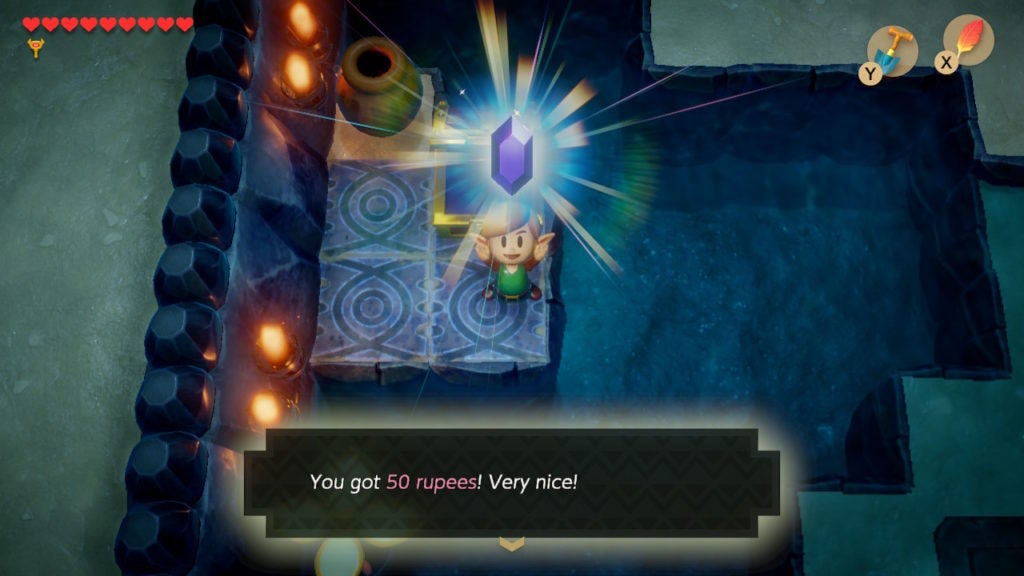
There is also a chest here, but it only contains 50 Rupees. You’ll need the Hookshot to get it as well, so grab it later. To get out of the cavern, dash past the rubbery blocks and exit the east doorway in the southern wall.
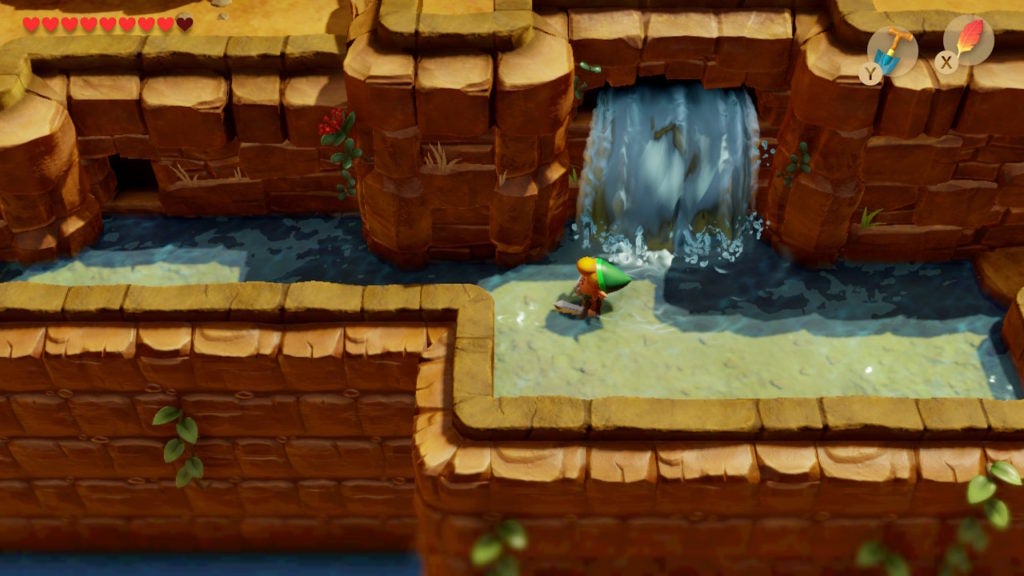
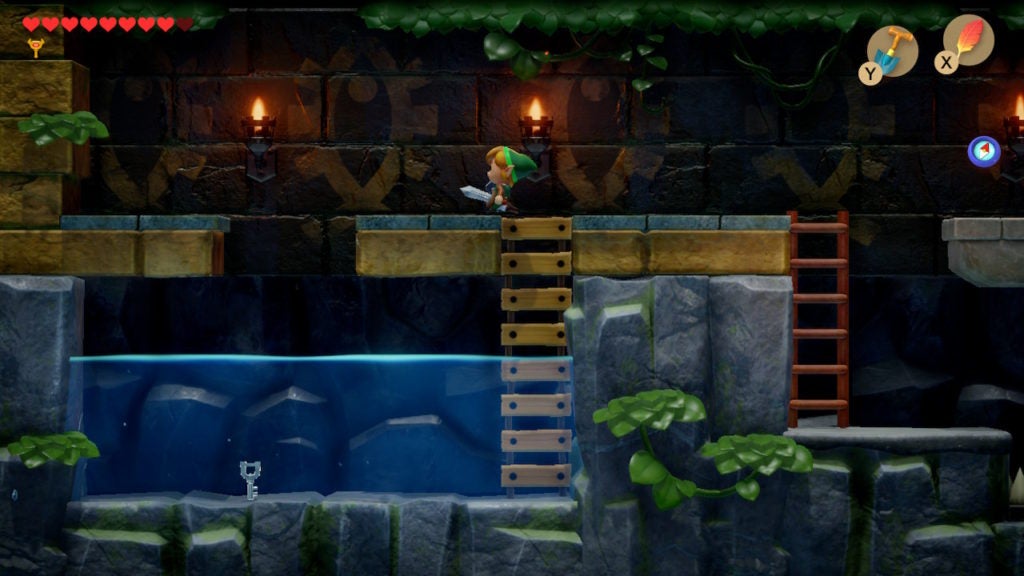
This will lead you into a shallow pool being filled by a waterfall. To the west of the first waterfall is a cave entrance that will lead you to an upper area on the mountain range. You should check this area out to get the next trade item.
Get the Hibiscus
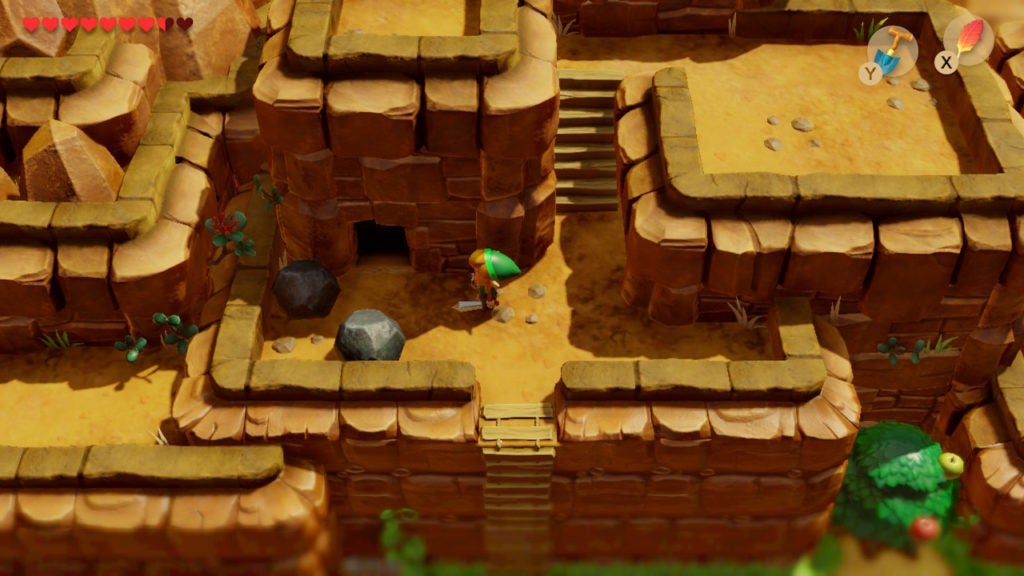
Go into the cave and go north until you find a staircase that leads you up. The area is guarded by a couple of Green Gels, but they should pose no threat at this point in your adventures.
After ascending the staircase, you’ll find a chest that contains a Green Gel as a little trick. From there, go south and exit the cave to find yourself near Papahl, the lost villager from Mabe Village.
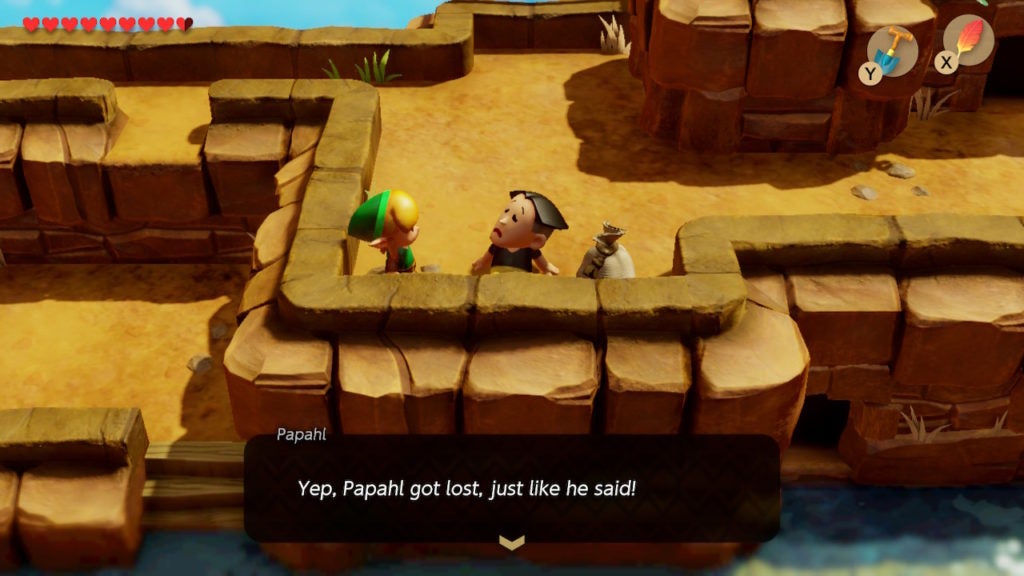
If you talk to him while you have the Pineapple that you got from Chef Bear in Animal Village, you can trade the fruit to Papahl for the Hibiscus.
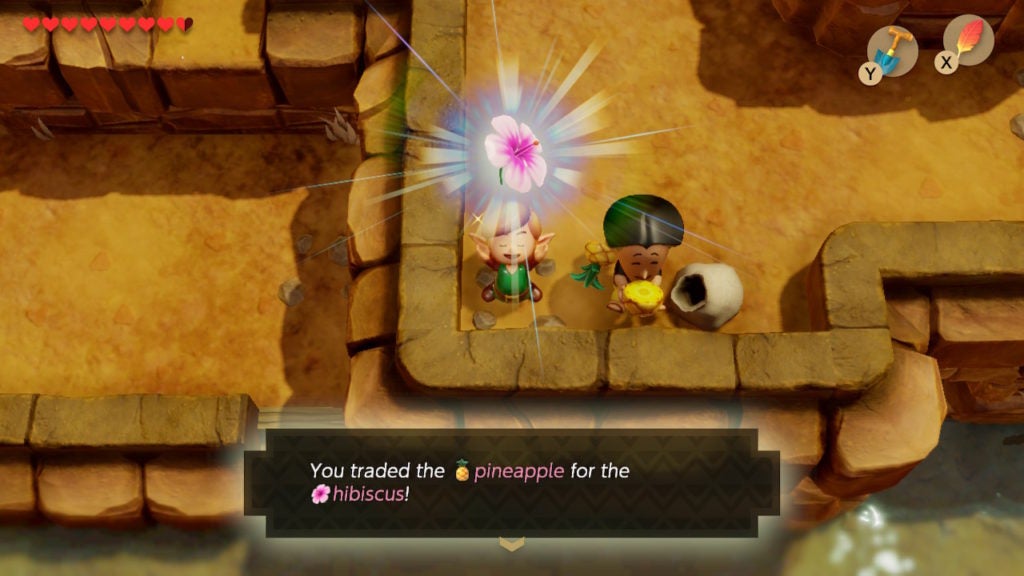
The Hibiscus is needed in Animal Village, though, you shouldn’t worry about going back there until after clearing both the fourth and fifth dungeons. Getting the Hookshot from the fifth dungeon will make completing the trading quest possible, so that’s the best time to make use of the Hibiscus.
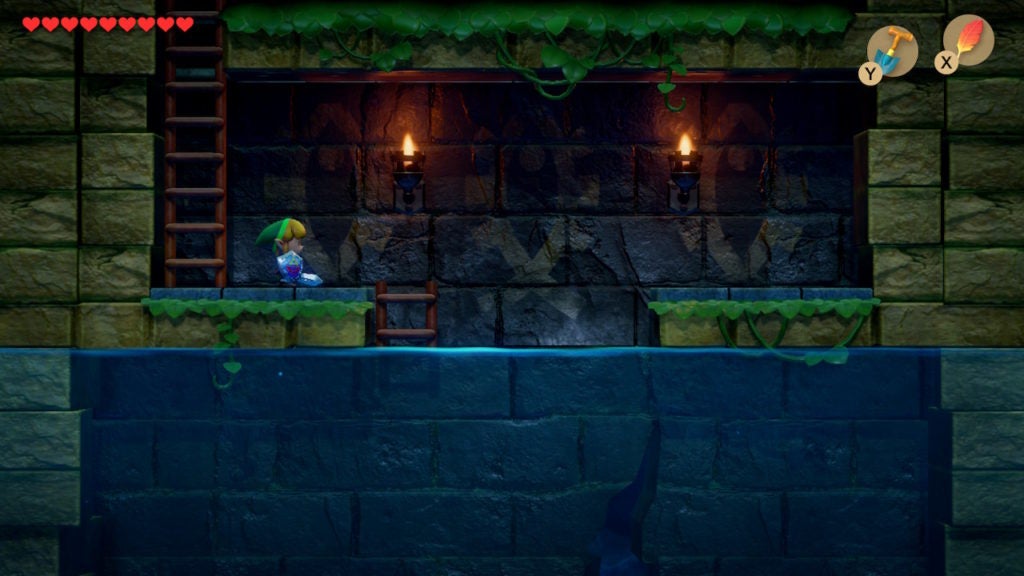
With that, you should get back to making your way to the entrance of Level 4 – Angler’s Tunnel. Backtrack the way you came until you reach the waterfall and shallow pool of water below Papahl’s location. From here, go east until you reach the ledge overlooking the entrance to Level 4 – Angler’s Tunnel.
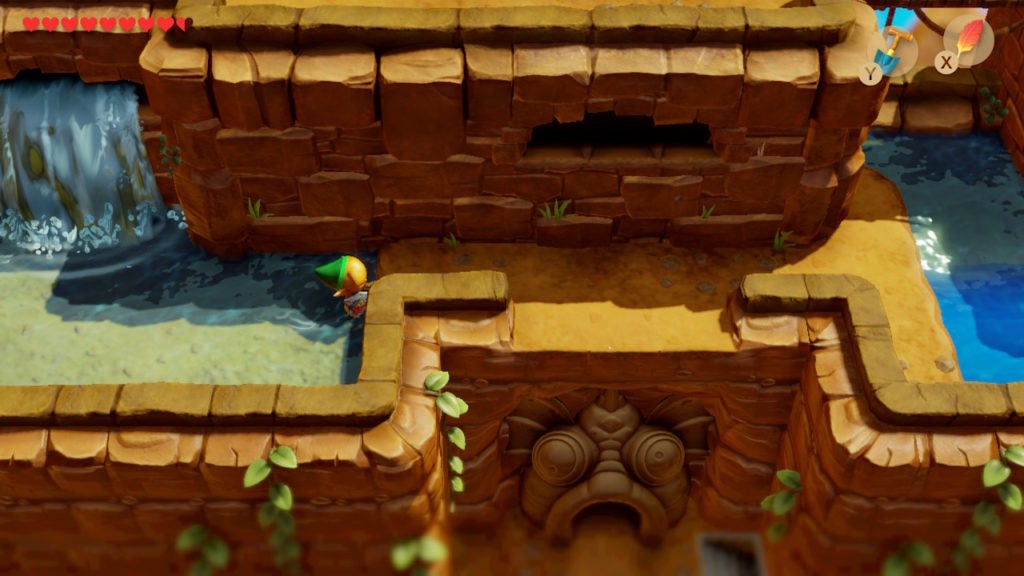
Jump off of the ledge to land in front of the entrance’s fish-like features. There is a staircase to the east that will lead you back to Tal Tal Heights, however, you don’t need to go back there now. When you’re ready, proceed into Level 4 – Angler’s Tunnel.
Find the Compass, Stone Beak, and Dungeon Map
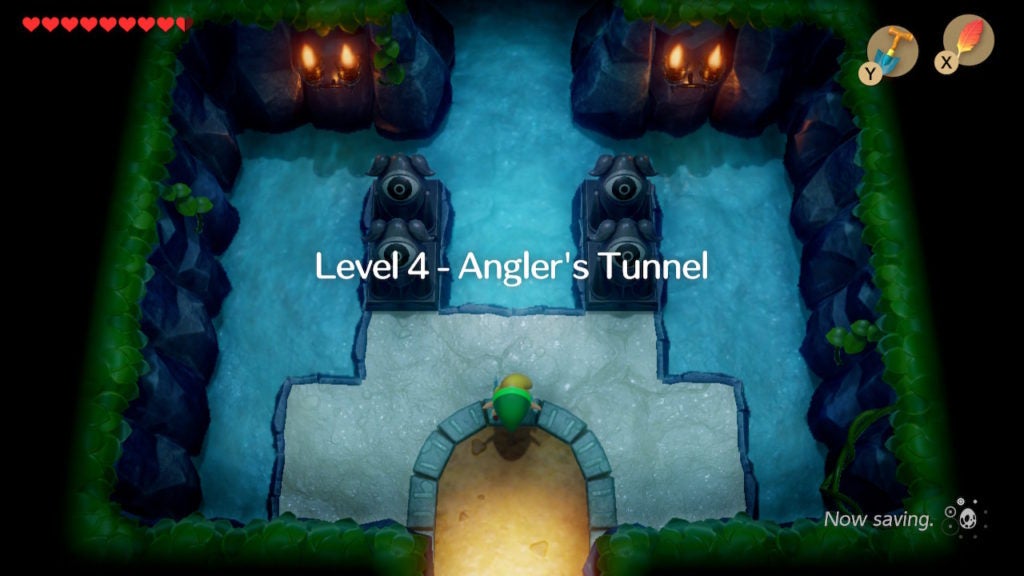
Unlike many other dungeons, you can find all 3 of the navigational items for Level 4 – Angler’s Tunnel very early. The closest of them is the Compass. From the entrance, you can only go north.
Get the Compass
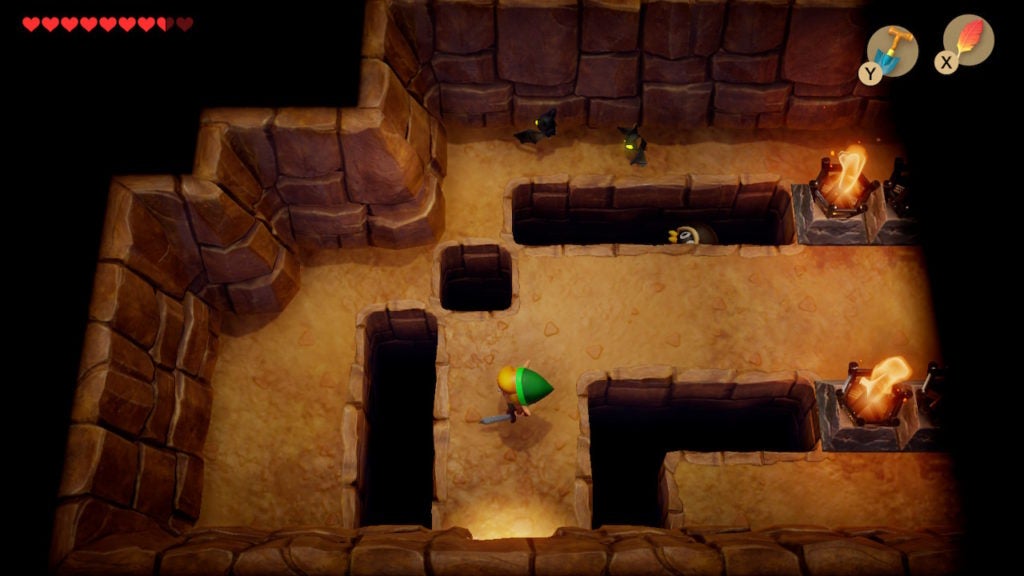
When you do, you’ll find a room with 3 relatively weak enemies.
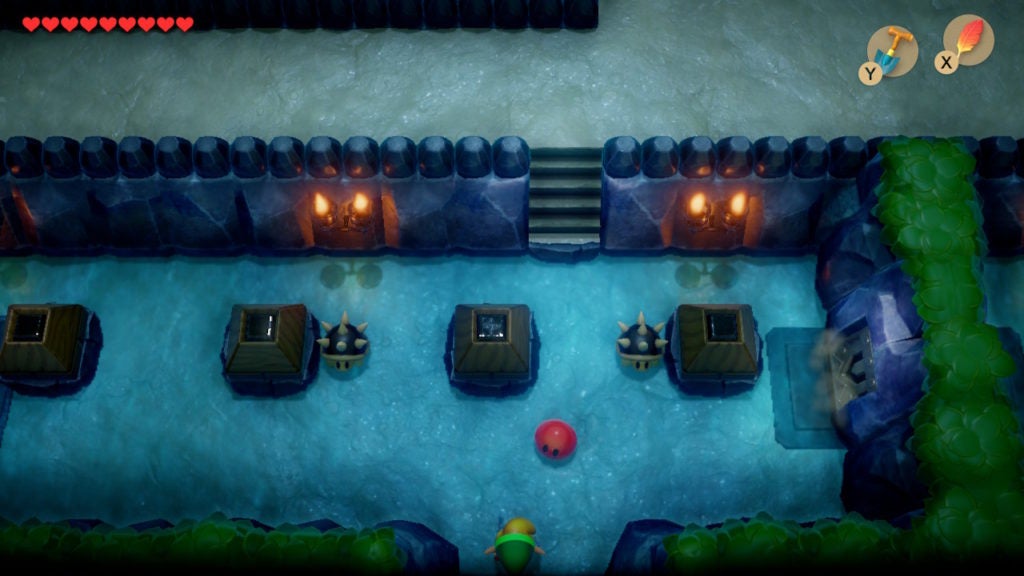
There is 1 Red Gel, which you can dispatch quickly with your Sword. The 2 Spiked Beetles in the room need to be flipped first by bumping them with your Shield. When all foes are defeated, the door to the east will open. Proceed through it to find a chest surrounded by more of the same enemies you just slew.
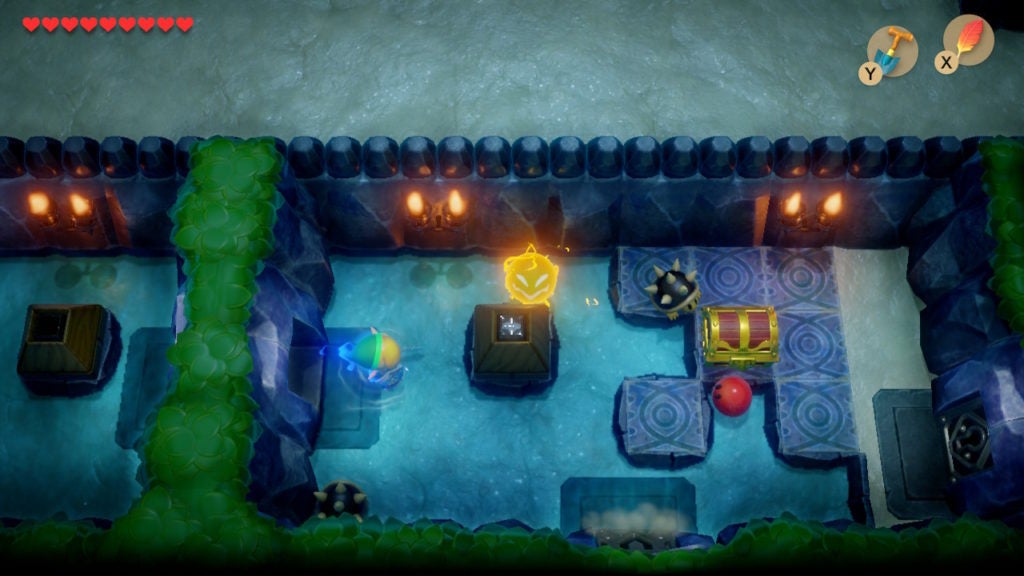
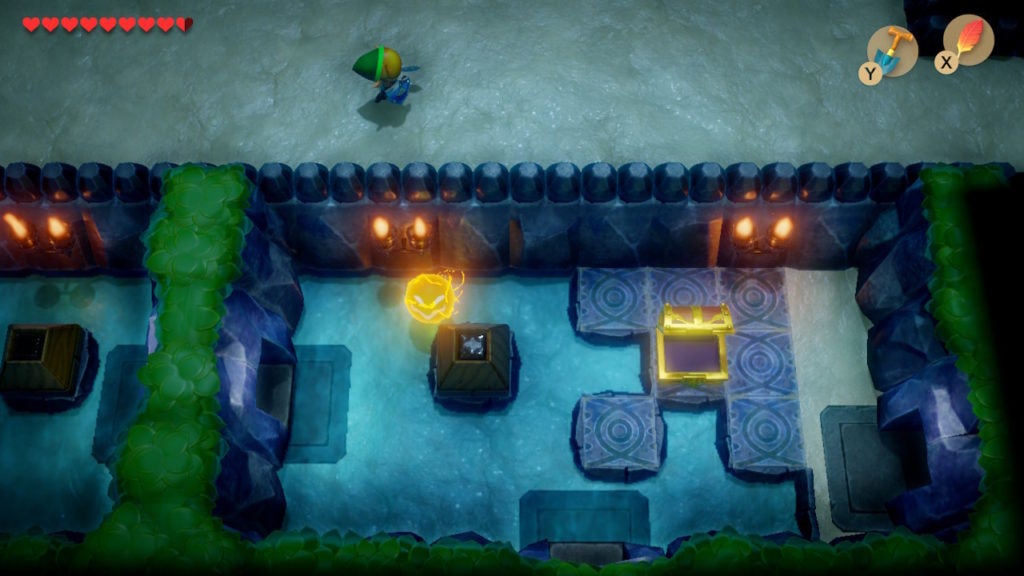
For a less tedious time in this room, defeat all the foes (except for the Spark, which you can easily avoid). Then, open the chest to find the Compass.
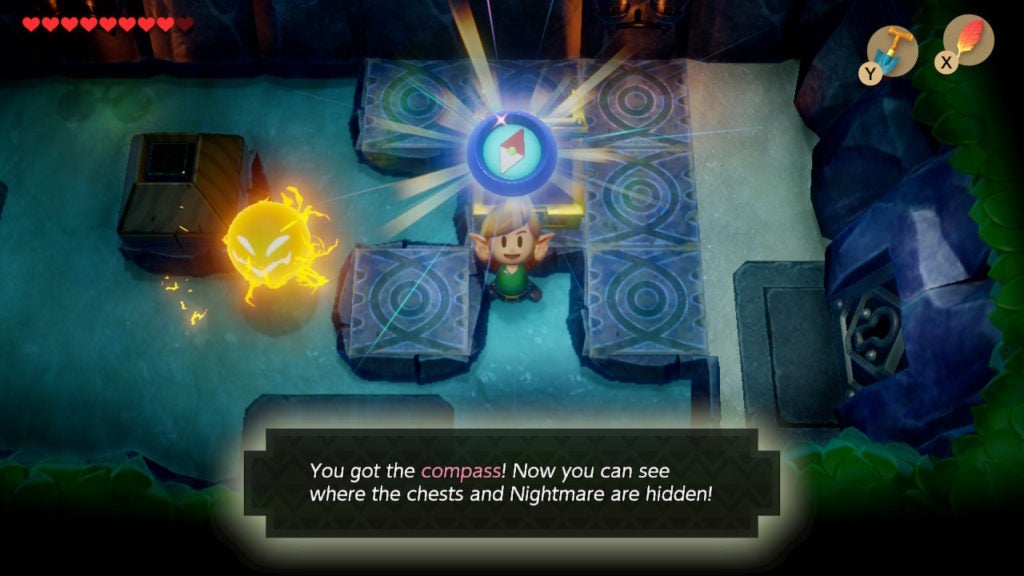
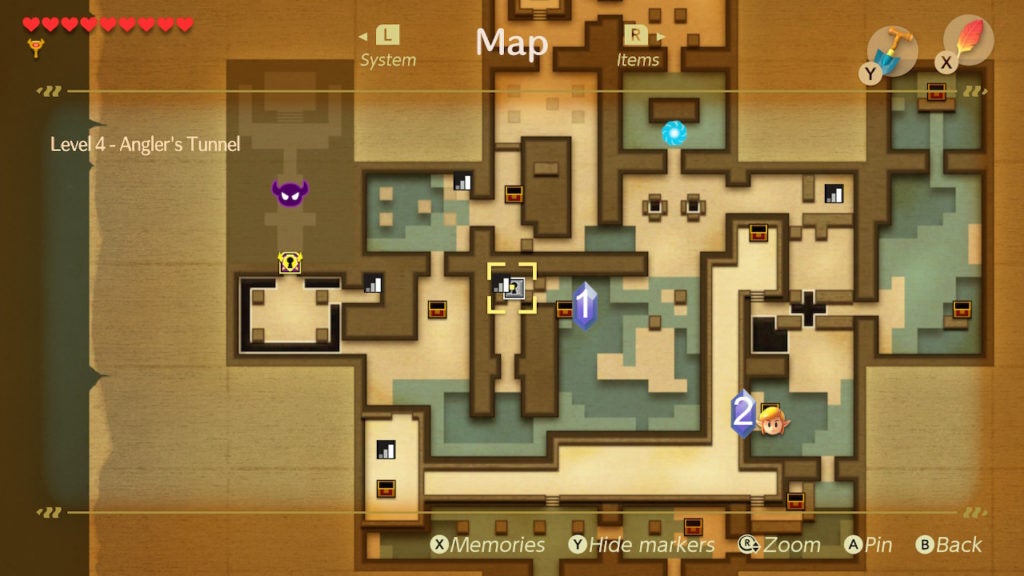
Afterward, it would be a good idea to open your Map to take a look at where the remaining chests and boss room are located.
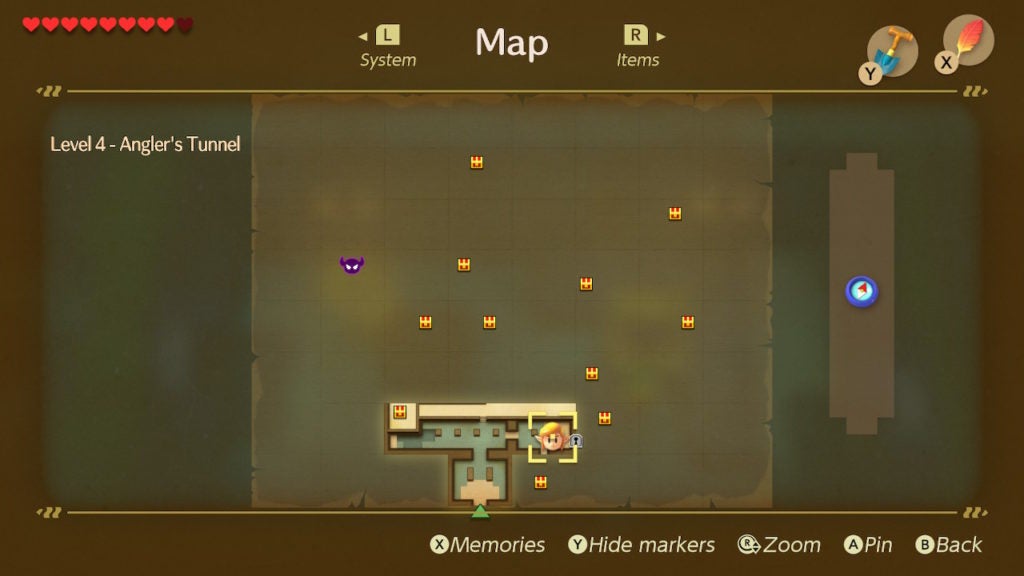
The Stone Beak and the Dungeon Map are located to the east and north respectively. You don’t even need to unlock any doors to get to them.
Get the Stone Beak
You’ll want to grab the Stone Beak next, as you can do so on your way to obtaining the Dungeon Map. Backtrack to the room just north of the main entrance and ascend the short set of stairs there. Go east and this will eventually lead you to the room north of the one that held the Compass.
Following that, go east until you reach the end of the long hallway. When you do, you’ll find a way southeast into a room with another important chest.

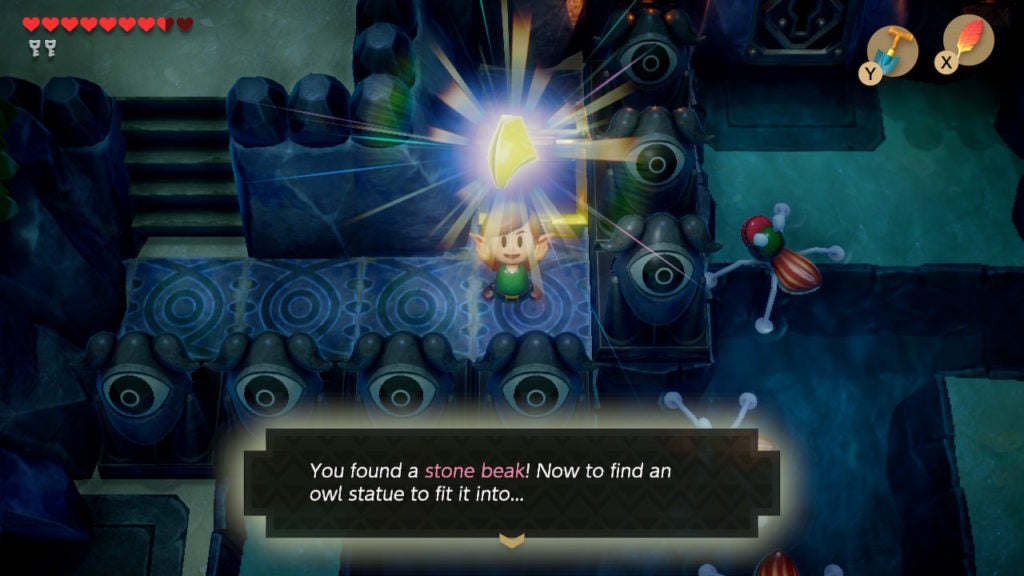
Head down the stairs and open the chest to find the Stone Beak. This item will let you interact with any Owl Statue you find in this dungeon. You can now get useful hints from the stony avians.
Get the Dungeon Map
From the room with the Stone Beak, proceed directly north. Along the way, you’ll be able to scout out a bit of the central area of the dungeon.
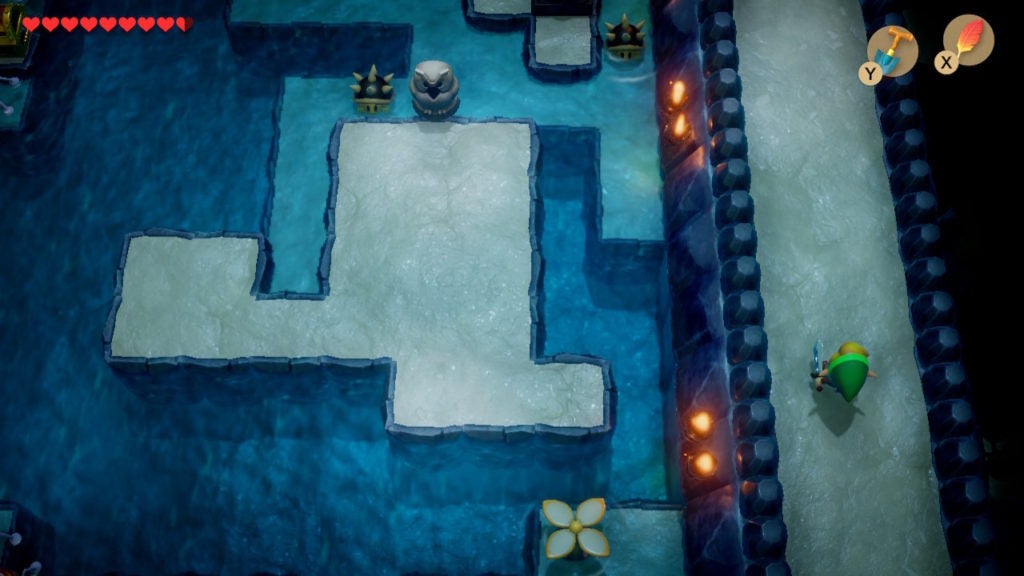
Soon, you’ll reach the end of the walkway and will have to go east. This will lead you to another chest. Open it to get the Dungeon Map.
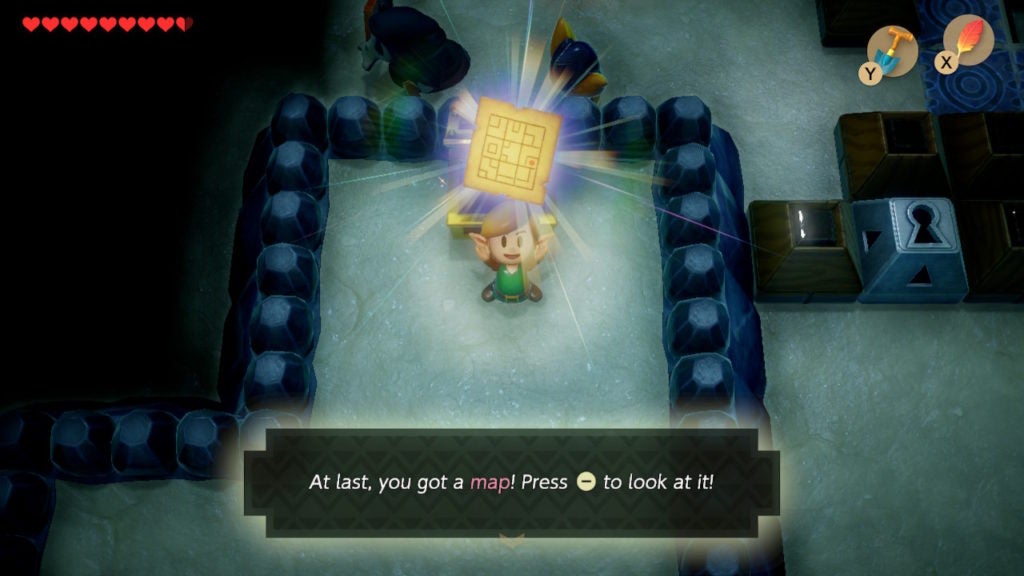
After acquiring the Dungeon Map, take a look at it in your Map menu to better understand the layout of Level 4 – Angler’s Tunnel.
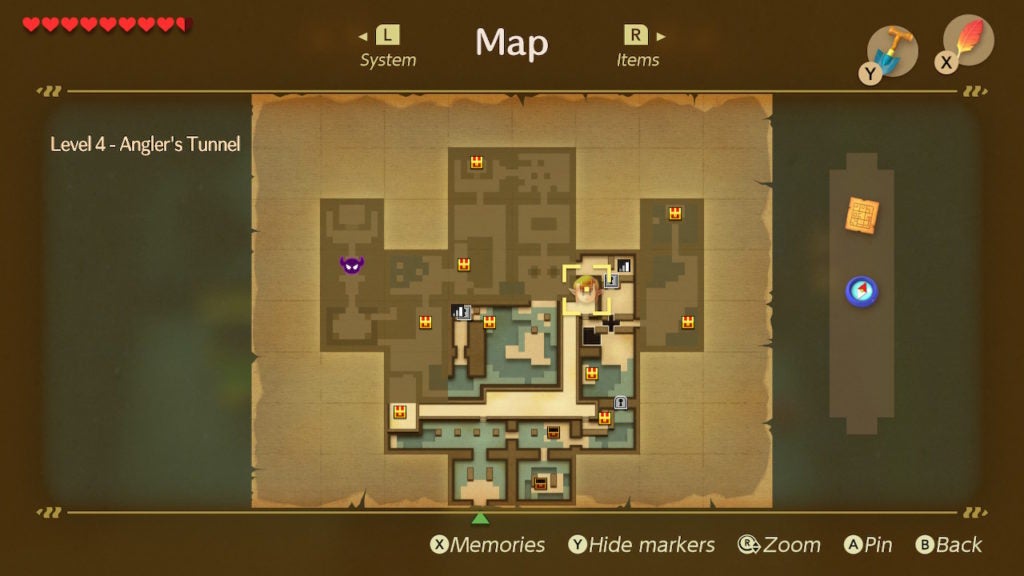
Getting into the Second Half of the Dungeon With 3 Small Keys
You’ll possibly notice a staircase to the northeast of the chest with the Dungeon Map. This general area is your next destination, as it leads into the latter half of Level 4 – Angler’s Tunnel. To reach it, you’ll need 3 Small Keys. From the room with the Dungeon Map chest, you have easy access to 2 Small Keys that lie to the east. As such, you should grab those before going elsewhere.
Just south of the chest that held the Dungeon Map will be stairs that lead to a cross-shaped gap in the floor. Dash to the east with the Pegasus Boots and leap over the 3-tile-wide span of the void to reach the other side. From there, proceed east to enter a large, vertically-oriented room.
Find the First Small Key in the Big Eastern Room
Here, you’ll see a chest obstructed by 2 blocks. The block directly in front of the chest looks like a regular one, however, the block west of it is cracked.
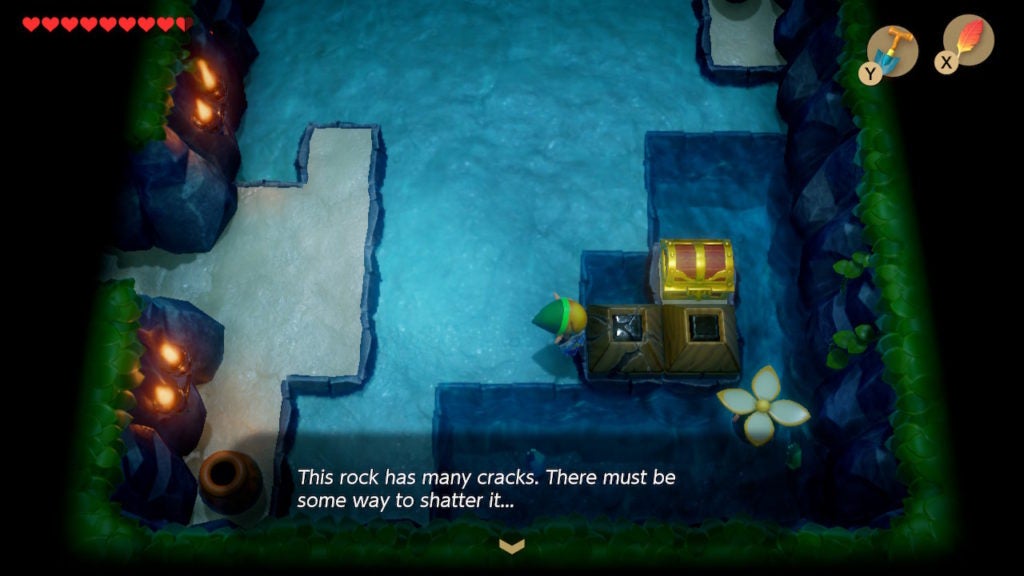
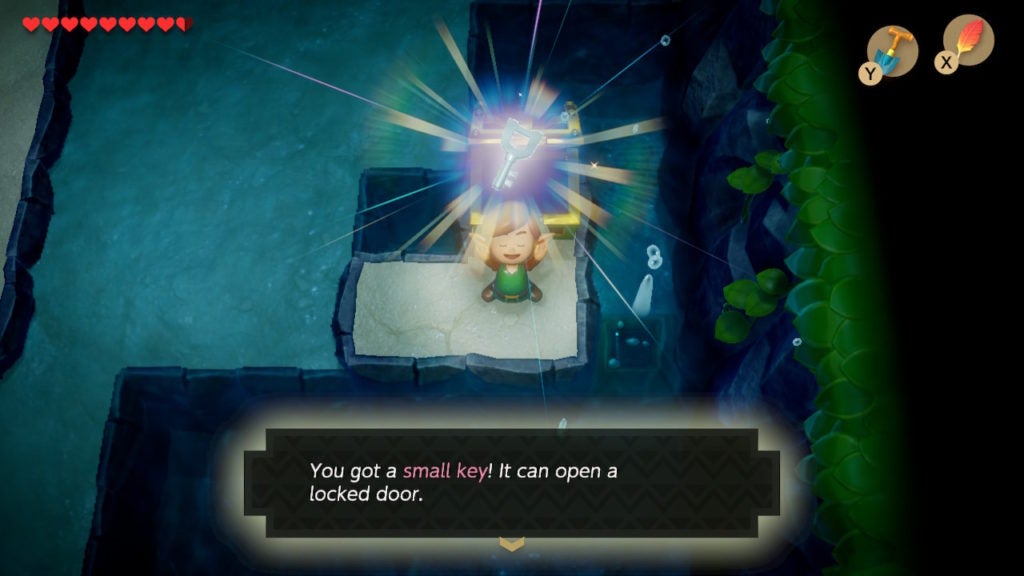
Like with anything cracked in Link’s Awakening, this is a hint for you to blow it up with a Bomb. When you do, you’ll have access to the other block, which you can then push east and into the water. This will clear the way to the chest.
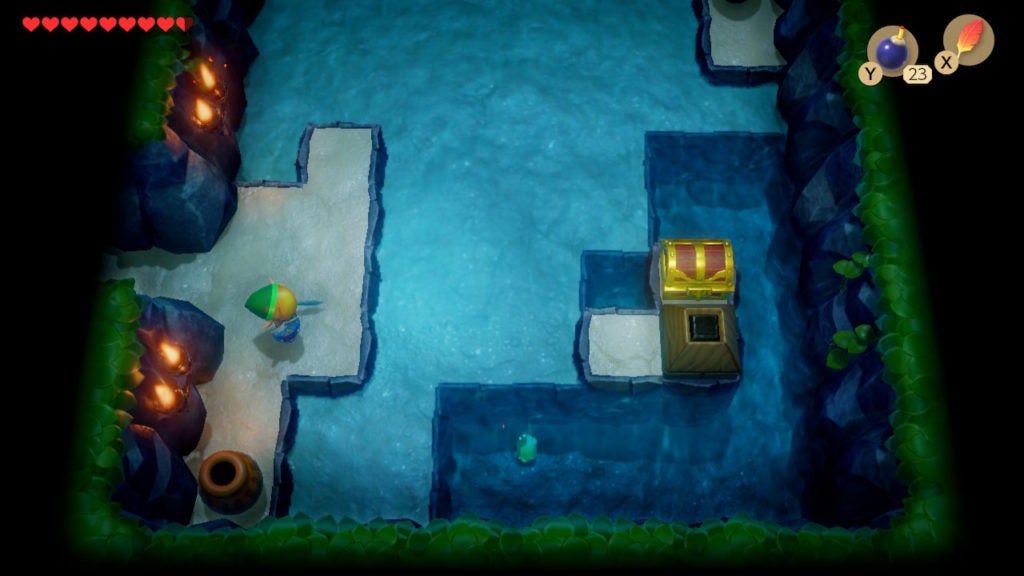
Within the chest will be the first Small Key that you can acquire in this large room.
After grabbing this Small Key, go north in this same room to get another like it.
Find the Second Small Key in the Big Eastern Room
Travel north to find an area crowded with enemies. You can take out the spider-like Water Tektites by using your Sword, however, the other enemies in this room are a bit trickier to deal with.
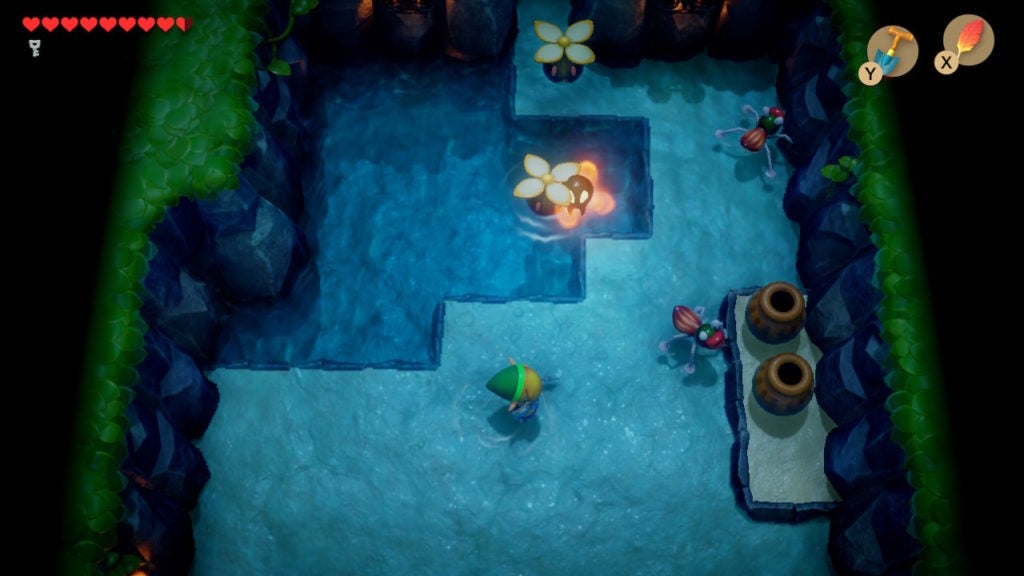
The latter are better off being avoided as you make your way through the slim corridor leading to the northernmost part of the big eastern room. There, you’ll find another chest obstructed by cracked blocks.
The enemies here will consist of 1 Water Tektite and 2 Bubbles. You don’t need to defeat the foes here, but doing so might prevent you from taking damage. So, you may want to slash the Water Tektite asunder and dispel the Bubbles with Magic Powder before worrying about the chest.
Either way, you’ll need to clear the path to the chest by blowing up at least the central cracked block with a Bomb. This will let you loot the Small Key from within it.
While you’re here, if you’re low on health, jump to the west side of the room to collect the 3 floating Hearts before backtracking.
Find the Third Small Key in the Room South of the Compass Room
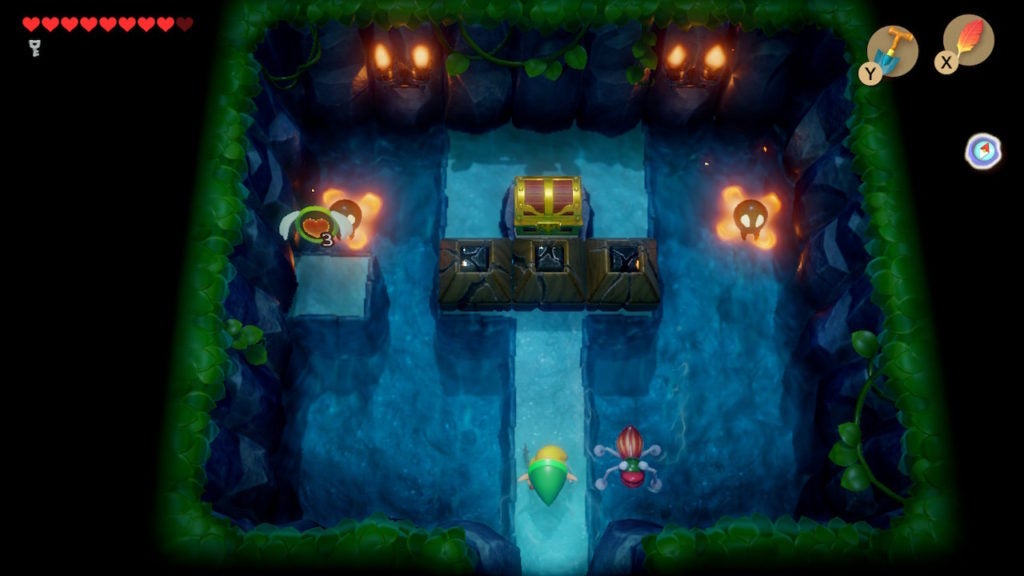
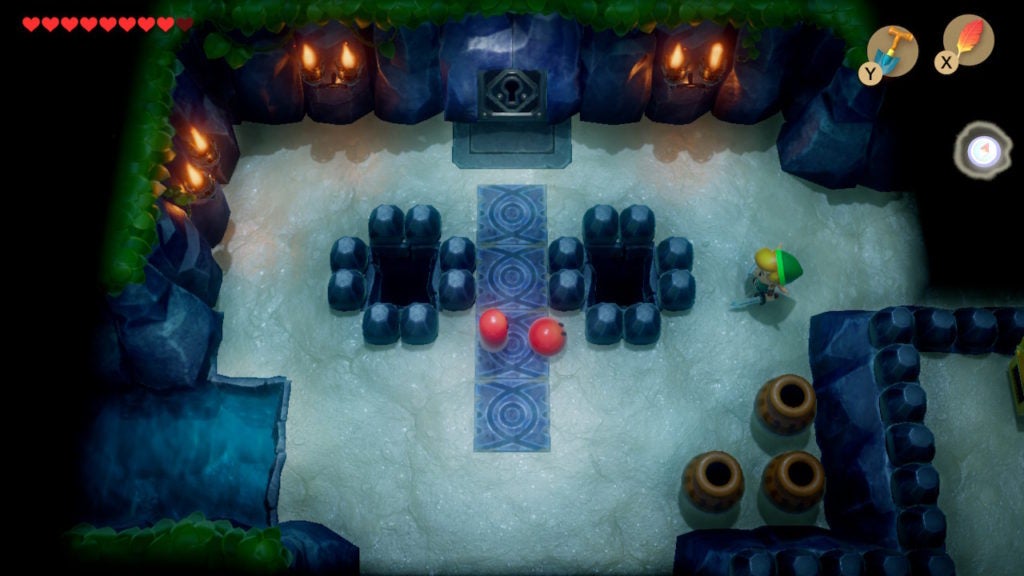
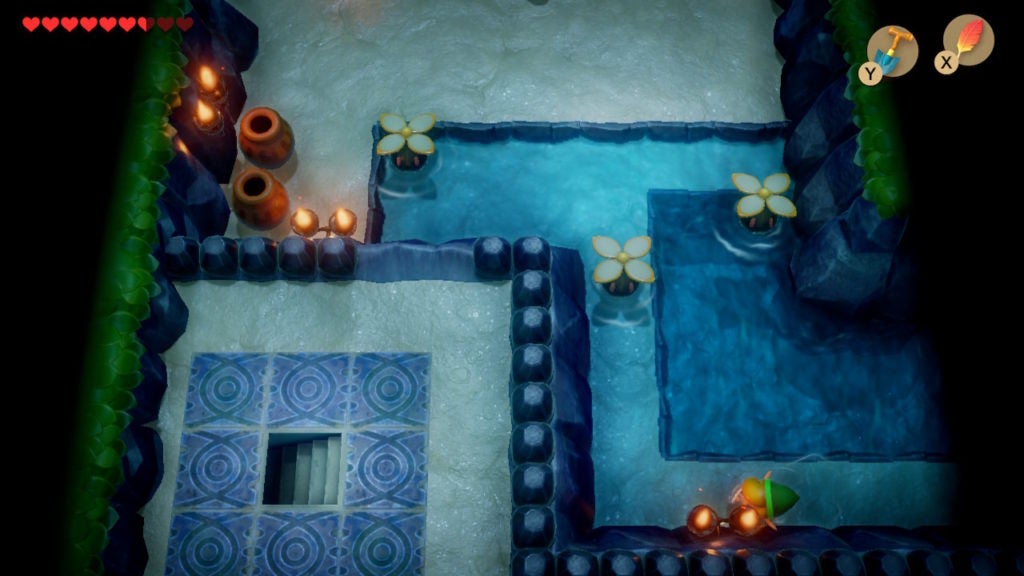
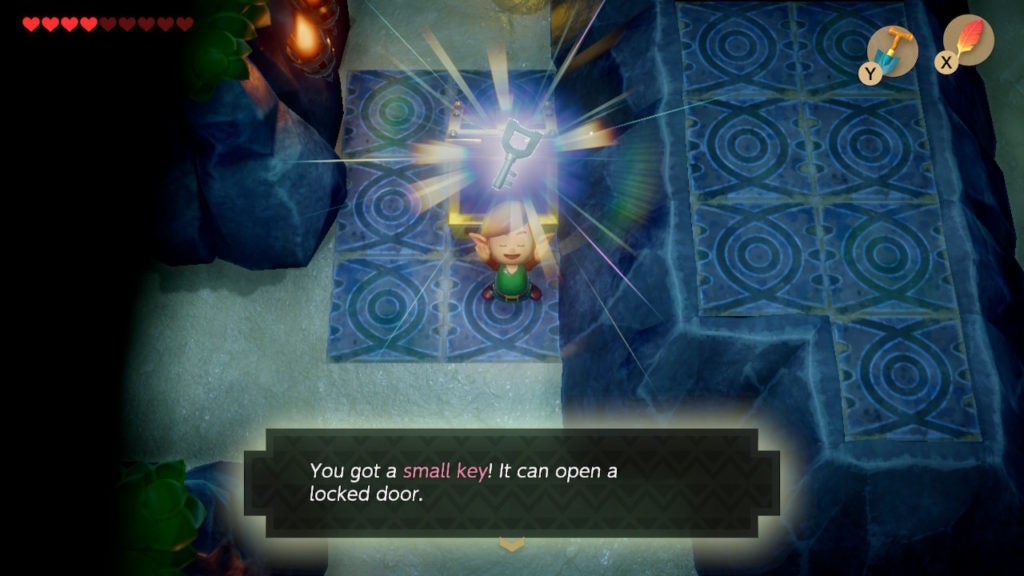
After getting the second Small Key from this area of the dungeon, you’ll want to head all the way back to the room with the chest that held the Compass. In the room south of there, you’ll find a chest surrounded by purple crystals.
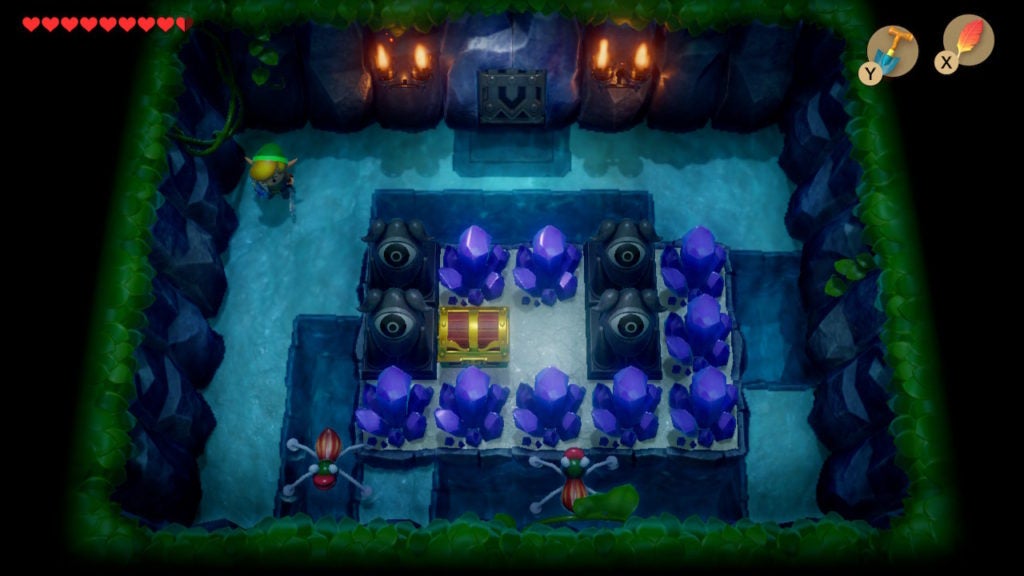
The door will also lock behind you, so you’ll have to slay the 2 Water Tektites in this room to get out. It’s a good idea to take them out first before getting the chest so that these minor foes won’t get in the way.
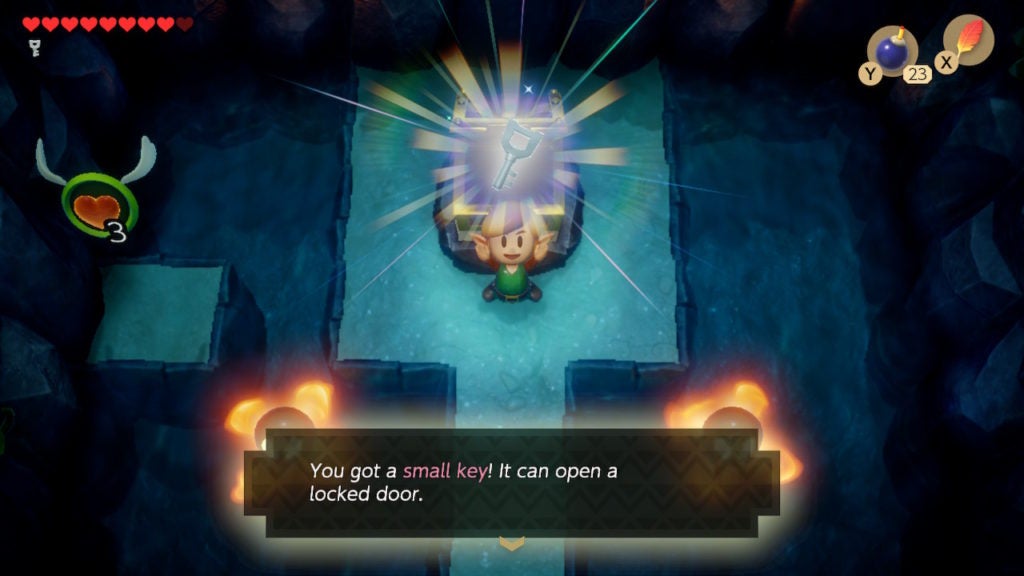
Start from the west side of the room and go to the southwest corner. Then, leap to the patch of shallow water to the south of the most southwestern purple crystal. From there, shatter the crystals in your way to get to the chest.
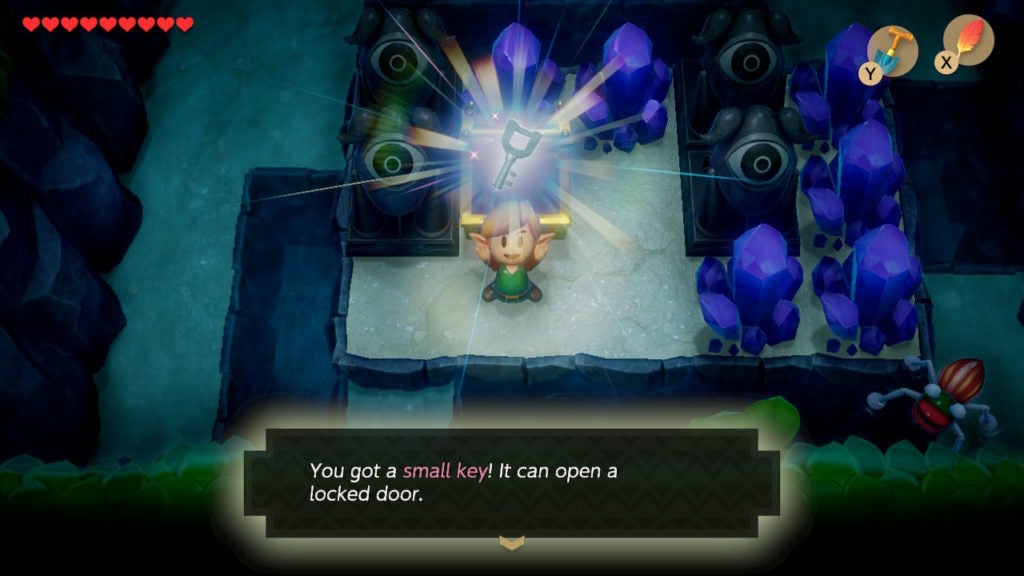
Within it will be the third and last Small Key you need to reach the staircase in the northeast part of the dungeon.
Get to the Northeastern Staircase
With this trio in hand, head back north into the Compass-chest room and unlock the door on its east wall with 1 Small Key. This will lead you into a room with 3 Water Tektites and the chest that held the Stone Beak.
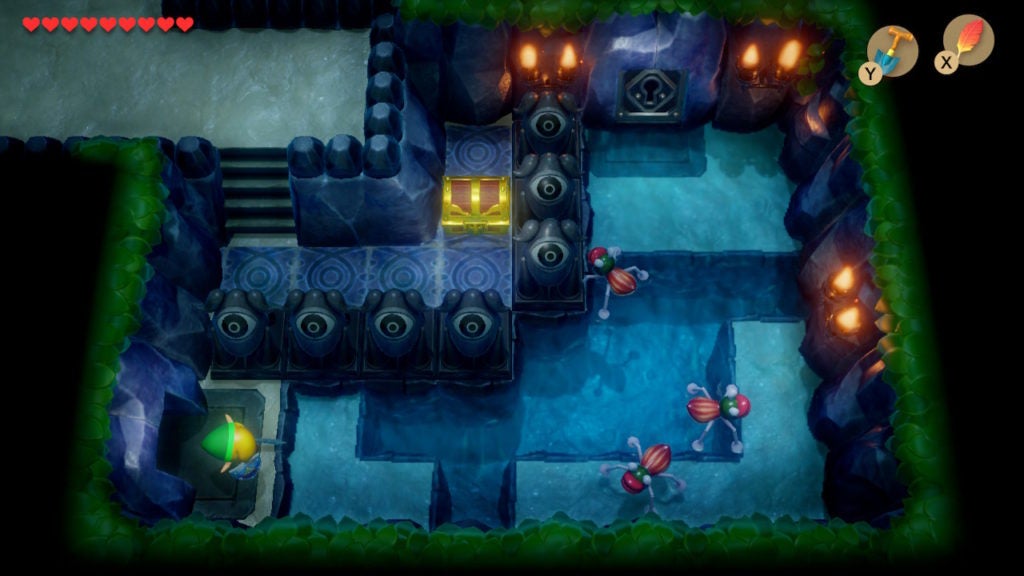
Stick to the walls of this room as you progress. You’ll need to jump across a couple of gaps of deepwater while dispatching or avoiding the Water Tektites. Keep making your way to the northeast area. When you reach it, unlock the door with another Small Key and head north. This will result in you entering a room with a nearly-unreachable chest.
It may be tempting to try and long jump across the water gap, however, it would be better to grab the contents of this chest later. The only thing within is a cluster of 50 Rupees, so it can wait until you get the Flippers, especially since the gap is very difficult to cross without swimming. K
eep going north until you reach a gap that you can more easily cross.
Jump across the cross-shaped gap to reach an area with 1 Red Gel and a locked block. Use the last of your Small Keys to open the locked block. However, when you push the block north of it further north to get into the area beyond, you’ll notice that you have closed access to the staircase.
Locate the Mini-Boss
The staircase isn’t needed just yet, but its importance will come into play soon. For now, go west into the next room.
Here, you’ll find 2 Red Gels and a locked door to the north. After you slay the Red Gels, a Small Key will drop from the ceiling. However, it will immediately fall through the westmost hole in the room. You can get it by going down the staircase to the east, though not quite yet.
How to Get the Small Key That Fell Through the Hole
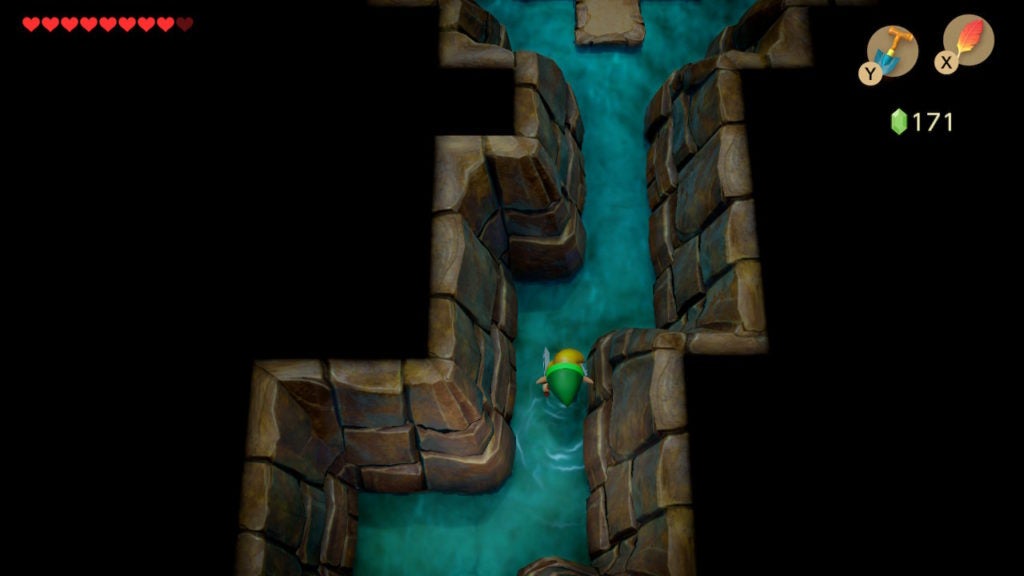
When you descend the staircase in the northeastern corner of the dungeon, you’ll find yourself in a side-view underground tunnel.
Go west by jumping across the moving platform. In the western half of this little cave, you’ll see the Small Key that fell through the hole earlier.
However, you can’t get it quite yet. You’ll need the Flippers to swim down and retrieve the Small Key.
How to Get a Small Key to Enter the Mini-Boss Room
For now, head back to the room that had the 2 Red Gels. From there, go south into a big open room with lots of water and an Owl Statue.
After getting a cryptic hint, go south and then proceed west along the walls of the room. This will lead you to an area with 3 Peahat enemies.
From there, keep going north and deeper into the large room. There, you’ll find 1 Sword Stalfos, 1 Shrouded Stalfos, and 1 Red Gel guarding a chest. Take out these enemies to get rid of any threats. Though, be wary of this chest, as it’s a trap! Within is a Green Gel and no treasure. After dealing with this ambush, keep going north and into the next room.
Here, you’ll find a room with a puzzle that you won’t be able to solve yet. To progress, go east. When you do, you’ll be in a room with a chest, 1 Spark, and 2 eye statues.
The eye statues will shoot energy attacks at you, so you’ll want to loot this chest quickly and then get out of this room. Within it will be a Small Key.
With the goods in hand, go back west. You’ll need to backtrack and return to the room where the other Small Key fell down the hole.
Within the north wall of this room, you’ll find a locked door. This will lead you into a mini-boss fight, so make sure to heal yourself if you need to. You can even explore around the dungeon to smash pots and slay enemies for Heart drops. When you’re ready for a fast-paced fight, go north through the door.
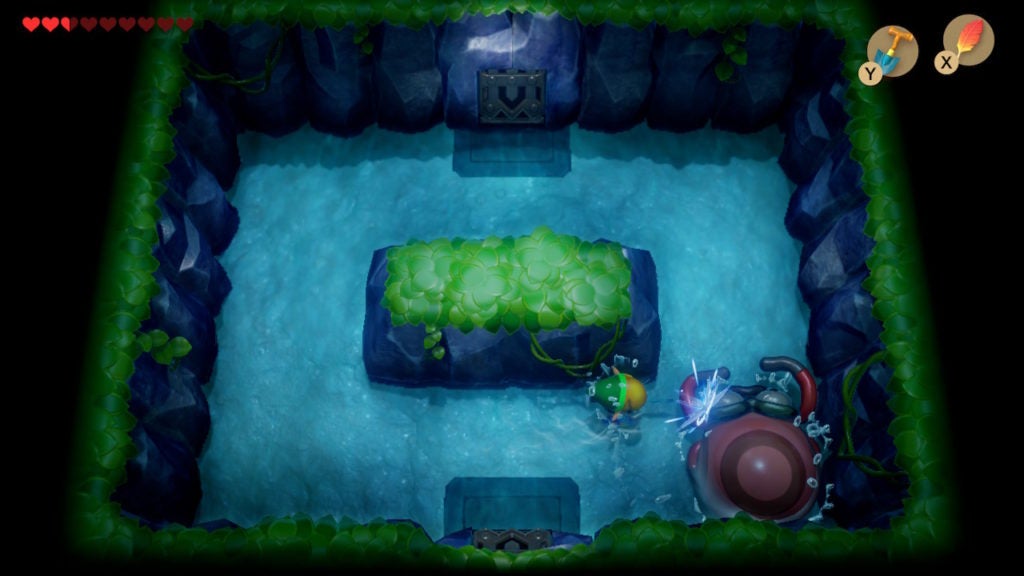
How to Beat the Hydrosoar
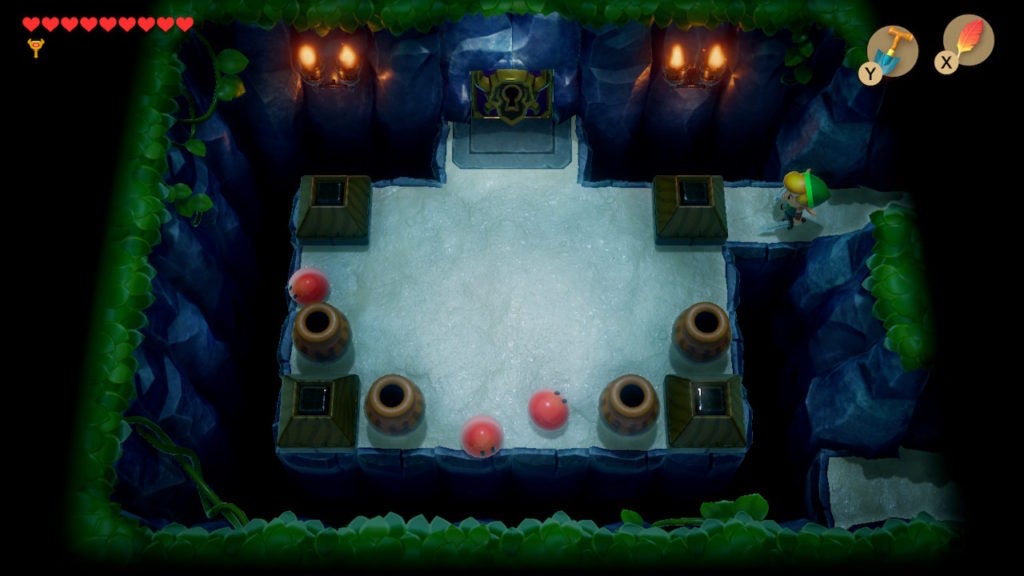
When you unlock and enter the door to the north, you’ll encounter a fast and large adversary: Hydrosoar. This stout cephalopod will charge at you down the 4 linear hallways that make up the mini-boss room.
While you can block the foes charging attack, you cannot hurt them from the front. You’ll have to get behind them and attack their soft rear to hurt Hydrosoar. The only viable way to outmaneuver this squid is with frequent and precise use of the Pegasus Boots. As Hydrosoar is chasing you around this room, you’ll have you outspeed them and get to their back before they get to yours. For this reason, this will be a pretty tense fight.
When you sprint around the room and are trying to line up an attack on the foe’s back, Hydrosoar will sometimes turn around and start charging the other way, meaning that you will have to turn around and redo the process of catching up to the mini-boss’ back.
Use the Bow and Arrow Set to Beat Hydrosoar Easier
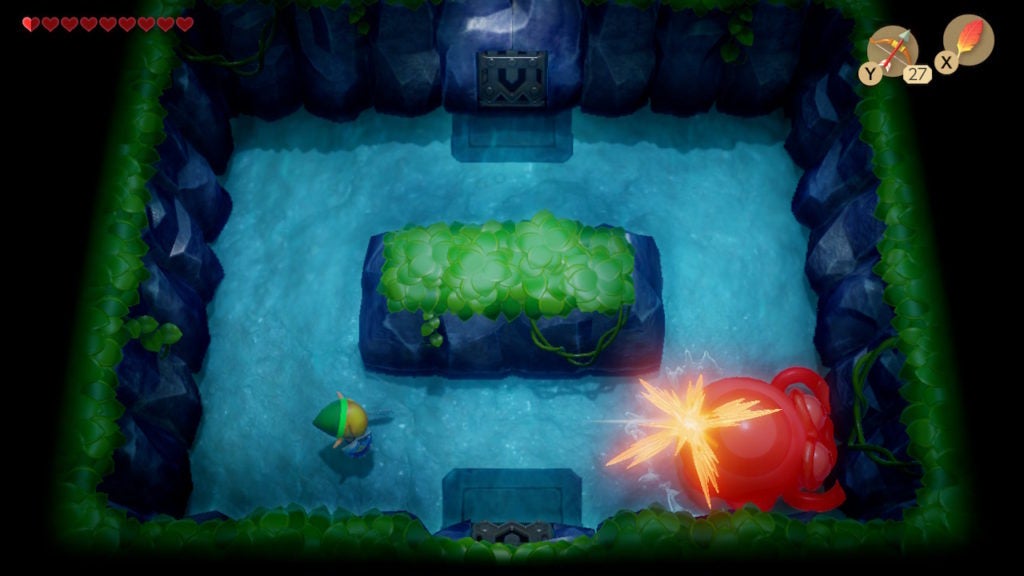
In terms of usable weapons, the Bow and Arrow Set is very handy here. Since fired arrows can move faster than Link, even at top dashing speed, shooting Hydrosoar in the back is a lot easier than running all the way up to them for a melee attack. You’ll still have to position yourself for a shot by dashing into the right place at the right time, however, this is far easier and less dangerous than a melee approach.
After the mini-boss is defeated, a blue warp point will spawn and a Fairy will appear. Be sure to grab the Fairy if you need healing, as they will restore 7 Hearts of health.
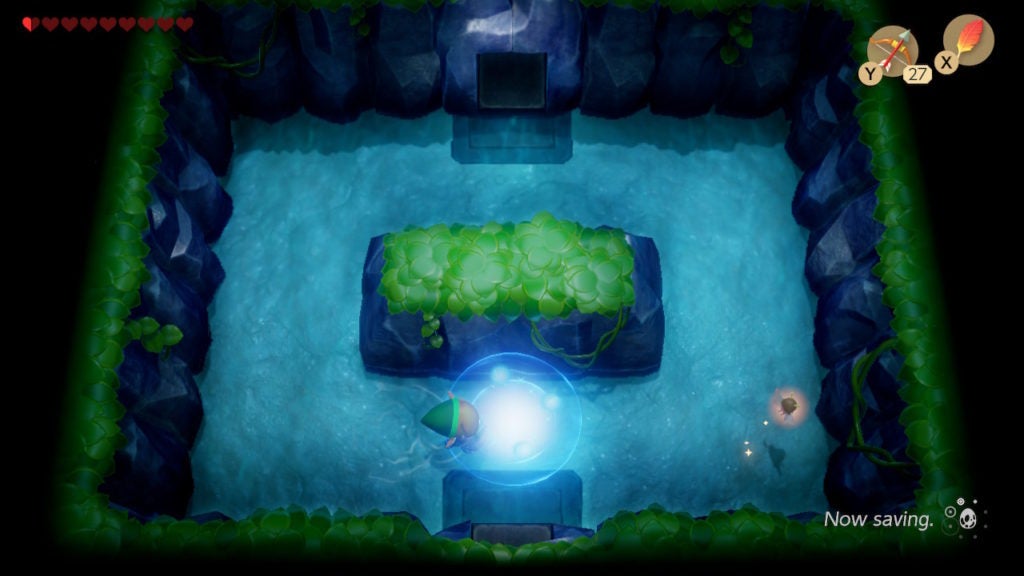
You’ll also notice that the northern door is now unlocked. When you’re ready to proceed, go into the room beyond. Though, if you need to catch your breath after the intense battle, feel free to do so.
Find the Flippers
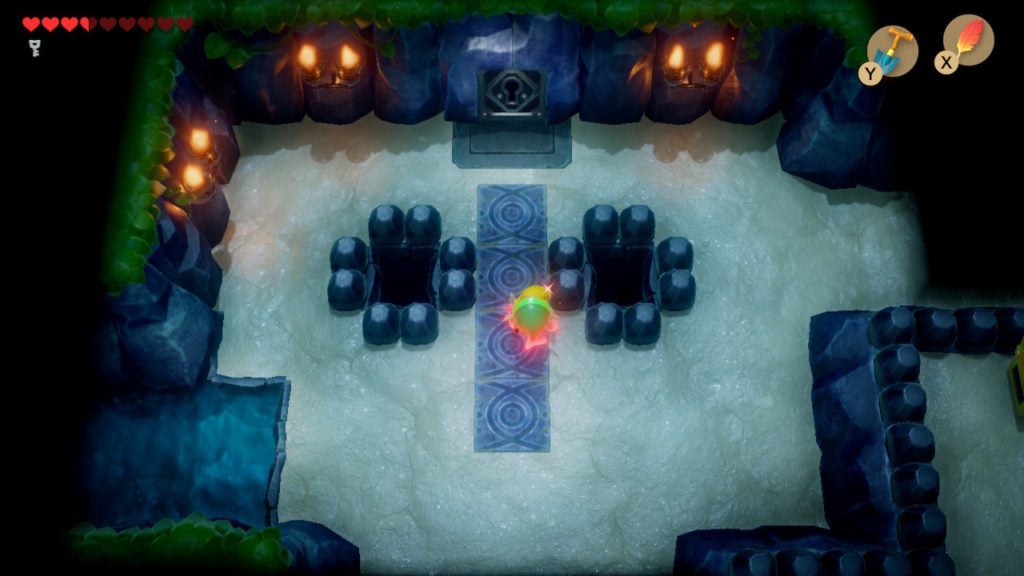
With Hydrosoar out of the way, you can now make your way to the chest that contains the Flippers. The room north of the mini-boss room will have a simple task that you need to perform. It’s not really a puzzle, it’s more of an action.
The western exit of this room will be barred by 2 blocks. However, the mechanism to move them is in the northeast corner. Pull the handle until the blocks to the west are as far apart as possible. When you release the handle, you should be able to walk through the western exit before the blocks can impede your progress once more. Just be wary of the Spark in the room. You don’t need the Roc’s Feather or the Pegasus Boots to make it to the west in time, however, you’re welcome to dash and leap as much as you please.
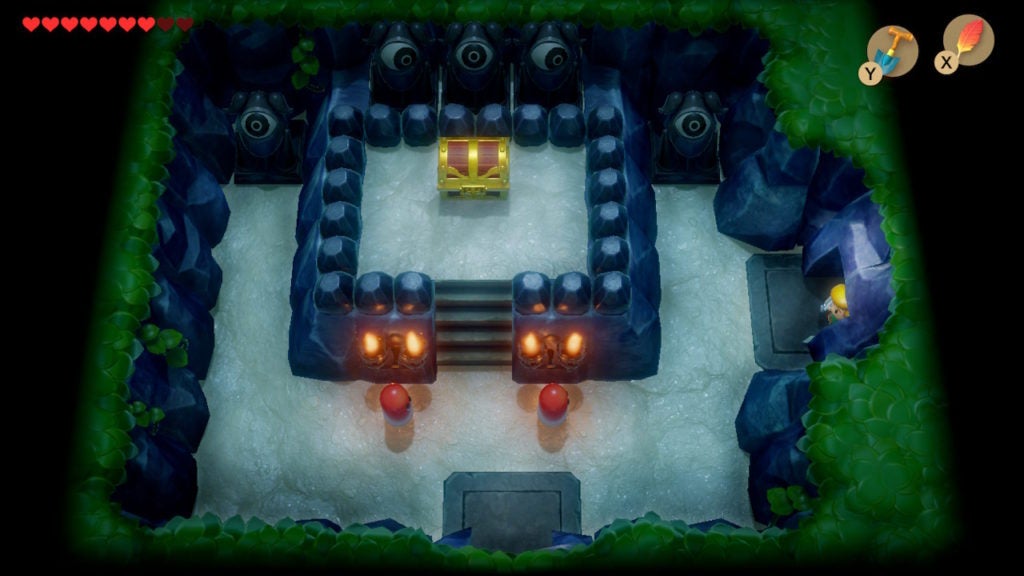
In the room beyond, you’ll find a chest guarded by 2 Red Gels and watched by a few eye statues to the north. After dispatching the minor threats, head to the chest and open it to obtain the Flippers.
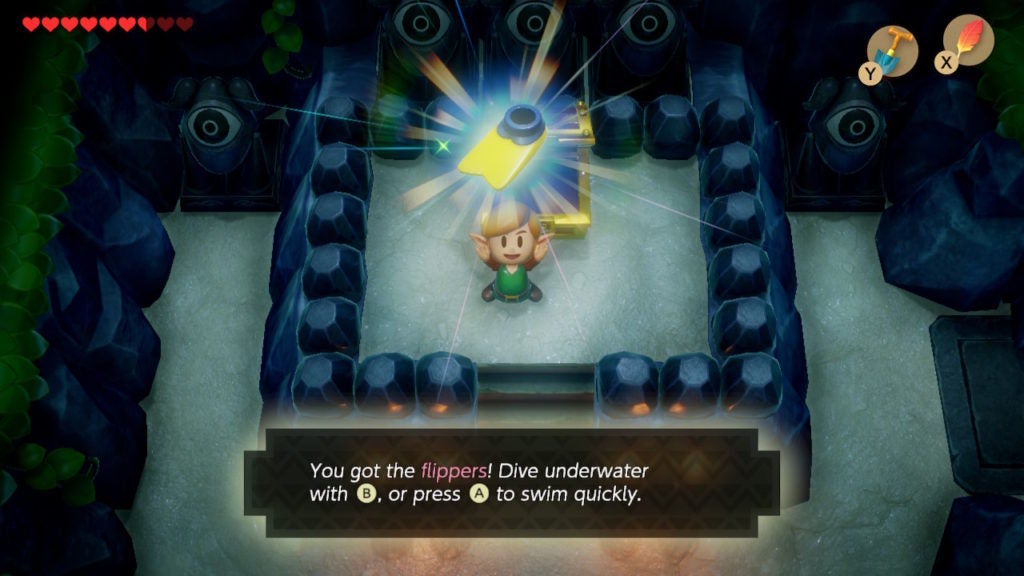
The Flippers are one of the permanently-equipped items. They’ll let you swim through the water and even dive below the surface. You can press the B button to dive and pressing the A button will let you swim faster. Thankfully, they seemingly also give you the ability to breathe underwater, as Link can stay below the waves indefinitely with no repercussions.
Find the Nightmare Key
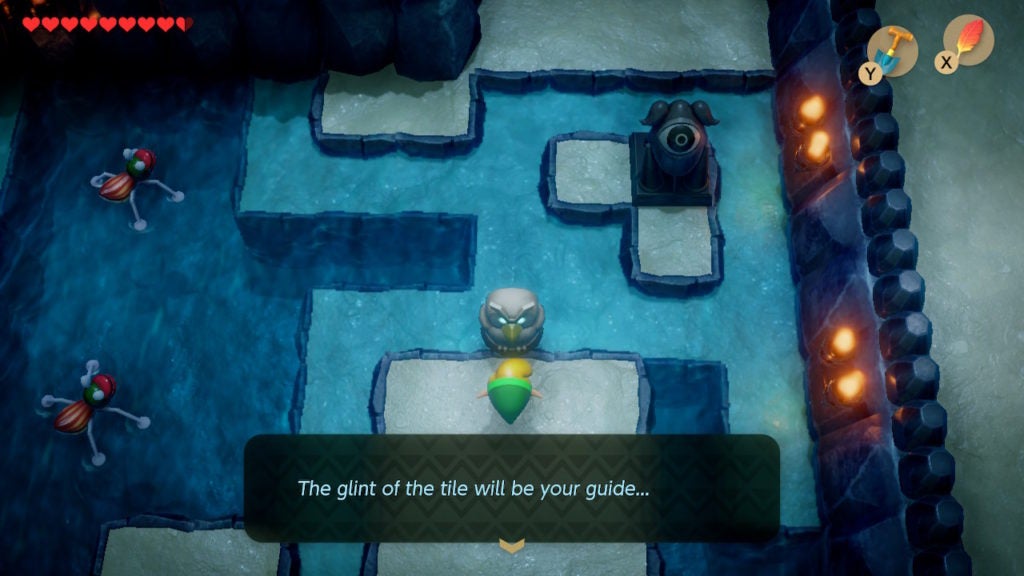
Now that you can swim, you can get the Nightmare Key. First, however, you’ll need to learn a little pattern for a puzzle that you’ll soon find. Head south out of the room with the chest that held the Flippers.
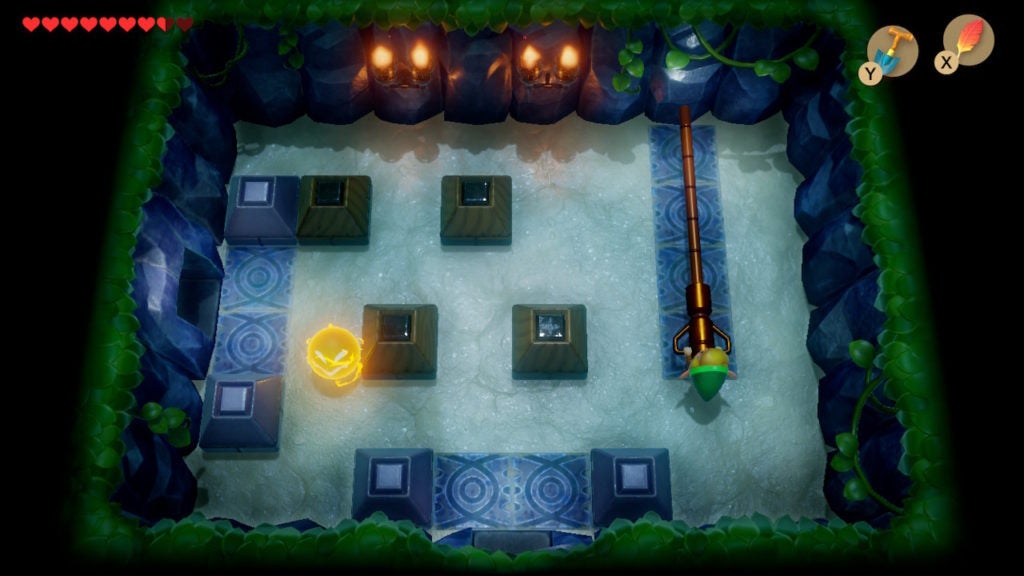
Learn the Puzzle Sequence
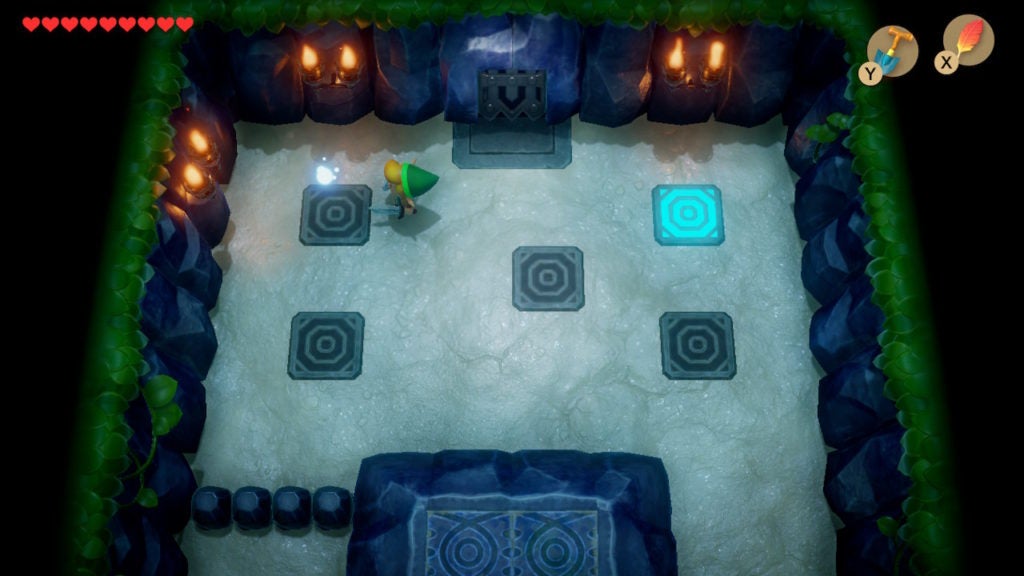
Here, you’ll see an arrangement of 5 tiles that can be stepped on and lit up. This is similar to a room to the southwest that you had to traverse to get the Small Key to enter the mini-boss room. However, there will be a glint of light in this room that will guide you to each tile. The sequence that the luminous wisp shows you is the pattern you’ll need to remember.
Go to the Southwest to Solve the Puzzle
After you learn the secret sequence from the glint of light, go south to find an empty chest that you already looted.
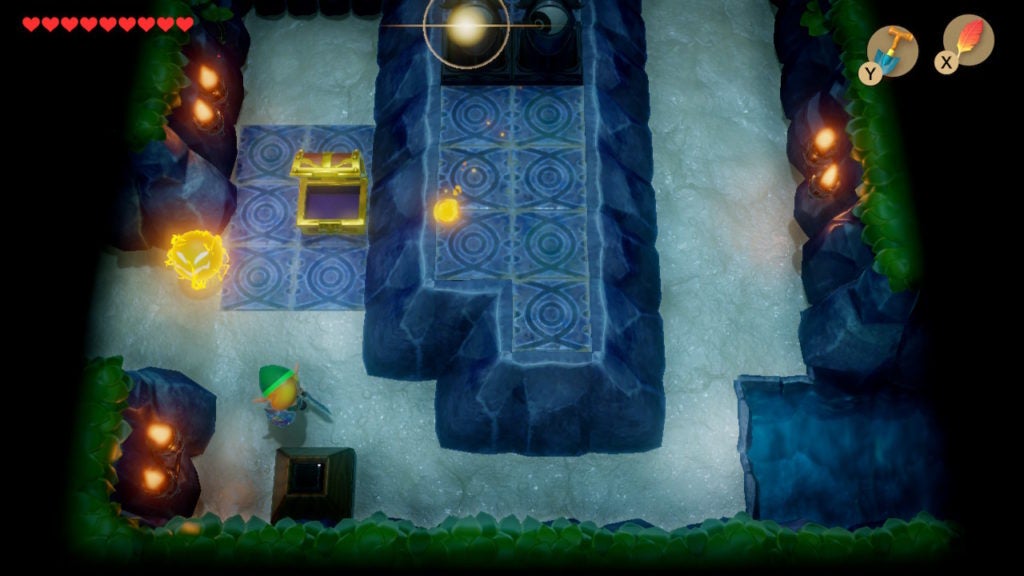
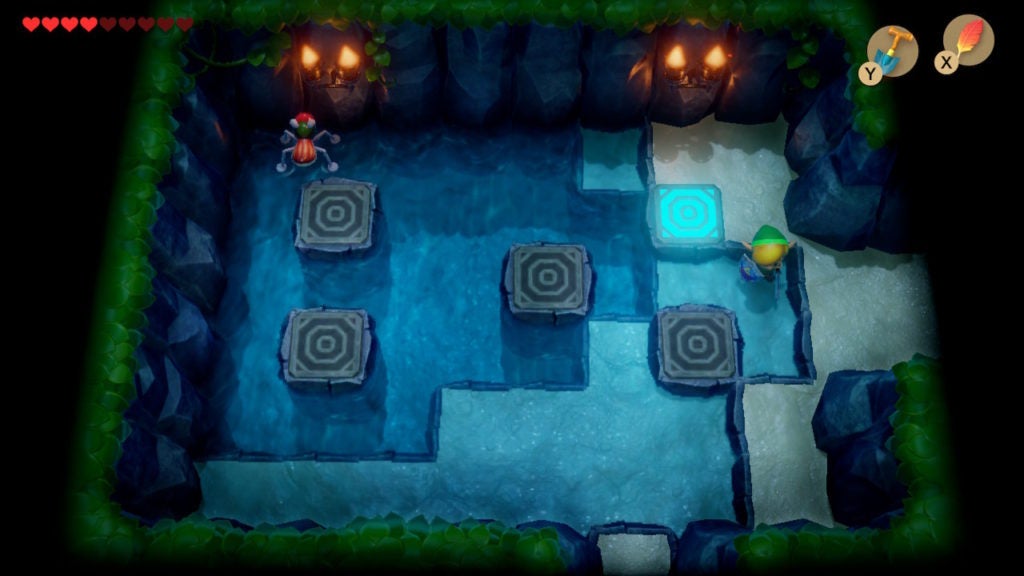
Beware the eye statues and the Spark as you proceed. Soon, you’ll be in the room with the puzzle that needs solving if you head out the southwestern exit.
Step on the tiles in the order you were just shown to solve the puzzle. Afterward, a hidden staircase will appear in the northeastern corner of the room. When you descend it, you’ll be in another side-view underground tunnel.
Travel Through the Tunnel
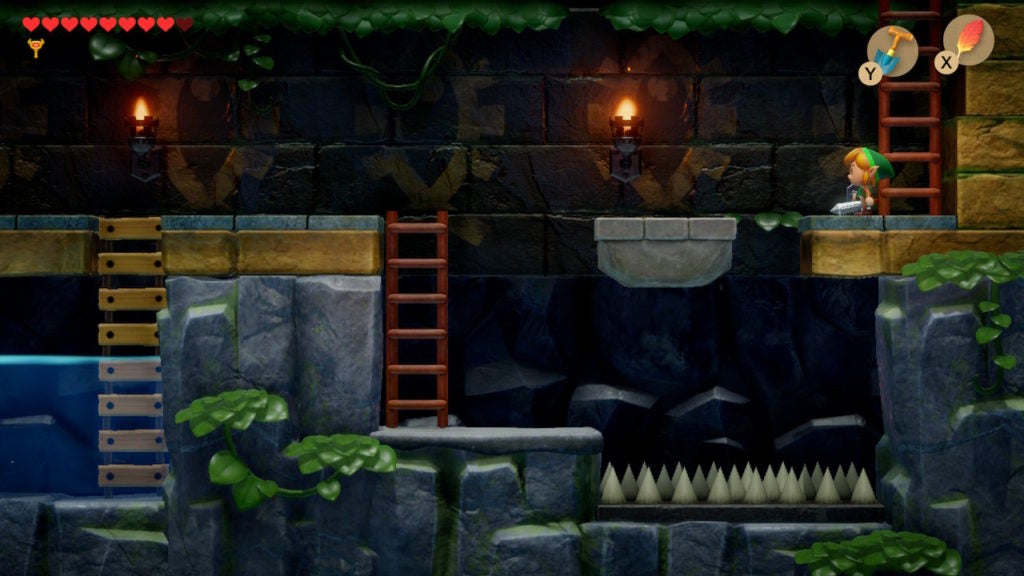
You’ll have to make your way to the west while avoiding the Spiked Thwomps. The eastern half of the cave will be easy enough to deal with, as you can dash by the first Spiked Thwomp without many issues. You can also fake them out by stepping into their path before backing away. As the Spiked Thwomp rises, you can walk through their path casually while they reset themselves.
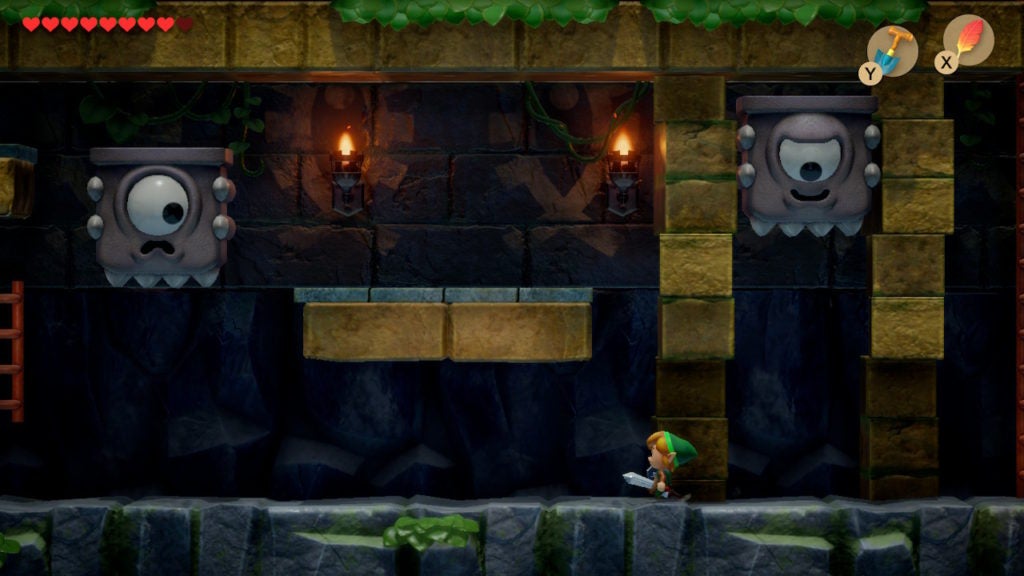
However, the next Spiked Thwomp will be a bit trickier to get around. You’ll have to get to their west side and then trigger them to drop down so that you can use them as a platform. First, get to their west side. Then, use the fake-out method mentioned before to get the Spiked Thwomp to drop. Afterward, climb the ladder nearby swiftly and jump onto the Spiked Thwomp’s head.
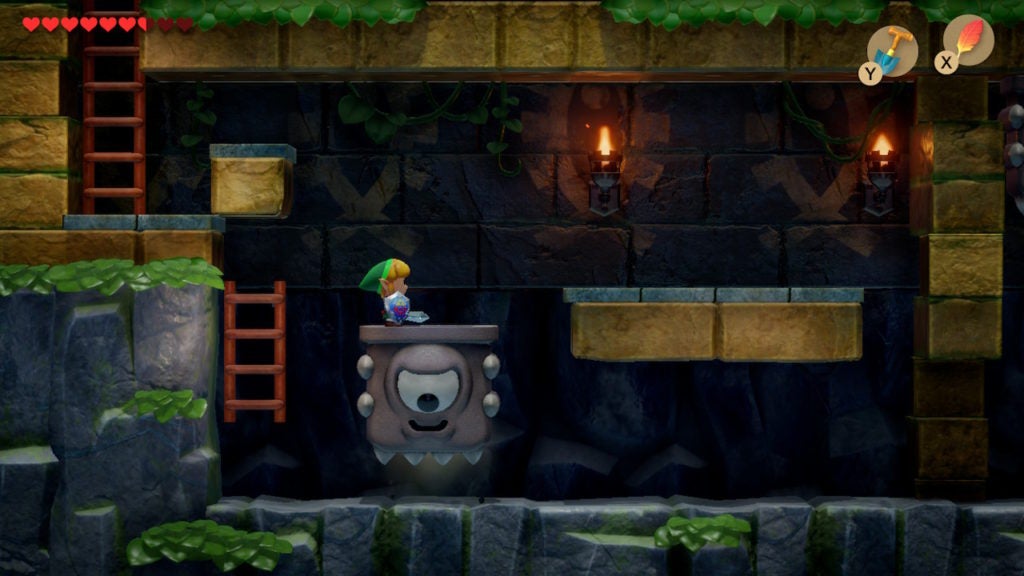
In this manner, you can ride the Spiked Thwomp upward and towards the exit to this tunnel. When your living platform gets high enough, leap to the west and use the ladder to ascend into the next room.
Open the Chest Holding the Nightmare Key
You’ll now be in a raised area in the southwest of the dungeon. To the north, in a separated section of the room, you’ll see 3 Peahats if you didn’t take them out earlier. From this point, go south to find the chest containing the Nightmare Key.

With this vital item in hand, you can almost head to the boss room now. However, there are a couple of optional chests with Rupees that you may want to get first.
Rupee Chest Round-up
If you open up your Map, you’ll see that there are only 2 more chests to unlock. Each of these will contain 50 Rupees, so they’re worth grabbing if you want more money.
Rupee Chest #1
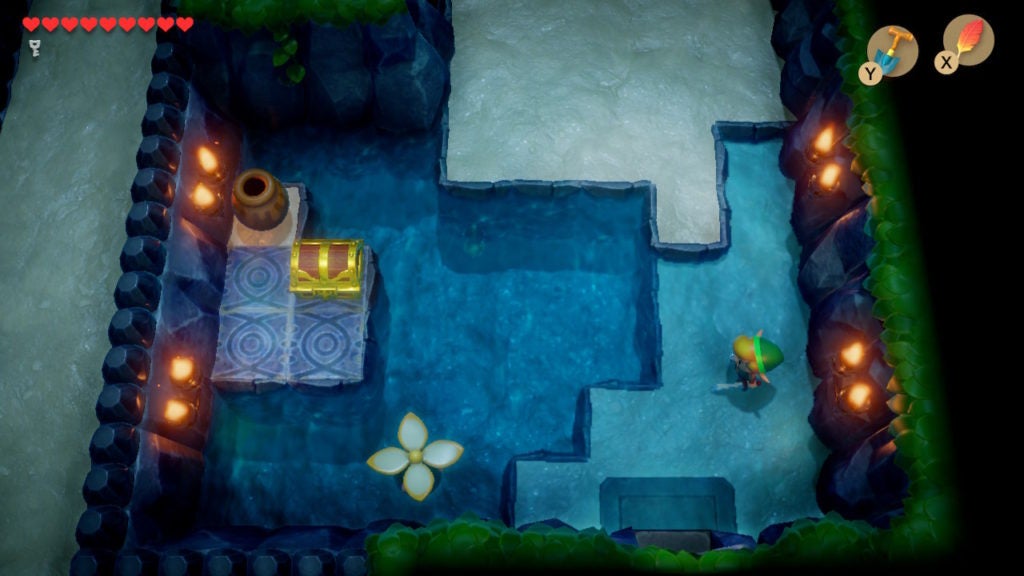
The closest of these is in the big central room with the Owl Statue that gave you the hint about the glint of light. To get there quickly, go to the area north of the chest from which you found the Nightmare Key. There’s a ledge there that you can jump down for a quicker path to the east and north. Now that you have the Flippers, you can swim to the chest beyond the pool of deep water to open it.

Rupee Chest #2
To get the next Rupee chest, you’ll have to head to the area in the northeast of the dungeon with the staircase and go south across the cross-shaped gap. This will bring you to the big room with the chest on the west side of some deep water.
With all the optional loot now acquired, you’re ready to start making your way to the Nightmare’s lair.
The Boss Room
From the room with the second Rupee chest, go north across the cross-shaped gap. You’ll then want to head down the staircase in the northeast of the dungeon so you can finally pick up that Small Key that fell down there.
Finally Retrieving the Fallen Small Key

Make your way to the west of the underground cave and jump into the pool to snag the Small Key. Afterward, make your way to the south of the big central room with the locked block. The locked block is just west of the first Rupee chest, though, you’ll need to approach it from the south.
Press the Button and Unlock the Locked Block
To get to the locked block, you’ll have to unlock the door that leads to it by stepping on a floor button. Since you have the Flippers now, you can easily reach the floor button from the south by swimming to it.
After opening the door, go north and open the locked block with your Small Key. When you descend the staircase north of the locked block, you’ll be in a side-view underground tunnel that is full of water.
Swim Past the Cheep Cheeps
You’ll have to swim west and avoid the Cheep Cheeps in this flooded passage. Alternatively, you can take them out with your Sword. The only mildly tricky part is in the western section of the tunnel with the narrow passage.
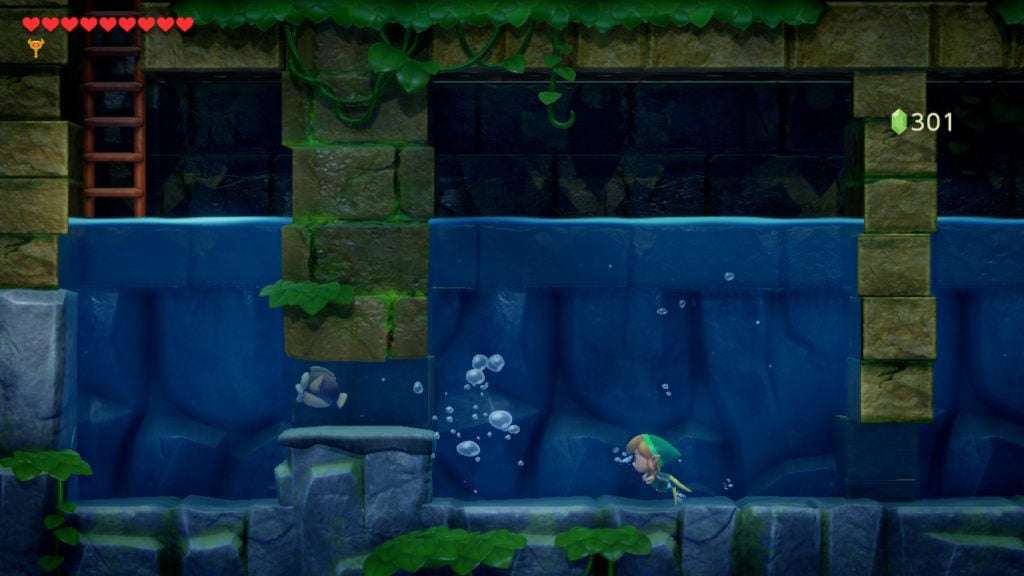
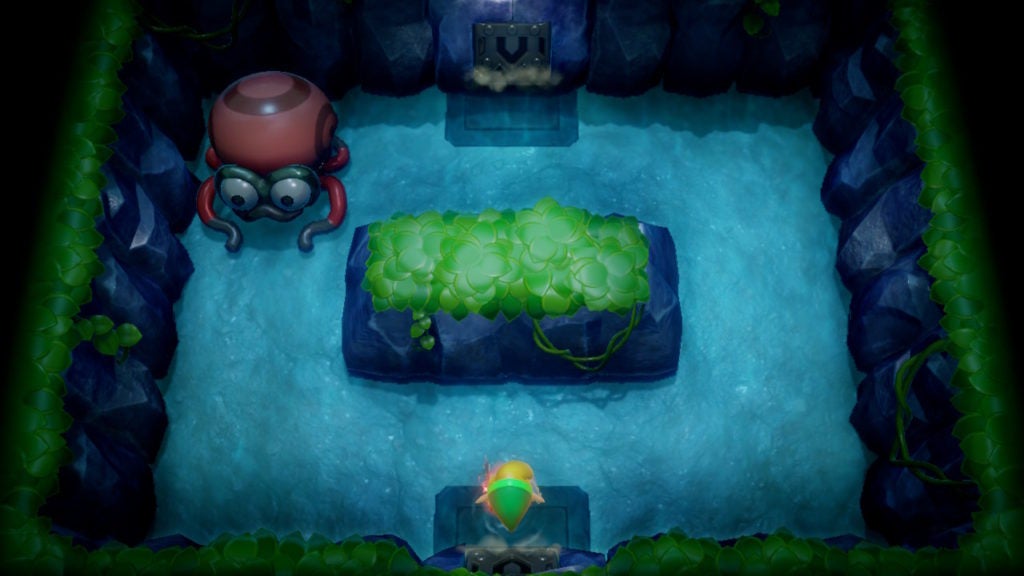
When you get out of the underground area, you’ll be in the northwest corner of the room with the trapped chest that contained a Green Gel. However, you’ll be in a secluded section that will only lead you to the west. In the room to the west, you’ll find the entrance to the boss room.
Push the northeastern block out of your way and destroy the nearby Red Gels and pots for Hearts. Afterward, when prepared, go north to face the boss of Level 4 – Angler’s Tunnel.
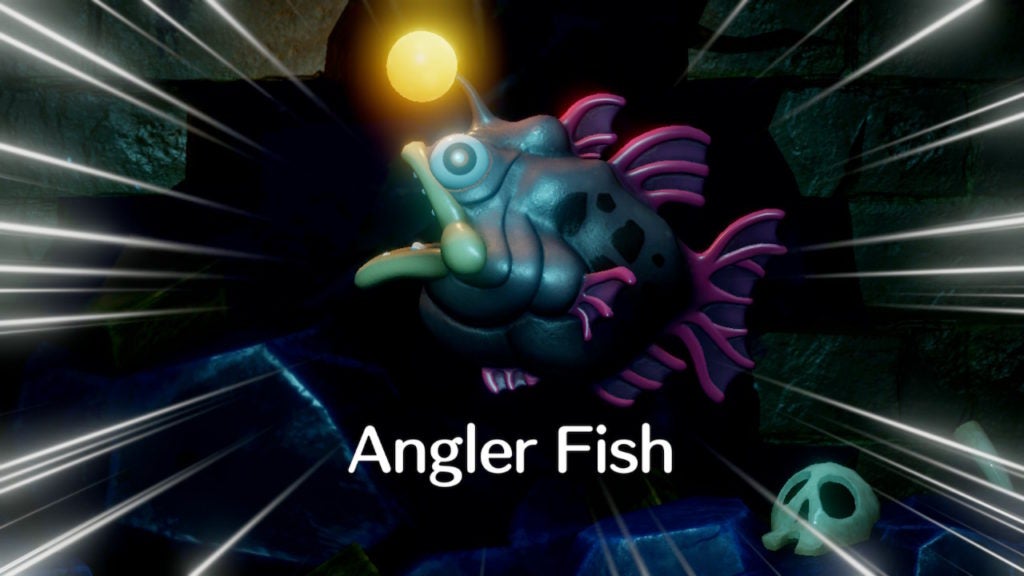
How to Beat Angler Fish
After you use the Nightmare Key to unlock the door on the north wall, you’ll find a staircase that leads downwards as well as a locked door to the north. You’ll need to defeat the boss to open the locked door, so head down the staircase toward their location. Descending the staircase will bring you to a side-view area that is full of water. You’ll have to dive in to face the boss.
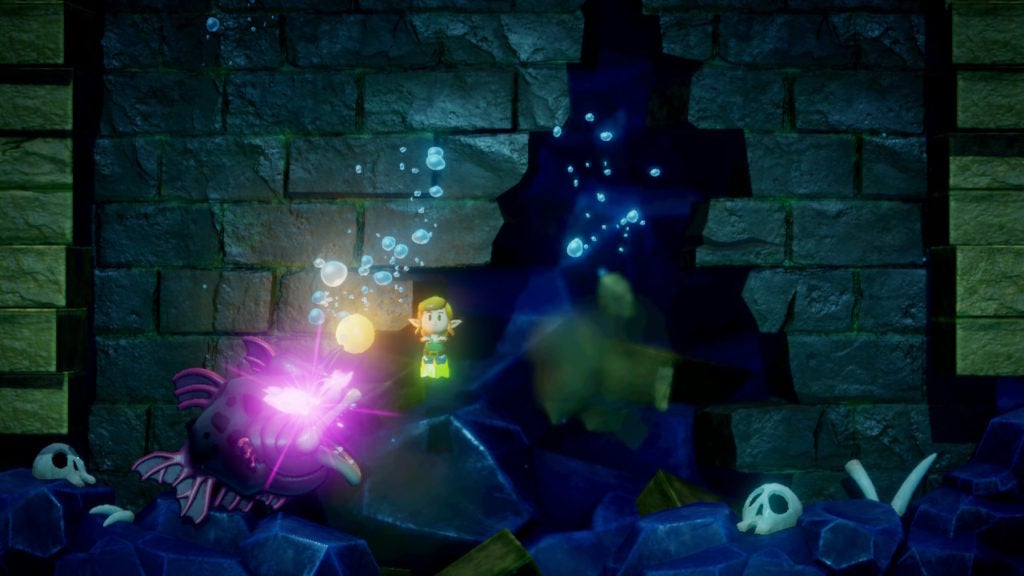
When you jump into the water, Angler Fish—who this dungeon is named after—will swim out of the depths. They will claim that you are their food and will attack!
Dodging Angler Fish’s Attacks
The main attack that this boss will use is a charge that will propel them in a horizontal line towards either the west or east wall. As long as you are either above or below Angler Fish, you’ll be safe from the initial charge. You can use the A button to swim faster and get into better positions throughout the fight. This will be even more important after Angler Fish charges, as when they strike the wall, they will cause large boulders to fall into the water.
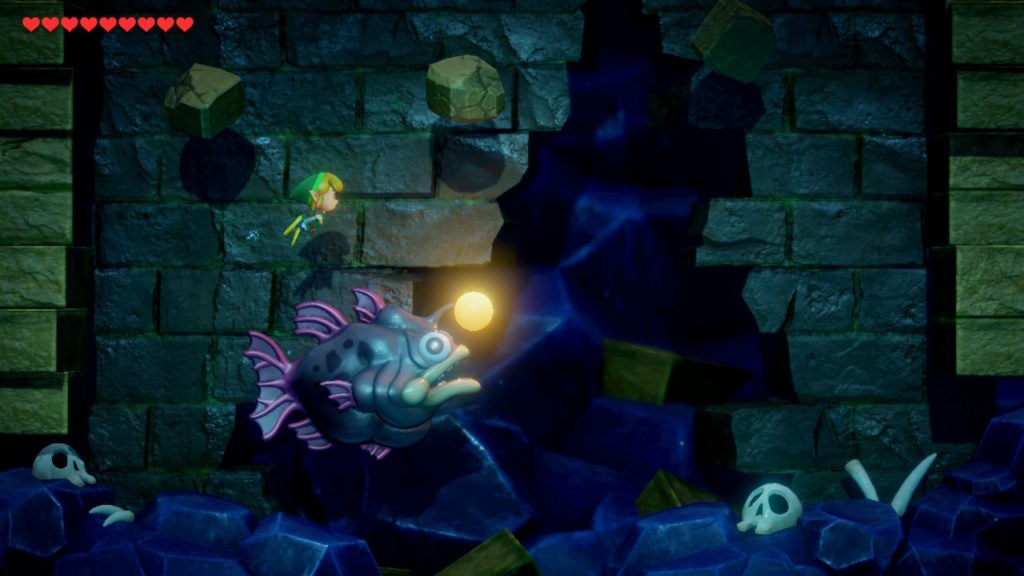
Avoiding the boulders that fall from above as well as Angler Fish’s horizontal charges will be the main challenge of this fight. However, Angler Fish can also summon Angler Fry from the abyss, which are smaller fishes that resemble themselves.
These little foes can thankfully be dispatched quickly with a few Sword swipes. In fact, it’s recommended to do so quickly, as dealing with them and the other threats nearby will make things chaotic and dangerous.
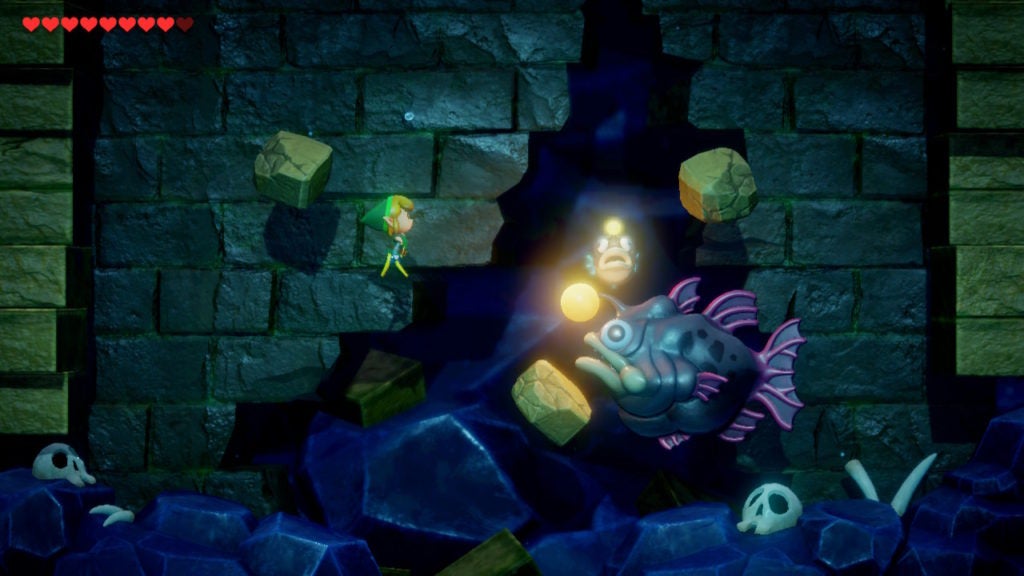
How to Hurt Angler Fish
As you might be able to guess from the orb glowing brightly at the end of their stalk, Angler Fish’s weakness is its luminous lure. You will have to repeatedly strike it with your Sword to reduce the boss’ health. So, you’ll want to stay above Angler Fish for an easier time landing shots on its weak point. While this will give you less time to dodge falling boulders, the trade-off is worth it to end the fight quicker. Keep hitting the glowing lure until Angler Fish goes down.
Afterward, a Heart Container will drop from the boss’ body that will fully heal you and raise your maximum number of Hearts by 1. To get the Siren Instrument, swim up and then ascend the ladder to find that the door north of the staircase is now unlocked.
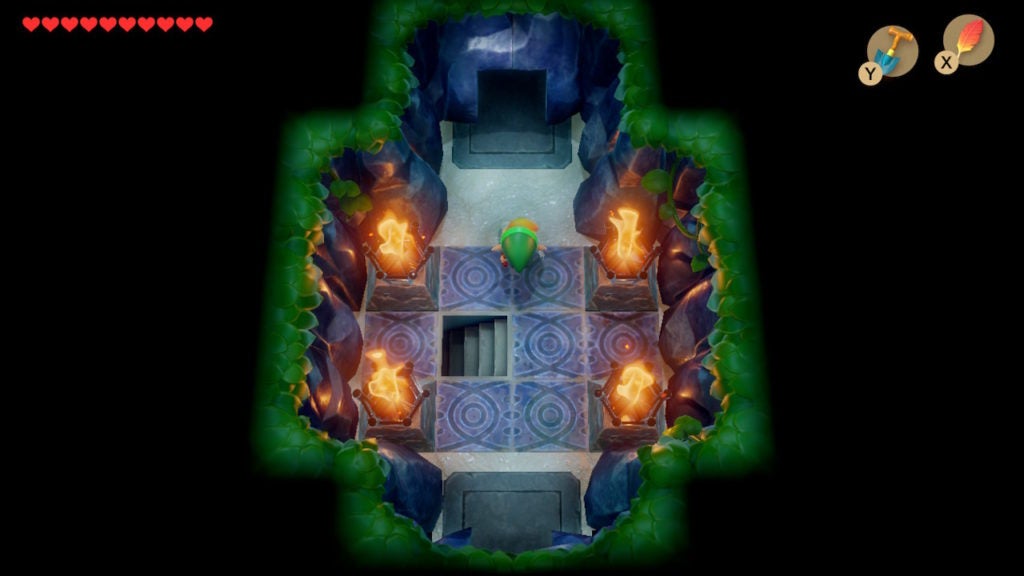
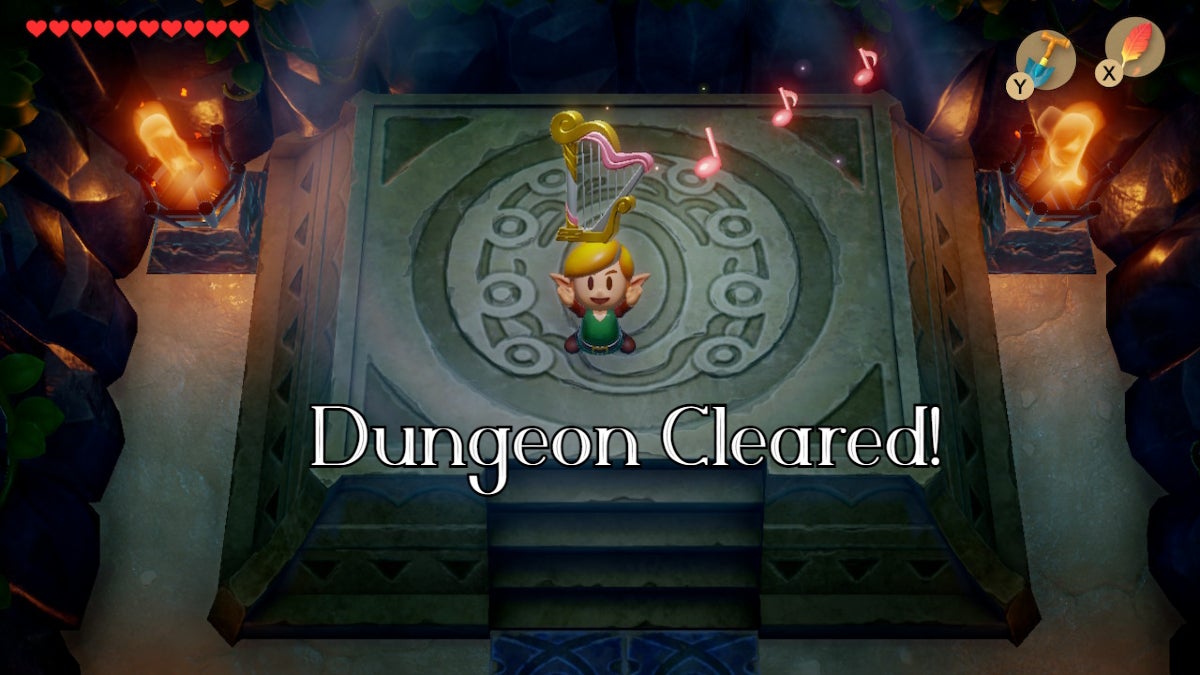
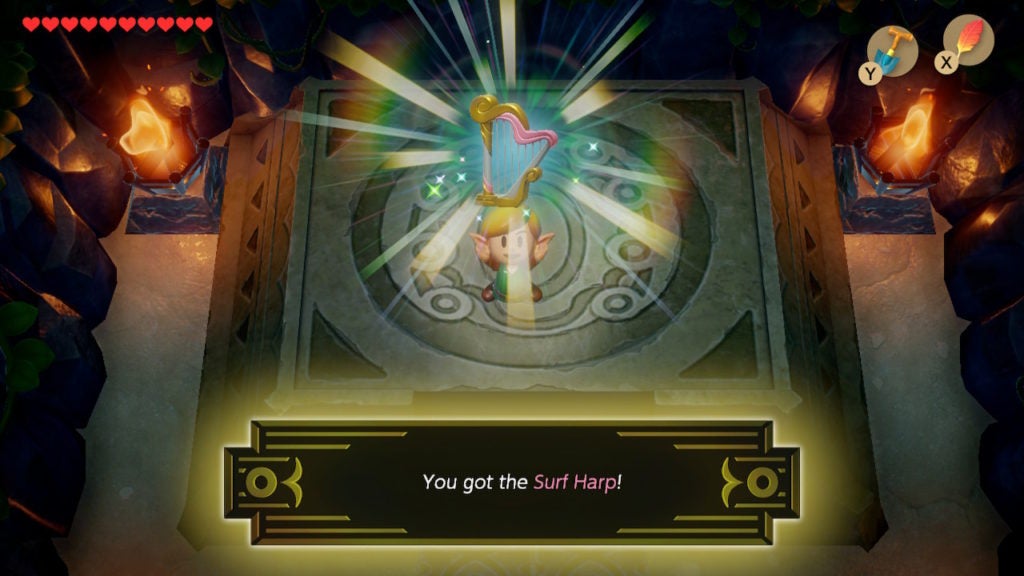
Get the Siren Instrument
Go north into the room beyond to find the dungeon’s greatest treasure: the Surf Harp. Congratulations, you’ve found the fourth Siren Instrument in Link’s Awakening! When you pick it up, you’ll get a hint about a bay.
Where to Go Next
As the hint indicated, you’ll need to go to a bay. The bay being referred to is Martha’s Bay, which is located on the south of Koholint Island. When you get there, you’ll have to dive into Level 5 – Catfish’s Maw.