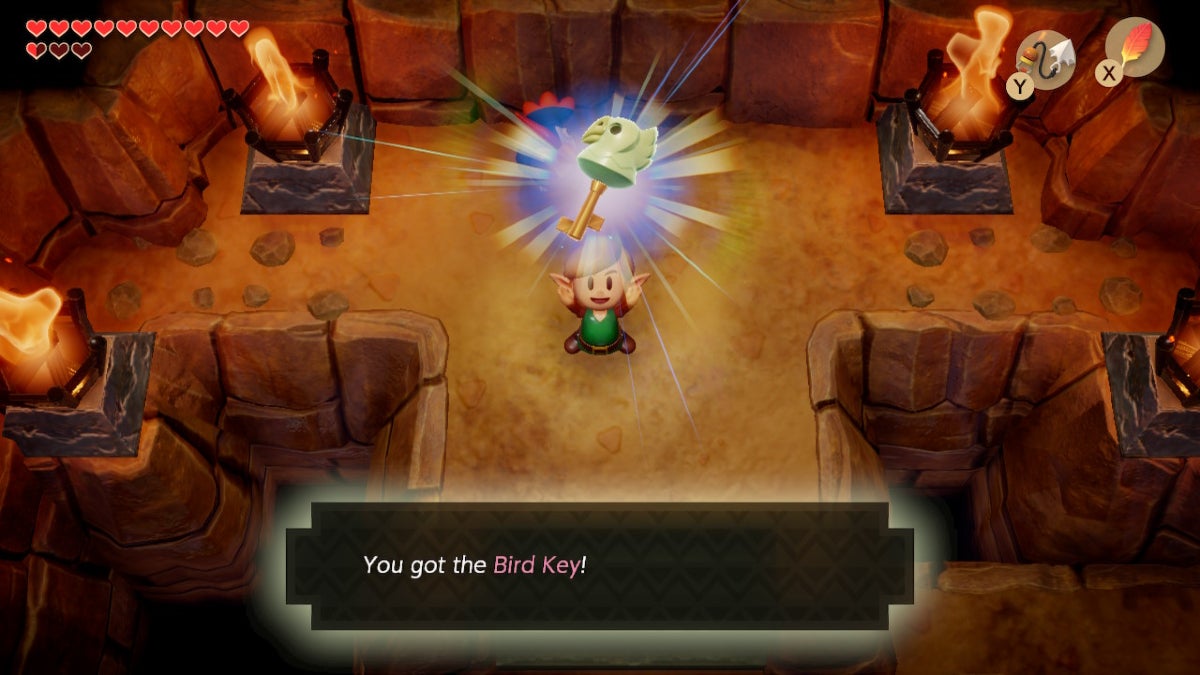
After speaking to the wise Owl outside of Level 6 – Face Shrine, you’re told to head to a mountainous area. However, before that, you’ll need to get some help for an upcoming challenge. This wing of your quest will require you to find the Bird Key, which unlocks the next dungeon: Level 7 – Eagle’s Tower. The Bird Key lies beyond a huge pit that you can only cross by flying. The only one who can help you with that is a blue rooster, who you will need to bring back from the dead.
Table Of Contents
How to Find Mamu the Frog
If you’re worried about the repercussions of necromancy, fear not! There are none. Furthermore, it’s pretty easy to reanimate dead bodies, even ones that have been deceased for a long time. To do so, you’ll need another song for the Ocarina called the “Frog’s Song of Soul.” You can learn the Frog’s Song of Soul from Mamu, a huge and musically skilled amphibian. To find Mamu, you’ll need to head to the eastern part of Ukuku Prairie and then go south.
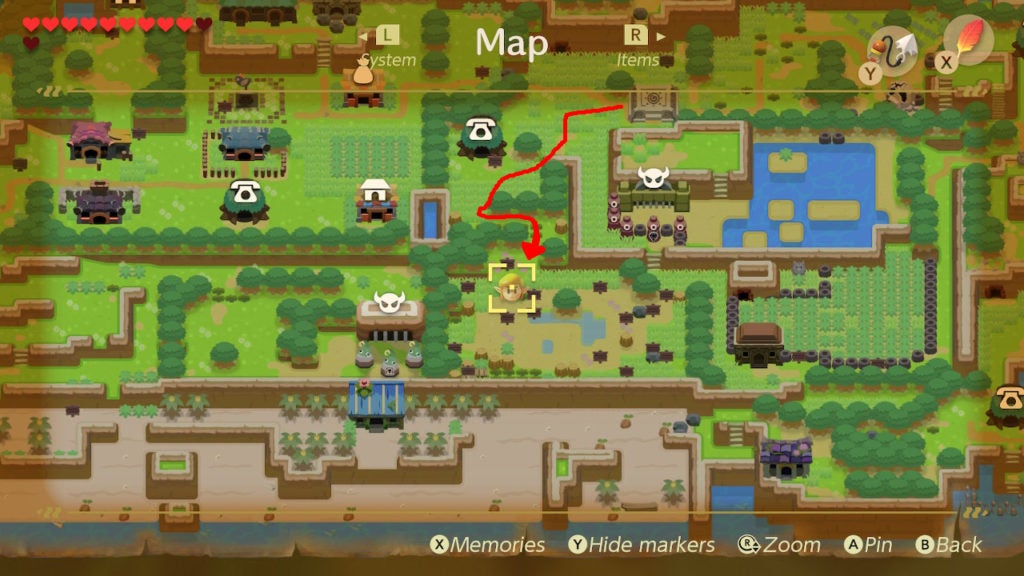
This will lead you to a gap that must be crossed with the Hookshot. Beyond, you’ll find a puzzle involving signposts. Here, you’ll have to read each sign in a specific order. Every sign will point you in the direction of the next sign you must read.
However, this will be a more challenging puzzle than you may think. The game will try to trick you by grouping signs close together or in a misleading manner. You’ll have to read the sign that is on the exact linear path from the previous one that was pointing to it. There are 15 signposts total that you need to read in order to reveal a hidden staircase in the center of the field. Mamu resides under the signpost field, so you must solve the puzzle here to find them.
Signpost #1
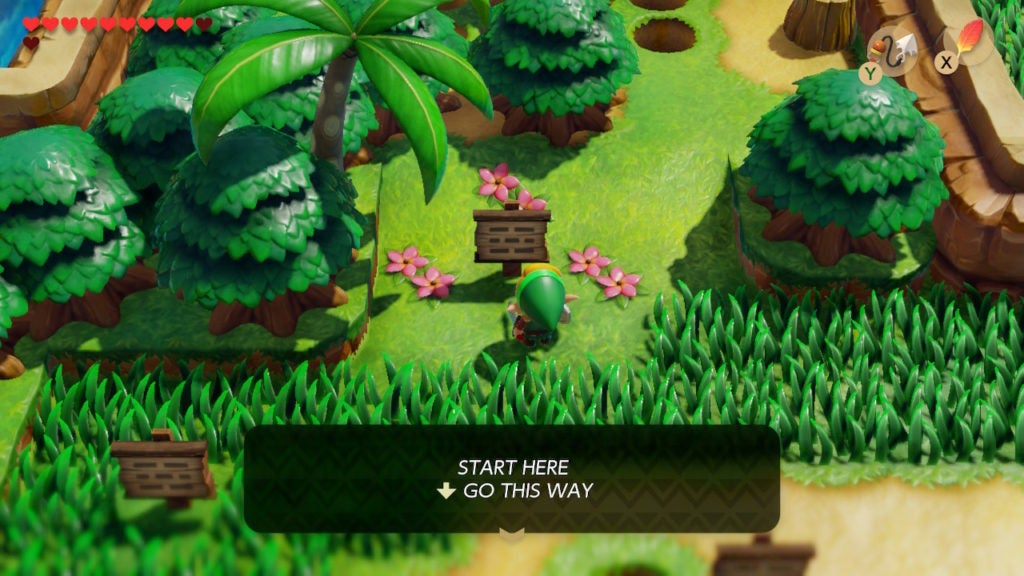
The first signpost that you need to read is always the one at the entrance just south of the wide hole that you needed the Hookshot to cross. This sign is at the northeast of the field full of other signposts. If you mess up the puzzle at any point, you’ll have to restart from the beginning by reading this signpost.
Signpost #2
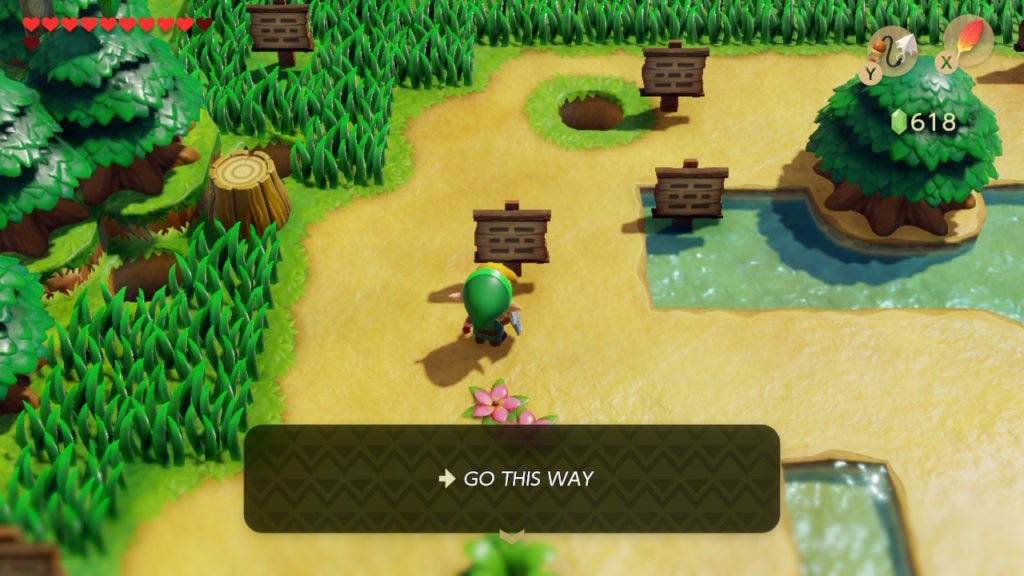
Head in a straight line south of Signpost #1 to find Signpost #2. This one will point you east. It is on a patch of sand and distant from any landmarks.
Signpost #3
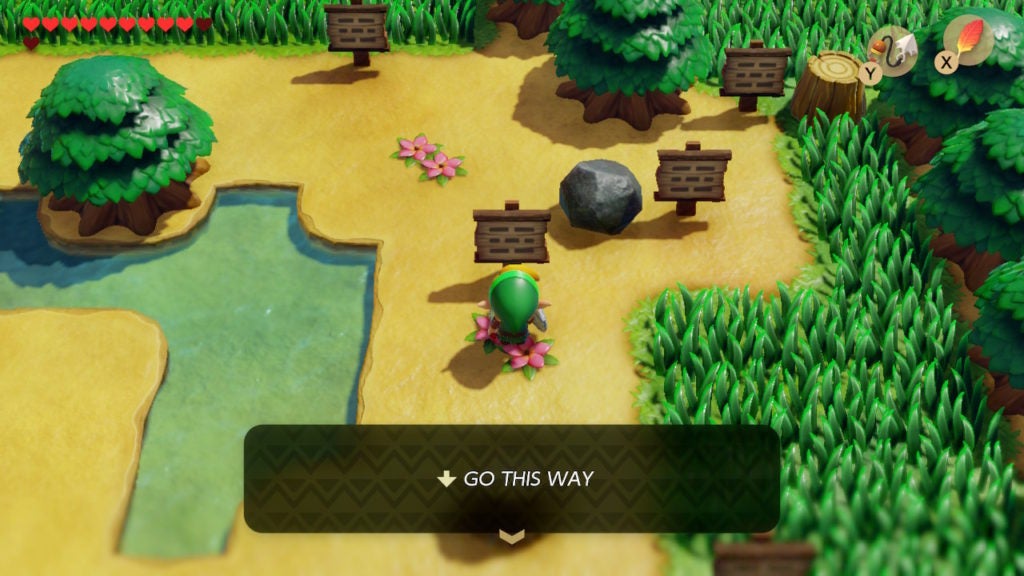
The next signpost you need to read is the one positioned so that you have to stand on some pink flowers to read it. It’s also just southwest of a rock. Signpost #3 will direct you south.
Signpost #4
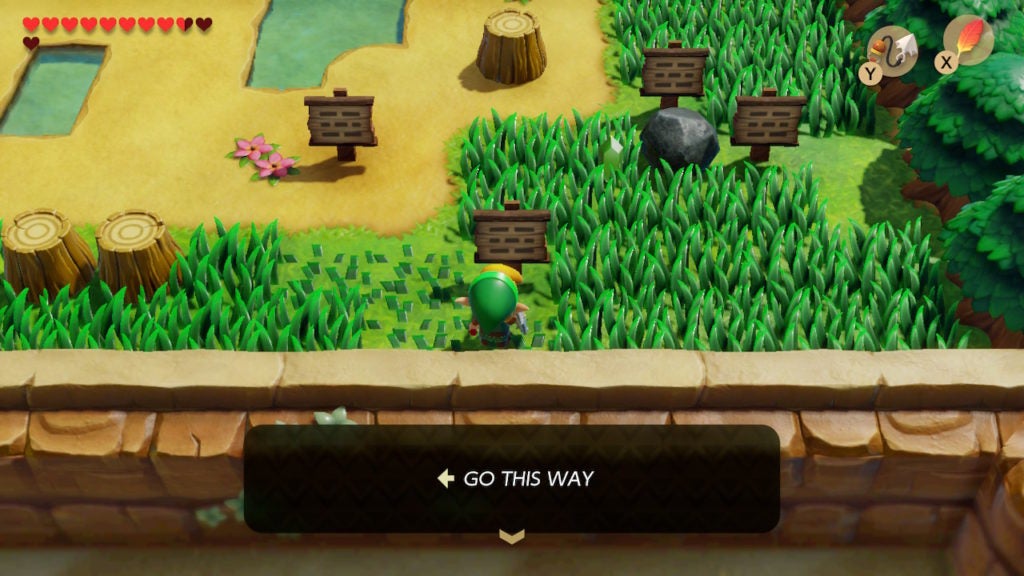
You’ll be led to a signpost surrounded by tall grass in the southeast of the area. It lies to the south of a tree stump. Signpost #4 will then tell you to go west.
Signpost #5
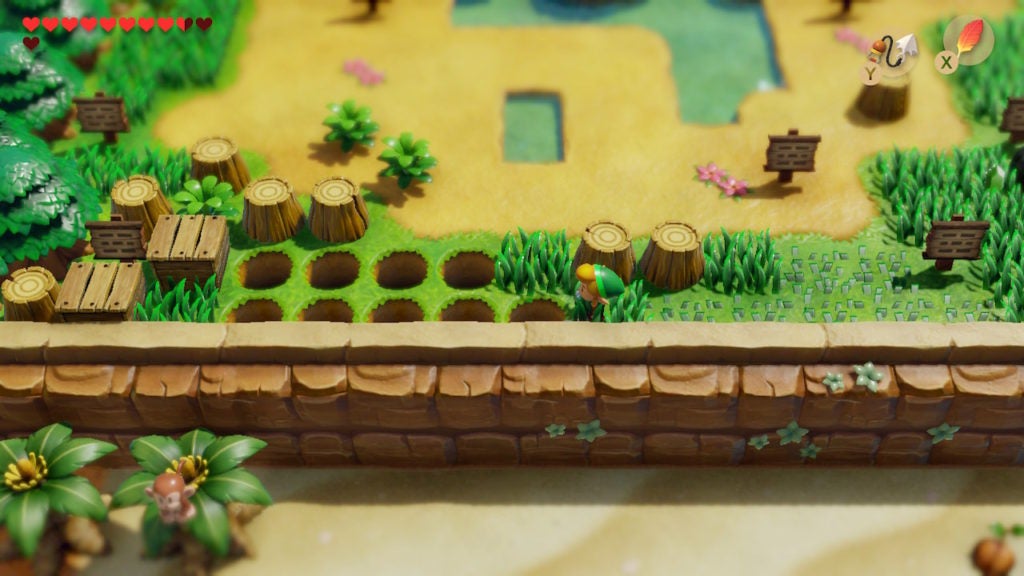
To get to Signpost #5, you’ll need to use the Hookshot to get across a gap. When you do, smash the wooden boxes around the signpost to read it. At this point, you’ll be told to head north. Use your Hookshot to get back to the east side of the gap and head to the northwest of the field.
Signpost #6
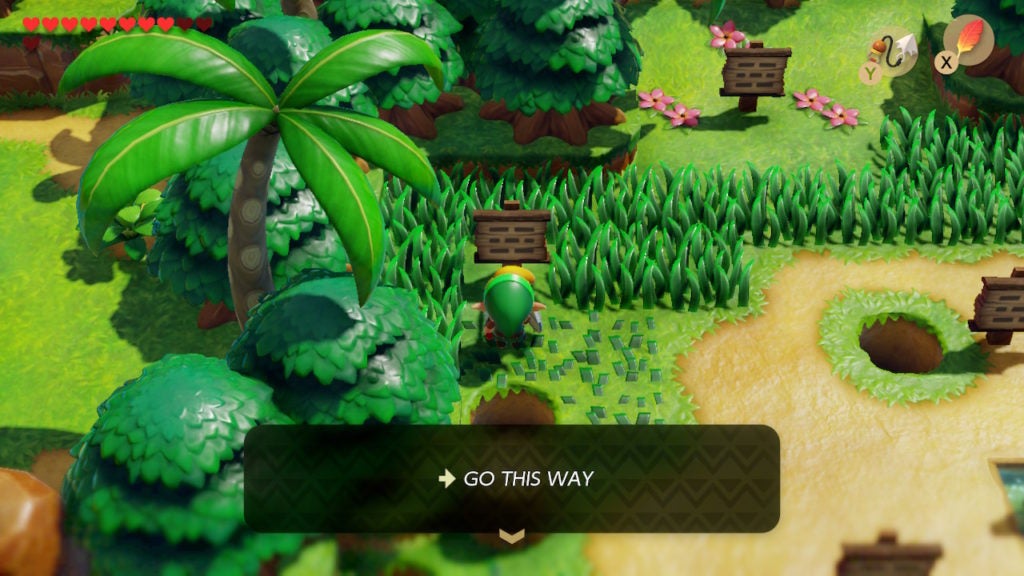
The next signpost you want is the one in the northwestern corner of the field. It’s a bit north of a hole in the ground, so watch your step. Signpost #6 will point you east. Though, remember, you need to read a signpost that’s directly east of Signpost #6, not one that’s east of your position when you read Signpost #6.
Signpost #7
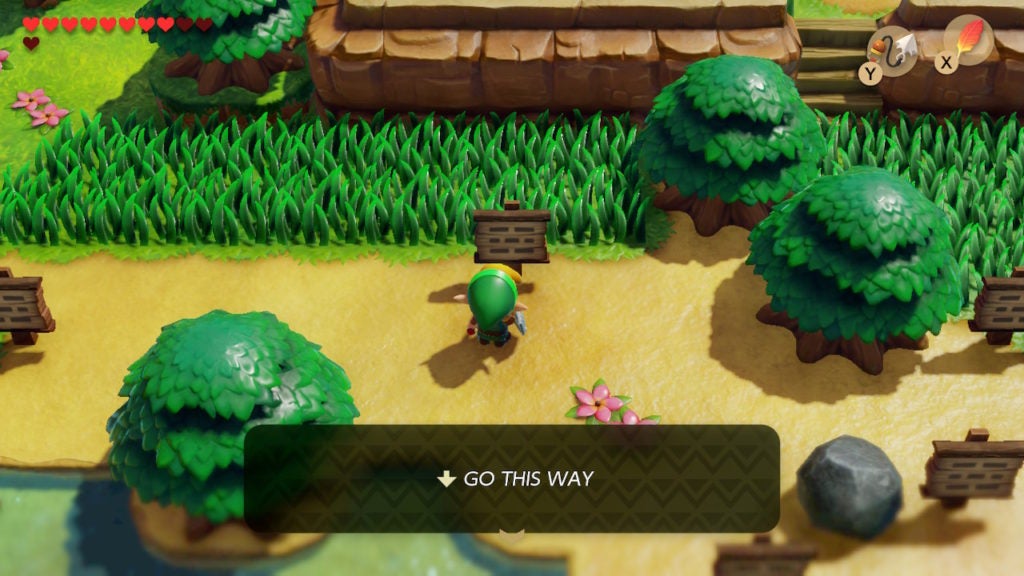
The seventh signpost you want is the one in the northeast corner of the field. It’s just south of a patch of tall grass and a bit west of 2 trees. Signpost #7 will tell you that you need to go south.
Signpost #8
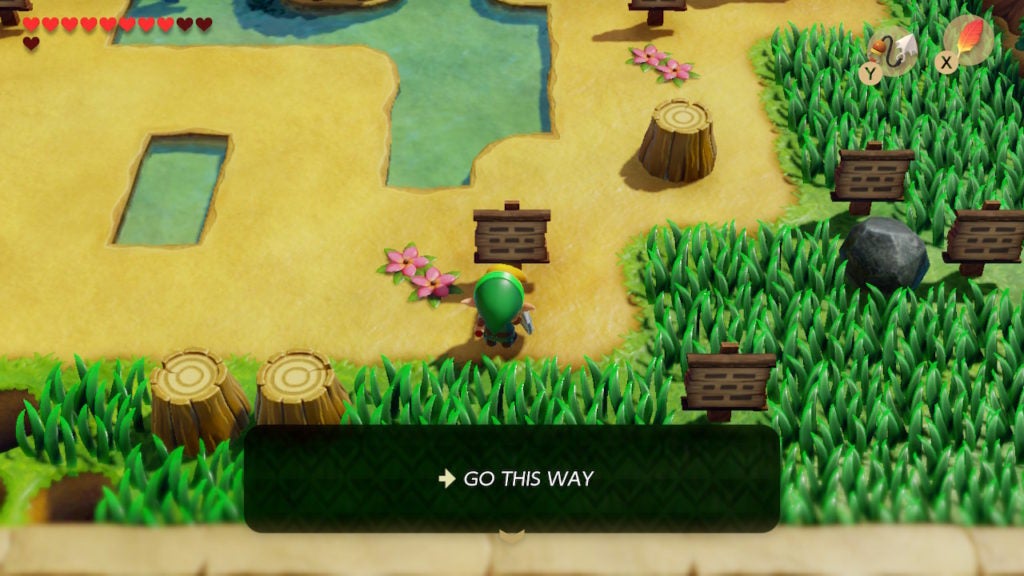
Go south until you find a signpost that’s directly east of some pink flowers. This is Signpost #8 and will direct you eastward.
Signpost #9
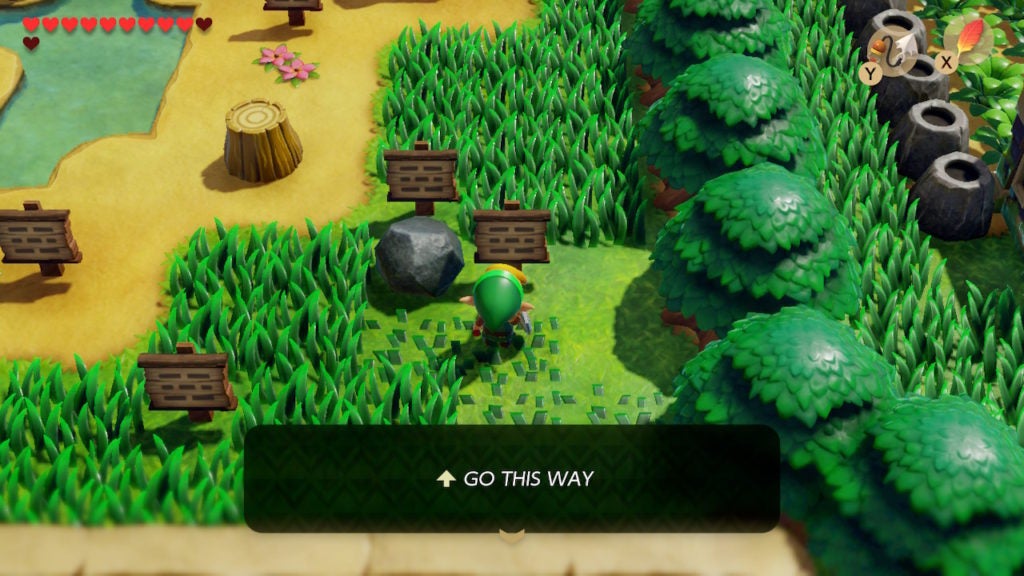
The next signpost will be fairly close by. It’s immediately to the east of a rock. You’ll have to pick up that rock to read a later signpost, but, for now, leave it alone. Read Signpost #9 and it will point you northward to the next step.
Signpost #10
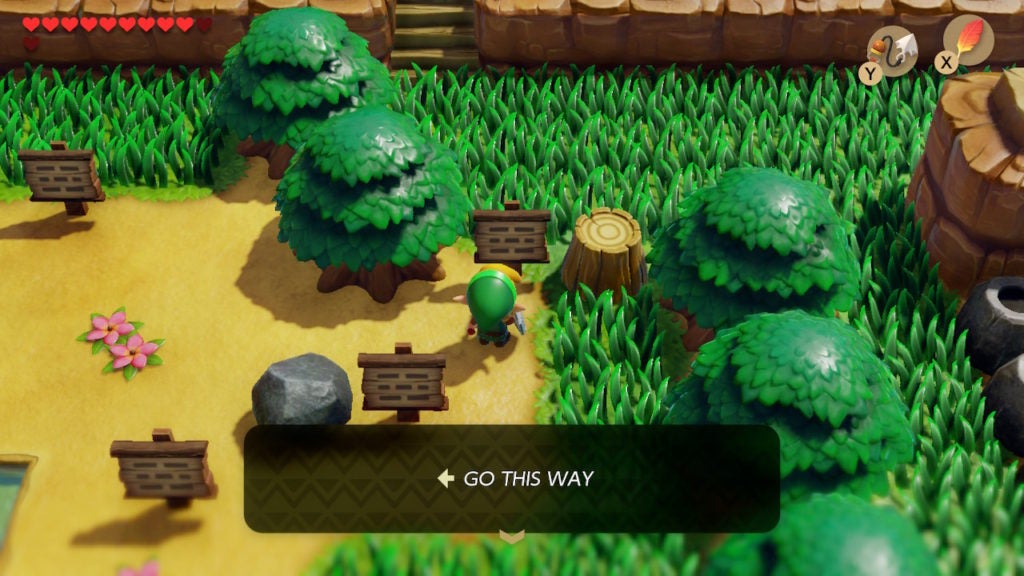
You’ll now have to read a signpost that is part of the border to the field you’re within. It’s located between a tree and a tree stump in the very northeast corner of the area. When you read it, you’ll be told to go west.
Signpost #11
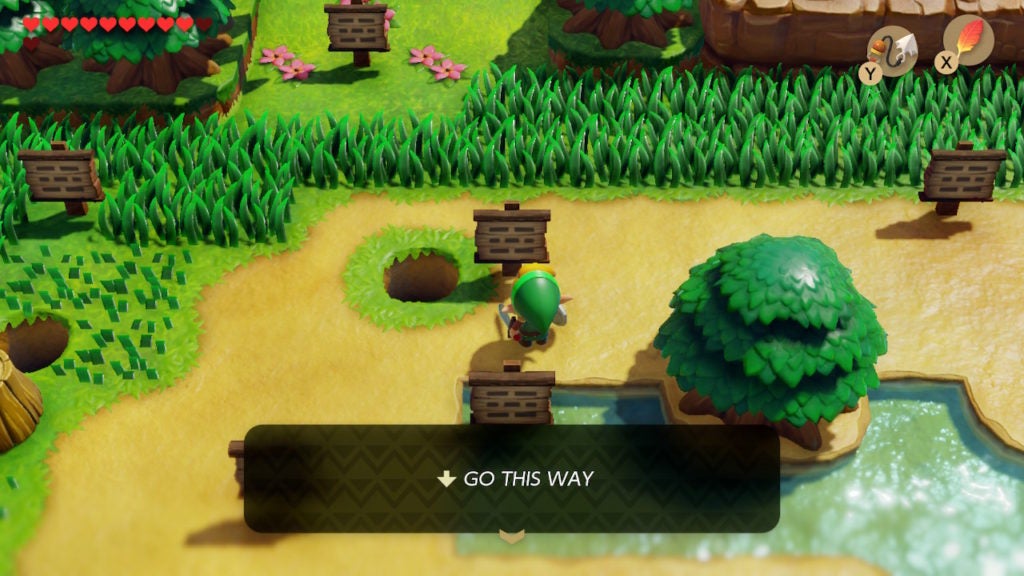
This one will be just east of a hole in the ground. It’s also fairly close to the first signpost near the entrance to the area. After reading Signpost #11, you’ll need to go a bit south.
Signpost #12
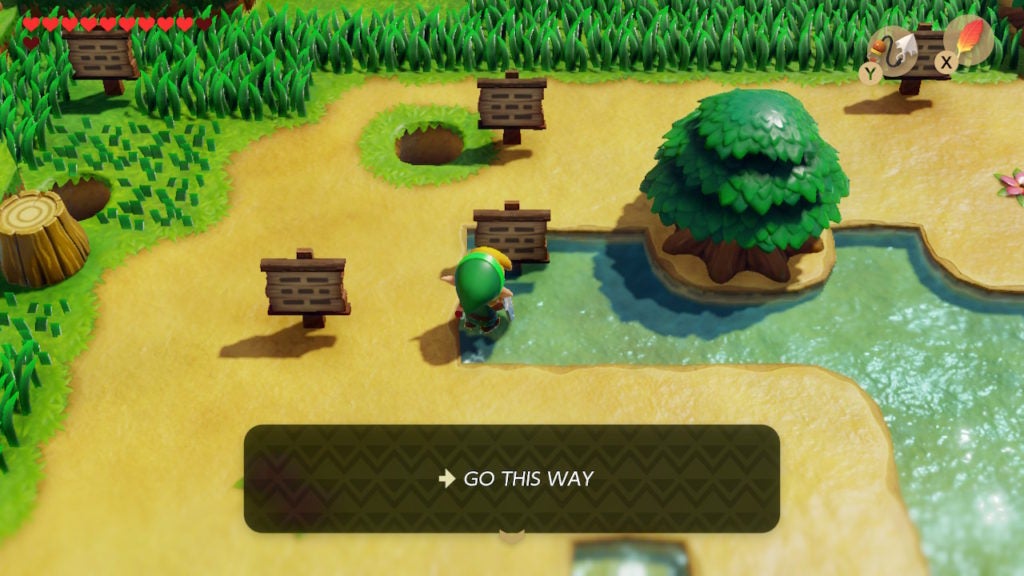
Barely separated from Signpost #11 is Signpost #12, which lies a touch south of Signpost #11. It’s the only signpost on the western side of the shallow pond in the field. When you read it, you’ll know to go east next.
Signpost #13
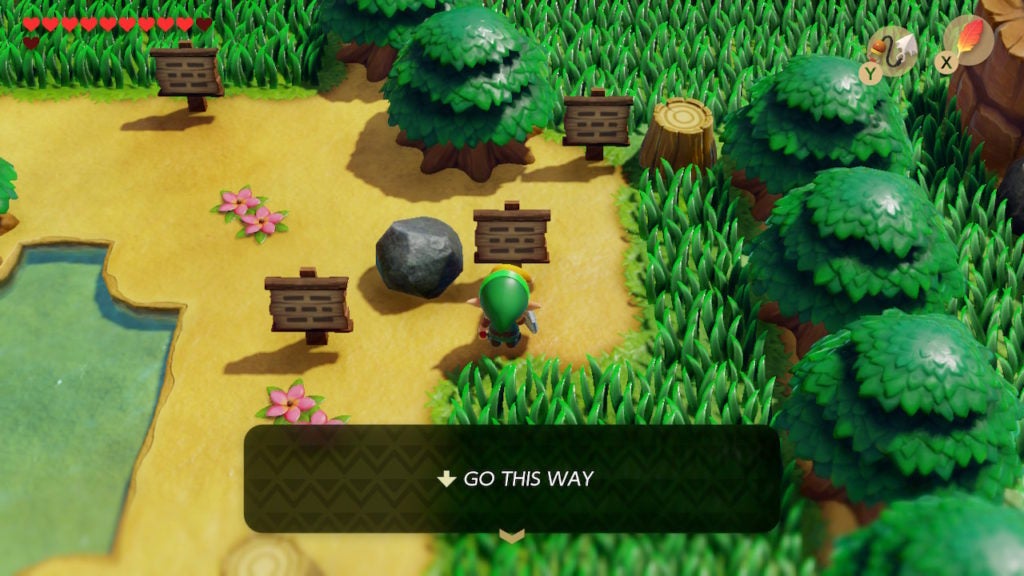
Travel just east of a rock in the northeast of the area to read Signpost #13. Beside the rock, this signpost is touching no other landmarks. After reading it, you’ll be directed southward.
Signpost #14
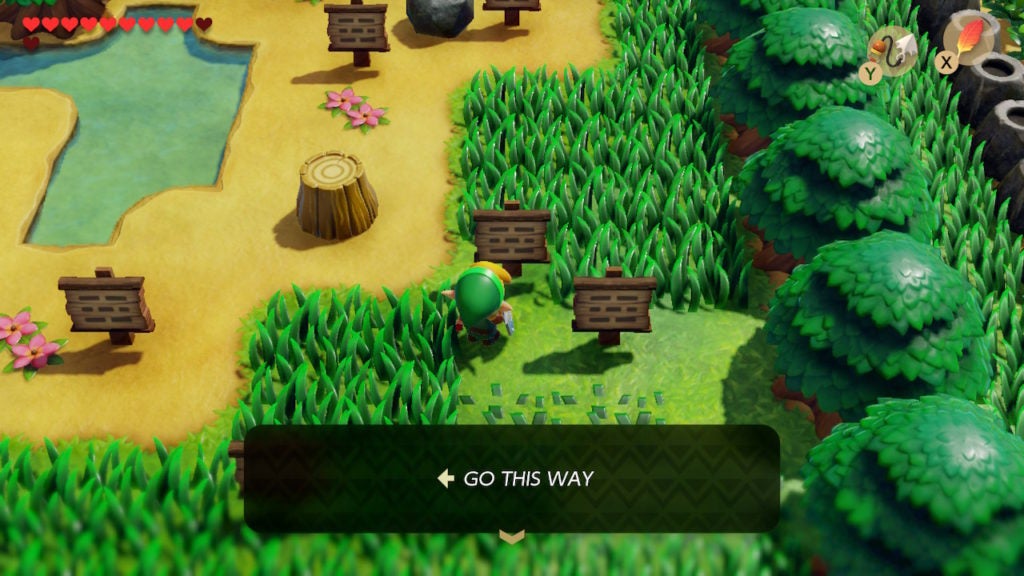
When you approach the next sign, you’ll notice that it’s the one that’s being blocked by a rock. Pick up the rock and toss it out of your way so that you can read Signpost #14. This will tell you to search westward for the final signpost.
Signpost #15
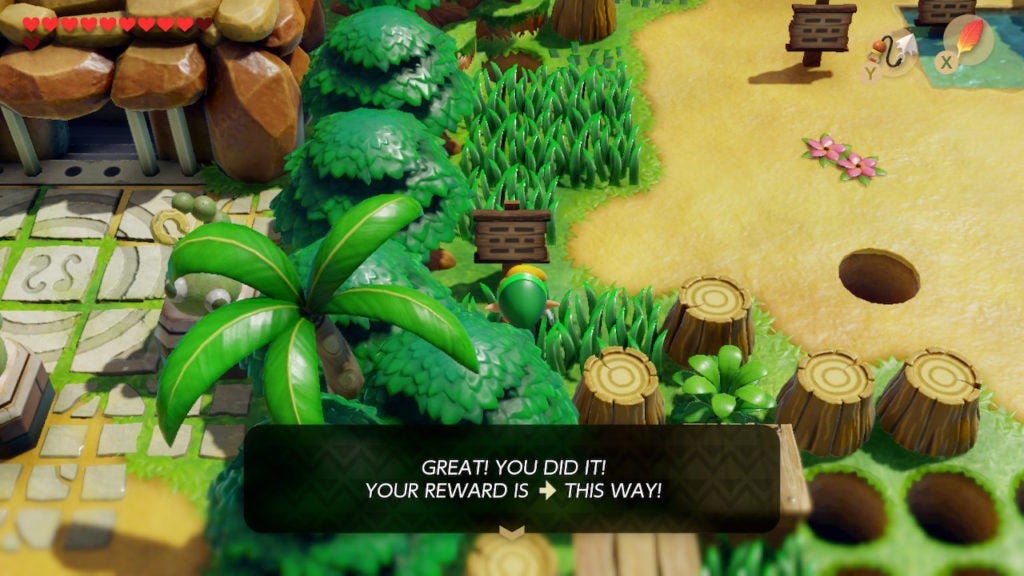
The last signpost you need to read is located in the far west of the area. It’s the only one along the western treeline of the field you’re in. When you read Signpost #15, you’ll be given a congratulatory message. In addition, a short cutscene will play, which will show you a hidden staircase being revealed in the center of the field.
Descend the Staircase to Find Mamu
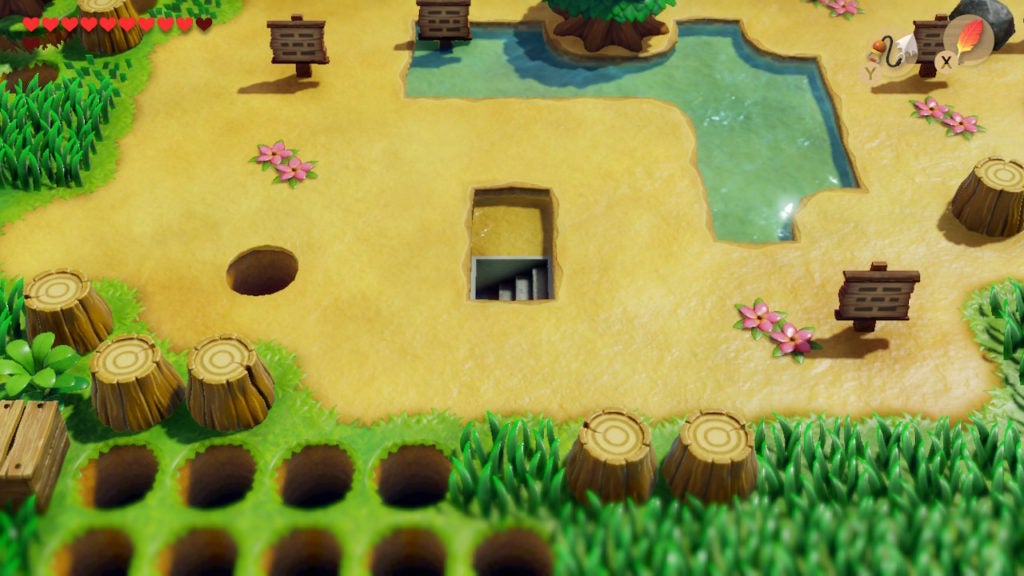
When the cutscene ends, head down the staircase to meet Mamu the frog. It is from them that you’ll learn the Frog’s Song of Soul. Though, the musical tutorial won’t be free.
Pay Mamu 300 Rupees to Learn the Frog’s Song of Soul
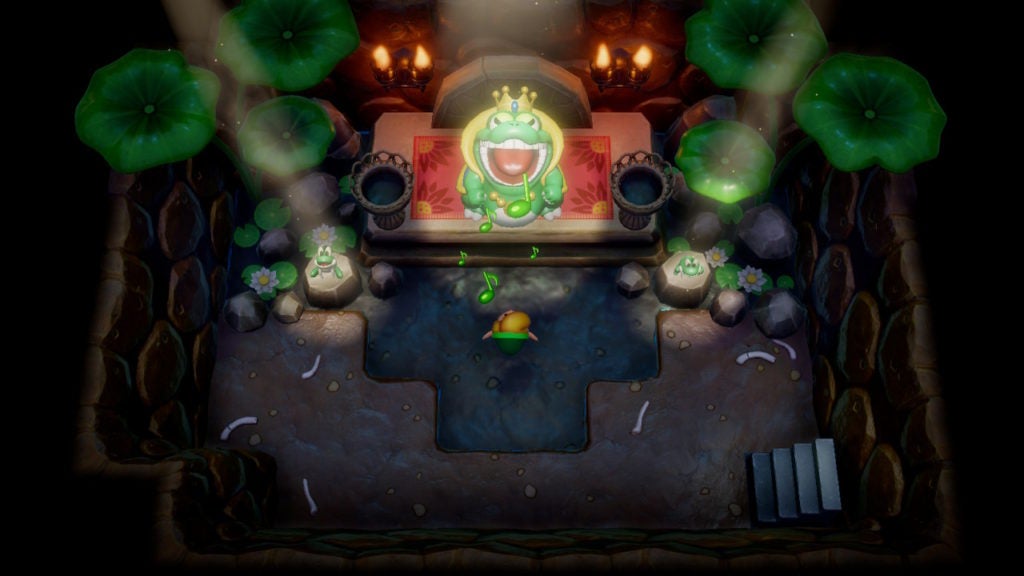
After you descend the staircase and speak to Mamu, they will offer to sing for you in exchange for 300 Rupees. If you agree, you’ll be treated to a little performance after which you’ll unlock the Frog’s Song of Soul on the Ocarina. If you don’t have 300 Rupees, you can come back later after farming some. Thankfully, you don’t need to do the signpost puzzle again to open Mamu’s cave—the staircase will remain revealed forever.
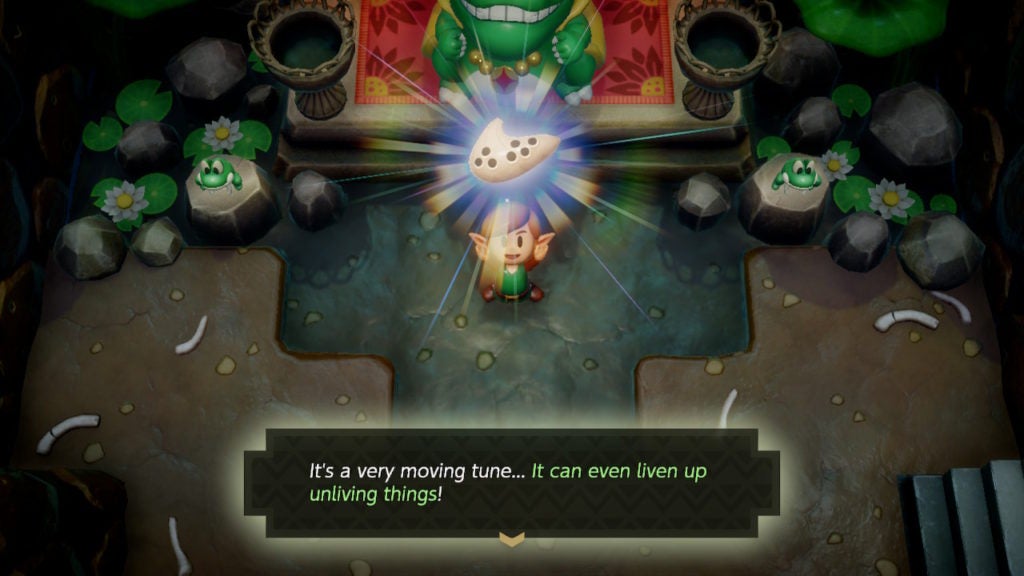
You’ll be given hints that this tune is moving enough to “liven up unliving things”. To play this song, you’ll have to select it from the 3 possible options when you equip the Ocarina to either your X or Y button. Now that you can raise the dead, it’s time to head to Mabe Village to find the skeleton of the blue rooster.
Find the Blue Rooster’s Skeleton Under the Rooster Statue in Mabe Village
The only indication that you’ll need to perform this next step is due to a hint from Old Man Ulrira. If you speak to him on the telephone at this point in the game, he’ll tell you about the blue rooster.
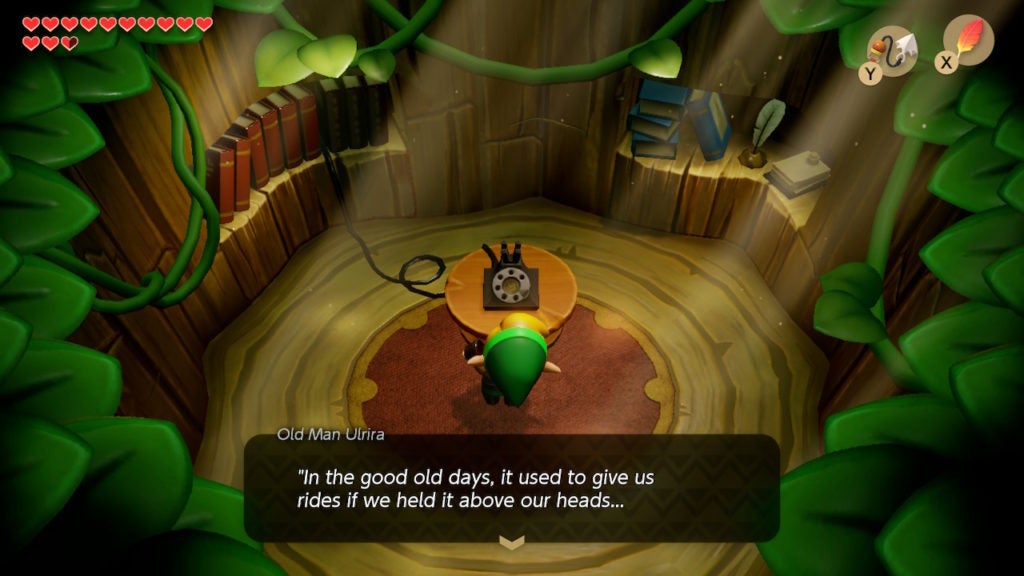
Ulrira will say that “in the good old days”, the rooster would give people rides if it was held above someone’s head. The elder will go on to mention that the blue rooster’s remains now lie under the Rooster Statue in Mabe Village.
From Mamu’s cave, it will be a short walk to the Rooster Statue in Mabe Village. When you get to the structure in the central part of town, push it to reveal a hidden staircase that was underneath the entire time.
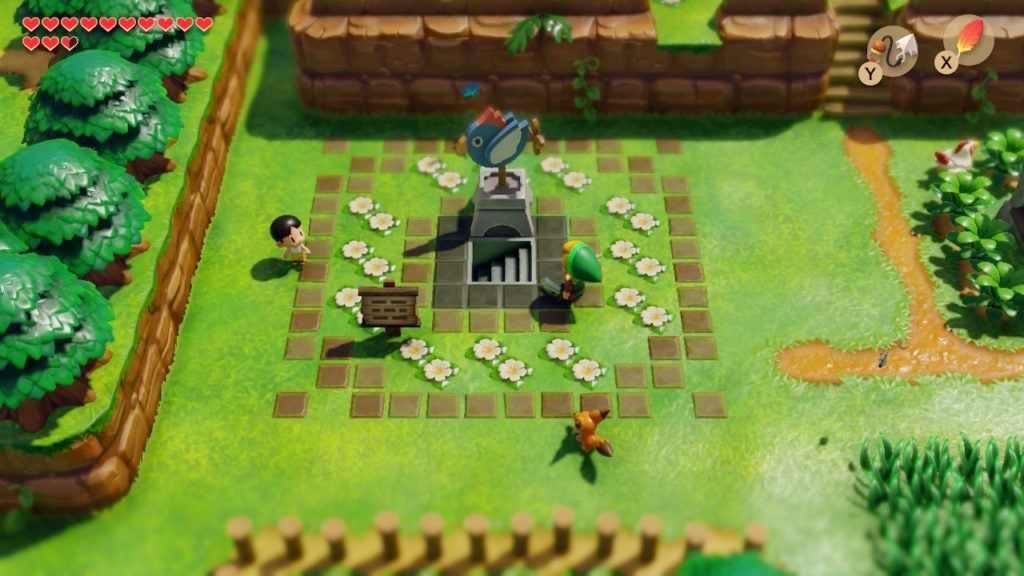
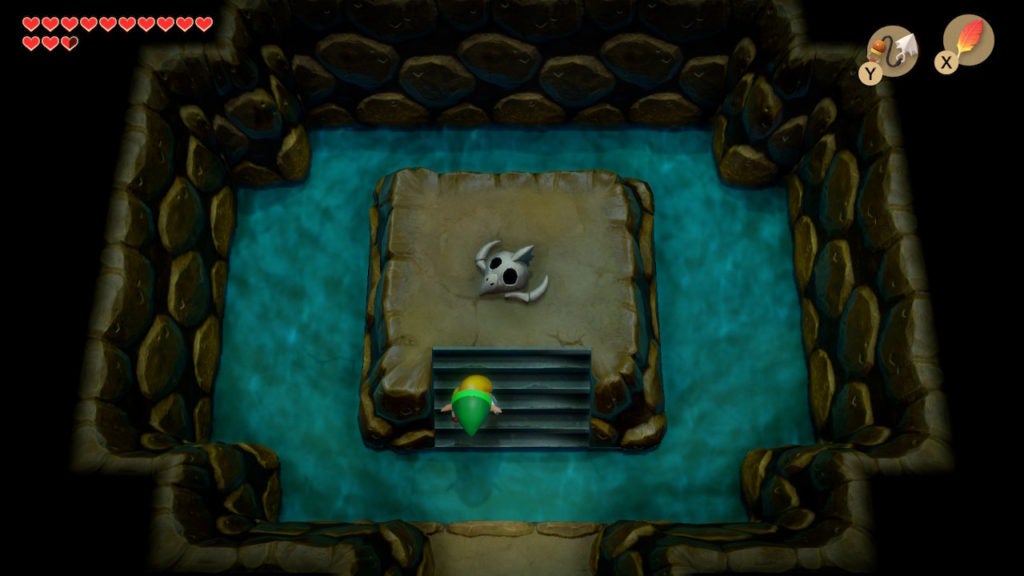
When you descend the stairs, you’ll be in an underground passage that leads north. At the end of the passage, you’ll find the skeletal remains of the blue rooster on a raised area.
Serenade the Skeleton With the Frog’s Song of Soul
If you walk up to it and play the Frog’s Song of Soul on your Ocarina, the soul of the blue rooster will return from beyond! It will hover around the cave for a few seconds before entering the remains on the raised area. Afterward, the blue rooster will spawn nearby and will be immediately friendly.
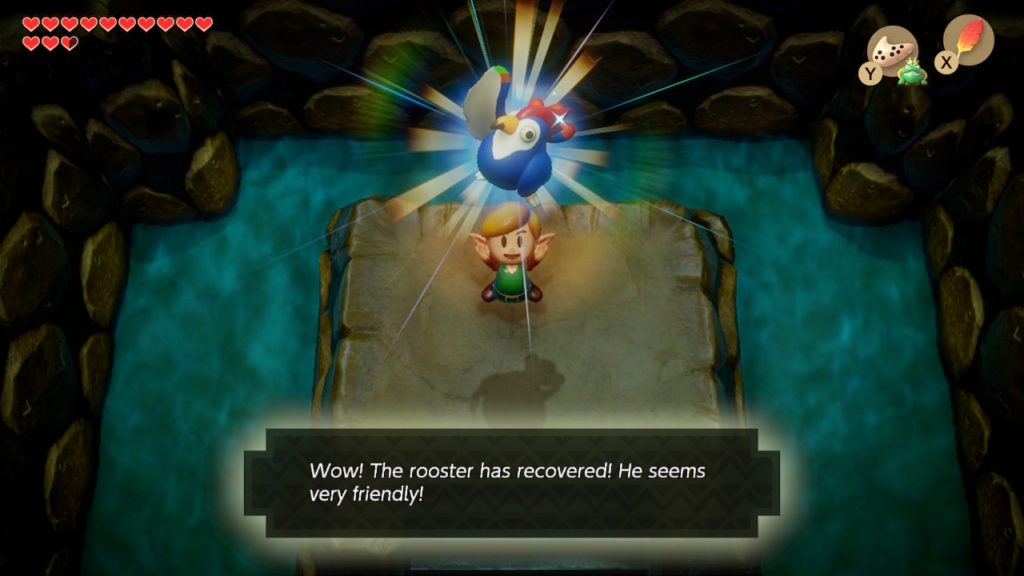
When the rooster has been fully reanimated, they will begin following you around. If you pick them up and jump over any holes, the amiable avian in your hands will keep you aloft so that you don’t fall. This will be essential for getting the Bird Key. However, to find the desired item, you’ll have to head north to the Tal Tal Mountain Range with your new rooster pal in tow.
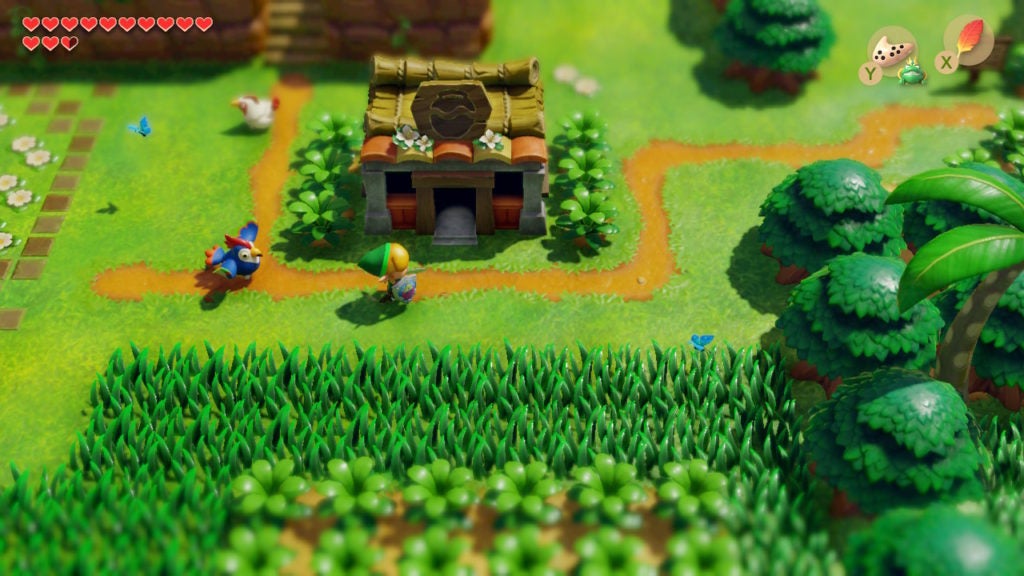
Who said necromancy couldn’t be cute? Thankfully, the rooster shows none of the usual unpleasant signs of being raised from the dead.
Find the Cave With the Bird Key
The cave that holds the Bird Key is on the western part of the Tal Tal Mountain Range. The quickest way to get there is either from the Warp Point in Tal Tal Heights or the one near Dampé’s shack. The cave is located just south of the Henhouse Keeper’s abode.
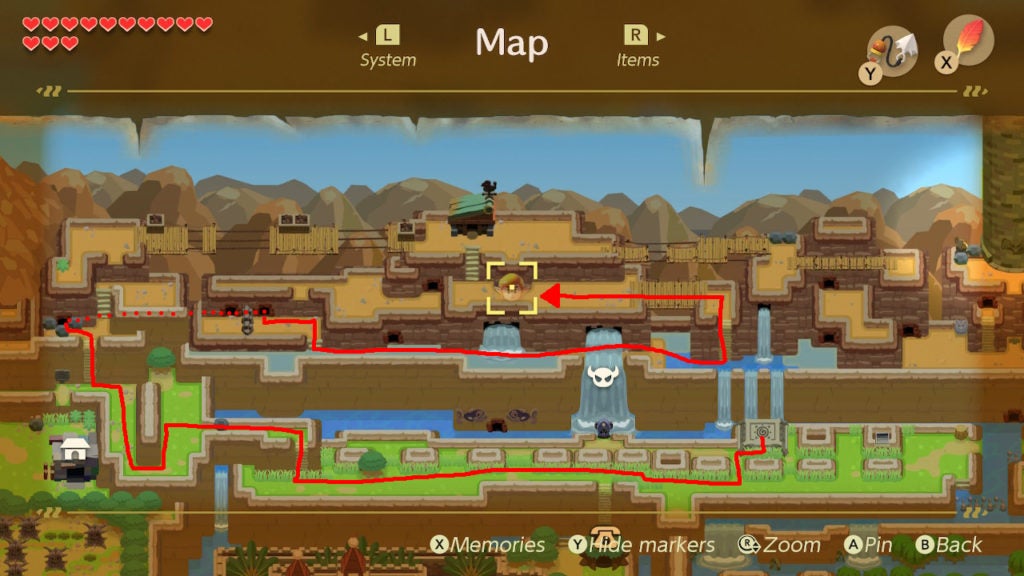
From the Warp Point in Tal Tal Heights, head west out of the region and then ascend a ladder to a cave entrance surrounded by rocks. You’ve been this way before, as this is the same route that led you to the ledge that lets you jump down to the entrance to Level 4 – Angler’s Tunnel. You’ll need to cross through the cavern in the same manner.
Open the Rupee Chest Along the Way
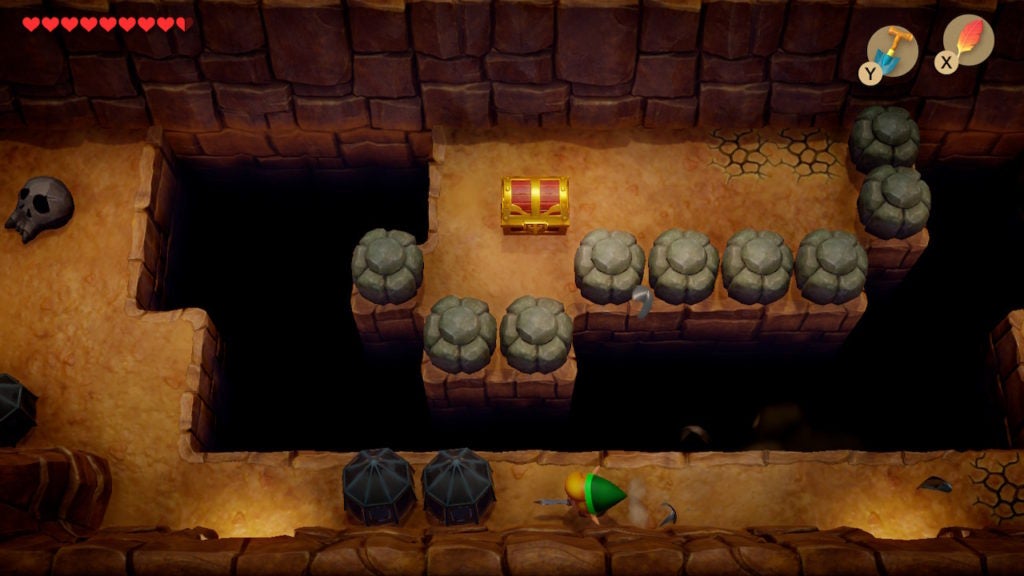
While traversing the cavern, you’ll now be able to reach the chest located beyond some wide pits. Stand to the west of it and use the Hookshot on the chest to zoom over to it. Within the chest will be 50 Rupees.
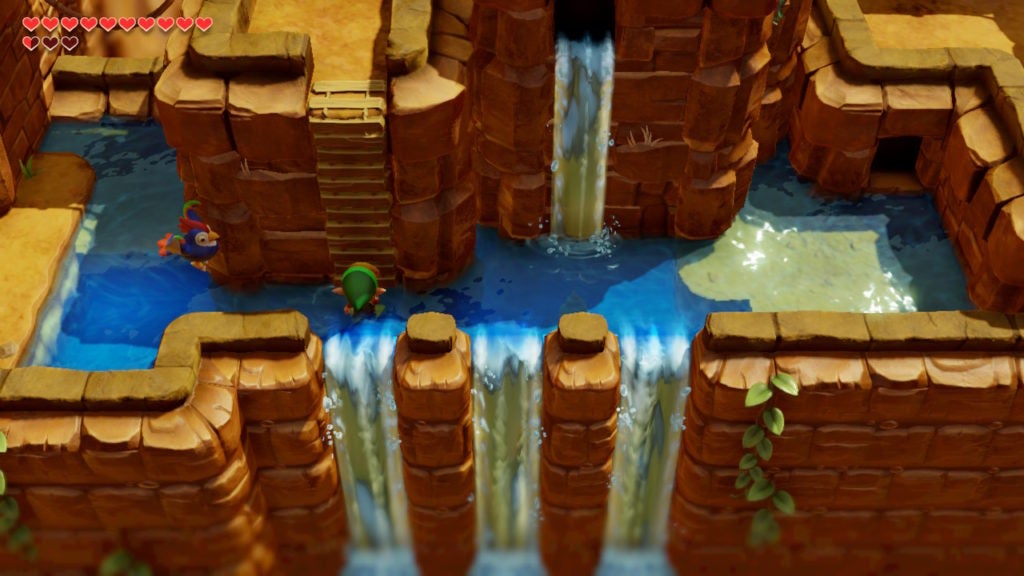
After gathering the loot, exit the cave through the southeastern opening and go east. Keep going that way until you pass the ledge that leads down to the entrance of Level 4 – Angler’s Tunnel. After it will be a ladder emerging out of some deep water that is leading to a small platform above. Since you can swim, it will be easy to ascend this ladder. Afterward, head west and enter the cave entrance south of the Henhouse Keeper’s dwelling.
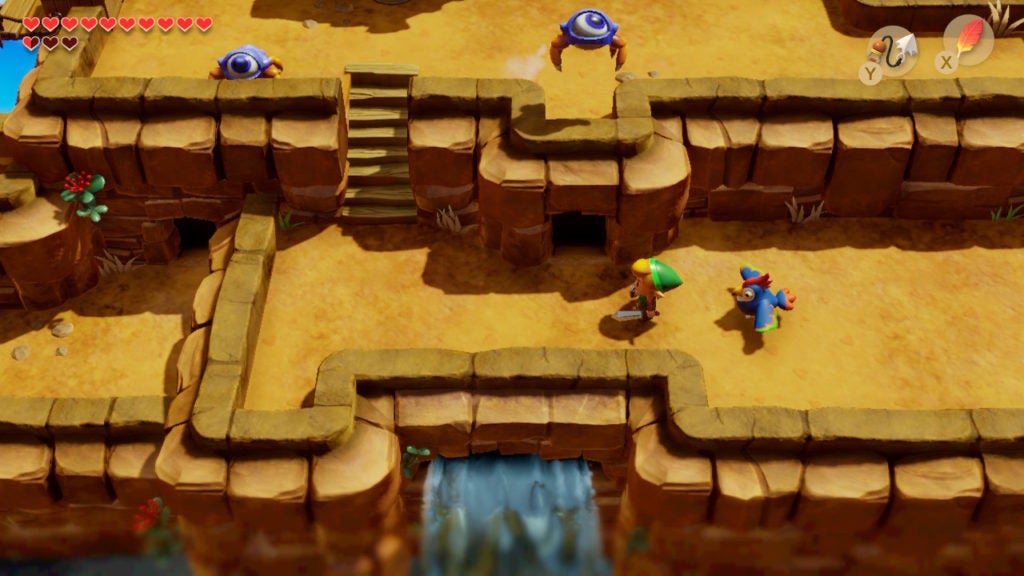
Travel Deep Into the Cave to Find the Bird Key
Within the cave, you’ll first be faced with a rock-moving puzzle. However, with the rooster’s help, you can fly around the western and northern walls to completely bypass the puzzle.
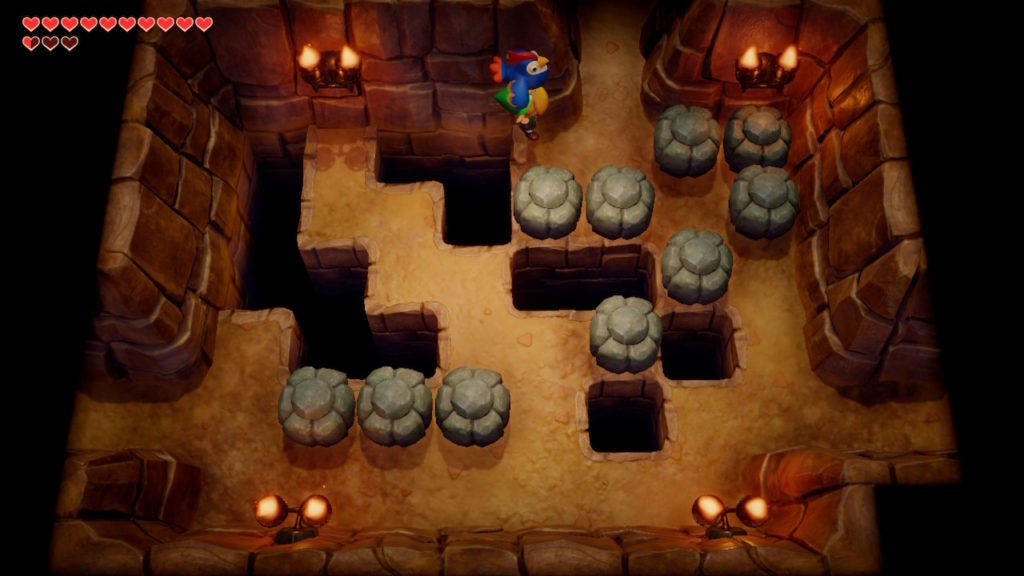
To take flight, pick the blue rooster up and then jump over a pit. The rooster will automatically begin flying effortlessly while you hang on to them. From the north of this chamber, go through the passage leading further north. This will bring you to a part of the cavern with a huge pit that can only be crossed with the blue rooster’s assistance.
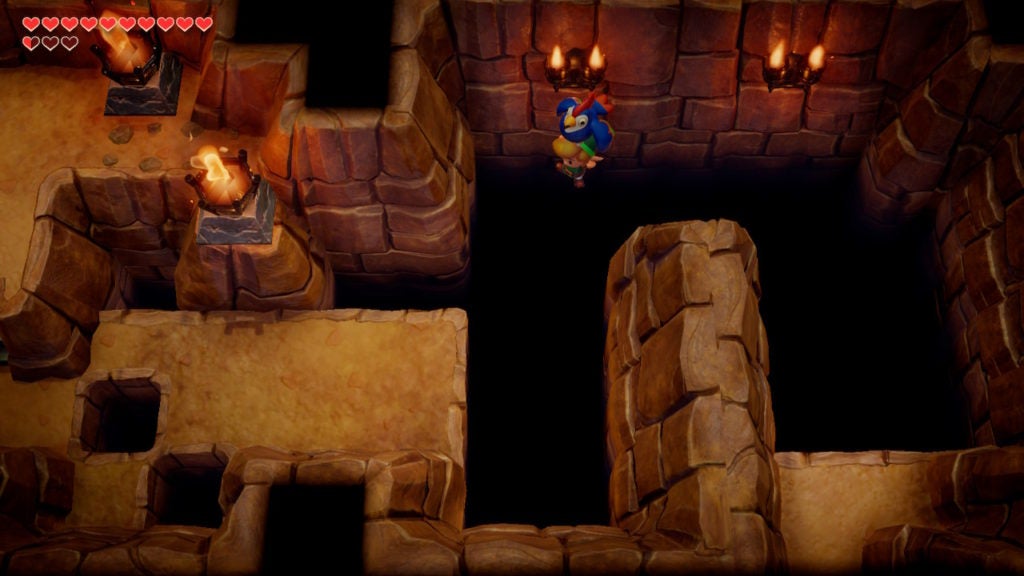
Fly over the void with your feathered friend to reach an area that will lead to the Bird Key.
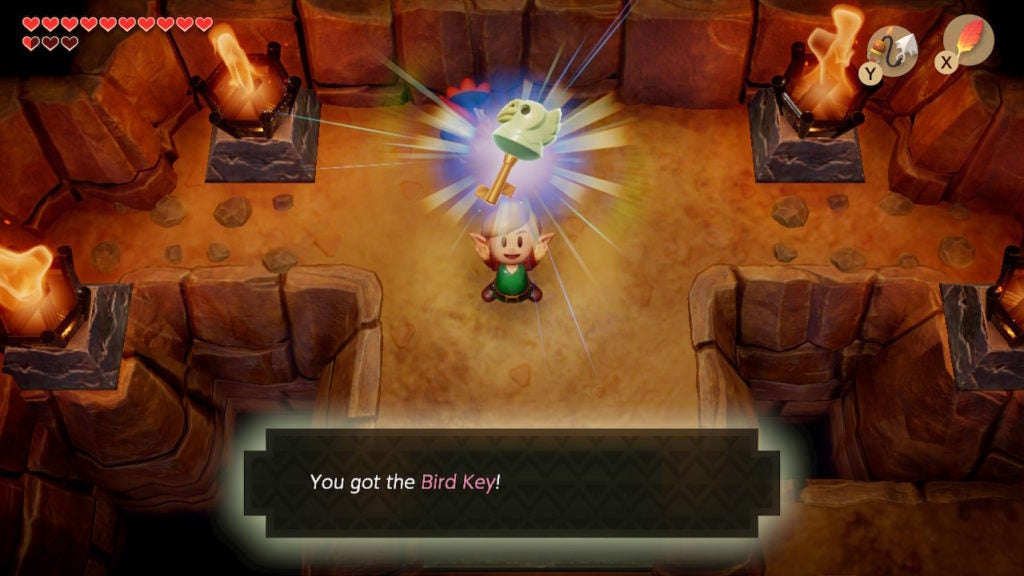
Collect 3 Secret Seashells on the Way to the Next Dungeon
After you pick up the Bird Key, you’ll want to start heading east toward the next dungeon, which is Level 7 – Eagle’s Tower. It’ll be a trek full of cave travel, though, there are some collectibles to obtain along the way which will make the journey less mundane.
Secret Seashell #1
Head up to the area with the Henhouse Keeper’s place. If you enter it and speak with them, they’ll have some unique dialogue since you have the blue rooster with you.
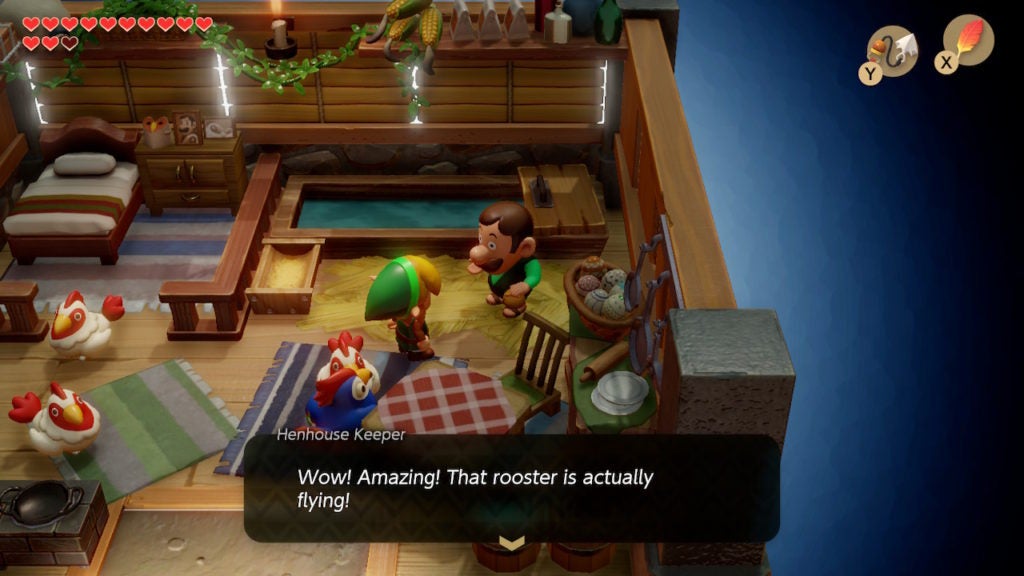
When you’re done hanging out with the keeper and the Cuccos, head east from their house and across a wooden bridge with a gap in it.
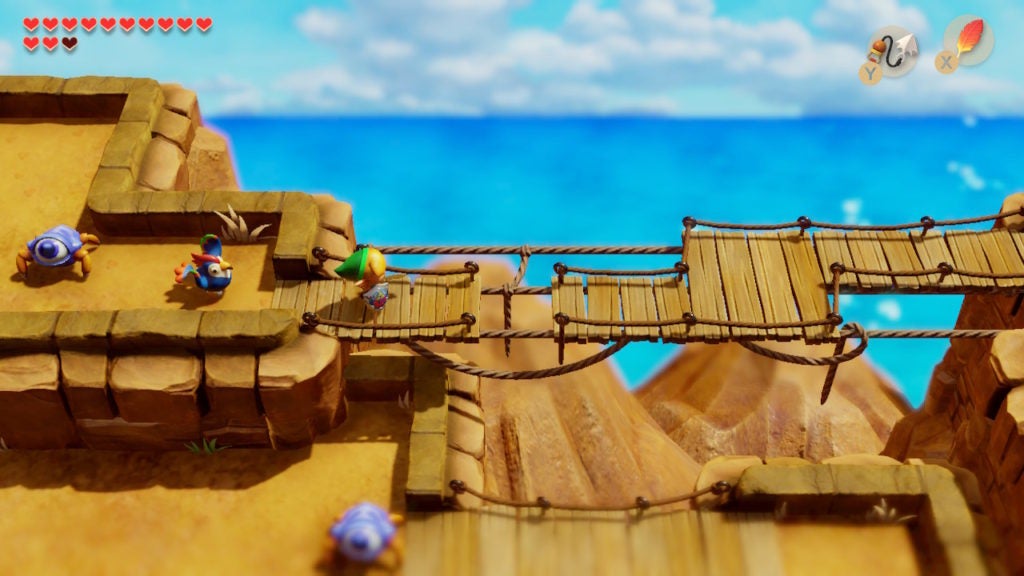
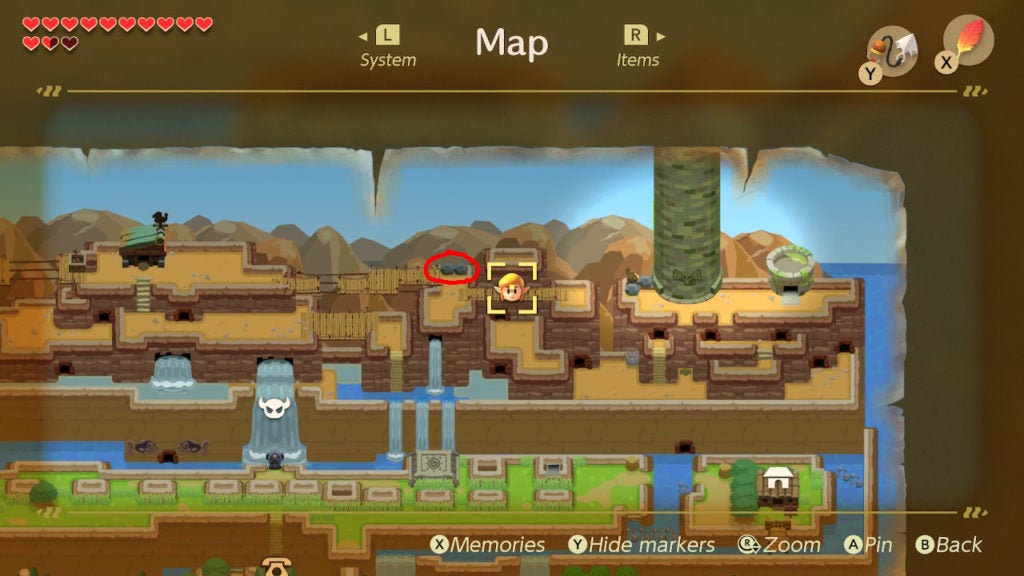
To the east of the bridge, you’ll find a couple of rocks. Lift them up to find 1 Spiny Beetle and 1 Secret Seashell. The Secret Seashell is under the eastmost of the 2 rocks.
Secret Seashell #2
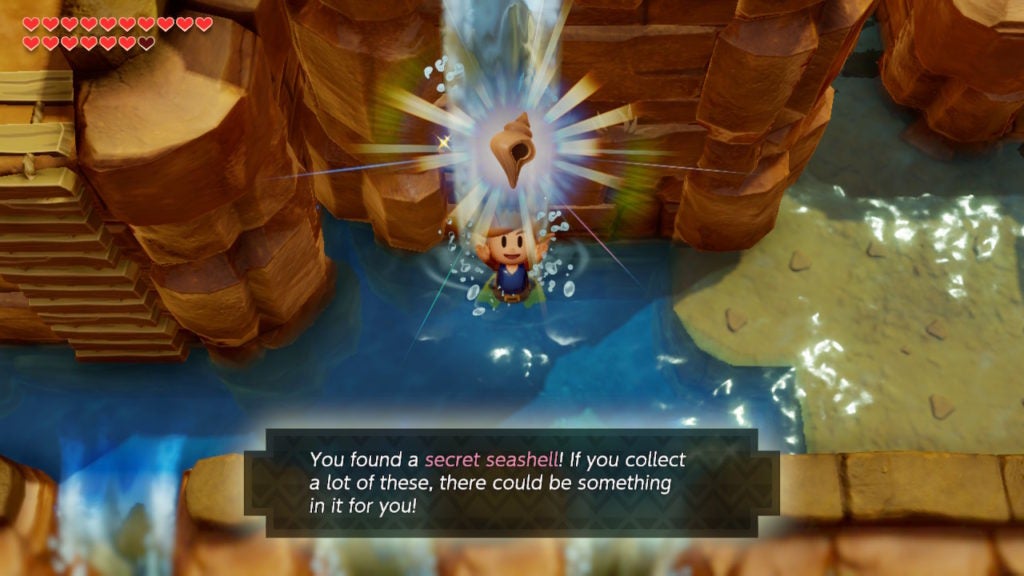
For the next bit of loot, backtrack down to the ladder emerging from deep water that leads to the area with the Bird Key cave. Swim a bit east to position yourself beneath a slim waterfall and then dive down with the B button to find another Secret Seashell.
Following this, you’ll want to head east and into the next cave entrance that you see.
Secret Seashell #3
Within this new cave, you’ll come across a cracked wall in the north of the thin passageway. Blow it open with a Bomb to find a hidden room.
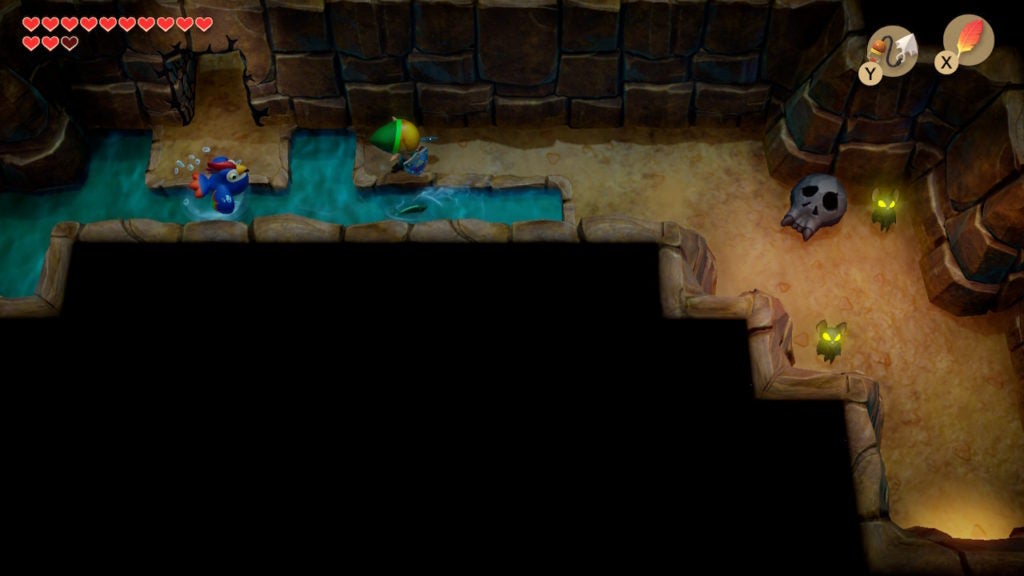
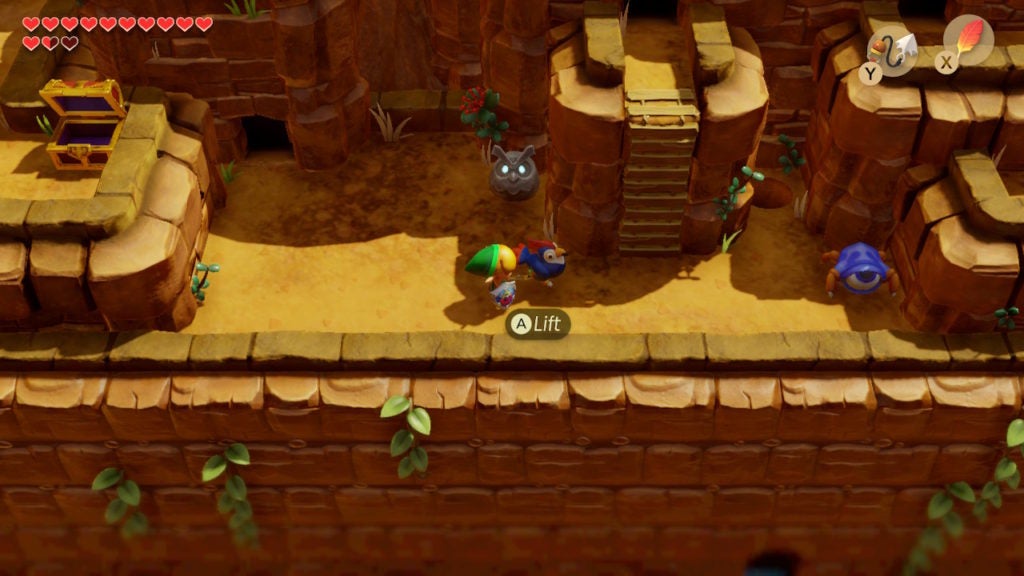
Beyond, you’ll be able to find a staircase that will lead you upward. From there, exit the south opening to find yourself on a small raised area that houses 1 Tektite and a chest.
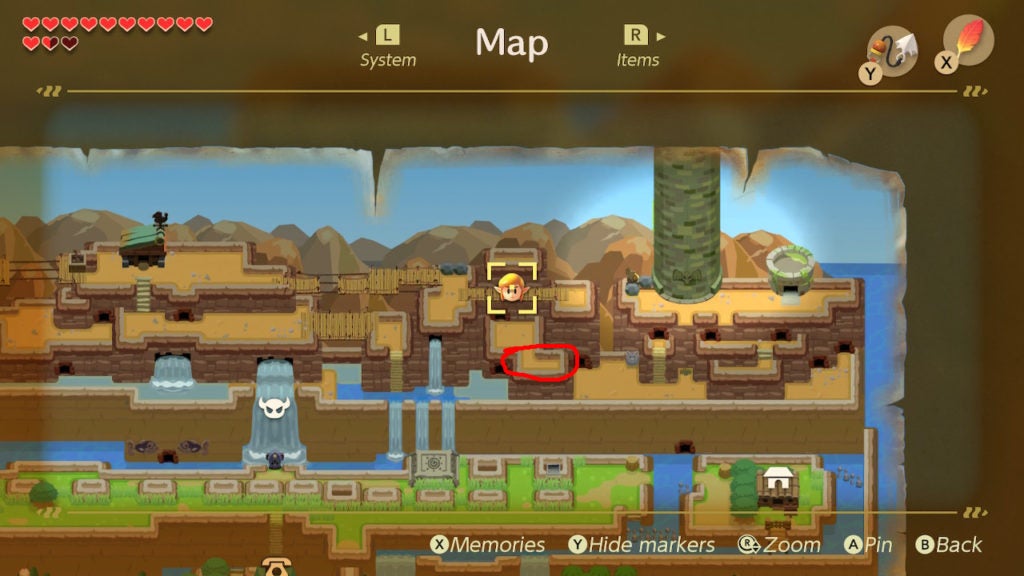
Defeat the Tektite to get them out of the way and then loot the chest for the last Secret Seashell that you can get from this section of the Tal Tal Mountain Range. There are a couple more, but those are better to get later.
Where to Find the Entrance to Level 7 – Eagle’s Tower
From the area with the third Secret Seashell, you’re only a few more caves away from Level 7 – Eagle’s Tower. Head back down into the area where you blew open the cracked wall and go east. There will be an exit that will bring you to a stretch of land leading further east. Ascend the ladder that you find close to an Owl Statue (which will give you some vague advice).
This brings you to another cave entrance. Head inside and travel east, as it’s the only way you can go. Although the network of caves in this part of the Tal Tal Mountain Range is complex, it’s rather linear in terms of progression.
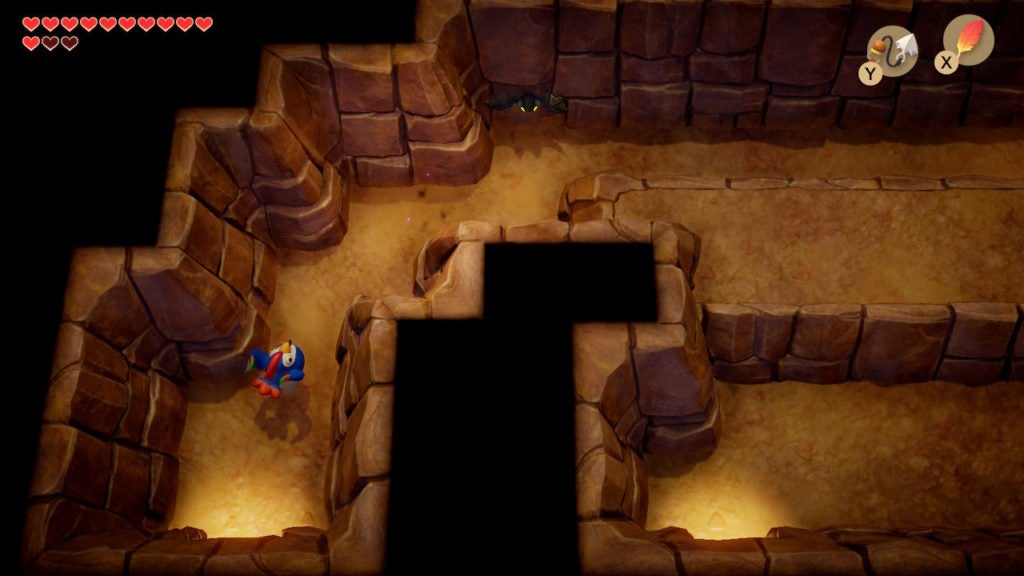
After you exit the southeast opening, you’ll be on another small stretch of land.
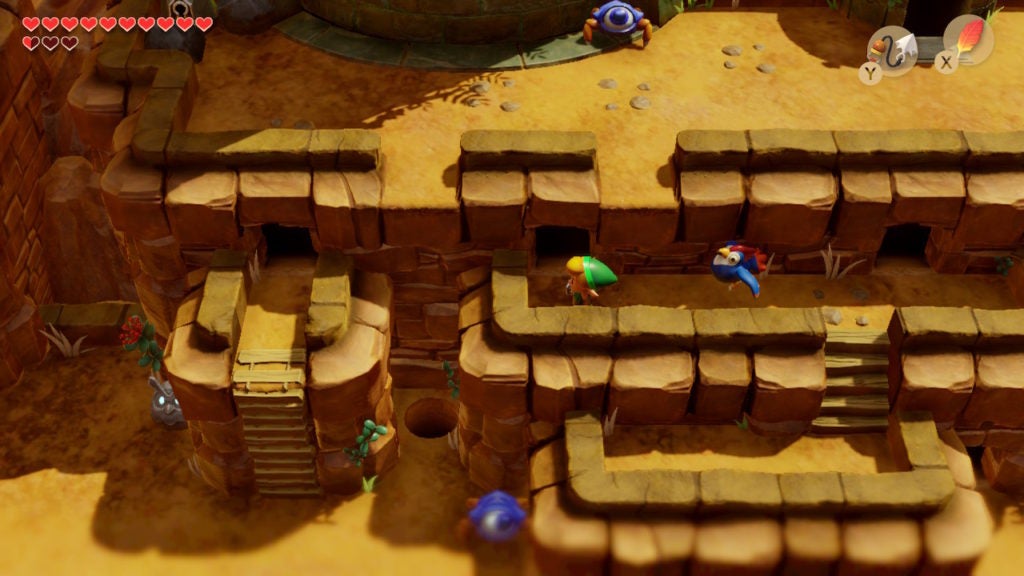
Go west to the only other cave entrance you’ll see to re-enter the complex yet linear cave system. There will be another small corridor with only a staircase nearby.
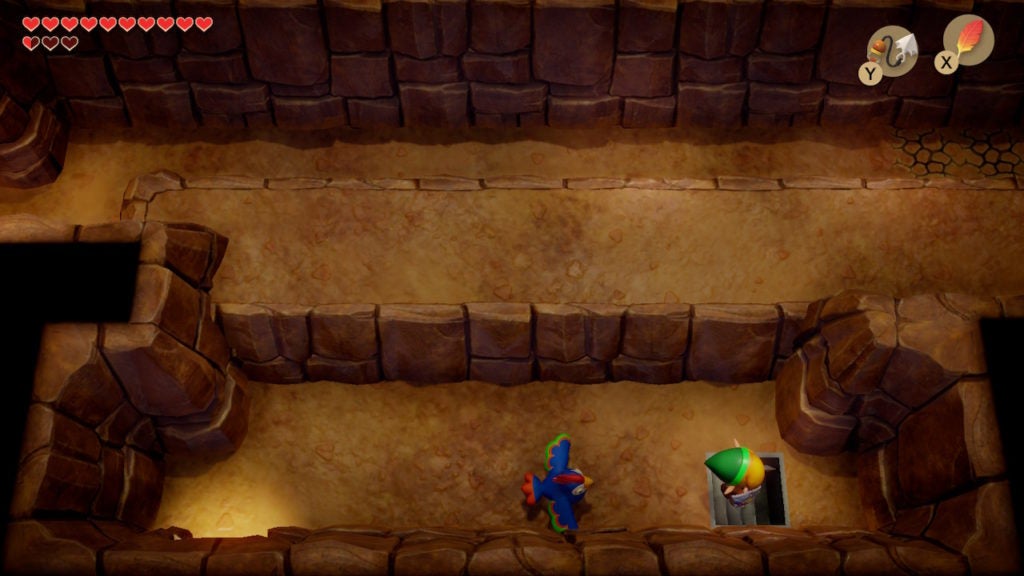
When you descend the staircase, you’ll be in a different part of the cave system. This area will have a few pits that you’ll need to avoid. There are also a few weak enemies here that you can take out. However, there’s also no harm in just avoiding them—which is quicker.
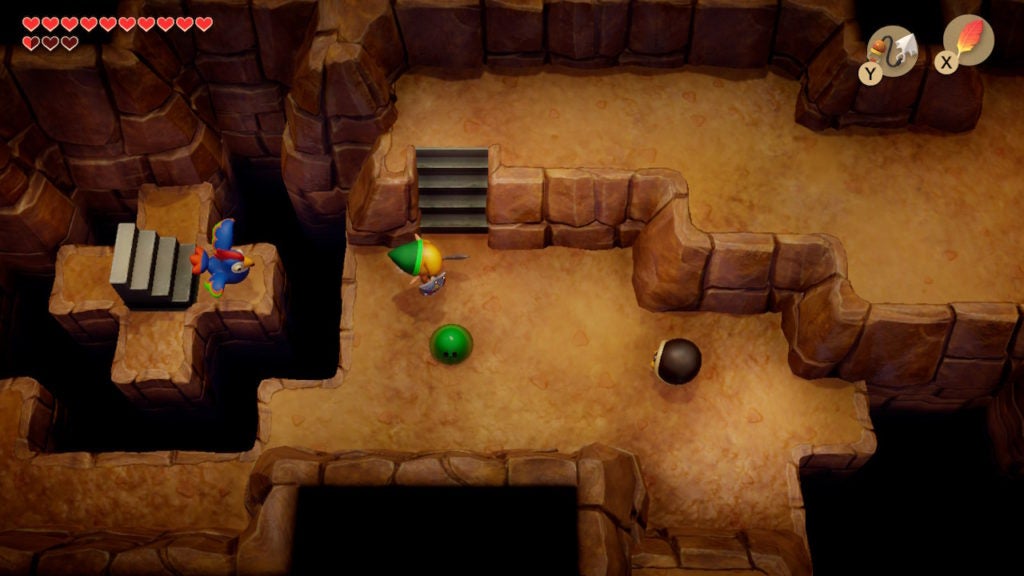
Make your way east and then south until you come to a wide gap. Across this gap is the way to the southern exit of the cave. You can use the rooster’s help to fly over the pit or you can use the Hookshot on the rock to the west.
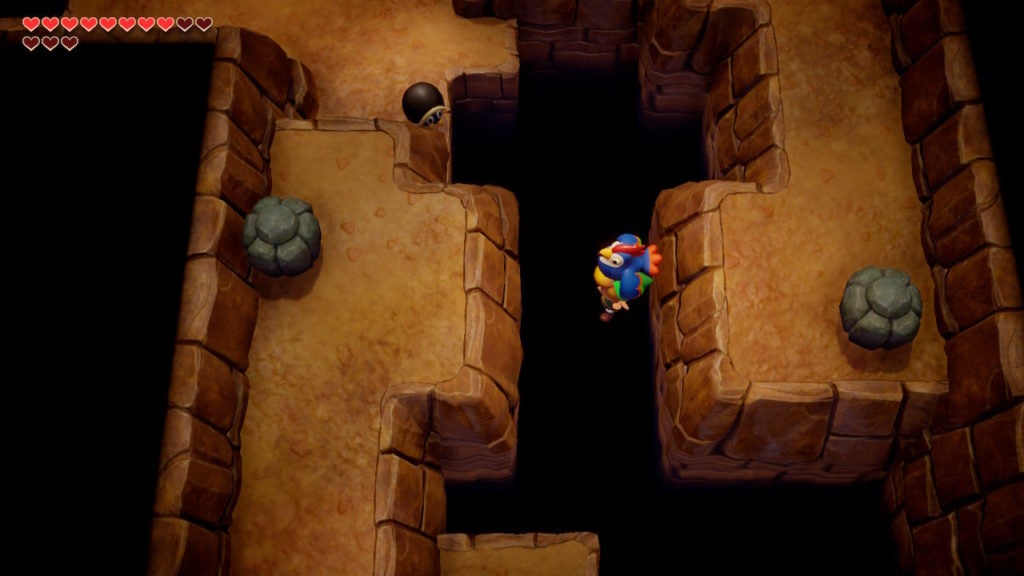
Hop down the ledge leading to the exit and make your way outside once more.
Activate the Warp Point on the Eastern Part of the Tal Tal Mountain Range
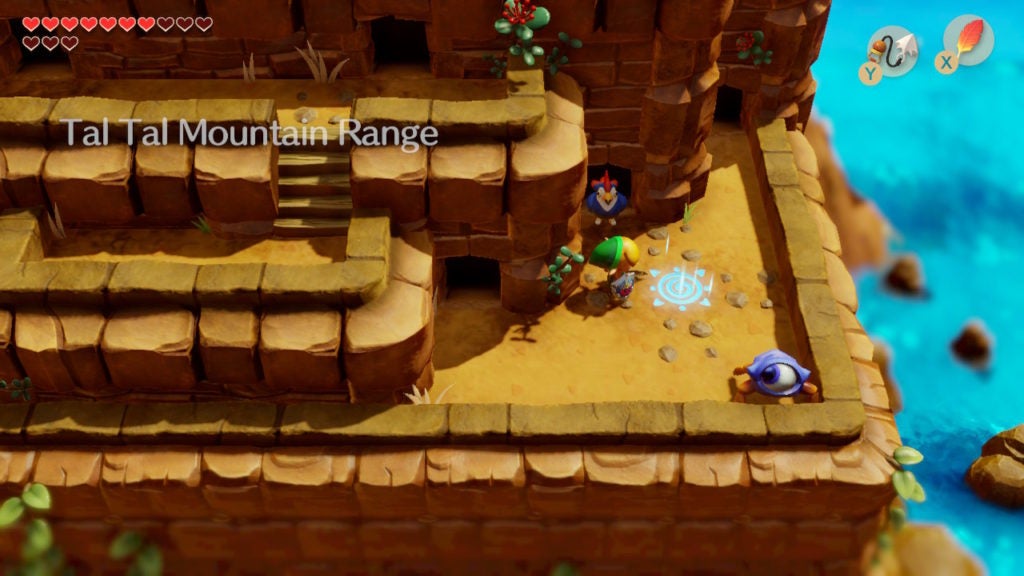
Just in front of the exit, you’ll notice a patch of 4 rocky dirt squares with a simple dirt one in between them. If you dig into the regular dirt tile surrounded by rocky dirt tiles, you’ll find a Warp Point. This helpful teleporter means you won’t need to deal with the Tal Tal Mountain Range’s annoying cave system as much in the future.
Find the Great Fairy Location on the Eastern Part of the Tal Tal Mountain Range
West of the newly-found Warp Point will be a cave entrance that leads you into the home of a Great Fairy.
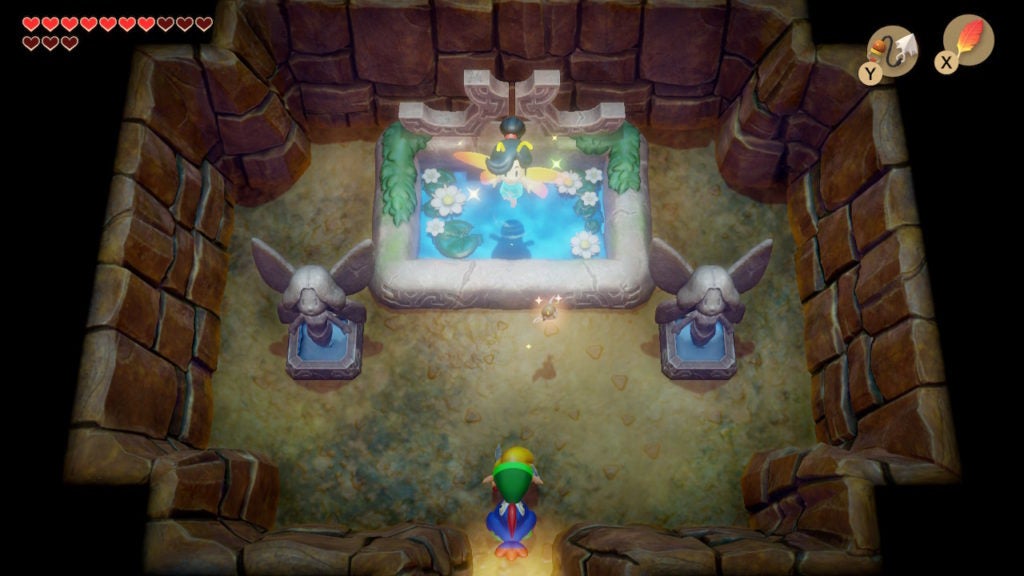
In addition to the small Fairy floating around in this cave, you can also get healed directly from the Great Fairy. She won’t even ask for anything in return! Thank her for the healing and then head out of the cave to progress to the next dungeon.
Unlock the Entrance to Level 7 – Eagle’s Tower
The only other way you can go now is through the easternmost cave entrance that lies north of the Warp Point you found recently. Going through it will bring you to a linear cave system that ends in a room with a few large pits.
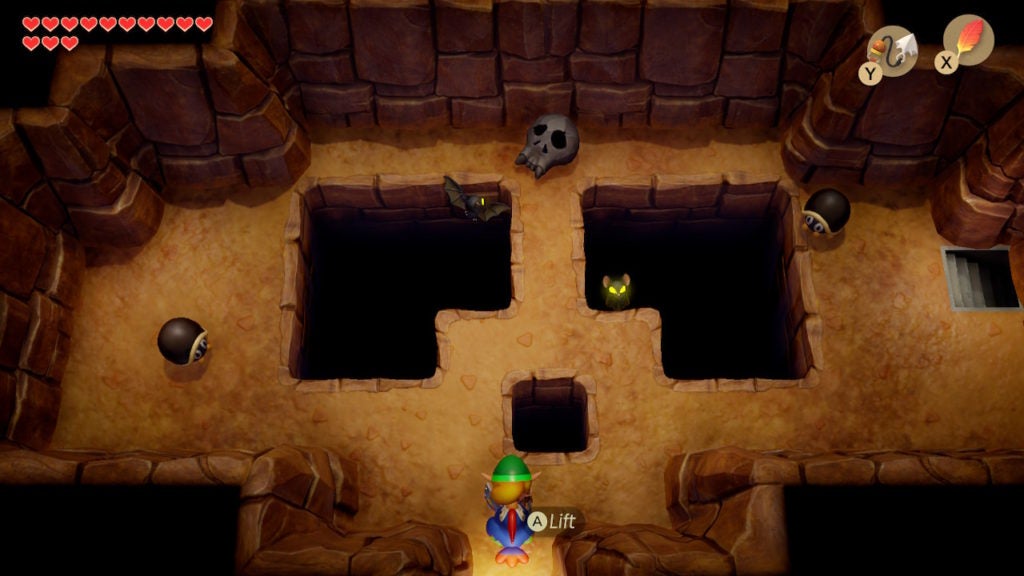
Avoid the enemies and proceed south out of the opening there. You’ll now exit the stone structure that lies to the east of the next dungeon.
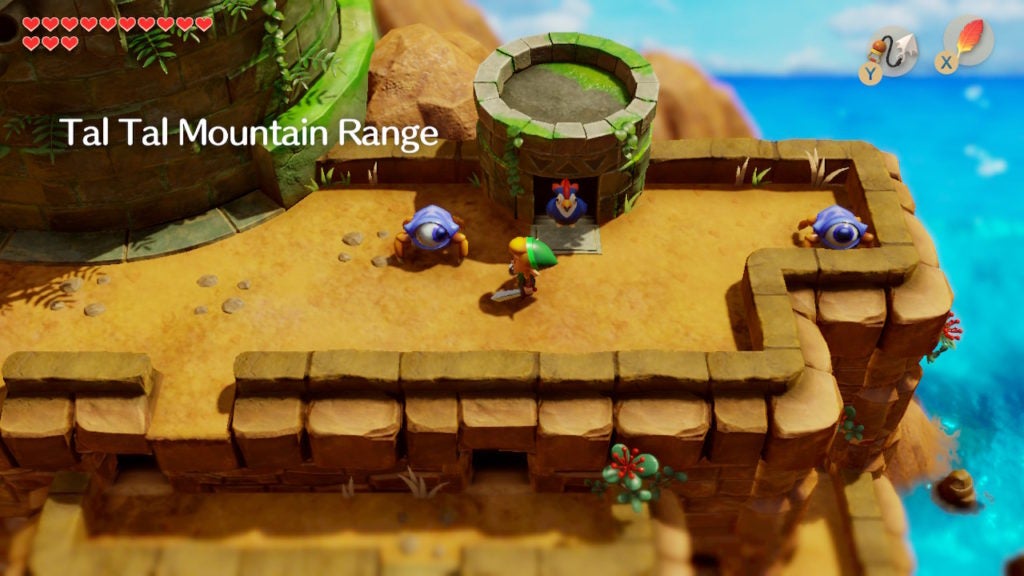
Slay or avoid the Tektites hopping around this area and go west until you find a keyhole. This keyhole is where you need to insert the Bird Key.
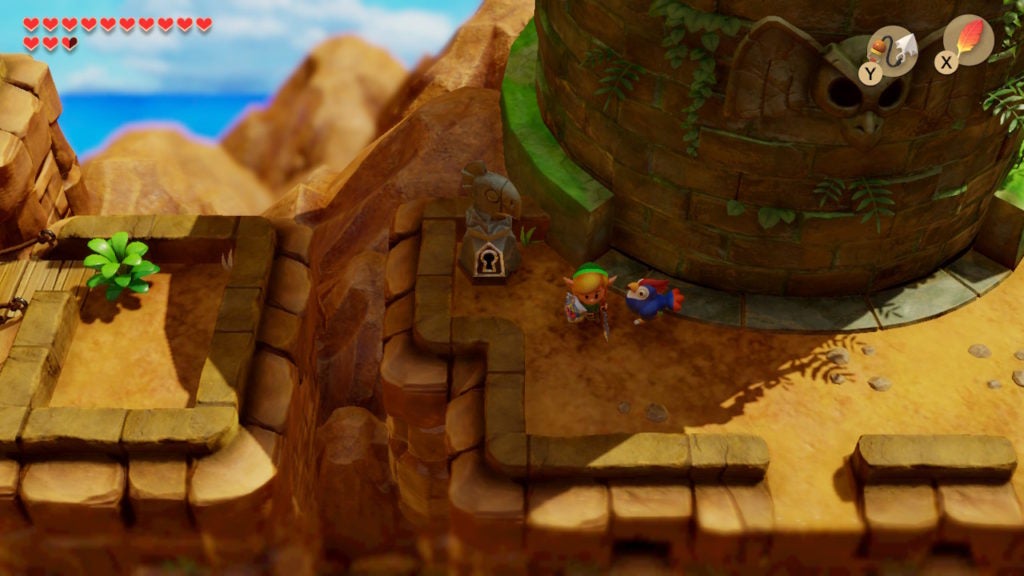
When you use the Bird Key on the keyhole, the stone tower nearby will rotate to reveal the entrance to the dungeon.
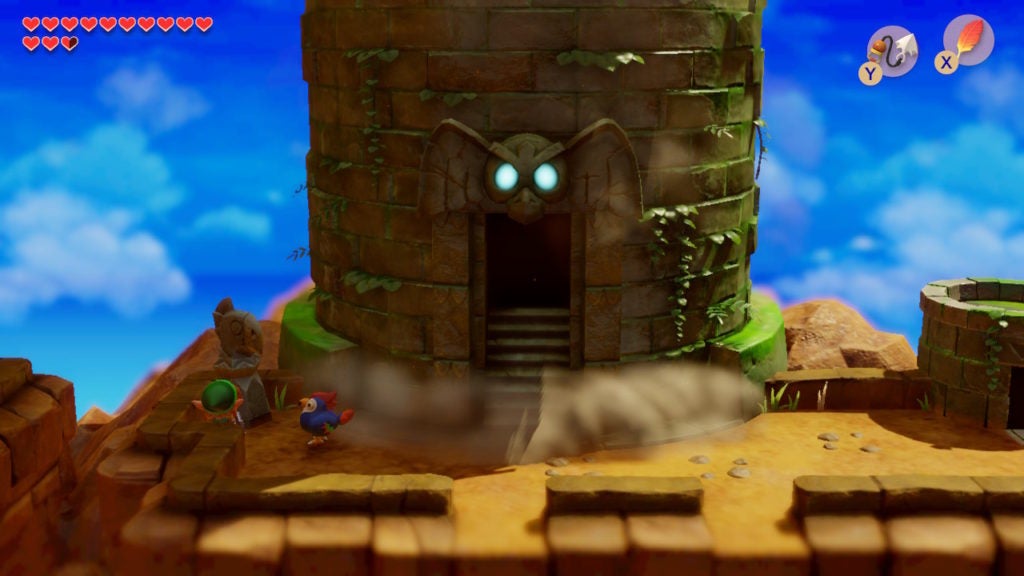
Now that you can enter the dungeon, it’s time to ascend Level 7 – Eagle’s Tower.


