After you get through the maze of the Wind Fish’s Egg, you’ll find a huge hole in the floor. Jump down it to enter the boss room and confront Koholint Island’s Nightmares in their true forms!
Table Of Contents
Preparation for the Fight
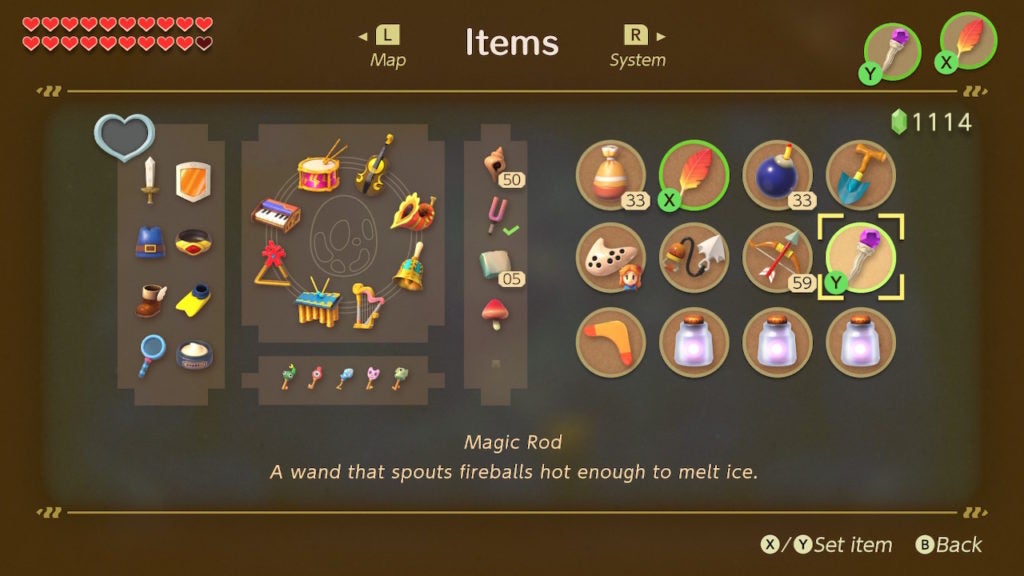
For this fight, you’ll need both the Magic Powder and the Magic Rod for specific phases—though never at the same time, so you don’t need both equipped at once. However, besides your Sword, that’s all you’ll need to hurt the boss!
As for defensive measures, you’ll want to have some Secret Medicine and as many full Fairy Bottles as possible. You can buy some Secret Medicine from Crazy Tracy, who lives on Koholint Prairie. As for Fairy Bottles, you’ll need to collect all three from different sources and then capture Fairies in them.
Secret Medicine works like an auto-revive that triggers when you lose all of your Hearts. You can think of having some as having an extra life or an extra continue. Secret Medicine will restore all of your Hearts.
Conversely, full Fairy Bottles need to be equipped and then used for you to receive their healing effects. Releasing a Fairy from a Fairy Bottle will give you 10 Hearts back.
In addition to healing items, you’ll want to have the Roc’s Feather equipped during the last phase of this boss rush, as it will be very useful for dodging incoming attacks.
Phase One – Shadow Slime
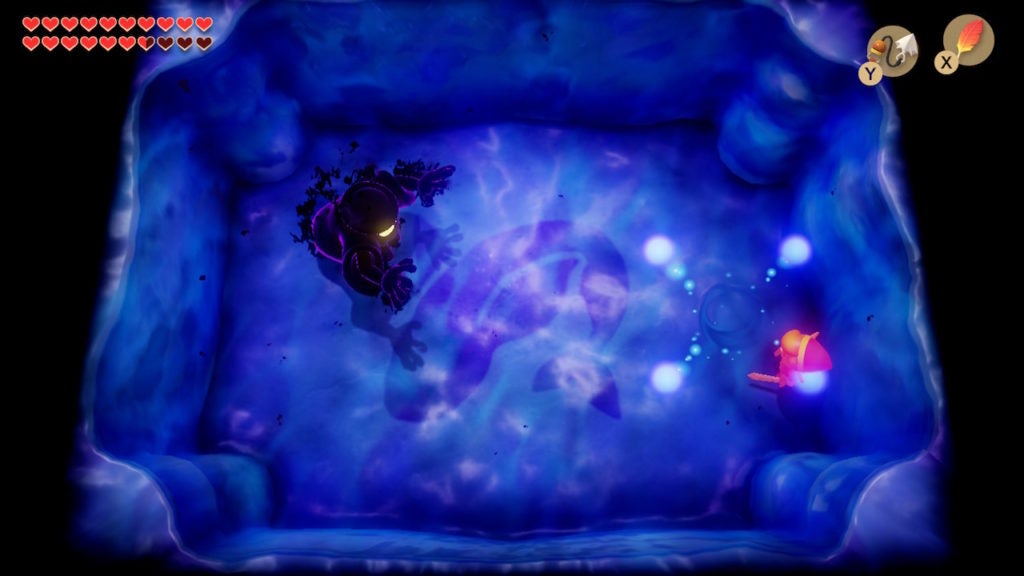
The first phase of this boss fight will be rather easy. Consider this a warm-up for the foes that follow. This Shadow Nightmare will act much like a large Zol in that they will amble around along the floor slowly.
However, when you sprinkle some Magic Powder on them, they will teleport to a different part of the room. Keep dusting them with Magic Powder and they’ll go down shortly. This enemy has no real attacks and can only damage you by directly bumping into Link. Just don’t touch them and you’ll be fine!
Phase Two – Shadow Genie
The second phase of this fight will be much more challenging. This Shadow Nightmare will act similarly to the Genie boss of Level 2 – Bottle Grotto in that they’ll shoot magical projectiles at you. There are two kinds of attacks that you’ll need to look out for.
Shadow Genie’s Blue Magic Attack
Often, Shadow Genie will shoot an orb of blue magic at you, which will explode into four smaller blue orbs. The four smaller orbs will always travel in an “X” shape away from the spot where they were created.
To dodge this attack, stand directly north, east, south, or west of the initial projectile’s explosion. This will make it impossible for this attack to hit you if you are far enough away from the initial explosion.
Shadow Genie’s Red Magic Attack
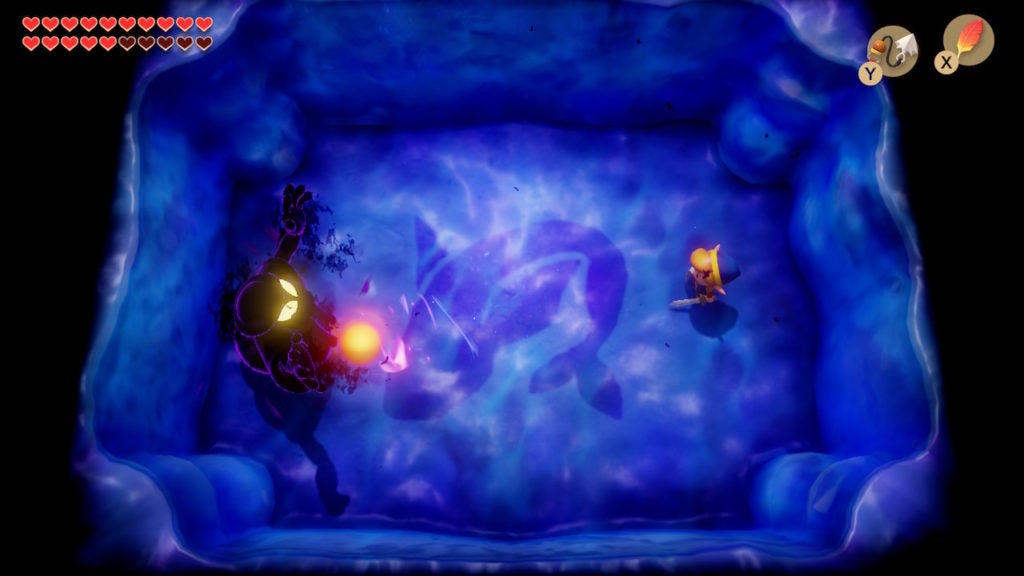
This Shadow Nightmare’s other attack is one that launches a large red orb your way. The only way to hurt Shadow Genie is to hit this red orb back at them with your Sword. The timing is pretty tricky, however, you need to wait until just before the fireball hits you to swing your blade.
The easiest way to return the boss’ attack is to be as far away from them as possible so that you have the most time to react. Alternatively, you can stand directly in front of Shadow Genie and spam Sword slashes to return their red orb attack the moment it is launched. You’ll need to do this a few times before the fiend goes down.
Phase Three – Shadow Modorm
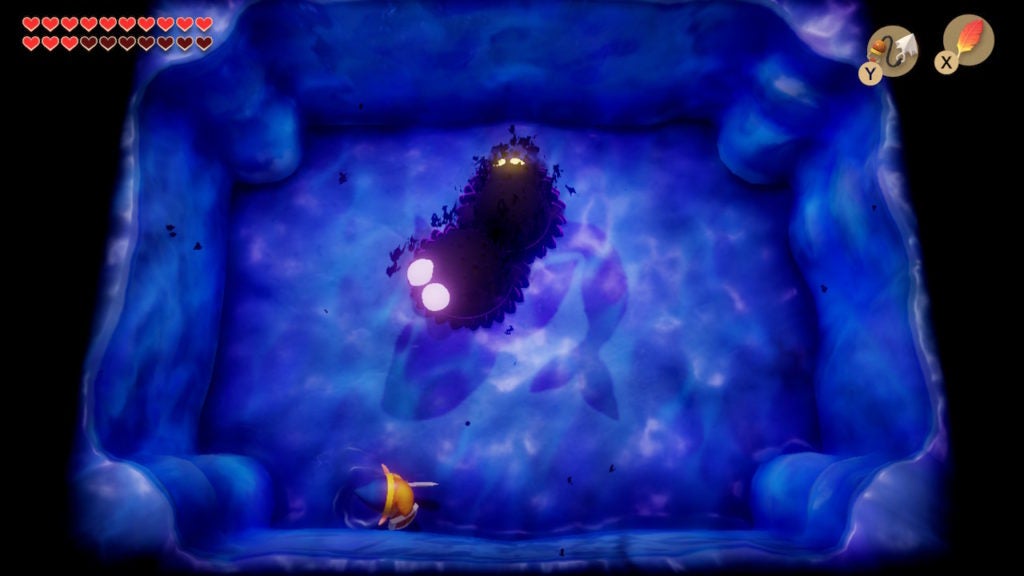
When your adversary next changes shape, they will reform as a dark version of the boss Moldorm from Level 1 – Tail Cave. This worm-like foe will act identically to that early-game boss, so you can defeat them the same way!
Position yourself so that you can line up an attack on Moldorm’s glowing tail. You’ll need to strike it with your Sword a few times to end this phase of the battle.
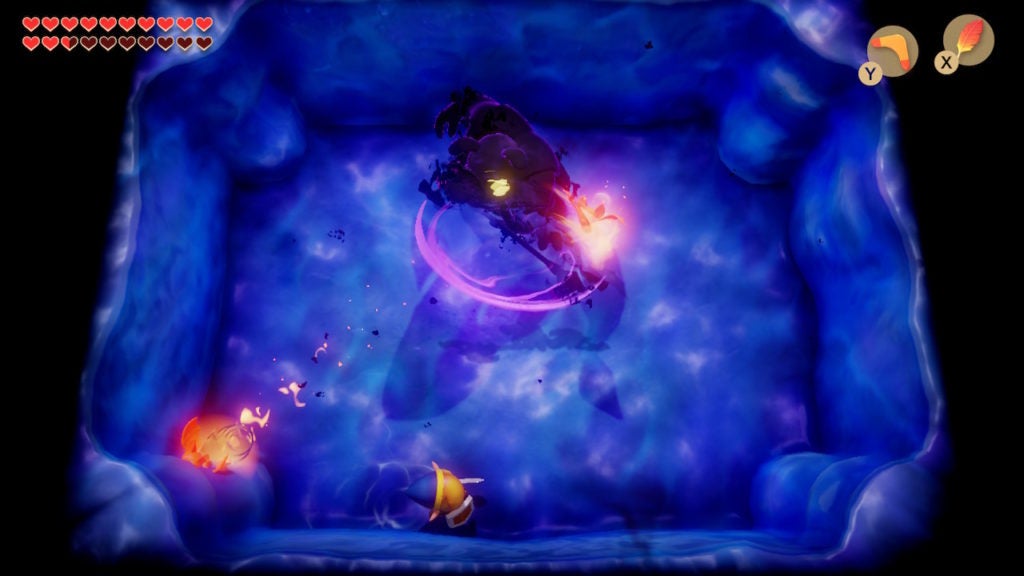
Phase Four – Shadow Moblin
The fourth phase of this fight is one of the tougher ones. In form, this Shadow Nightmare will appear to be a huge moblin-like creature that is wielding a double-headed axe. This intimidating fiend will have two attacks that you’ll need to avoid.
Shadow Moblin’s Fire Keese Attack
The most common attack that Shadow Moblin will use is a ranged one. The boss will summon three Fire Keese above themselves, which, after a short delay, will each fly at you aggressively.
To dodge the Fire Keeses’ divebombs, you’ll need to move perpendicularly to their paths. Since the Fire Keese travel in a line, you can predict their movements easily and avoid them by walking away from where they will end up.
Shadow Moblin’s Flying Axe Attack
While you can’t reflect this attack back at your foe, you can use it to counterattack. Once in a while, Shadow Moblin will fling their axe around the room. It will act as a boomerang and will return to its shadowy master after arcing outward.
Normally, the boss is twirling their axe in front of themselves, which protects them from all of your attacks. As such, you’ll only be able to hurt Shadow Moblin when they temporarily throw their weapon.
To hurt Shadow Moblin, you’ll need to use a spinning attack on them with your Sword while they are not holding their axe. However, it can be difficult to charge your spinning attack and dodge the flying axe at the same time.
In order to line up a shot, you should attack from the opposite side that the axe launches. For example, if Shadow Moblin throws their axe to the east, you should attack from the west. You’ll need to land a few hits on this large foe to force them to enter their next phase.
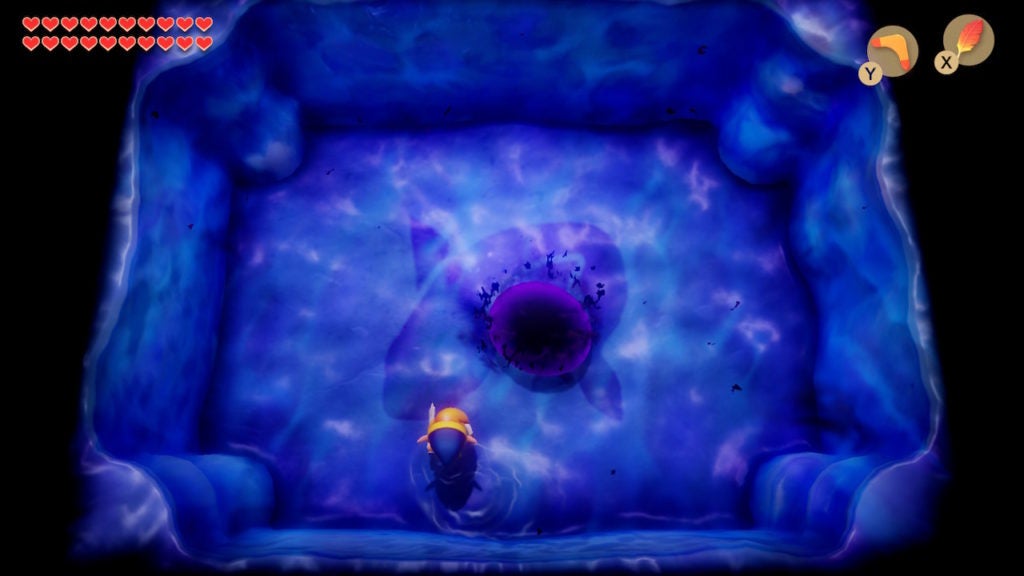
Phase Five – Shadow Ball
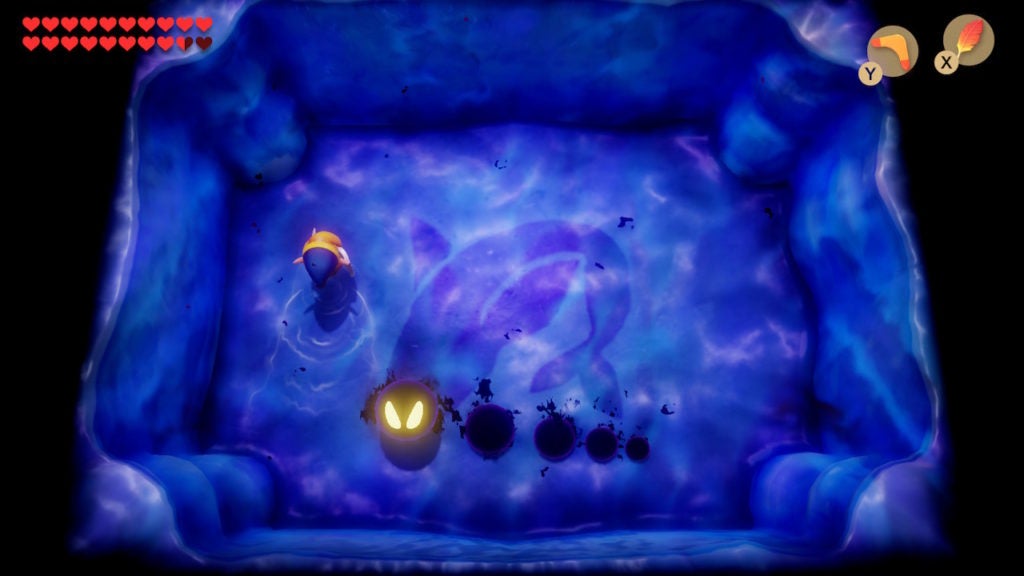
The fifth phase will be rather underwhelming compared to the previous one. Consider this a break-wave before the final phase of this boss rush. In this form, the Shadow Nightmare will chase you in linear attacks. In their ball-like form, their hitbox is rather small, making their tackles pretty easy to dodge.
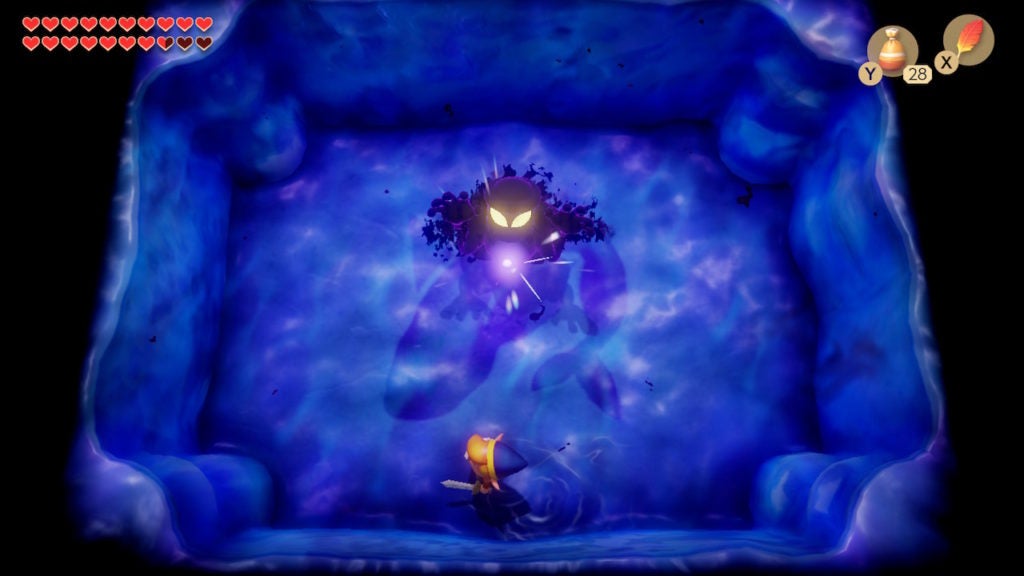
To hurt the Shadow Ball, you’ll need to use your Magic Rod. Keep blasting purple fireballs at your enemy and they will go down quickly. However, as they are exploding and changing shape, you may want to heal with a Fairy Bottle. This will be your last easy chance to do so, therefore it would be prudent to heal if you’re low on Hearts.
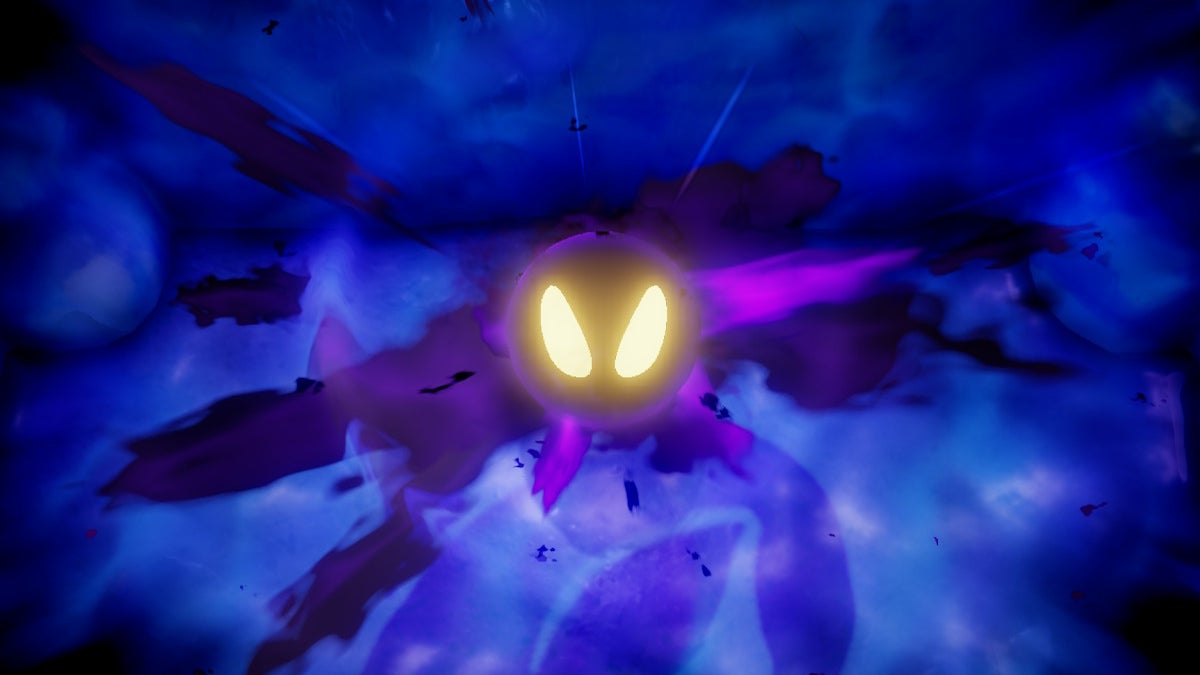
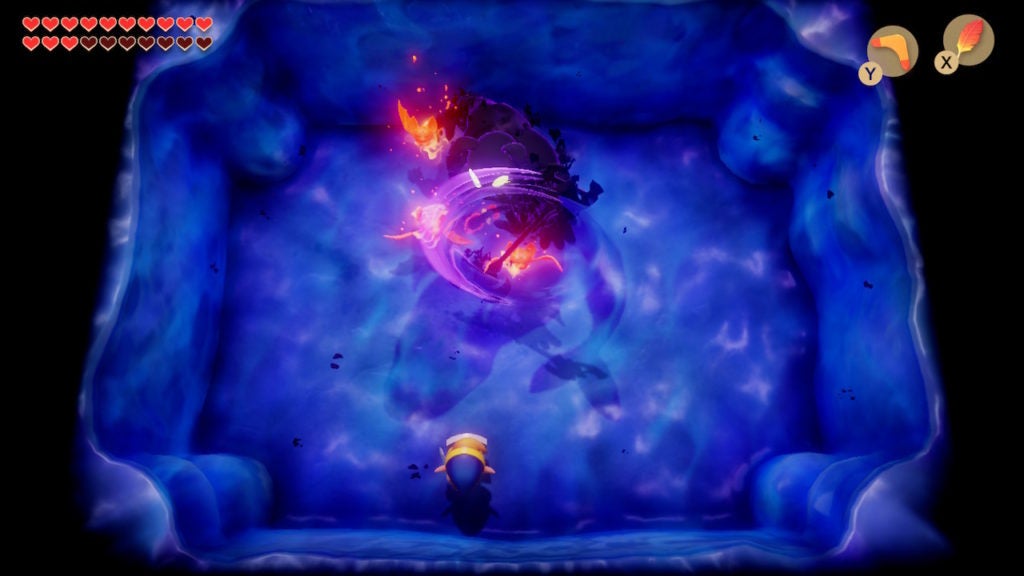
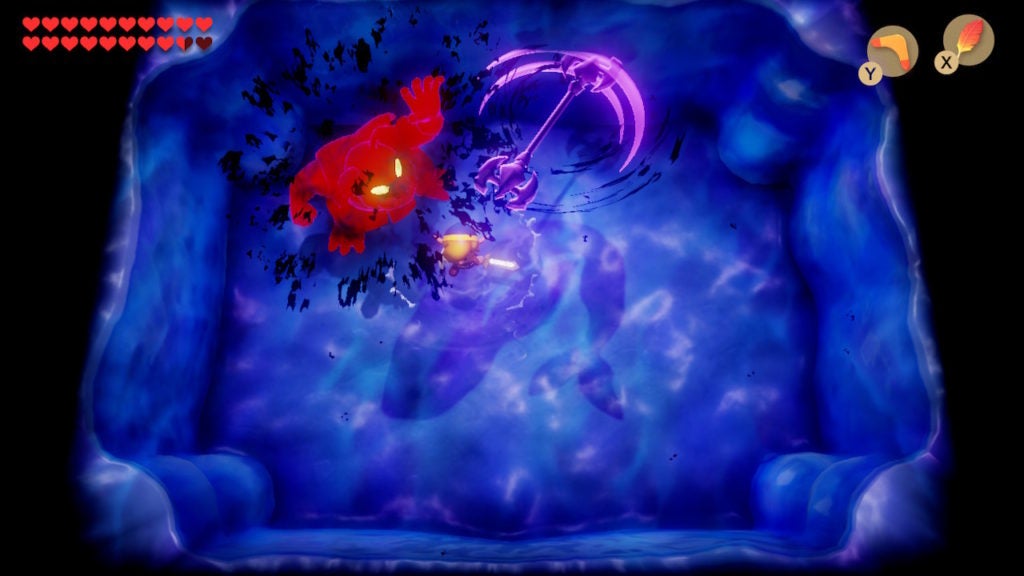
Phase Six – Dethl
The final phase of this boss rush will force you to fight an imposing monster. Dethl, with their huge central eye and two long arms, will be able to sweep most of the room in increasingly chaotic attacks.
At first, the boss’ arms will swing around slowly and in unison, making them fairly easy to anticipate. However, as Dethl loses more and more health, they will swing their arms around faster and at different times.
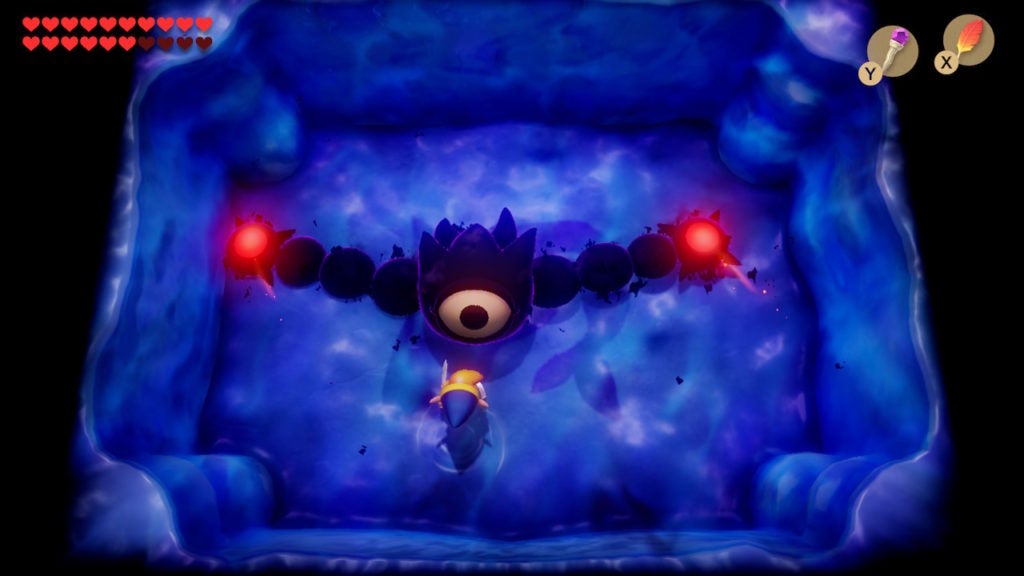
How to Dodge Dethl’s Attacks

The only way to avoid Dethl’s long, sweeping attacks is to jump over them with help from the Roc’s Feather. Timing will be key here, however, so will reflexes. As the arms begin moving more and more erratically, there will be more times when one of the arms can hit you as you’re dodging the other.
However, you can find an easier spot to dodge these attacks if you use a bit of physics! The red glowing ends of Dethl’s arms have to travel further than the inner parts, which, put simply, means they move slower and that there is more space between them. Stay as far to the south of the room as you can, as you’ll have the most time and space to dodge Dethl’s sweeps.
How to Hurt Dethl

In Link’s Awakening, the only weapon you can hurt Dethl with is your Magic Rod. You’ll need to shoot your adversary in their large, central eye to decrease their health. Thankfully, since the Magic Rod is a ranged weapon, you can barrage Dethl with purple fireballs from the southern wall of the room.
With that said, you’ll still have to attack in between dodging the enemy’s sweeping blows. Your rhythm will have to evolve, as the boss’ movements get progressively more chaotic throughout the fight. Though, don’t let up! Keep firing at Dethl’s eye and they’ll go down soon enough.
Watch the Shadow Nightmares Disappear for Good
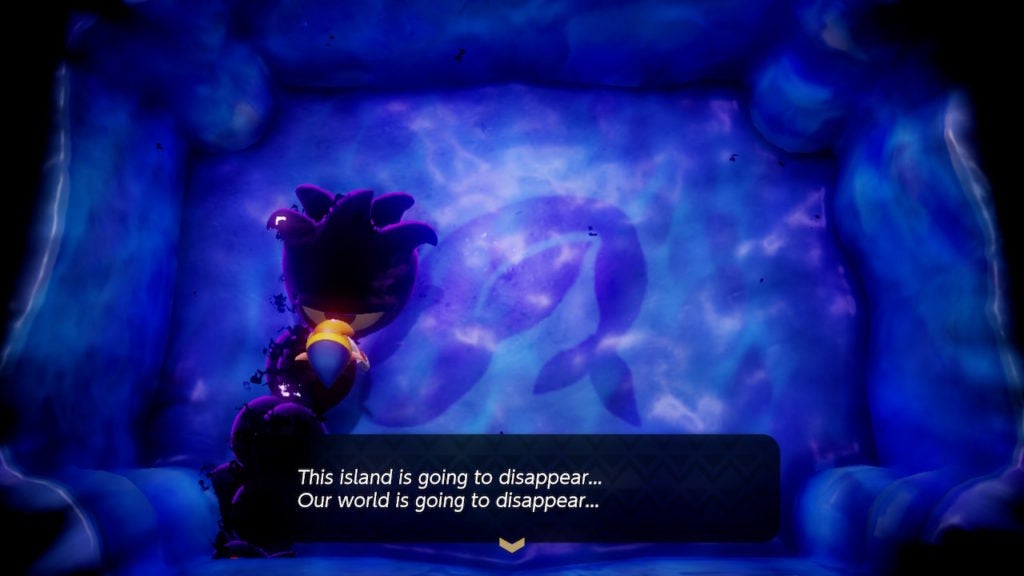
After you defeat Dethl, they will lose all their energy and will begin speaking of their doom. They will state that the island of Koholint—their whole world—is going to disappear. This is clearly due to the fact that the Wind Fish will now awaken due to the Shadow Nightmares being defeated. And, with that, Dethl will explode amongst purple fire and will disappear, much like Koholint Island will shortly.
Well done! You’ve beaten the final boss of The Legend of Zelda: Link’s Awakening! While there’s one more thing you can do a bit later, for now, it’s time to speak to the Wind Fish and watch the credits.