
![]() Key Takeaway
Key Takeaway
There are five key skills to master in Stardew Valley: Farming, Fishing, Foraging, Mining, and Combat. These skills are increased by performing that specific activity, and they can all be leveled to a maximum of Level 10.
Each skill has two professions you can pick, at Levels 5 and 10. You can change your mind about these professions and swap to something else using the Statue of Uncertainty in the Sewers for 10,000g.
The road to success in Stardew Valley is paved by five must-master skills: Farming, Fishing, Foraging, Mining, and Combat. It’s time to prime your green thumb and get to work, as these skills help to rake in the gold and make your day-to-day life on the farm easier.
Table Of Contents
What Are the Skills in Stardew Valley?
To reiterate before moving on: there are five central skills in Stardew Valley: Farming, Fishing, Foraging, Mining, and Combat. Each can reach a maximum level of 10 while you’re performing tasks in day-to-day farm life to gain Experience (XP). Gaining more XP and increasing your skill levels gives you proficiency, which means less Energy is used when performing manual labor.
Increasing your proficiency reduces the Energy required to complete most tasks. For example, Watering Cans at Level 0 use two Energy, and by Level 10 they only use one Energy. It’s only a slight increase, but it works wonders for your time on the farm. Efficiency for the win!
At Levels 5 and 10, you can pick a specialized profession for each skill—all have different benefits. You can change your chosen professions whenever you have the funds, but we’ll get into that later.
XP Needed to Level Up
| Level | Total Experience Needed (XP) |
|---|---|
| 1 | 100 |
| 2 | 380 |
| 3 | 770 |
| 4 | 1,300 |
| 5 | 2,150 |
| 6 | 3,300 |
| 7 | 4,800 |
| 8 | 6.900 |
| 9 | 10,000 |
| 10 | 15,000 |
How to Increase Your Farming Skill
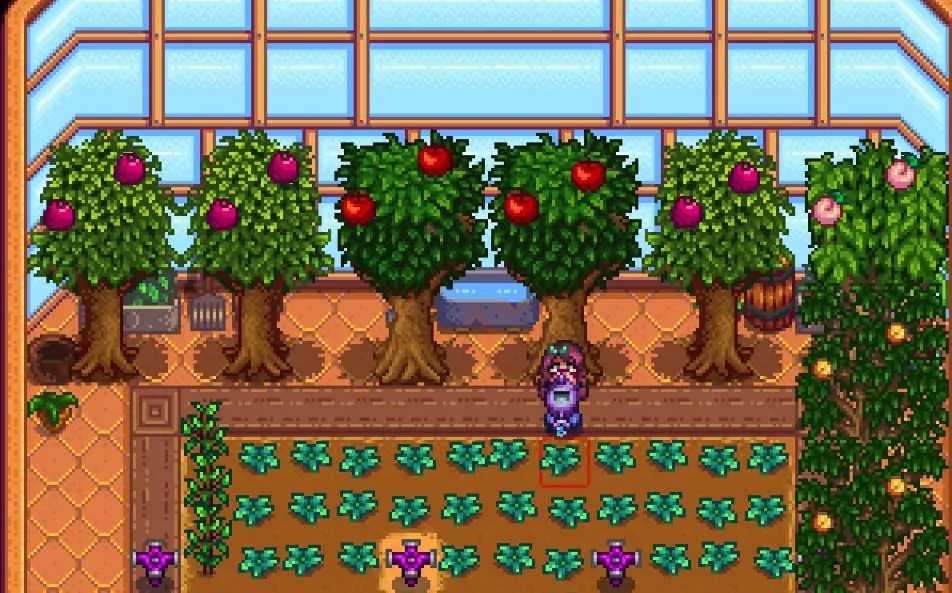
Farming is the most crucial out of all the skills you’ll be training in Stardew Valley. To level up this skill, all you need to do is farm: this also includes general Farming activities like hoeing the ground, planting crops, watering, harvesting, and tending to farm animals. Each Level also grants +1 proficiency to the Hoe and Watering Can, reducing the Energy cost.
If you’re an avid farmer who tends their crops daily, you should be Level 10 in no time! Bear in mind that the quality of items doesn’t affect the amount of XP you get.
| Level | Unlocked Crafting Recipes |
|---|---|
| 1 | • Scarecrow • Basic Fertilizer |
| 2 | • Stone Fence • Sprinkler • Mayonnaise Machine |
| 3 | • Speed-Gro Fertilizer • Bee House • Farmer's Lunch |
| 4 | • Basic Retaining Soil • Preserves Jar • Iron Fence |
| 5 | PROFESSION CHOICE: Rancher or Tiller |
| 6 | • Cheese Press • Hardwood Fence • Quality Sprinkler |
| 7 | • Loom • Quality Retaining Soil |
| 8 | • Key • Oil Maker • Deluxe Speed-Gro |
| 9 | • Seed Maker • Quality Fertilizer • Iridium Sprinkler |
| 10 | PROFESSION CHOICE • Rancher: Coopmaster OR Shepherd • Tiller: Artisan OR Agriculturist |
Farming Level 5
| Profession | Bonuses | Choices at Level 10 |
|---|---|---|
| Tiller | Crops sell for 10% more gold | Artisan or Agriculturist |
| Rancher | Animal products like Eggs or Milk sell for 20% more gold | Coopmaster or Shepherd |
The Tiller is often the best option to choose at Level 5. You’re more likely to sell crops raw than you are with animal products, which are usually transformed into Artisanal Goods like Cheese. Choosing Tiller is also more beneficial down the line when you’re choosing your second profession, as Tiller leads into Artisan at Level 10.
Farming Level 10
| Level 10 Choice | Level 5 Profession | Description |
|---|---|---|
| Artisan | Tiller | Artisan goods like Cheese, Oil, Wine, sell for 40% more gold |
| Agriculturist | Tiller | Crops grow 10% faster |
| Coopmaster | Rancher | • Coop animals become friendlier quicker • Egg incubation time is halved • Coop animal produce quality increased |
| Shepherd | Rancher | • Barn animals become friendlier quicker • Sheep produce wool quicker • Barn animal produce quality increased |
If you choose the Tiller option at Level 10, you can pick either Artisan or Agriculturalist. We recommend going for Artisan, as you can sell items like Jam, Wine, Cheese, and Oil for 40% more. This is an excellent money-making method to bag some extra profits, compared to the minimal bonuses Agriculturalist offers.
If you chose Rancher at Level 5, your options are Coopmaster or Shepherd. Shepherd is the better option of the two, producing Sheep Wool faster with better quality products from the Barn. The Coopmaster is a decent bet if you prefer the company of Chickens and other small animals.
How to Increase Your Fishing Skill

As with Farming, Fishing is another easy skill to level up: add some bait to your rod and cast a line into the water! You can fish from any body of water, whether on your farm, at the beach, or at the Pelican Town river.
| Level | Unlocked Crafting Recipes |
|---|---|
| 1 | • N/A |
| 2 | • Bait |
| 3 | • Crab Pot • Dish O' The Sea |
| 4 | • Recycling Machine |
| 5 | PROFESSION CHOICE: Trapper OR Fisher |
| 6 | • Spinner • Trap Bobber |
| 7 | • Cork Bobber • Treasure Hunter |
| 8 | • Barbed Hook • Worm Bin • Dressed Spinner |
| 9 | • Seafoam Pudding • Magnet Bobber |
| 10 | PROFESSION CHOICE • Trapper: Mariner OR Luremaster • Fisher: Angler OR Pirate |
Fishing Level 5
| Profession | Bonuses | Choices at Level 10 |
|---|---|---|
| Trapper | Reduced crafting cost to make Crab Pots | Mariner or Luremaster |
| Fisher | Fish sell for 25% more gold | Angler or Pirate |
From these two options at Fishing Level 5, the best choice is Fisher. The bonus from this profession lets you sell your catch(es) of the day for 25% more. The Trapper Crab Pot bonus isn’t as useful unless you’re planning on making specific cooking recipes.
Fishing Level 10
| Level 10 Choice | Level 5 Profession | Description |
|---|---|---|
| Mariner | Trapper | Crab Pots won't produce junk |
| Luremaster | Trapper | Crab Pots no longer require Bait |
| Angler | Fisher | Fish sells for 50% more |
| Pirate | Fisher | Doubles the chance of finding treasure while fishing |
At Fishing Level 10 in Stardew Valley, there are two main options you should go for: Pirate or Angler. The former doubles your chance of finding treasure, like Prismatic Shards or Dinosaur Eggs, while the latter lets you sell fish for 50% more.
If you chose Trapper at Level 5, you can pick Mariner or Luremaster as your final specialization for Level 10. Luremaster means that Crab Pots no longer require Bait. Mariner means you’ll no longer be littered with needless junk in Crab Pots anymore. Choose wisely!
How to Increase Your Foraging Skill
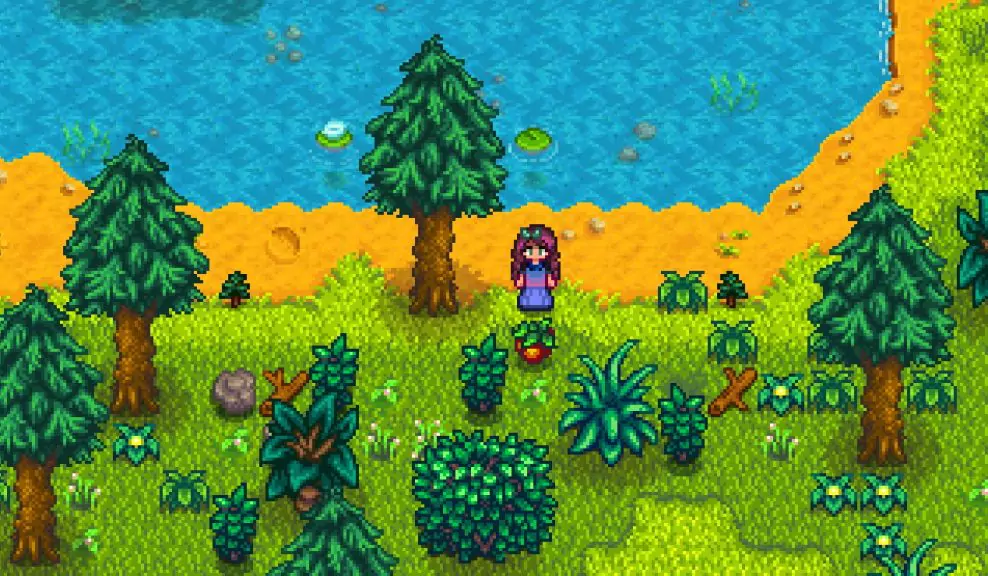
Foraging is increased by players collecting wild resources around Pelican Town and chopping down trees. You can find most forgeable goods during their respective season, as seen below:
- Spring: Wild Horseradish, Morel, Daffodil, Leek, Spring Onion, Dandelion, Common Mushroom, Salmonberry
- Summer: Grape, Spice Berry, Sweet Pea, Red Mushroom, Fiddlehead Fern, Common Mushroom
- Fall: Common Mushroom, Wild Plum, Hazelnut, Blackberry, Chanterelle, Red Mushroom, Purple Mushroom
- Winter: Winter Root, Crystal Fruit, Snow Yam, Holly, Crocus
| Level | Unlocked Crafting Recipes |
|---|---|
| 1 | • Wild Seeds (Spring) • Field Snack |
| 2 | • Survival Burger |
| 3 | • Tapper |
| 4 | • Charcoal Kiln • Wild Seeds (Summer) |
| 5 | PROFESSION CHOICE: Forester OR Gatherer |
| 6 | • Wild Seeds (Fall) • Lightning Rod • Warp Totem: Beach |
| 7 | • Wild Seeds (Winter) • Tree Fertilizer • Warp Totem: Mountains |
| 8 | • Warp Totem: Farm |
| 9 | • Cookout Kit • Rain Totem |
| 10 | PROFESSION CHOICE • Forester: Lumberjack OR Tapper • Gatherer: Botanist OR Tracker |
Foraging Level 5
| Profession | Bonuses | Choices at Level 10 |
|---|---|---|
| Forester | Obtain 25% more Wood when chopping trees, stumps, or stray logs | Lumberjack or Tapper |
| Gatherer | 20% chance of double harvest with forageable items | Botanist or Tracker |
These two options at Foraging Level 5 are Gatherer and Forester. Gatherer is undoubtedly the best option at this stage, granting you an additional chance to get double your foraged item. Especially when it’s Blackberry or Salmonberry season—you can have a neat side hustle from selling these items.
Foraging Level 10
| Level 10 Choice | Level 5 Profession | Description |
|---|---|---|
| Lumberjack | Forester | Hardwood can drop from any tree when chopped down |
| Tapper | Forester | Tree syrups sell for 25% more gold |
| Botanist | Gatherer | Foraged items are always Iridium quality |
| Tracker | Gatherer | The location of forageable items, artifacts spots, and panning locations are displayed on the minimap |
We recommend going for Botanist because it turns every single foraged item into those of Iridium quality. Coupled with the Gatherer trait, you’ll be an unstoppable force for raking in cash!
If you chose Forester at Level 5, you should choose Lumberjack. This means you can get the rare Hardwood from every tree you chop down, making those later building upgrades a walk in the park.
How to Increase Your Mining Skill
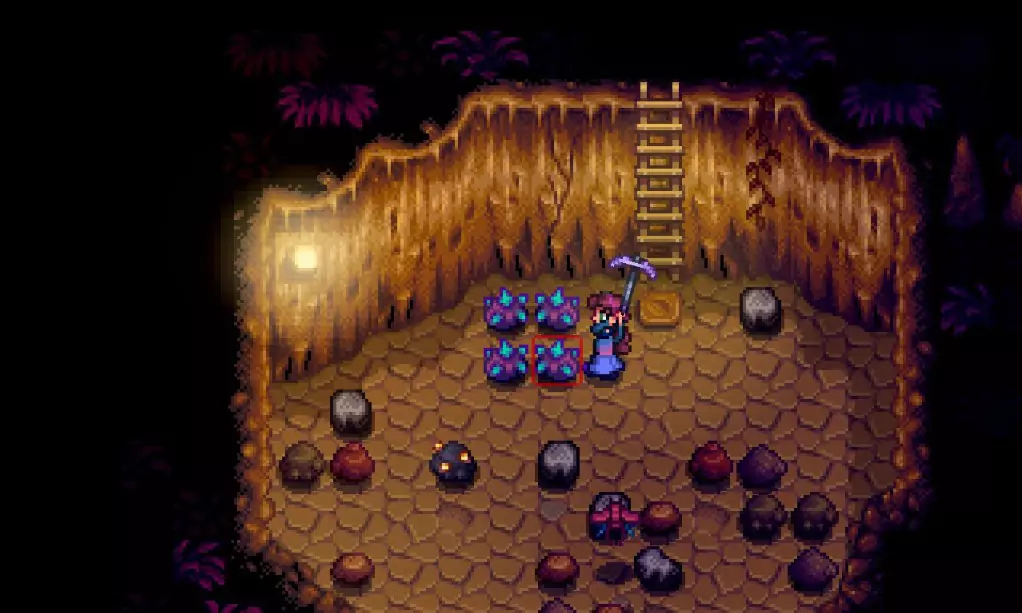
Get your pickaxe out—it’s off to work in the mines! All you need to do to increase your Mining skill is break rocks and gemstones. Each level increased adds a +1 to Pickaxe proficiency.
| Level | Unlocked Crafting Recipes |
|---|---|
| 1 | • Cherry Bomb |
| 2 | • Staircase |
| 3 | • Miner's Treat |
| 4 | • Glowstone Ring • Transmute (Fe) |
| 5 | PROFESSION CHOICE: Miner or Geologist |
| 6 | • Bomb |
| 7 | • Transmute (Au) |
| 8 | • Mega Bomb |
| 9 | • Crystalarium |
| 10 | PROFESSION CHOICE • Miner: Blacksmith OR Prospector • Geologist: Excavator OR Gemologist |
Mining Level 5
| Profession | Bonuses | Choices at Level 10 |
|---|---|---|
| Miner | +1 ore in every vein | Blacksmith or Prospector |
| Geologist | Gems sometimes appear in pairs with a 50% chance | Gemologist or Excavator |
The choice you make at Mining Level 5 is a tough one and entirely depends on where you are in the game. If you’re still in the first Year and struggling for ore, pick Miner for that bonus ore pick-me-up. If you have an ore surplus and are doing well for yourself, Geologist is the better option, as this allows ore to appear in pairs.
Mining Level 10
| Level 10 Choice | Level 5 Profession | Description |
|---|---|---|
| Blacksmith | Miner | Metal Bars sell for 50% more gold (not including Refined Quartz or Radioactive Bars) |
| Prospector | Miner | 50% more chance of finding Coal |
| Excavator | Geologist | 50% more chance of finding Geodes |
| Gemologist | Geologist | Gems and Minerals sell for 30% more gold |
At Mining Level 10, there’s a clear winner: Gemologist is the way to go, paving the path to making you a Pelican Town millionaire in no time. Excavator gives double geodes, which can be good if you’re still working towards completing the Museum’s artifact collection.
How to Increase Your Combat Skill

Finally, we have Combat—leveling up this skill is self-explanatory: use a weapon like a Sword or Slingshot and kill monsters in the Mines and Skull Cavern. If you’ve chosen the Wilderness Farm, killing monsters here won’t count.
Each increase in Combat level adds 5 HP to the player’s Health Meter. Buying better weapons from the Adventurer’s Guild can help you kill monsters quicker, therefore, you gain XP faster.
| Level | Unlocked Crafting Recipes |
|---|---|
| 1 | • Sturdy Ring • Bug Steak |
| 2 | • Life Elixir |
| 3 | • Roots Platter |
| 4 | • Warrior Ring |
| 5 | PROFESSION CHOICE: Fighter OR Scout |
| 6 | • Slime Egg-Press • Oil of Garlic |
| 7 | • Ring of Yoba • Thorns Ring |
| 8 | • Slime Incubator • Explosive Ammo |
| 9 | • Iridium Band • Squid Ink Ravioli |
| 10 | PROFESSION CHOICE • Fighter: Brute OR Defender • Scout: Desperado OR Acrobat |
Combat Level 5
| Profession | Bonuses | Choices at Level 10 |
|---|---|---|
| Fighter | • All attacks deal 10% more damage • Additional 15 HP added to max Health | Brute or Defender |
| Scout | 50% chance to deal critical strikes | Desperado or Acrobat |
Fighter is the only real option for your Level 5 Combat increase. This grants you an immediate additional 15 HP, and you deal 10% extra damage to all monsters. Scout grants a 50% chance to land more critical strikes, but this isn’t worth it.
Combat Level 10
| Level 10 Choice | Level 5 Profession | Description |
|---|---|---|
| Brute | Fighter | 15% increased damage when attacking |
| Defender | Fighter | 25 HP added to max Health |
| Desperado | Scout | 50% decreased cooldown time on special attacks |
| Acrobat | Scout | 50% more damage dealt by critical strikes |
If you chose Fighter at Level 5, pick Defender at Level 10 to increase your HP by 25. This will come in handy, especially when you’re delving into the deeper levels of the Skull Cavern.
Alternatively, if you go down the Scout route, pick Desperado as your next profession to double the damage of your already frequent critical strikes. Acrobat decreases the cooldown of special attacks, but players rarely use these anyway, making this upgrade obsolete.
Changing Your Profession With the Statue of Uncertainty

Want to turn back time and change your chosen profession? Don’t worry—that’s why the Statue of Uncertainty exists! Once you have access to the Sewers, you can use the Statue of Uncertainty to begin your professional journey anew.
![]() Note
Note
To change professions, pay the Statue of Uncertainty 10,000g and then choose a skill for which you’d like to swap professions. Once you sleep to progress to the next day, you’ll be prompted to re-pick Level 5 and 10 professions.
There’s no limit to the number of times you can do this, so you can pick and choose to your heart’s content. You can do this to help you gain resources, like switching to Forester and Lumberjack to gather extra Wood or the Excavator if you’re missing Museum items.
Mastering these five skills is the key to success in Stardew Valley, and is guaranteed to make your life a breeze. You should now be running a profitable farm with the utmost Energy proficiency in every skill—so you should never break a sweat again. To maximize your farming gains, why not collect every Stardrop to increase your Energy pool or grab every Rarecrow to protect your valuable crops?