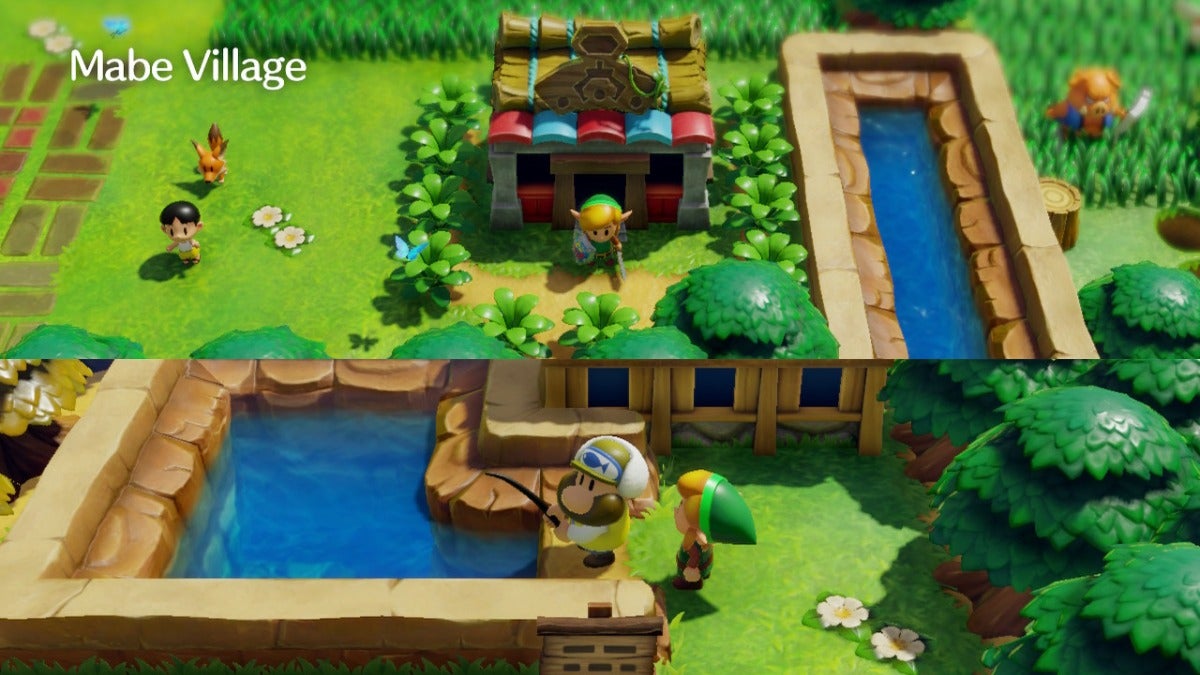
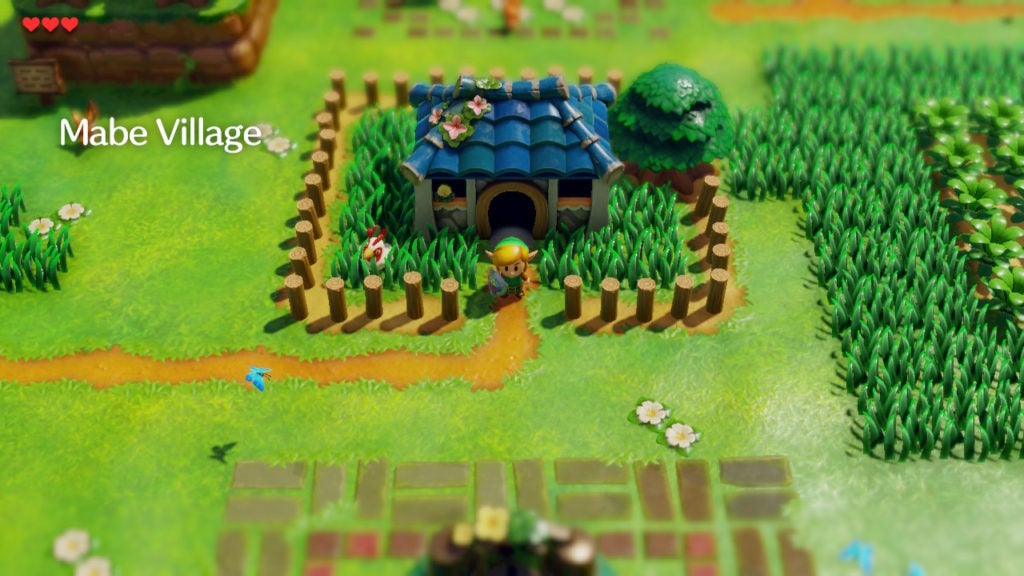
When you get your Sword, the wise Owl will tell you to travel north to the Mysterious Woods. However, before you delve into its green depths, you should explore Mabe Village first.
Table Of Contents
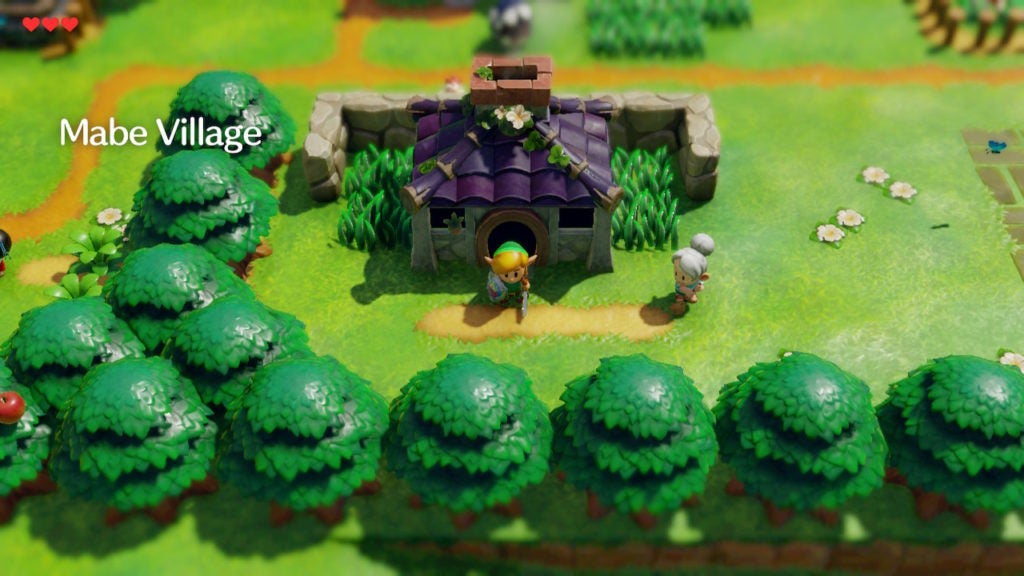
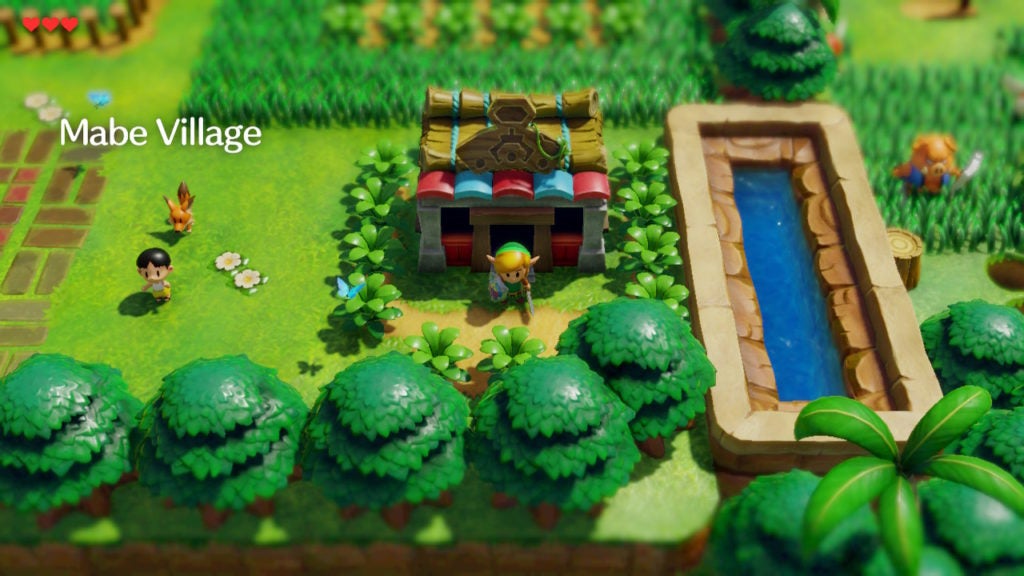
The Layout of Mabe Village
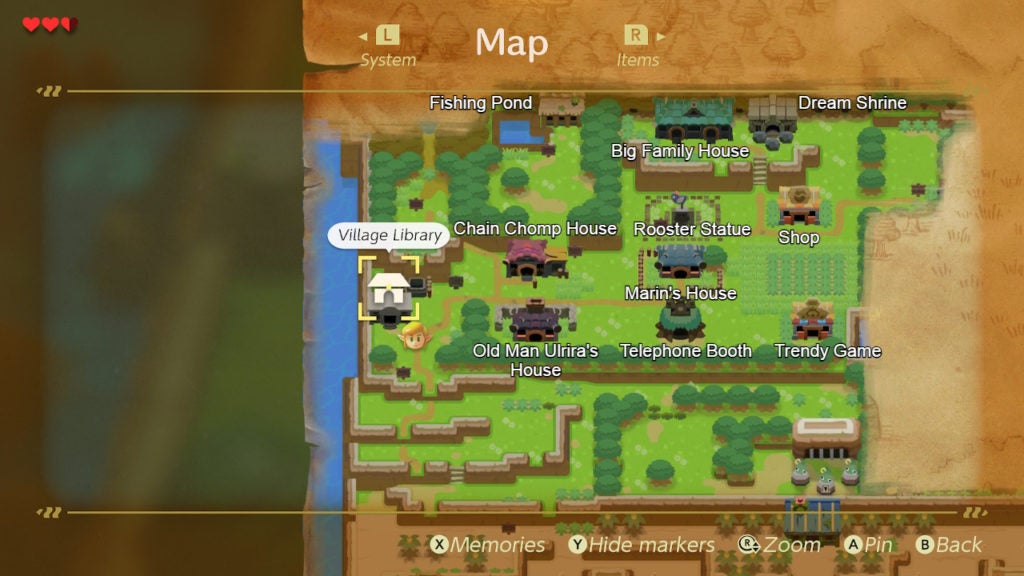
The village is positioned between your location on Toronbo Shores and the Mysterious Forest, so you have to go through it anyway. Mabe Village holds lots of useful information, fun minigames, helpful items, and more. If you want to uncover its many secrets, you’ll need to go door to door and explore. To get a bird’s eye view of the place, pull out your Map and zoom in on Mabe Village. On the Map, you’ll see 11 main structures within the small town—all of which are important for different reasons.
List of All the Important Items Found in Mabe Village
This list will help you keep track of all the goods that lie in wait within Mabe Village, however, you will need specific items found later on to reach them all. You won’t be able to get everything worth obtaining in Mabe Village until late into your adventures on Koholint Island. As such, you should return to check out what changes in Mabe Village every time you clear a dungeon to find more of the items below.
- 6 Heart Pieces (2 from the Fishing Pond, 2 from Trendy Game, 1 from the Town Tool Shop, and 1 from the bottom of the well next to the Village Library)
- 6 Secret Seashells (2 from the Fishing Pond, 2 from Trendy Game, 1 from digging up the ground with the Shovel in CiaoCiao’s room within Madam MeowMeow’s house, and 1 from cutting down a shrub in the field north of Trendy Game)
- Shields (Tarin will give you 1 at the start of the game if you talk to him, but you can also buy a Shield from the Town Tool Shop and win one from Trendy Game)
- The Shovel (can be bought from the Town Tool Shop)
- Bombs (can be bought from the Town Tool Shop)
- The Bow and Arrow Set (can be bought from the Town Tool Shop)
- The Yoshi Doll (can be won from Trendy Game)
- The Ribbon (can be gained from trading the Yoshi Doll to Mamasha)
- Canned Food (can be gained from trading the Ribbon to CiaoCiao)
- The Ocarina can be found in the Dream Shrine (the earliest you can get it is after beating Level 3 – Key Cavern)
The Village Library
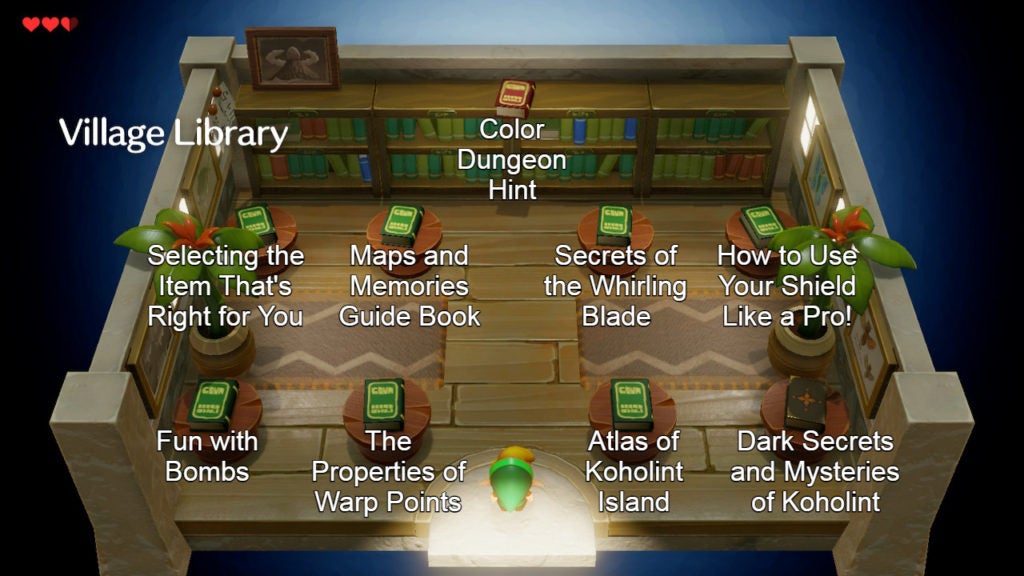
Although rather sparse compared to a real-world library, this one in Mabe Village holds a ton of useful information and hints. Each of the books on the 8 pedestals will give you either useful tips or explain the lore of Koholint Island. On top of that, there’s one last book high up on the back shelf that you can reach with the help of your Pegasus Boots.
Selecting the Item That’s Right for You
This is a basic overview of how to use your Items menu and how to equip various tools and consumables.
Fun With Bombs
To get some tips about how to use Bombs, be sure to read this book. It tells you that in addition to placing bombs on the ground, you can also pick them up and throw them. This will be a handy trick when fighting enemies who can only be hurt by explosions.
Maps and Memories Guidebook
For extra information about your Map screen, you can breeze through this novel. It will mention the quickest way to open the Map (the minus button), how to zoom (tilt up on the right stick), and briefly cover what Memories are (saved important NPC dialogue).
The Properties of Warp Points
As you get further into your adventures on Koholint, you’ll come across strange glowing blue marks on the ground. These are Warp Points, which let you teleport around the island. This book talks about this mechanic and also that you need to activate each Warp Point by standing on it.
Secrets of the Whirling Blade
If you’ve already obtained the Sword from the shores of Toronbo Beach, you’ll likely already know what this book will tell you. Basically, it says to hold down the B button to charge up your Sword for a powerful attack. When you let go of the B button, Link will do a spinning attack that will hit all enemies around him.
Atlas of Koholint Island
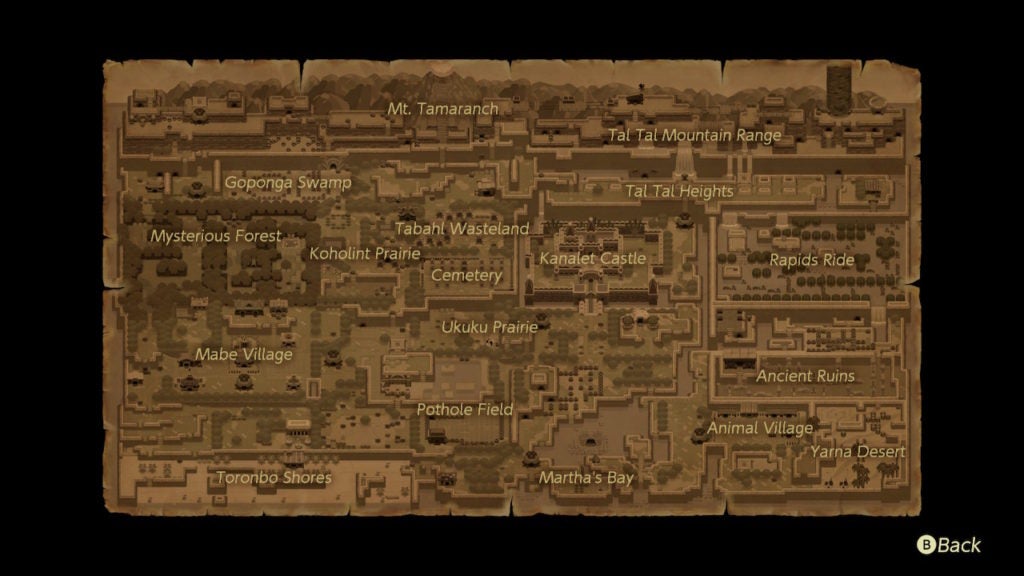
This book contains few words, but instead holds a full map of Koholint Island. Furthermore, all of the major areas are named. If you ever get forget where certain undiscovered places are located, you can check this atlas for a reminder.
How to Handle Your Shield Like a Pro!
As you can probably guess, this book is full of Shield-using tips. It mentions that, in addition to blocking with the R button, you can push enemies while you have your Shield raised. However, if you already have the Sword, you’ll know this already as you needed to use this trick to get your weapon.
This book also hints that there is a “mirrored” version of your Shield. This is a reference to the Mirror Shield that you’ll get from one of the later dungeons (Eagle’s Tower). This Shield variant will let you reflect beam attacks.
Dark Secrets and Mysteries of Koholint
You won’t be able to read this book right now, as you need the Magnifying Lens item to read the tiny print. However, while looking at this book, the game will mention that you can get a Magnifying Lens by helping people. Put simply, this is referring to the trading quest that you’ll have to complete to obtain the Magnifying Lens. But, for now, don’t worry about the secrets in this book. It will tell you how to navigate the maze in the final area of the game, so come back and read it later.
Color Dungeon Hint
The last readable book is perched on top of the bookshelf at the back of the library. You also won’t be able to take a look at this tome quite yet, as you need another item to reach it. To read this red book, which contains a hint on how to find the Color Dungeon in the Cemetery, you’ll need to use the Pegasus Boots to run into the bookshelf and knock the book down. However, since you won’t get the Pegasus Boots until you clear Level 3 – Key Cavern, you’ll have to come back for this hint later.
Outside the Library
Just outside the Village Library, you’ll see a small well. If you walk to the top of the ledge overlooking the simple well, you can jump into it without needing the Roc’s Feather. At the bottom of the well will be 1 Heart Piece and a staircase that will lead you back up to the surface.
The Fishing Pond
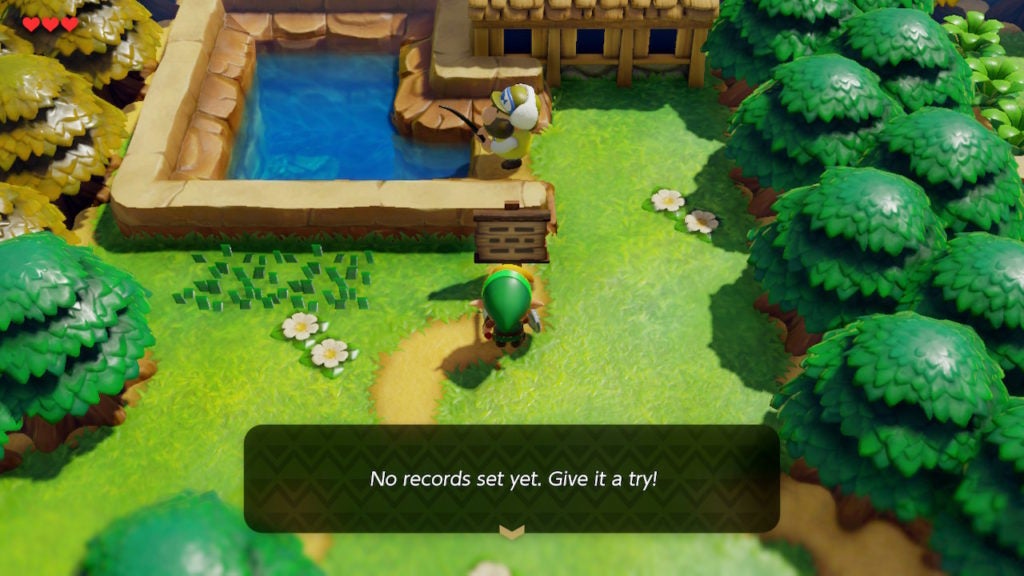
At the Fishing Pond, you can play a minigame revolving around catching fish. The fish you catch here will be exchanged for Rupees—bigger fish are worth more. In addition to fish, you can also snag quite a few collectibles like 2 Heart Pieces, 2 Secret Seashells, and 1 Fairy Bottle, which you can later use to catch and store a Fairy to create a powerful healing item.
It costs 10 Rupees for every fishing attempt. However, the attempt only ends when you leave or after hooking a fish (regardless of whether you successfully reel it in or not). If you pull your line in without touching anything, you can cast it again for free or even change your lure. But, if you hook a fish and your line breaks, your attempt will end.
How to Catch Fish
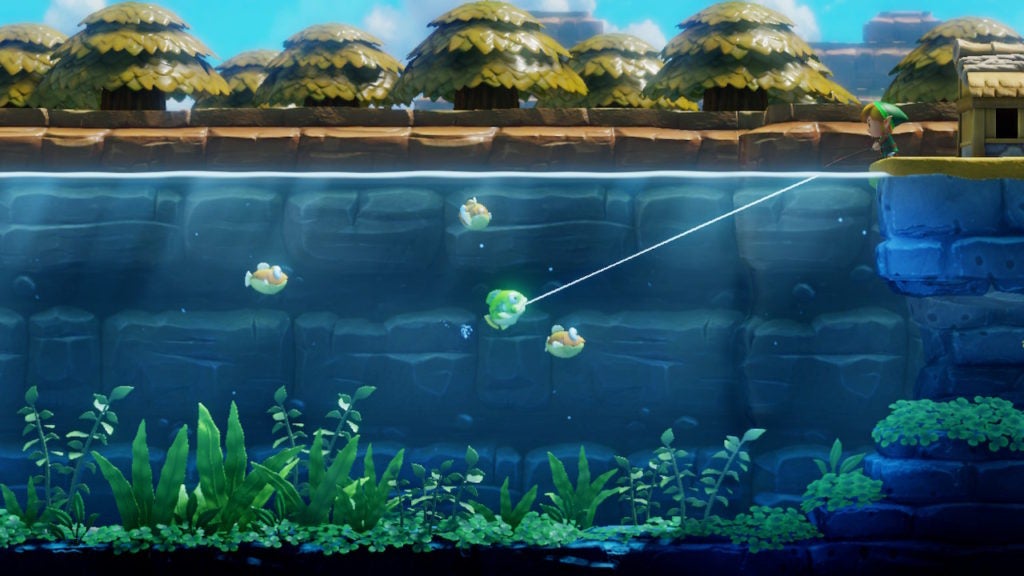
There are a couple of different inputs you can use to fish, however, simply using the A button is the most efficient way. To cast your line, press and hold the A button. The longer you hold the A button down, the further you will cast your line. The maximum distance is the far end of the screen.
To snag a fish, you must get your hook pretty much directly in front of their face. The hook must also rest there long enough for the fish to bite, otherwise, it will lose interest. You can tap A to pull on your fishing line, which will cause it to rise a bit as well as come towards you. You can also gently nudge your lure with the left stick in any direction. This is your best way of positioning your hook besides casting into a specific area.
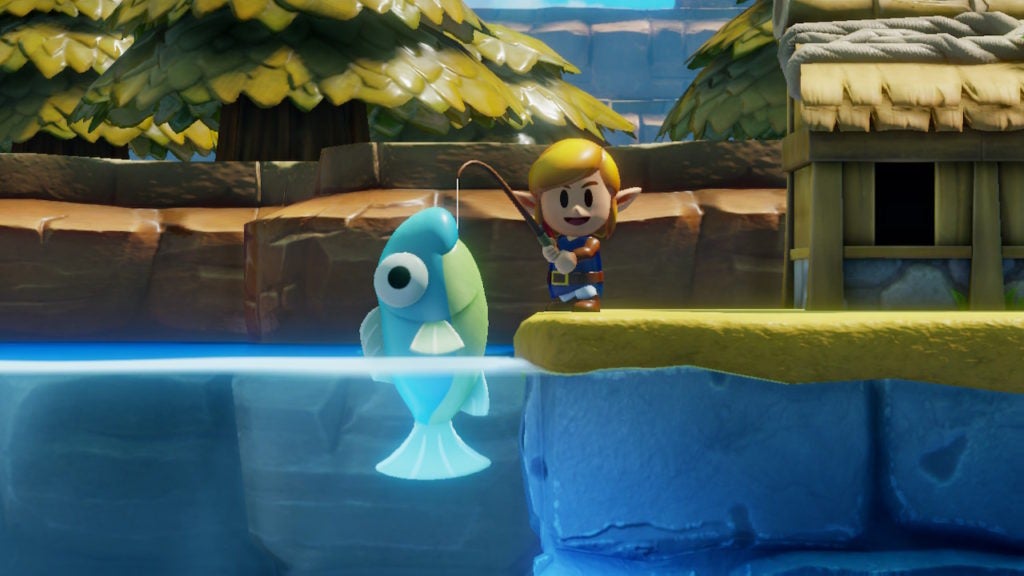
After getting a bite, tap the A button quickly while the fish is facing Link to pull it closer. However, when the fish is facing away from you, stop taping A, or you will risk breaking your line. This tug of war will be simple to win against the smaller fish, however, the bigger fish and the Fairy Bottle are not so easy to reel in.
Every fishing attempt can be a net positive experience if you get good at the reeling mechanic. This isn’t the best way to get rupees in the game, but it can be more relaxing and fun than alternative options. Also, the first time you catch a new kind of fish, the Fisherman will give you a different reward.
How to Get the Fairy Bottle
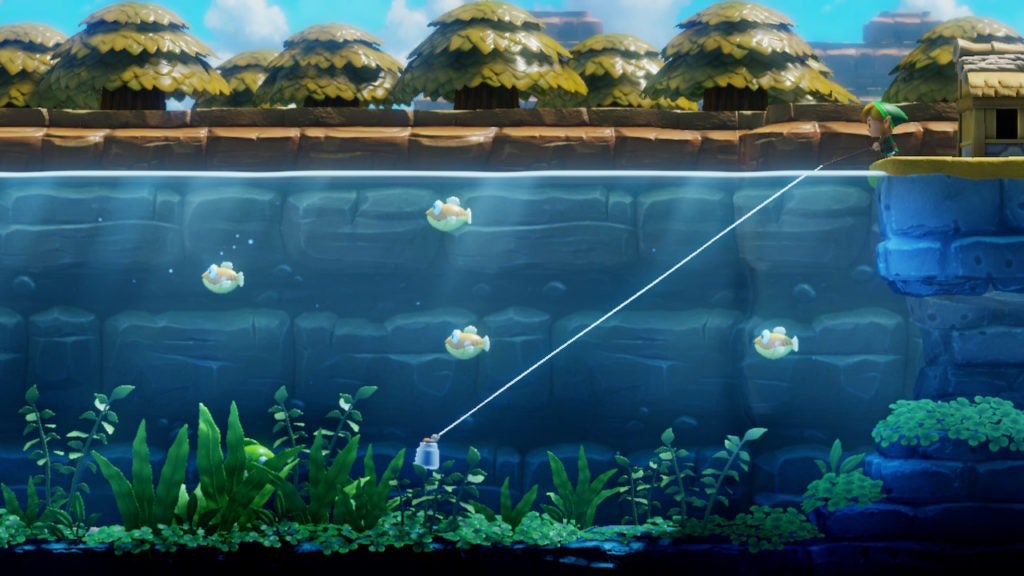
Getting the Fairy Bottle at the bottom of the far side of the pond is similar to hooking fish. However, since the bottle can’t bite, the hook will slip off of it. This will count as a fish breaking your line and end your attempt after you fully pull your line in—no free re-casting.
You’ll first have to cast your line all the way to the far side of the pond and let your hook touch the ground. Then, drag your hook along the bottom through the seaweed and you’ll snag the Fairy Bottle. On the first attempt, you’ll be able to tug it a bit closer. Overall, it will likely take you 4 or 5 attempts to pull up the Fairy Bottle, so you’ll probably need 40 or 50 Rupees to get it (10 per attempt).
After you collect the Fairy Bottle, you can equip it to 1 of your 2 main equipment slots. When used, Link will scoop the air in front of him with the empty jar. If there is a Fairy in front of him, this movement will capture the healing Fairy for you to free later. Freeing a Fairy, just like touching one, will heal you for 10 Hearts. A Fairy Bottle with a Fairy in it is the best usable healing item in the game.
How to Get All Fishing Rewards
Different kinds of fish will spawn in the Fishing Pond as you progress through the game and clear more dungeons. You’ll need to catch each type of rare fish at least once in order to get all the Heart Pieces, Secret Seashells, and other rewards. Furthermore, there are size requirements for some of the rewards. You need to reel in the biggest specimens for the Fisherman to be impressed enough to give you something. Here’s a breakdown of every kind of fish you can catch and what the initial reward for them will be:
- Little Fish – Worth 13 Rupees and you will get 1 Heart Piece the first time you catch one
- Big Fish – Worth 20 to 30 Rupees and will get you the Middleweight Lure and 1 Heart Piece the first time you catch one
- Cheep Cheep – Worth 30 to 40 Rupees and will give you 1 Secret Seashell the first time you catch one
- Blooper – Worth 45 to 55 Rupees and will give you the Heavyweight Lure and 1 Secret Seashell the first time you catch one
- Ol’ Baron – Worth 100 Rupees and you will get 1 Chamber Stone the first time you catch him
Chain Chomp House
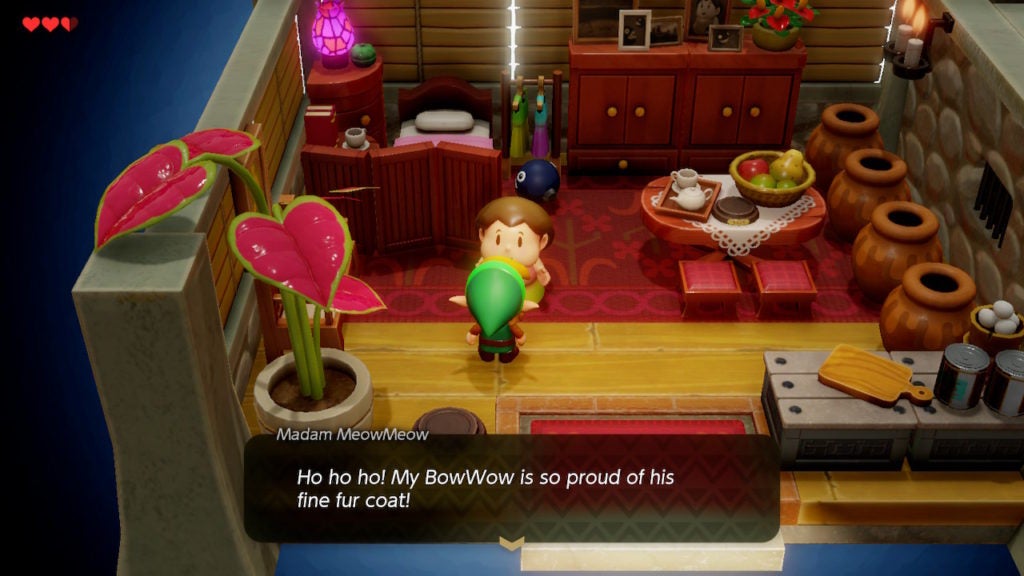
There are 4 residents of the Chain Chomp house in Mabe Village. The owner is a cheerful woman named Madam MeowMeow who loves to talk about her chain chomps. Next, is the largest chain chomp—the excitable one outside—whose name is BowWow. The smaller chain chomp inside the main room with Madam MeowMeow is ChowChow, which doesn’t really have a function in terms of gameplay; they’re just hanging out. Lastly, there’s CiaoCiao, a small chain chomp that you can find in the little side-room of Chain Chomp house, which has its own entrance.
BowWow’s Role in the Game
To get into the 2nd dungeon in the game (Bottle Grotto), you’re going to need BowWow’s help, but more on that later. For now, you can just say hello.
CiaoCiao’s Role in the Game
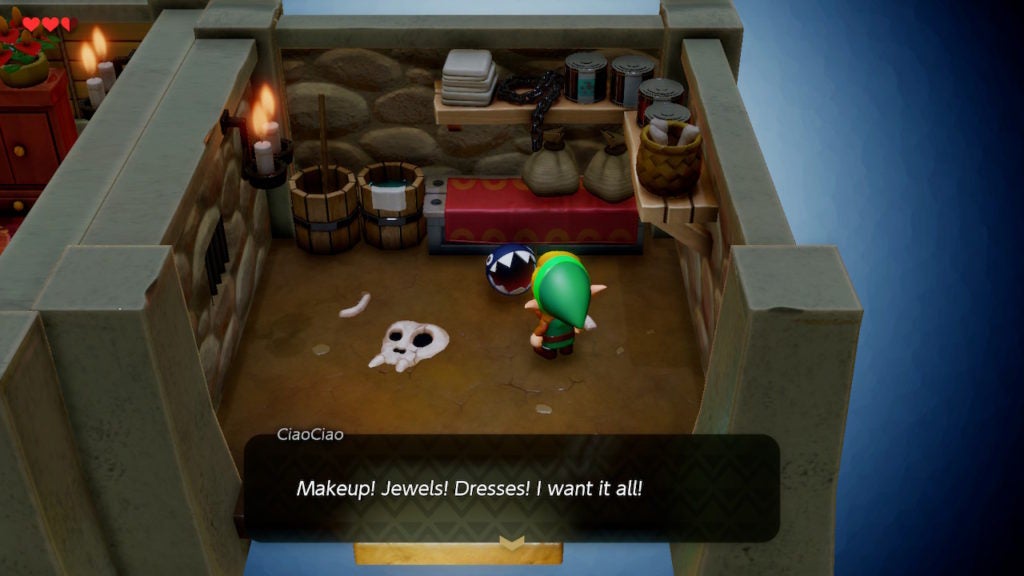
CiaoCiao loves fashion and this will come into play when you’re completing the trade quest. You can give them a Ribbon in exchange for some Canned Food, which you can later exchange with Sale of Toronbo Shores for some Bananas.
Old Man Ulrira’s House
Just south of the Chain Chomp house is Old Man Ulrira’s house. Outside, you’ll find Grandma Yahoo, who really enjoys sweeping (this will be important later). If you head inside the house with the purple roof, you’ll find Old Man Ulrira. If you’ve been inside any of the Telephone Booths of Koholint, you’ll be familiar with Old Man Ulrira. He’s the fellow on the other end of the phone who gives you tips. However, in-person, Old Man Ulrira is actually very shy and not talkative—the opposite of how he comes across over the phone.
Grandma Yahoo’s Role in the Game

During the trading quest, you’ll eventually need to get Grandma Yahoo a new Broom. She broke her last one from sweeping too much, so, if you get her a new one, she’ll be very grateful.
After giving Grandma Yahoo a new Broom, you’ll get a Fishing Hook, but not one that you can use at Mabe Village’s Fishing Pond. This Fishing Hook is a trade item you’ll need around the time you tackle Level 5 – Catfish’s Maw. There’s a fisherman nearby the dungeon’s entrance who will need this Fishing Hook to get you the next trade item: a Mermaid’s Scale.
The Big Family House
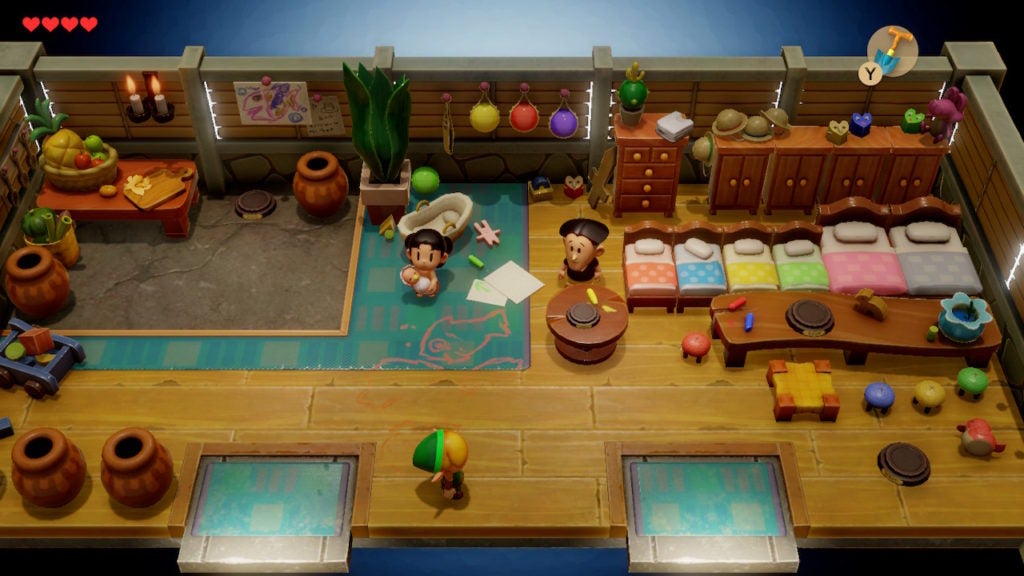
At the northern end of Mabe Village, you’ll find the biggest house in town. The green-roofed building with two front doors is home to a family of 6. Inside, you’ll find Mamasha and Papahl with their youngest child. Their other three children are scattered all over town and will give you random tidbits of information throughout the game. However, Mamasha and Papahl are both important for trade quest items, though at different times.
Mamasha’s Role in the Game
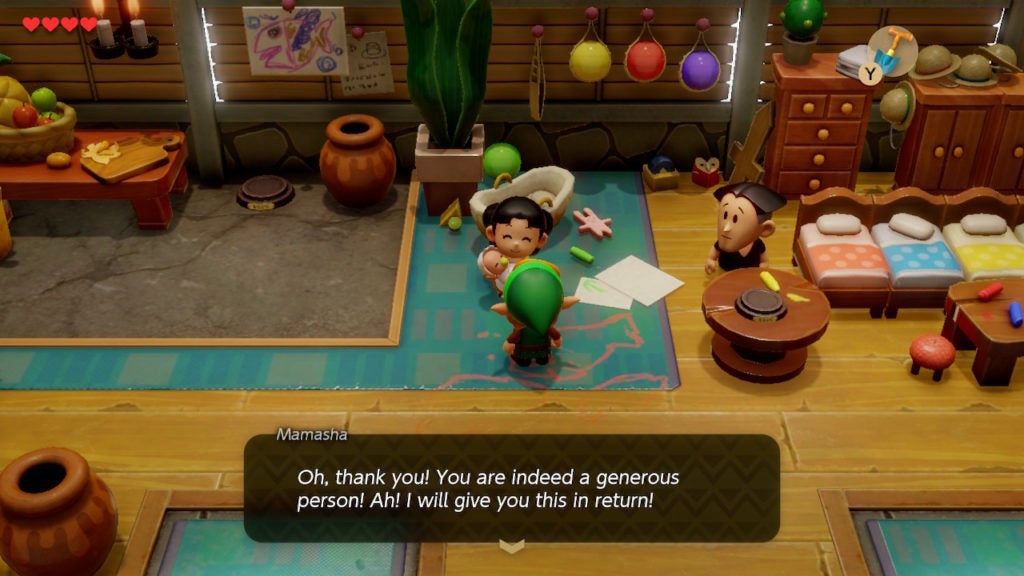
Interacting with Mamasha is the 2nd step in the trade quest to eventually get the Magnifying Lens. You’ll need the Yoshi Doll that you can win at the Trendy Game. However, when you have it, you can trade it to Mamasha for a Ribbon. You can then trade the Ribbon to CiaoCiao for some Canned Food.
Papahl’s Role in the Game
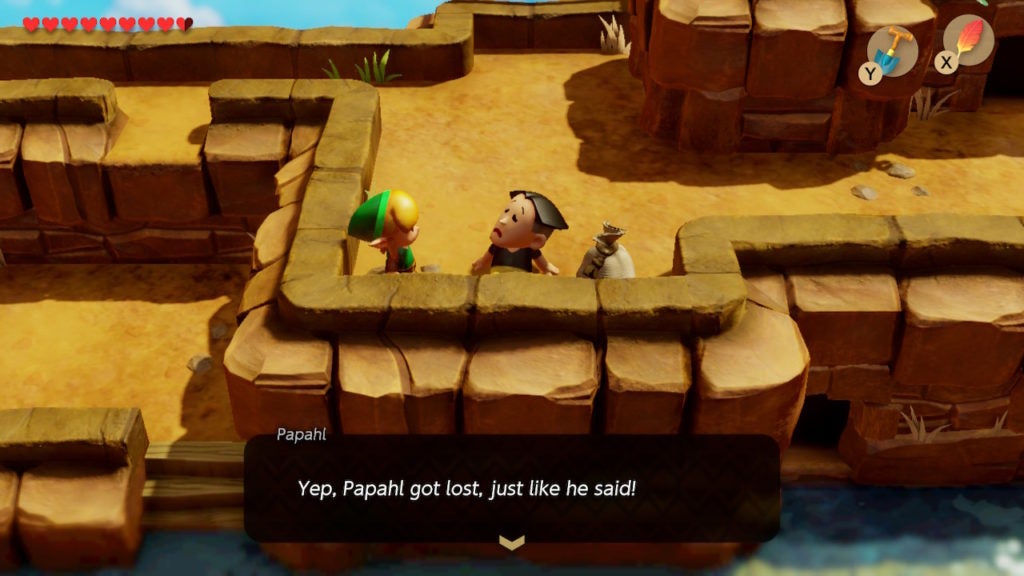
Much later in the trade quest, you’ll end up needing to seek out Papahl after he gets lost on the Tal Tal Mountain Range. When you do, you’ll need to give him a Pineapple as he is very hungry. Afterward, Papahl will reward you with a Hibiscus flower, which is needed for a trade in the Animal Village.
Rooster Statue
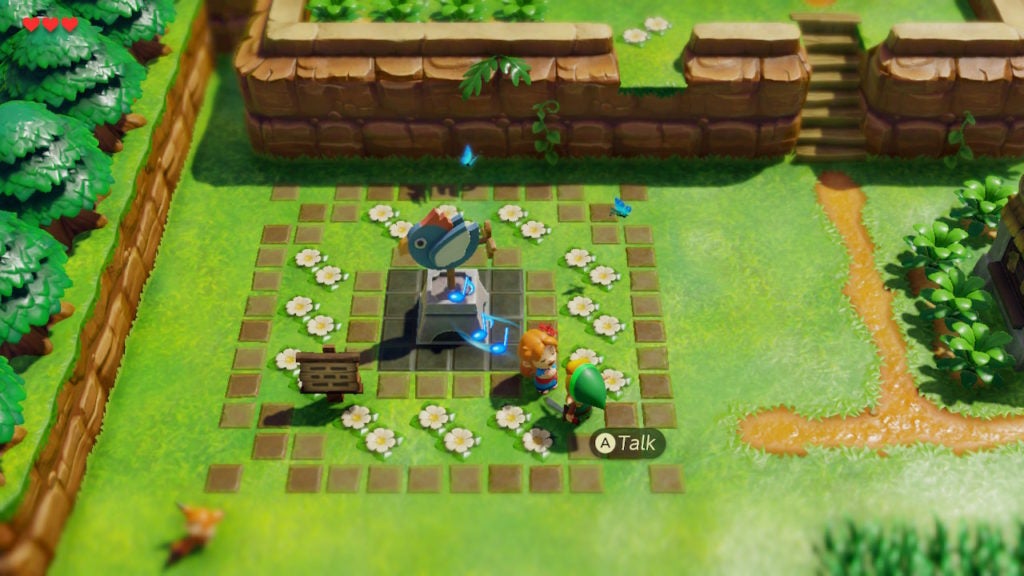
For most of the game, the Rooster Statue will act as a decorative weather vane. Marin can be found near it most of the time, however, this statue of a blue rooster holds a secret that will become important later. To get the Bird Key (which unlocks Level 7 – Eagle’s Tower) in a cave on the Tal Tal Mountain Range, you’ll need the help of a rooster that can be found under the statue.
After getting the Powerful Bracelet upgrade for your Power Bracelet, you can push the statue to the side to reveal a hidden staircase that leads into the resting place of a skeletal rooster. The Powerful Bracelet is obtained in Level 6 – Face Shrine, so don’t worry about moving this statue until you clear that dungeon. However, when you do, you’ll need the Ocarina and the Frog’s Song of Soul to resurrect the dead rooster so that they can temporarily accompany you on your adventure.
Marin’s House
Within this house is where you will begin your adventure on Koholint Island. At the beginning of the game, you can talk to Marin to learn that she found you washed up on the beach of Toronbo Shores, which is a hint as to where to find your Sword. You can also speak to Tarin to get your Shield, which will be vital for getting your Sword from the sandy shores south of Mabe Village. Just outside Marin’s house is a path that points you in the right direction to get started.
The Telephone Booth
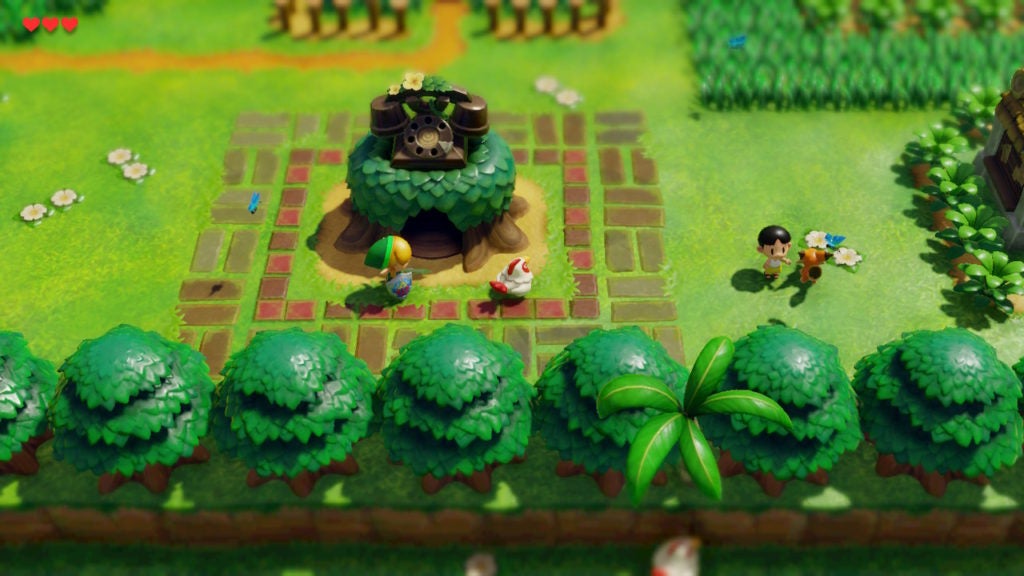
You’ll find the first of many Telephone Booths in the south of Mabe Village. It’s between Old Man Ulrira’s house and Trendy Game. Within Telephone Booths, you can pick up the phone to speak with Old Man Ulrira, who is much more talkative than he is in person. He’ll often give you helpful tips depending on where you are in the game’s main quest.
The other Telephone Booths are scattered throughout Koholint Island, though often in strategic places so that you’ll always have one somewhat nearby if you get stuck.
The Dream Shrine
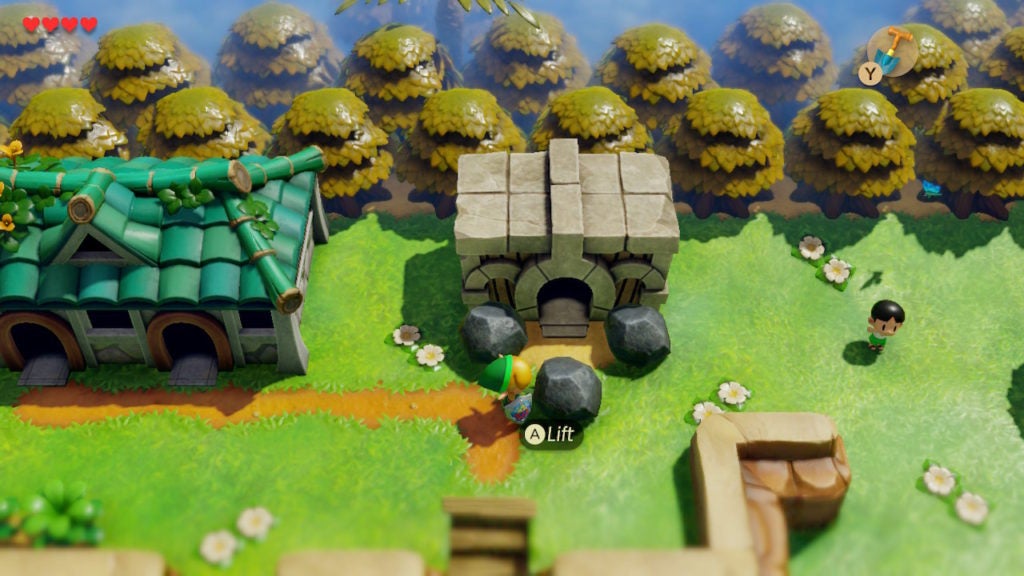
To the right of the big family’s house is the entrance to the Dream Shrine. The doorway is blocked by 3 rocks, which you can lift after you get the Power Bracelet from Level 2 – Bottle Grotto. However, even after you’re able to move the rocks, you’ll still need the Pegasus Boots to charge through the rubbery black obstacles at the end of the Dream Shrine’s linear path.
Since you won’t get the Pegasus Boots until after beating Level 3 – Key Cavern, there won’t be much you can do with the Dream Shrine until then. The treasures that lie within the Dream Shrine are the Ocarina and 100 Rupees.
The Town Tool Shop
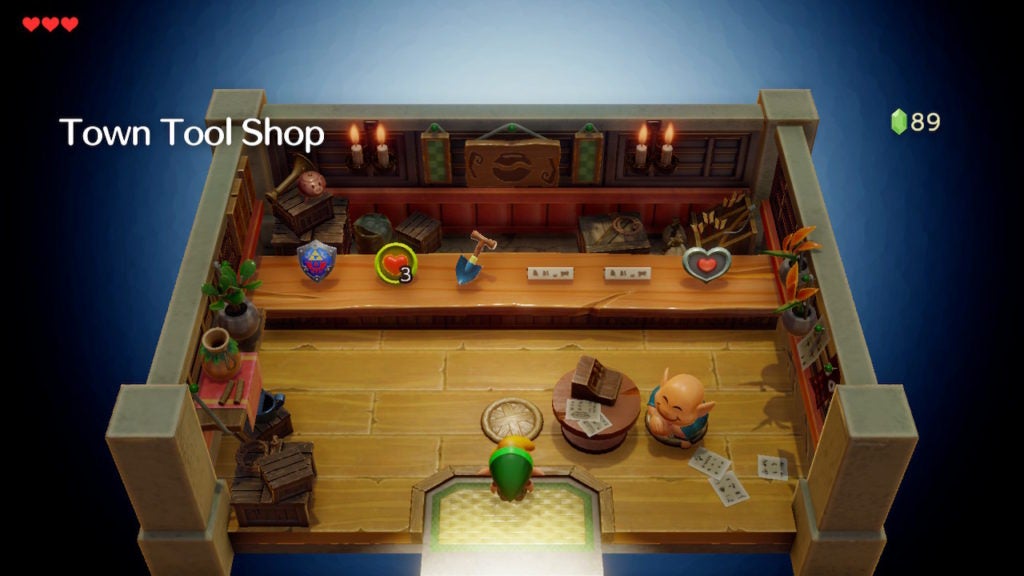
This is the location where you’re arguably going to spend most of your Rupees. Initially, when you first walk in you can buy a few items including a couple of unique ones. After you buy the Shovel and Heart Piece that first spawn here, you can come back later to find Bombs and a Bow and Arrow Set.
The Bow and Arrow Set is not necessary for most of the game, however, it makes taking down a few regular enemies and bosses easier, so it’s worth getting when you have enough Rupees. Also, the buyable Bombs here are handy for finding secrets hidden behind cracked walls and defeating armored adversaries.
Trendy Game
In the southeast corner of Mabe Village, you’ll find the best Rupee farming spot in the game, as well as the source for many important items. In addition to finding 2 Heart Pieces and 2 Secret Seashells here, you can also get the Yoshi Doll within, which is integral for starting the trading quest. You can also get every Figure that can be mounted in the homes of Mabe Village’s residents. To get all the Heart Pieces and Secret Seashells, you need to keep winning the Figures for them to spawn.
How to Get All 10 Figures
You can keep playing Trendy Game to get all the Figures, Heart Pieces, and Seashells that it has to offer. However, you can only carry 1 Figure at a time, so you’ll need to drop off your current one at its destination before more will spawn in Trendy Game. Just keep in mind that the very last Figure, that of the chain chomp named BowWow, will only become available after you beat the game.
How to Farm Rupees
To effectively farm Rupees from Trendy Game, you’ll first need to win the CiaoCiao Figure. After leaving and re-entering the building, a Purple Rupee worth 50 Rupees will spawn in place of the CiaoCiao Figure. All future Figures will spawn on the back-right moving platform. However, in regards to farming money from Trendy Game, you’ll want to focus on the Purple Rupee.
Every time you successfully acquire the Purple Rupee, leave the building and then go back in. This will cause the Purple Rupee to respawn. Repeat this method to get as much money as you’ll ever need.
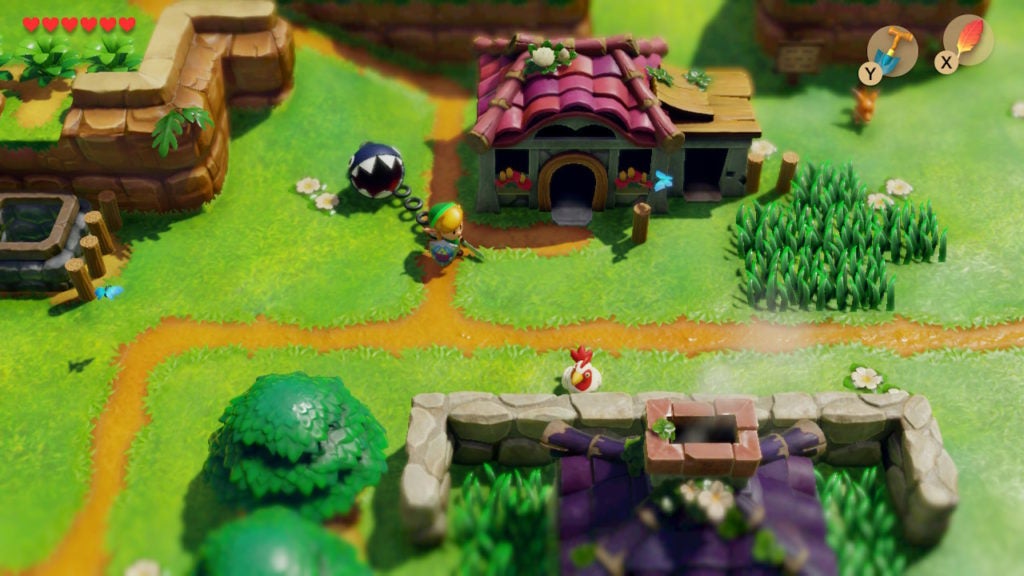
The Field Above Trendy Game
Just north of Trendy Game will be a field with grass and shrubs that you can mow down with your Sword. In addition to being oddly therapeutic, cutting the grass in the top-right area of the square will drop 1 Secret Seashell.
When you’re done exploring Mabe Village, head to the western limits of the small town to find the entrance to some spooky woods. From there, travel north to make your way through the Mysterious Forest.