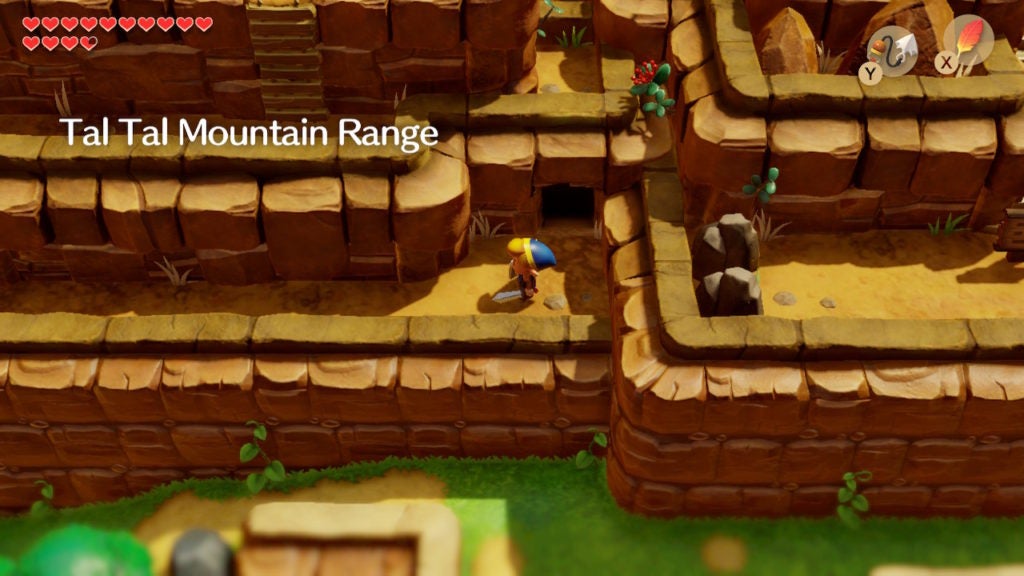
When you exit Level 7 – Eagle’s Tower, you’ll need to go west to find the next dungeon. This will take you all the way across the Tal Tal Mountain Range. So, be prepared for many caves and rugged enemies.
Table Of Contents
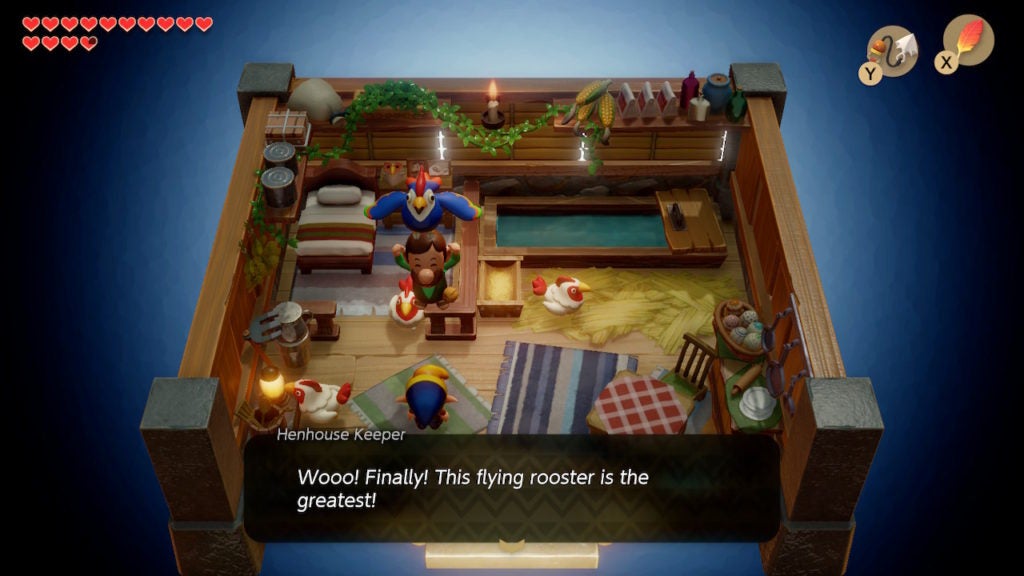
Return to the Henhouse Keeper
To begin your journey to the west, head back to the Henhouse Keeper. When you enter their house, you’ll find the blue rooster who helped you get the Bird Key. They will be pleasantly giving the Henhouse Keeper a lift as the cuccos amble around nonchalantly.
With the comforting knowledge that your avian pal has found a nice home, you can exit the Henhouse Keeper’s abode. From there, you’ll see a broken bridge to the west of the house. You should head towards it and equip your Hookshot.
Cross the Broken Bridge and Rescue Marin
With your Hookshot, you’ll be able to grapple across the gaps in the bridge by hooking onto the crates full of rocks.

As you do so, you’ll find Marin stranded on a middle section of the broken bridge.
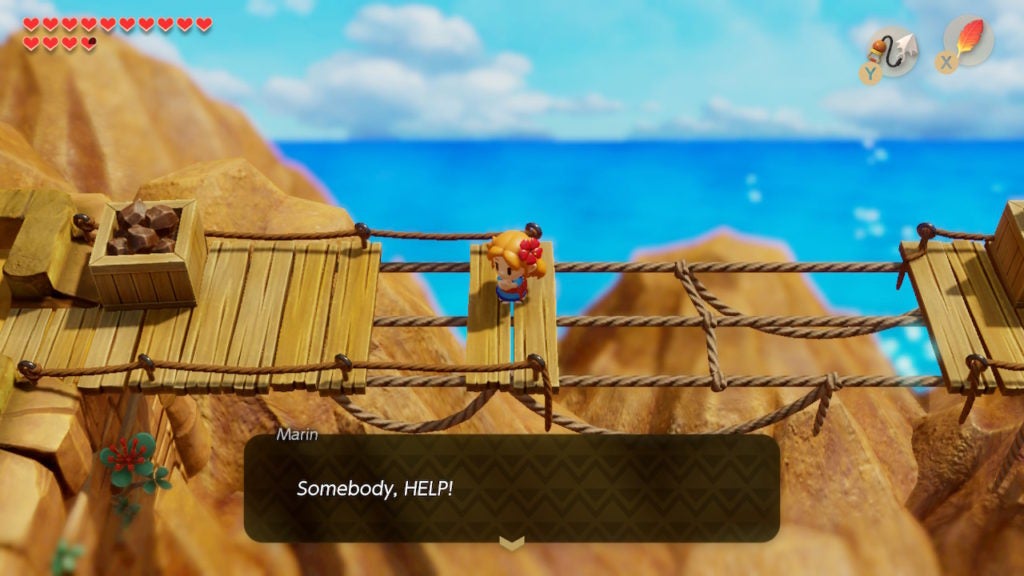
She’ll claim that monsters put her there and she’ll be calling out for help. Furthermore, Marin claims that she’s terrified of heights, which is why she seems to be frozen to the spot she’s standing on. Thankfully, you can help her out easily. Use your Hookshot to grapple onto the crate to the west of Marin.
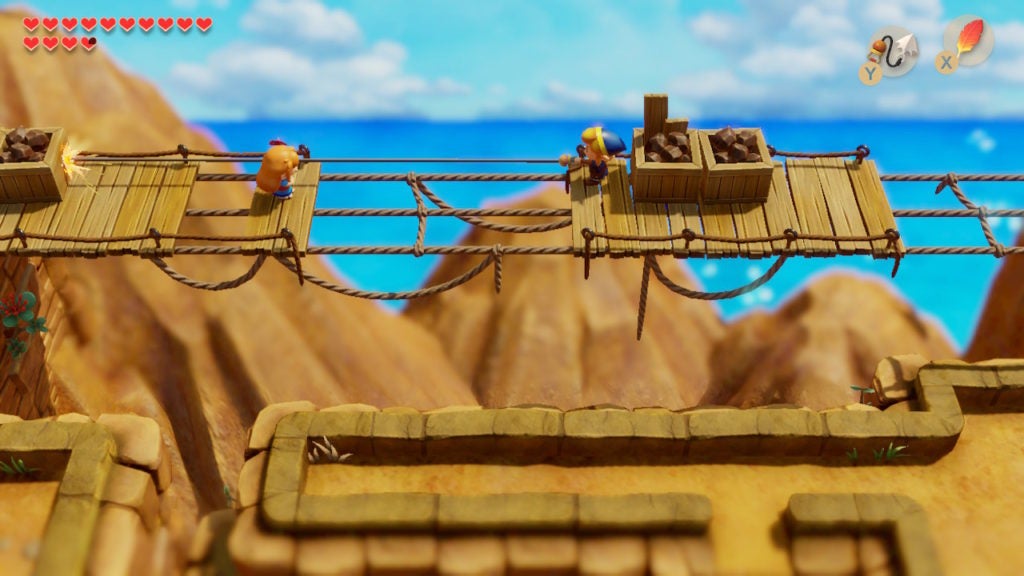
As you zoom across the large gap, Link will grab Marin and pull her with him safely to the other side. Following this, Marin will attempt to thank you but will be interrupted by Tarin calling for her from a lower part of the mountain range. Afterward, Marin will leave and follow Tarin back to Mabe Village. Though, before you can continue your journey across the mountains, the wise Owl will swoop down to give you some advice.
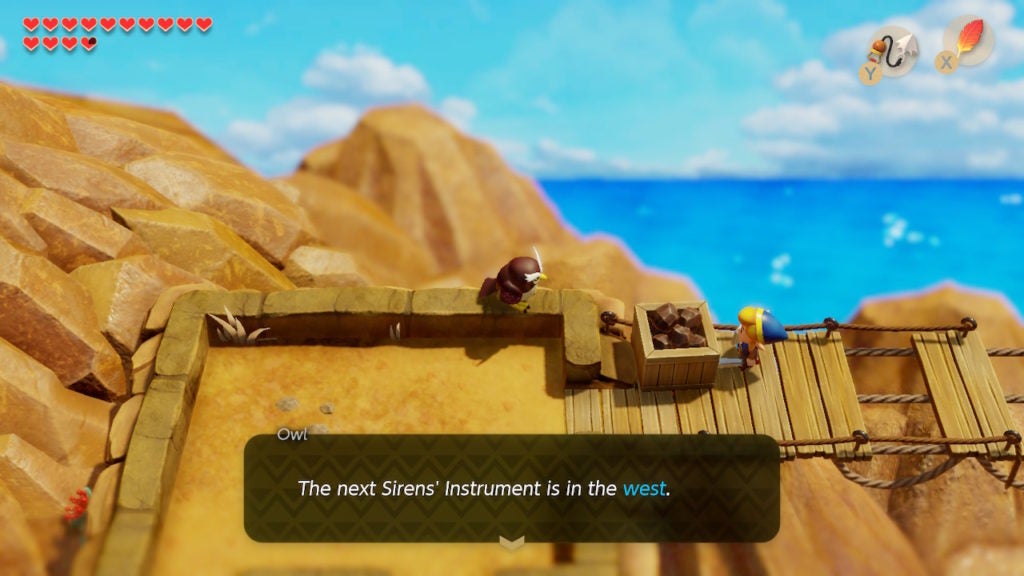
In addition to reminding you that you need to go west, the Owl will also share some music-related information. They’ll first tell you that Marin went up to Mount Tamaranch and was singing to the Wind Fish’s Egg—apparently trying to wake the Wind Fish, but to no avail.
Next, the Owl will mention that you’ll need to “Play your melodies so that the unloving stones might hear!” That last bit is a hint for opening the entrance to Level 8 – Turtle Rock, so keep it in mind for later. With that, the Owl will fly off and leave you to your adventures.
The Hidden Staircase Beneath the Bush
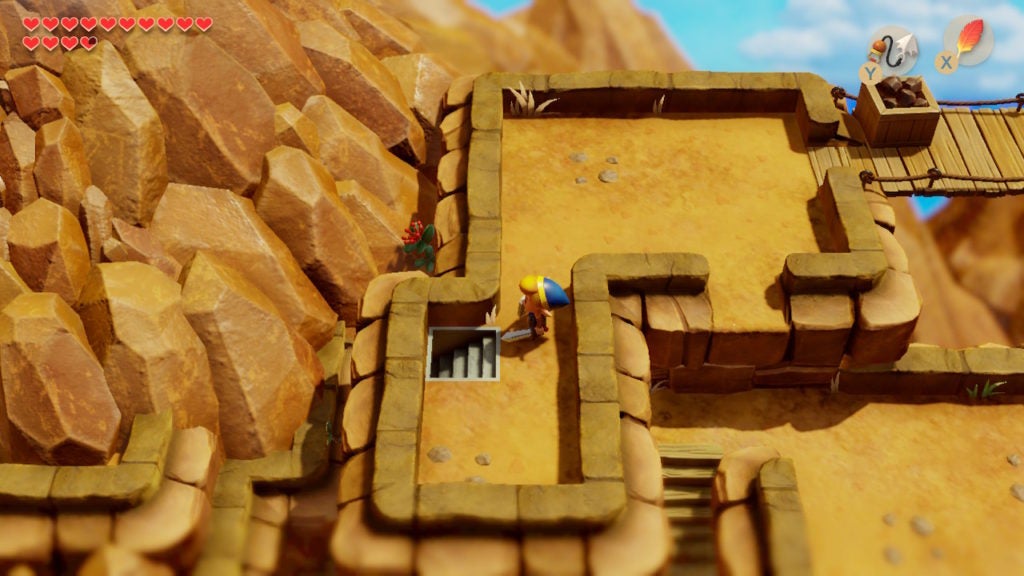
To proceed further west, you’ll need to cover a hidden staircase. Thankfully, its location is rather conspicuous. In the area west of the broken bridge, you’ll find a lone shrub in the southwest corner. If you destroy it, you’ll find a staircase, which you’ll be able to descend.
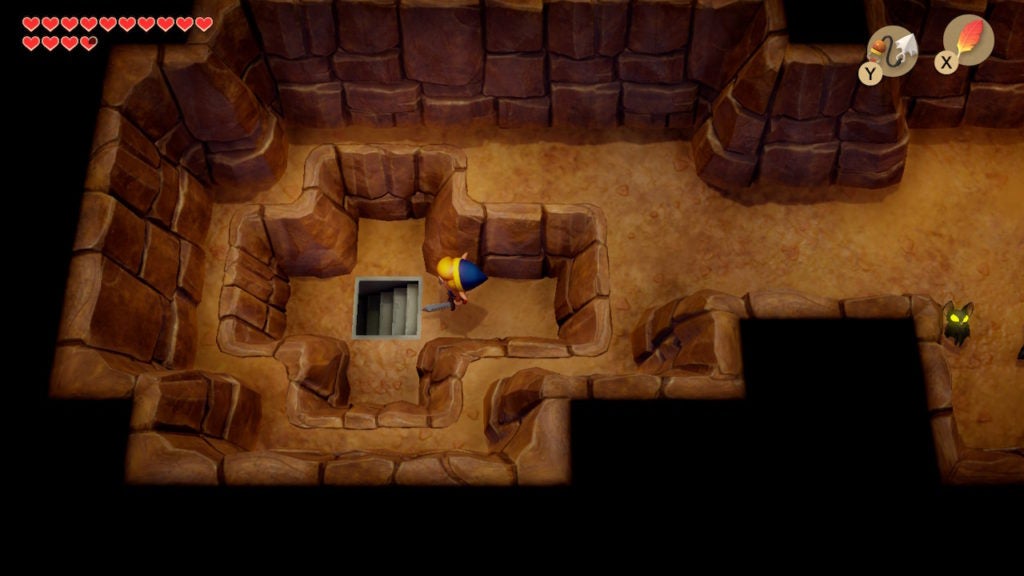
This staircase leads into a small and simple cavern that literally points you westward. There is an indent in the shape of an arrow pointing west, and, within it, there is another staircase that leads downwards.
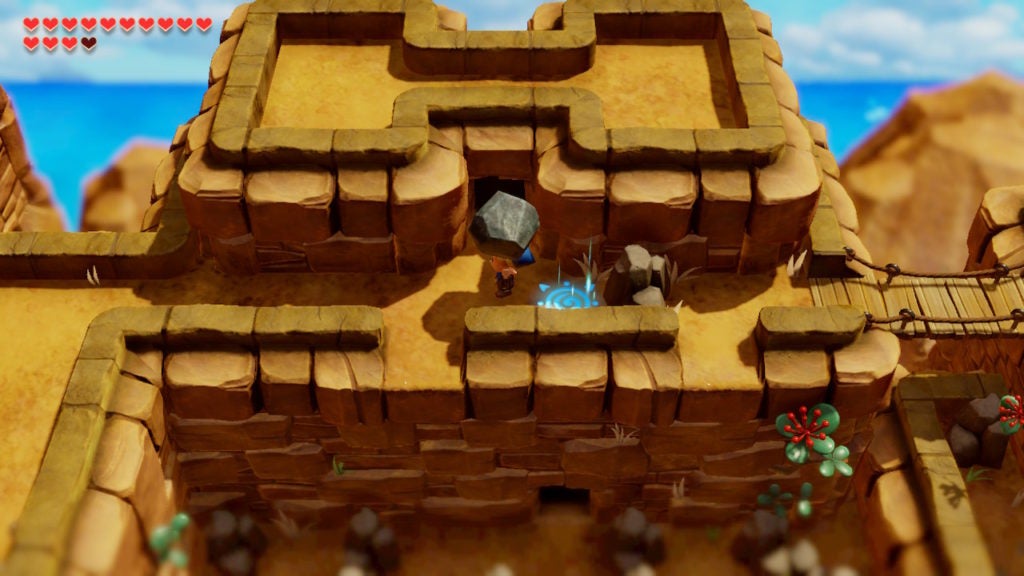
You’ll now find yourself in a part of the cave with a large hole in the ground and some rocks on either side.
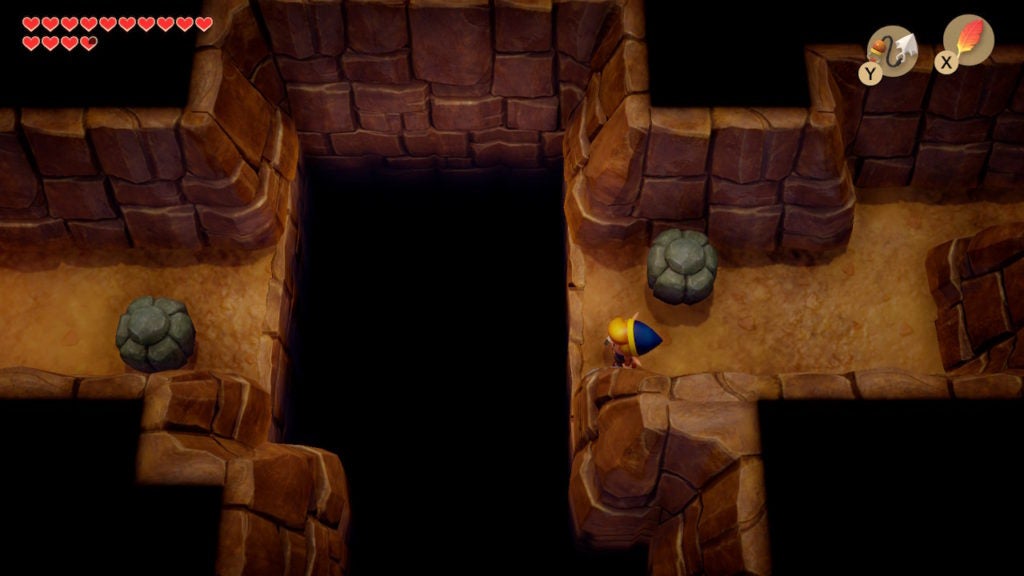
Use your Hookshot here to latch onto the rock across the gap and zoom over the void. When you get to the other side, follow the linear path to an exit that leads you outside.
If you’re wondering where exactly you are, you can open your Map to take a look at your position upon the Tal Tal Moutain Range.
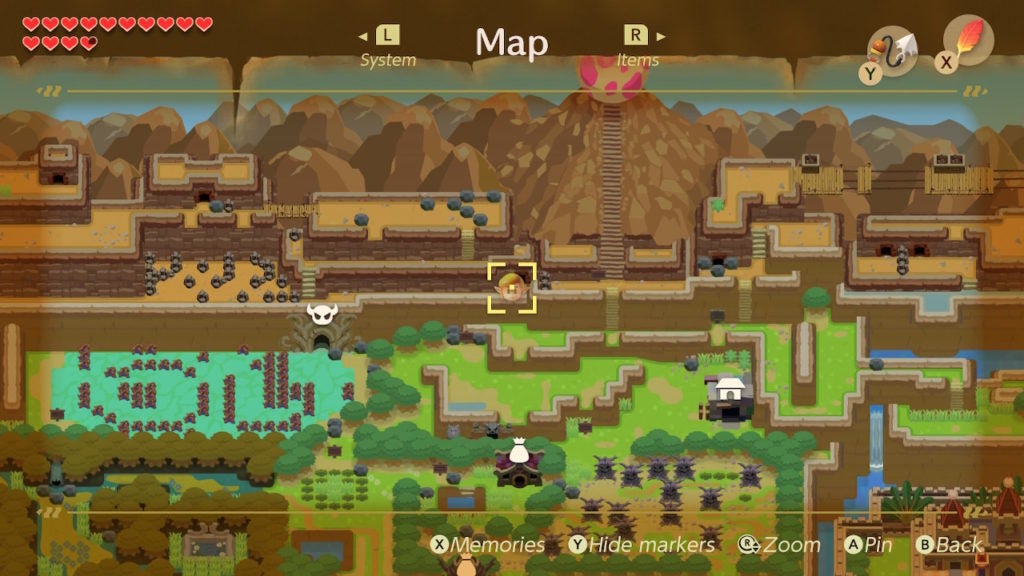
You’ll be able to see that you can only go west from here. Though, be careful as you proceed, as there’s an environmental hazard up ahead.
Ascend the Area With the Falling Boulders
As you head west, you’ll need to climb some stairs before turning back east for a bit to find another set of stairs to climb. All the while, boulders will be raining down on you from above. The best way to avoid getting hurt by them is to walk through the area with your Shield raised, as this will block the incoming damage.
When you get to the top of this area, the avalanche will cease to be an issue. In the surroundings, you’ll see a few rocks, some Mini-Moldorms, and a chest.
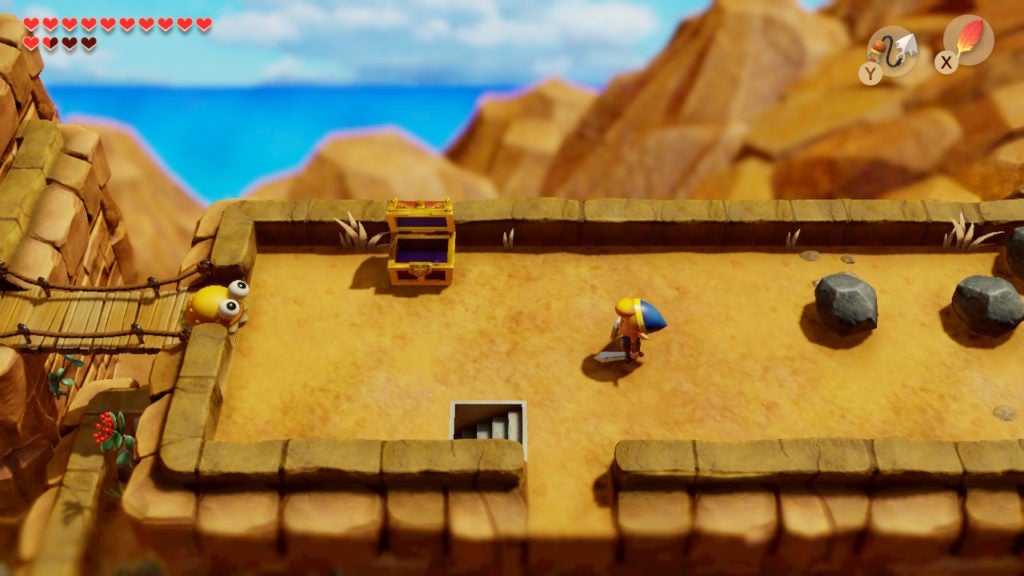
Within the chest, you’ll find 50 Rupees, so be sure to open it up for some easy loot! Furthermore, the westmost rock in this area is hiding a staircase. Lift it up and toss it aside to reveal this secret. Below, you’ll be able to find a handy upgrade.
The Magic Powder Upgrade From Lil Devil
In the cavern below, you’ll find a creepy setting with a bunch of skulls and an unlit torch.
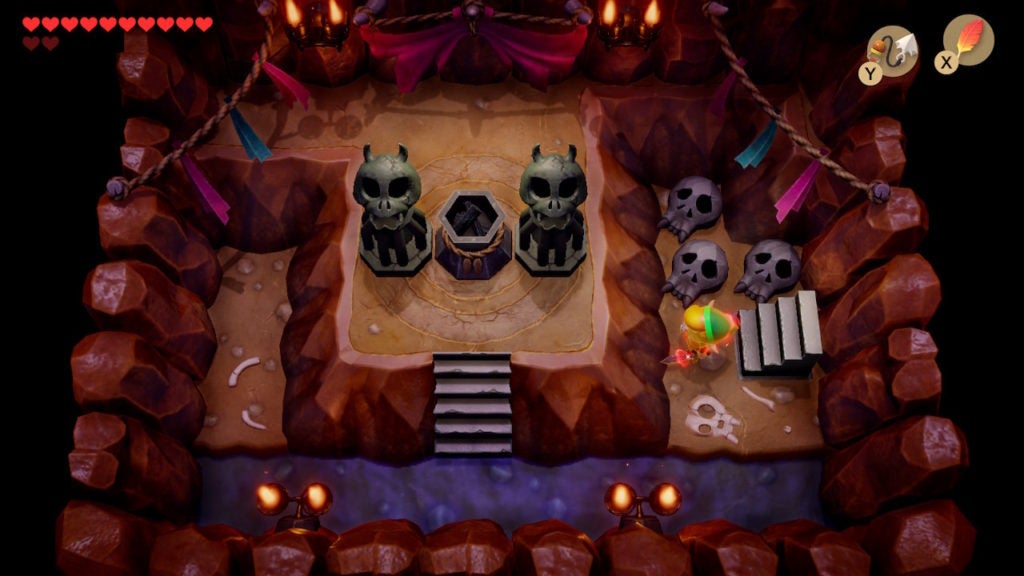
Don’t worry, however, as this dwelling belongs to an ally—albeit a demonic one. Walk up to the unlit torch and sprinkle some Magic Powder on it to ignite a flame. This will summon Lil Devil, a fiend with the power to upgrade your tools. Although talking with the winged creature makes it seem like Lil Devil is attacking you, the zap they give Link will actually increase how much Magic Powder he can carry.
After giving Link a shock, Lil Devil will return to whatever dimension they came from. Following this event, you’ll be able to carry twice as much Magic Powder! Your previous maximum amount was 20, but it has now increased to 40. Lil Devil can upgrade your Bombs and Bow and Arrow Set in similar manners, though, you’ll have to find his other 2 hideouts to get these tool enhancements.
When your business with the demon is concluded, head back up the stairs and go a bit west. Here, you’ll find a ledge leading down into a subtle maze of large rocks.

You’ll need to jump down and navigate to the opening in the northern wall of stone. Note that you can return here from another cave exit above, as there is another ledge leading down to this area. However, for now, proceed into the cave from the sole entrance and you’ll find yourself in a slim passage.
Get By The Flamethrower
The slim tunnel will lead you northward and will bring you to a flamethrower set into the wall facing you. Normally, you wouldn’t be able to pass by the jet of flame. However, thanks to the Mirror Shield you got from the previous dungeon, you can reflect the magical damage.
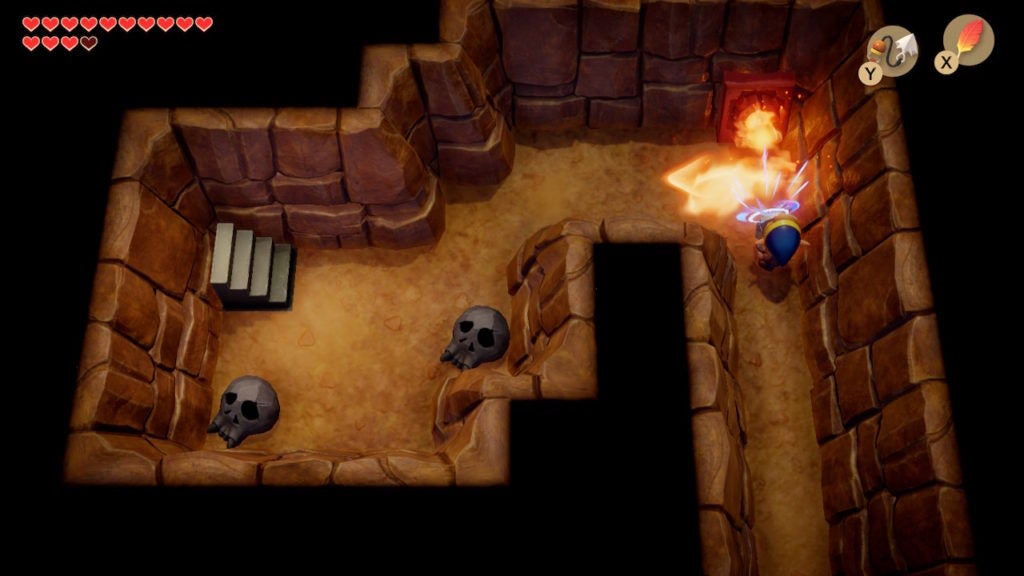
Raise your Shield while facing north and walk towards the fiery trap. When you press right up against it, walk west while keeping your Shield raised until you’re out of the flamethrower’s path. When you’re clear of the flames, head up the staircase to the west.
The Warp Point on the West of the Tal Tal Mountain Range
When you ascend the staircase, you’ll find yourself above the area with the subtle rock maze. Beside the exit from the cave, you’ll find a rock to the east. Lift it up to uncover a Warp Point. Also, make sure to stand on it briefly to activate it.
Keep this teleporter in mind for later, as it will make going and coming back to this spot convenient. With that, go west to find a Telephone Booth. If you enter it and pick up the phone, Old Man Ulrira will give you a helpful tip about a powerful upcoming foe.
Old Man Ulrira’s Tip About Turtle Rock
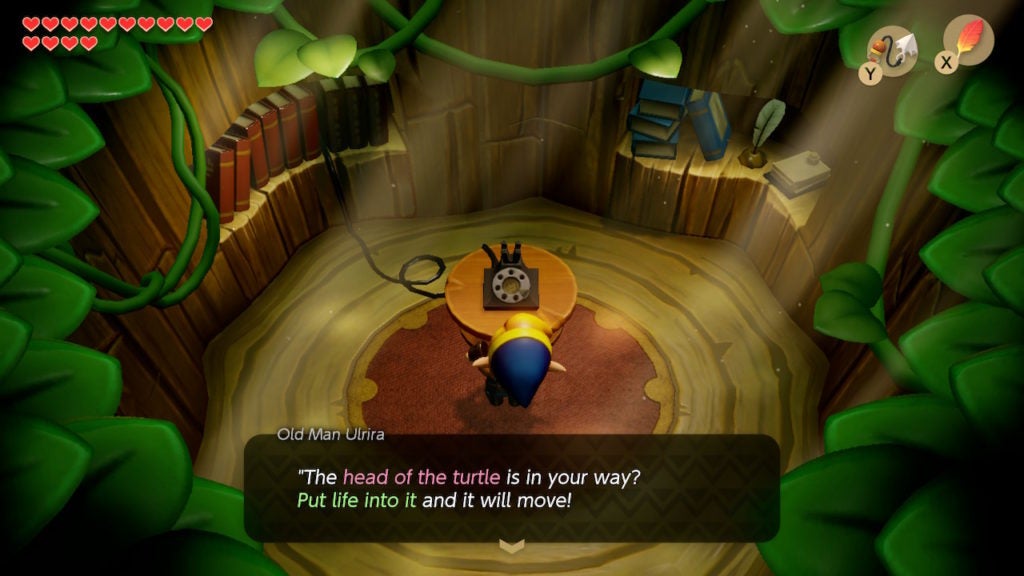
The elder will mention that, if the “head of the turtle” is in your way, you should “put life into it and it will move!” This is a hint that means you’ll need to play some music shortly. As such, you might as well equip your Ocarina now. The melody that you’ll need is the Frog’s Song of Soul.
After getting this hint, exit the Telephone Booth and head west to find the entrance to the last true dungeon in the game. Although, it’s recommended that you equip the Boomerang here, as it will make fighting the flying Dactos around the entrance much easier.
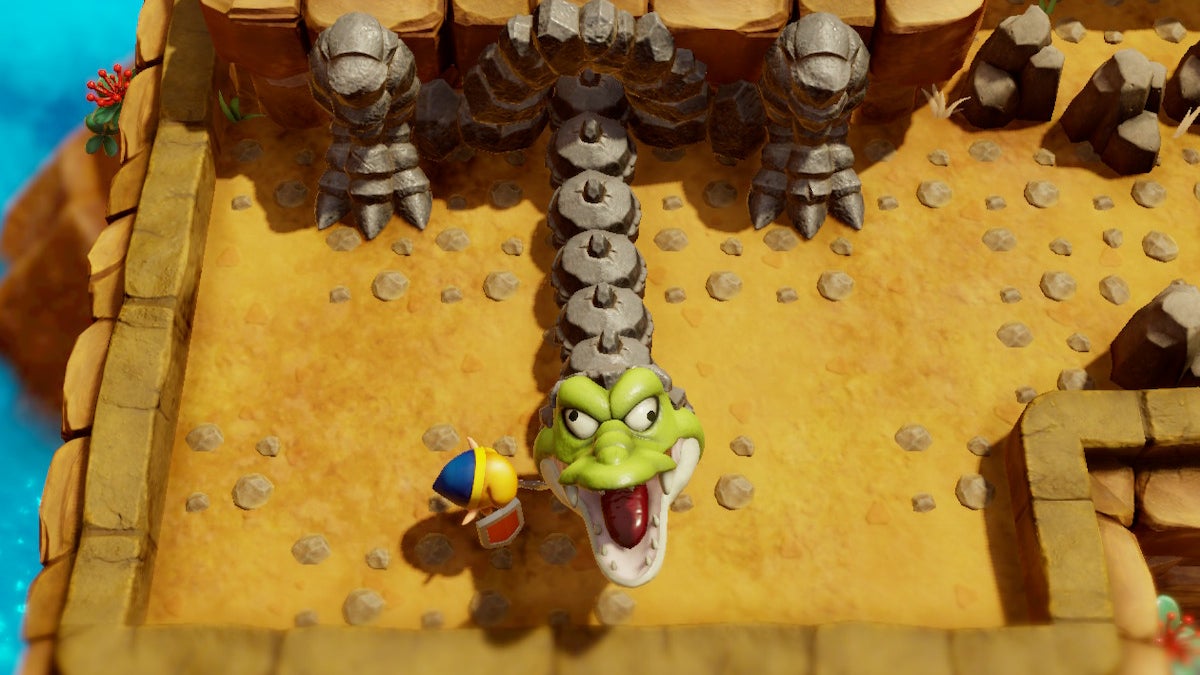
Beat the Stone Turtle Guarding the Dungeon’s Entrance
When you’ve cleared out the minor enemies, you’ll be able to take a better look at the dungeon’s entrance. Appropriately, Level 8 – Turtle Rock looks like a stone turtle from the outside. However, the entrance to the dungeon is not yet accessible. You’ll need to move the stone turtle out of your way.
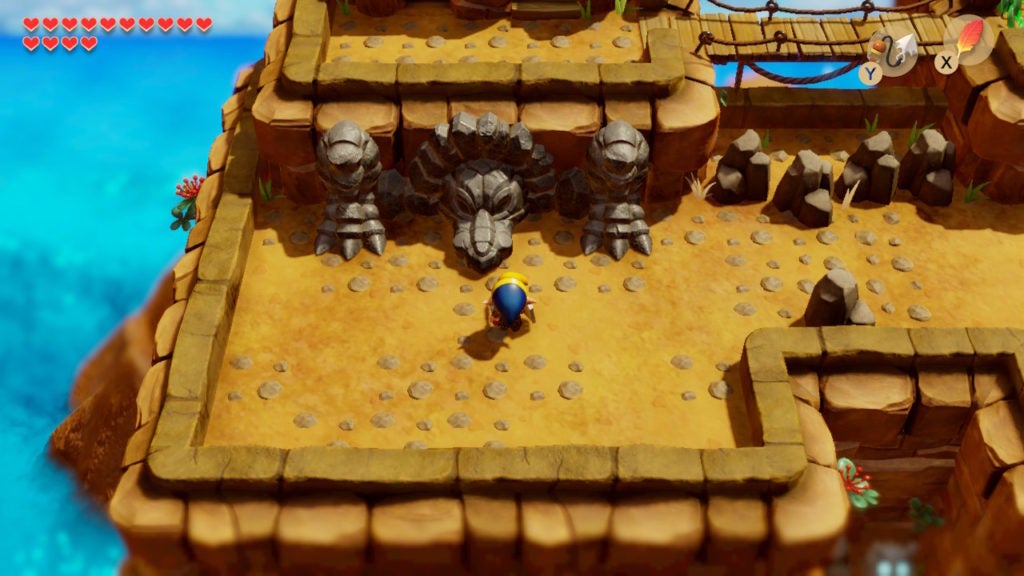
How to Wake Up the Stone Turtle
To awaken the rocky creature, you’ll need to play the Frog’s Song of Soul on your Ocarina while you stand in front of it. While the stone turtle is not dead—like the blue rooster you resurrected—it is still ‘unliving’. As such, the aforementioned tune is guaranteed to work on the lifeless creature.
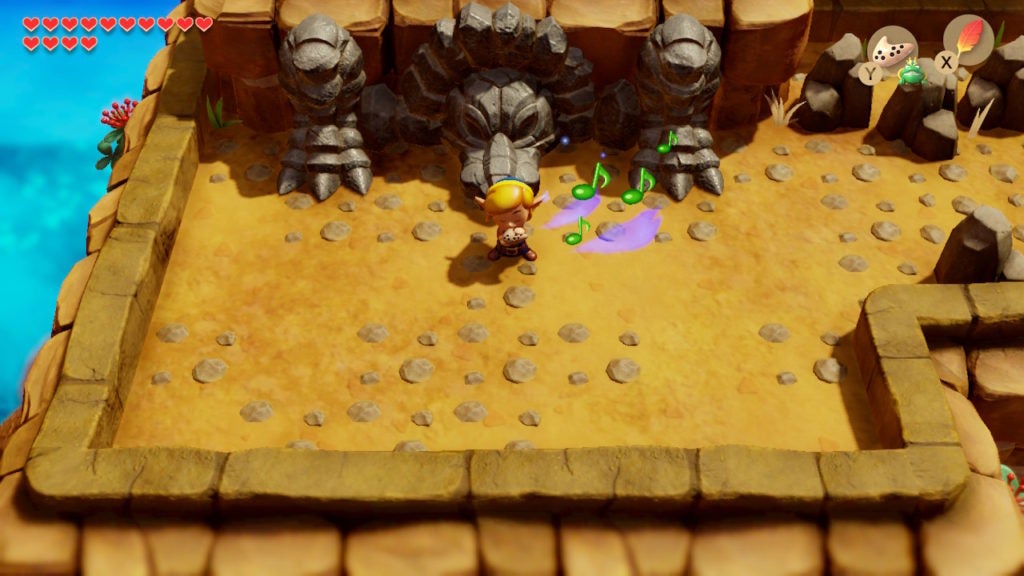
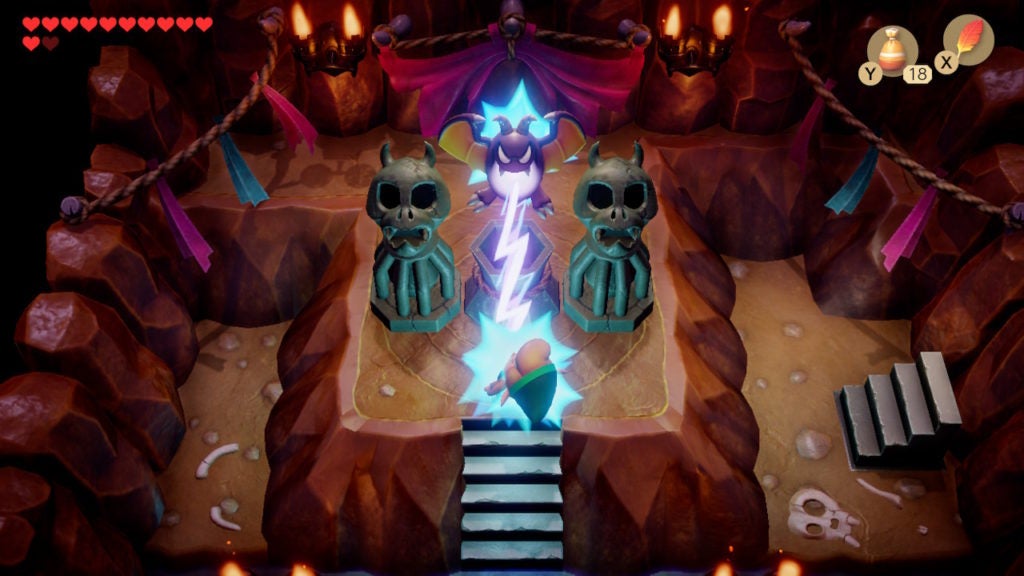
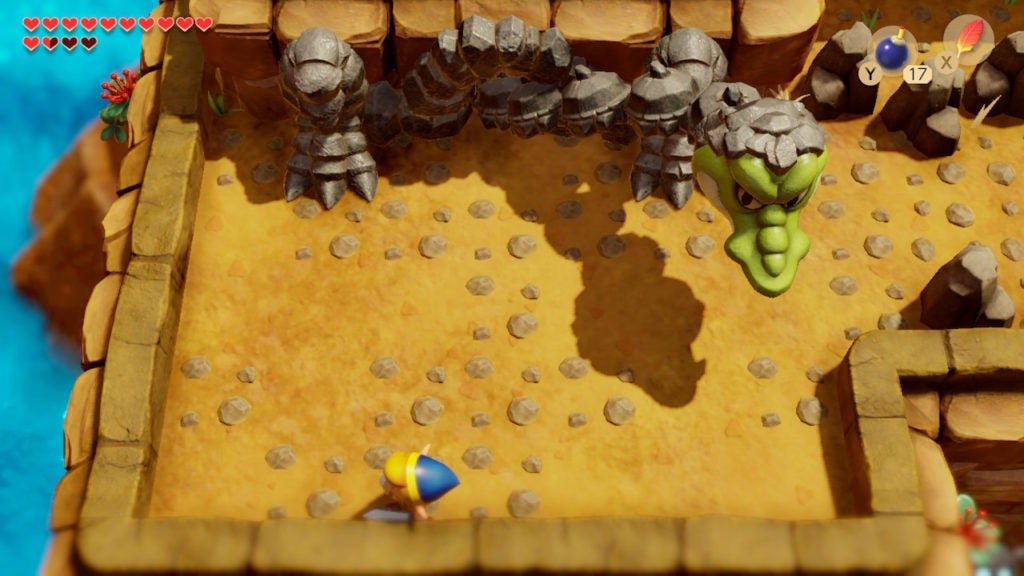
This will awaken the beast—whose name is actually Turtle Rock—and they will attack! However, as they do, you’ll notice a crack in their head.
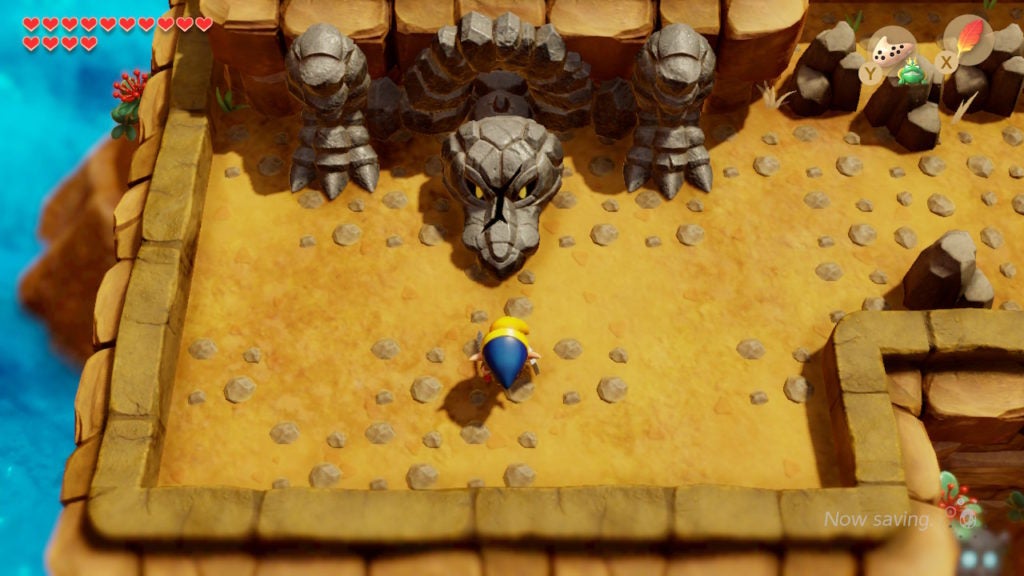
That crack is a hint on how to hurt this mighty enemy. Although, taking advantage of this hint will be easier said than done, as Turtle Rock will not sit still throughout this fight.
How to Hurt Turtle Rock in Phase 1
Turtle Rock will extend its long stony neck and will continuously move its head from side to side. If you touch its head, you’ll take contact damage, so try to avoid it as much as possible. Furthermore, the great turtle will also try to strike at you in a snake-like manner. When it’s about to do this, its head vibrates a bit before extending quickly toward you.
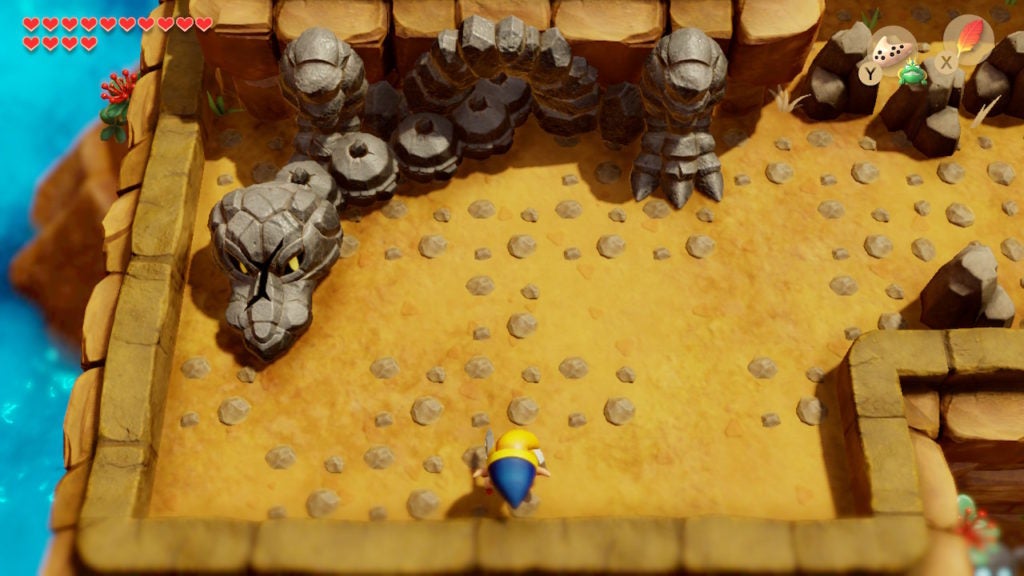
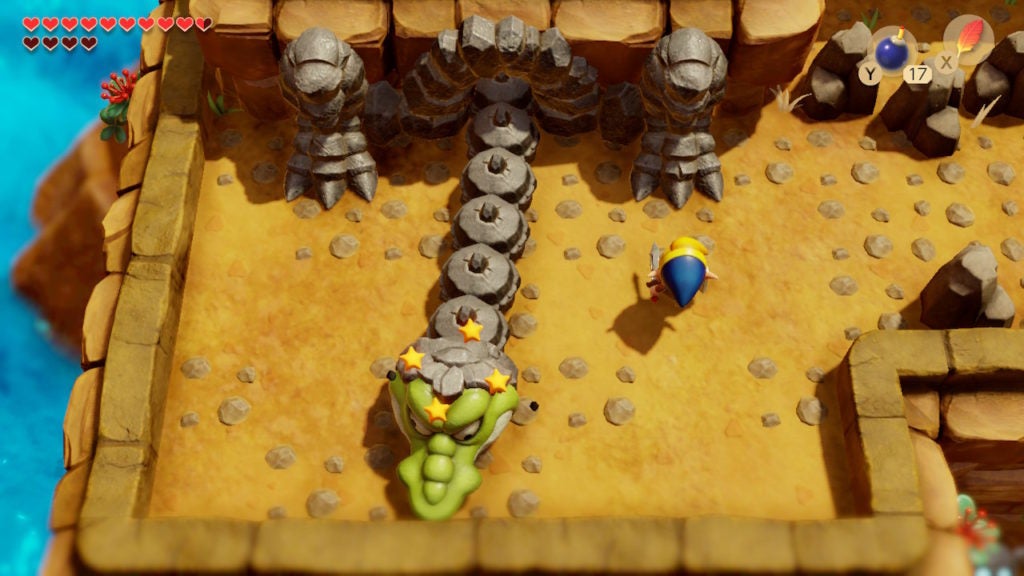
Though, on occasion, the foe will pull its head back into the rock wall to the north. This is your chance to drop a Bomb near them and to get Turtle Rock’s head caught in the explosion. You’ll need to hit your adversary in the head with 3 Bombs to shatter their rocky outer hide. When you do, phase 2 will begin.
It should also be mentioned that there’s a little trick you can do by combining your Bombs and the Bow and Arrow Set. If you place a Bomb down and then shoot an arrow at it, the arrow will pick up the Bomb and travel with it in the direction that you shot your bow. This is a great tactic to use against Turtle Rock, as it allows your Bombs to travel much faster than if you were simply throwing them. Furthermore, Bombs will detonate on contact as opposed to exploding after a set amount of time.
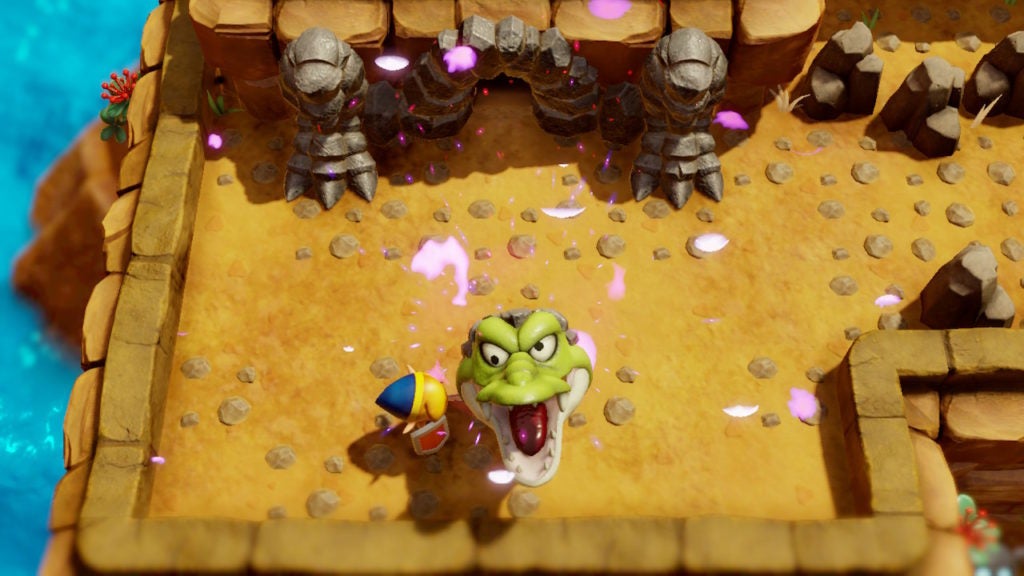
How to Hurt Turtle Rock in Phase 2
Now that its head is exposed, Turtle Rock will be more cautious while attacking. This will mean that the foe’s attacks will have fewer delays between them and also that the fiend will use its long neck to keep its vulnerable head high above the ground when not attacking.
Though, on occasion, the reptilian beast will have to bring its head back down to attack. When it does, you’ll be able to strike it with your Sword if you’re quick. On top of this, there’s a great way to stun the enemy. When Turtle Rock does its snake-like strike now, since it doesn’t have a stone helmet, it will stun itself if it misses its attack and slams its head against a wall.
When it does, you’ll have plenty of time to land hits on the foe’s vulnerable head. Turtle Rock will go down eventually, so keep up the attack. Afterward, the head and neck of the dragon will disappear in purple flames to reveal the entrance to the dungeon.
Round-Up Collectibles Before Going Into Level 8 – Turtle Rock
However, before you enter the new doorway, you should know that this is definitely the toughest out of all the dungeons so far. You’ll need as many Hearts as you can get. Plus, having all the optional upgrades can make combating the many foes below much easier.
The reason it’s best to do so now instead of earlier is that you now have everything you need to get the remaining treasure on Koholint Island with no issues. Furthermore, getting back to this dungeon’s entrance will be simple thanks to the Warp Point nearby. So, now would be a great time to round up collectibles before going into Level 8 – Turtle Rock.